Canon EF 50mm f/1.2L USM Review by a Full-time Photographer | Is it Worth the Price?

(By using the links and/or codes below it supports Myles Katherine Photography. We may get a small kick back by you doing so.)

IS THE CANON 50MM 1.2L USM LENS WORTH THE PRICE?


You all know that the Canon EF 24-70mm f/2.8L II USM is the one lens I can’t live without. But if someone were to ask me, “Which lens takes the most beautiful photos?” it would be the Canon EF 50mm f/1.2L USM. I wanted to share a few of the reasons that this lens is so special, because if I wasn’t such a zoom lens girlie, this one would be my #1. It’s a truly incredible, versatile lens with amazing low-light capabilities and stunning bokeh. I’ll dive more into the details below, but I’m sure you can already tell this review is definitely a rave!


  1. IT’S THE BEST LENS FOR LOW LIGHT IN ITS CATEGORY

With a 1.2 ultra-wide aperture, you can’t get any better than that. As a wedding photographer, this lens has saved me multiple times in low-light situations. It can find and pull light from any situation, even when there isn’t any! Once the sun goes down at a wedding, I typically pop on a flash (I use the Canon Speedlite 580EX II and/or the Speedlite 430EX II) to use with my zoom lens on my Canon 5d Mark IV, and then I’ll use my Canon EF 50mm f/1.2L USM with my Canon EOS R because it doesn’t need a flash! Having that blend of flash photos with naturally lit photos gives my photos variety for my client. This combination has become my go-to for weddings. It’s the best low-light set-up I’ve ever had. I actually kind of hate using my 24-70mm with the EOS R because I find the photos to look a little too sharp and digitized. It’s hard to explain, but the softness that comes along with the 1.2L lens when you’re shooting with the aperture wide-open just seems to work perfectly with the natural sharpness of the EOS R.

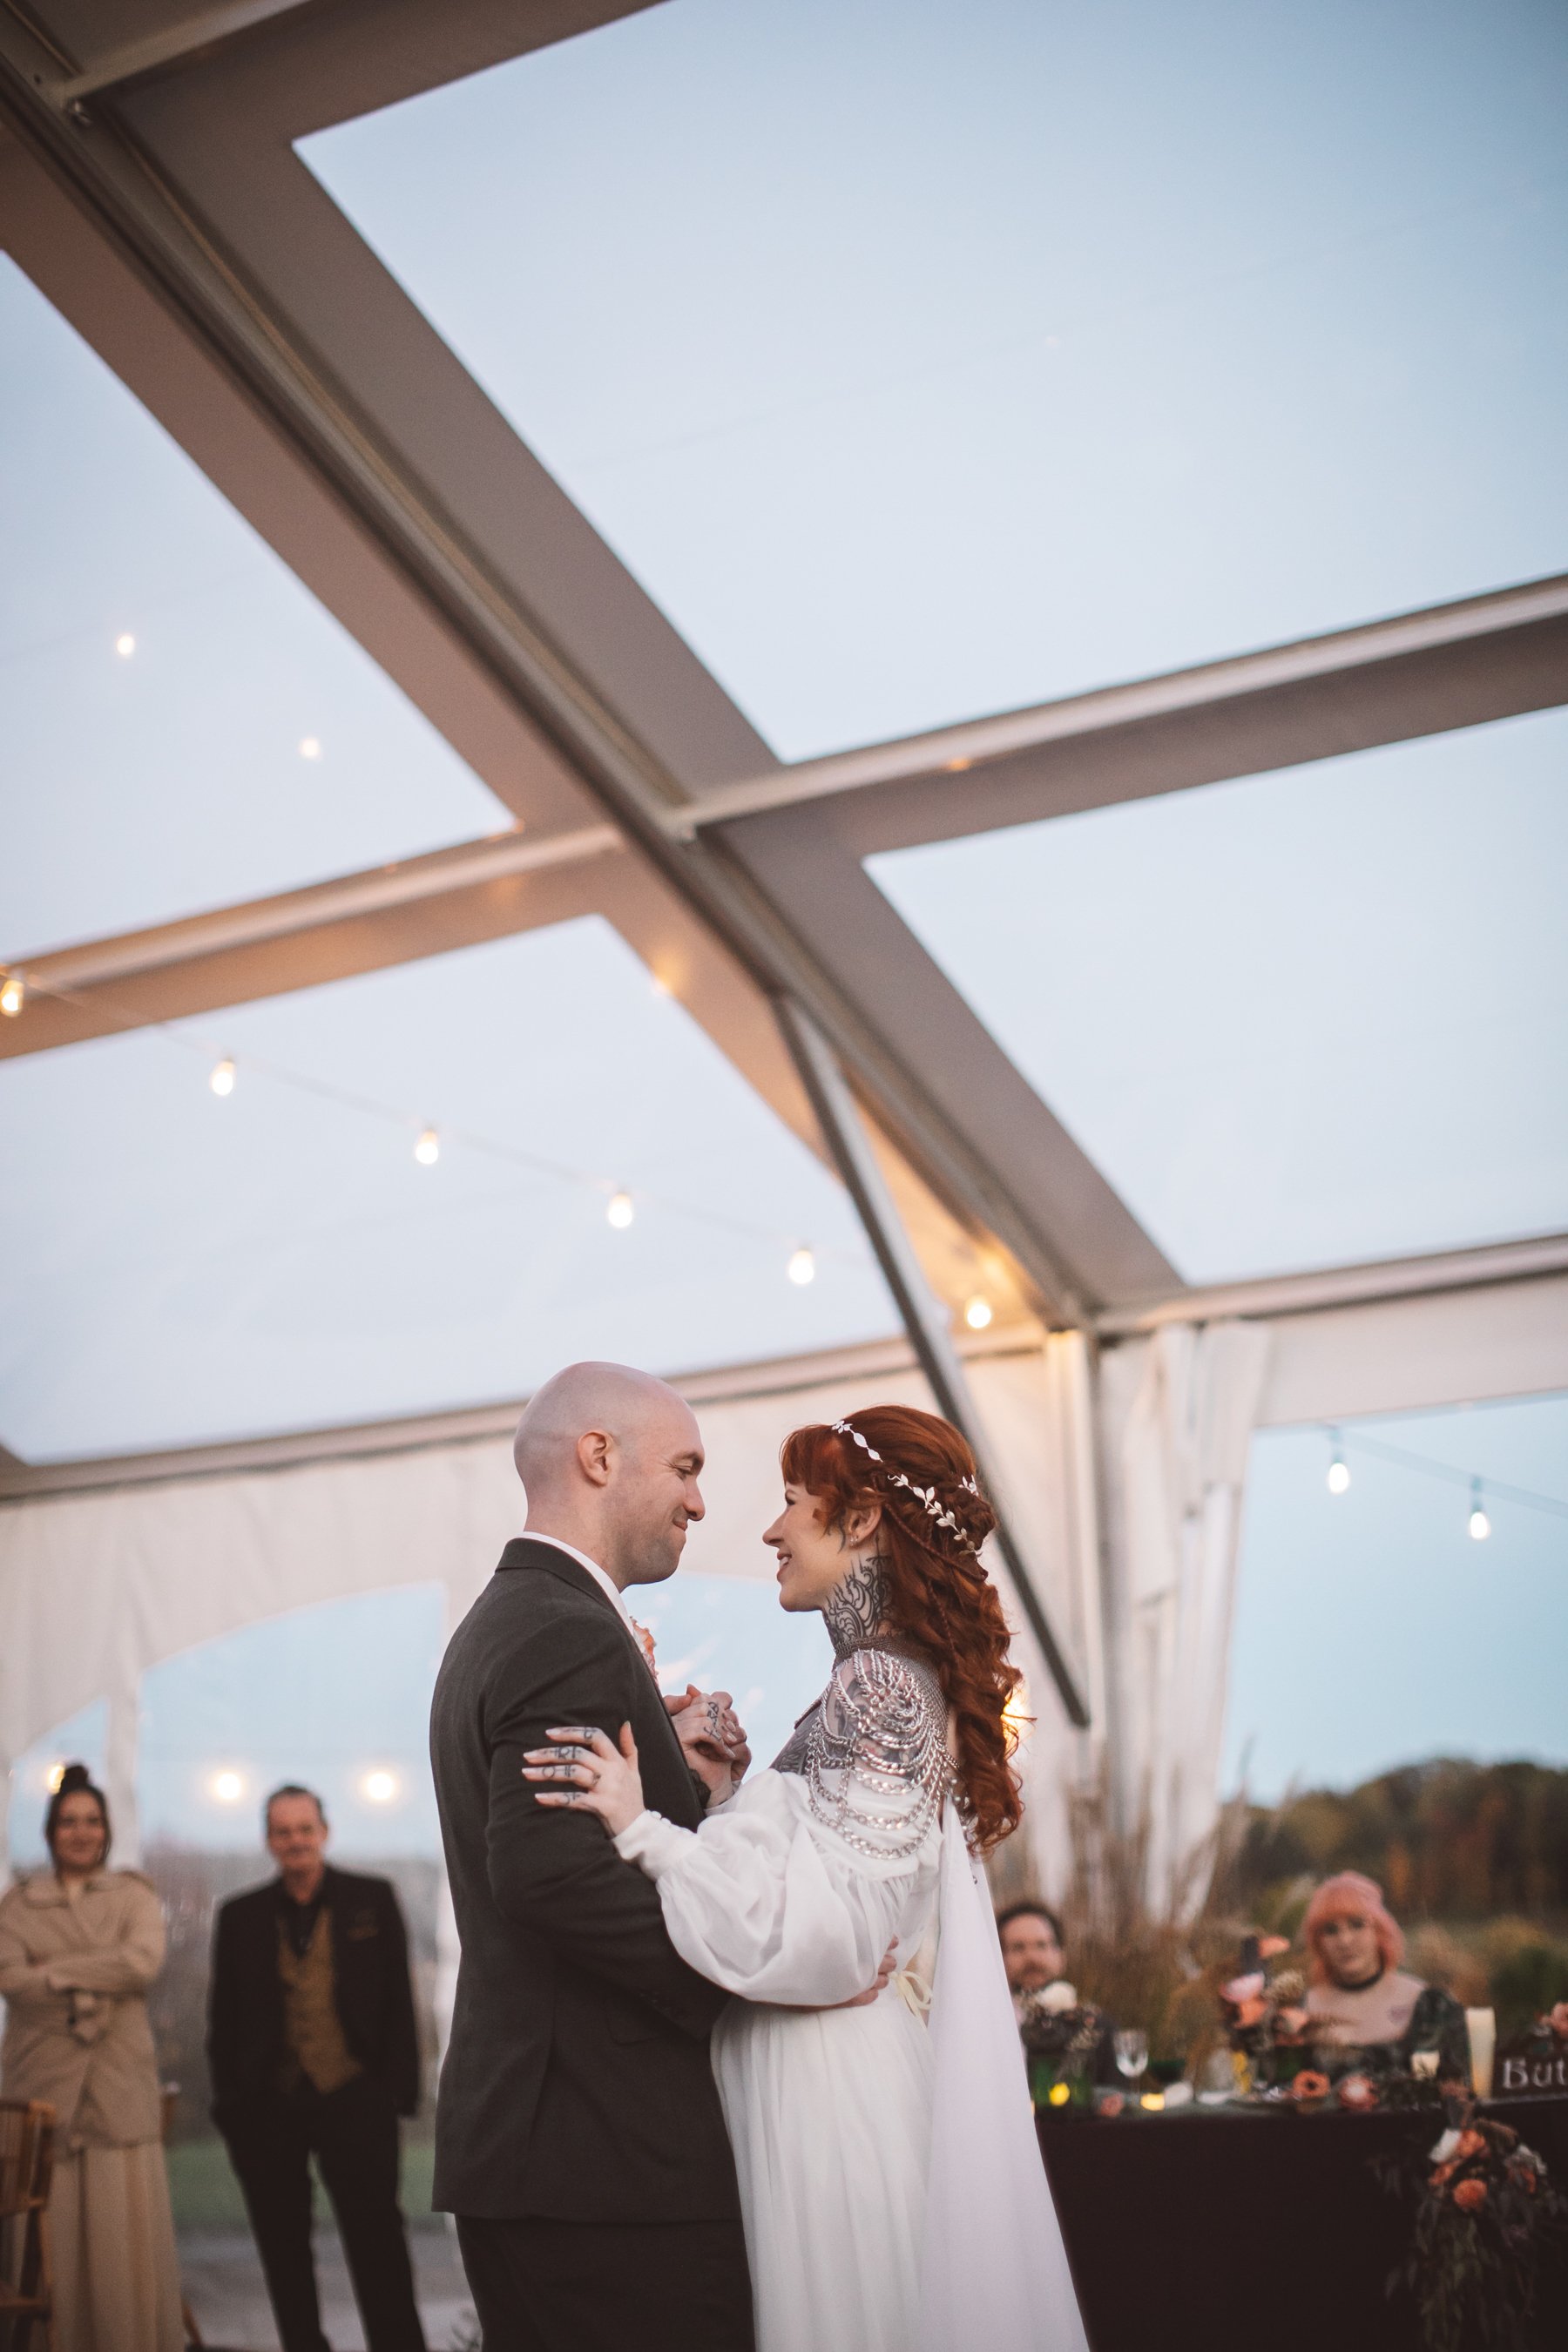
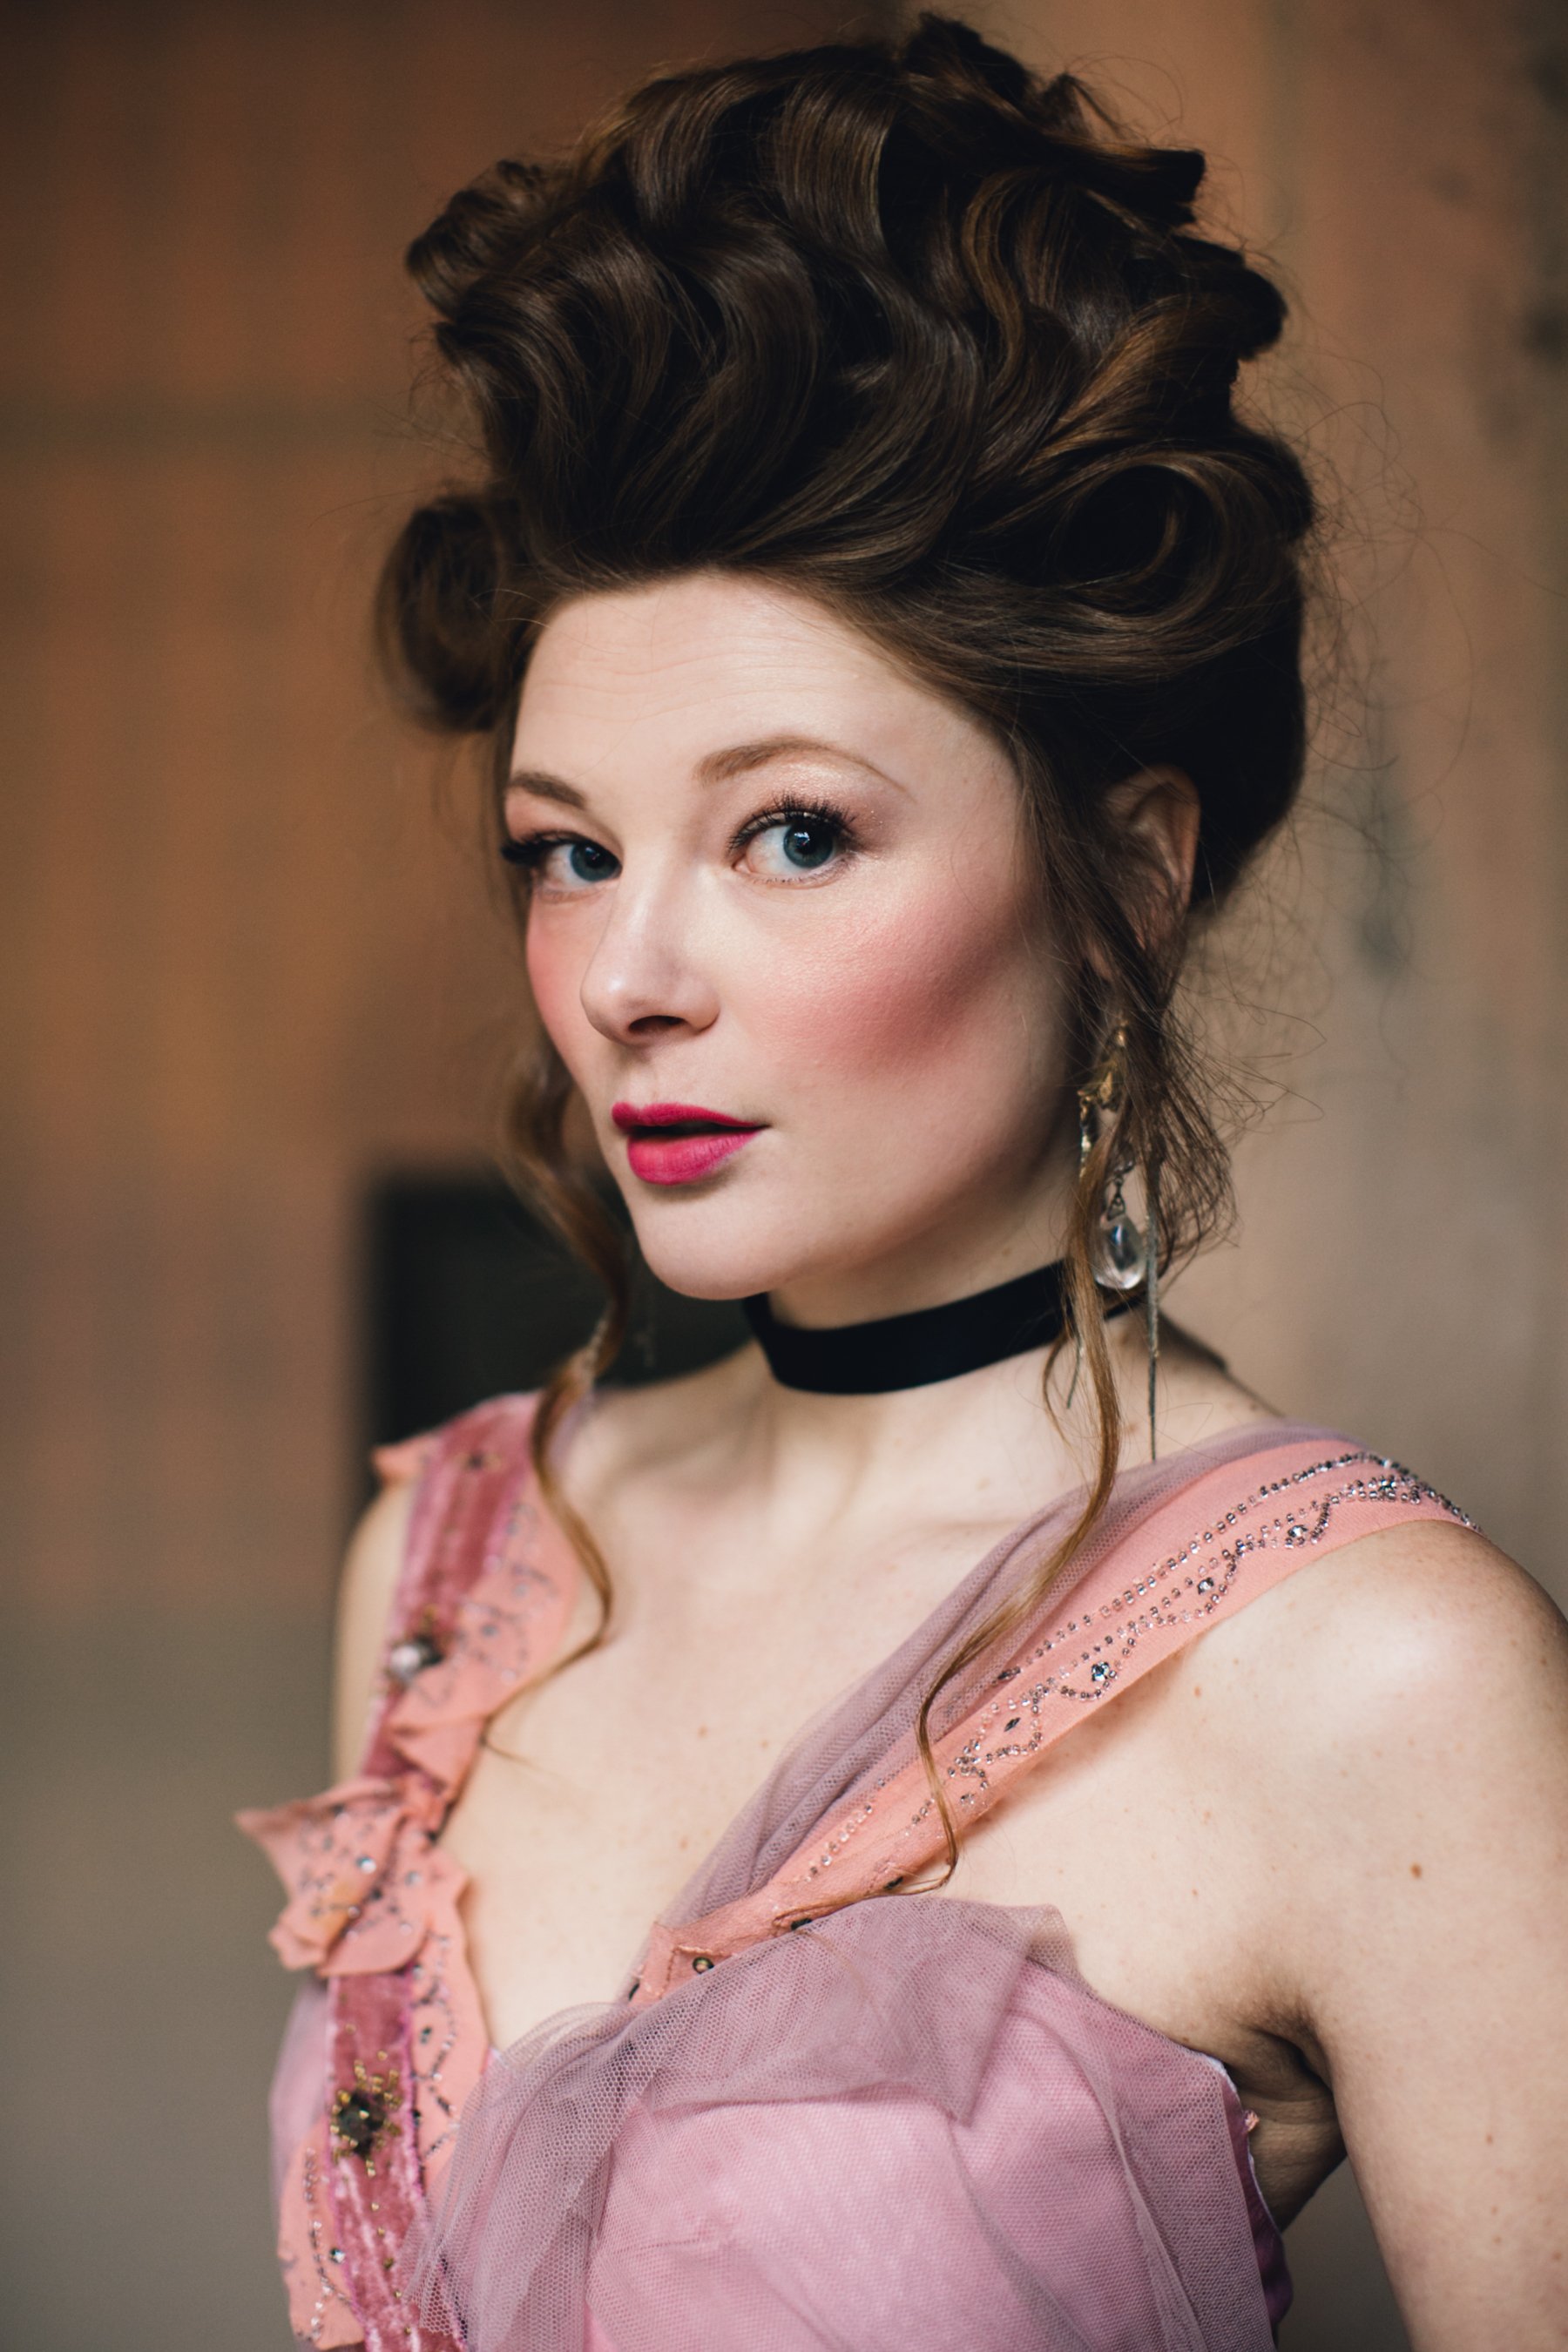
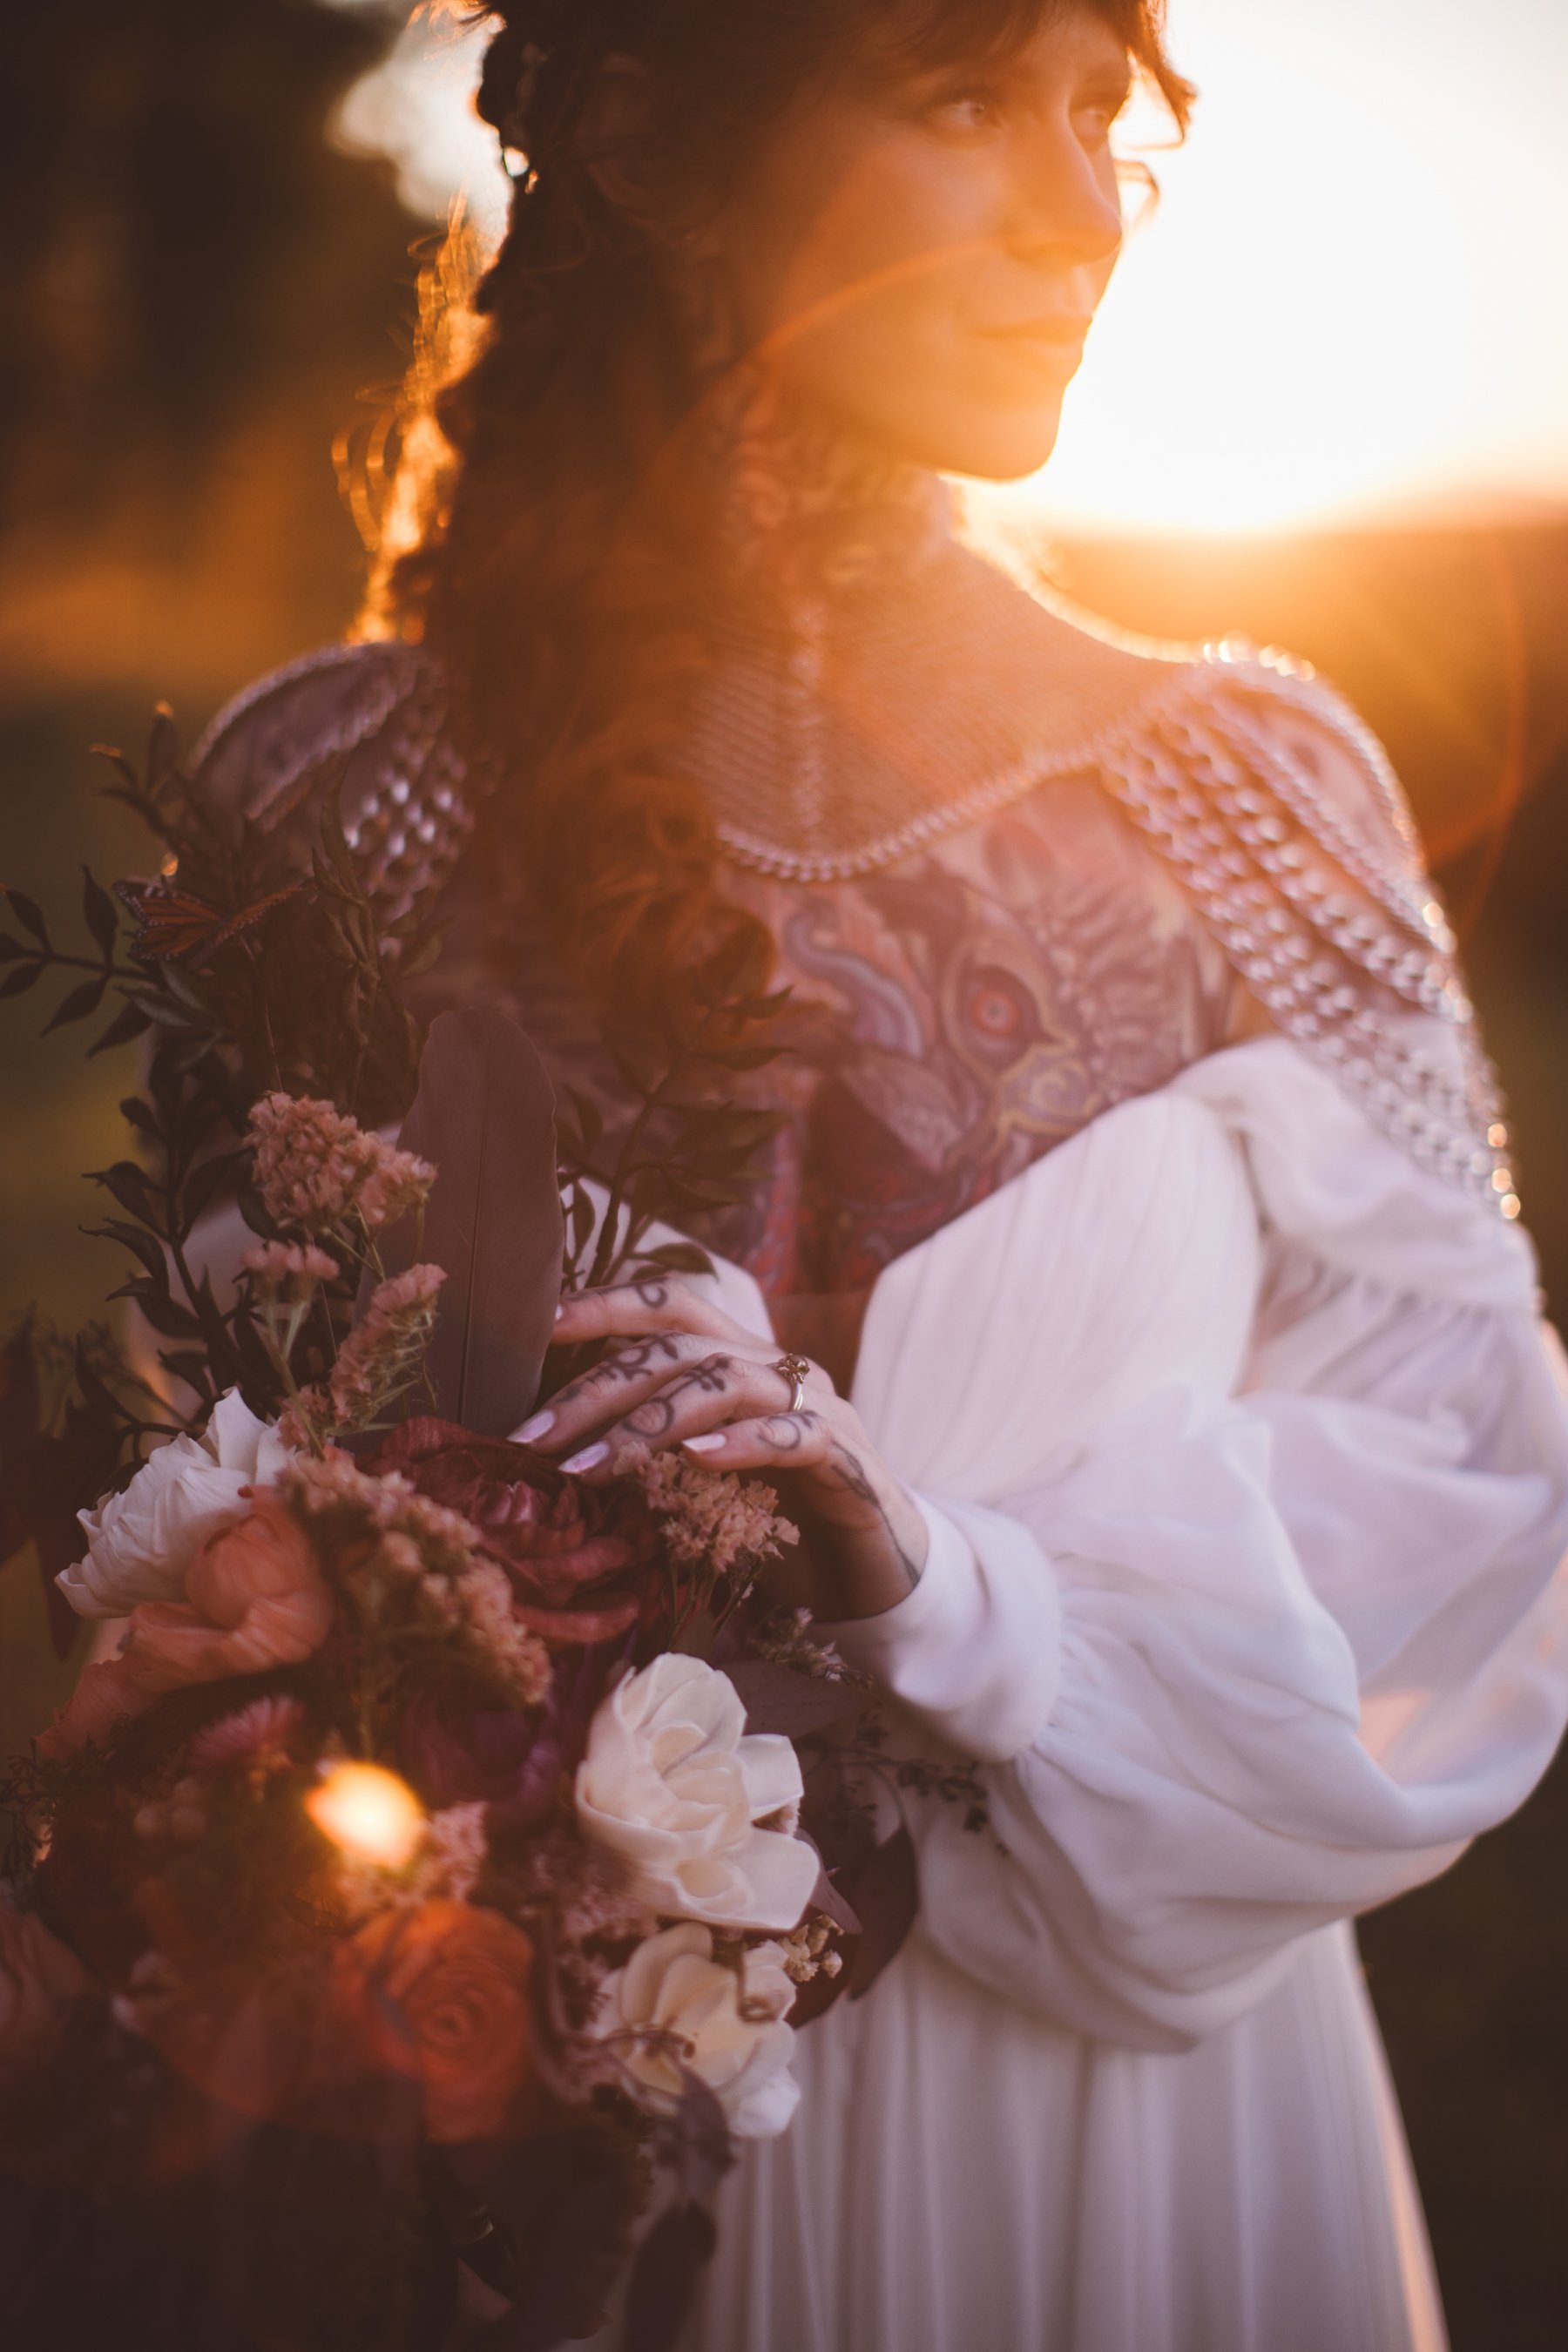
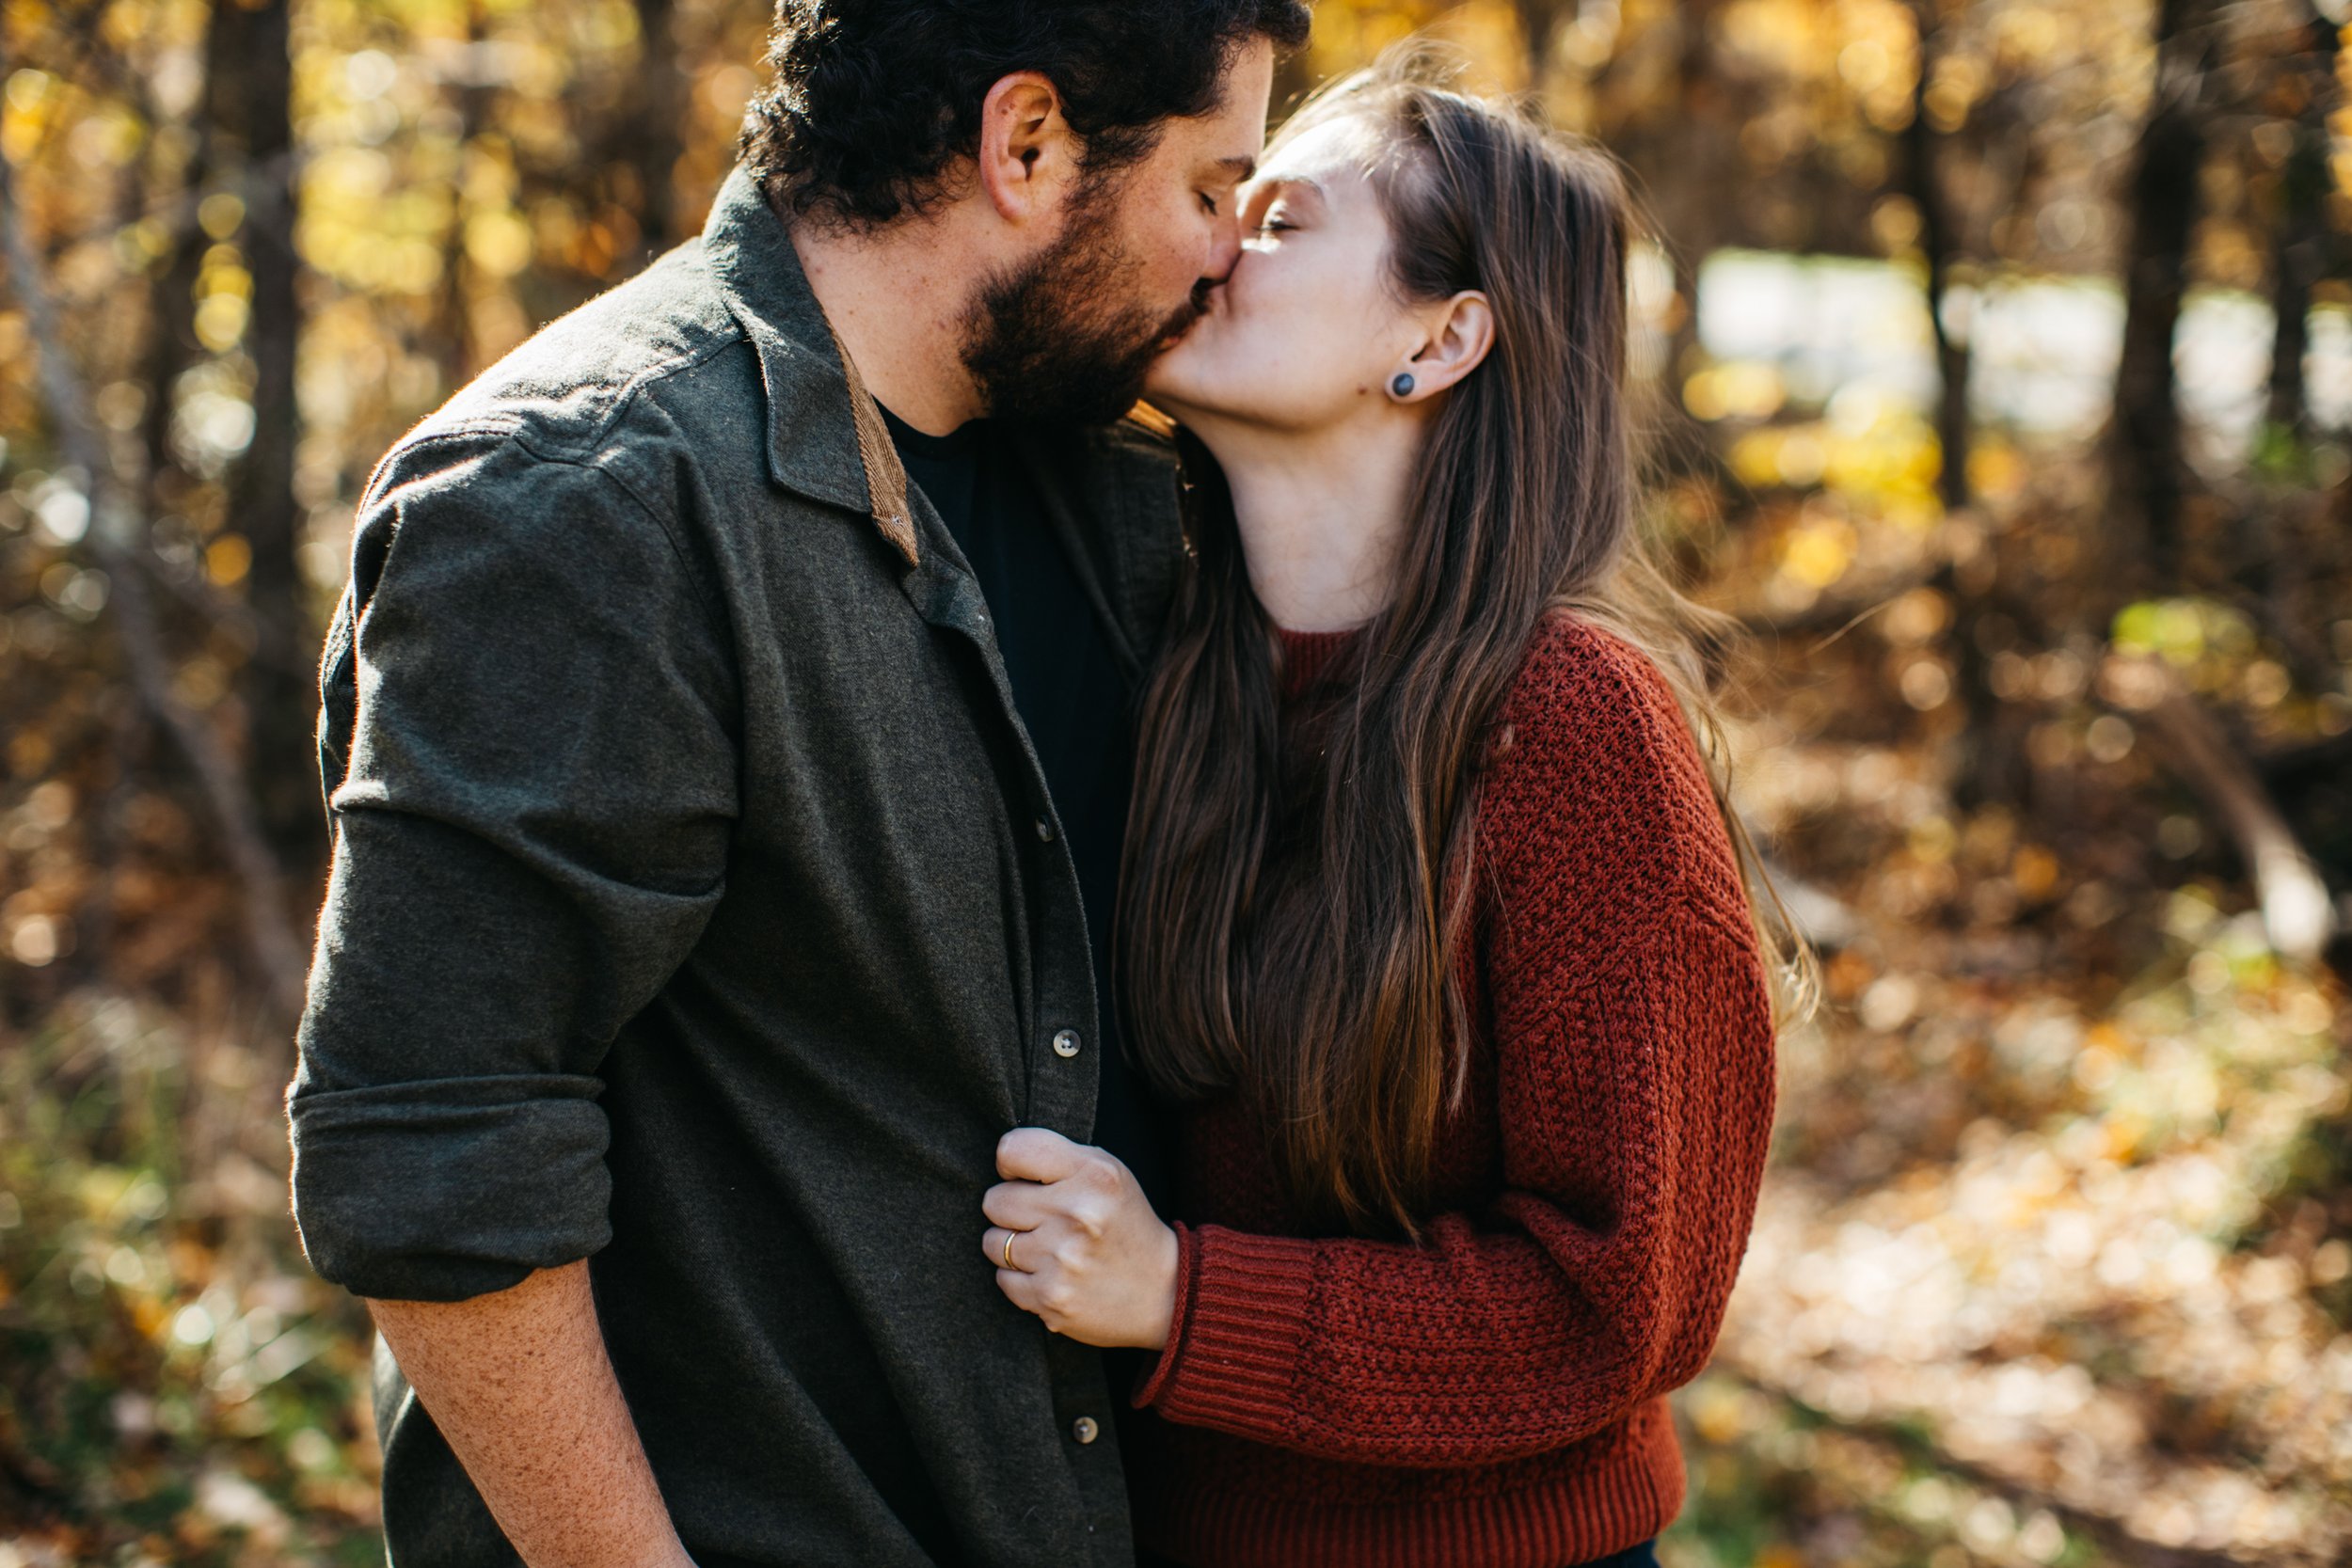
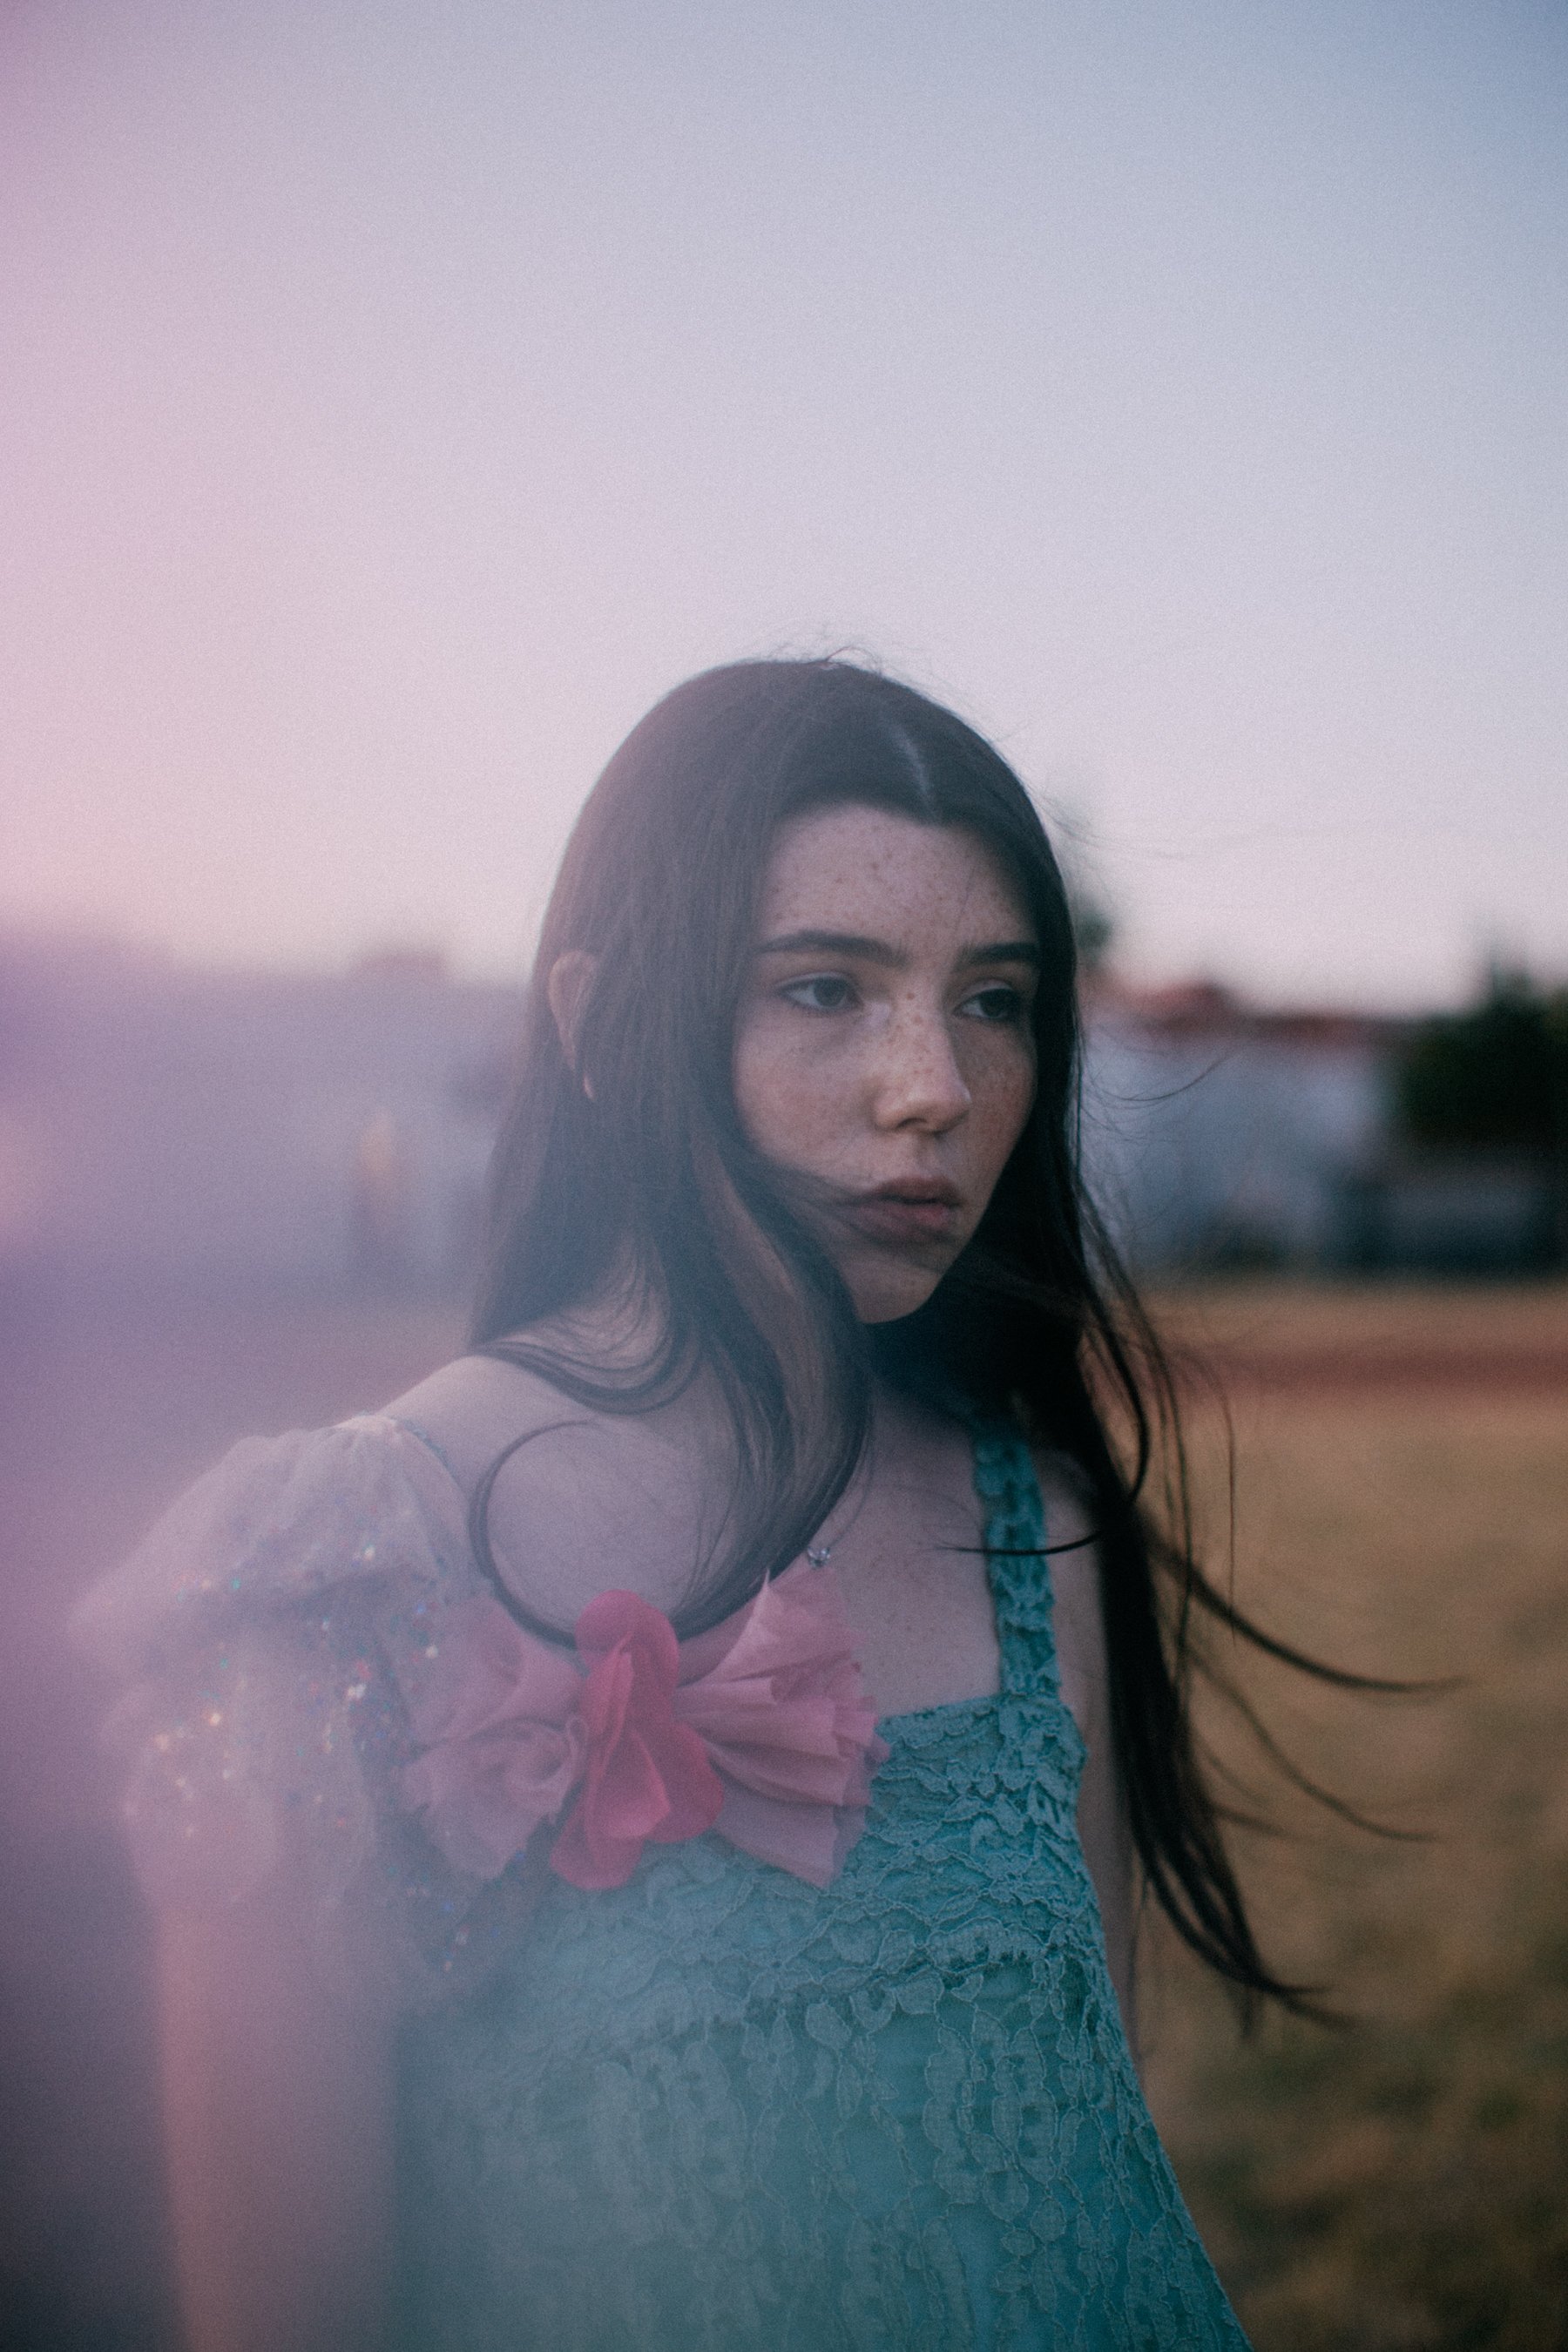
2. IT TAKES ABSOLUTELY BEAUTIFUL PORTRAITS

If you’re a portrait photographer, you need this lens. With the beautiful bokeh that this lens is capable of, you can create the most dreamy, emotive portraits. When I take my wedding couples out into a field or up on a hillside for portraits, I focus on using this lens for close-up portraits and I use my zoom lens for wider shots. Beginner photographers always ask me, “But how do I get that blurry, dreamy background in my photos that I see on Pinterest?” The answer is, this lens! Now, it’s definitely not a cheap lens at $1399, but I promise you it’s worth every penny. If you’re really on a budget, I recommend buying a used version from KEH Camera or eBay (just make sure you’re buying from a reputable seller on eBay with great reviews)! And just between you and I, the Canon EF 50mm f/1.4 USM lens is very similar, but substantially cheaper. It’s a great starter lens and will get you super excited to eventually upgrade to the f/1.2L lens. Sometimes, I even find myself missing my 50mm f/1.4 lens because I captured some incredible photos with it. But I know the 1.2L lens is much better in many ways, but still. Something about that f/1.4 lens was special! And it’s amazingly only $400!!! You can find it on Amazon here!

3. IT’S SURPRISINGLY VERSATILE

While it is a fixed focal length which can be limiting, in my opinion 50mm is the perfect length for versatility. I used to own the Canon 85mm f/1.2L lens, which is an incredible portrait lens (and I was so sad to sell it!), but I found it to be a bit too zoomed in for my liking. I noticed myself having to back up far too often to get the shot that I wanted. It was amazing for headshots, but that was about it so I ended up selling it, sadly. 50mm is closer to what your eye naturally sees, so it’s just a bit more intuitive. Plus, it’s just wide enough to capture a small group of people as well, so for that reason, it’s also ideal for weddings. You have to be quick on your feet and ready for anything at a wedding, and I find the 50mm to work perfectly as a designated portrait lens that’s also capable of more complex situations. I’ve spent the last 10 years perfecting my 2-camera wedding set-up and I couldn’t do it with the 50mm f/1.2L. I’ve even tried a 35mm fixed focal length, but it didn’t give that same dreamy, portrait feeling that I’m always looking for when it comes to photographing the couple. And when I needed a 35mm vibe, I would just use my 24-70 mm zoom lens to get wider shots.

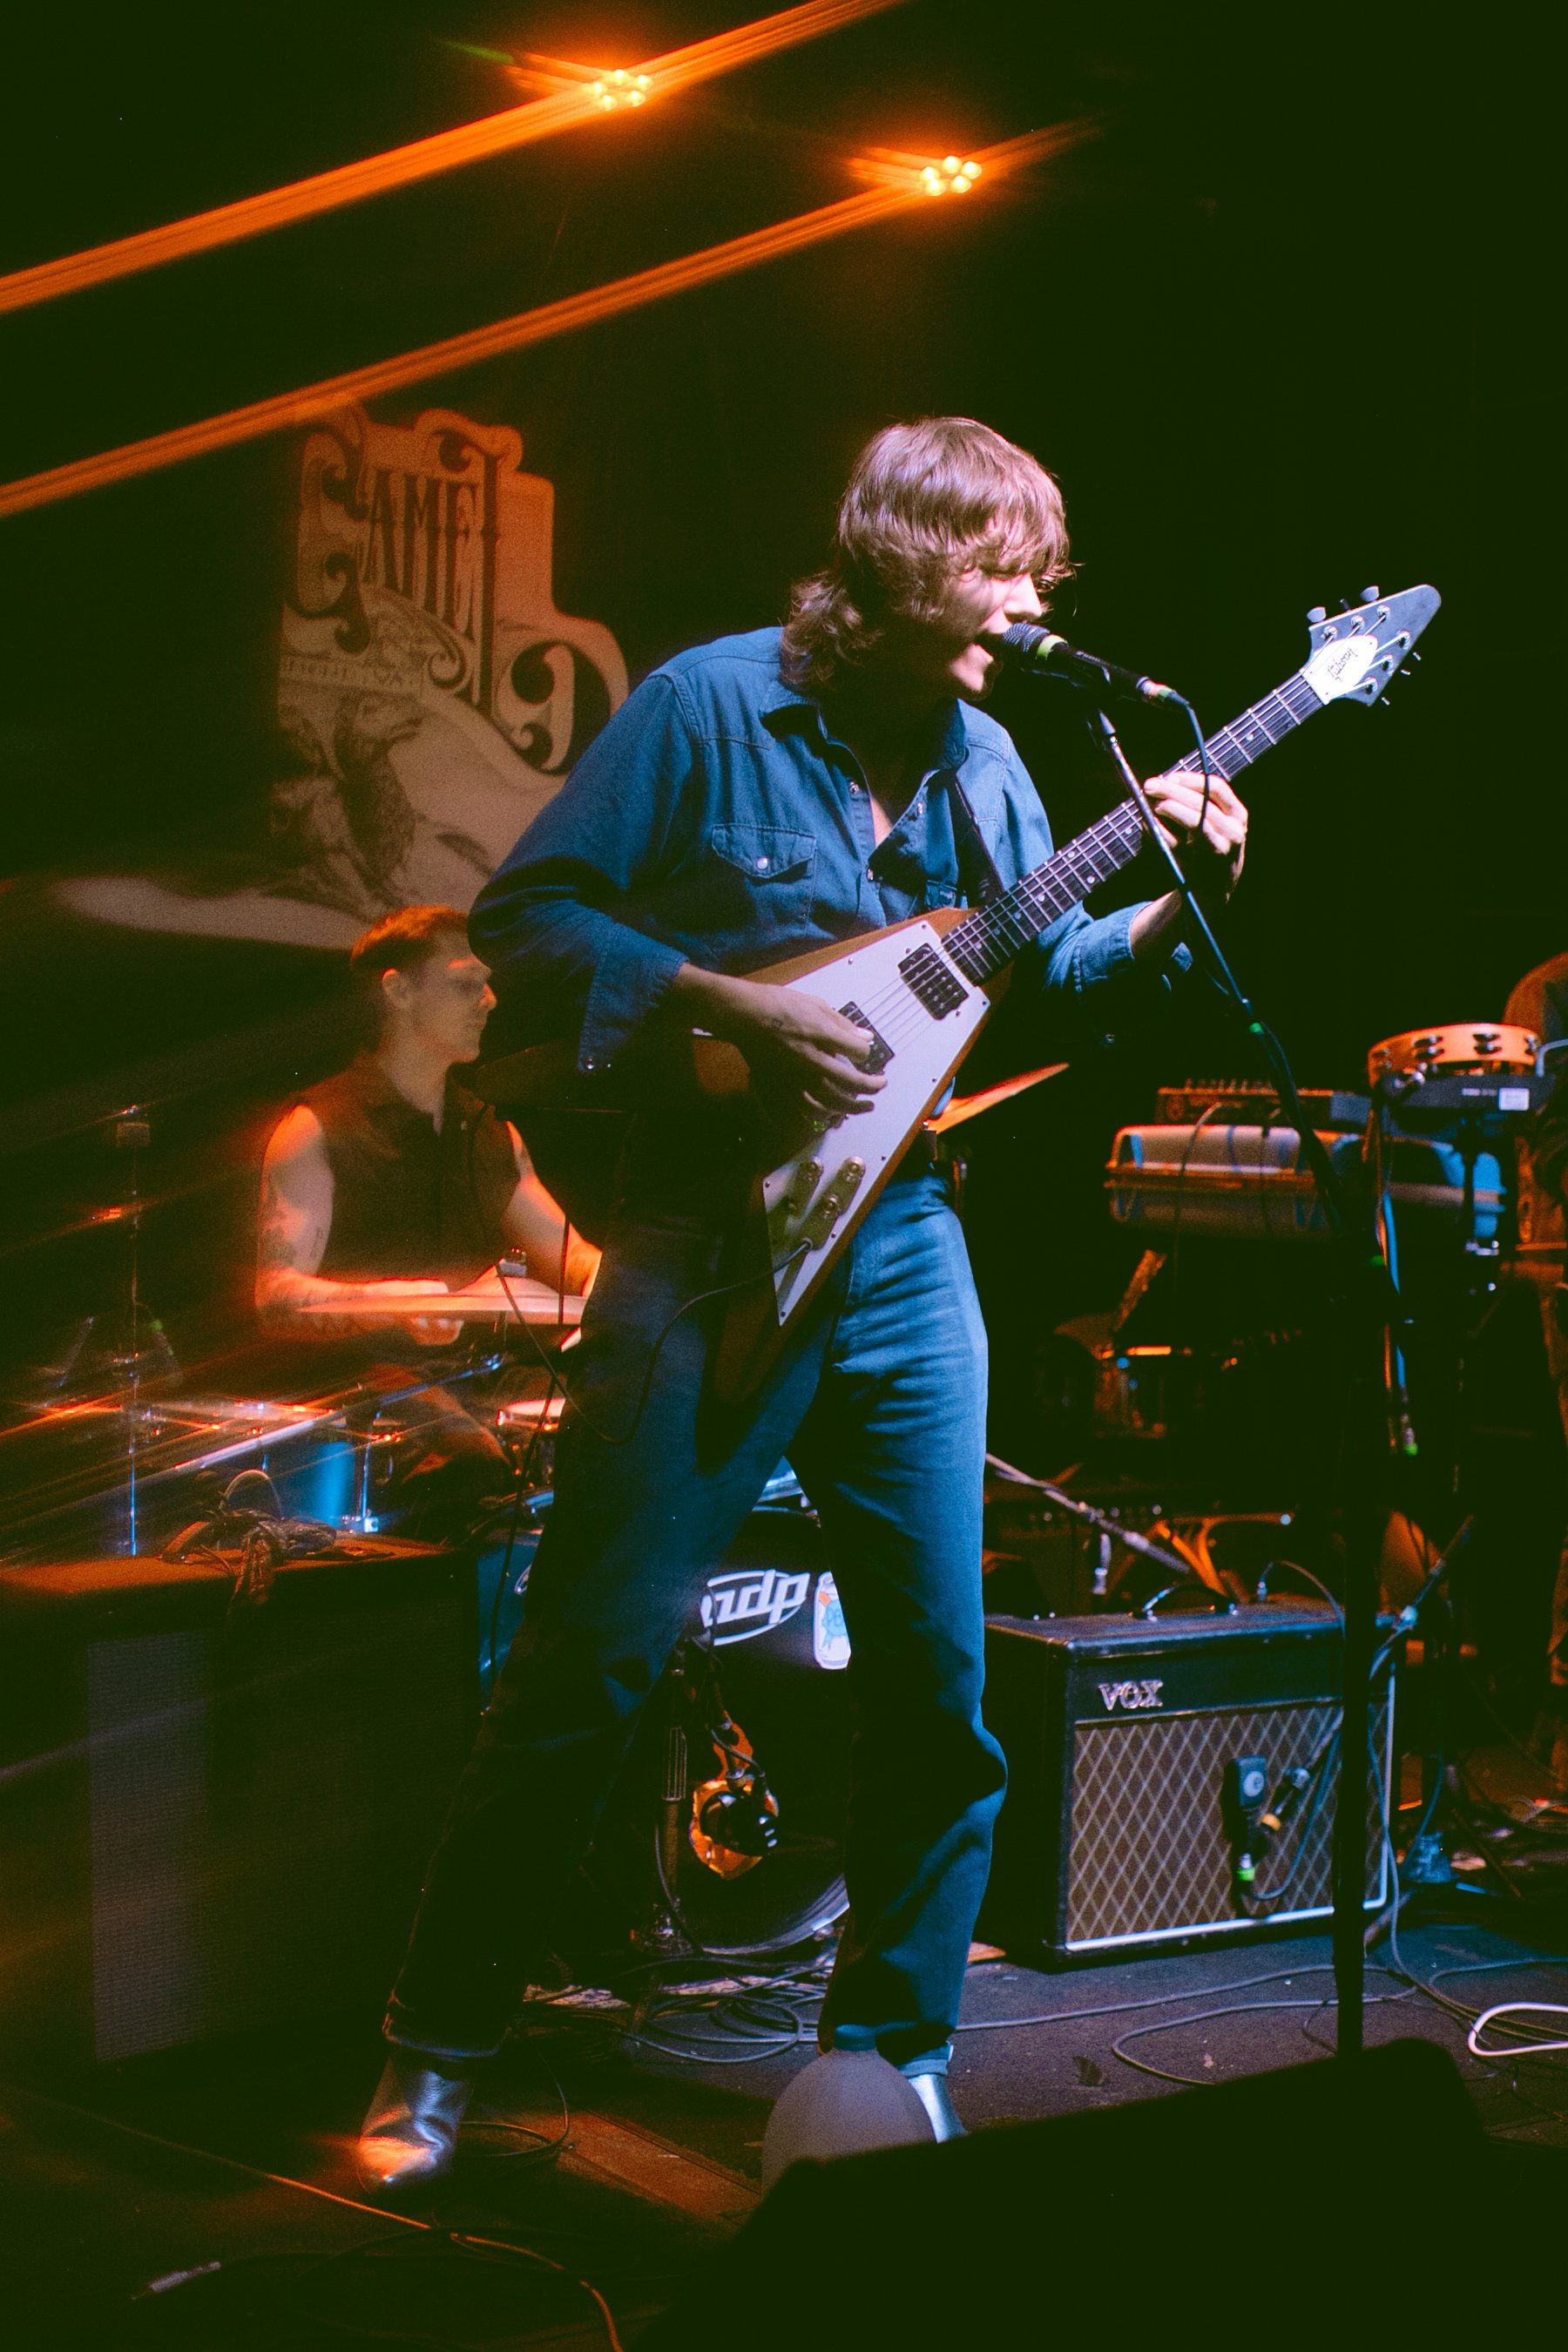
4. IT’S A GREAT EVERYDAY LENS

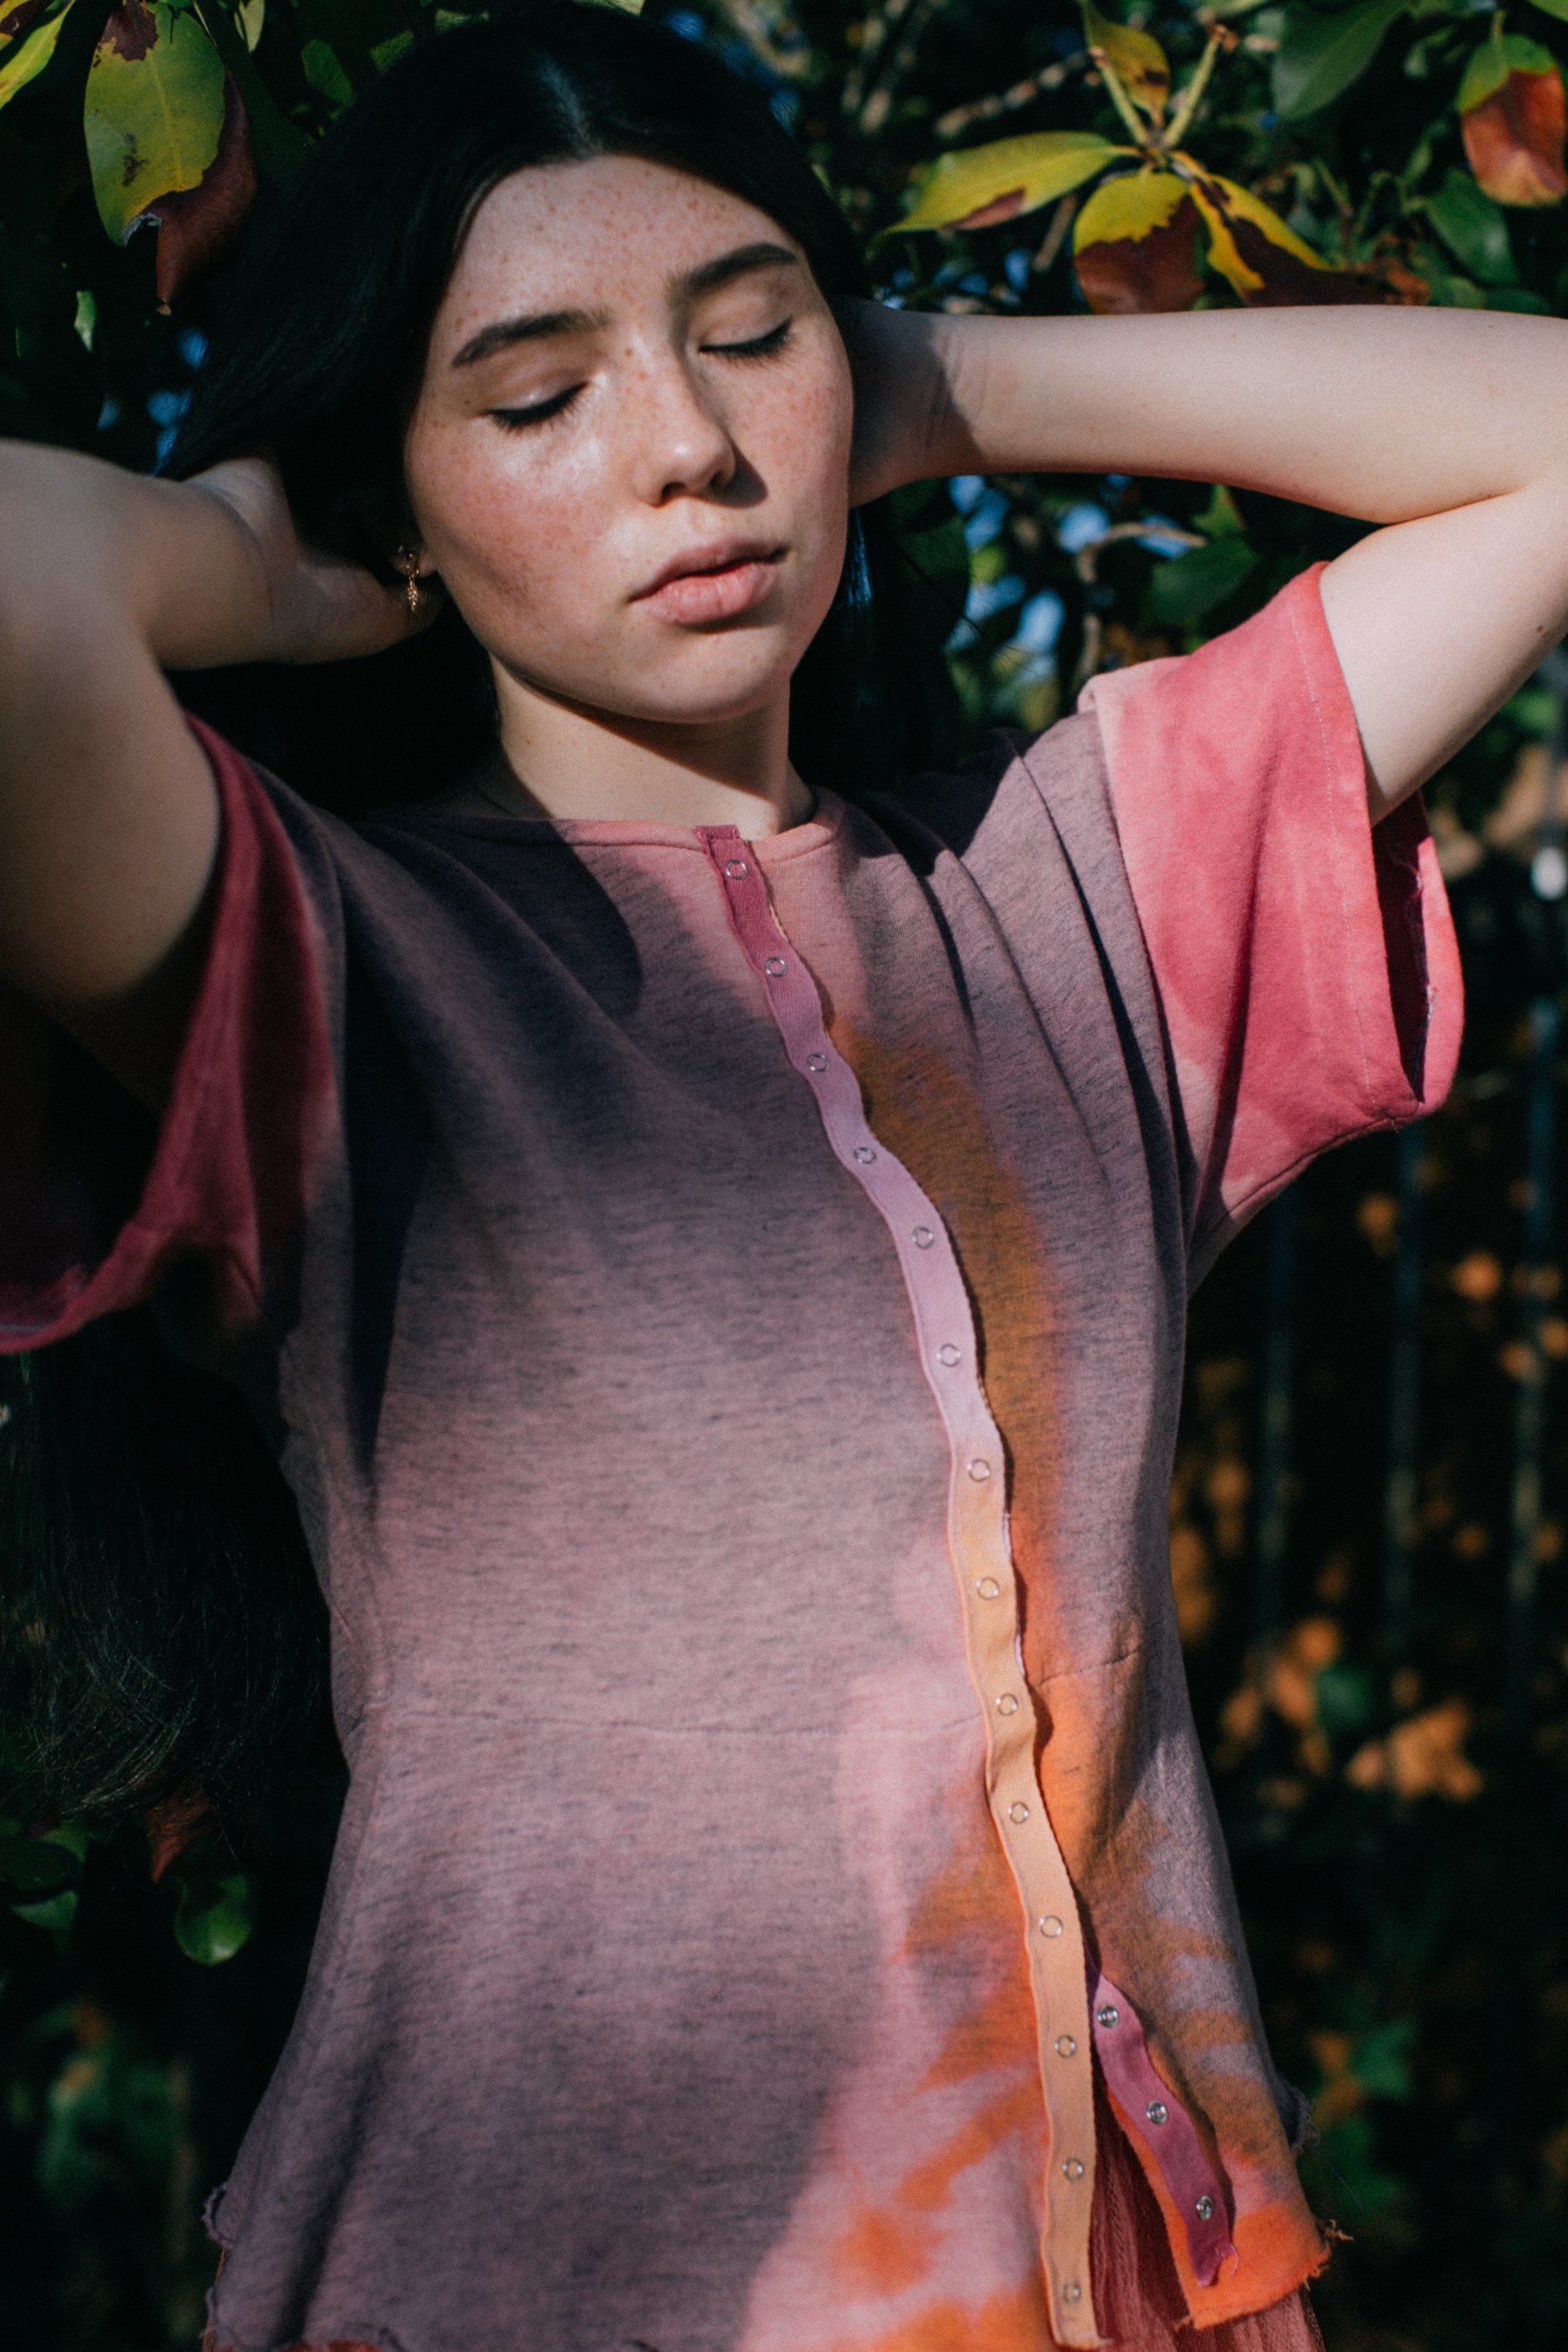
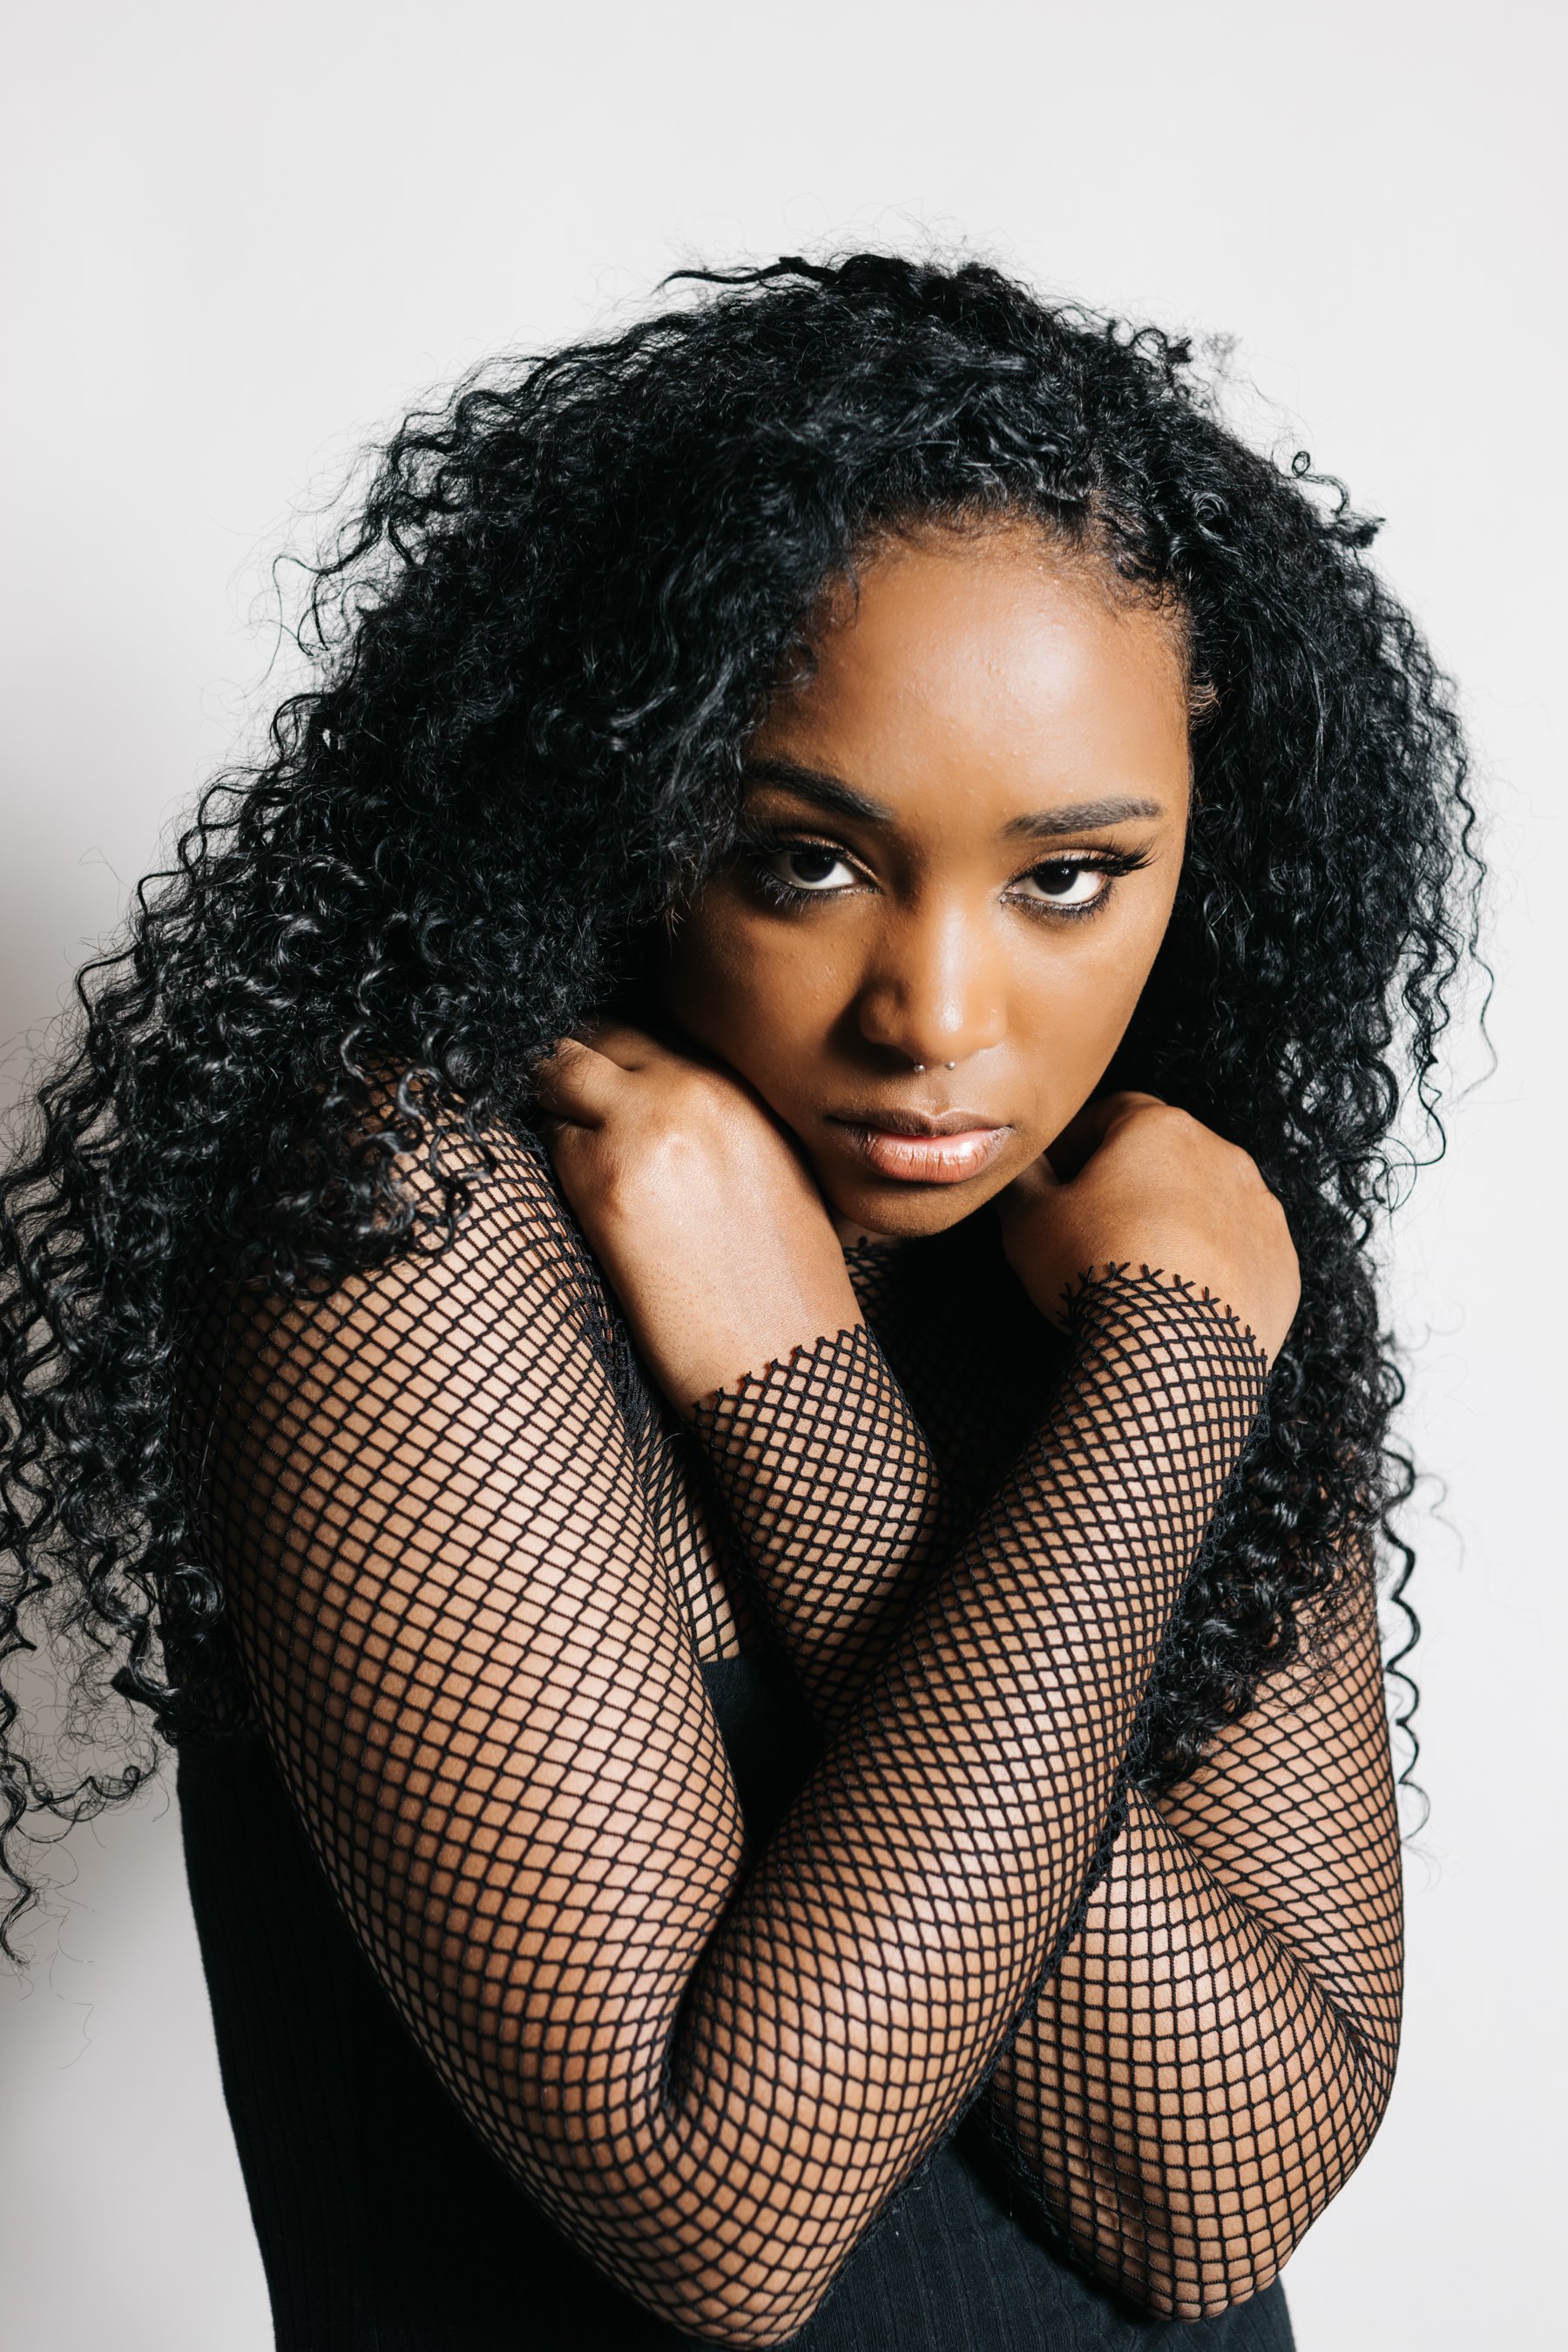
You can really use this lens for any kind of photo shoot that you’re asked to do. I’ve used it for events, musicians, portraits, weddings, fashion, food photography… the list goes on. It comes with me to every shoot because this is really the lens you need to impress your clients. Sometimes with a zoom lens, it can be hard to create those expensive-looking photos since you’re limited by the aperture of f/2.8L. If you shoot with the wide open f/1.2 aperture on the 50mm, you can create some images that will truly wow your clients. It makes everyone look beautiful and gorgeous, and it doesn’t distort features in the way that a zoom lens can. I tend to shoot closer to the f/1.4-2.0 range because sometimes the f/1.2 can be a bit too soft. However, if that’s what you’re going for, you’ll love this lens.

5. FOR THE PRICE, IT’S AN INCREDIBLE DEAL!

When this lens first came out, the original RRP was $2499. With the introduction of the new RF line of lenses, the price of L series lenses has gone down quite a bit. This is great news because $1399 is actually an amazing price for this lens. While the new RF lenses are supposed to be incredible, the RF 50mm 1.2L is substantially more expensive at $2299 (almost $1000 more)! Not to mention, if you are shooting with a Canon camera with an EF mount (like the 5d Mark IV), then you’ll have to buy an adapter for the RF lens, which is another $129. Plus, there are so many options out there for buying used gear. For expensive gear, I nearly always buy used to save a few hundred dollars. However, if you have the money to invest in a new lens, it’s always worth it. You can go into it knowing that you’ll have years of shooting with it without a problem. And if someone dropped it or got it wet without telling you before you bought it, you wouldn’t have to pay the consequences when suddenly the autofocus or other mechanisms within the lens stop working and you end up spending $500 for Canon to repair it.

SO, IS THE CANON 50MM F1.2L WORTH THE PRICE?!

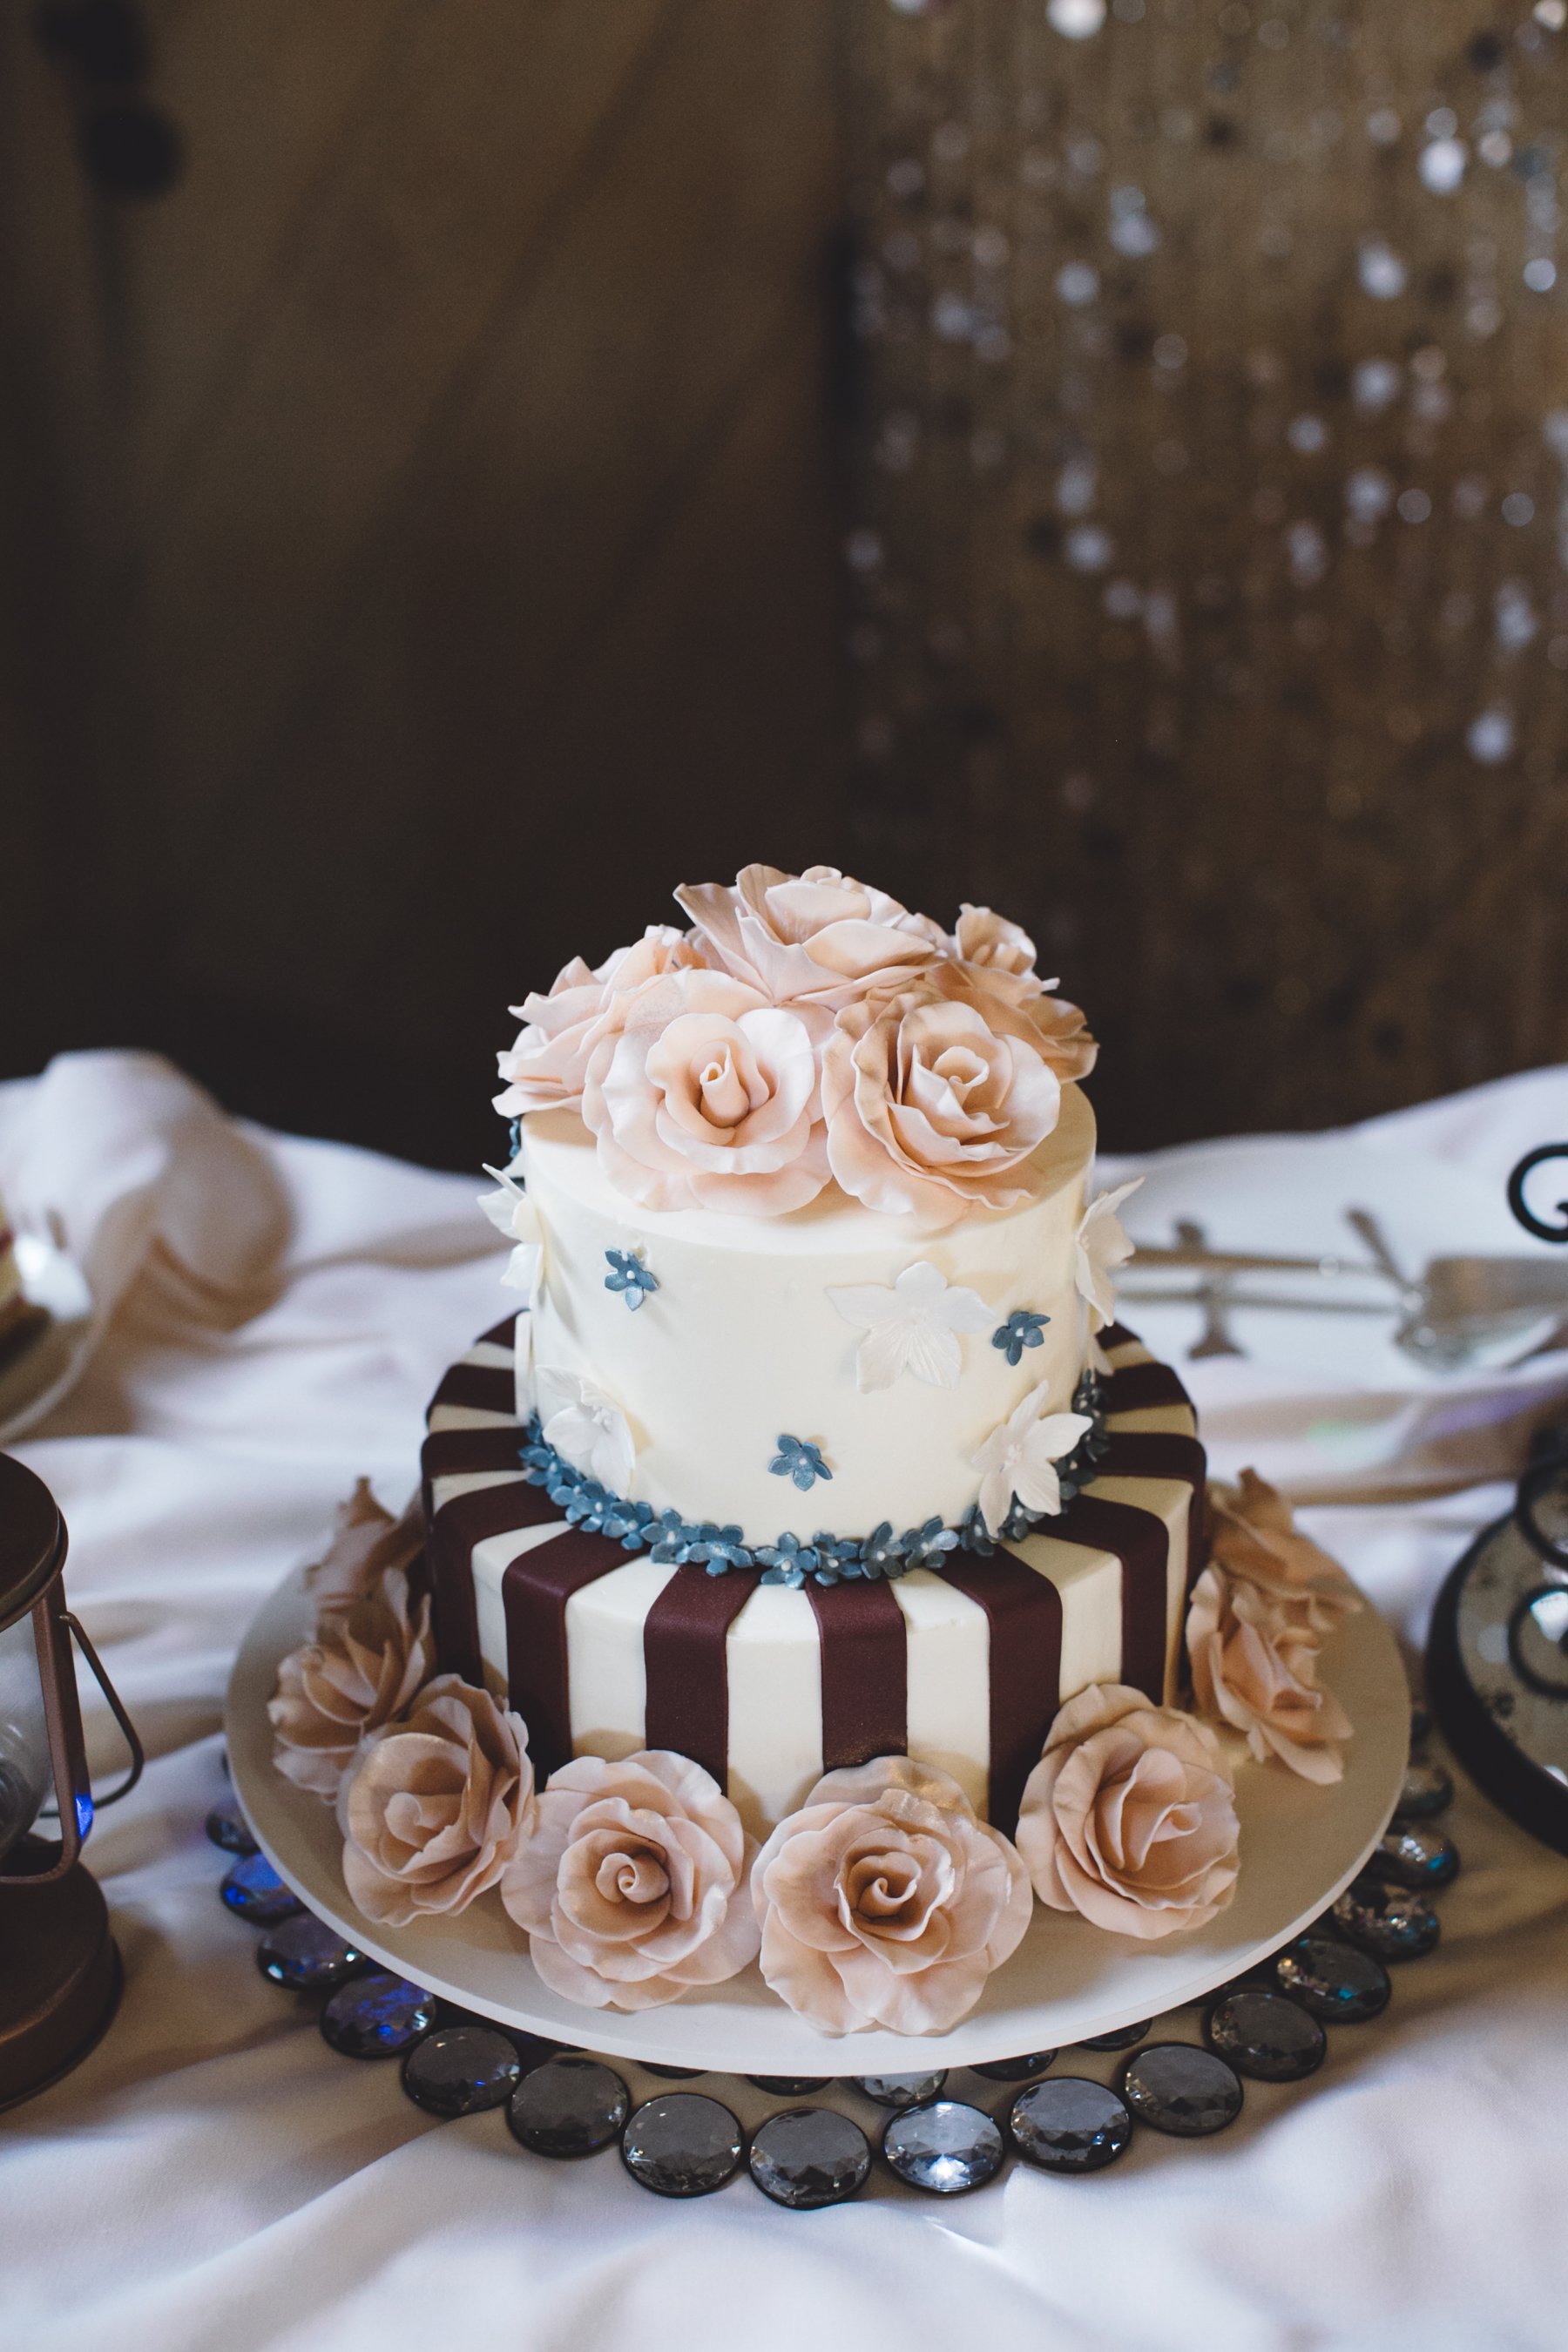
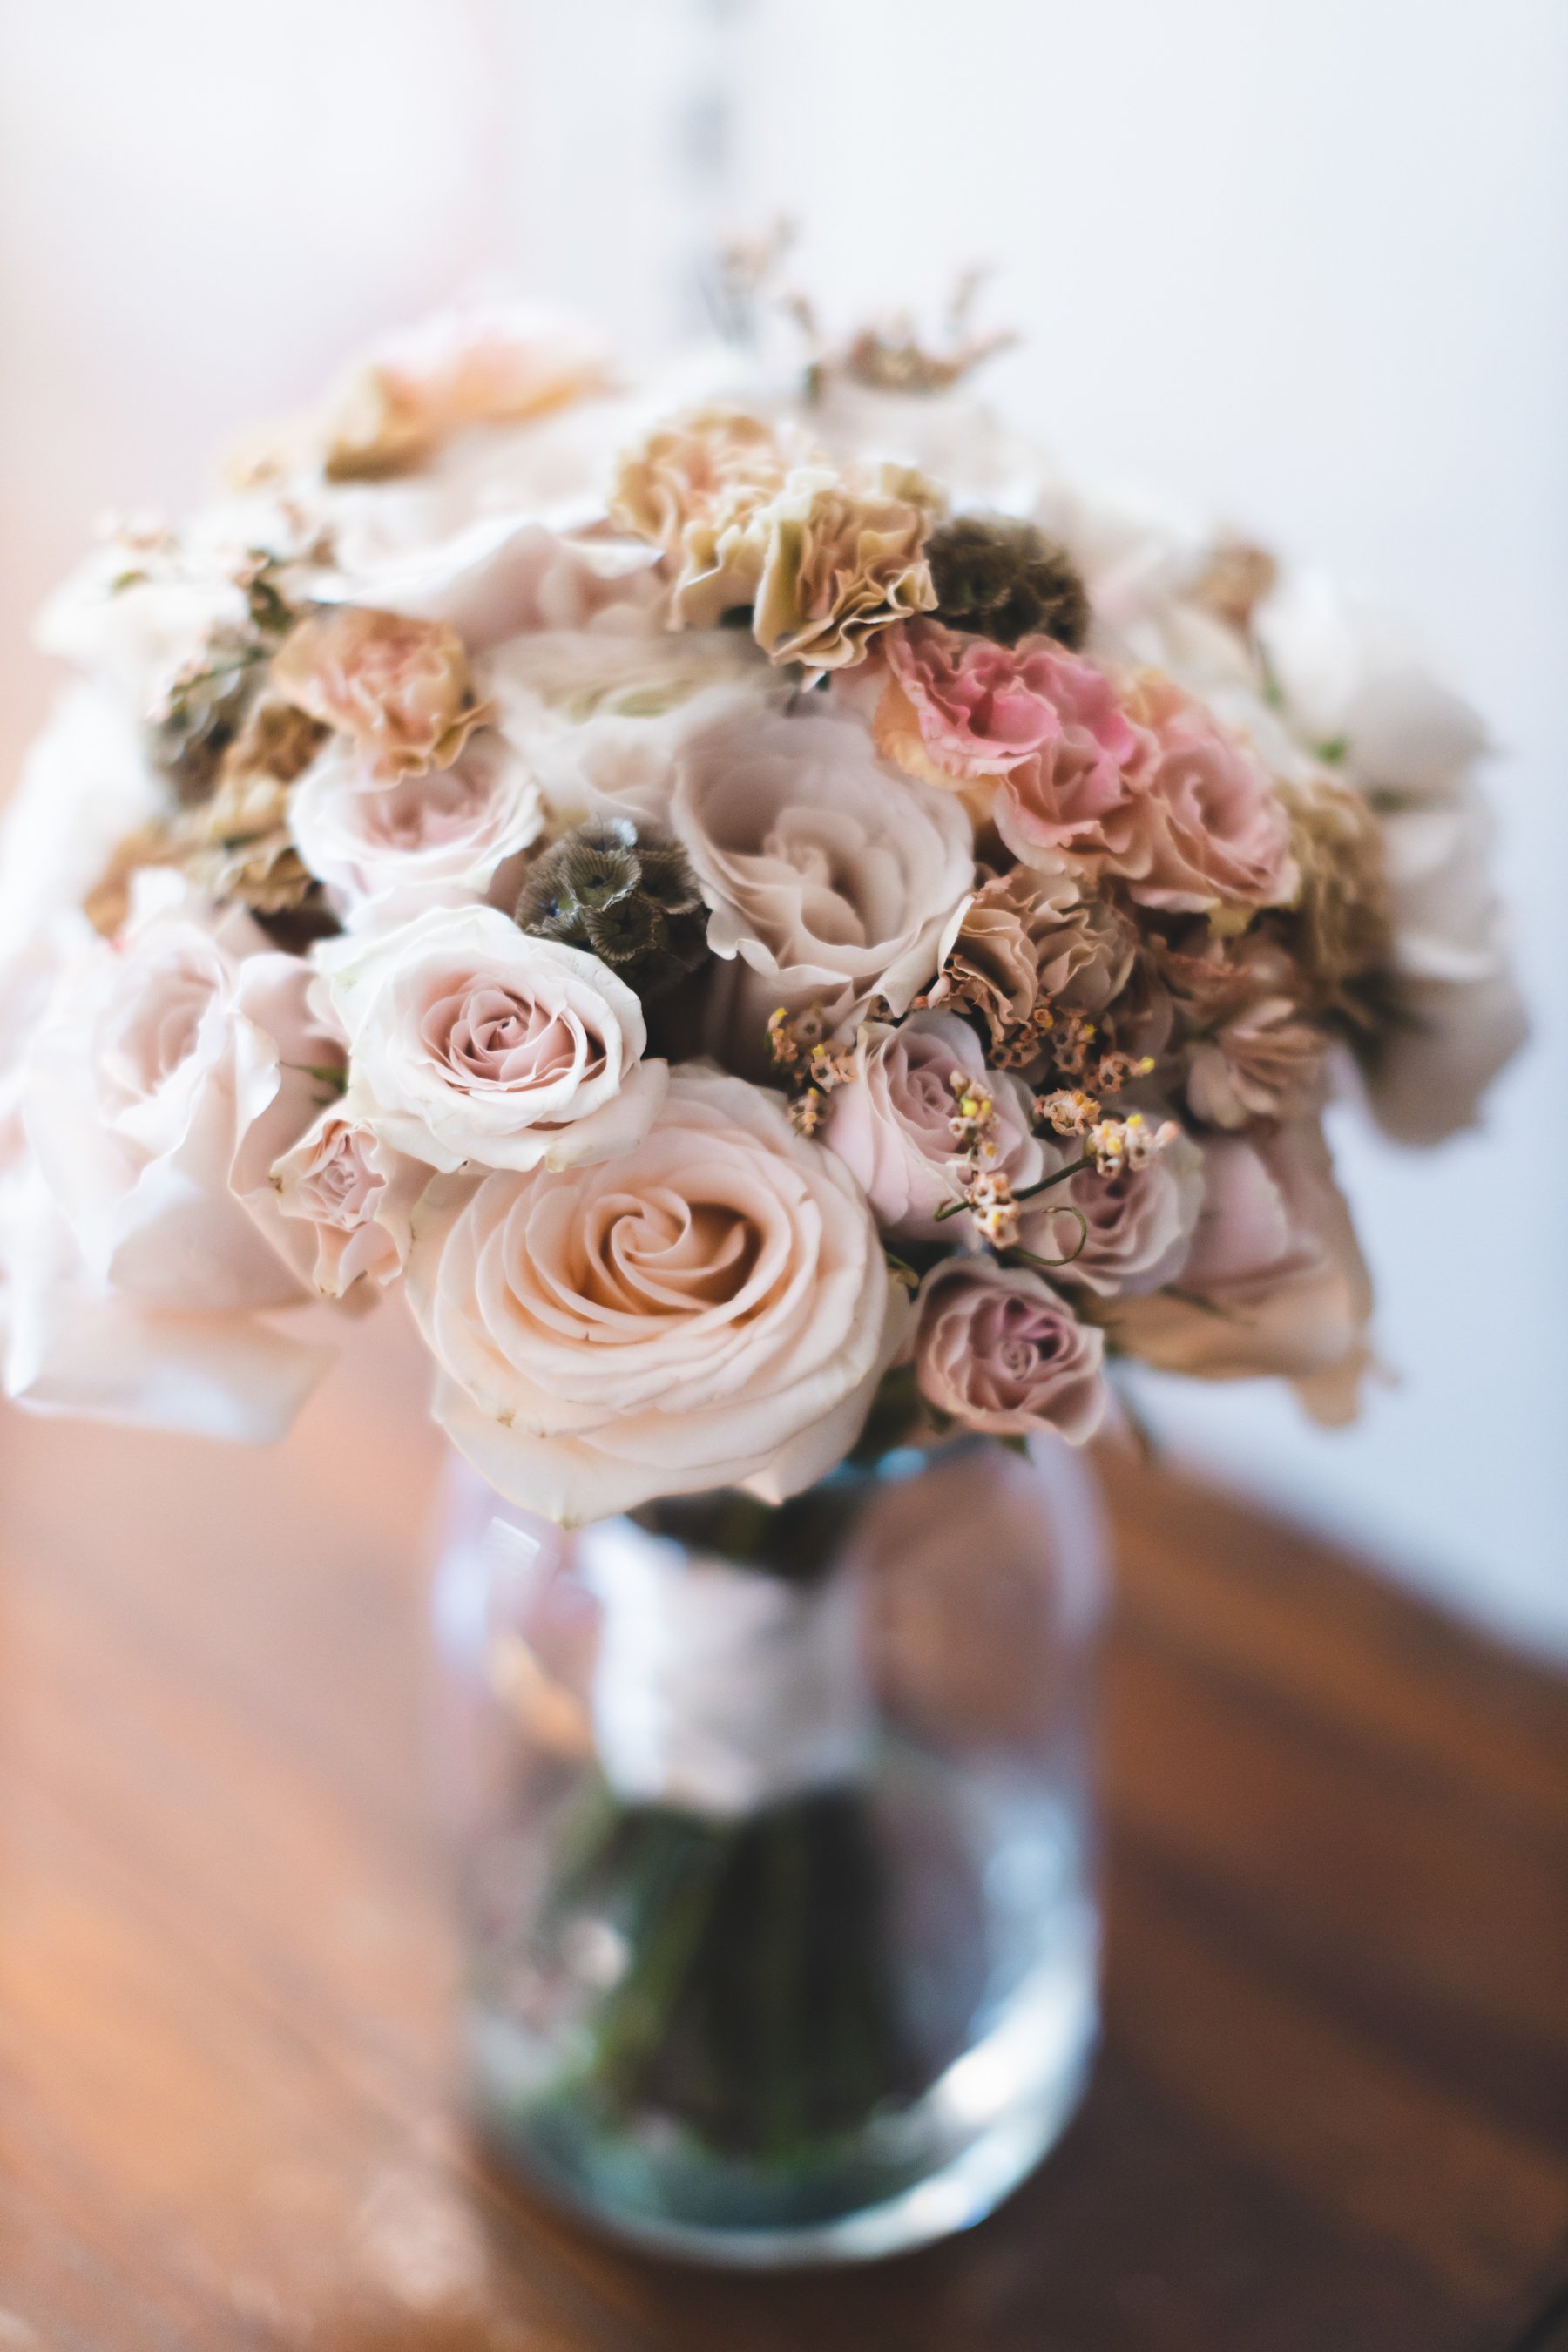
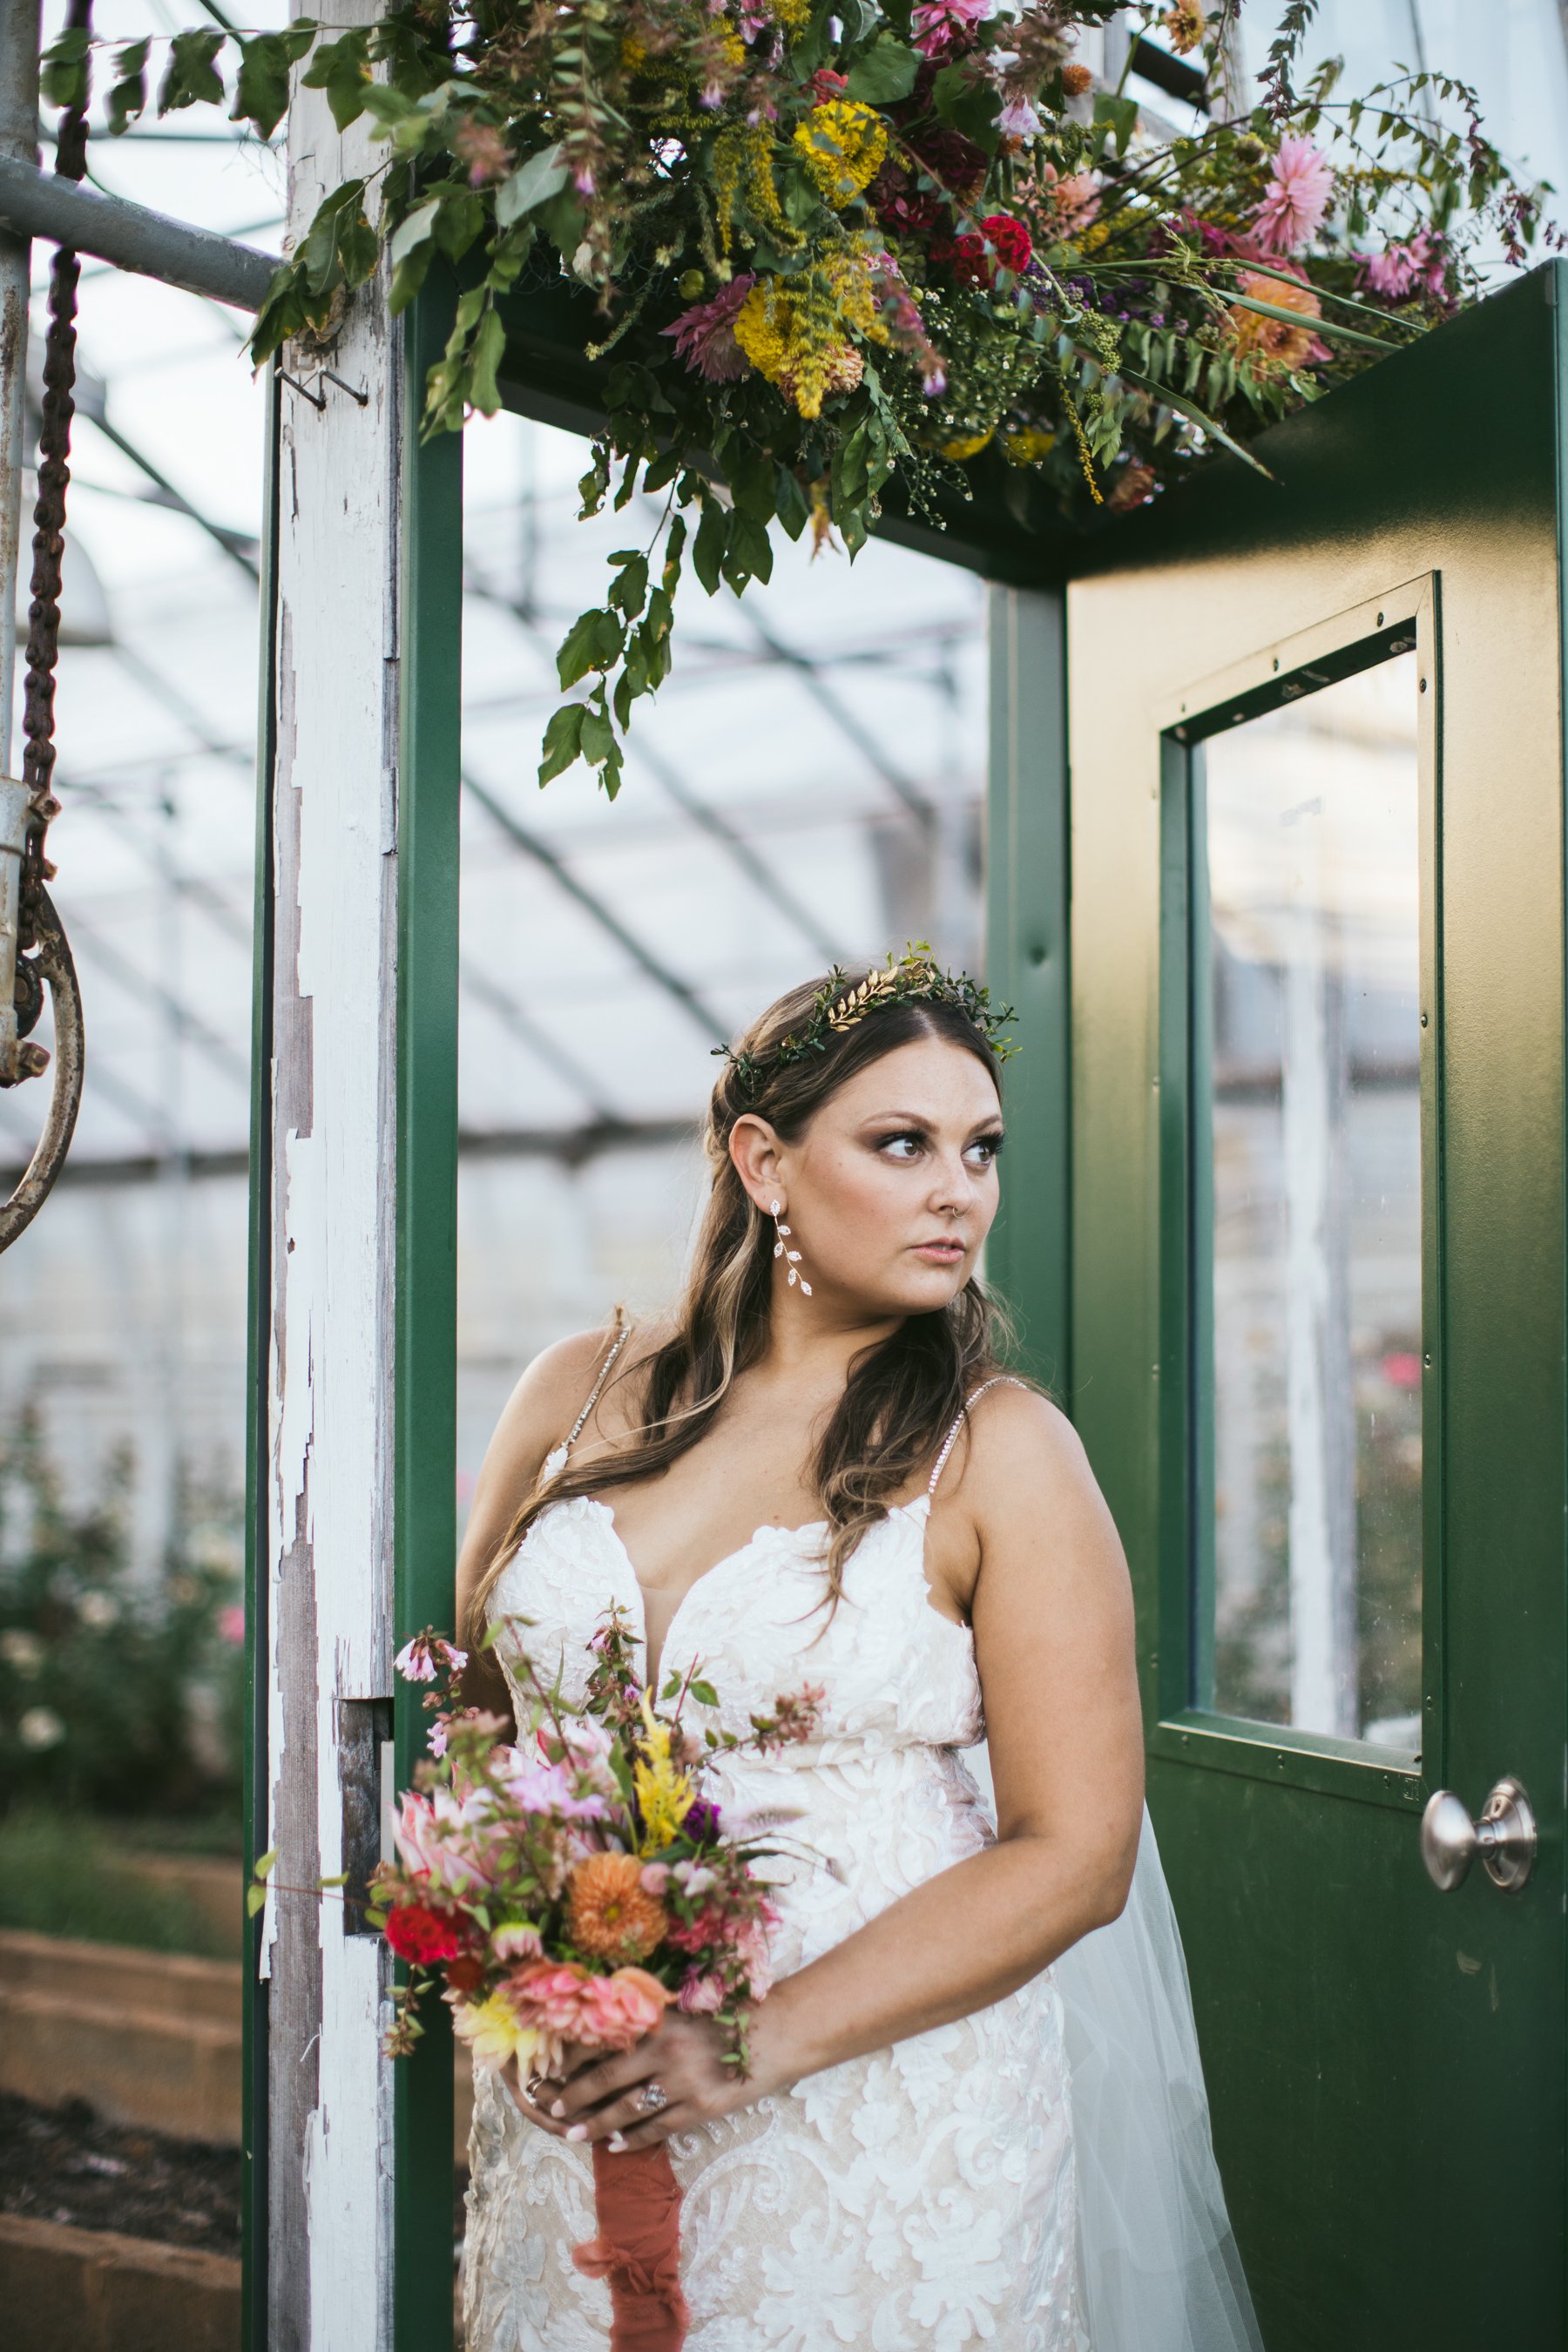
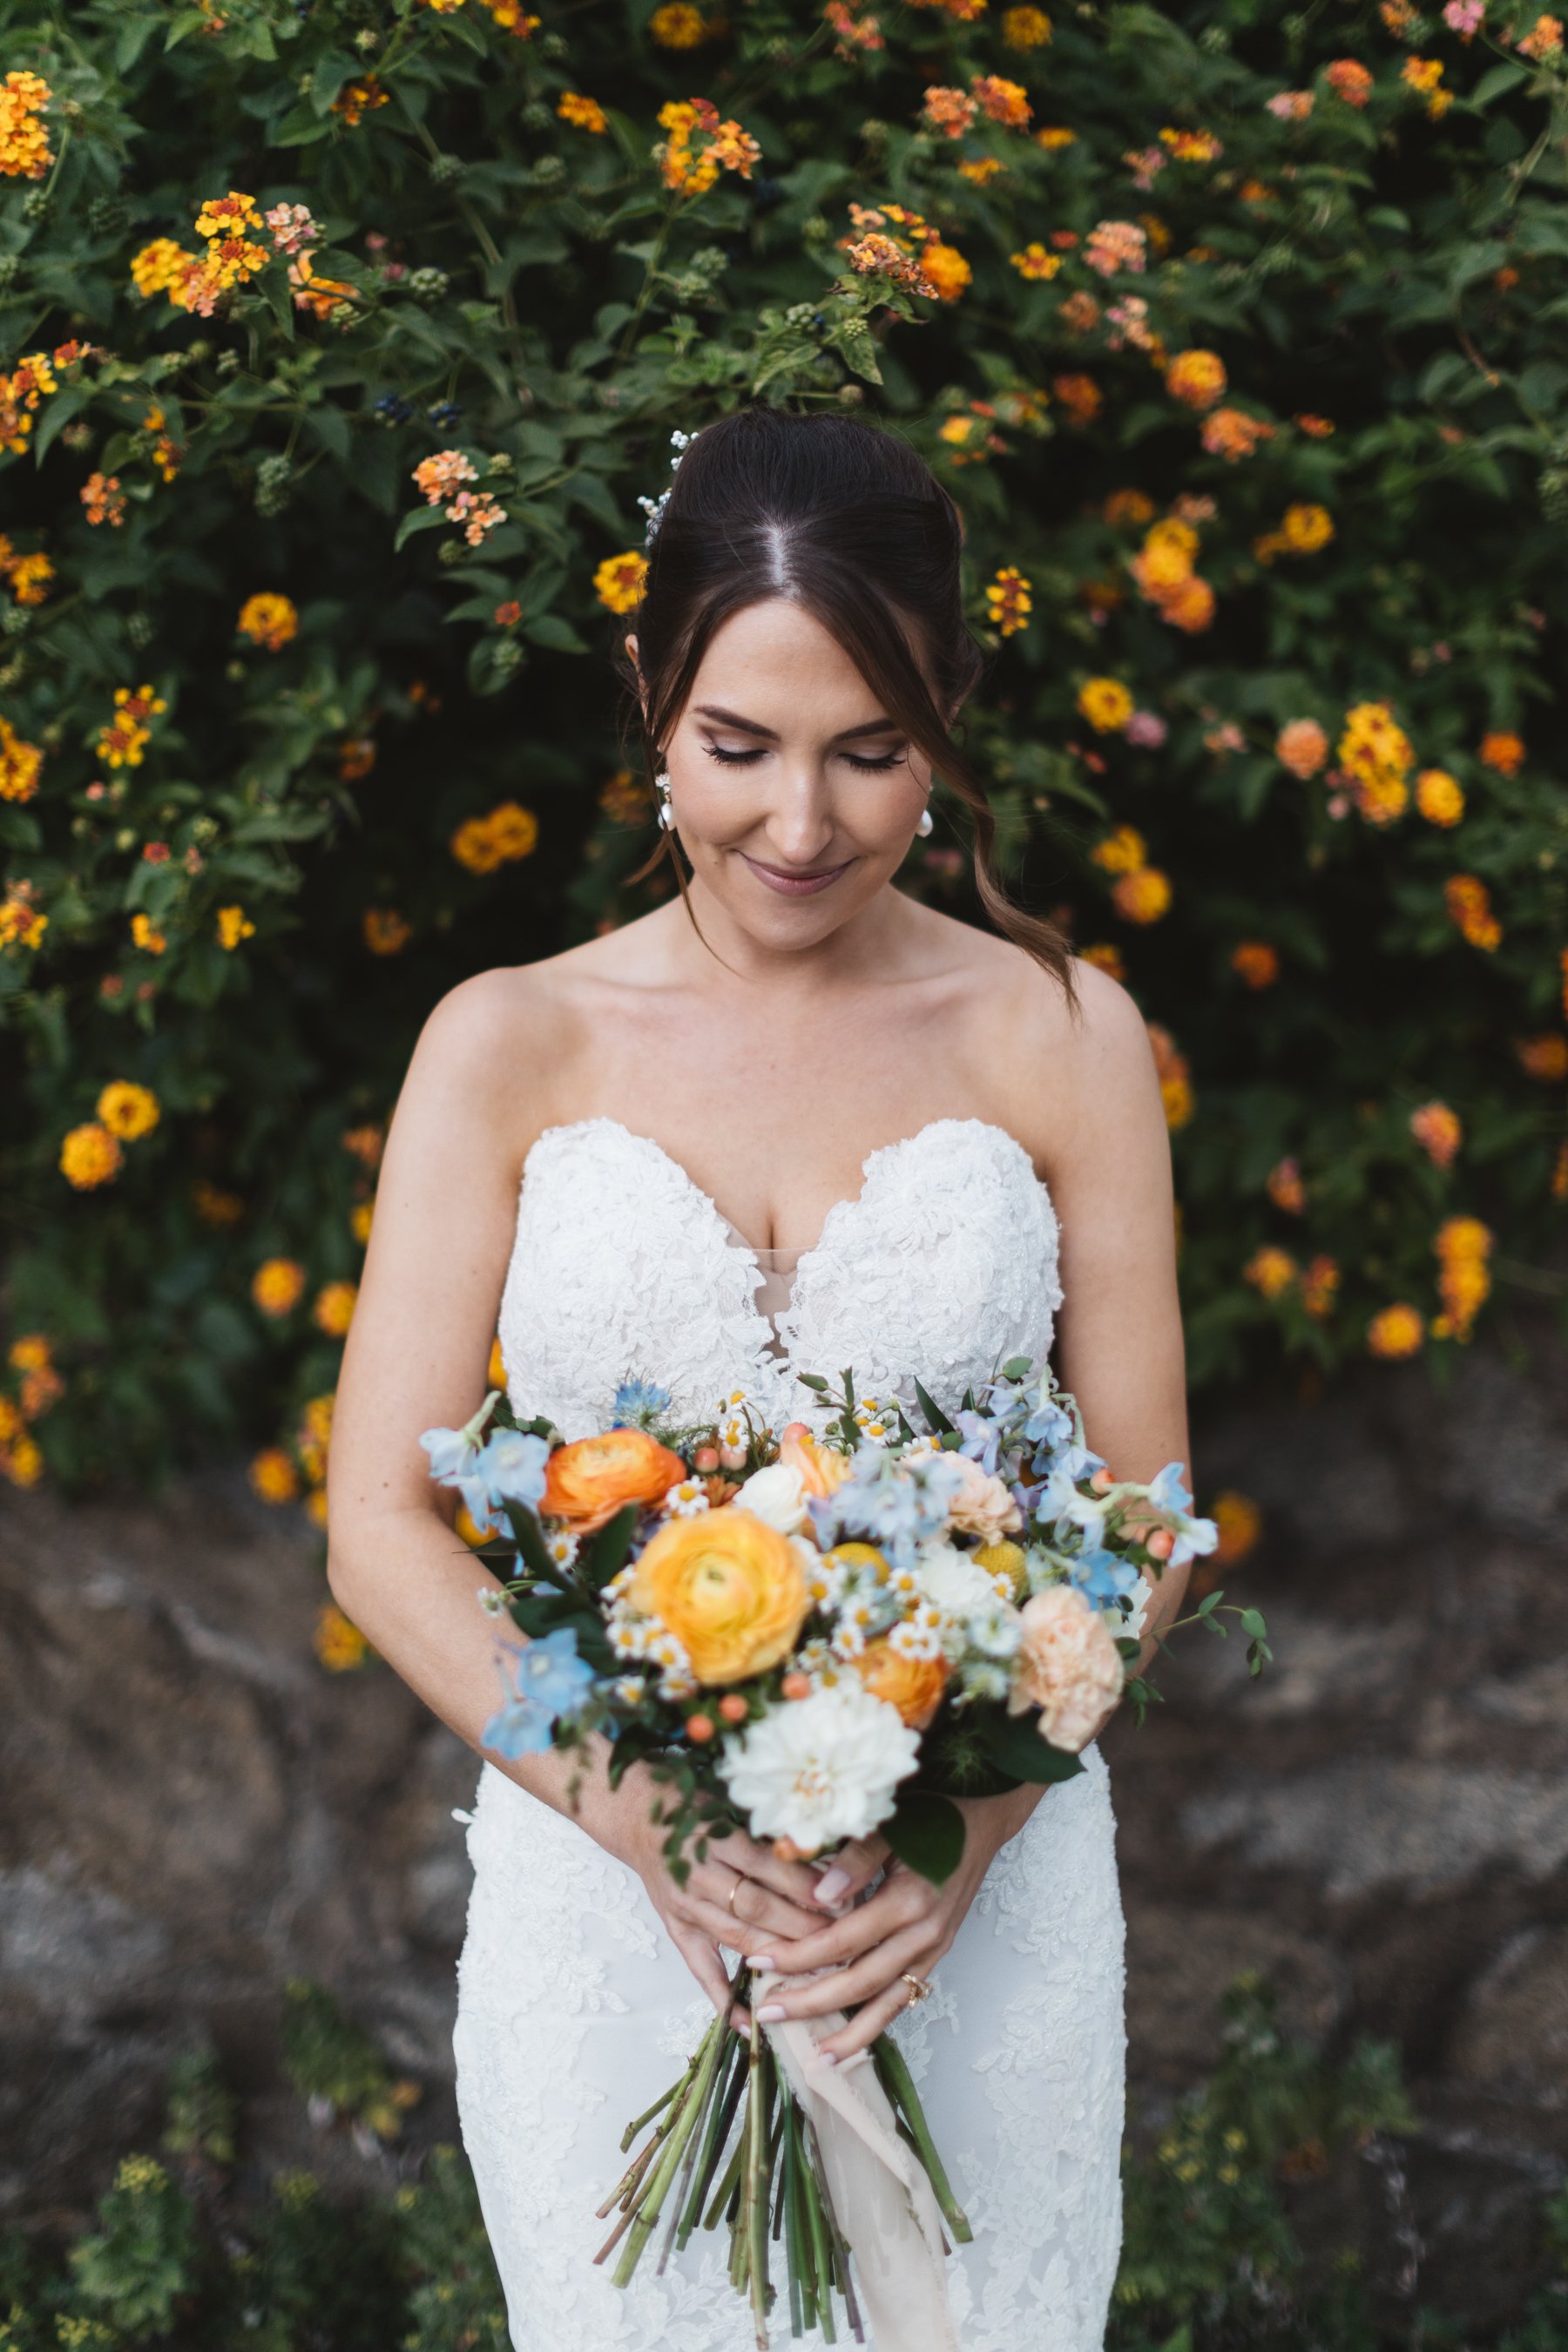
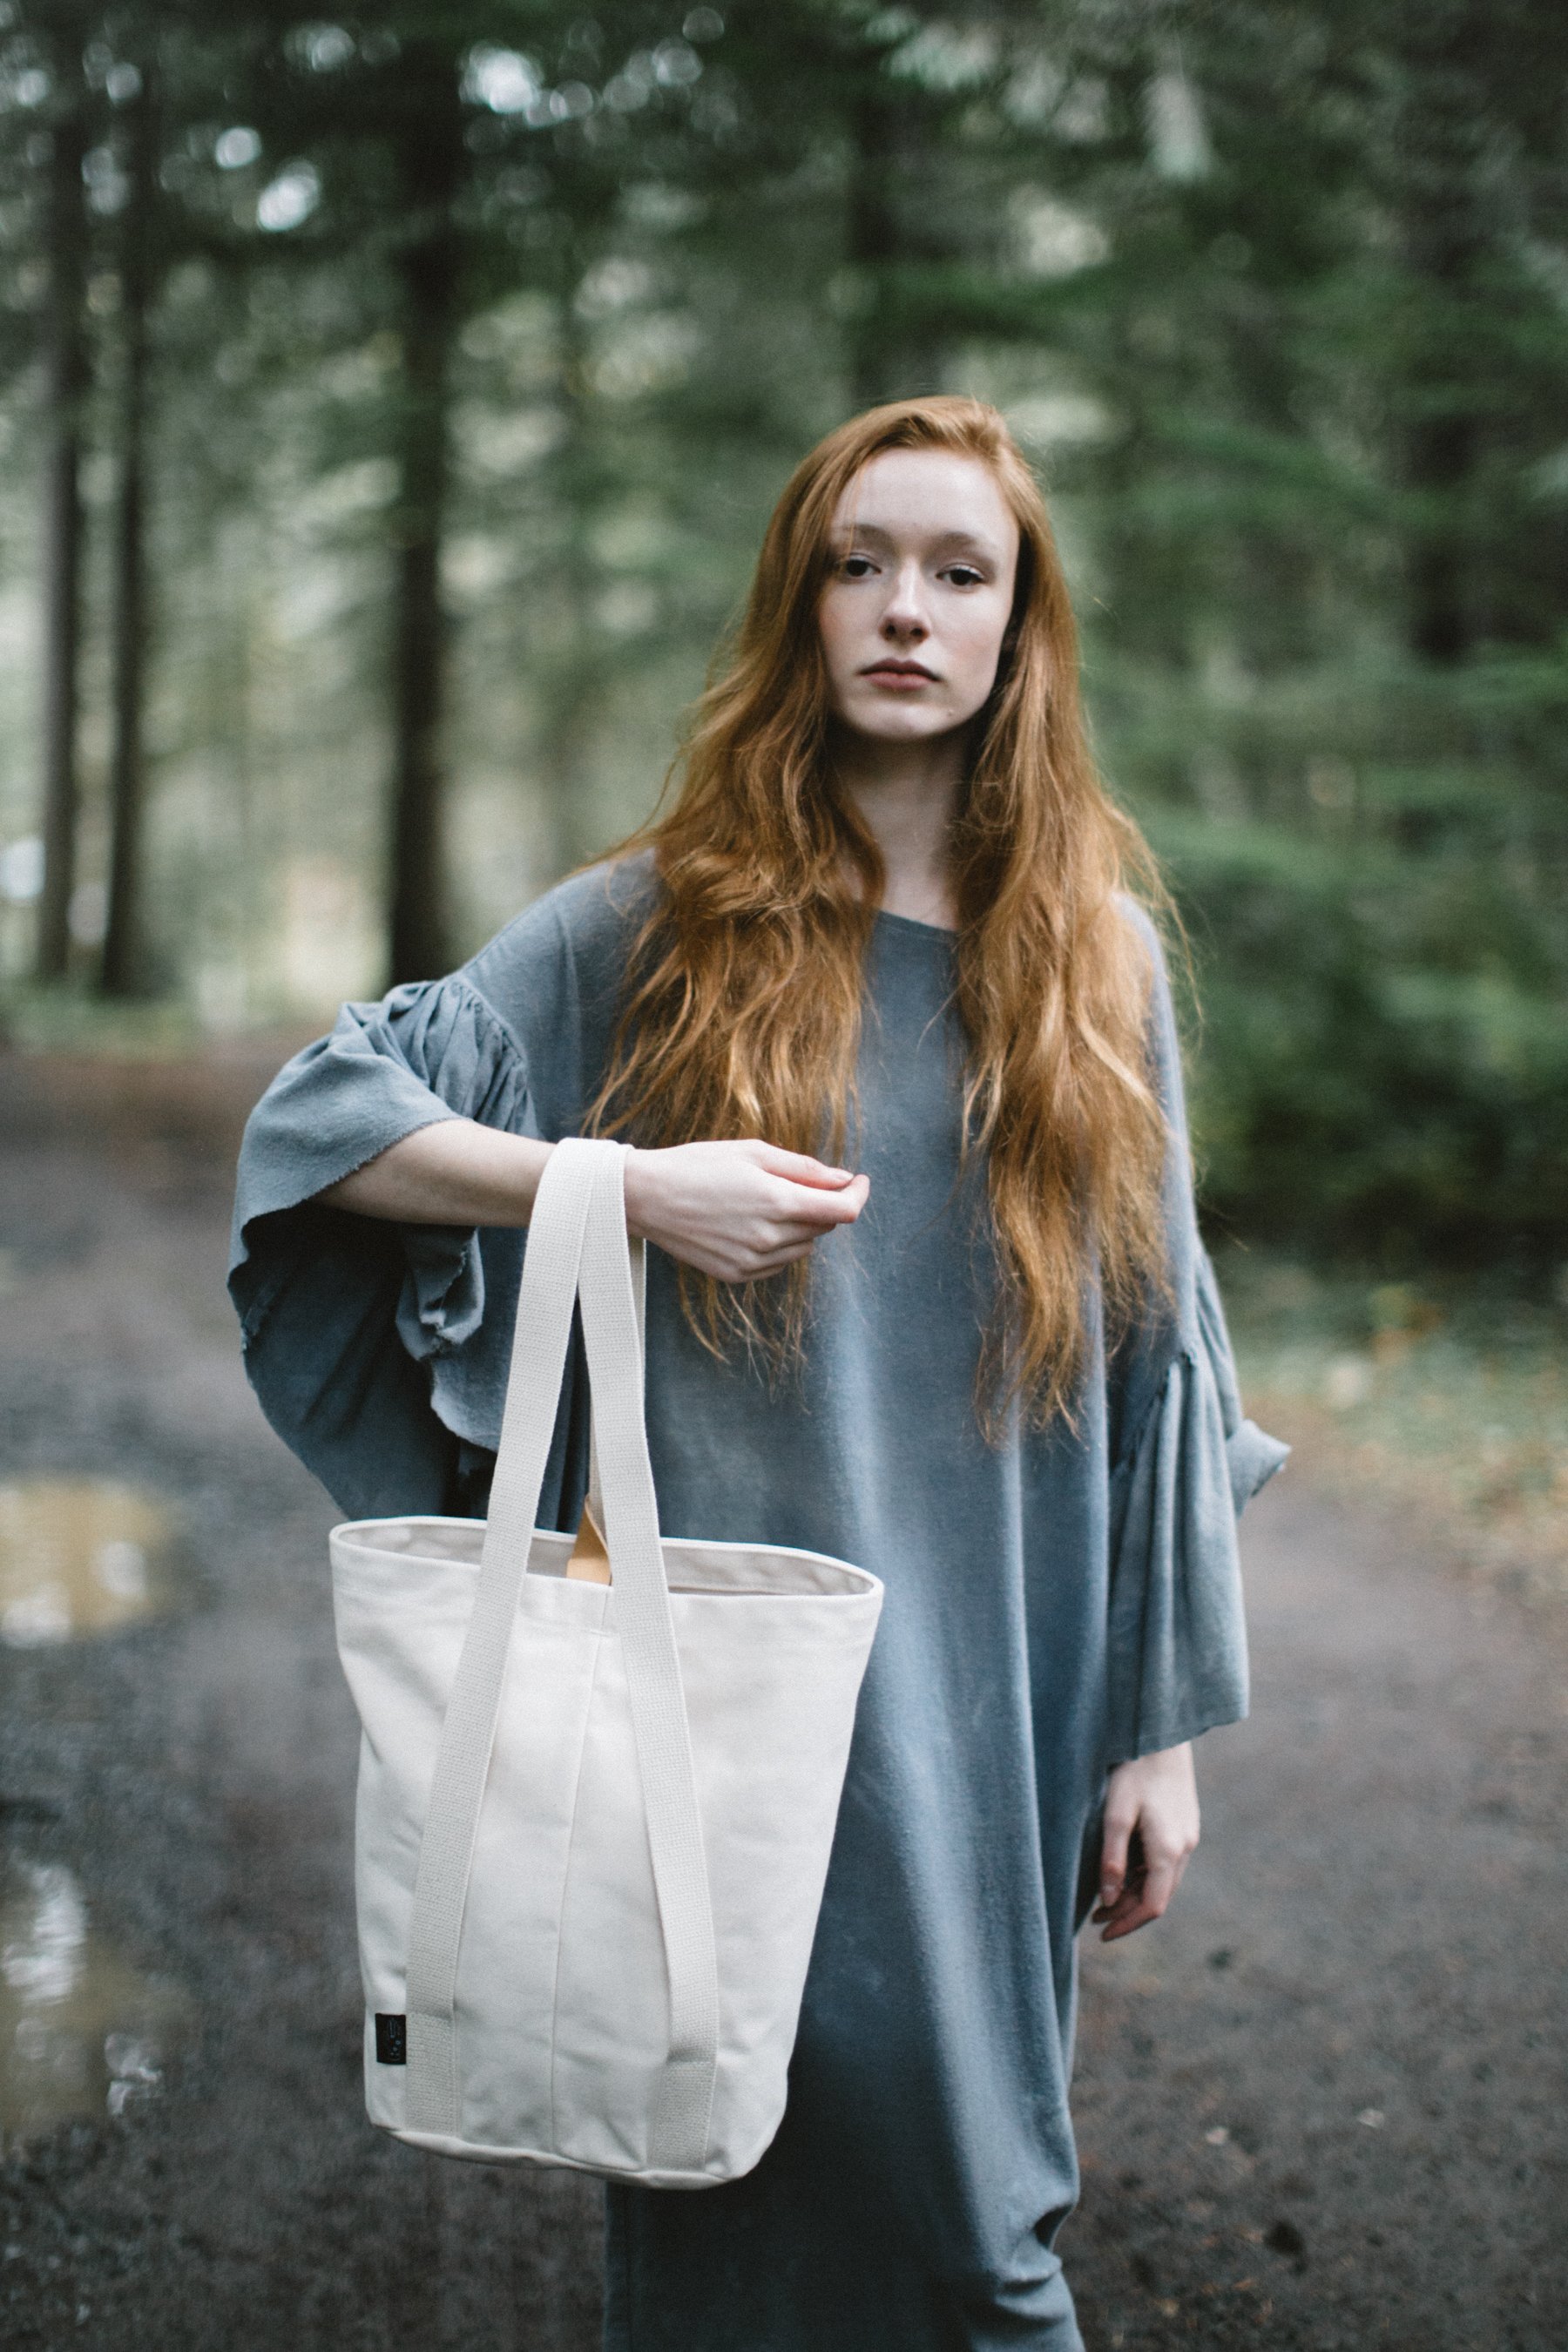
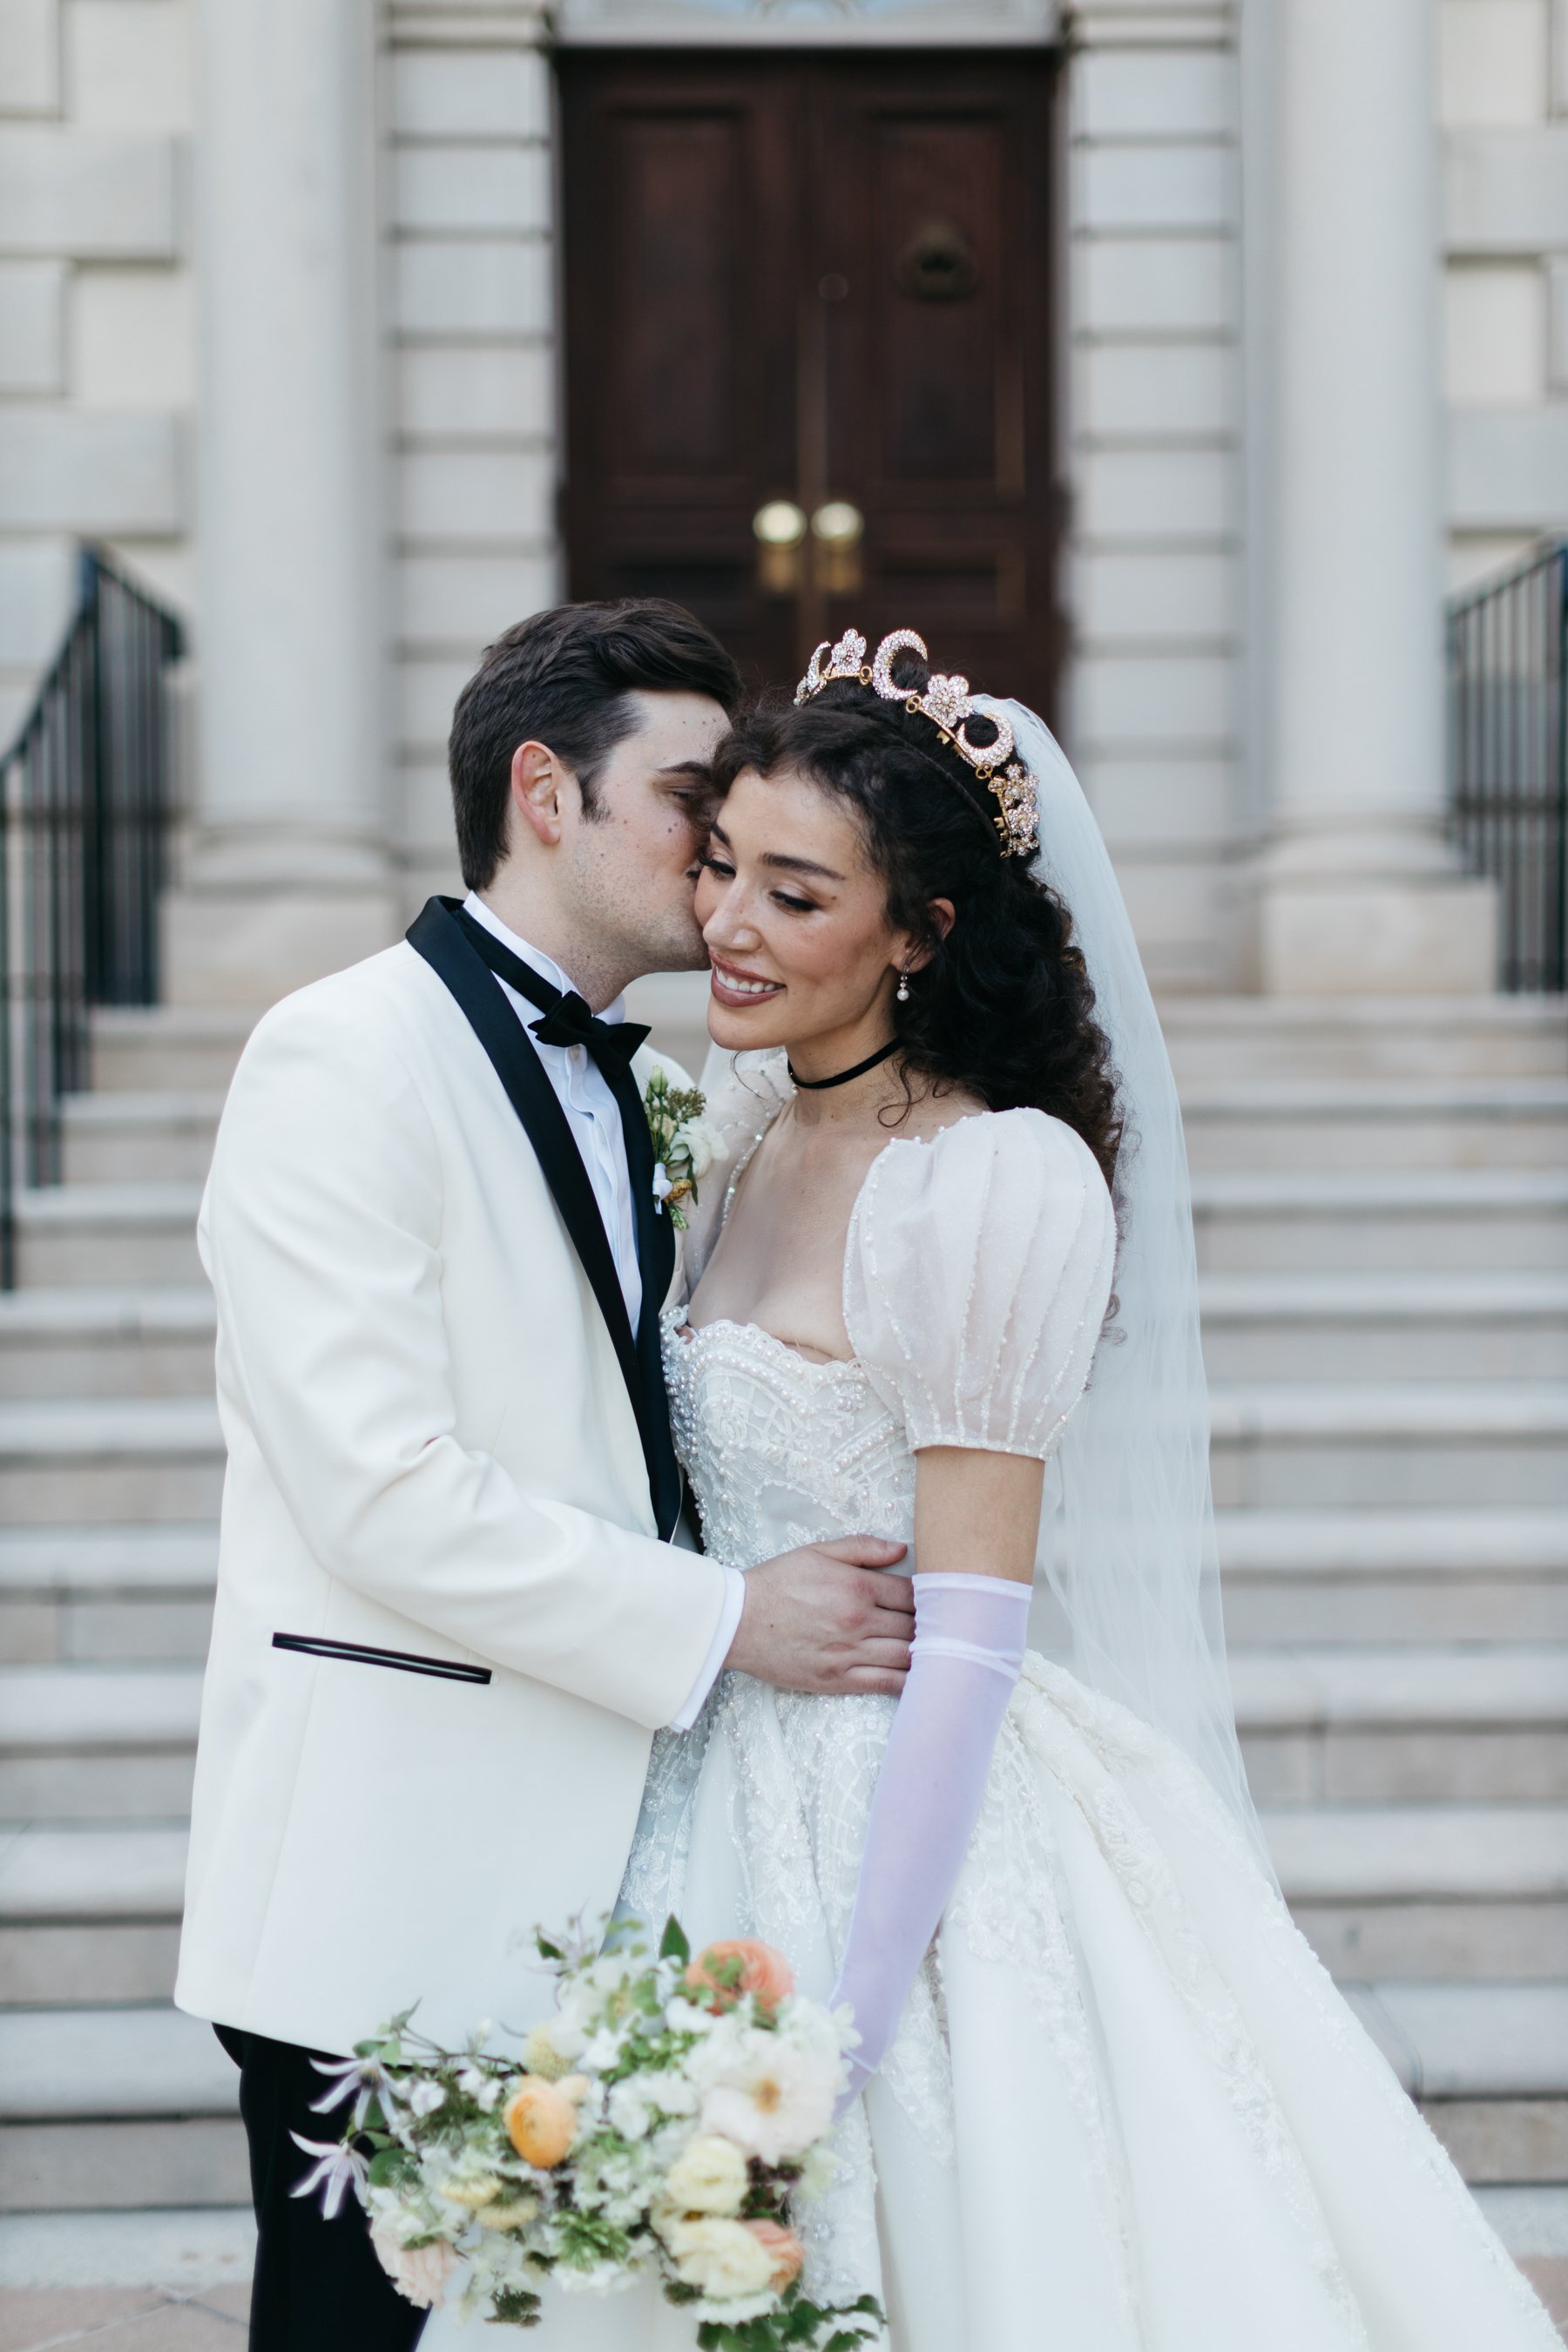
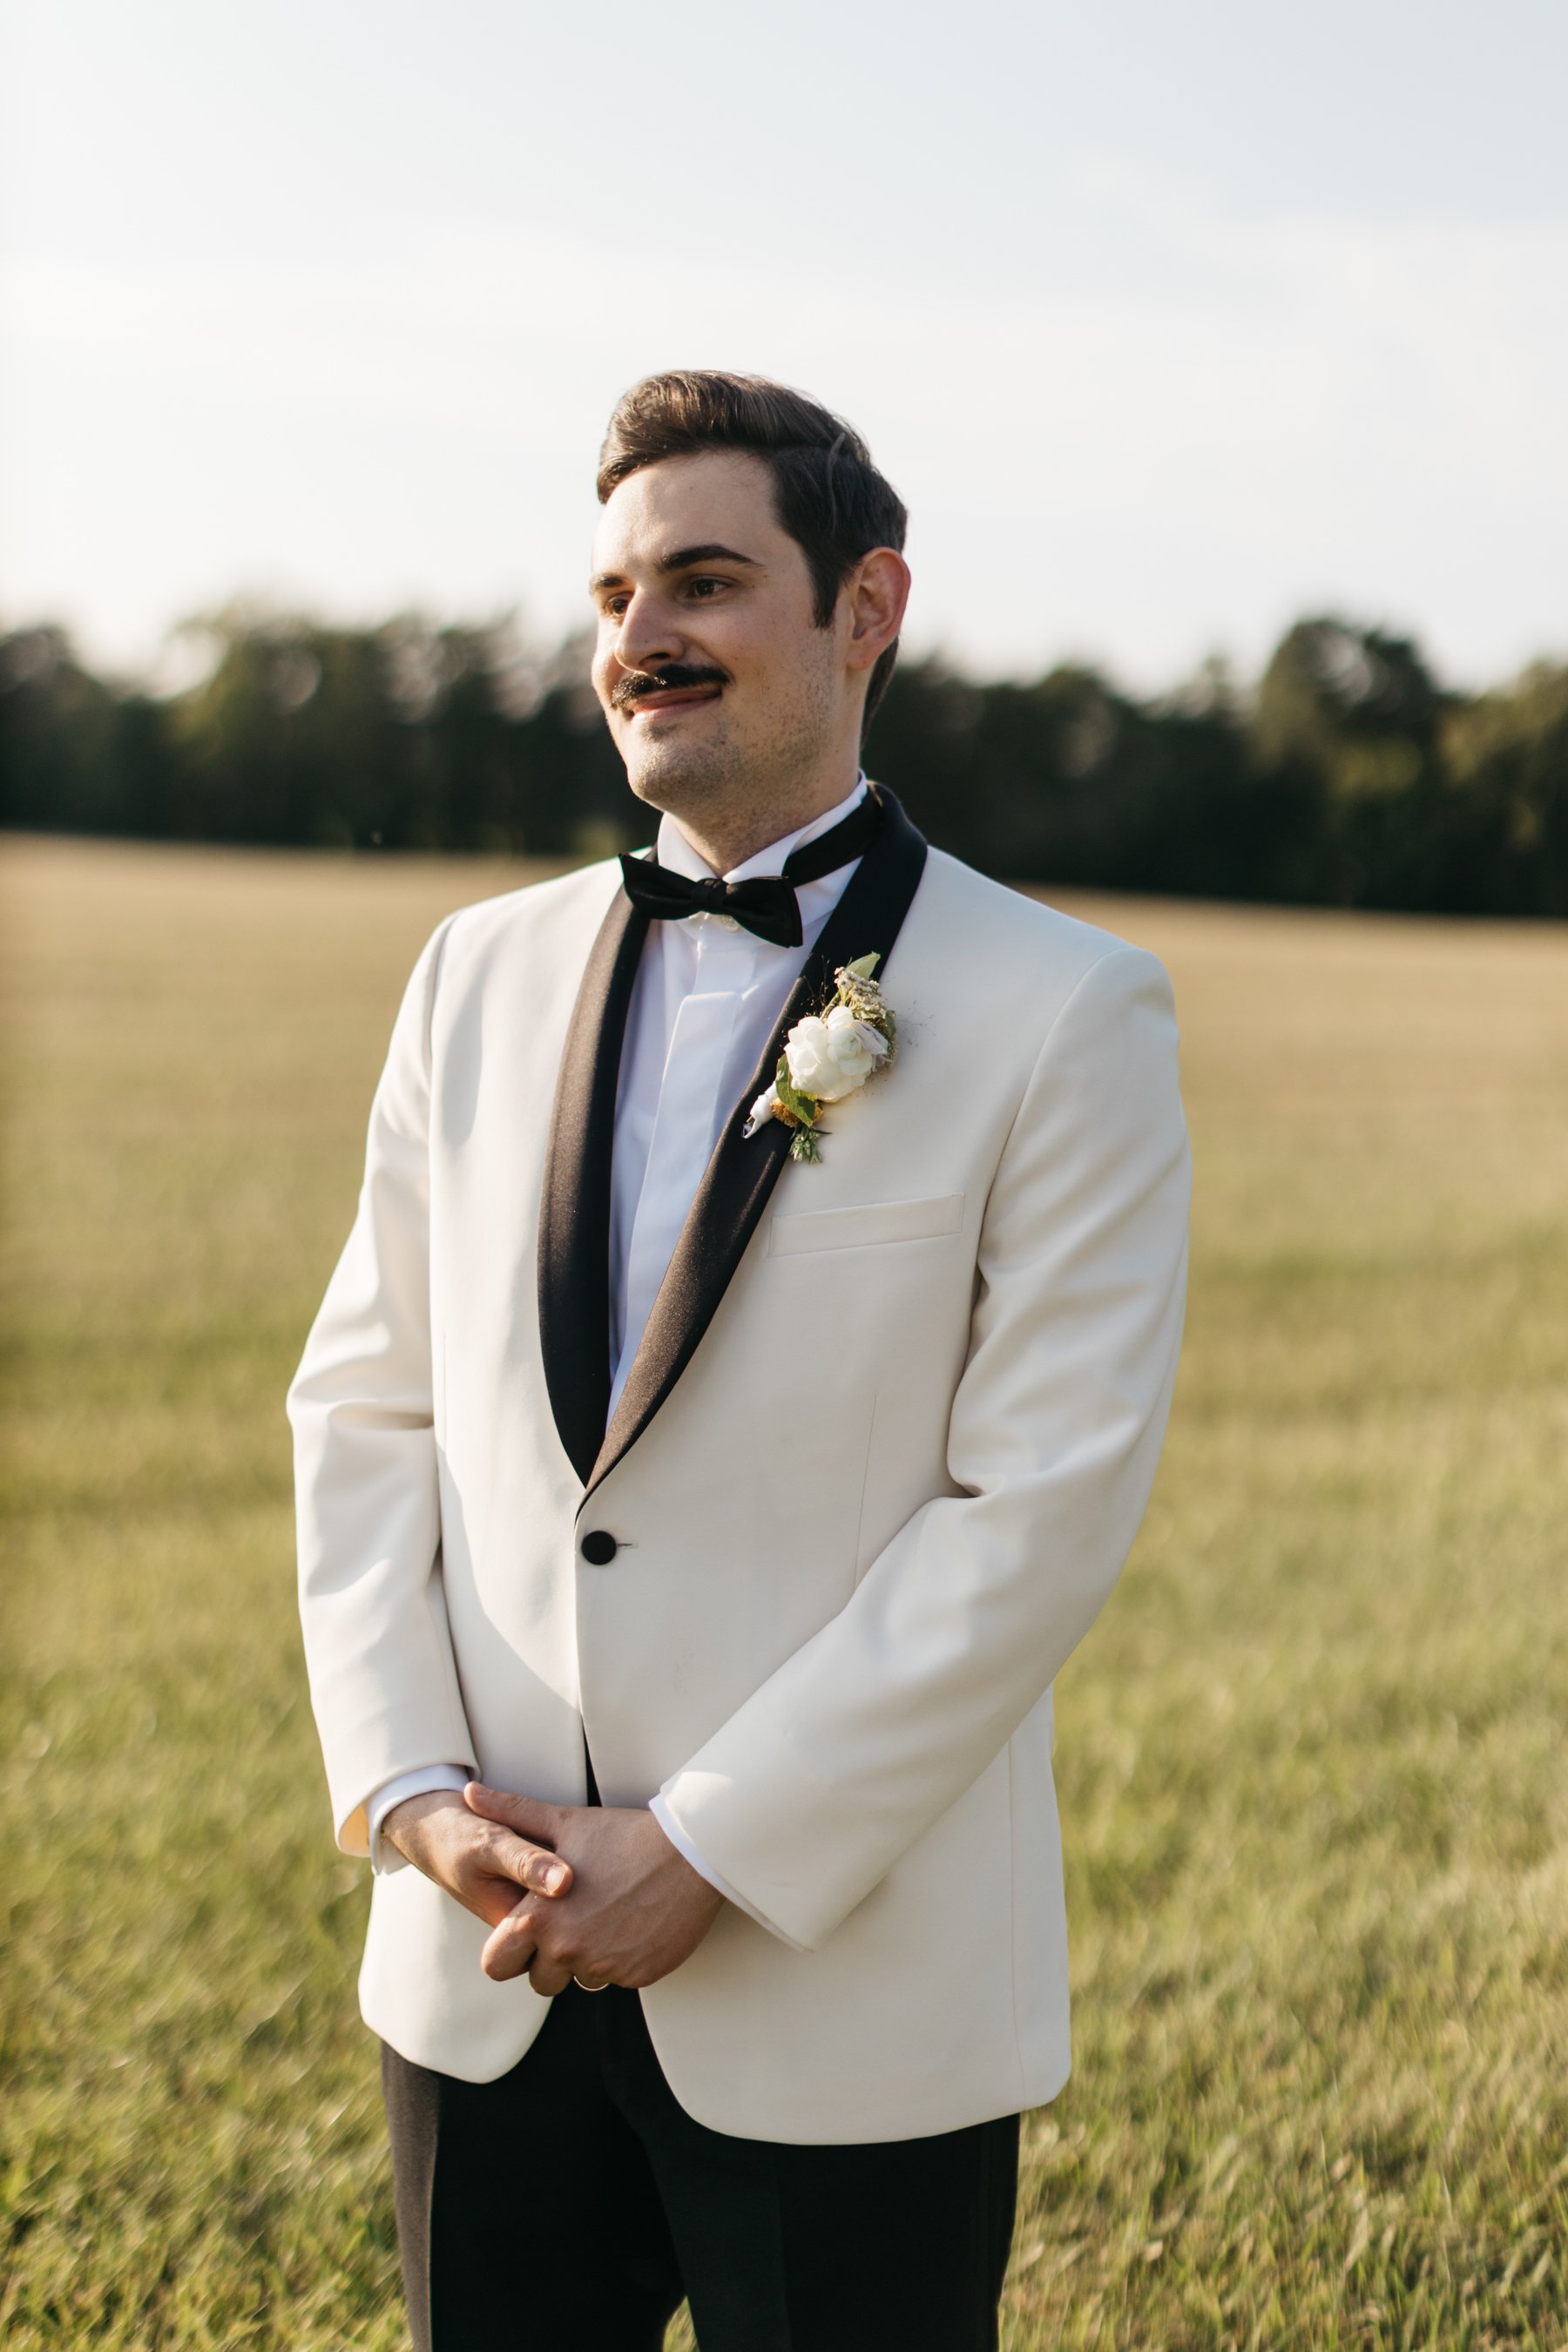
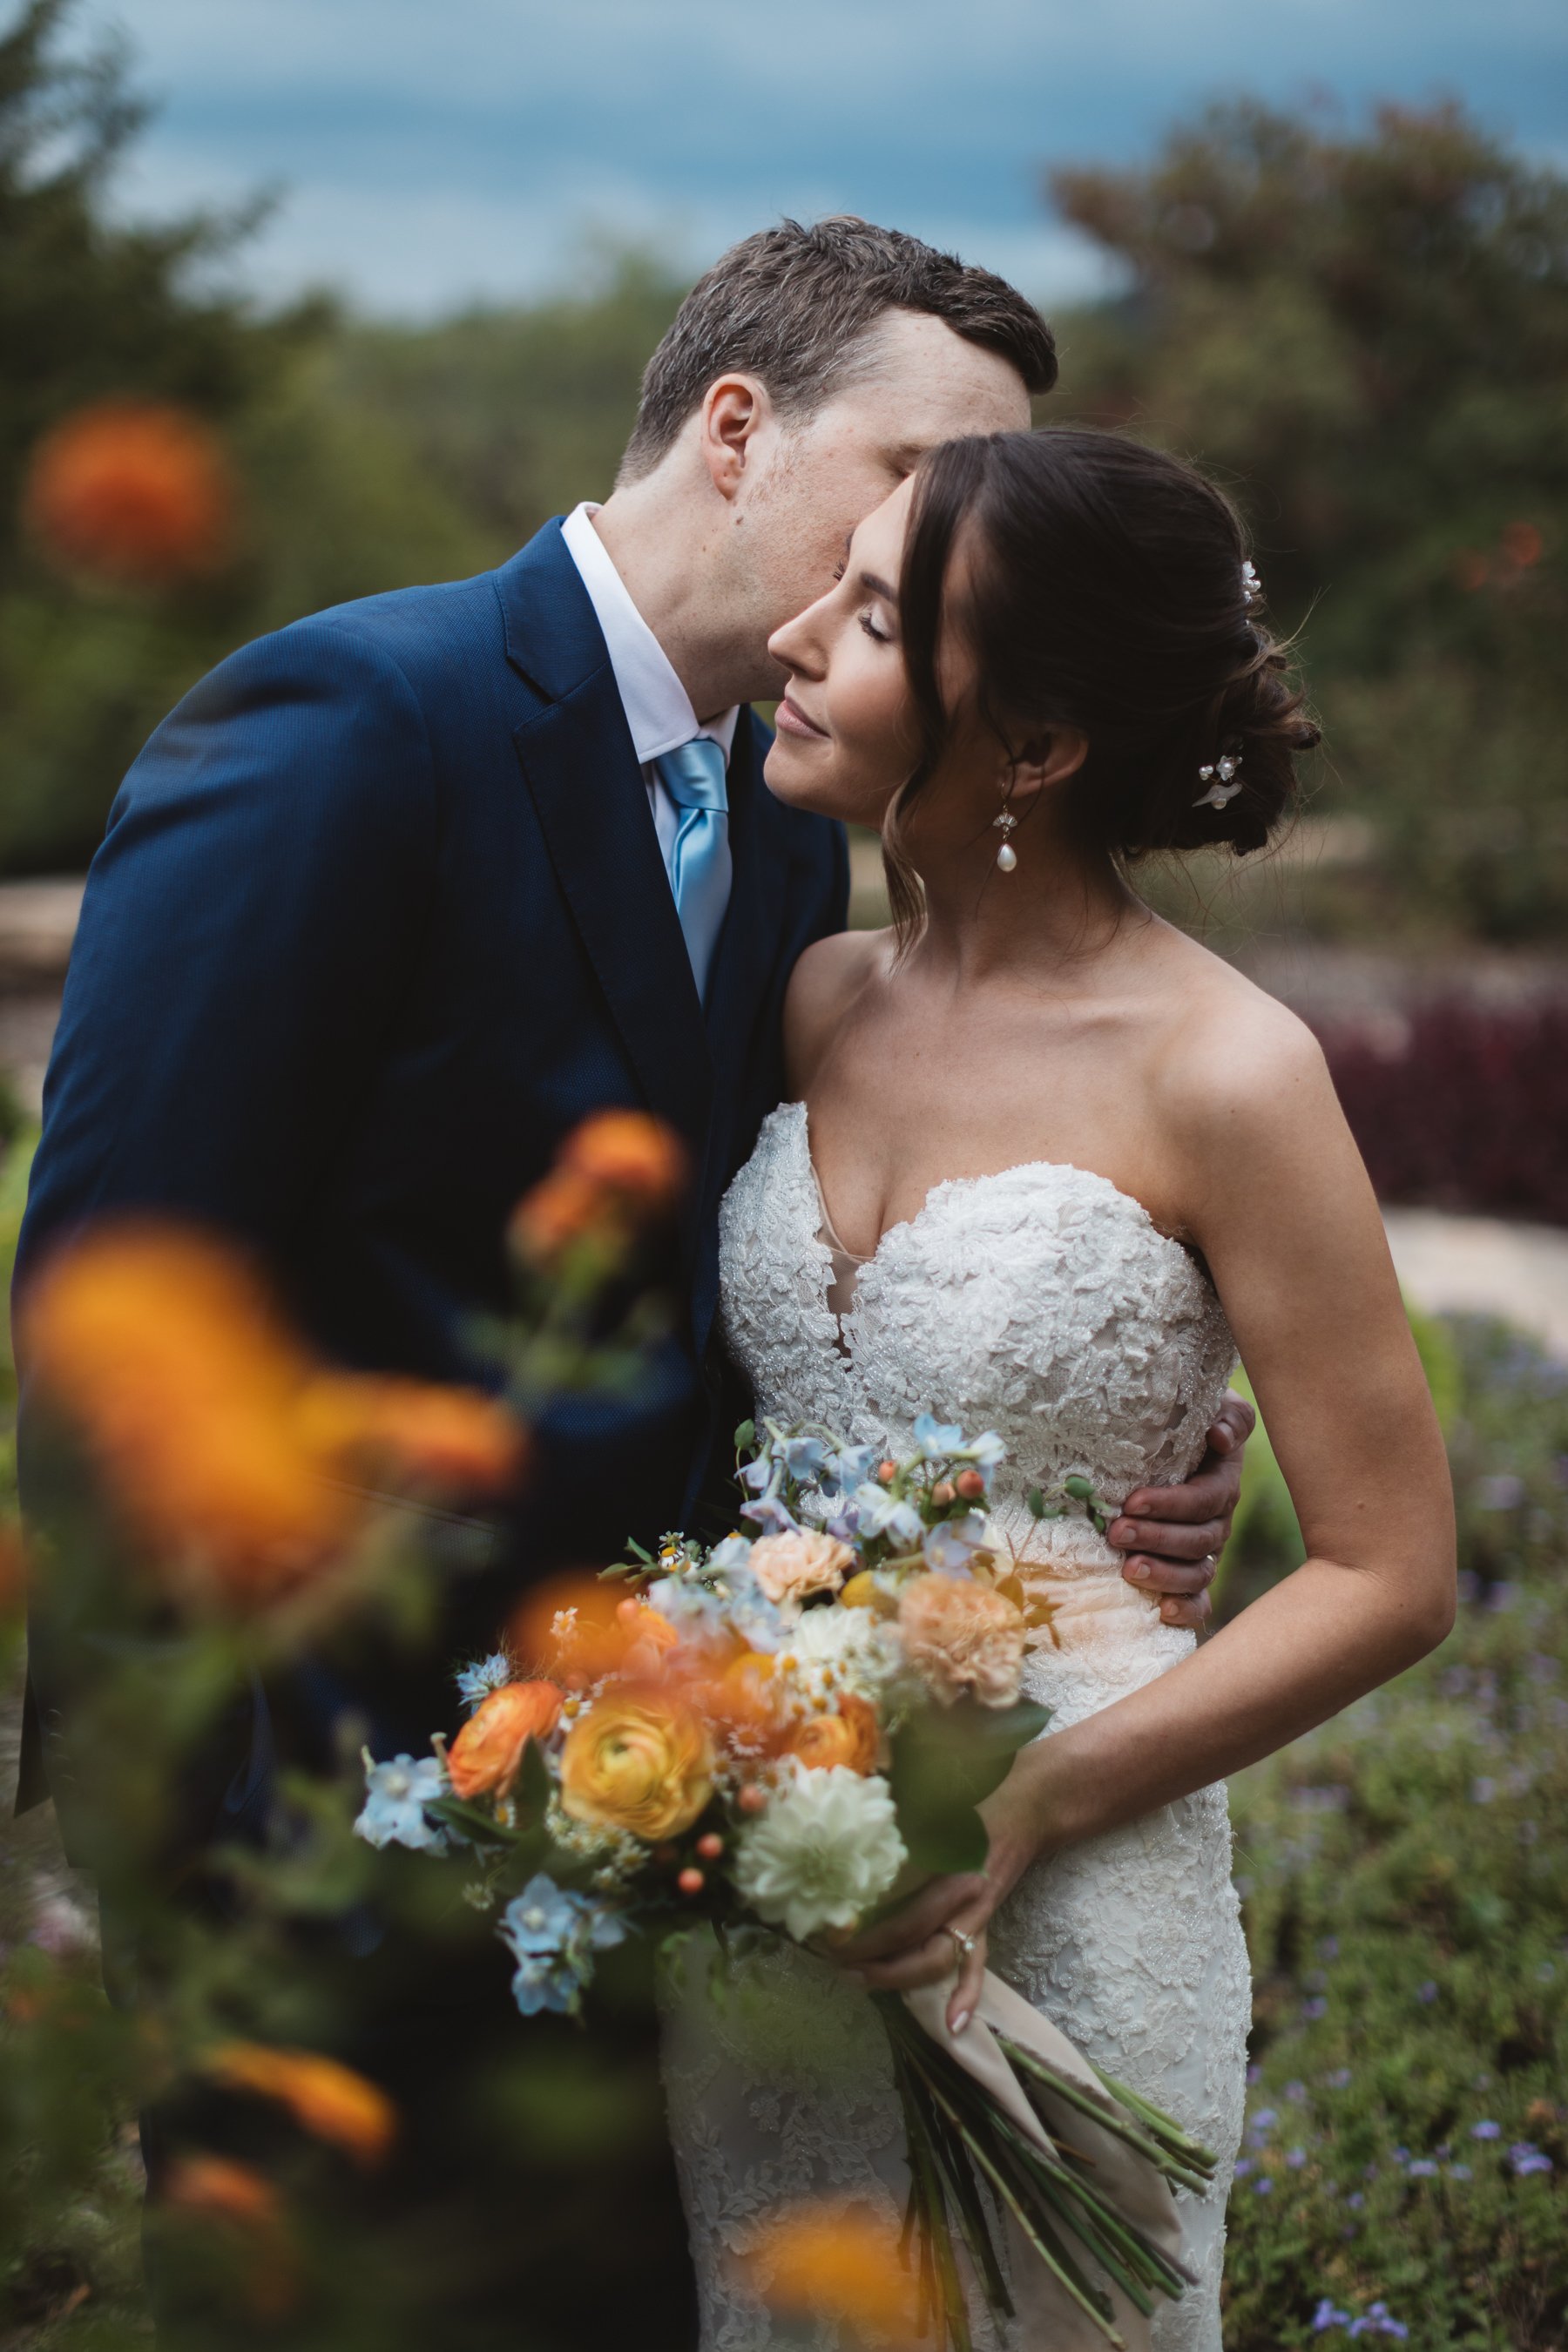
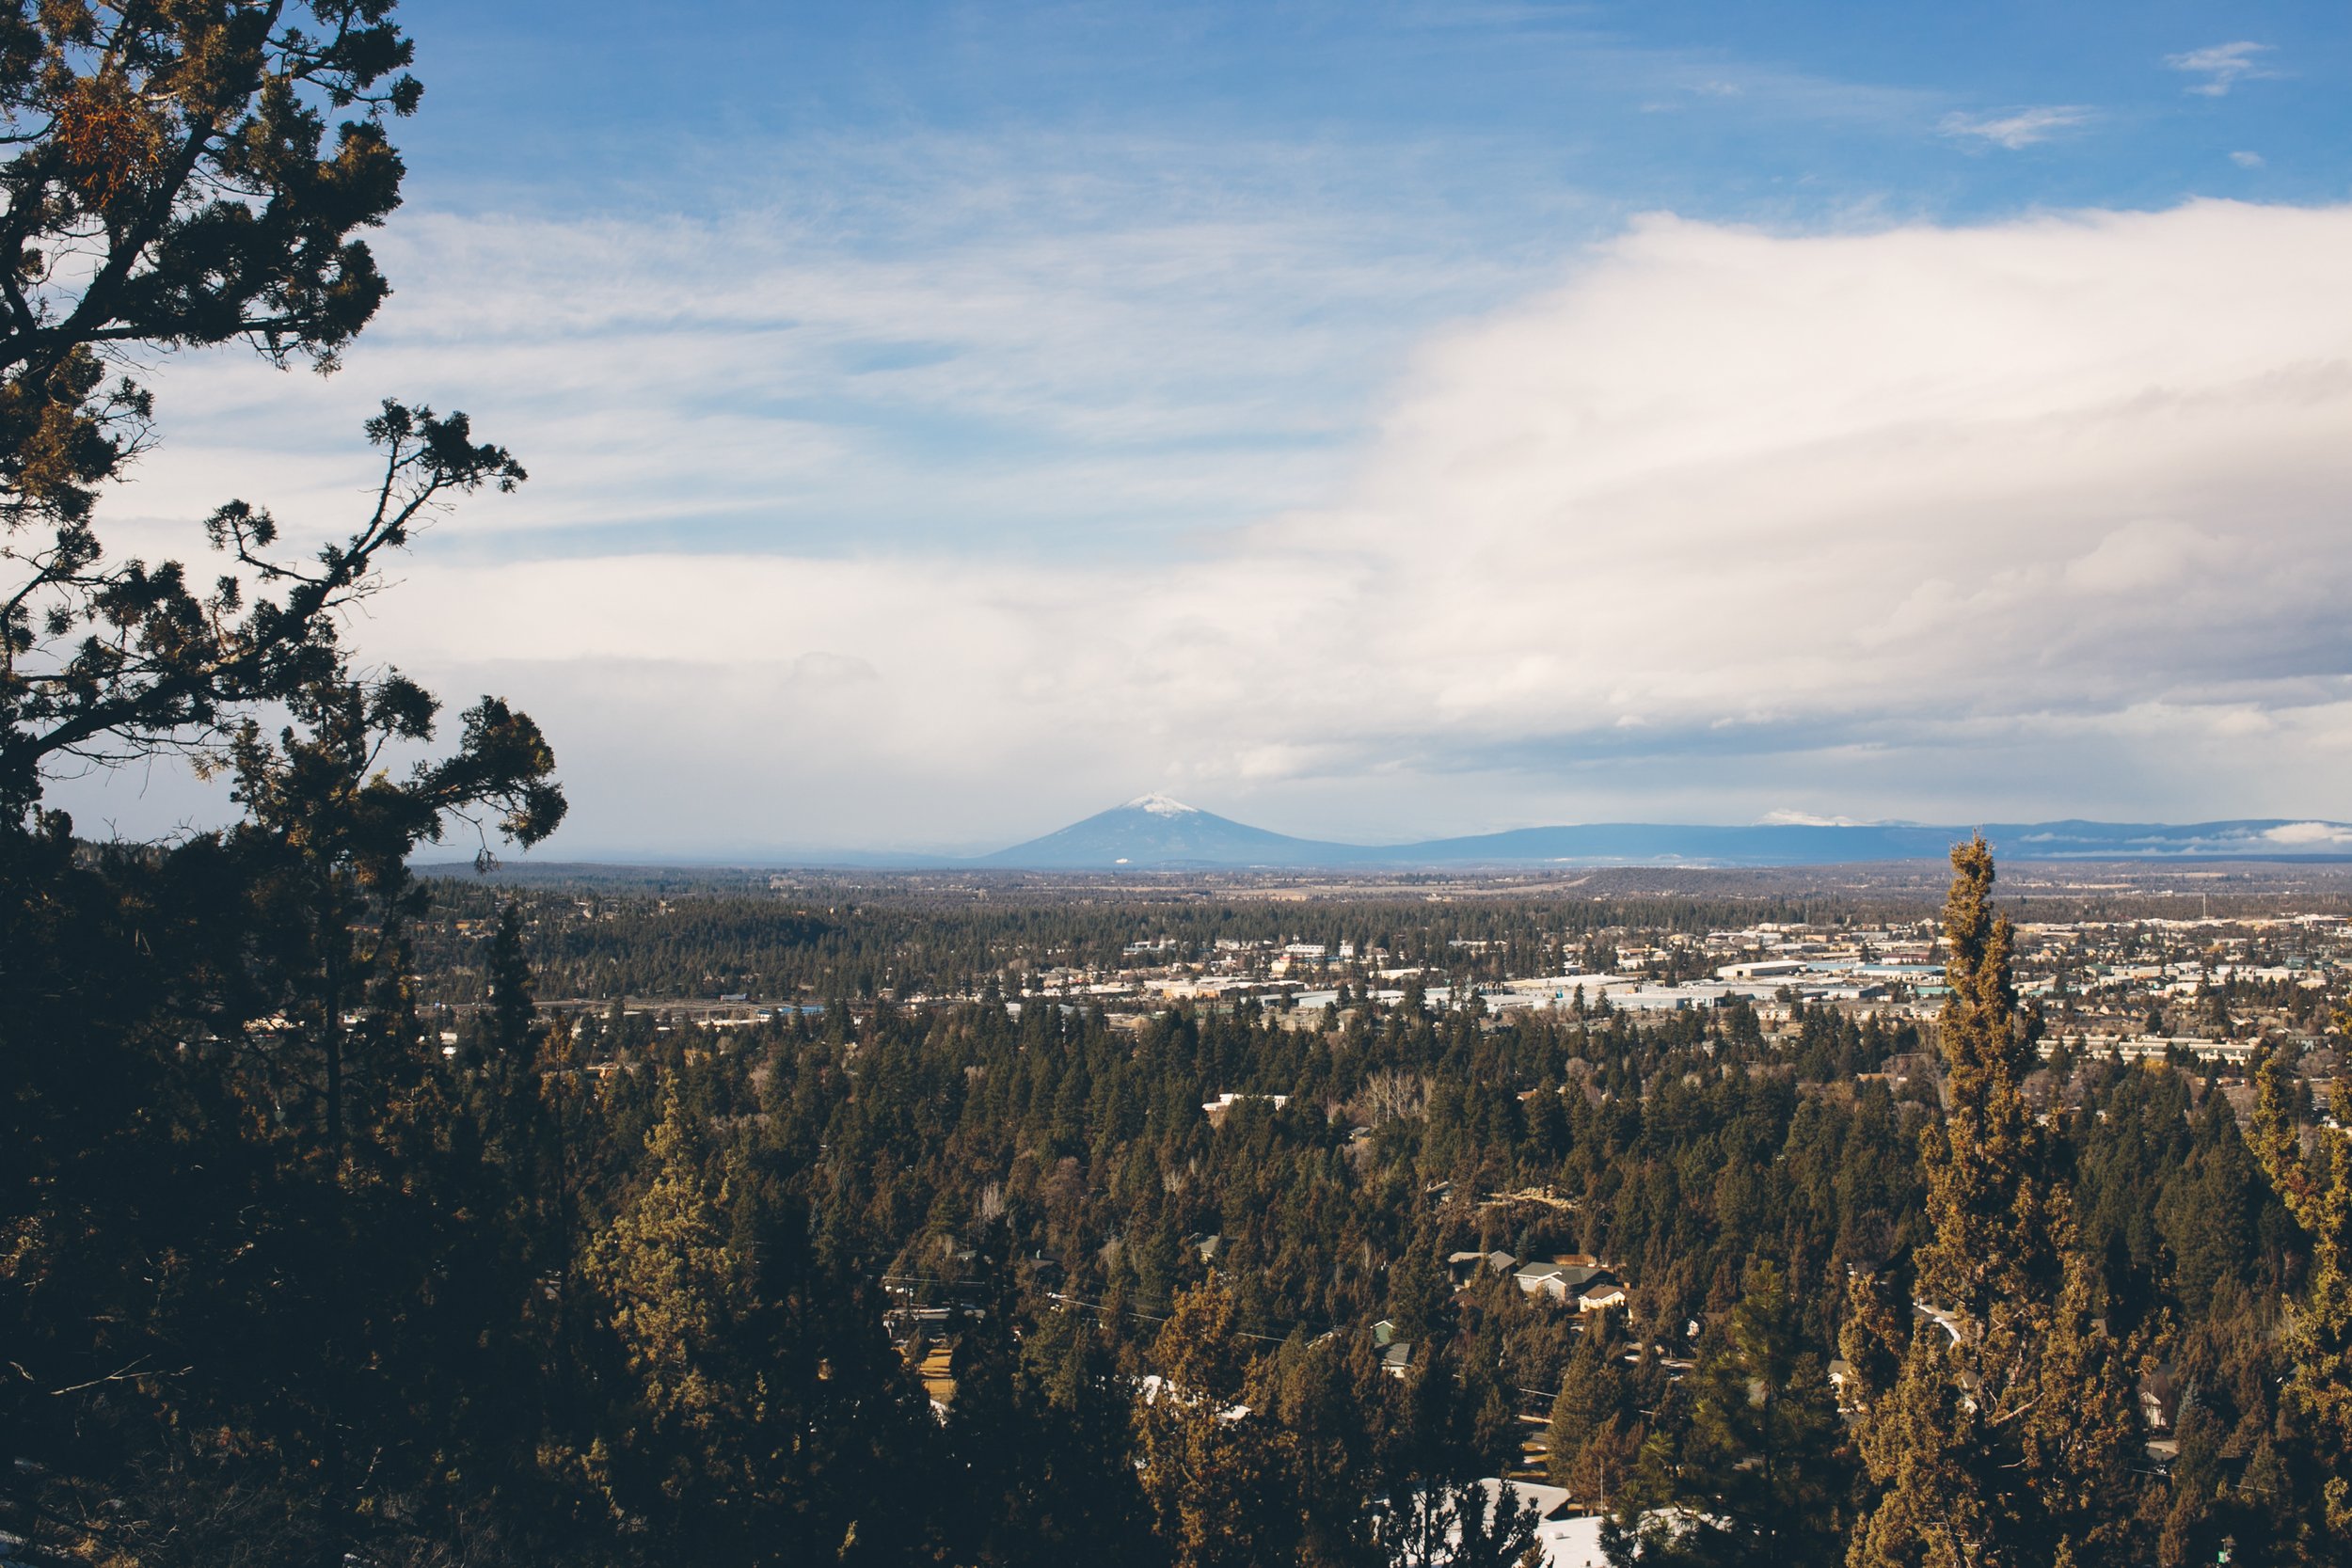
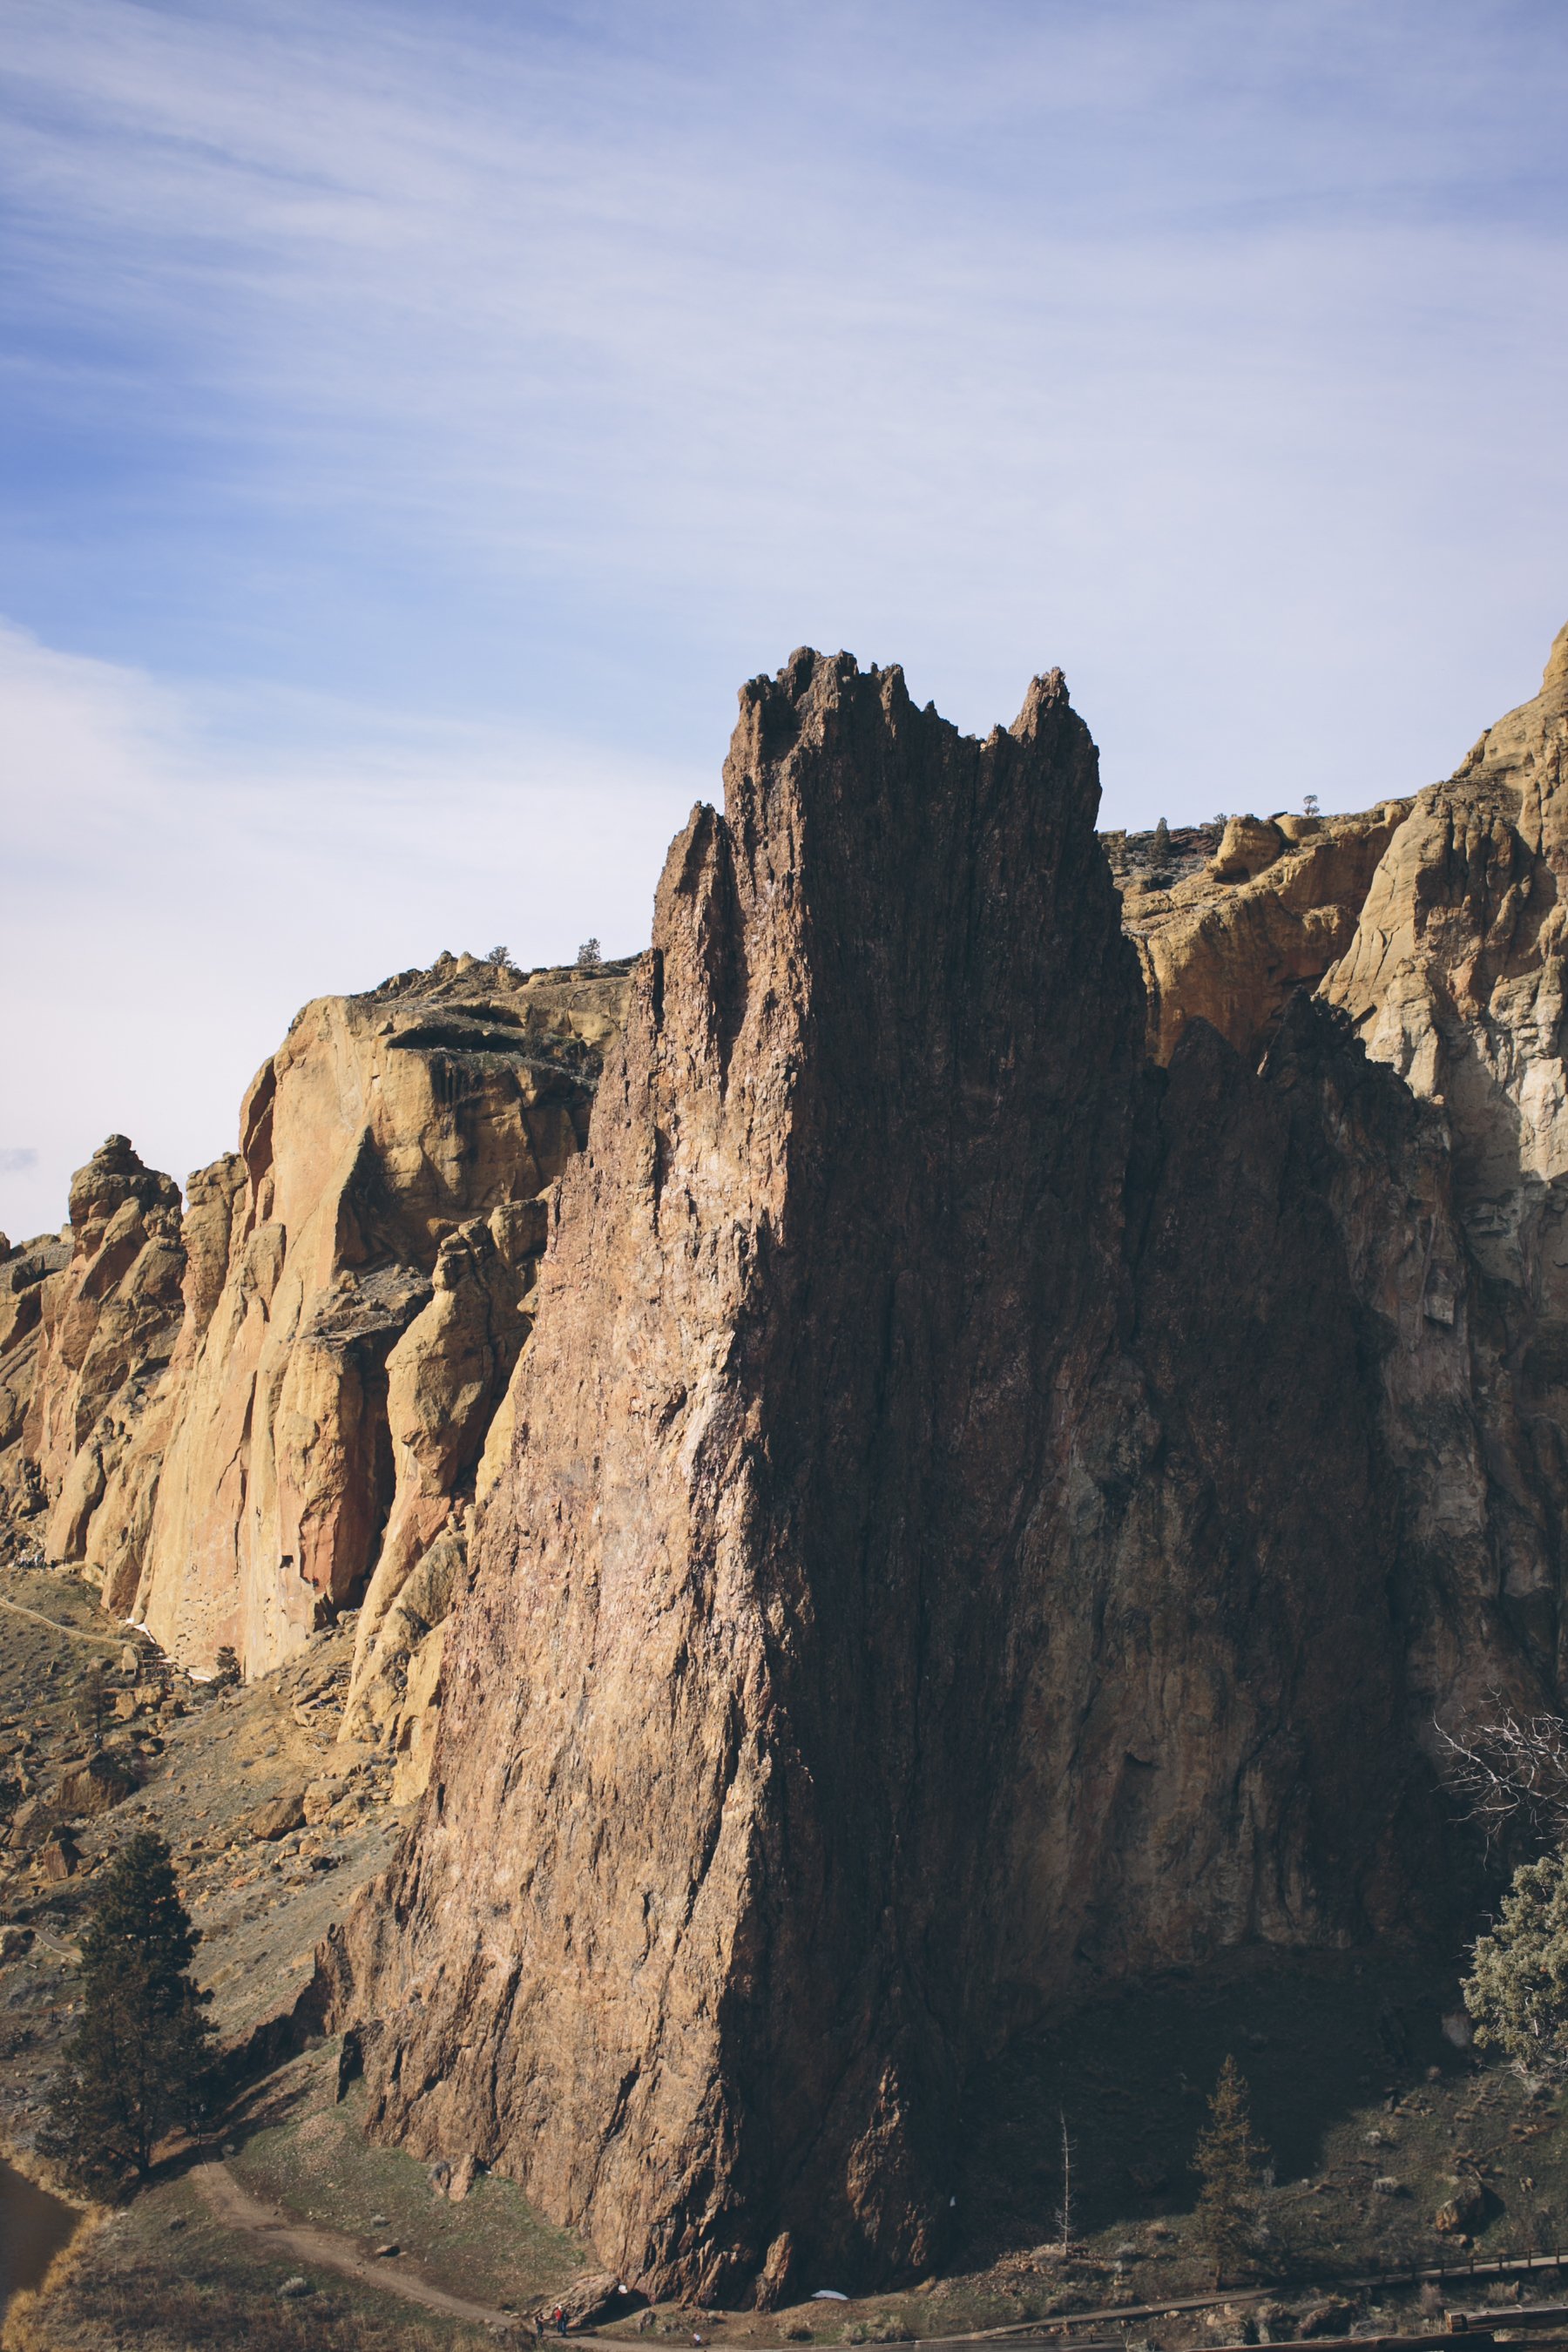
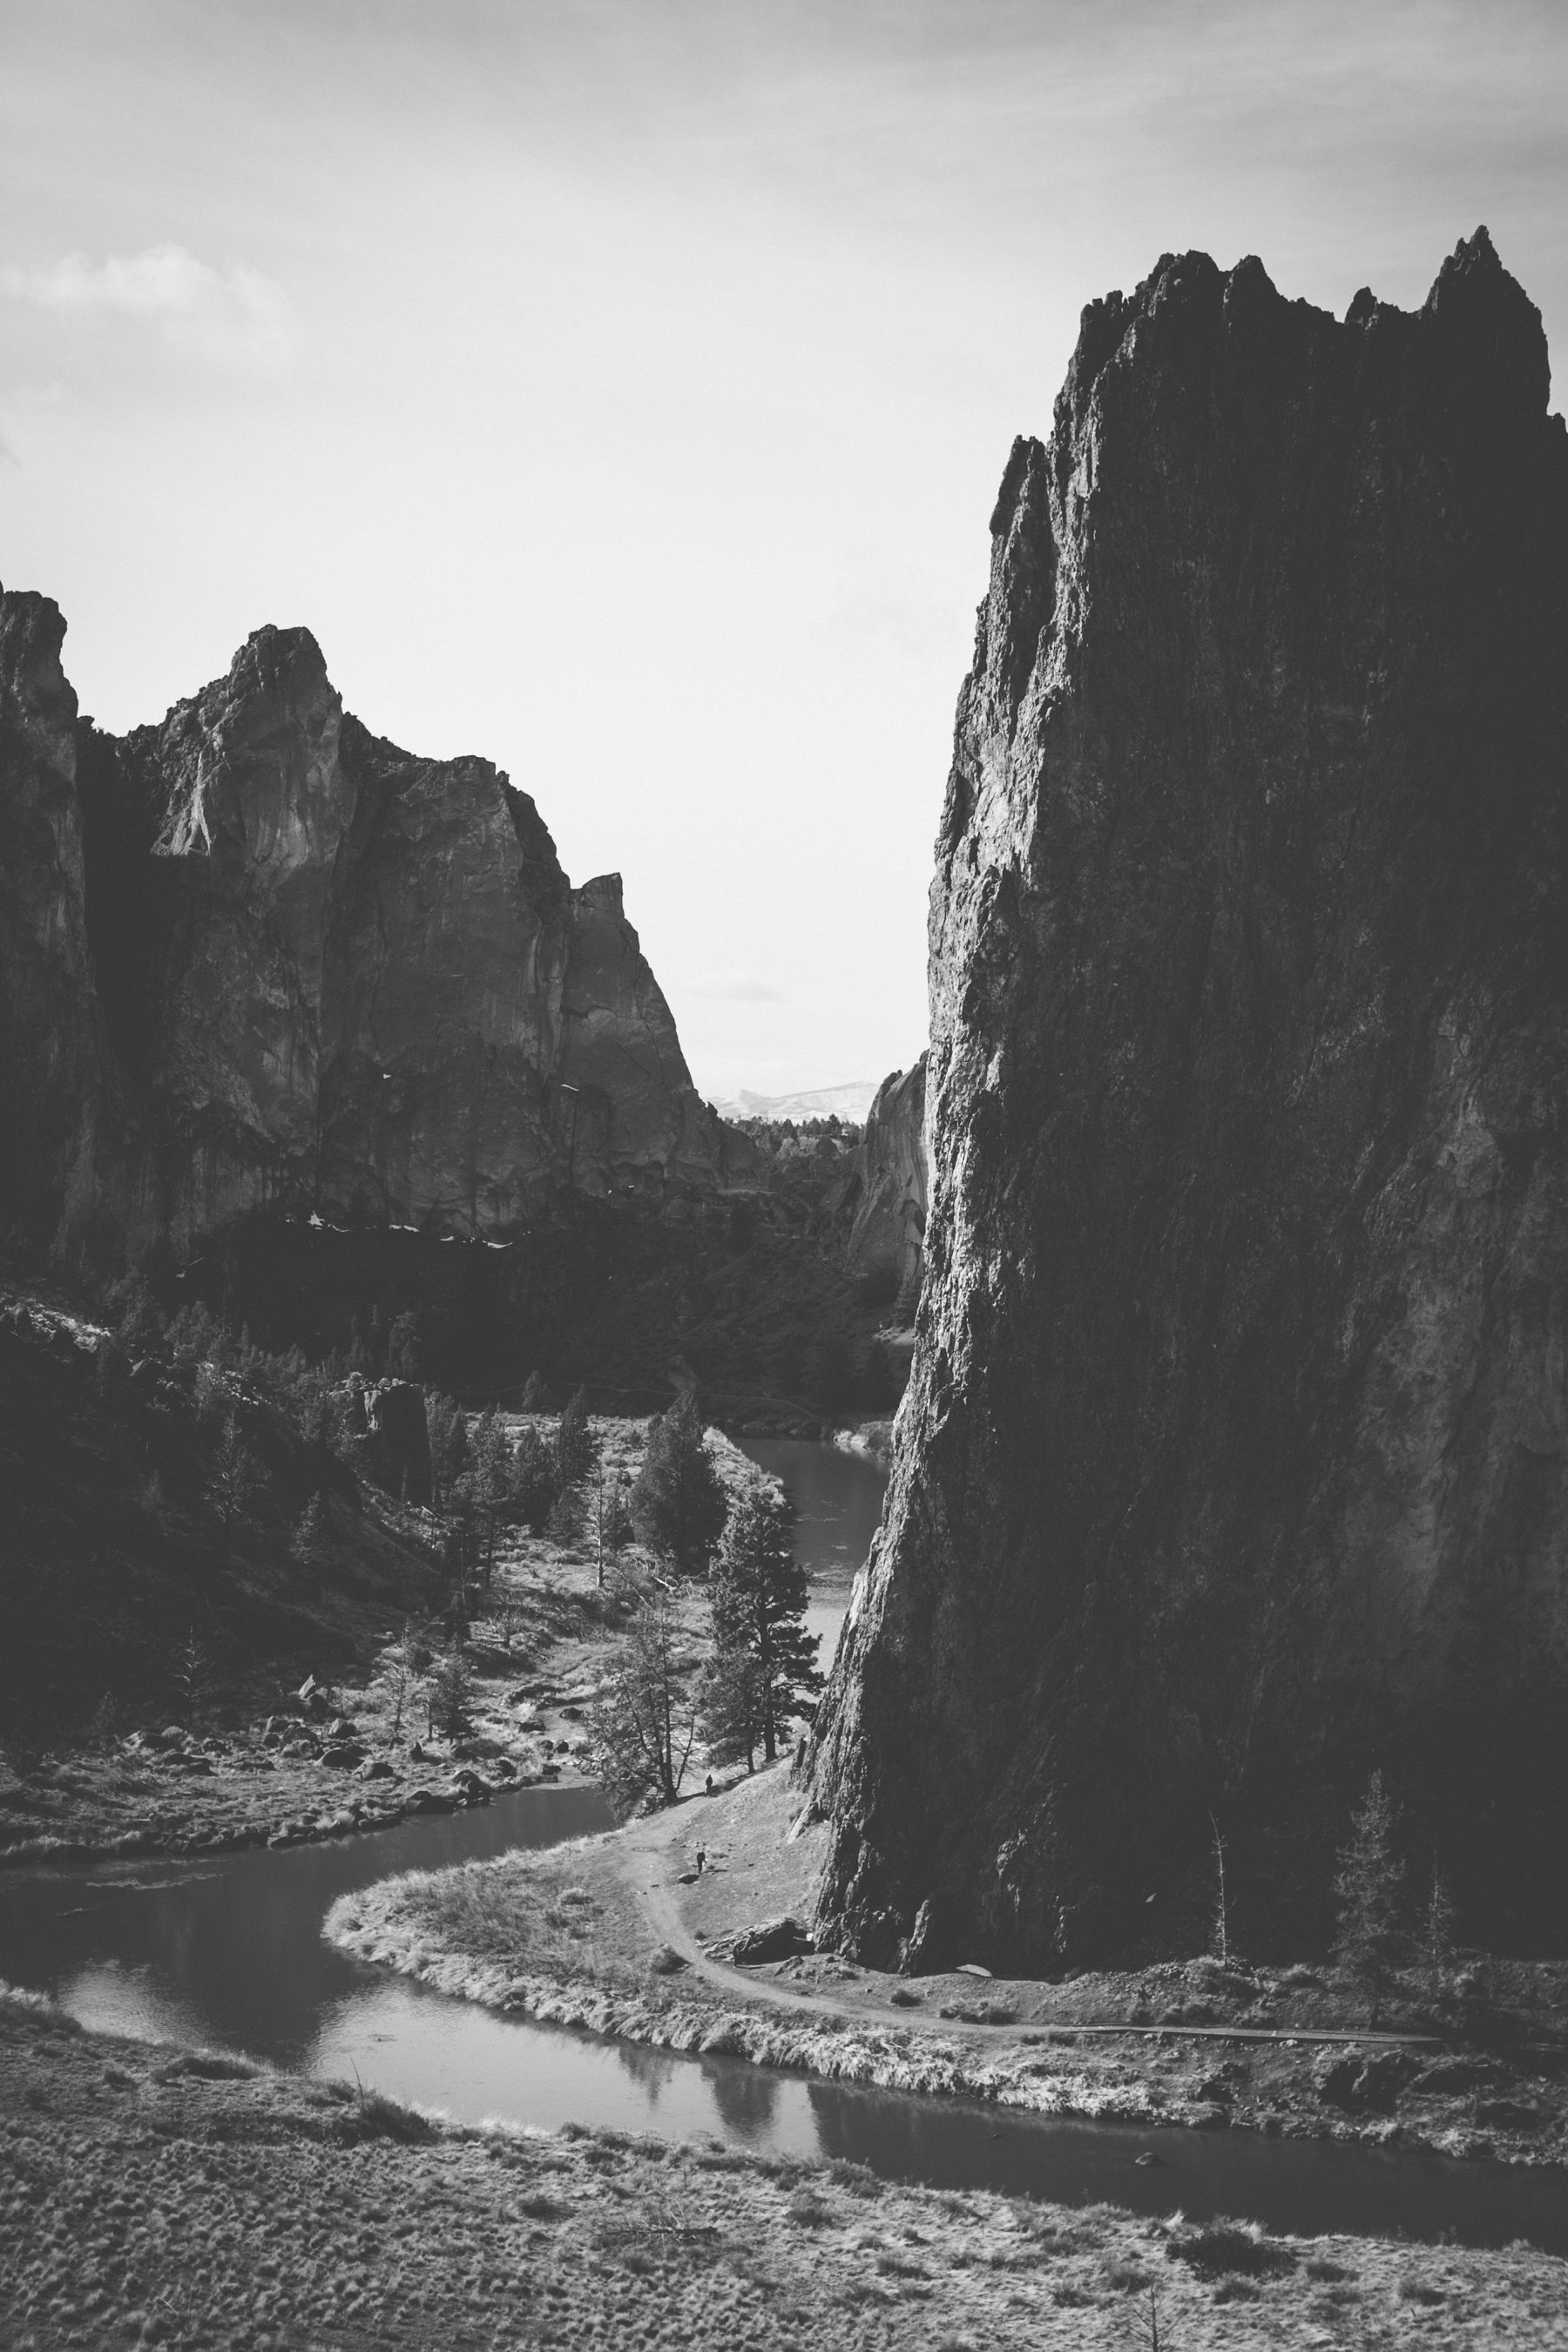
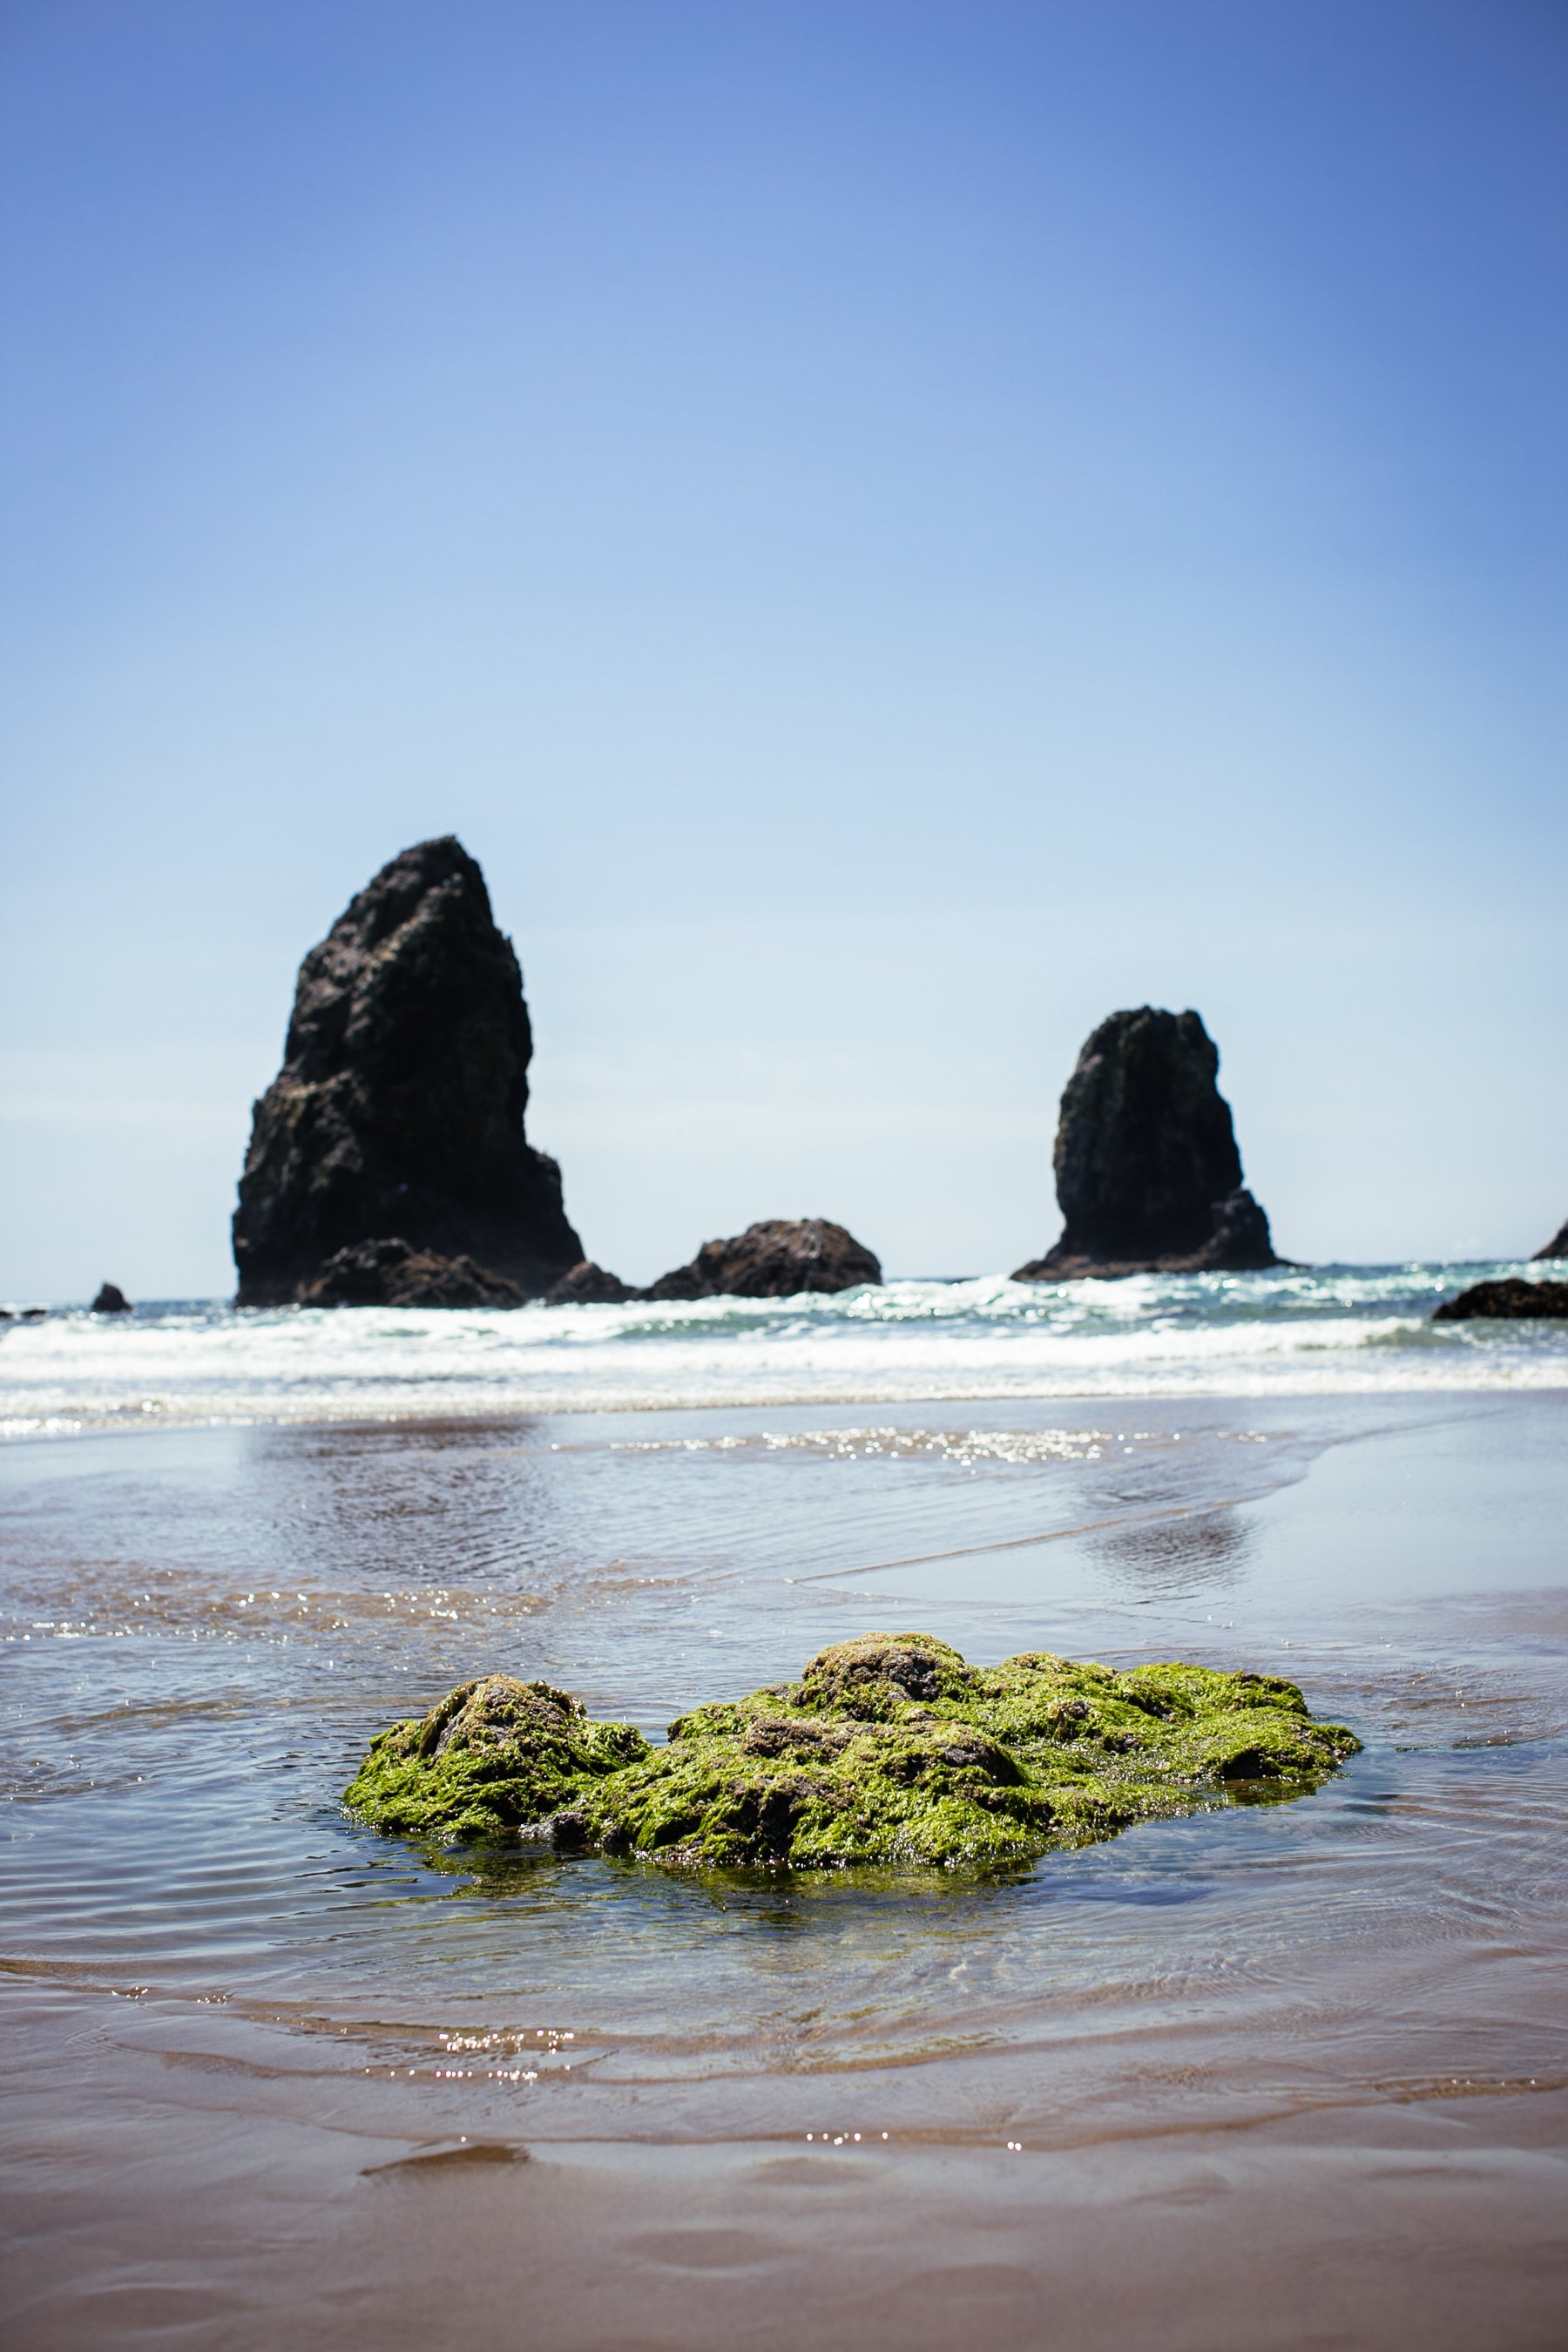
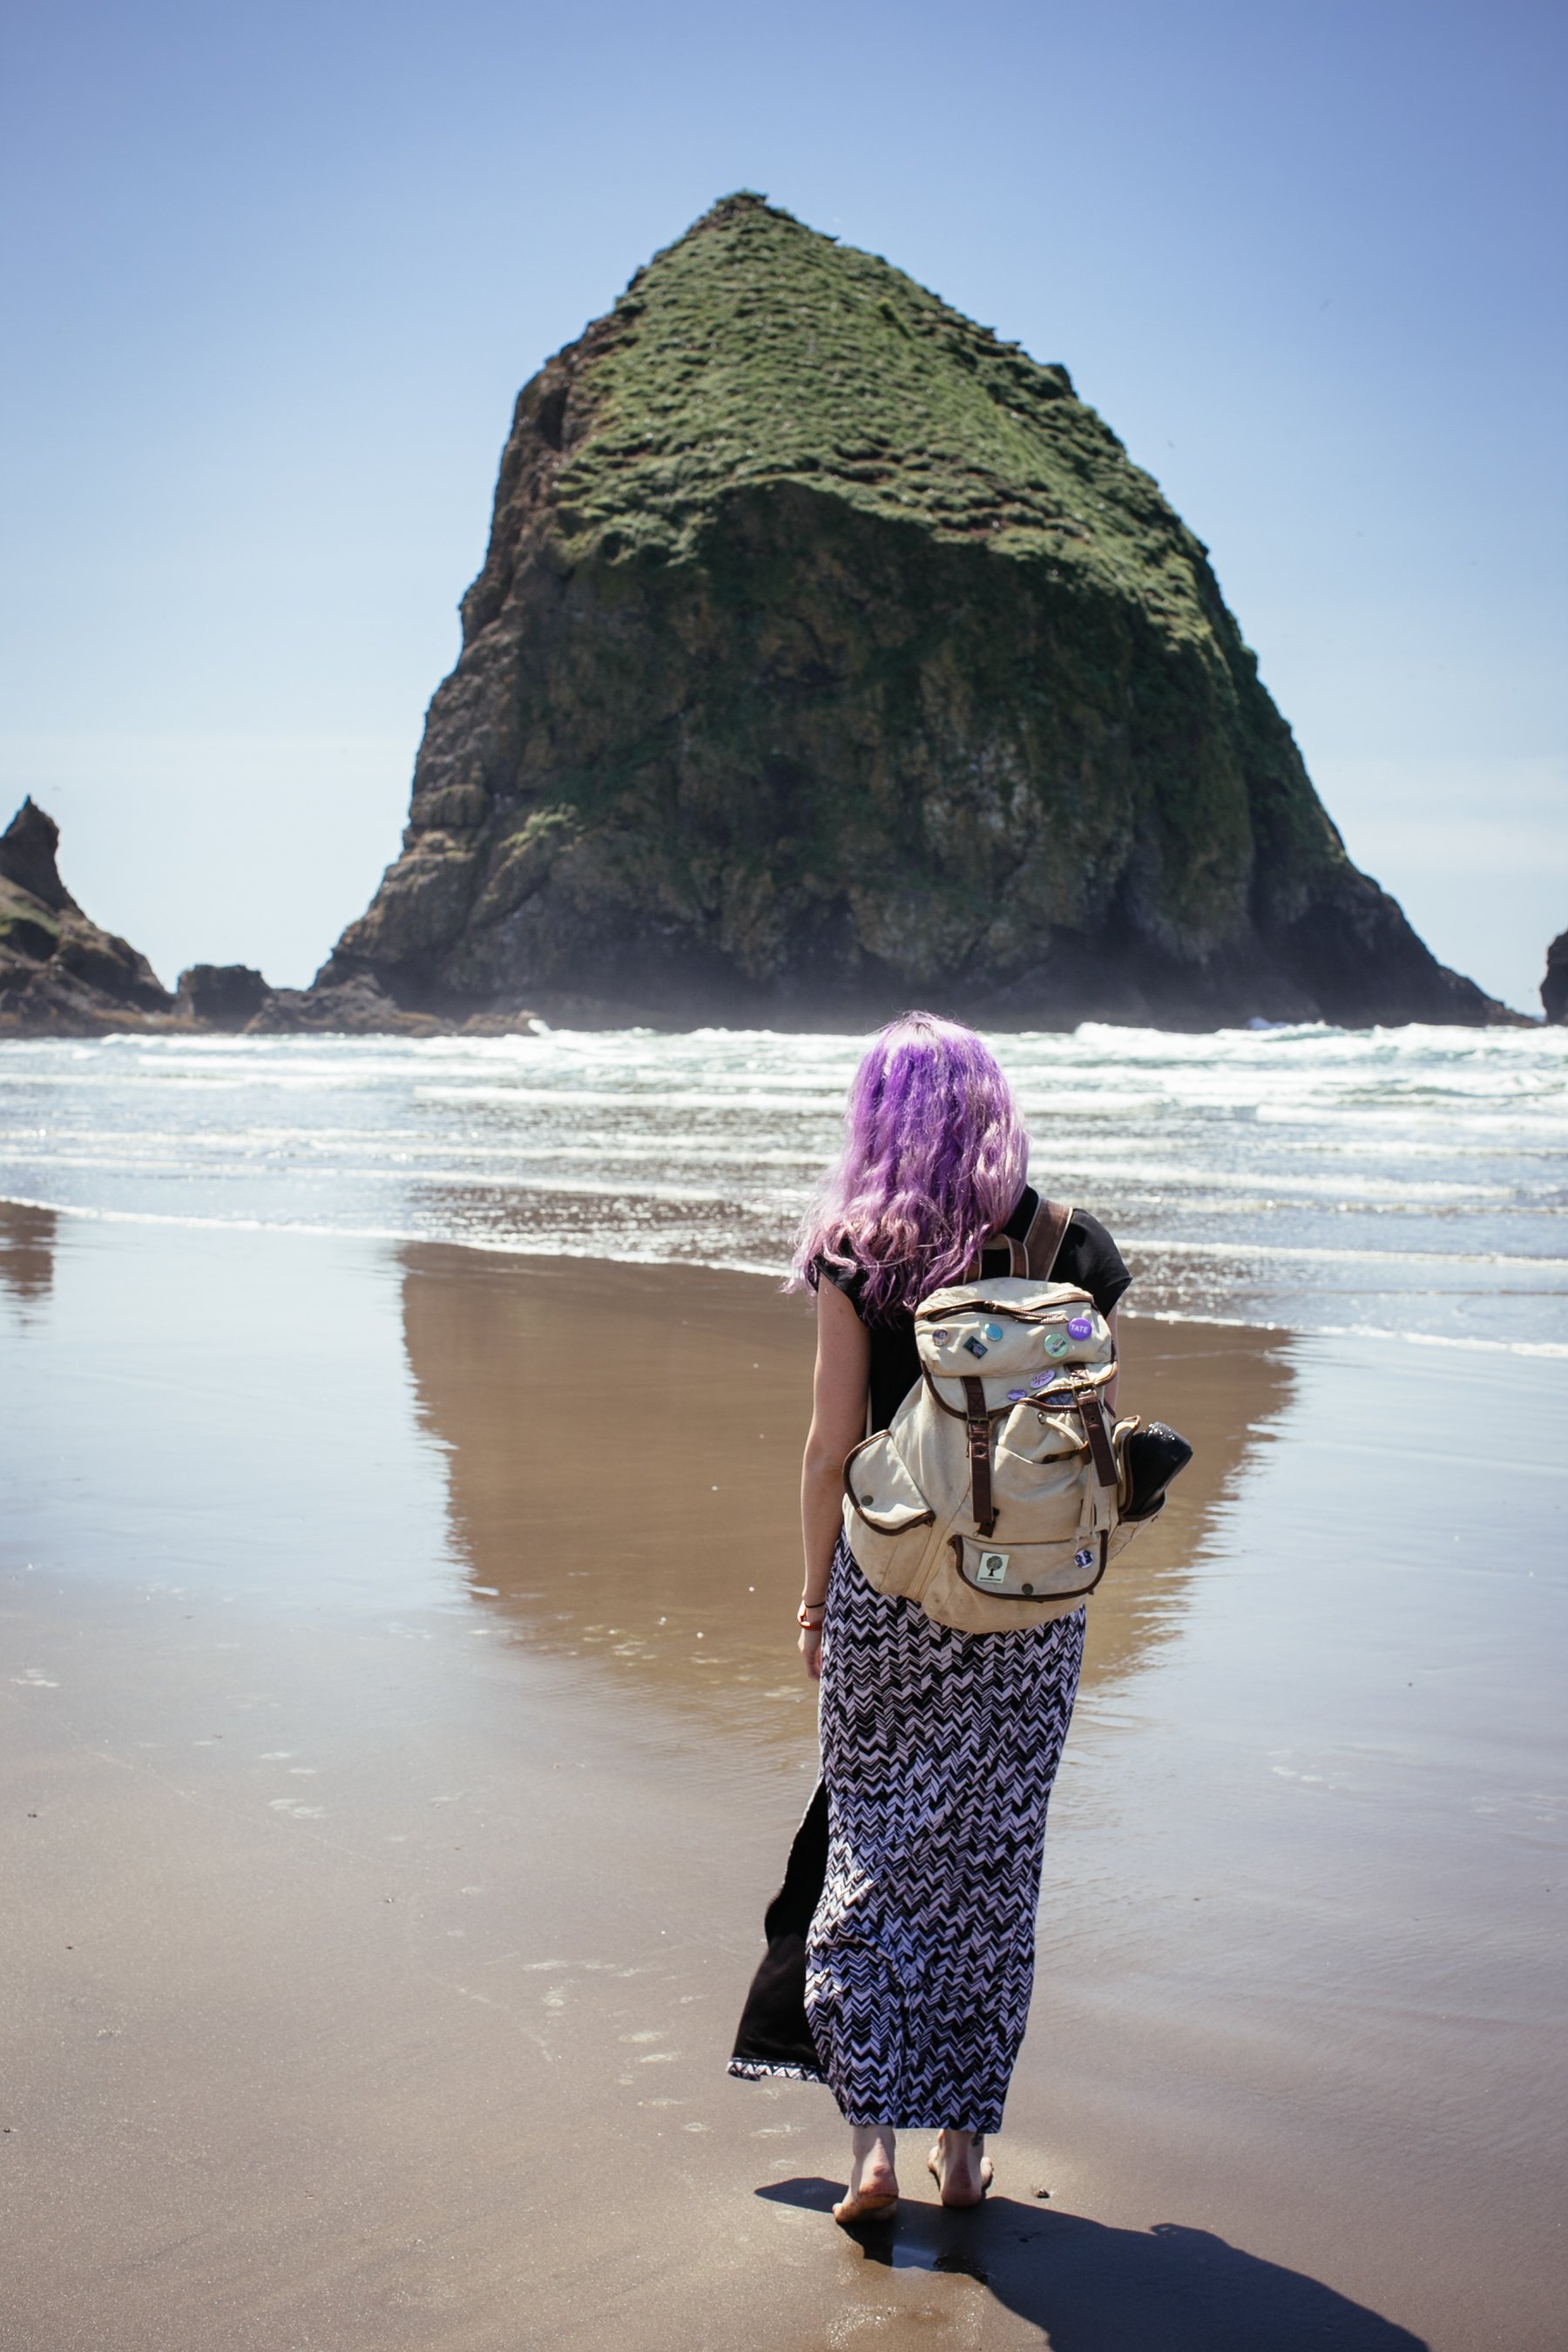
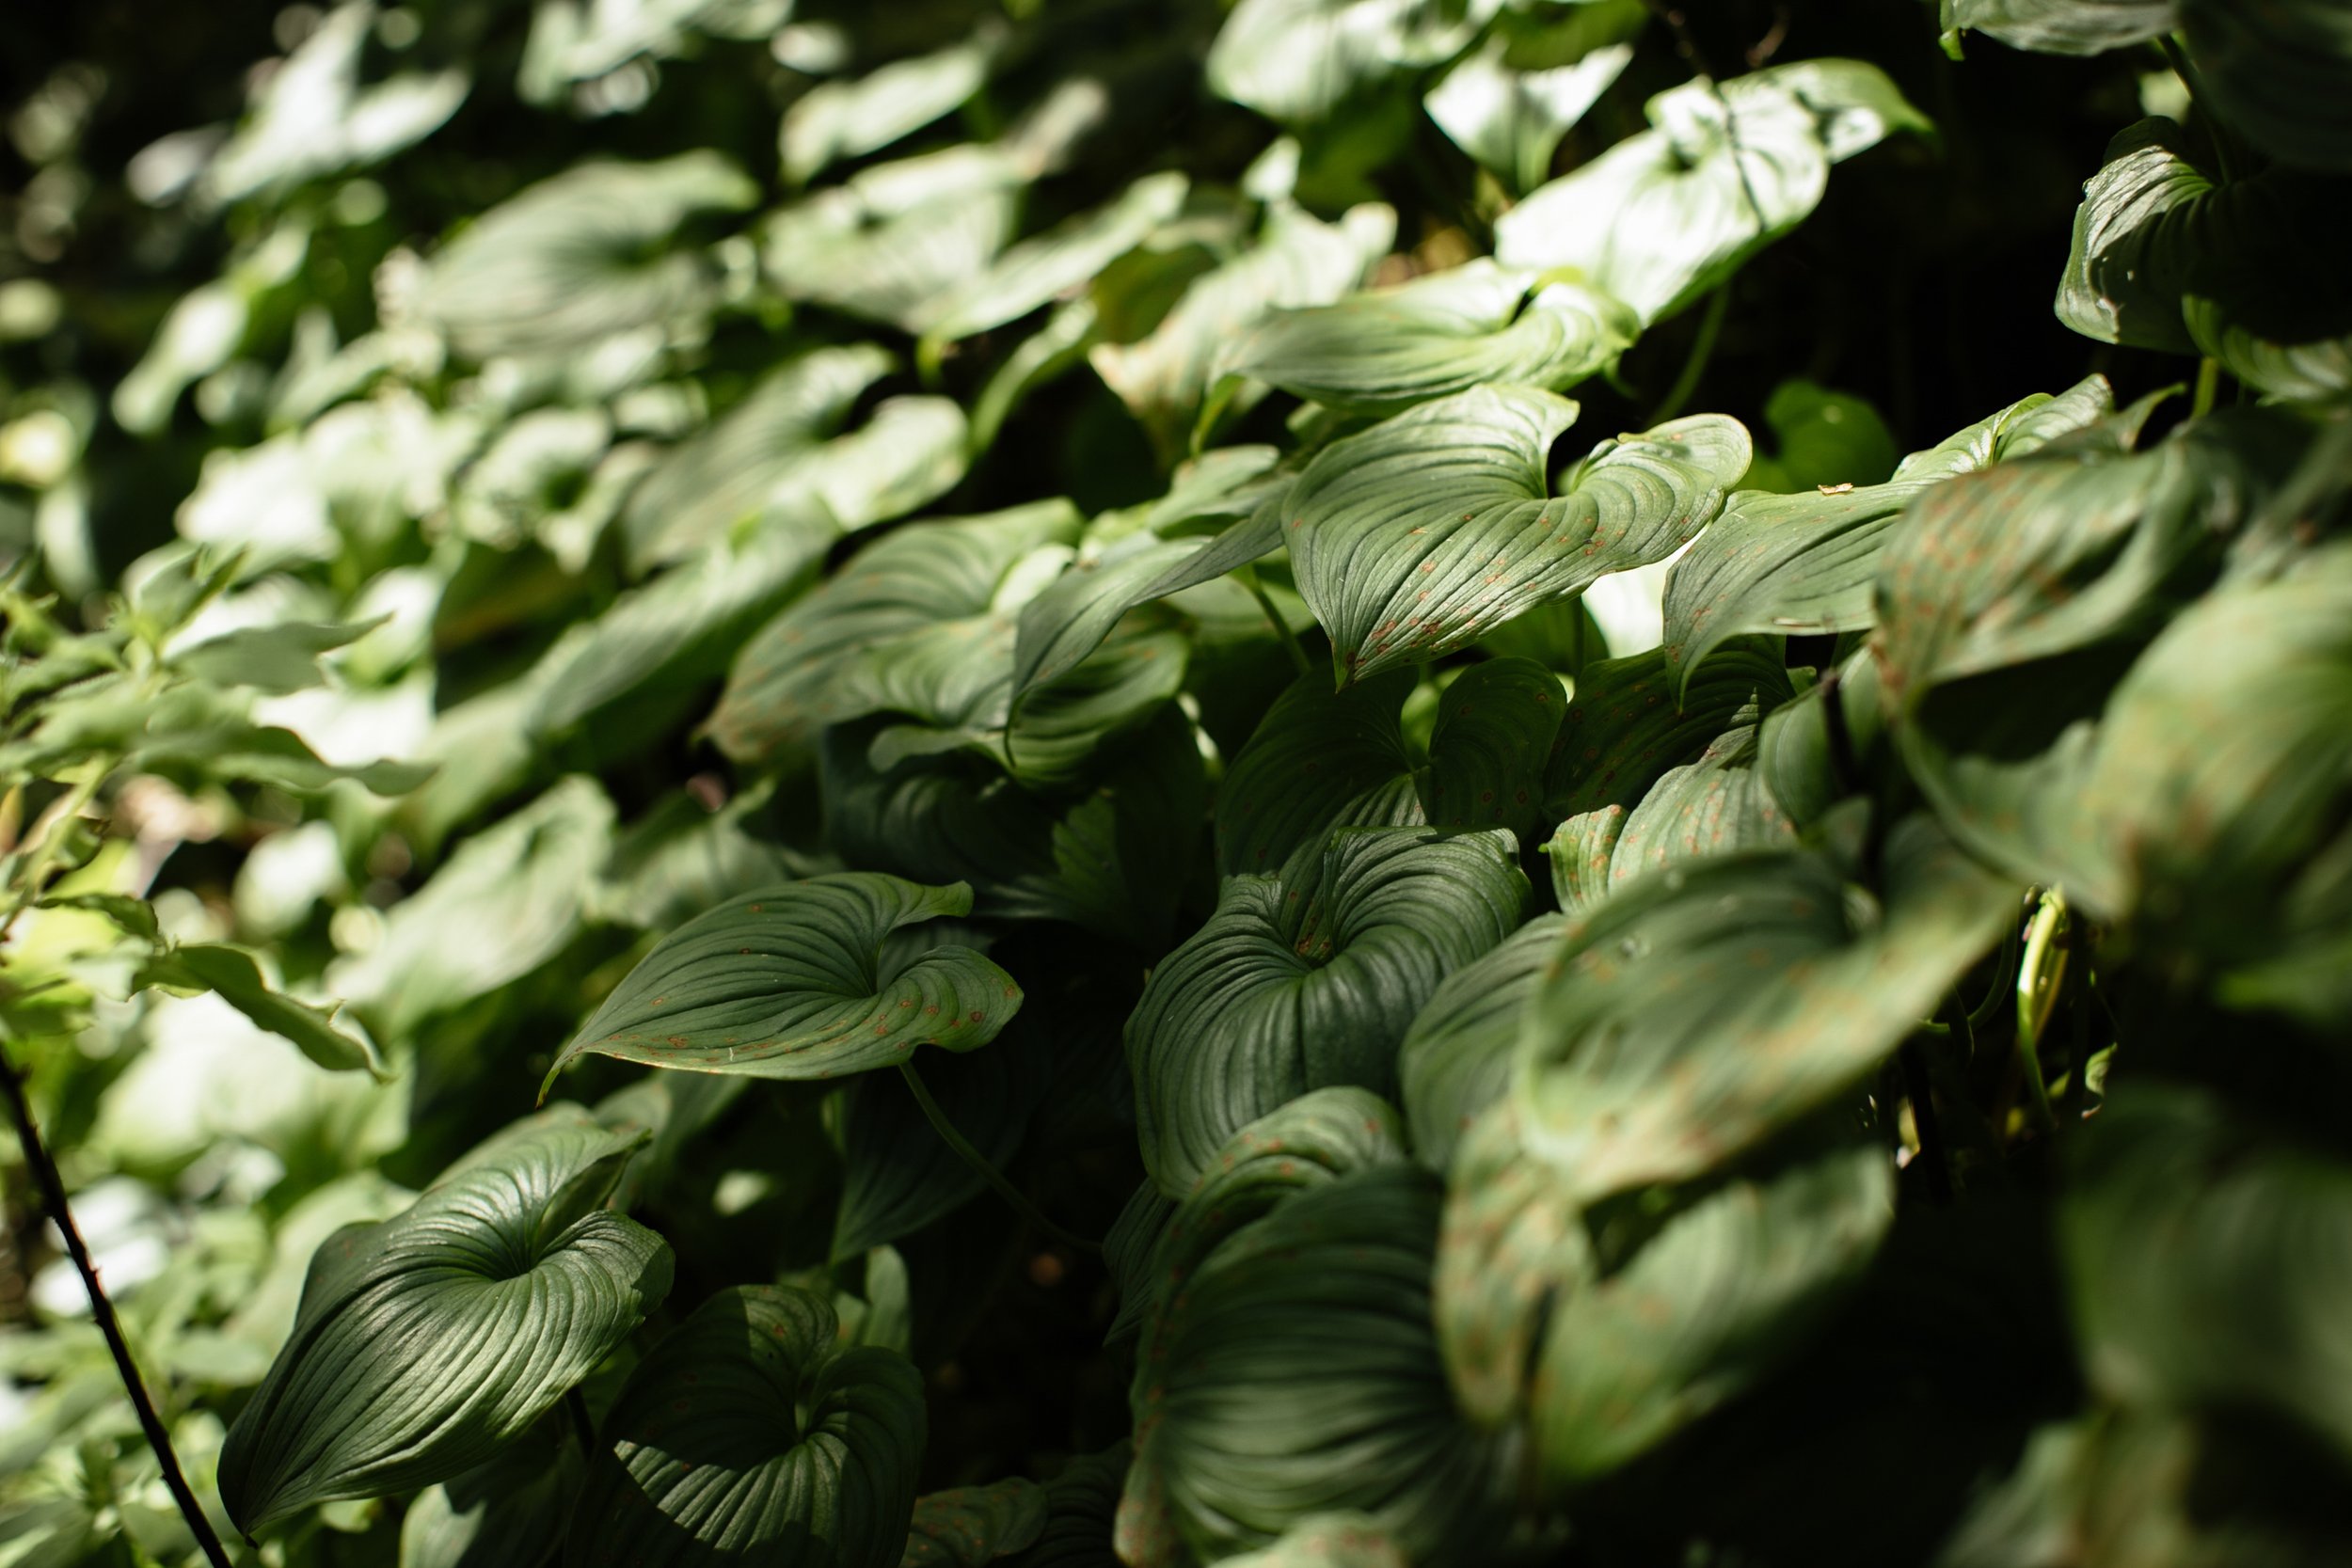
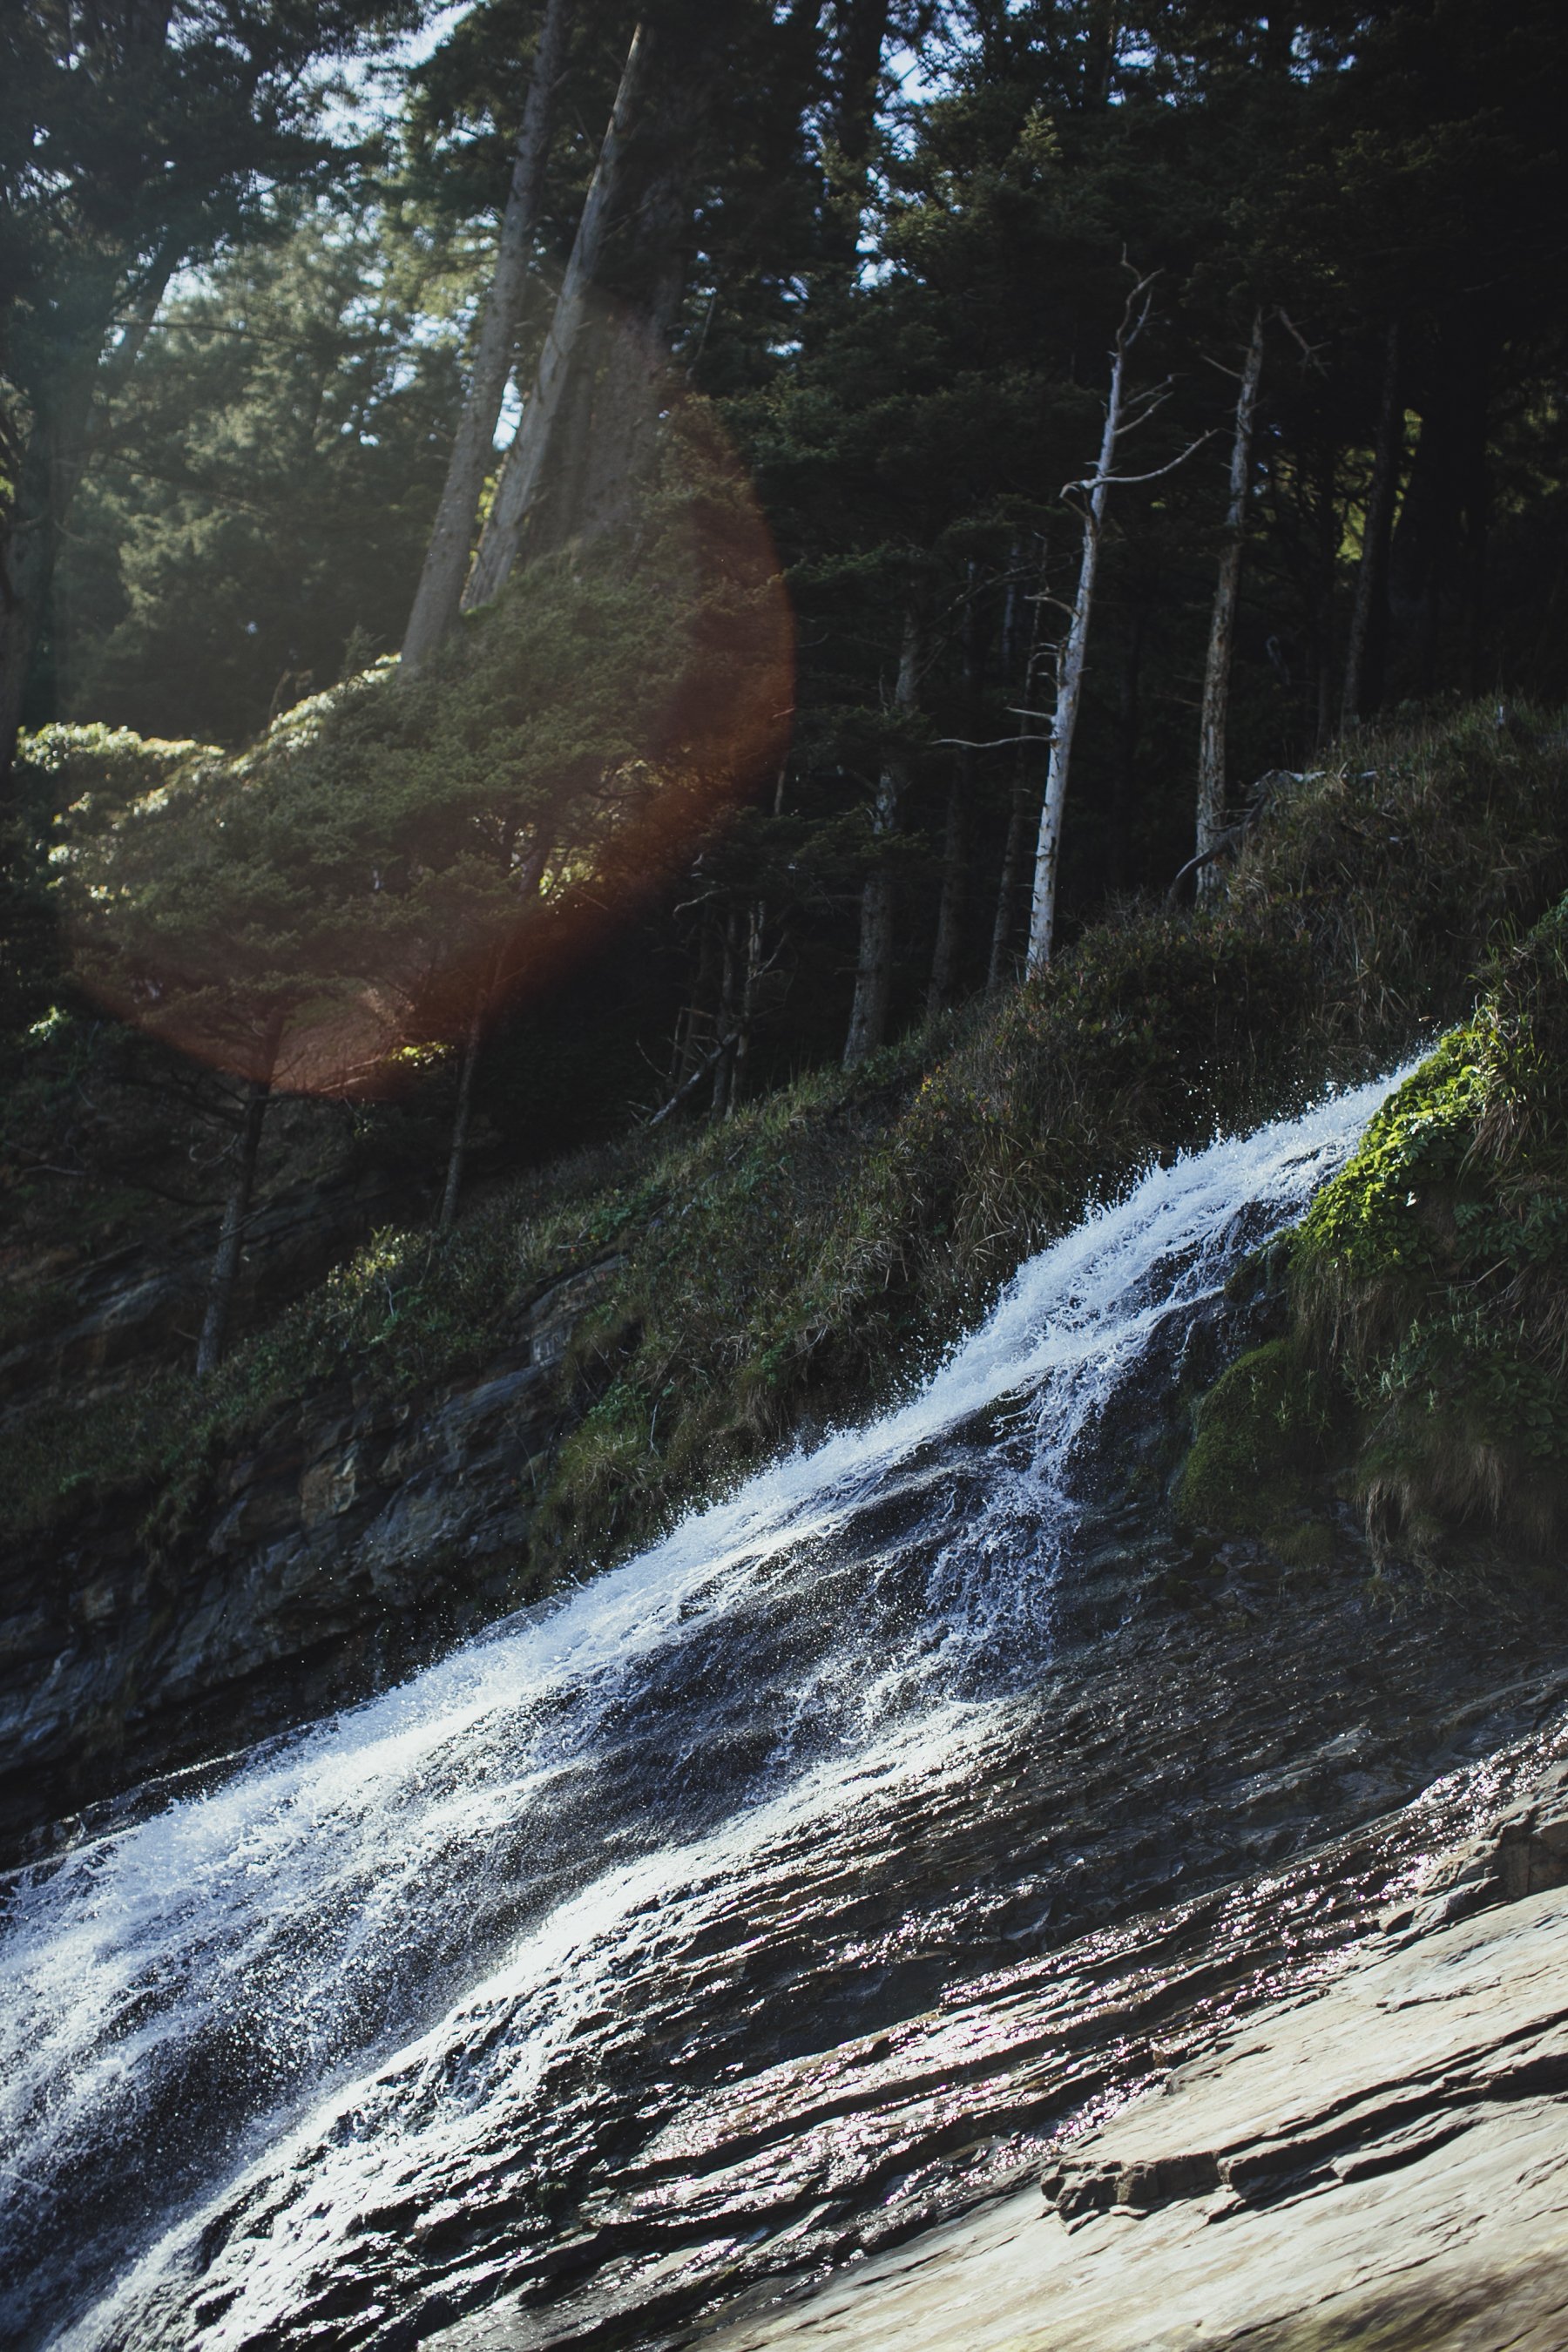
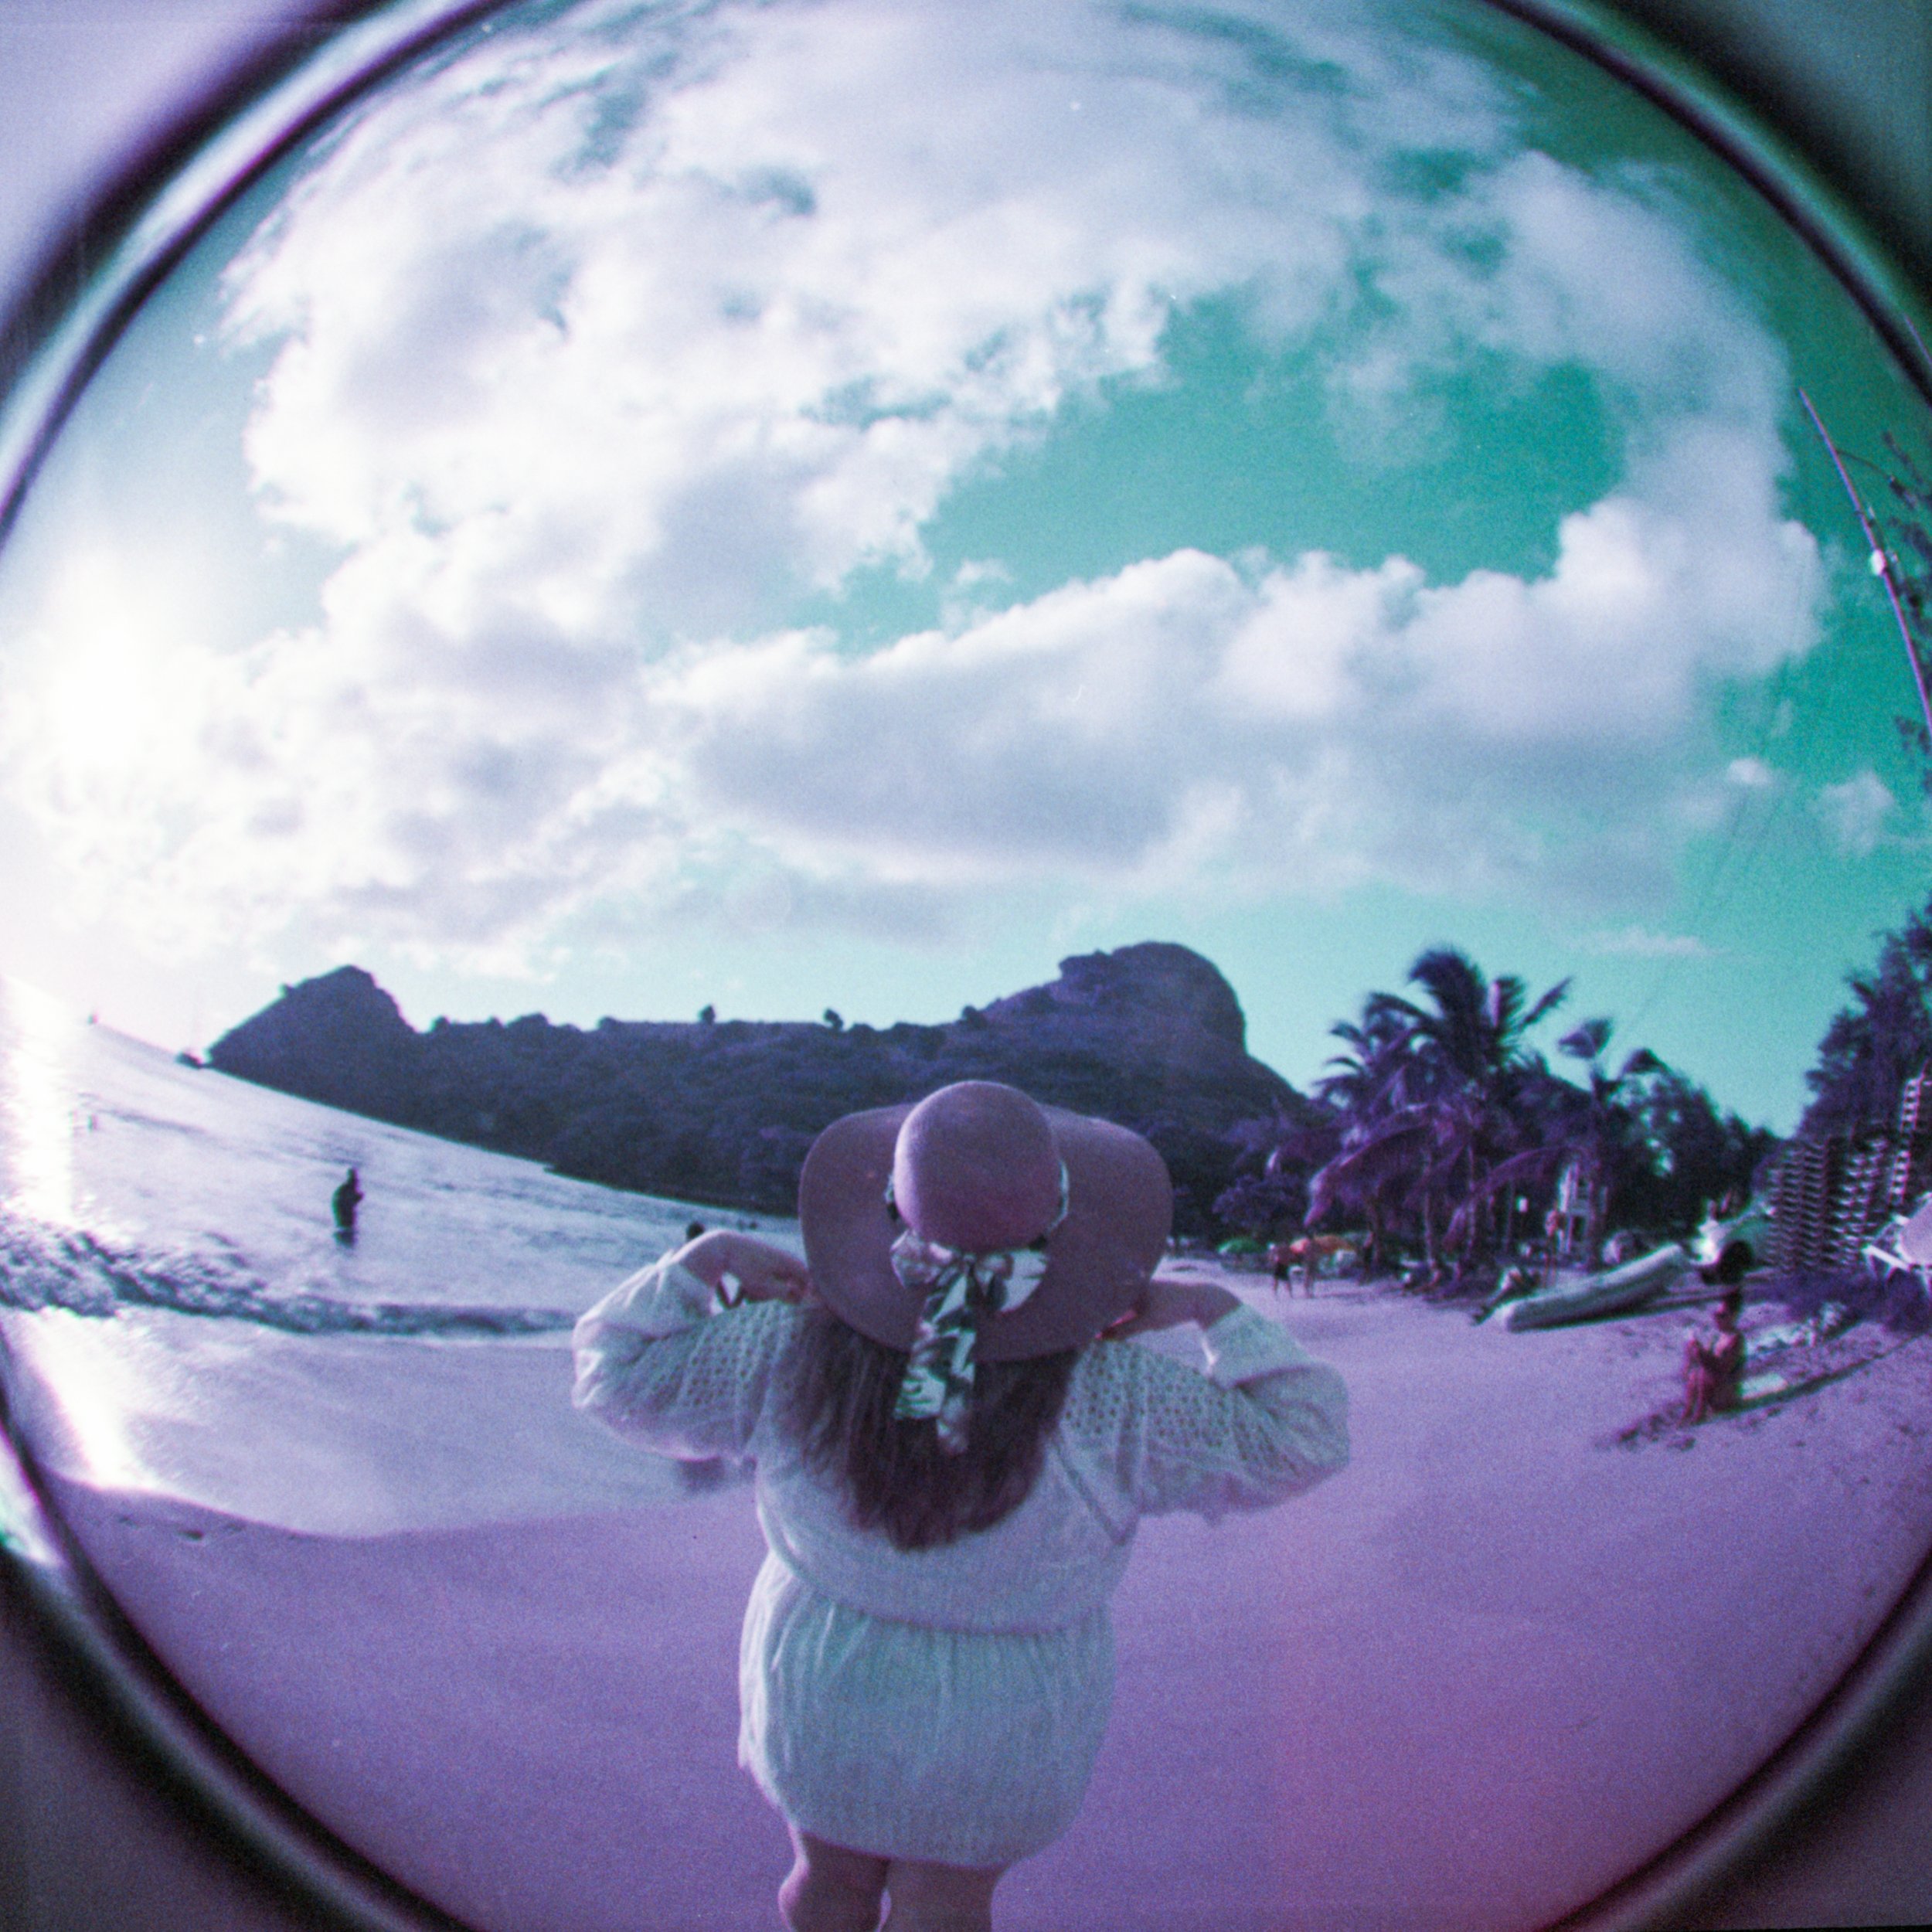
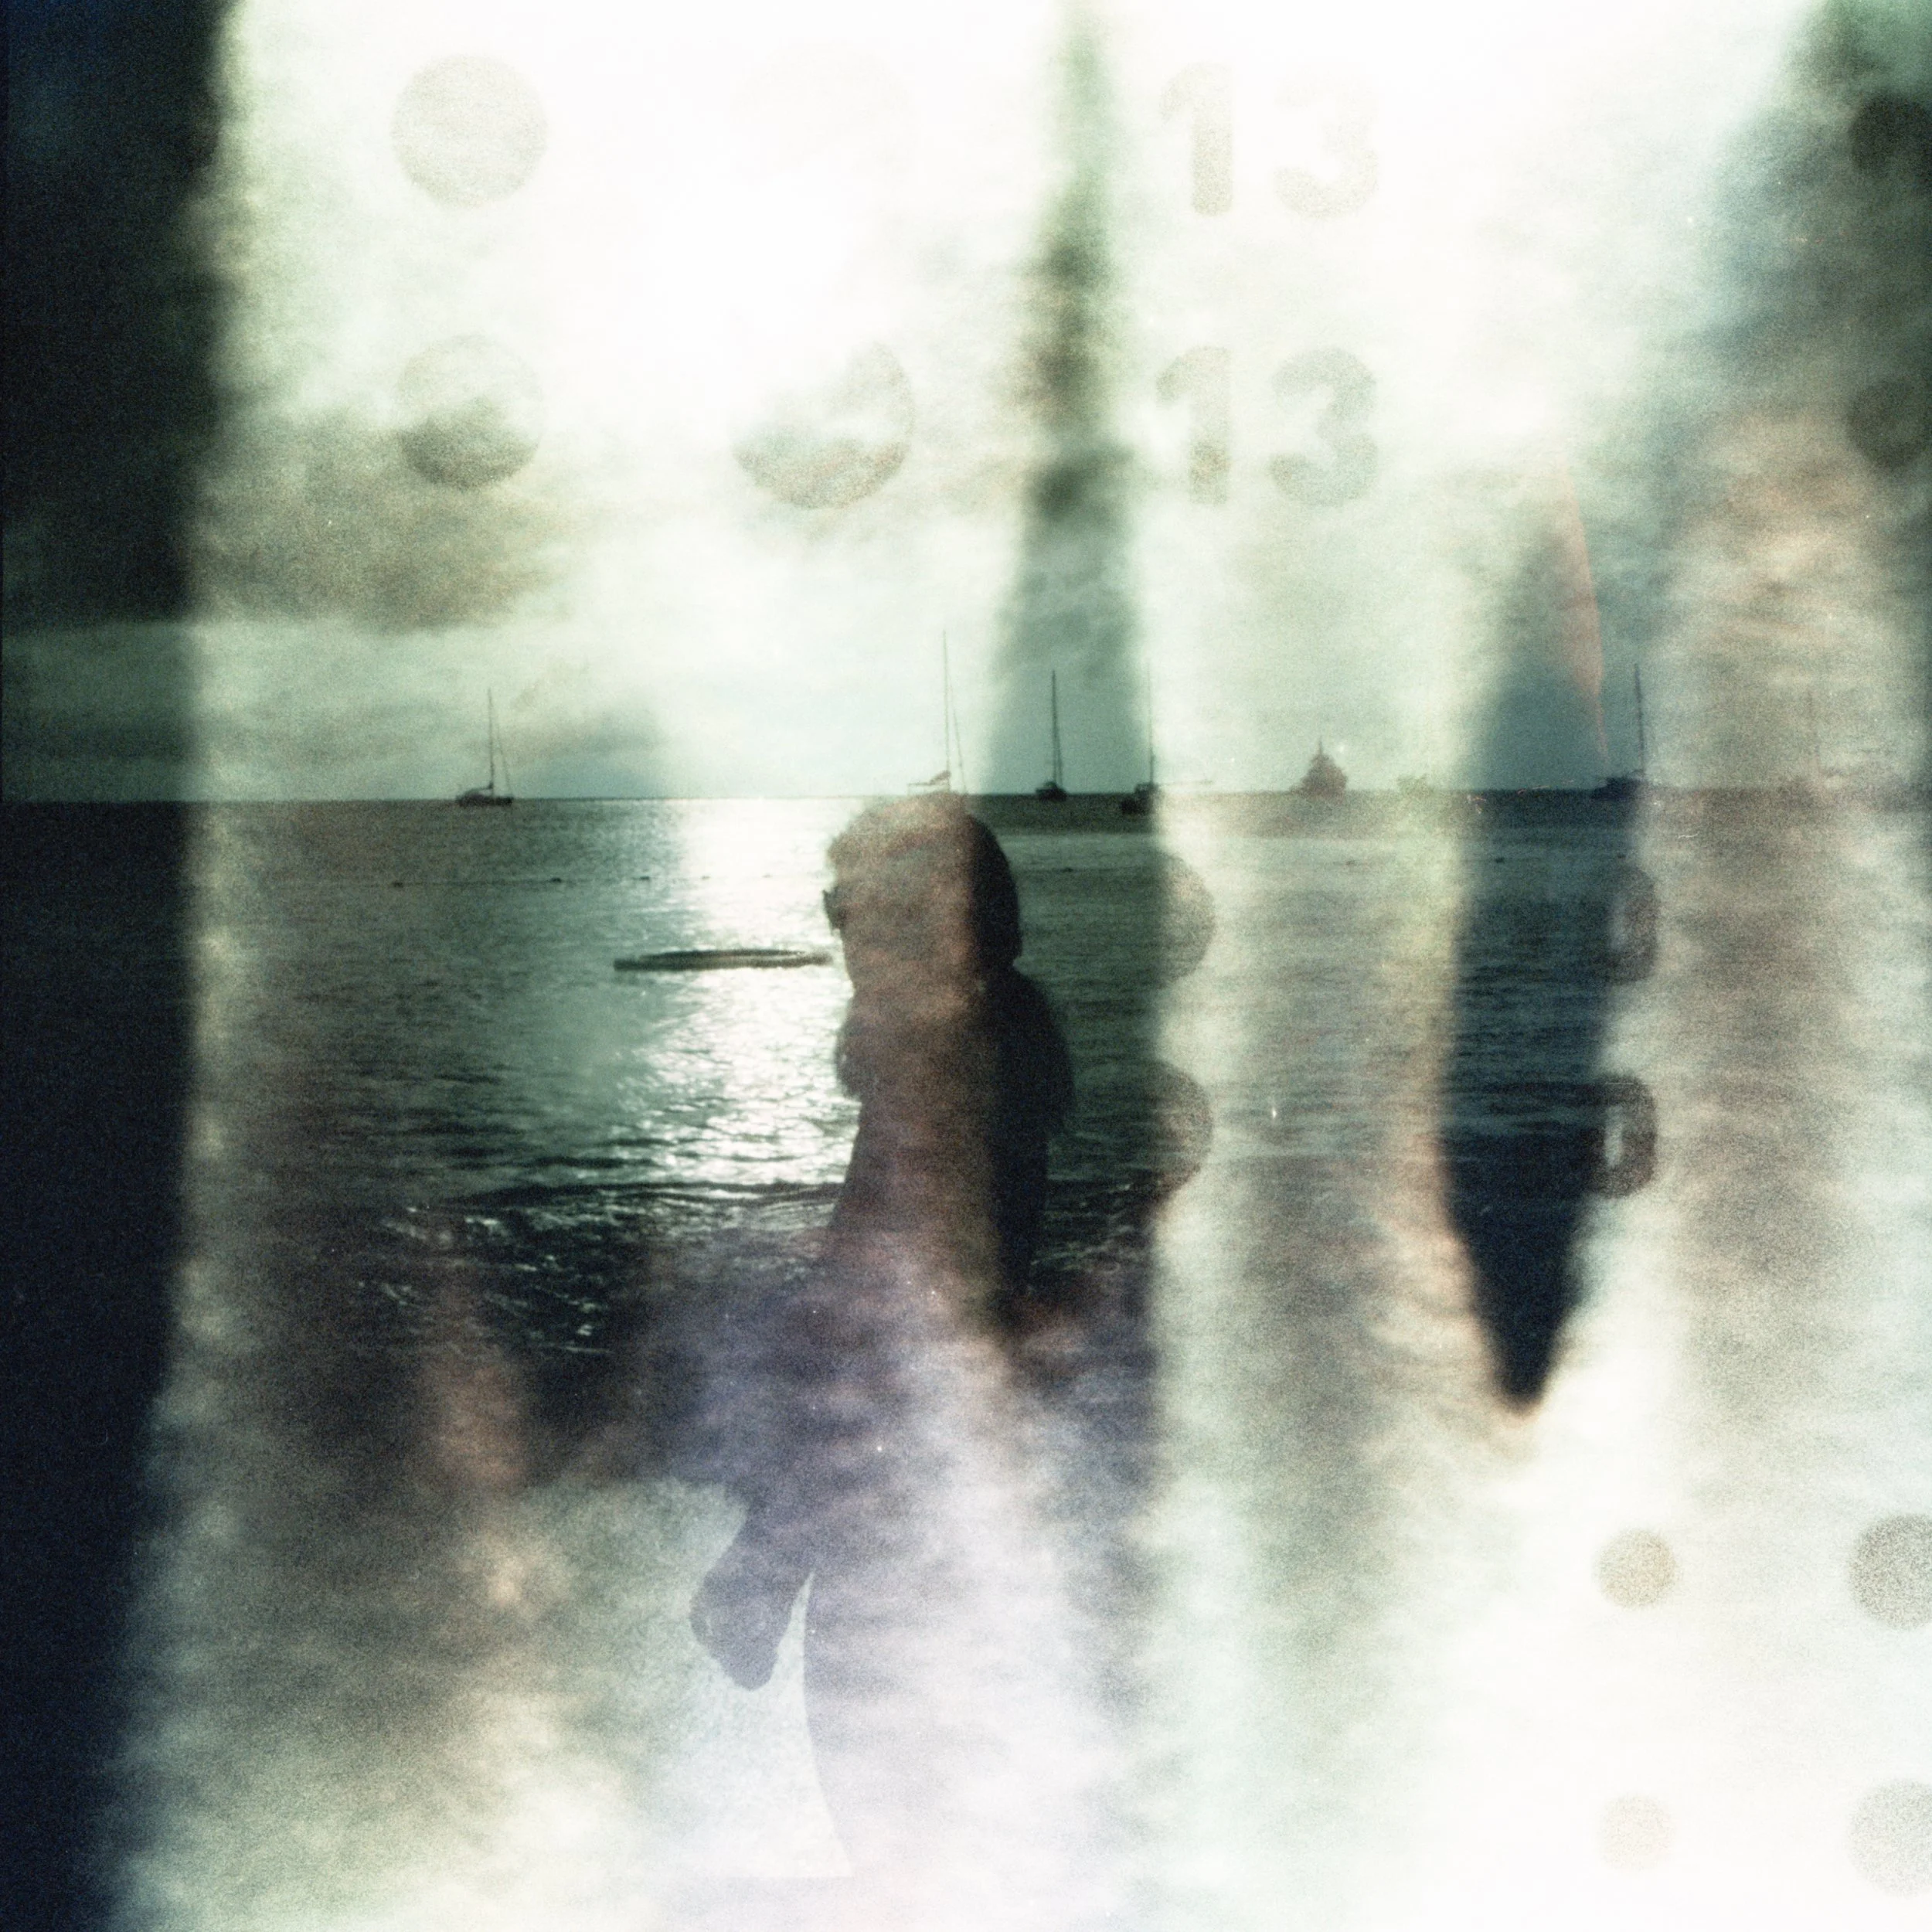
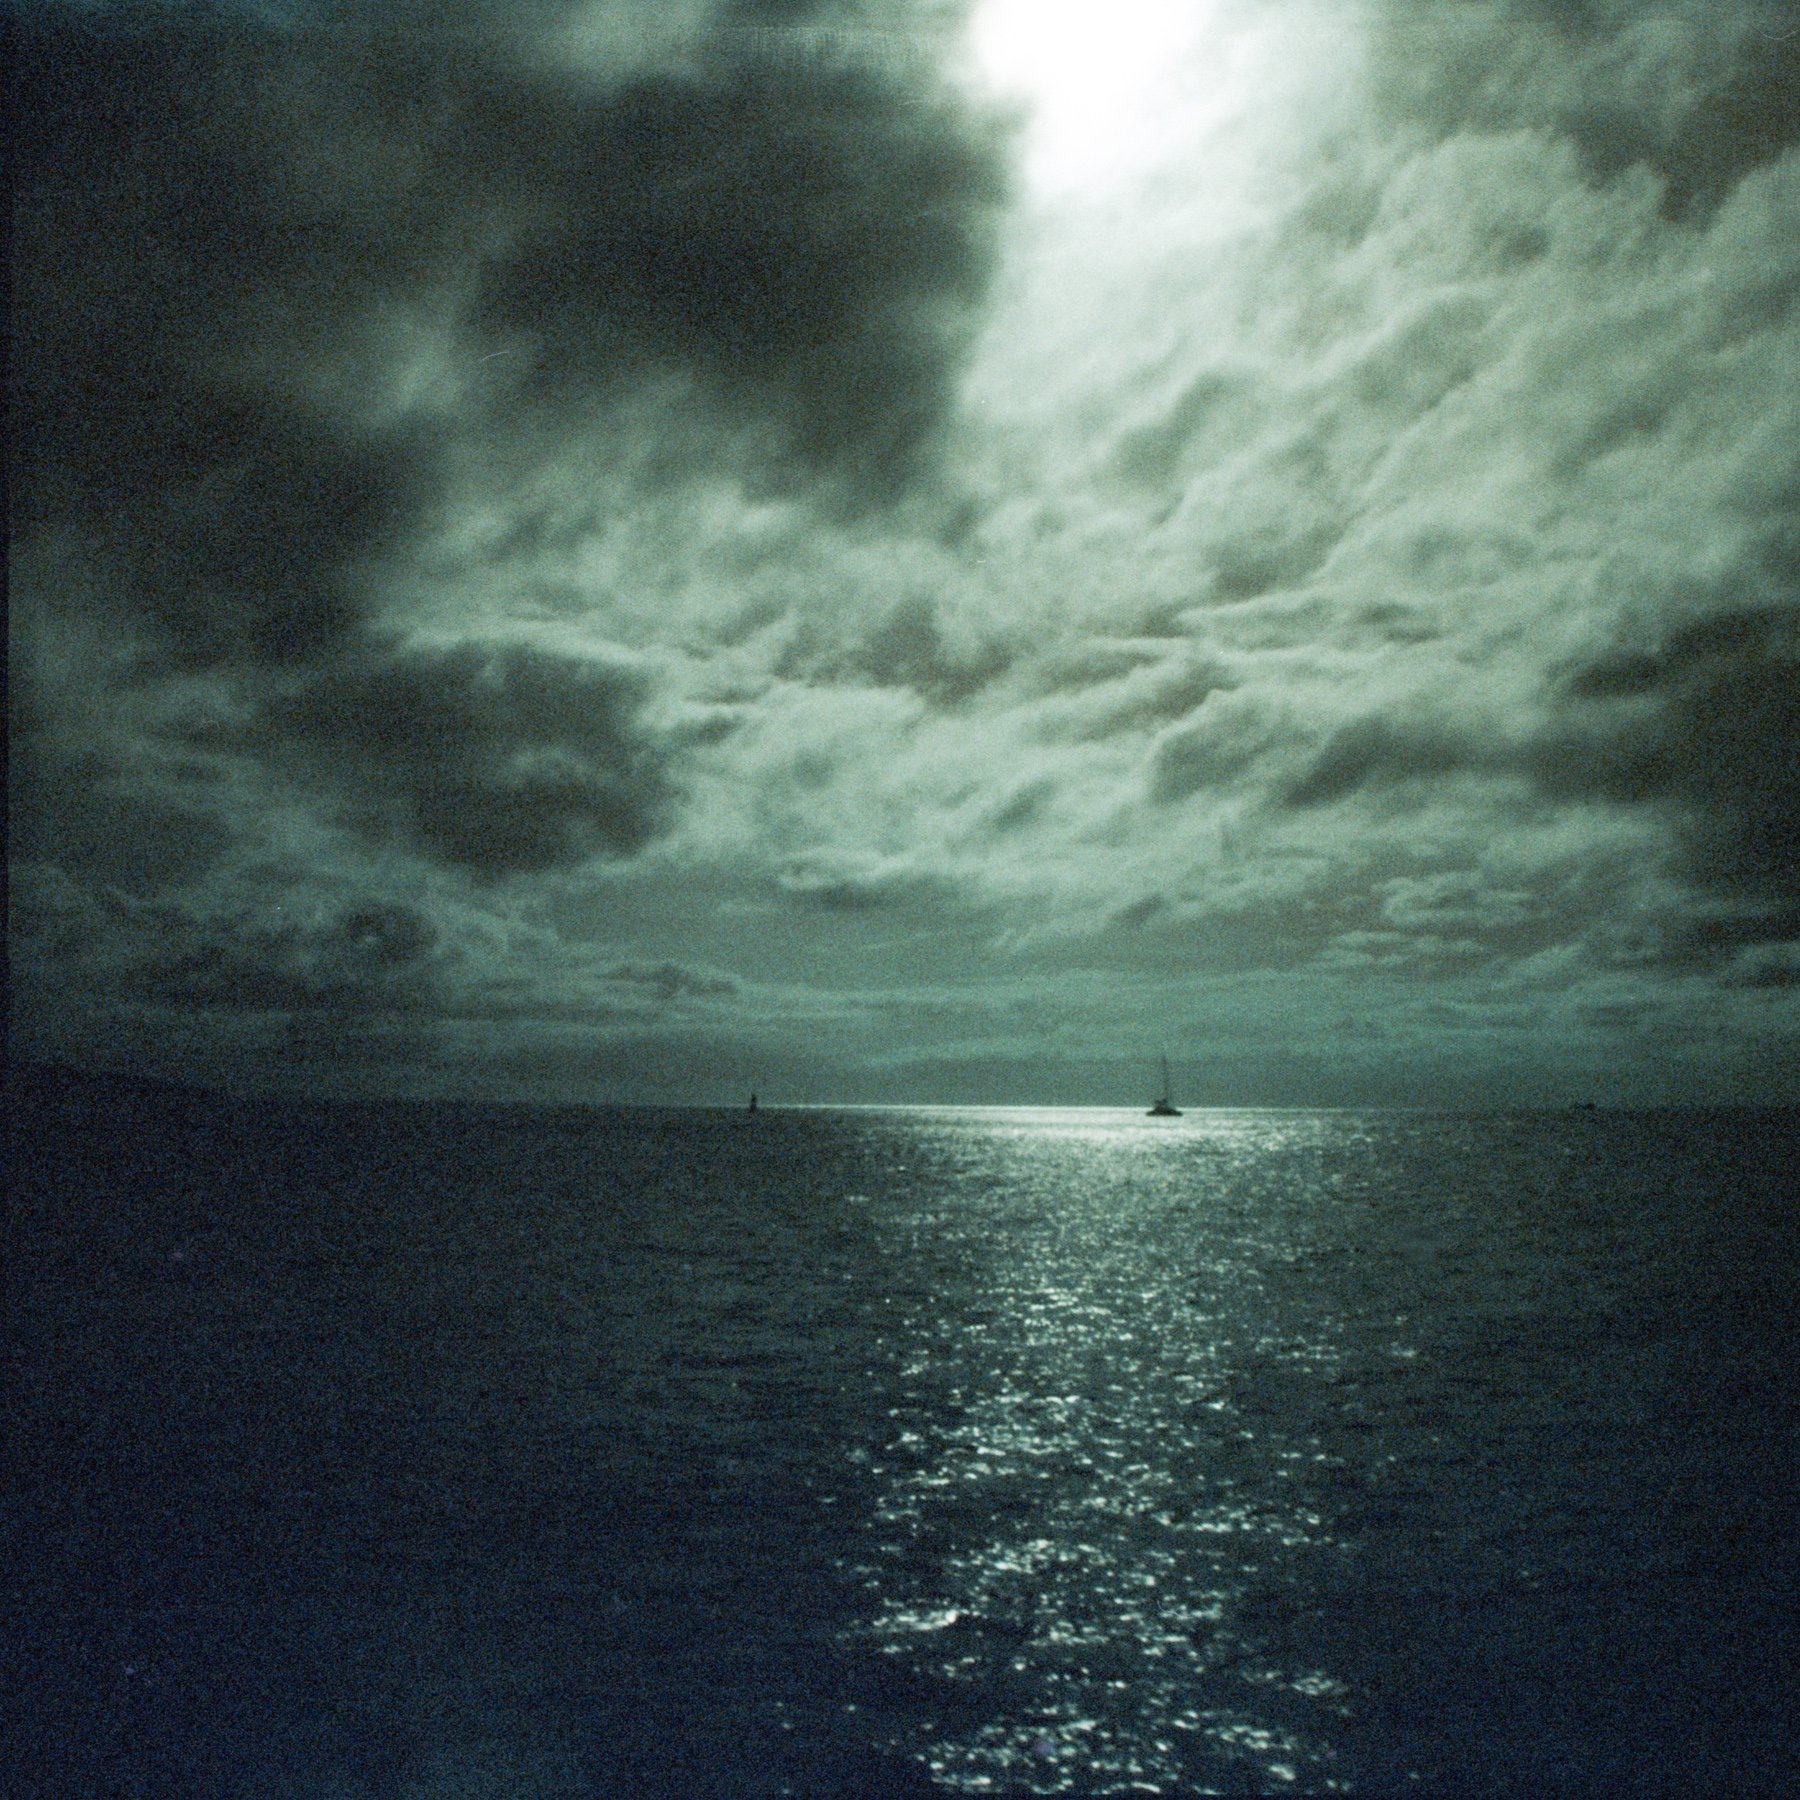
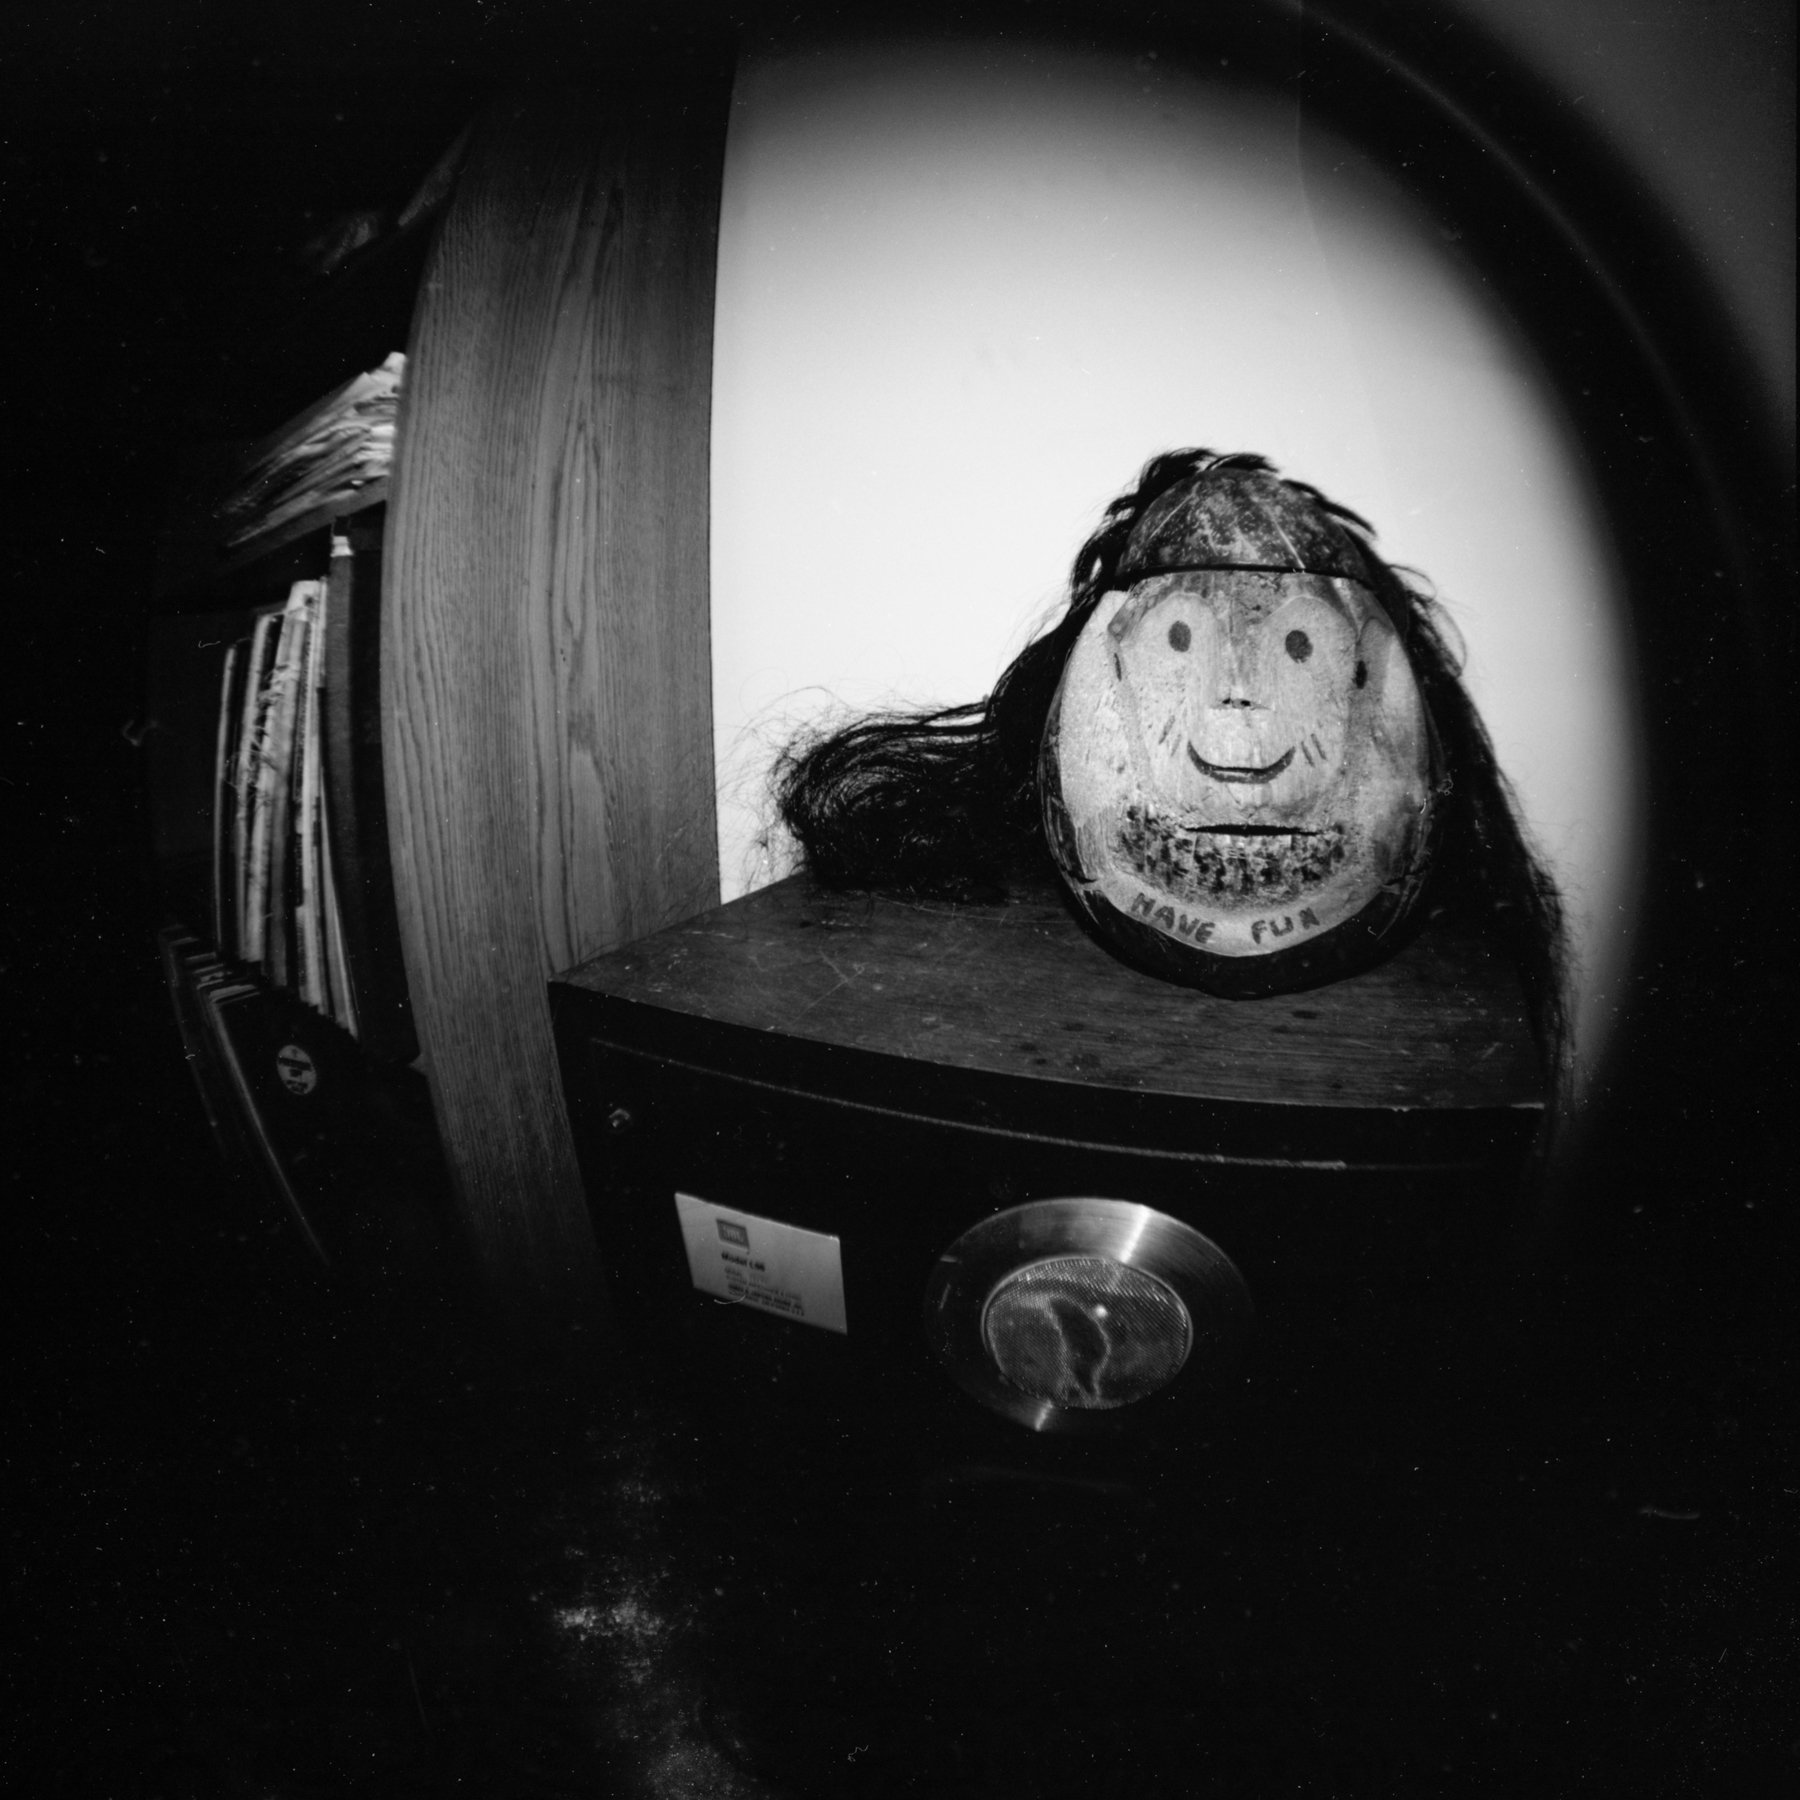
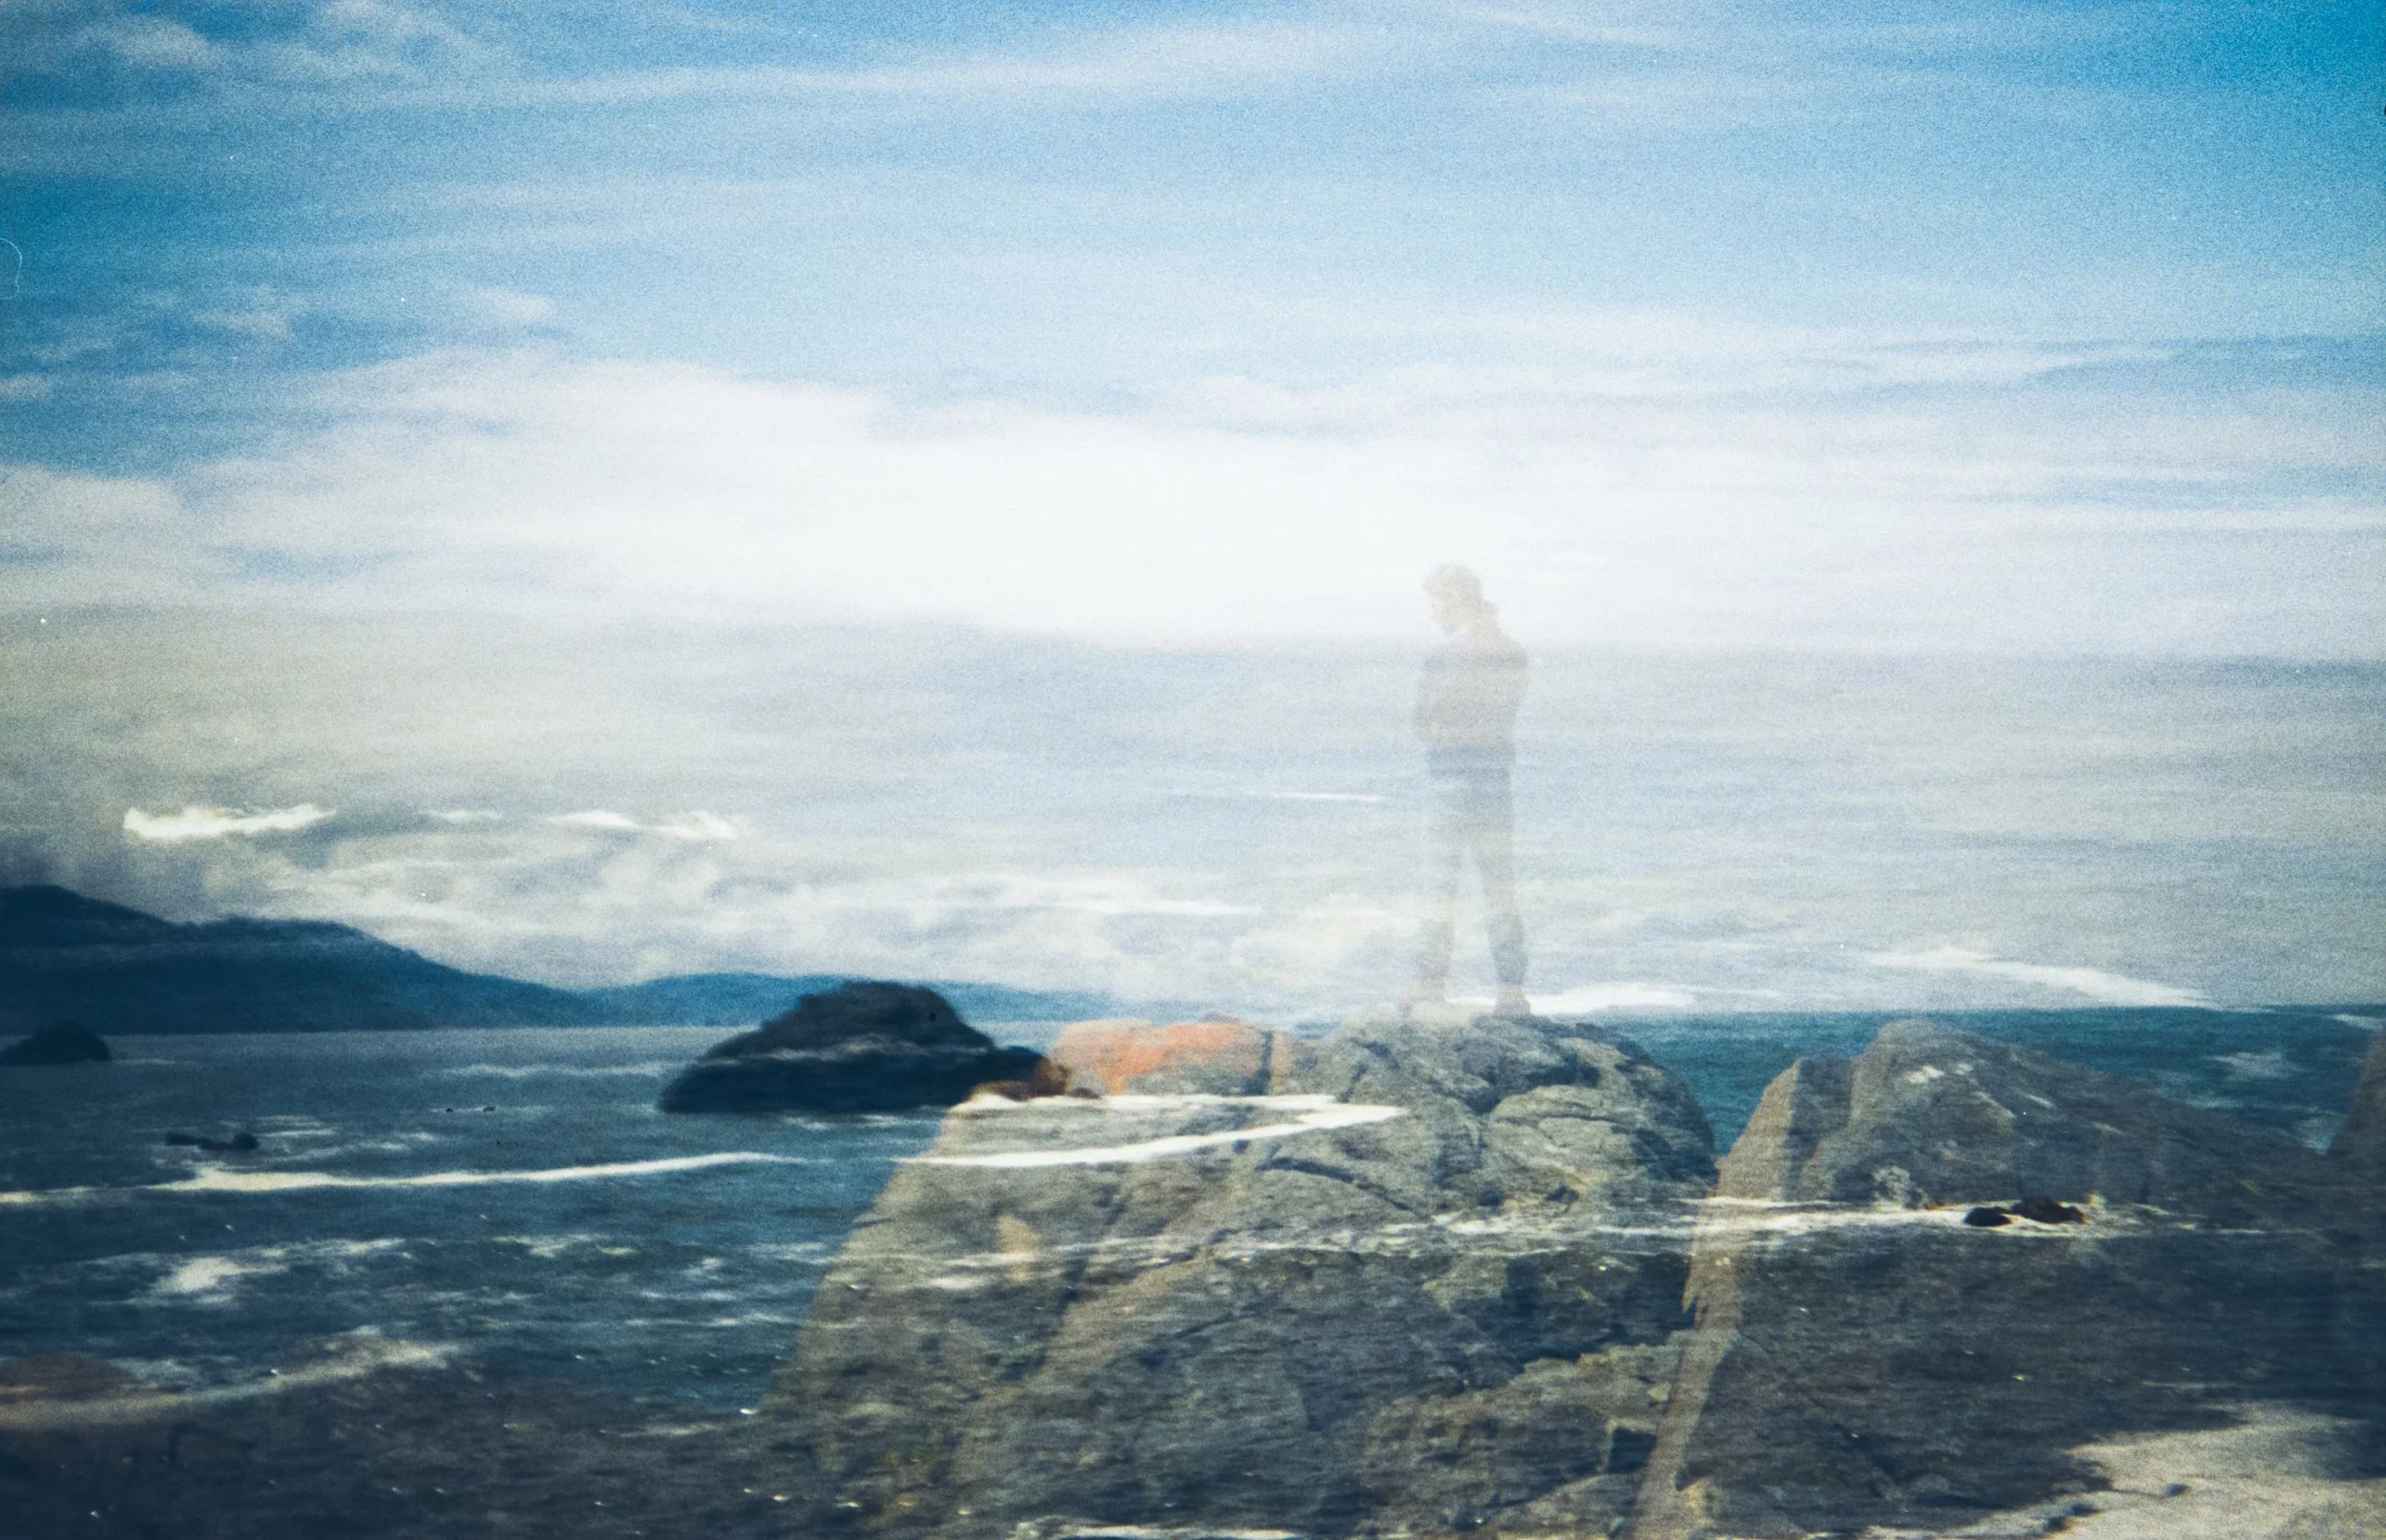
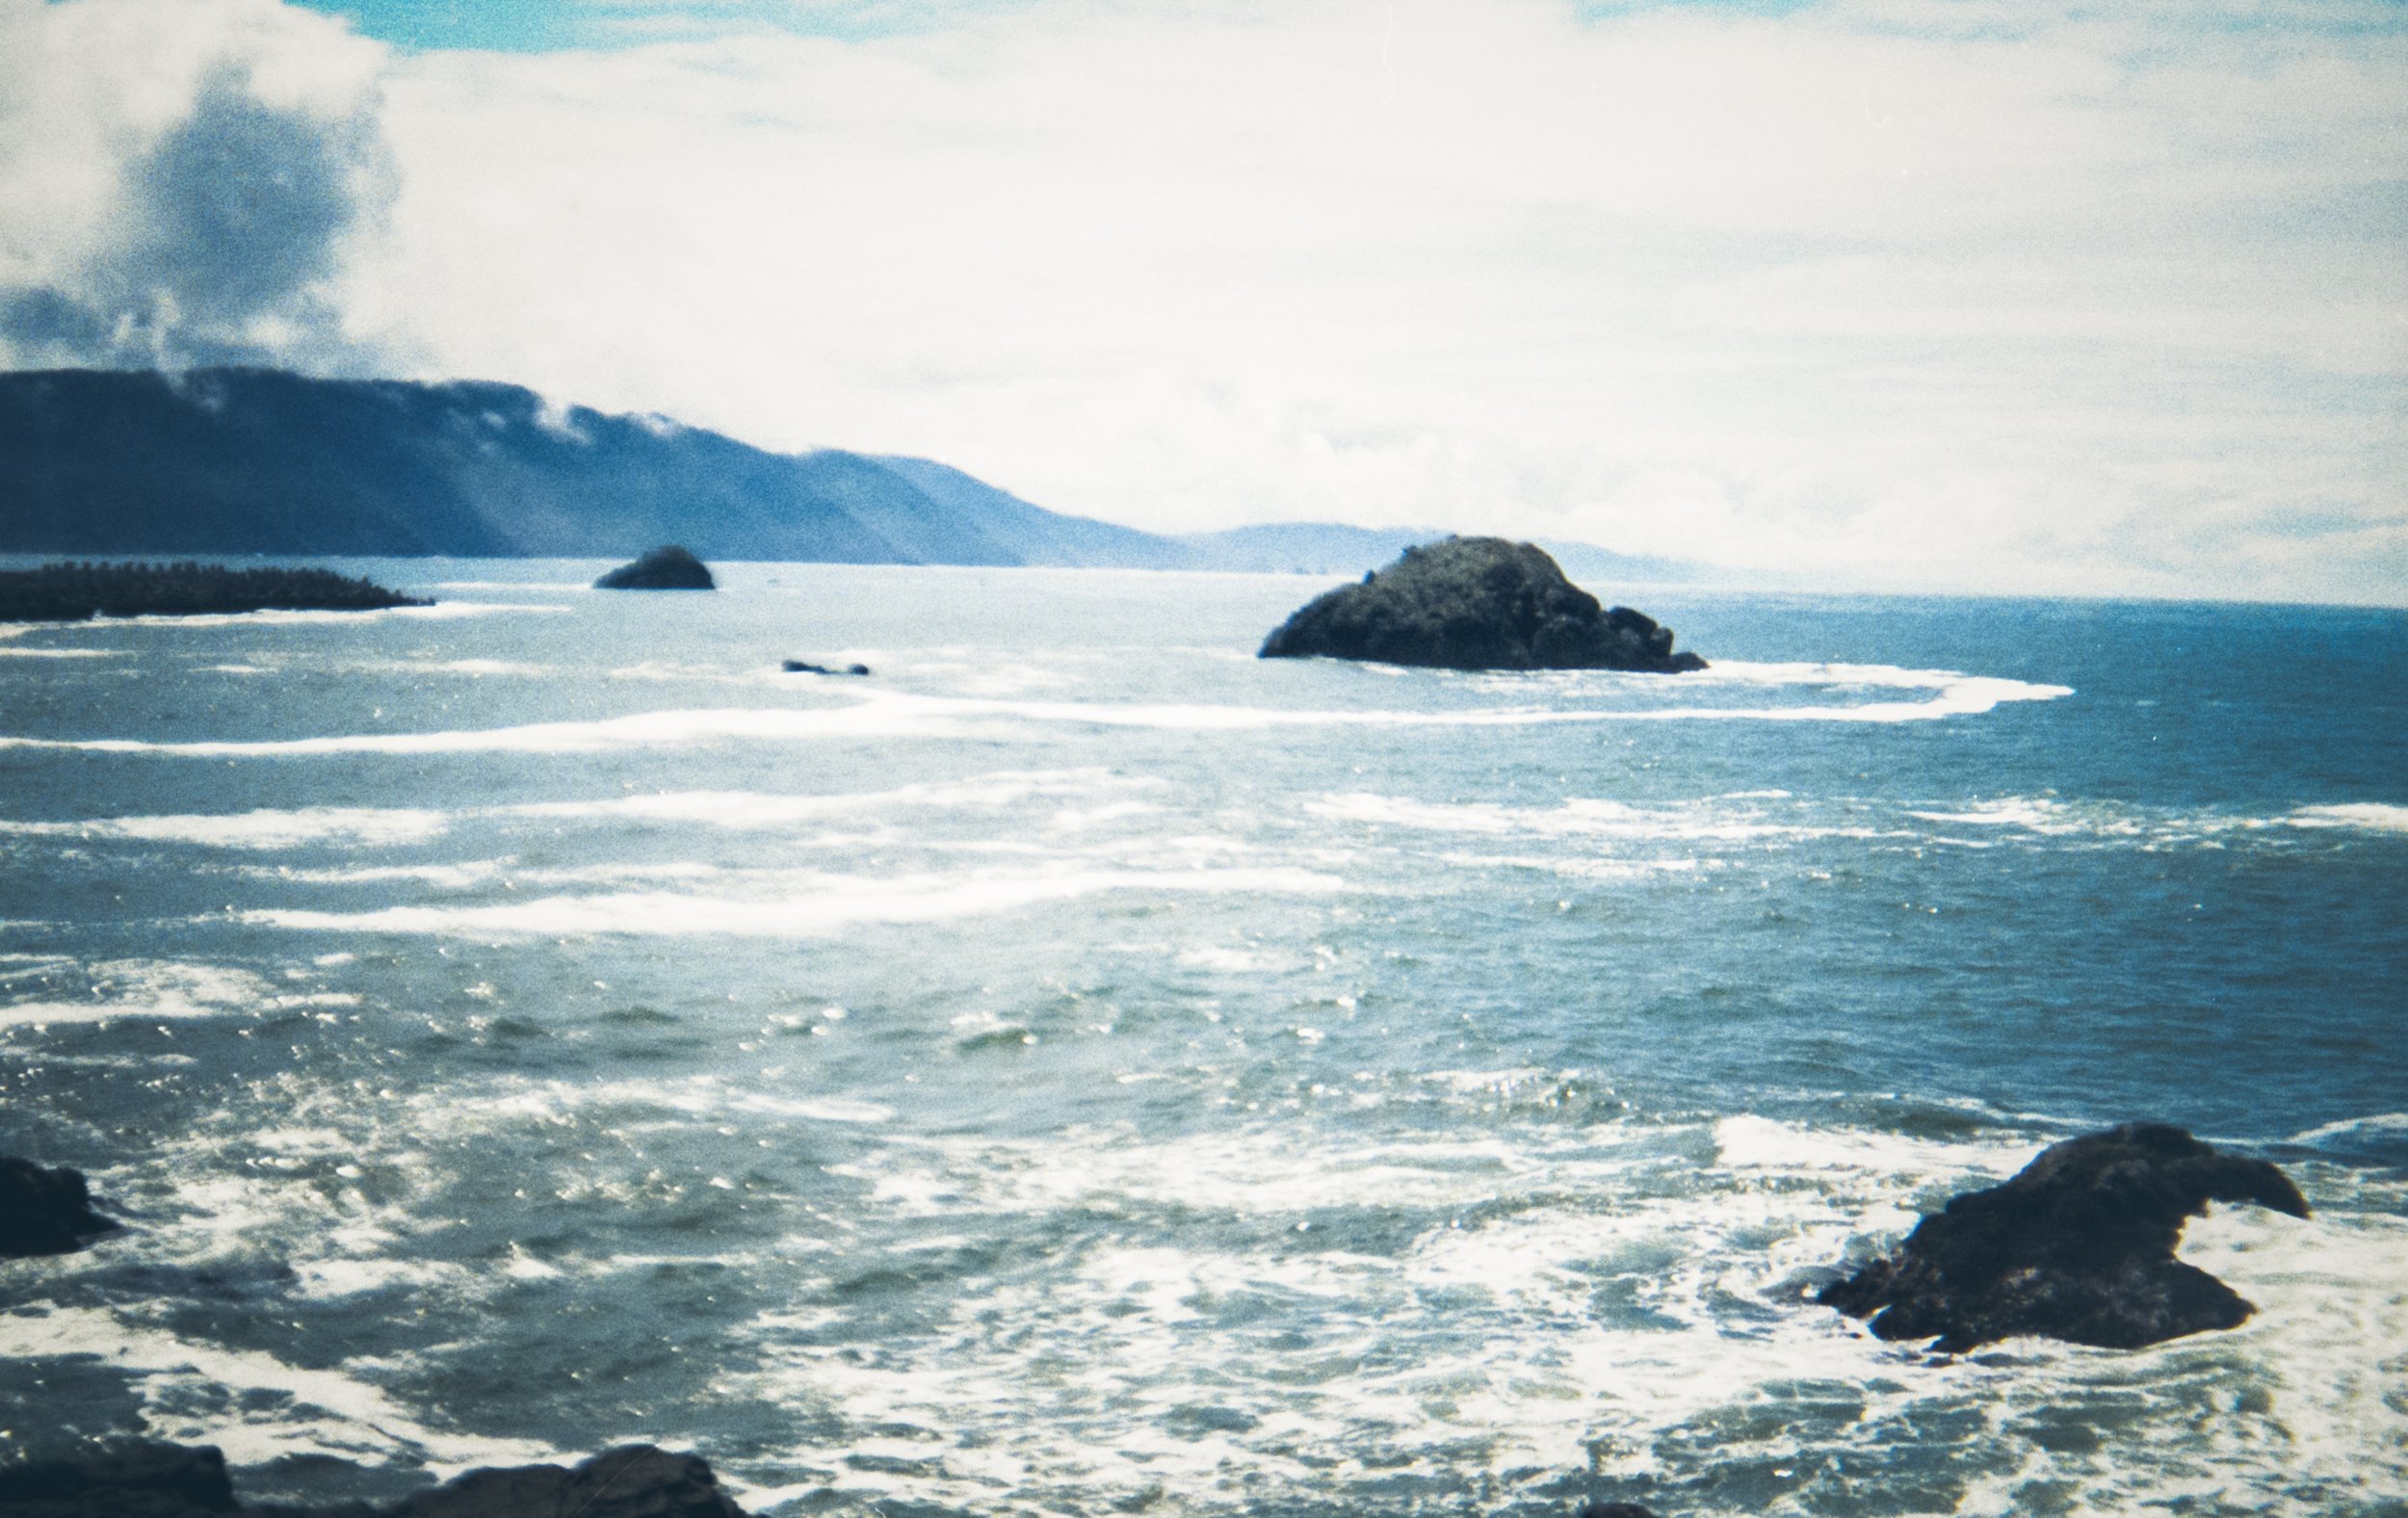
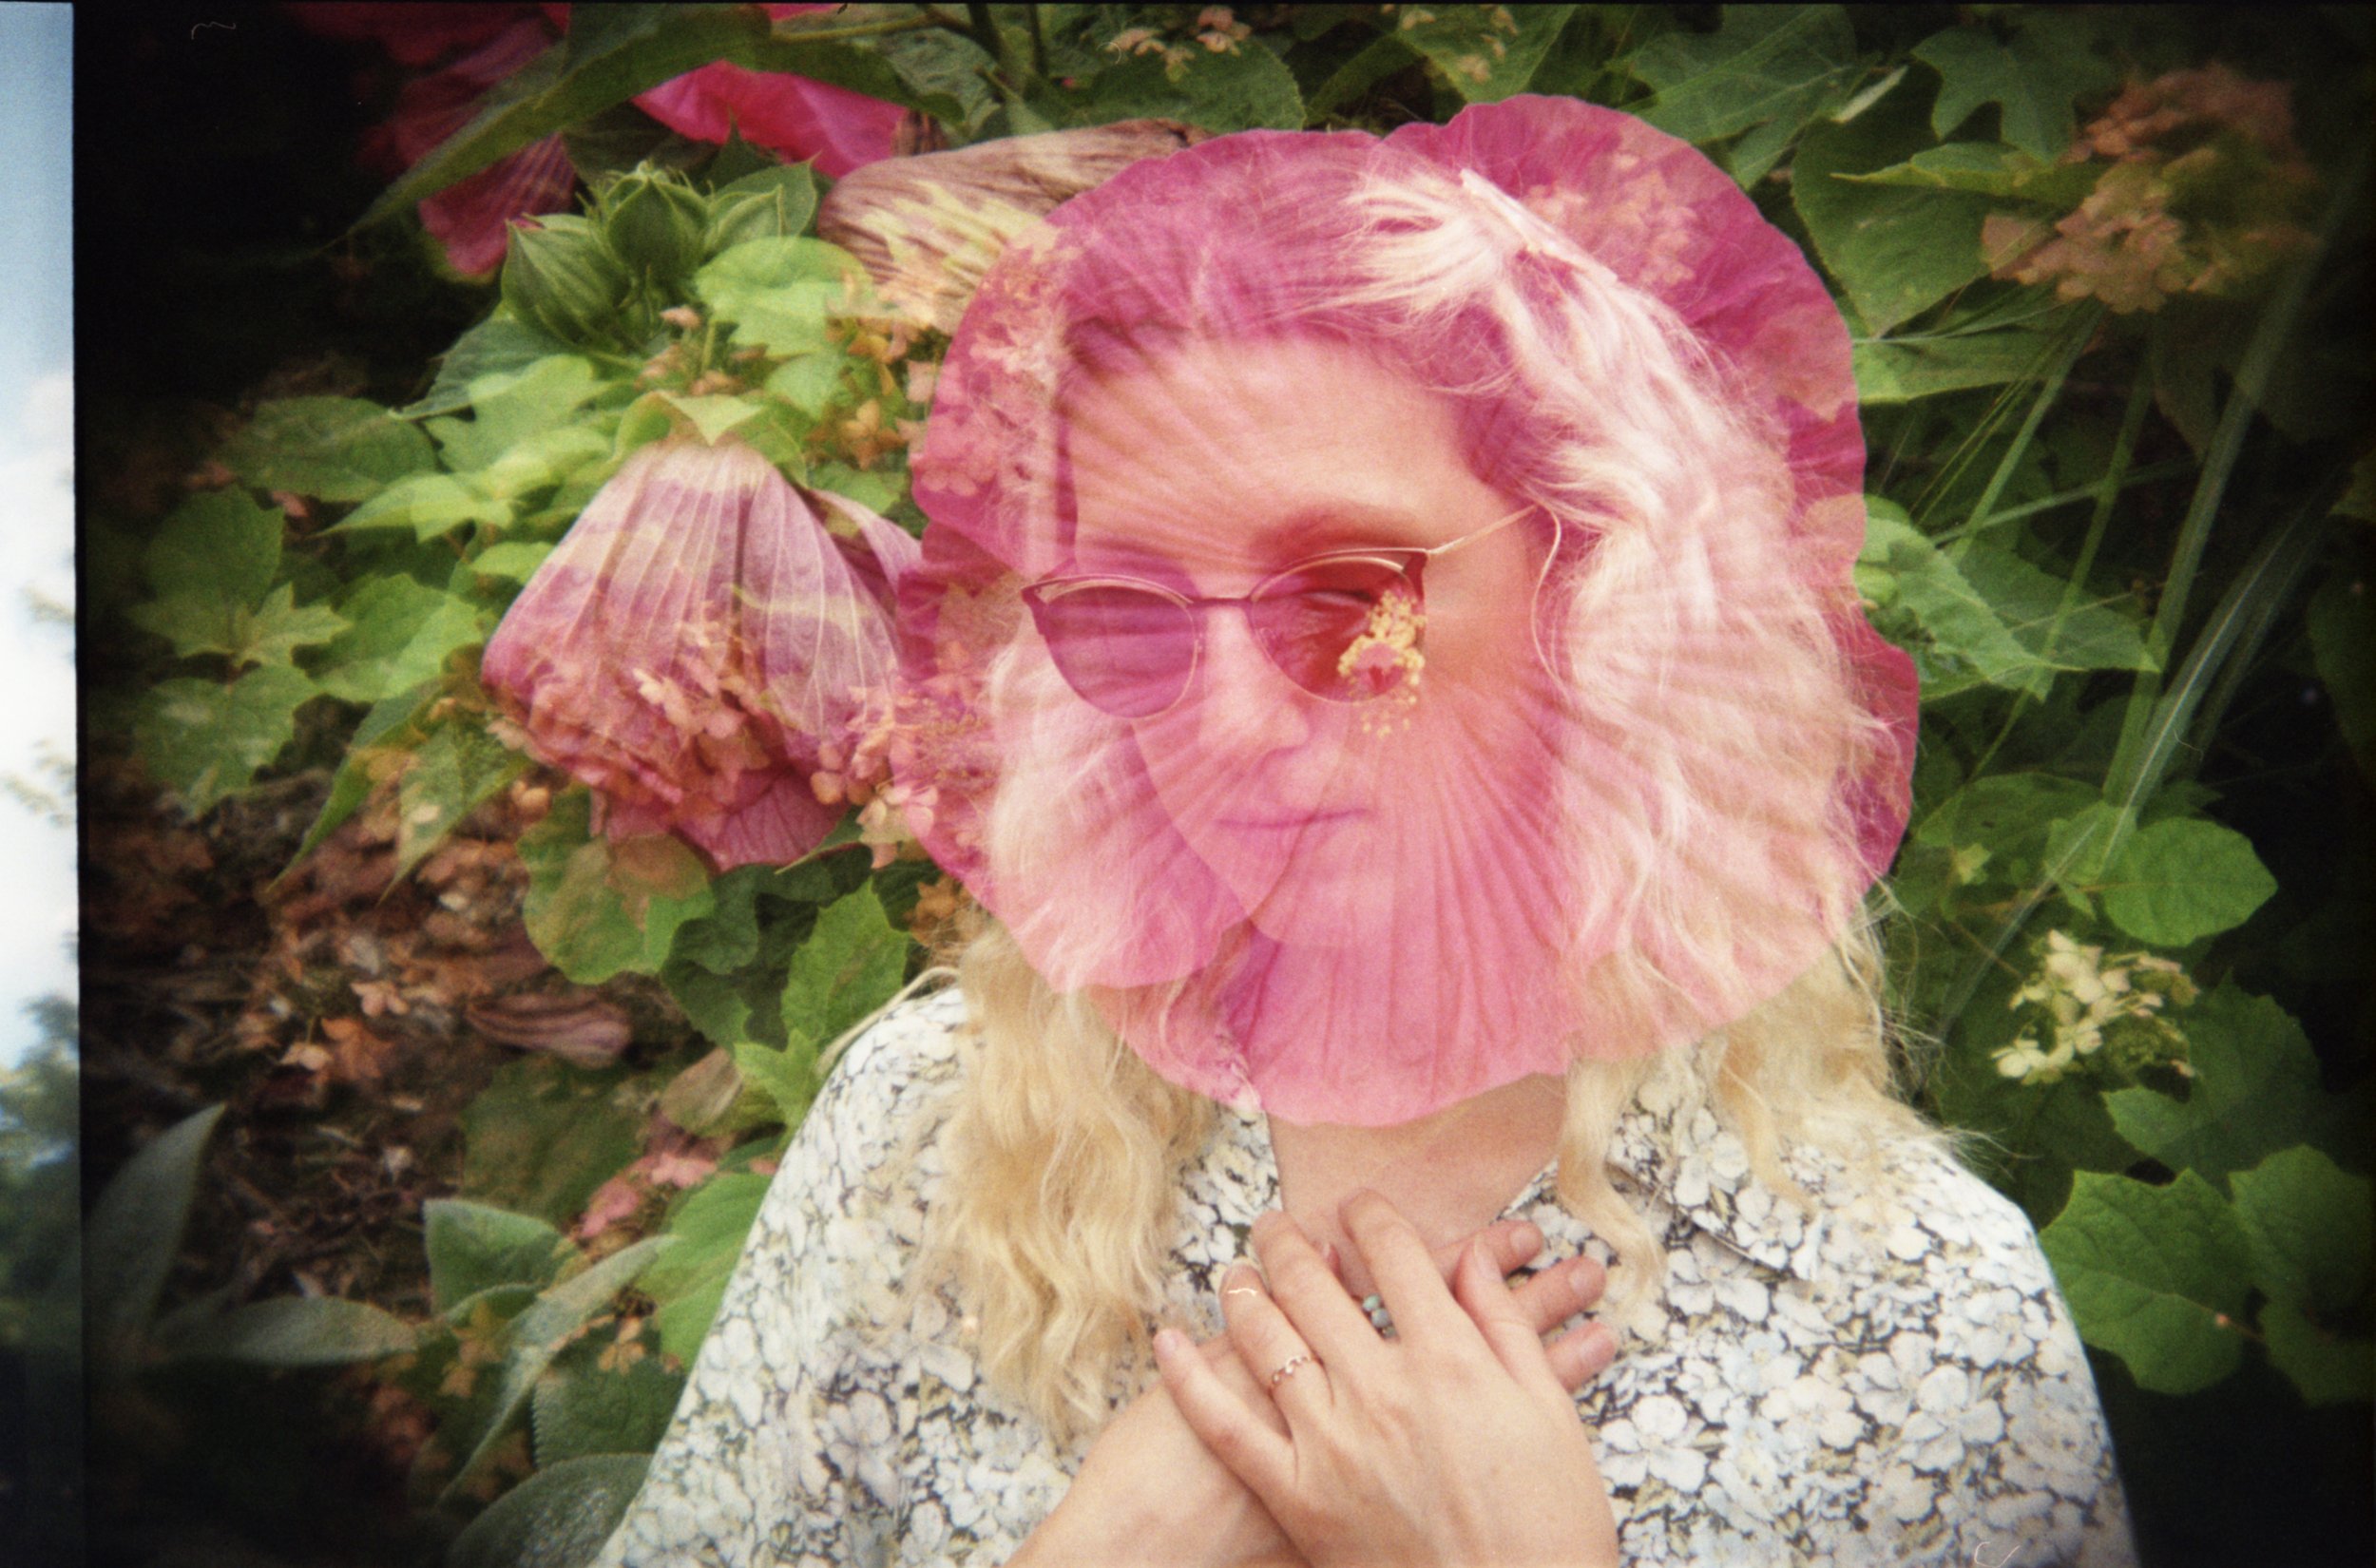
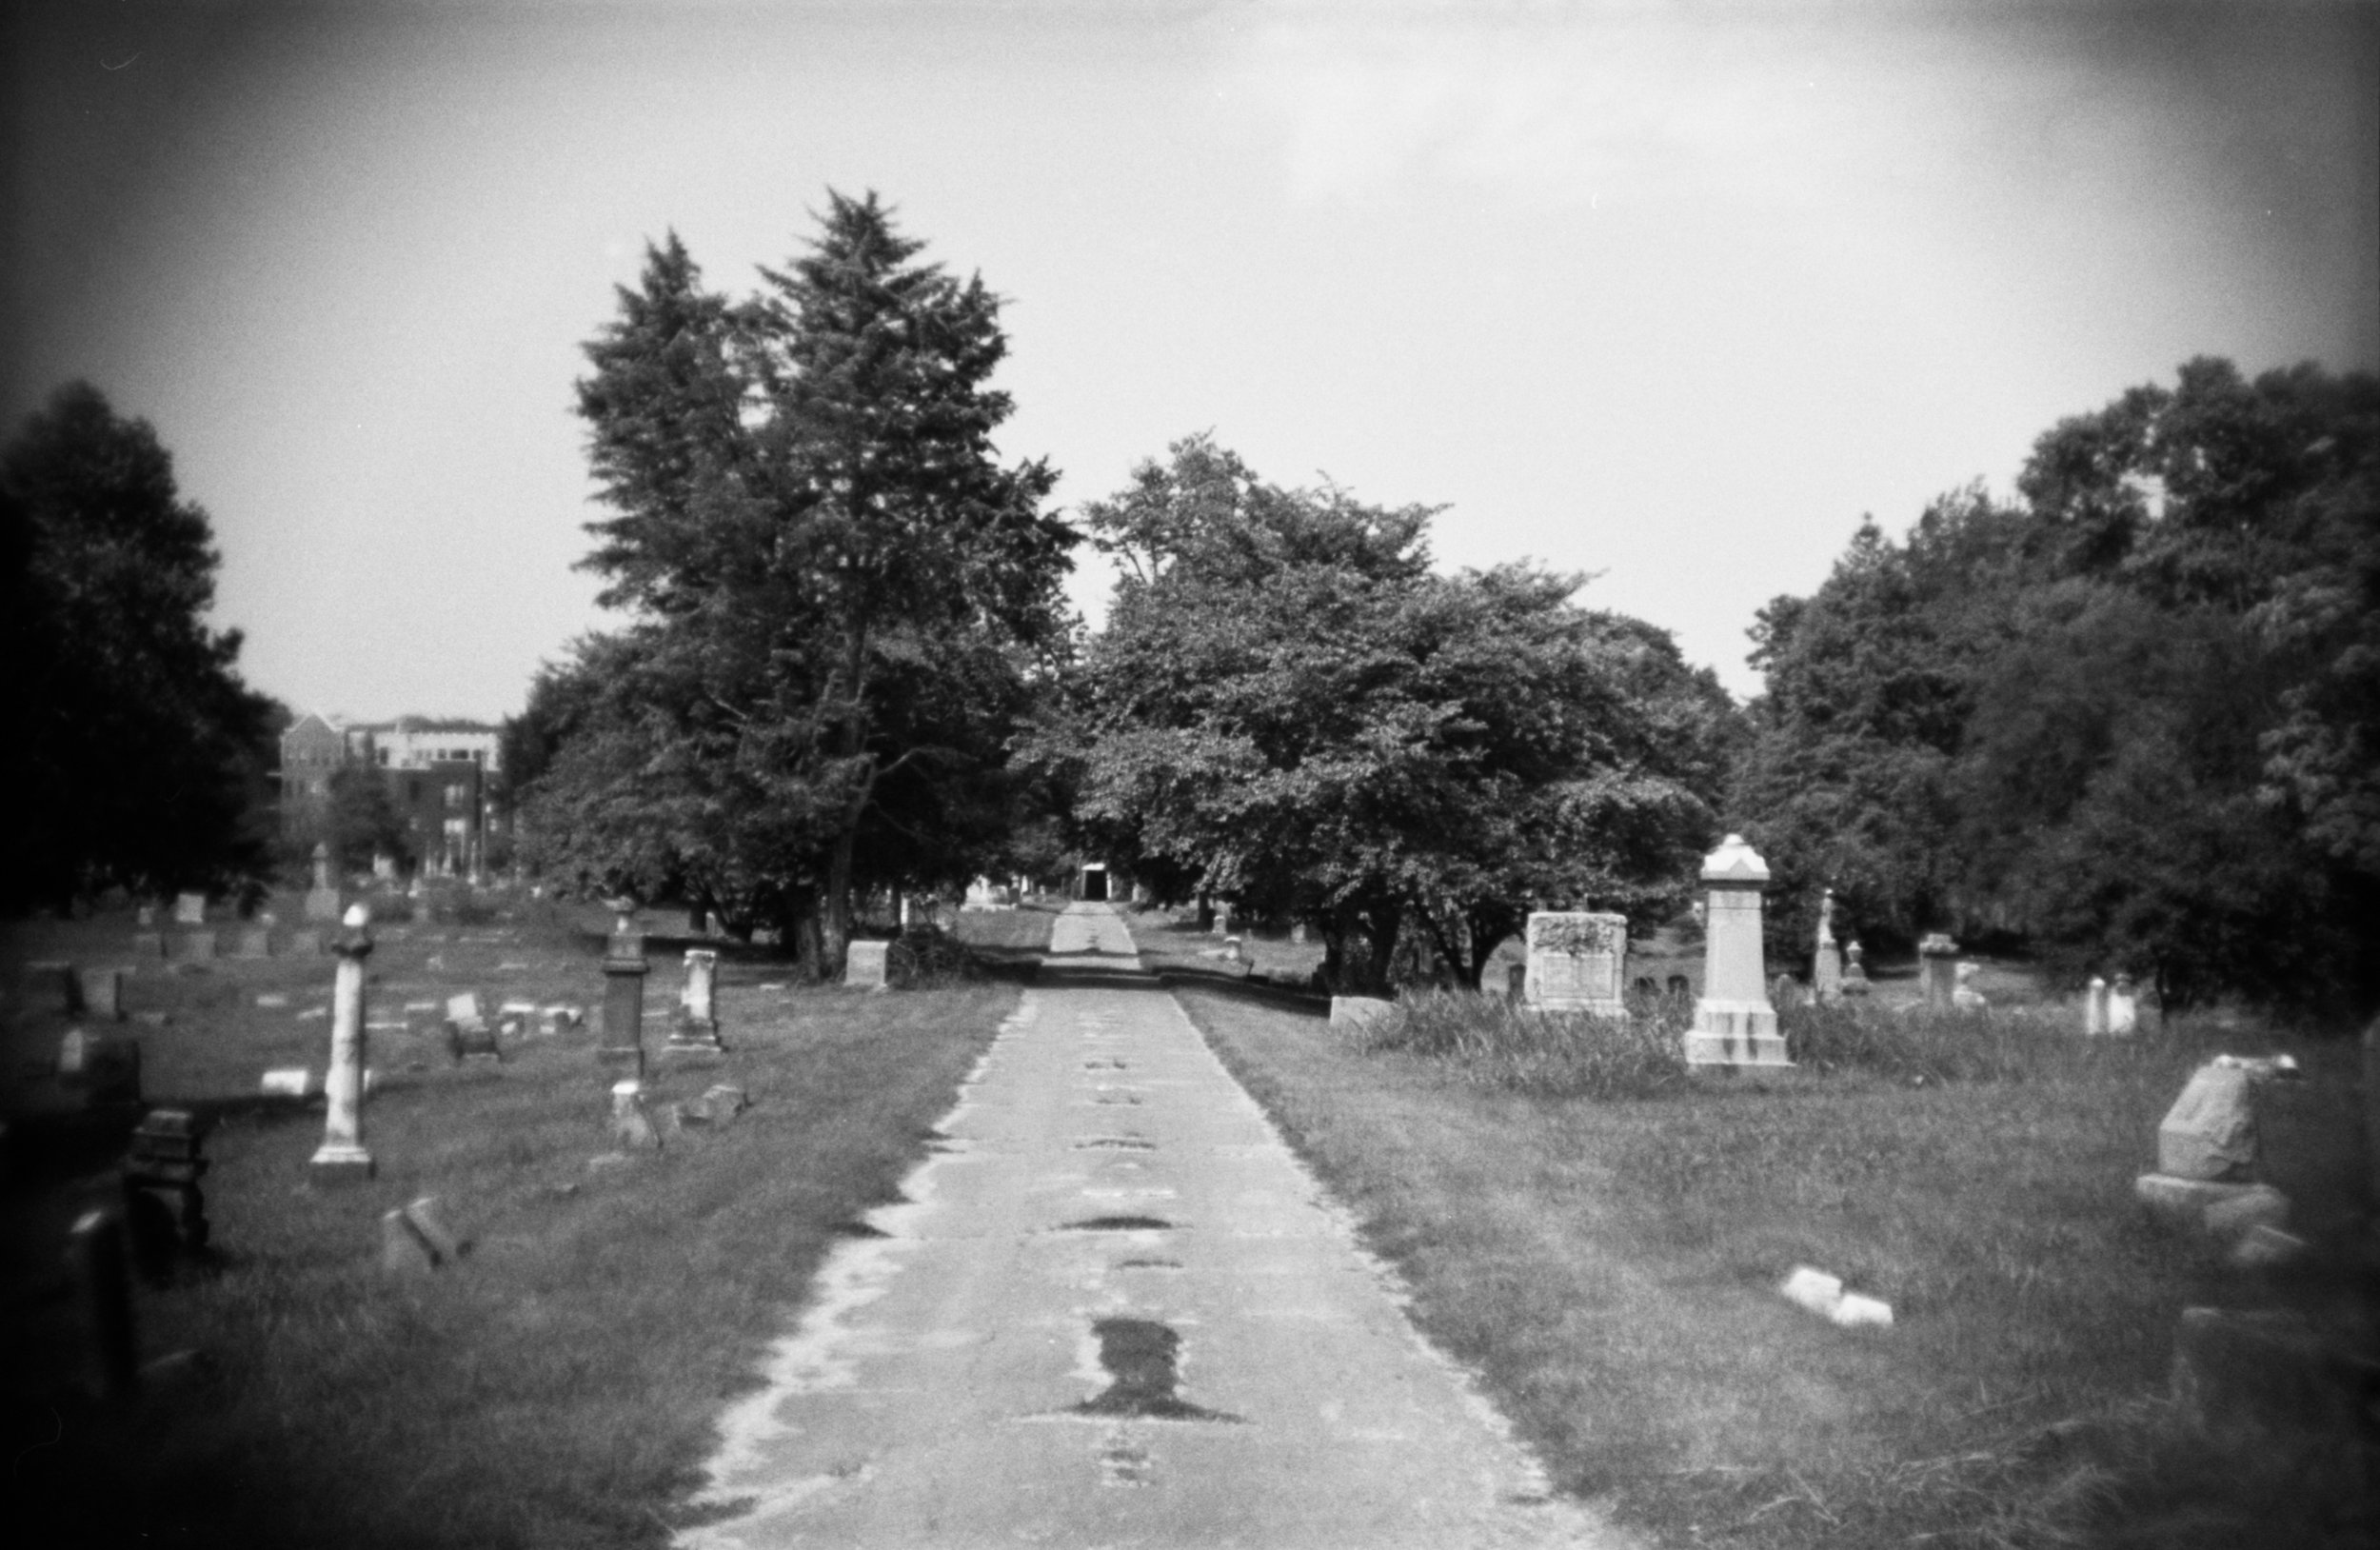
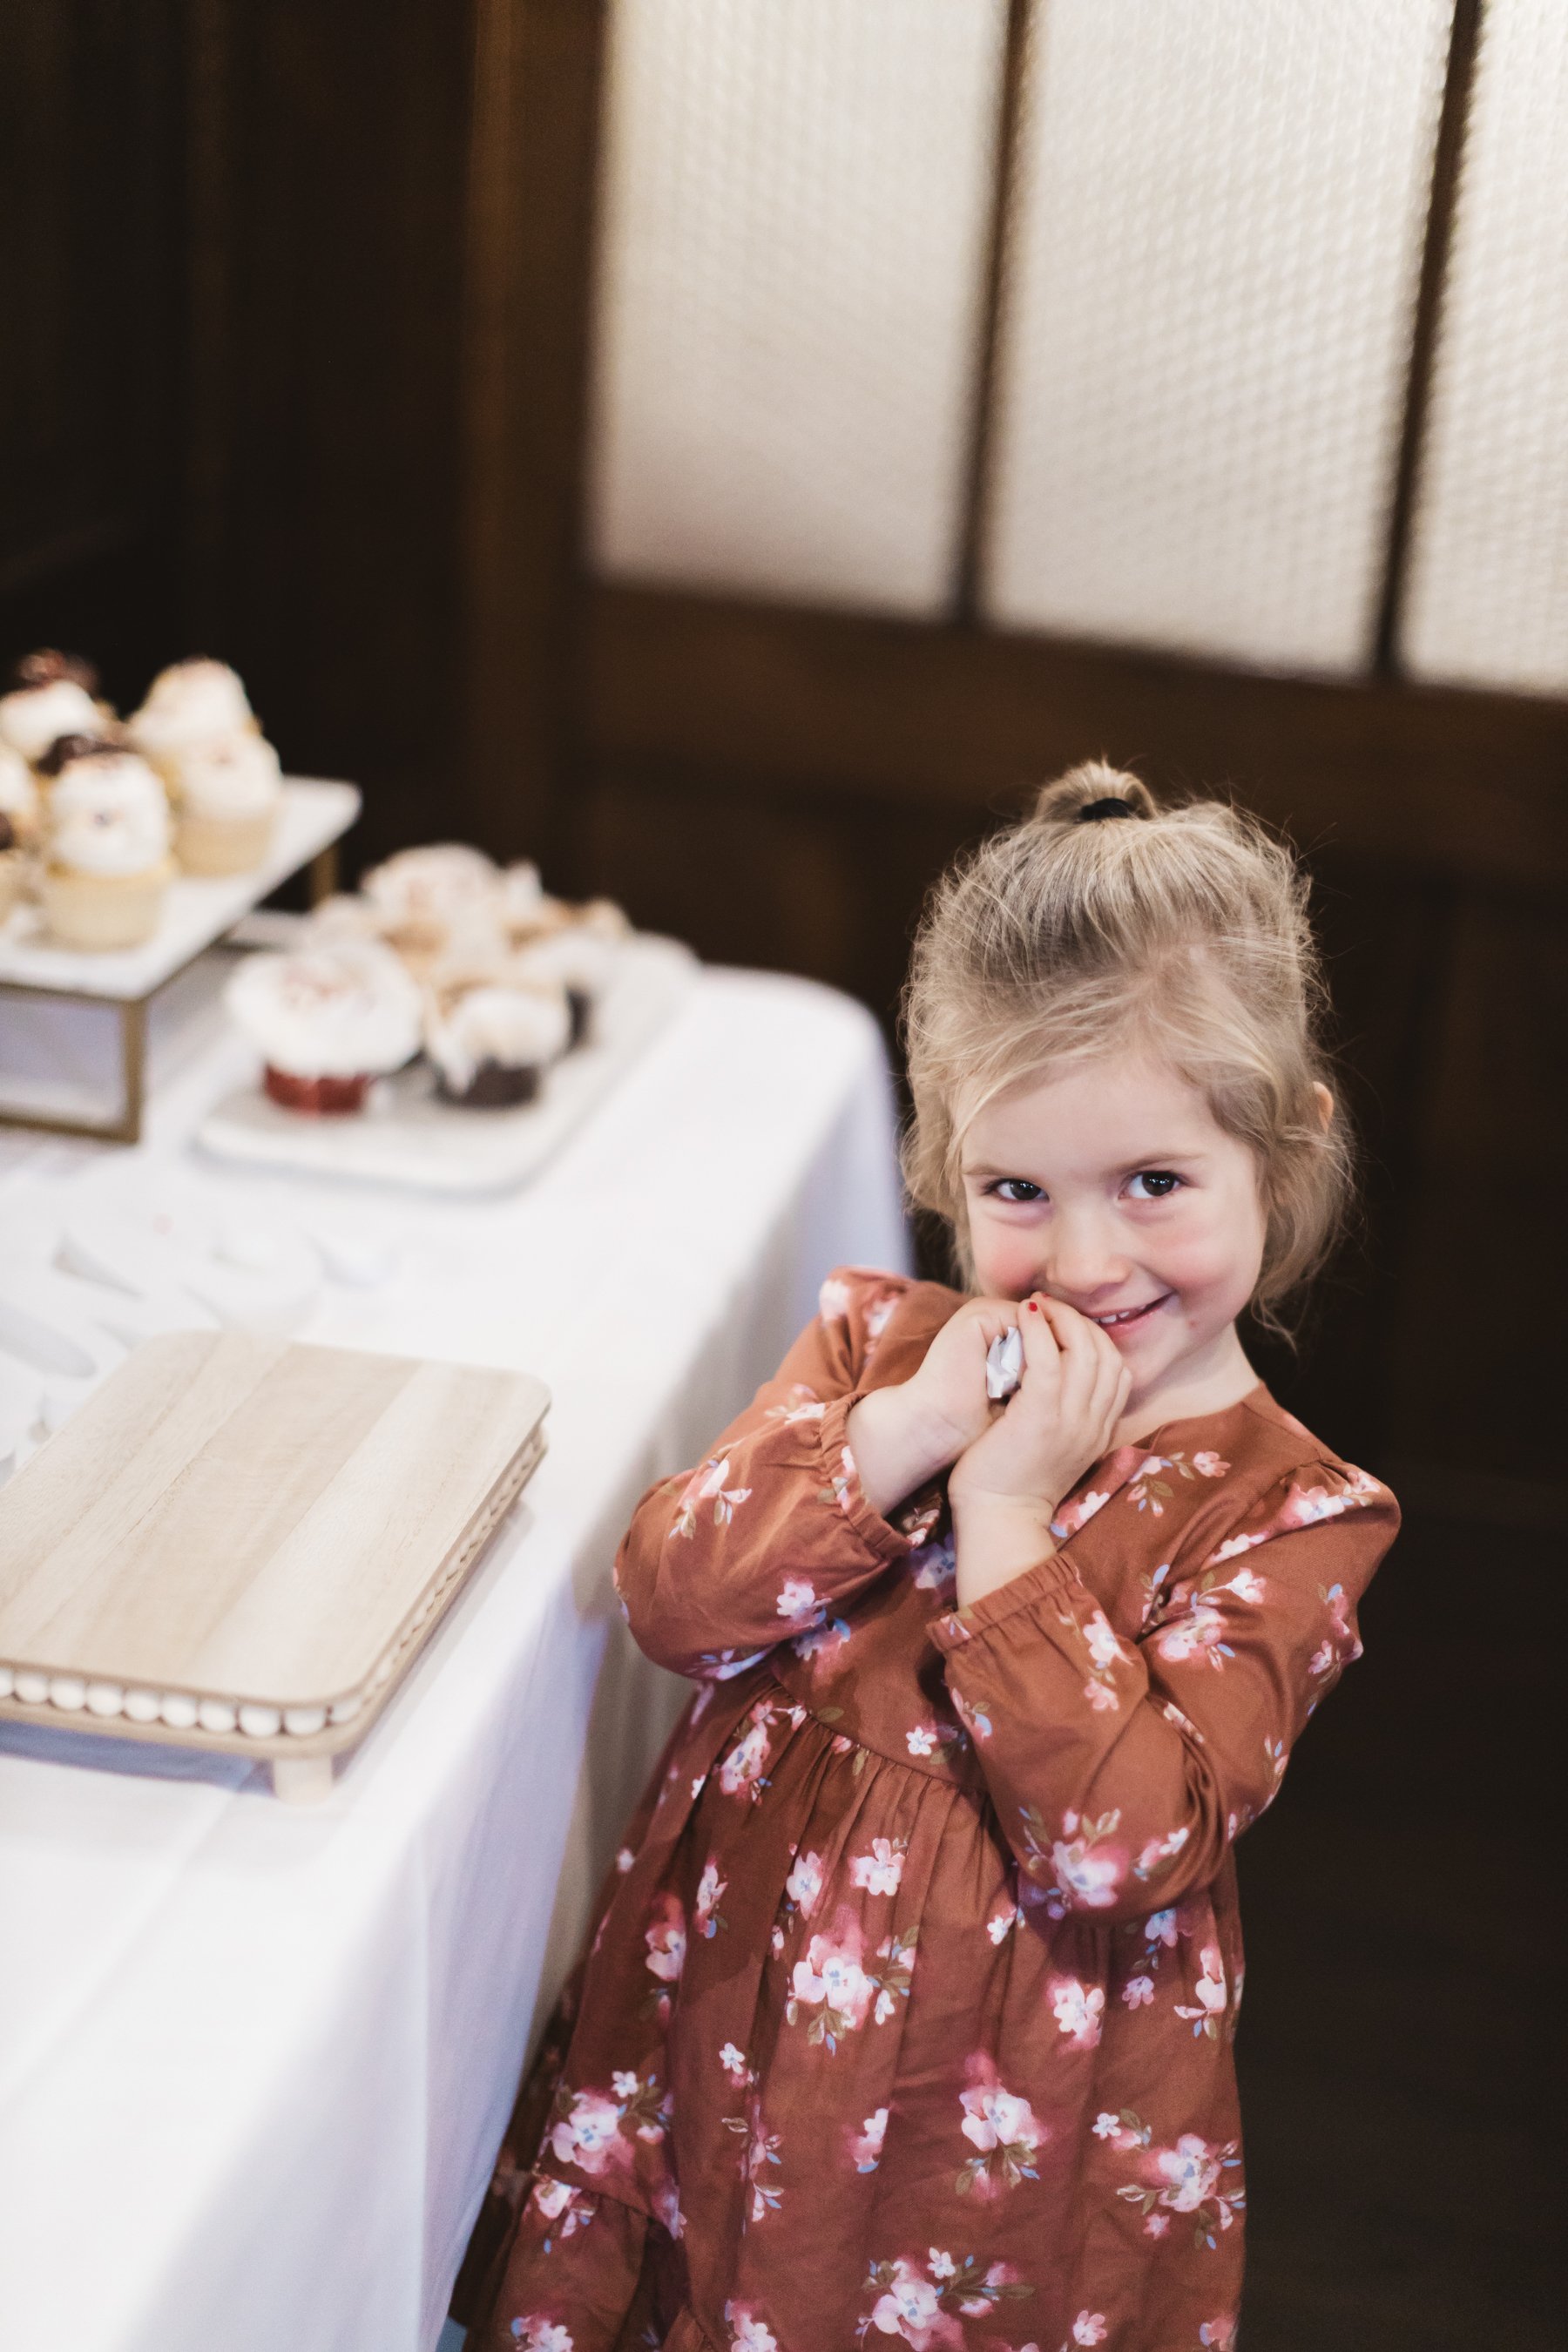
I’ll always have to say yes on this one. Especially because there are options out there to buy it a little bit cheaper if you’re on a budget. I would honestly die for this lens because the photos it takes are so dang gorgeous. Is that going a bit too far? Maybe! But it’s hard to put into words just how magical this lens is! My sister-in-law pretty much shoots exclusively with the 50mm 1.2L and her work just always looks so beautiful. It’s a great lens for creativity too, as the focal length adds a bit of surreality to your images. While 35mm is technically what your eye actually sees, 50mm is a tiny bit more zoomed in, adding a level of intimacy that we aren’t used to seeing with the naked eye. But it’s not so zoomed in that it’s difficult to work with, like the 85mm f/1.2L lens. It’s a perfect lens for a beginning professional because it automatically takes your photos to a new level. I’ve included a ton of sample photos below so you can decide if this lens is for you!

WHERE TO BUY

If you do decide to take the plunge, here are some options for where to pick one up:

CANON 50mm 1.2L USM Lens


Amazon
KEH Camera (for used options)
eBay (for used options)

CANON 50mm 1.4L USM Lens

(the budget option that is also a great lens)

Amazon

CANON RF 50mm 1.2L USM Lens

(if you want to splurge and/or prefer an RF Mount Lens)

Amazon

CANON EF-EOS R Mount Adapter

(I use this to attach my 50mm 1.2L to my Canon EOS R)

Amazon

Hope that helps! Feel free to leave any questions/comments below. Best of luck in your photography journey! Thanks so much for stopping by!

<3 Myles Katherine


Review of the Diana F+ with Sample Photos using Lomography LomoChrome Purple and LomoChrome Turquoise in St. Lucia! | Teaming Up with Lomography to Save 120 film!


When Lomography contacted me about a collaboration with them to help save 120 film, I was more than happy to contribute in any way that I could! I didn’t realize 120 film was endangered, so it was definitely a bummer to hear that. 120 film is a huge part of my life as a photographer and I can’t imagine a world without it, to be honest! You all know that I’m obsessed with the Holga camera and that I specifically like shooting square format 120 film. Well, Lomography has the Diana F+, which I would consider a sort of sister camera to the Holga. Most photographers are either Team Holga or Team Diana. I’ve actually had my Diana F+ for a least a decade, but I had a 35mm back on it for years, to sort of differentiate it from my Holga. But it ended up sitting on a shelf for the last handful of years (which I will say, it’s very cute up on a shelf)! Lomography was wondering if I’d be willing to shoot their 120 LomoChrome Purple and LomoChrome Turquoise film with the Diana F+, and I was so excited! As much as I love the Holga, I’ve been interested in trying out some other 120 cameras lately just for something new and fresh. I switched the 35mm back on the Diana F+ to the 120 back and took it with me on a recent trip to St. Lucia with my family! You can also check out my YouTube video about the Diana F+ in St. Lucia here!

A BRIEF HISTORY OF THE DIANA F+

The original Diana camera was produced in the 1960s but only lasted until about the 1970s due to newer cameras coming into the market. It was an affordable box camera with limited controls and was really more of a novelty or gift item. But it became a bit of a cult classic when photographers like Mark Sink began using it to capture images of celebrities like Andy Warhol in the 1980s! Lomography decided to bring it back and created their own version, the Diana F+, in 2007. The Diana F+ is known for it’s lo-fi artistic, soft focus and vignetted corners that add a dreamy, surreal quality to the images.

MAIN FEATURES

The Diana F+ is super simple and easy to use once you get the hang of it. As with all toy cameras, they are very lightweight, often have a plastic lens and body and aren’t particularly sturdy. Toy cameras are typically known for their light leaks, loose-winding film rolls and blurred images. However, all you need is a bit of patience and you’ll discover the magic of the camera! The Diana F+ has four aperture settings (f8, f11, f16, pinhole), two shutter speed options (1/60, Bulb) an optional flash and a tripod mount. My favorite feature, of course, is that it can do multiple exposures! Since it requires manual film-advance, you can take as many photos over top of each other as you’d like before advancing to the next frame. Part of the fun of toy cameras though, is that you often forget whether you’ve advanced the film or not. This can end up with unexpected double exposures, which personally I’m always here for.

Diana F+ // Double Exposure // Lomography LomoChrome Purple Film

PROS

Considering the Holga is my favorite camera in the world, the Diana F+ is essentially right up there with it. The only problem is that I haven’t given the Diana F+ a fair shot! I sort of attached myself to the Holga and didn’t look back. But after trying out a few film rolls for this collaboration with Lomography, I have a newfound love for it and can’t wait to bring it with me on my next trip! I’ll be heading to Portugal in May and I’m hoping I can squeeze it in my bag!

I consider the fact that it is lightweight a huge pro for me. I travel a lot and I’m always looking for cameras that are light and easy to carry around. The Diana F+ fits easily into my bag and doesn’t weight it down. I also love that it has an interchangeable back so that I can switch to 35mm whenever I get tired of 120. Or if I have my Holga set up with 120 film, I can go with 35mm in the Diana F+ to keep things interesting. The 35mm back might be hard to find these days, though you may be able to find them on eBay here if they’re available. But the Diana Mini takes 35mm film and is super fun and cute! There’s also a Diana Instant (Fujifilm Instant Square film) and a Diana Baby 110 if you prefer those film formats instead! You can also try out the Diana Instant Deluxe Kit which comes with all sorts of fun lenses and filters to get experimental with. I bought one of their older deluxe kits that featured the 120 version of the camera with a 35mm back when I purchased my Diana F+ years ago and it was totally worth it. I personally love the Fisheye lens! You can try to find one of those older deluxe kits on eBay here.

Diana F+ Fisheye Lens // Lomography LomoChrome Purple Film

In my opinion, it’s everything about this camera that makes it great. The soft, dreamy focus and blurry vignetting. The cute, shiny, colorful housing and fun lens options. The multiple exposure and pinhole features. The adorable flash and gel filters. The lightweight body and various options for film format (35 mm, 120, 110 and instant film). Ugh, it’s just everything all at once and I love it.

Diana F+ with 35mm back // Double Exposure

Diana F+ with 35mm back

Diana F+ with 35mm back // Double Exposure


CONS

For some people, toy cameras in general just might not be their thing. They aren’t super reliable because they’re unpredictable and finicky. But that’s kind of the fun of the whole thing! Some of the main issues of these cameras include light leaks, loose film rolls and blurry images. To avoid light leaks, always make sure to load and unload your film in a dark place and definitely not in direct sunlight (unless you’re like me and enjoy taking that risk to see what happens)!

Diana F+ Pinhole Setting // Light Leaked // Lomography LomoChrome Turquoise Film

For the loose film rolls, that’s sort of part of the game. If you load your film to be quite tight in the first place, it tends to help. And when you’re advancing to the next frame, it’s best to wind somewhat slowly so that it winds tightly. With the Holga, I’ve learned to insert a small piece of thick paper underneath the take-up spool to help. I haven’t quite figured out how to manage it with the Diana F+ yet, but I’ll let you know when I do!

To prevent blurry images, make sure you’re shooting in bright sunlight and that you hold the camera as still as possible. You can also use a 400 ISO film to bring a little more light into your images. However, just know that the higher ISO you go, the more grainy your film will be. I always take a 100 ISO film if I’m headed to the beach or a bright location, and a 400 ISO film if it’s a cloudy day or if I’ll be shooting indoors at all. You can also use the flash to help prevent image blur and to brighten your images if you’re in a dark environment.

Diana F+ 120 // Neopan Acros 100 // Flash // Fisheye Lens

Diana F+ 120 // Neopan Acros 100 // Flash // Fisheye Lens

FINAL THOUGHTS

One of the best things about the Diana F+ is that you can be a beginner, amateur or professional photographer and the camera is still just as much of a mystery to use. It takes patience, creativity and an open mind to experience it’s magic. But believe me, it’s worth it. My favorite moment is life is when I’ve created an incredible multiple exposure with the Diana F+ or Holga camera. It’s an experience that I believe every photographer at every level should have. It forces you to be creative and try new things.

For my collaboration with Lomography, they sent me a roll of LomoChrome Purple and LomoChrome Turquoise to try out with the Diana F+. I’ve included all of my favorite photos from my trip below using these films, as well as a handful of my fav images I’ve taken in the past with the Diana F+.

WHERE TO BUY

Diana F+ 120 camera on Amazon

Diana Mini 35 mm camera with flash on Amazon

Diana F+ Instant Square Deluxe Kit on Amazon

Diana Baby 110 on eBay

FILM RECOMMENDATIONS

Lomography LomoChrome Purple Film (35mm & 120)

Lomography LomoChrome Turquoise Film (35mm & 120)

Lomography Color 400 120 film on Amazon

Kodak Gold 200 120 film on Amazon