I’m always on the hunt for the “ultimate 35 mm film camera”. When I travel, I tend to bring wayyy too many cameras with me, mostly because not one of them covers all of my photography needs. When I discovered the Minolta Maxxum STsi, I was SO excited to try it out for the first time. It’s super affordable AND it’s EVERYTHING I hope for in a 35 mm film camera. It was originally manufactured in 1999, but you’re still able to find some in near perfect condition on eBay.
Specifically for traveling, the main features I’m looking for in a 35 mm film camera are the following:
-Lightweight
-Zoom Lens
-Aperture Priority Mode
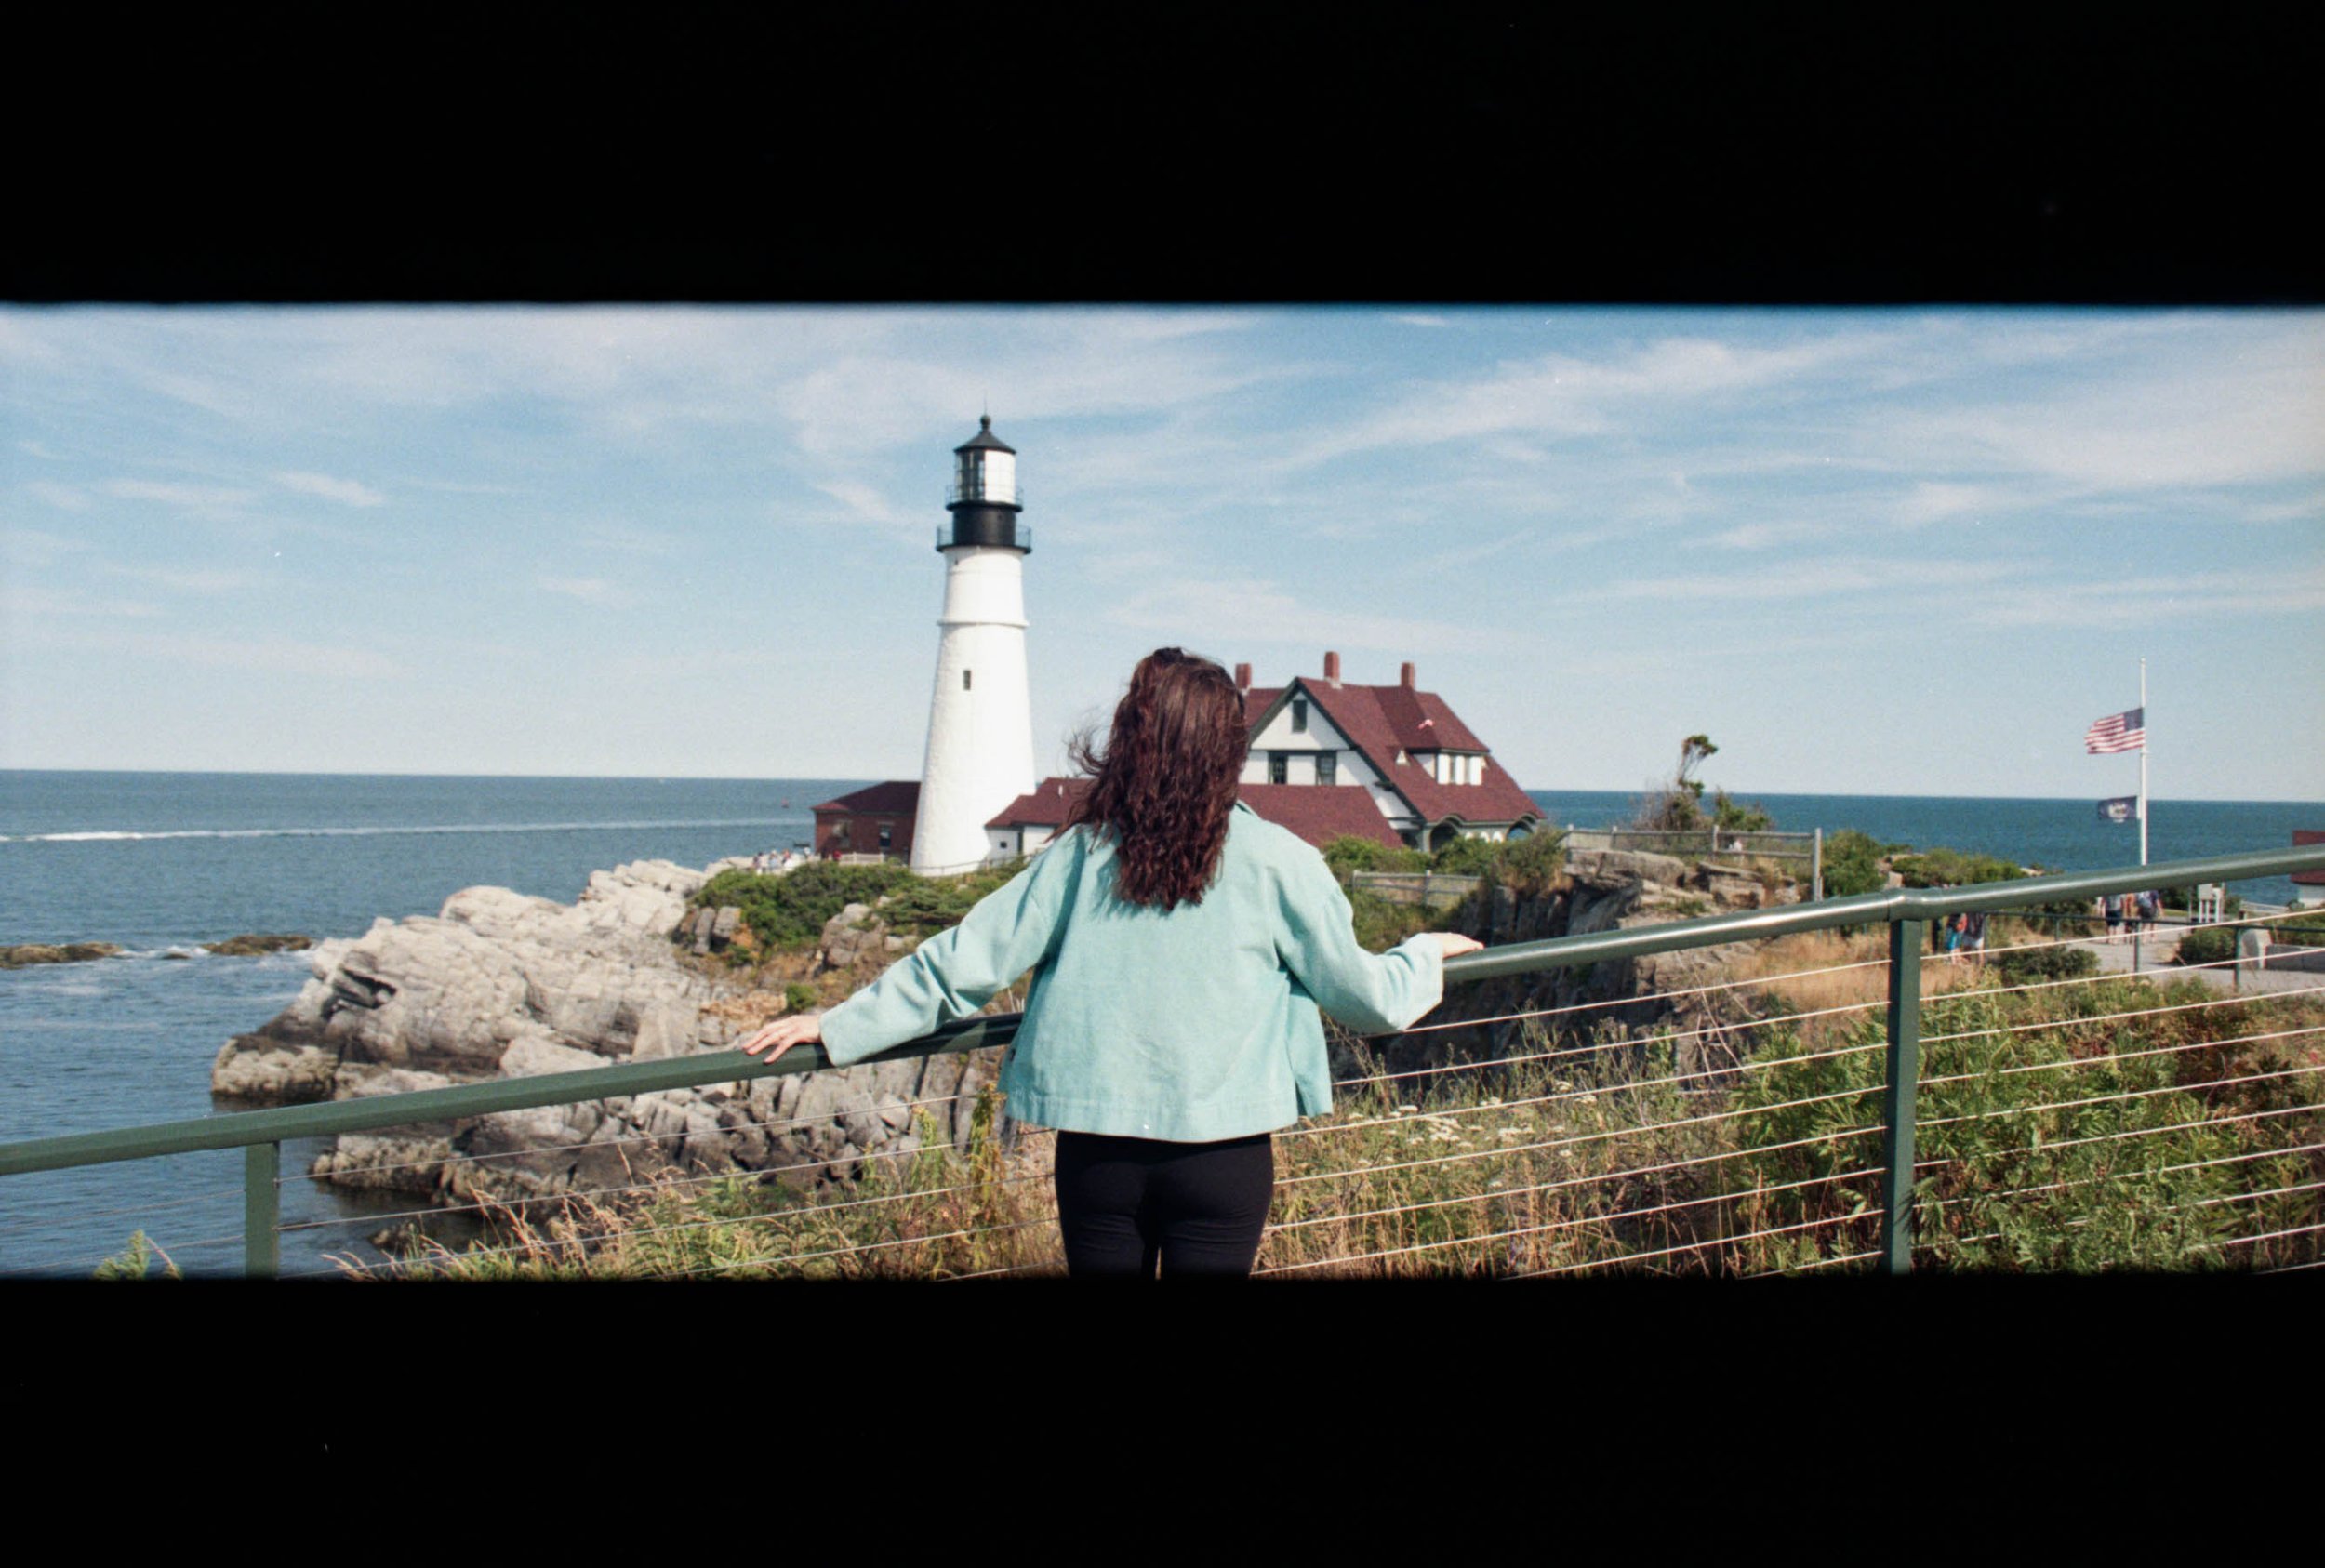
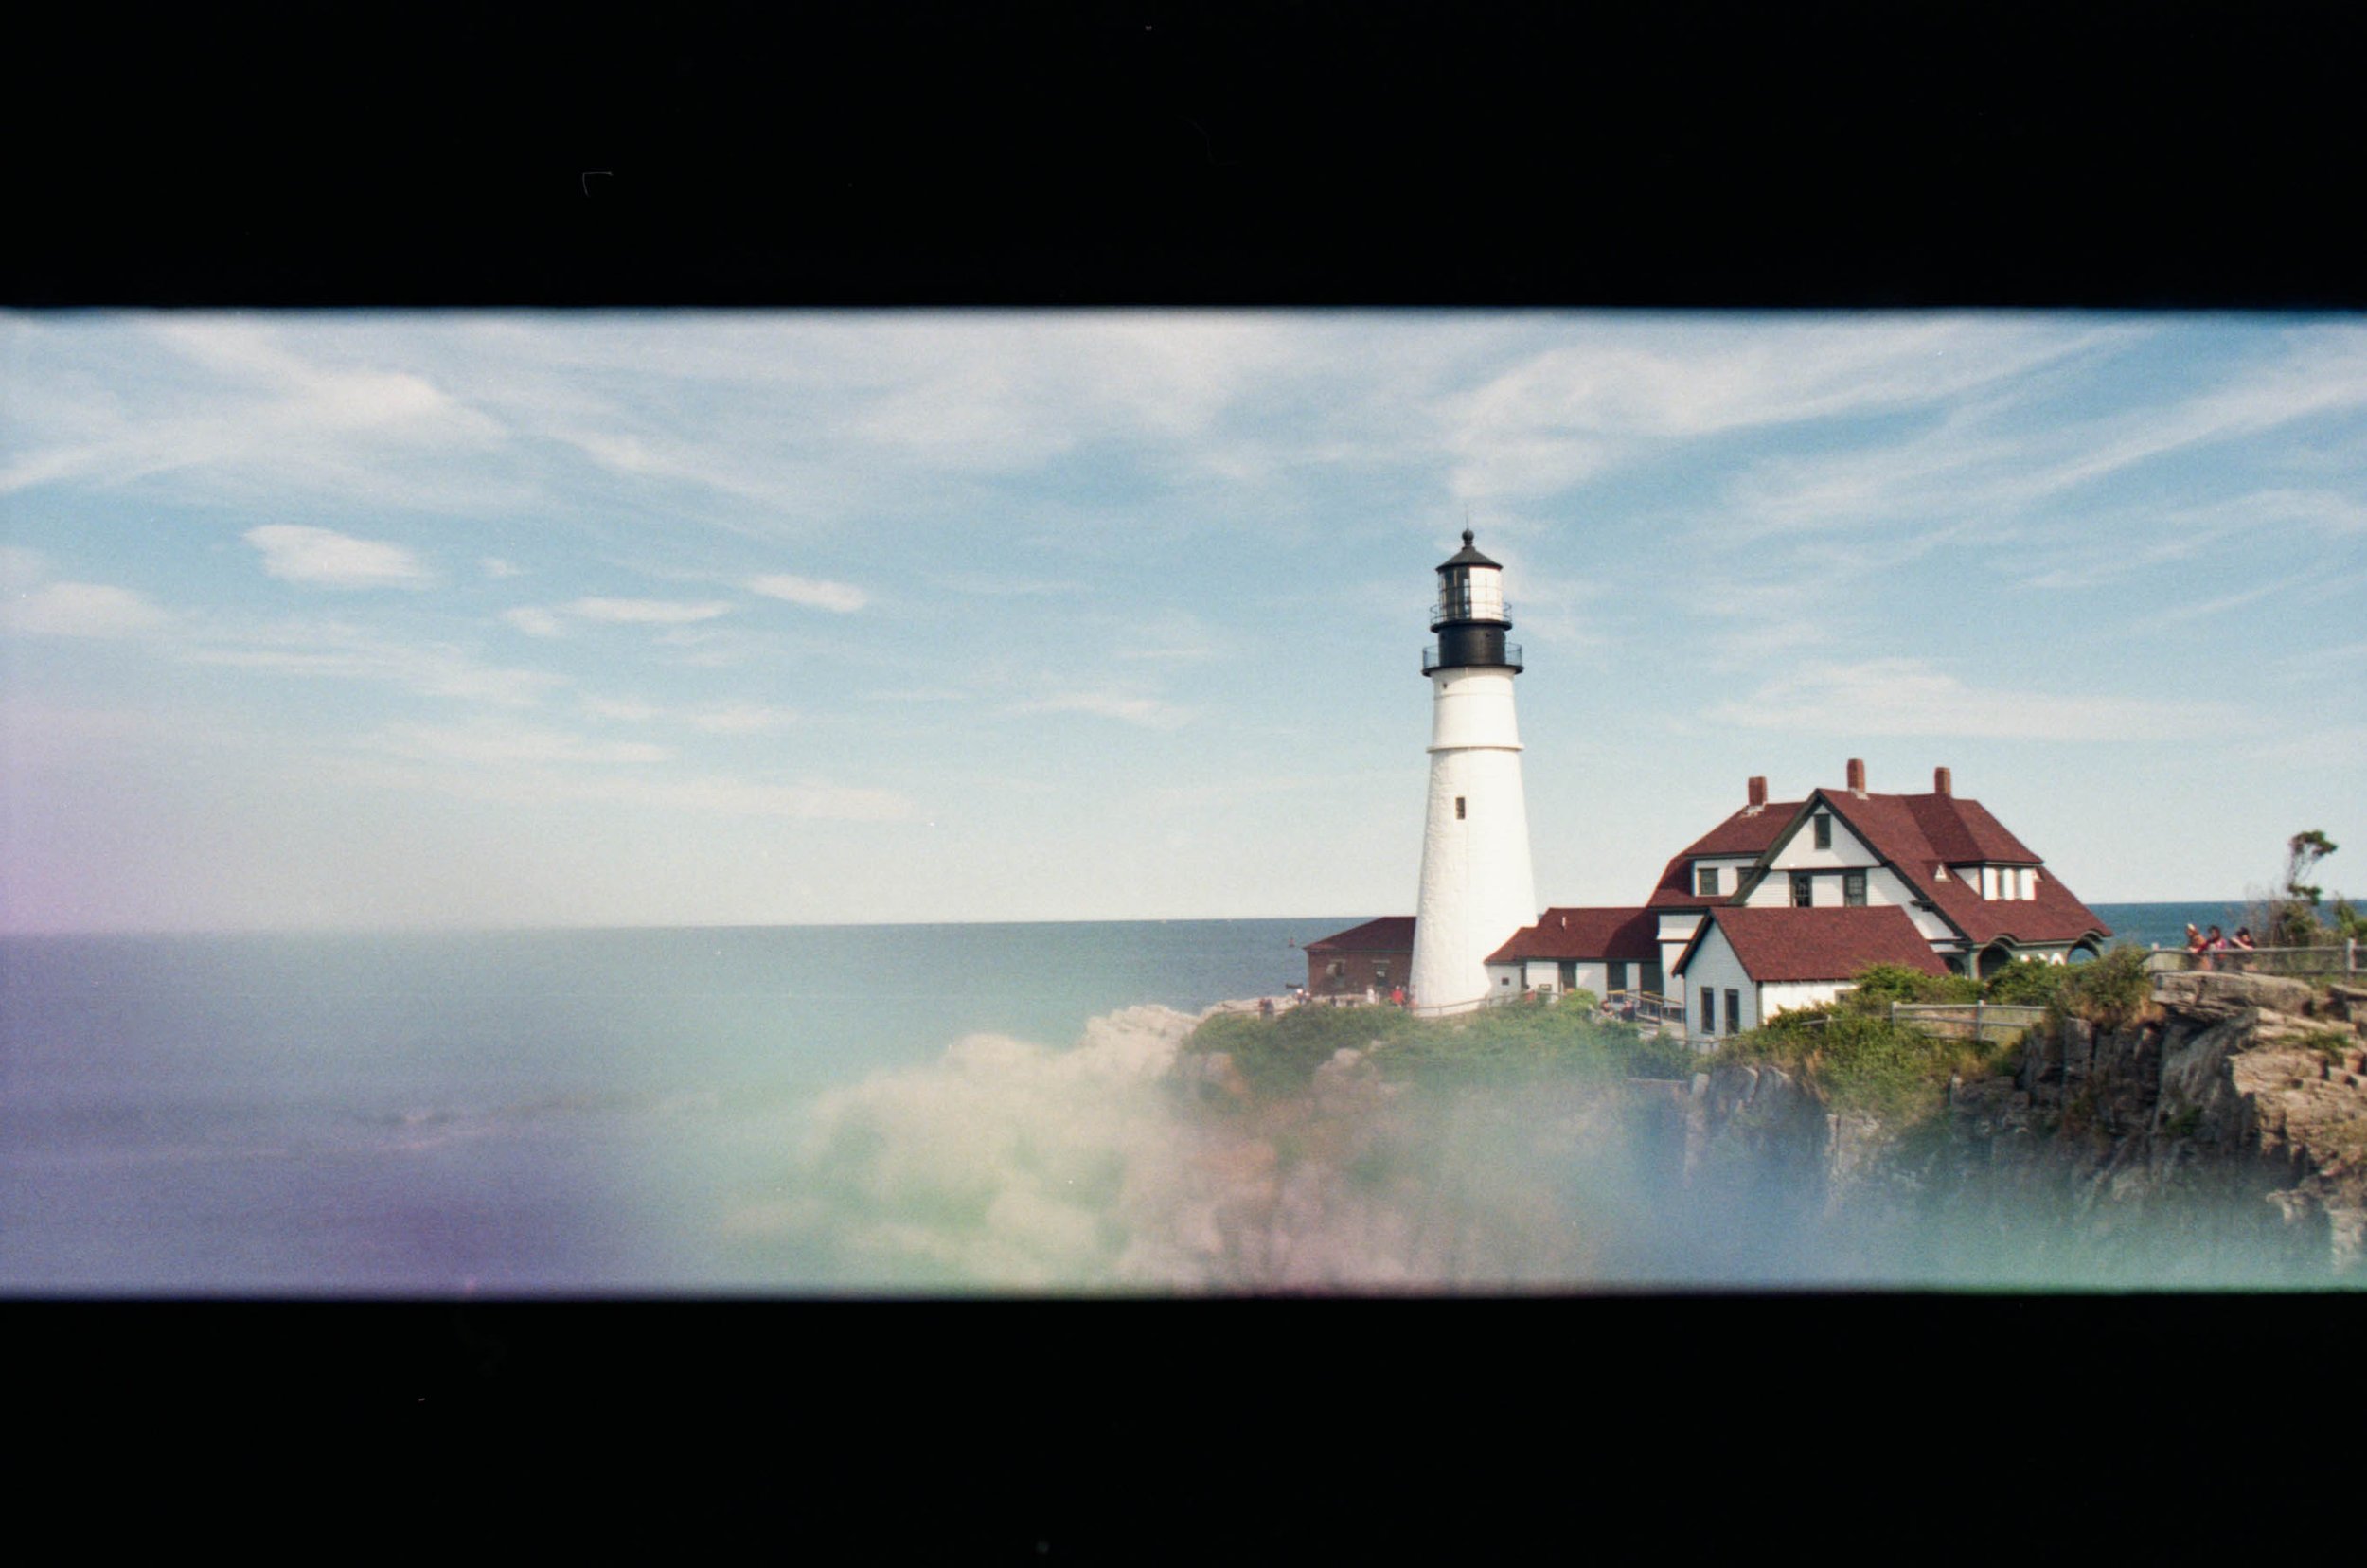
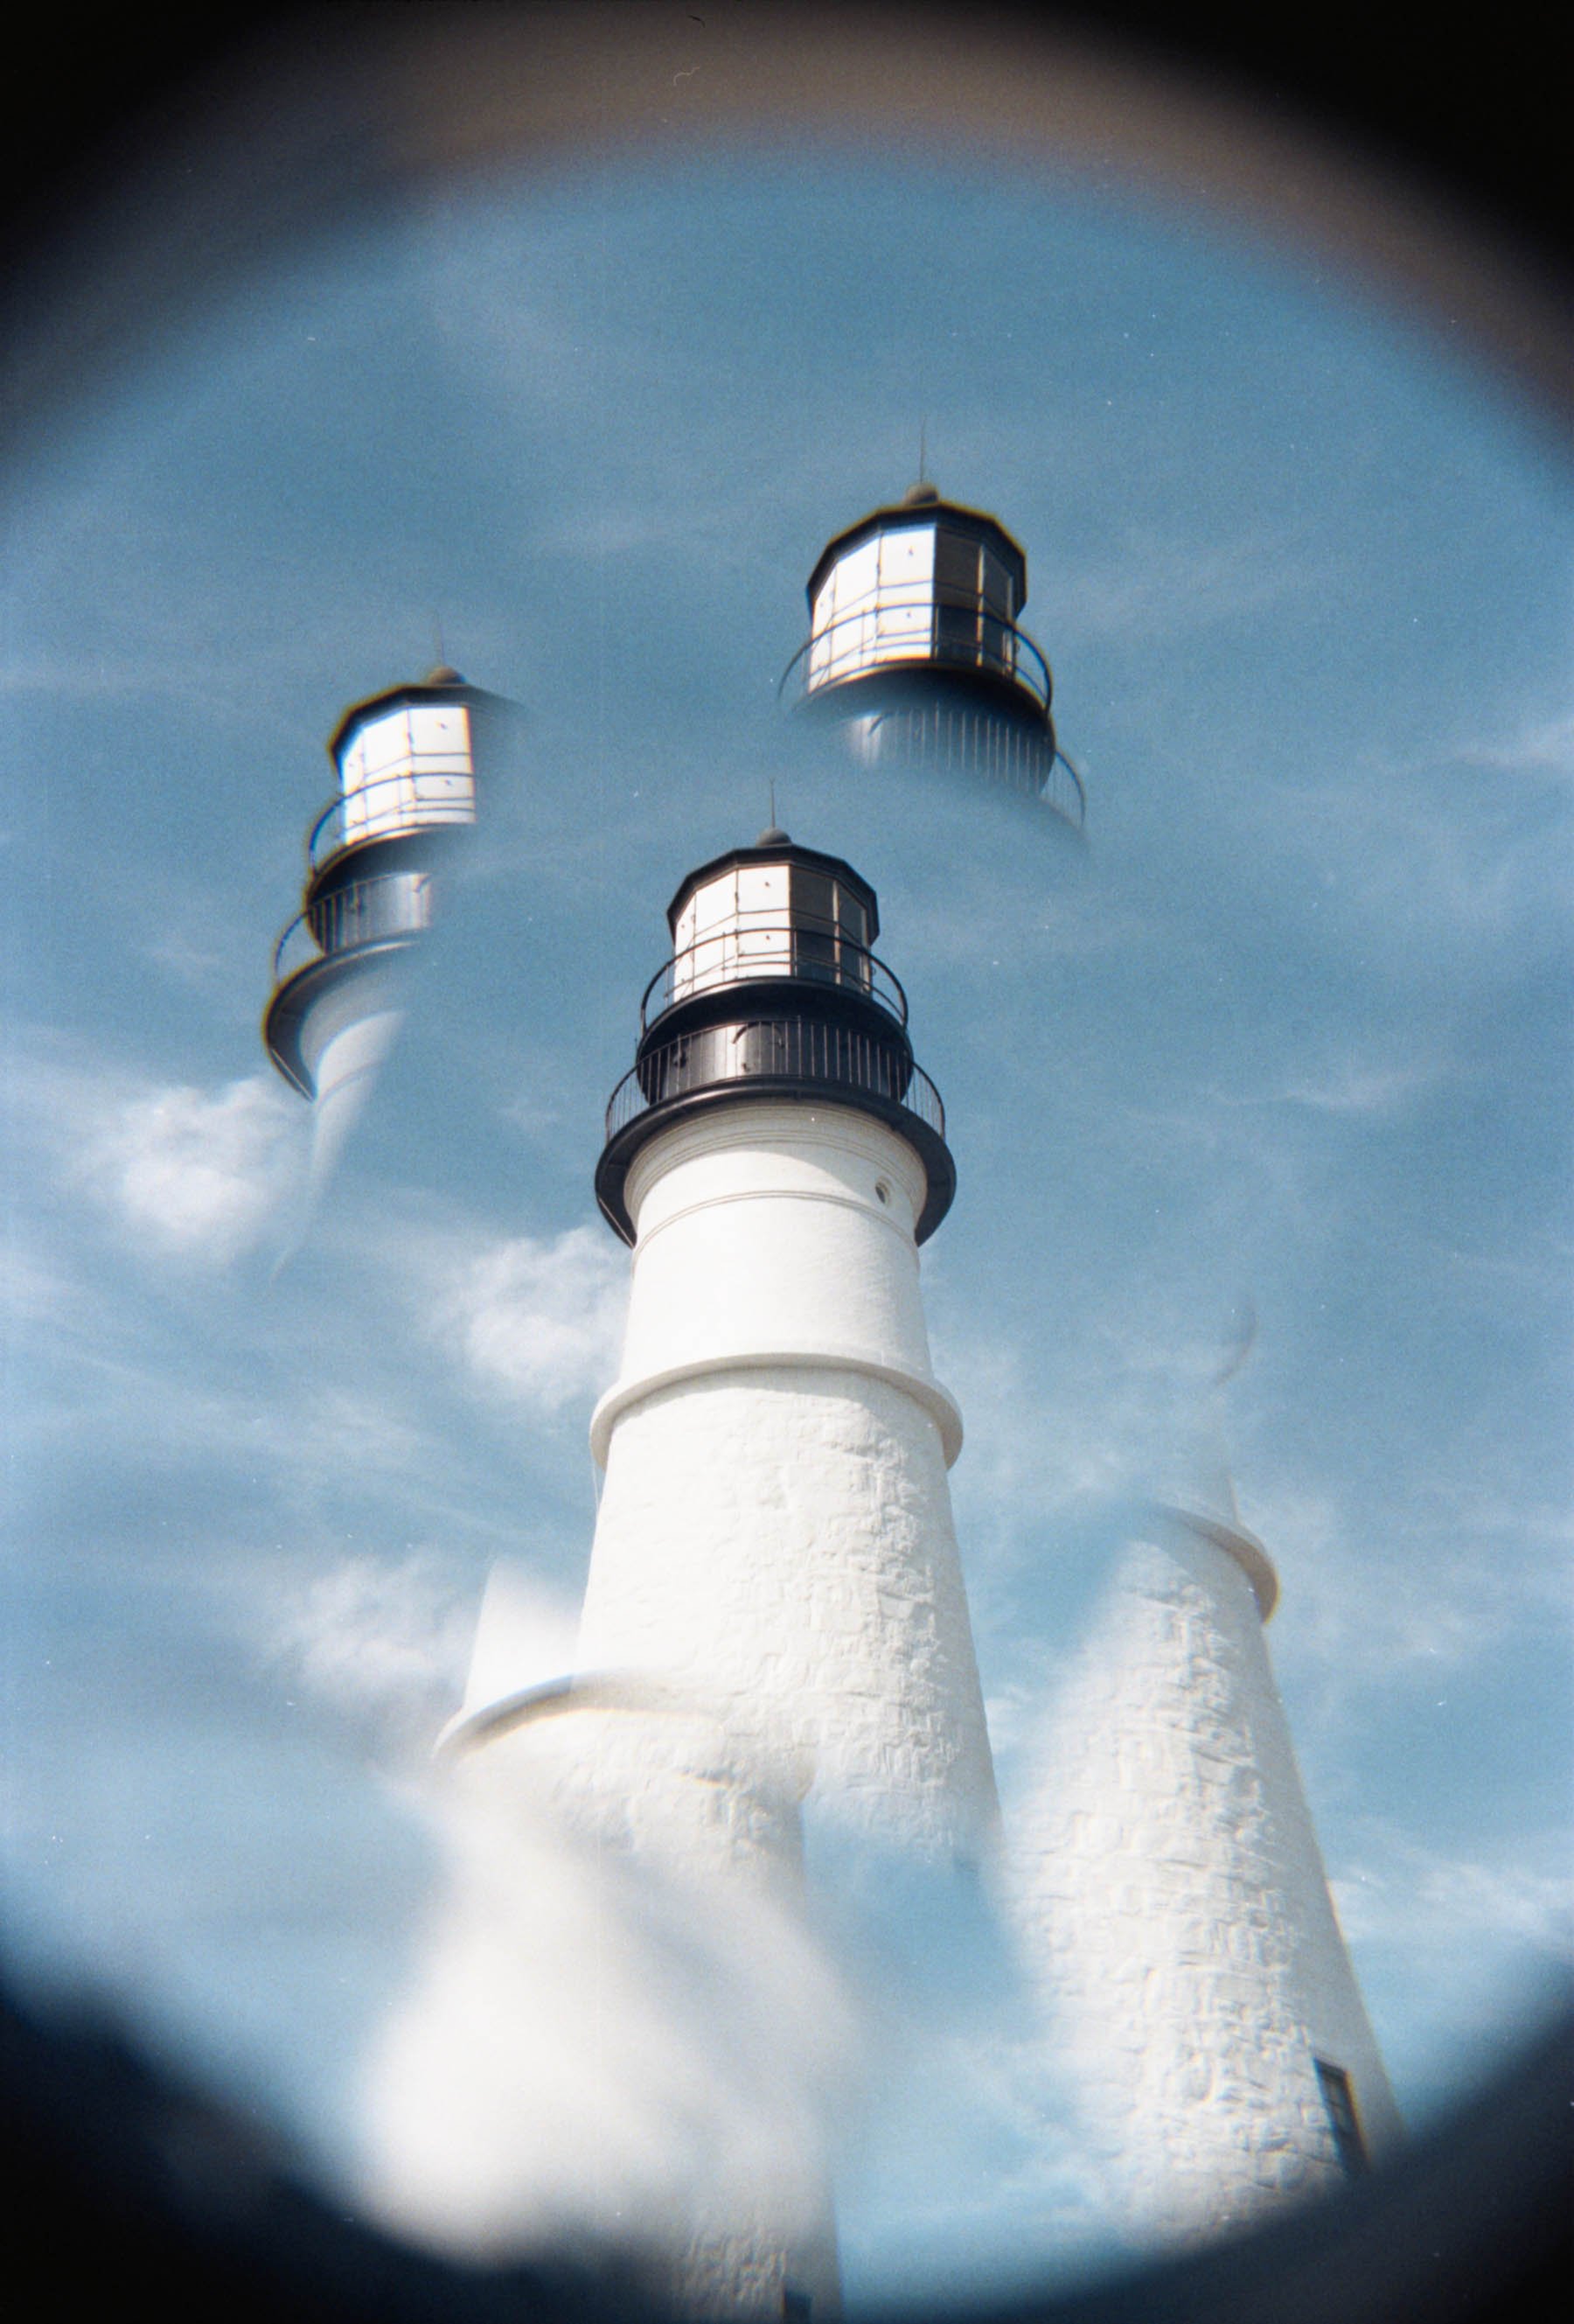
-Panorama Option
-Pop-up flash (for nighttime photos)
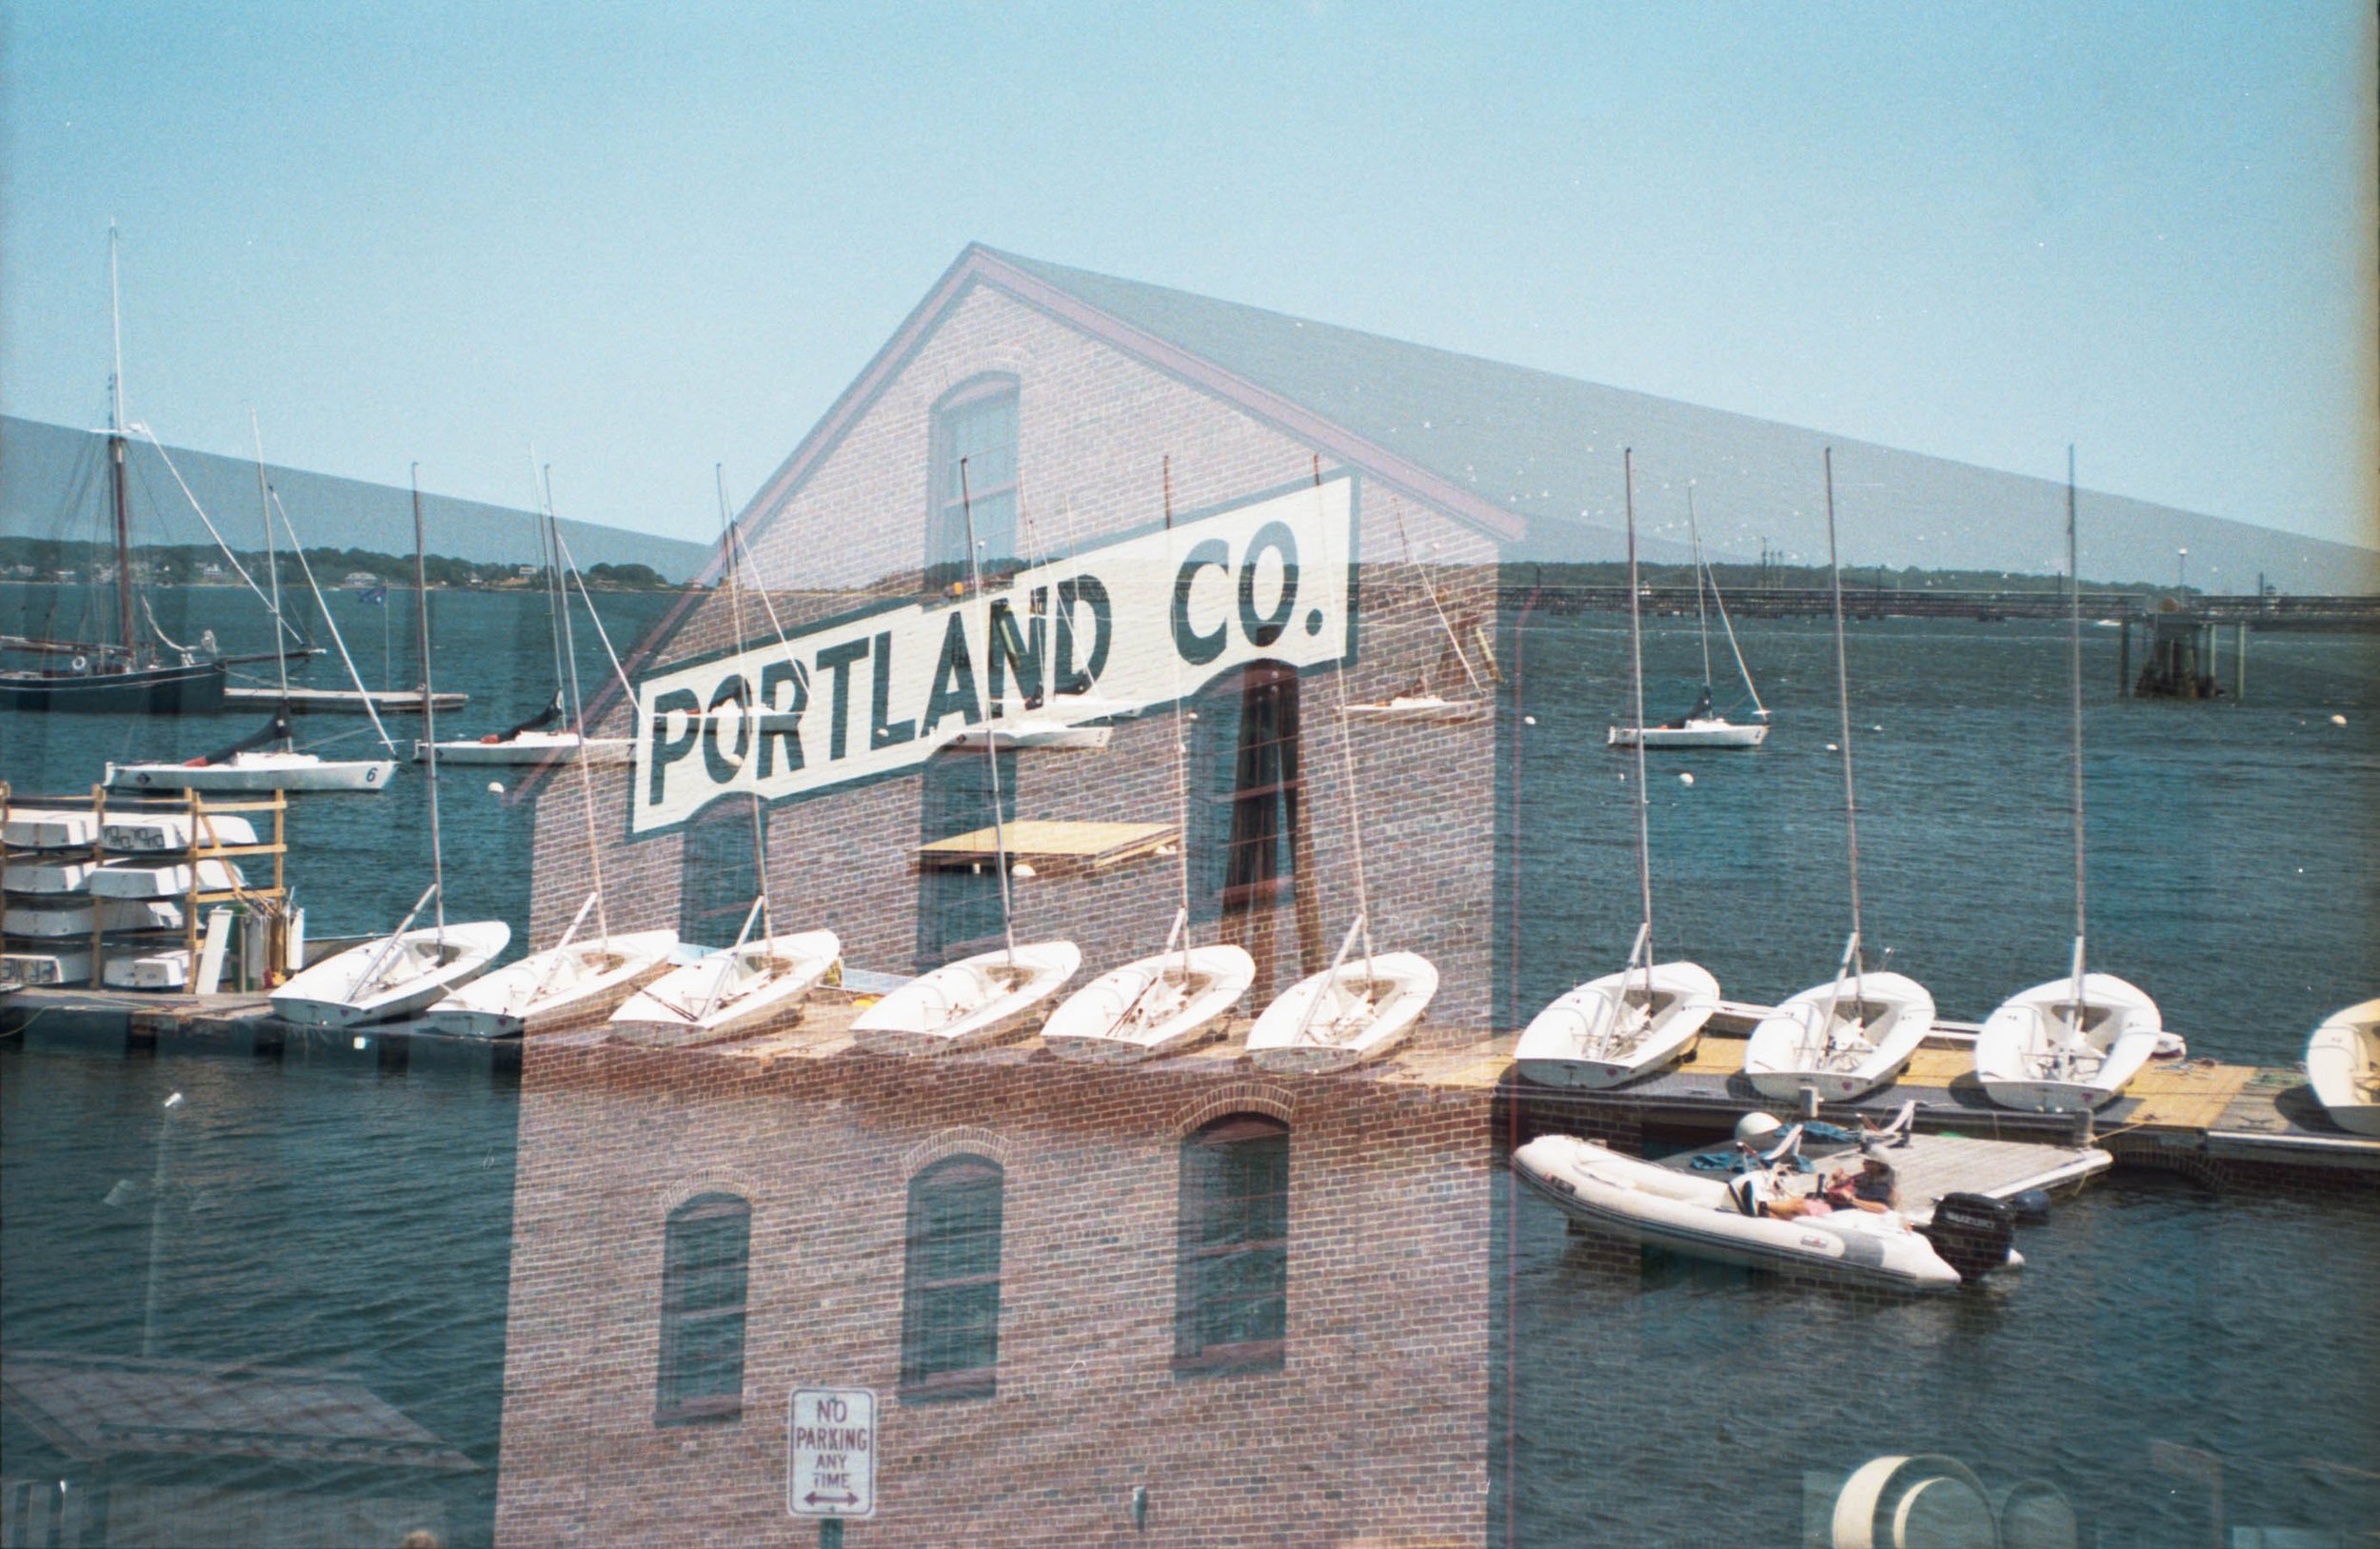
-Double/Multiple Exposure Option (a NECESSITY for me)
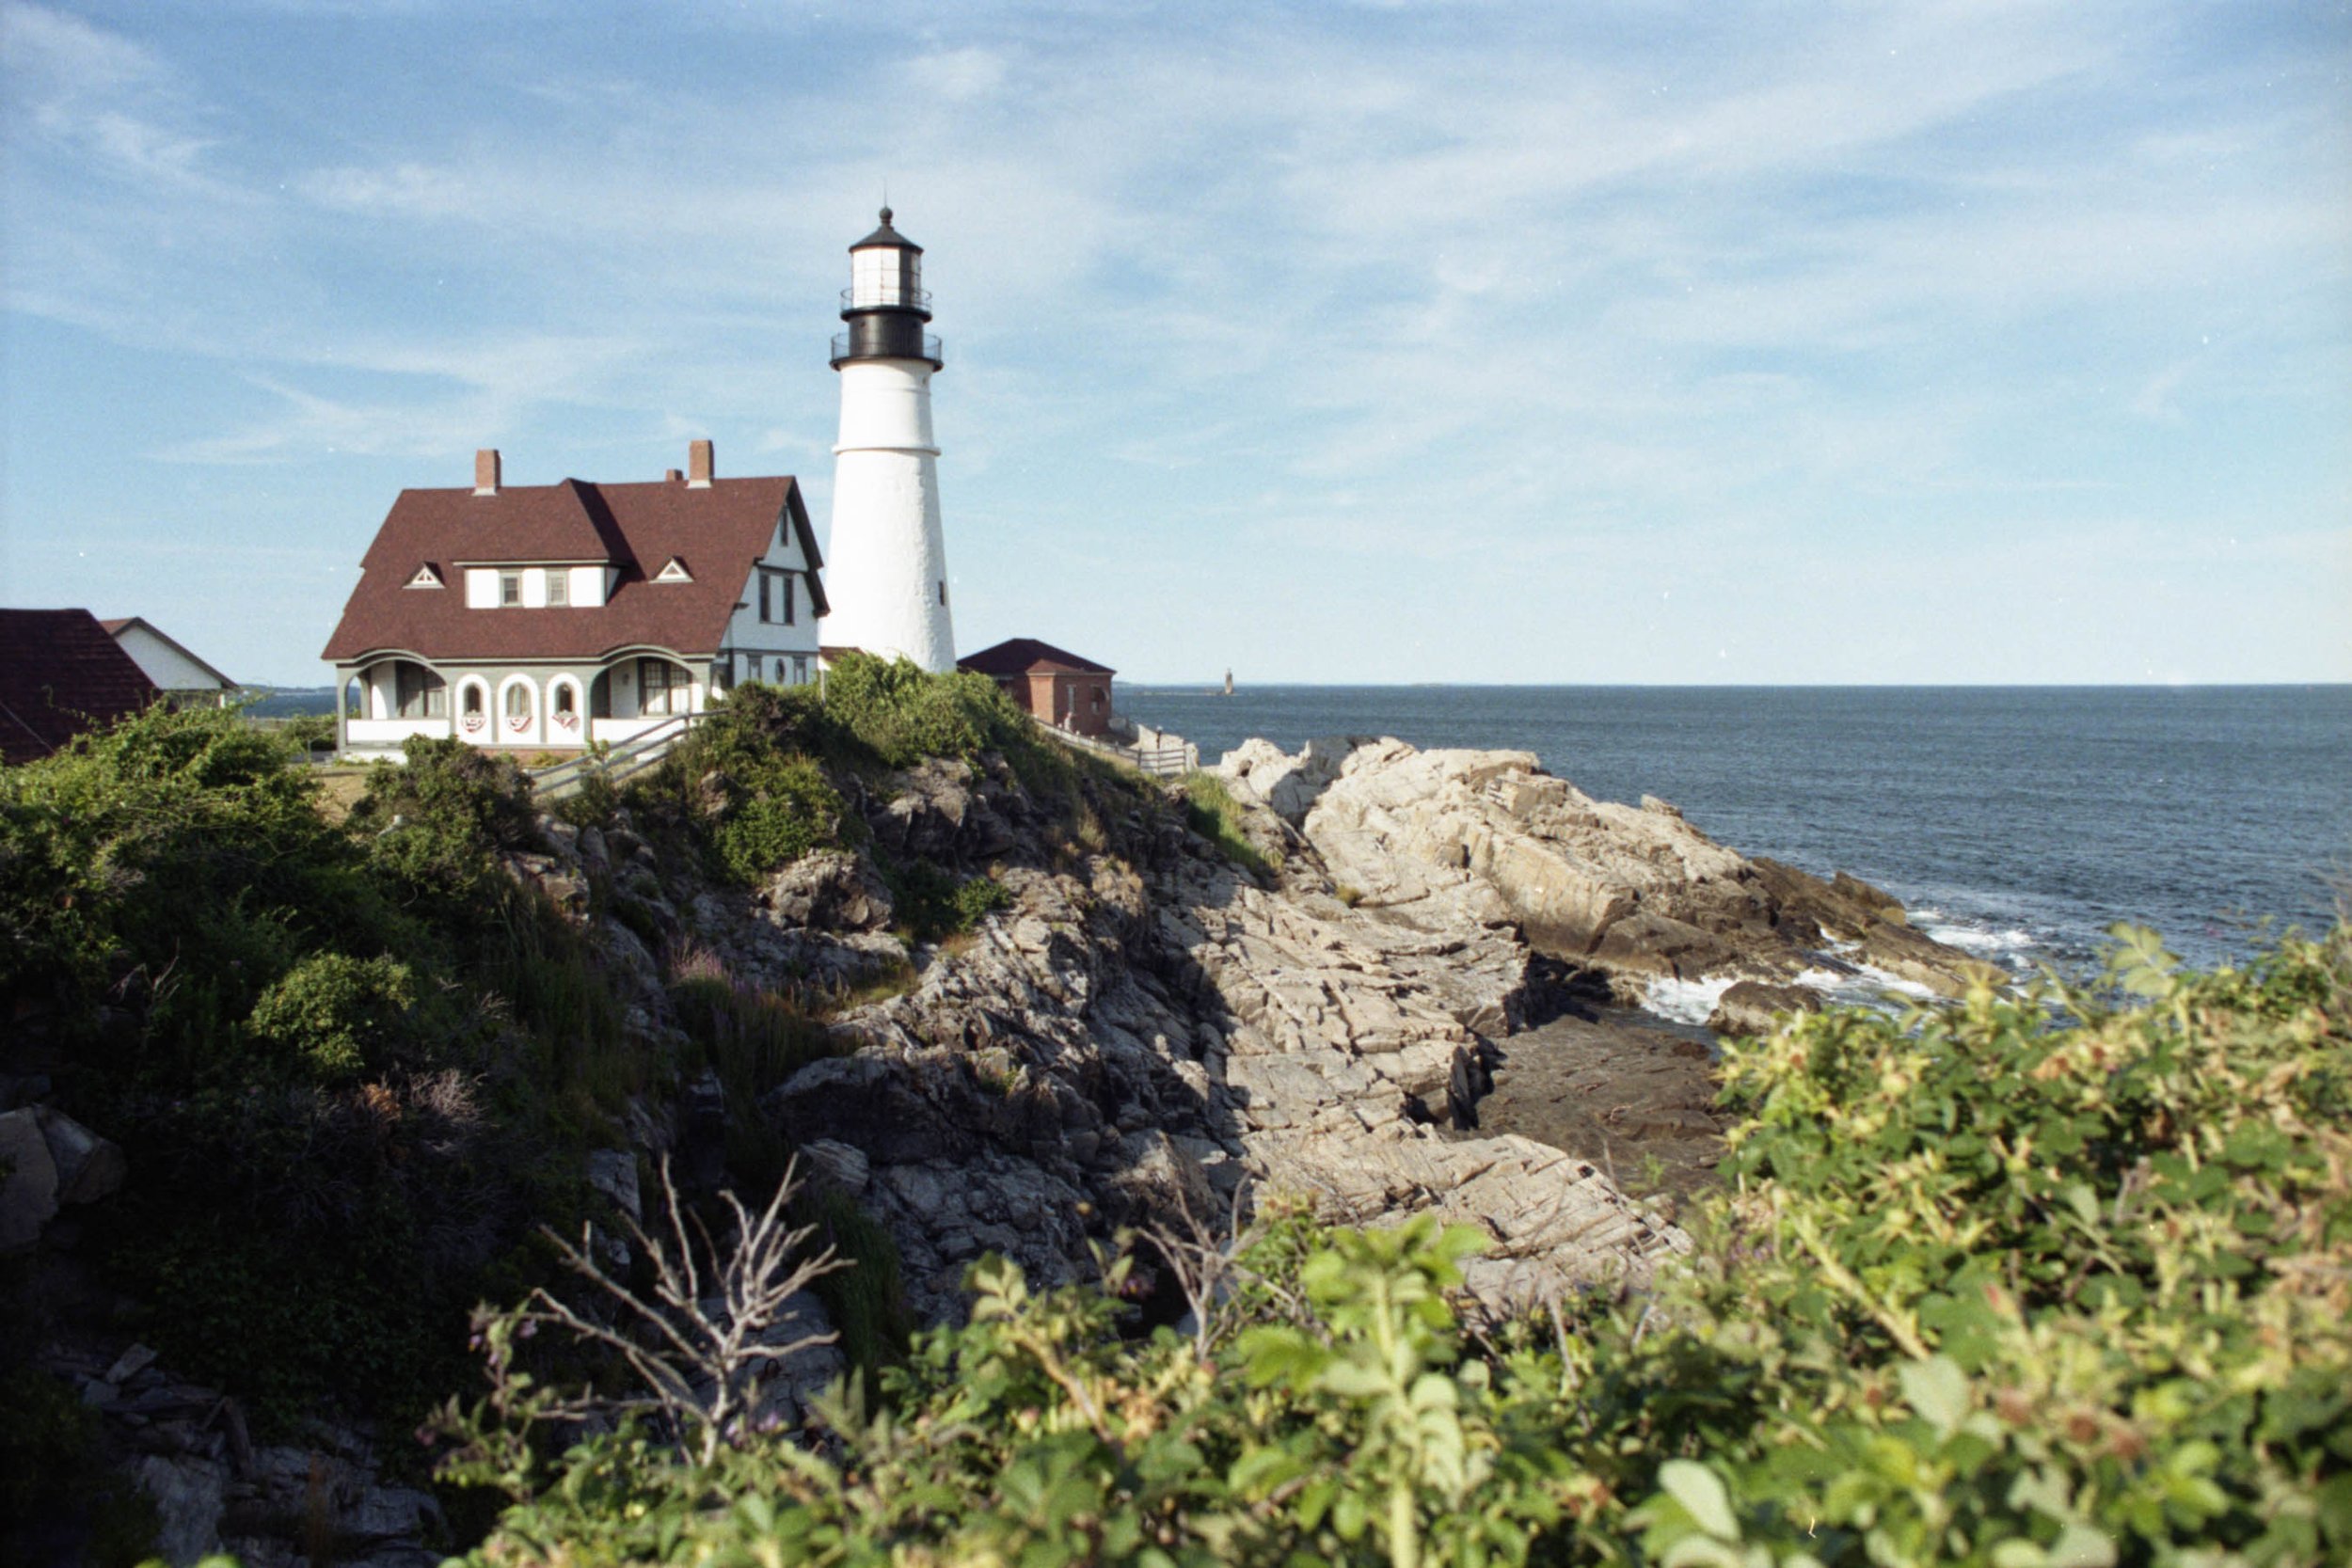
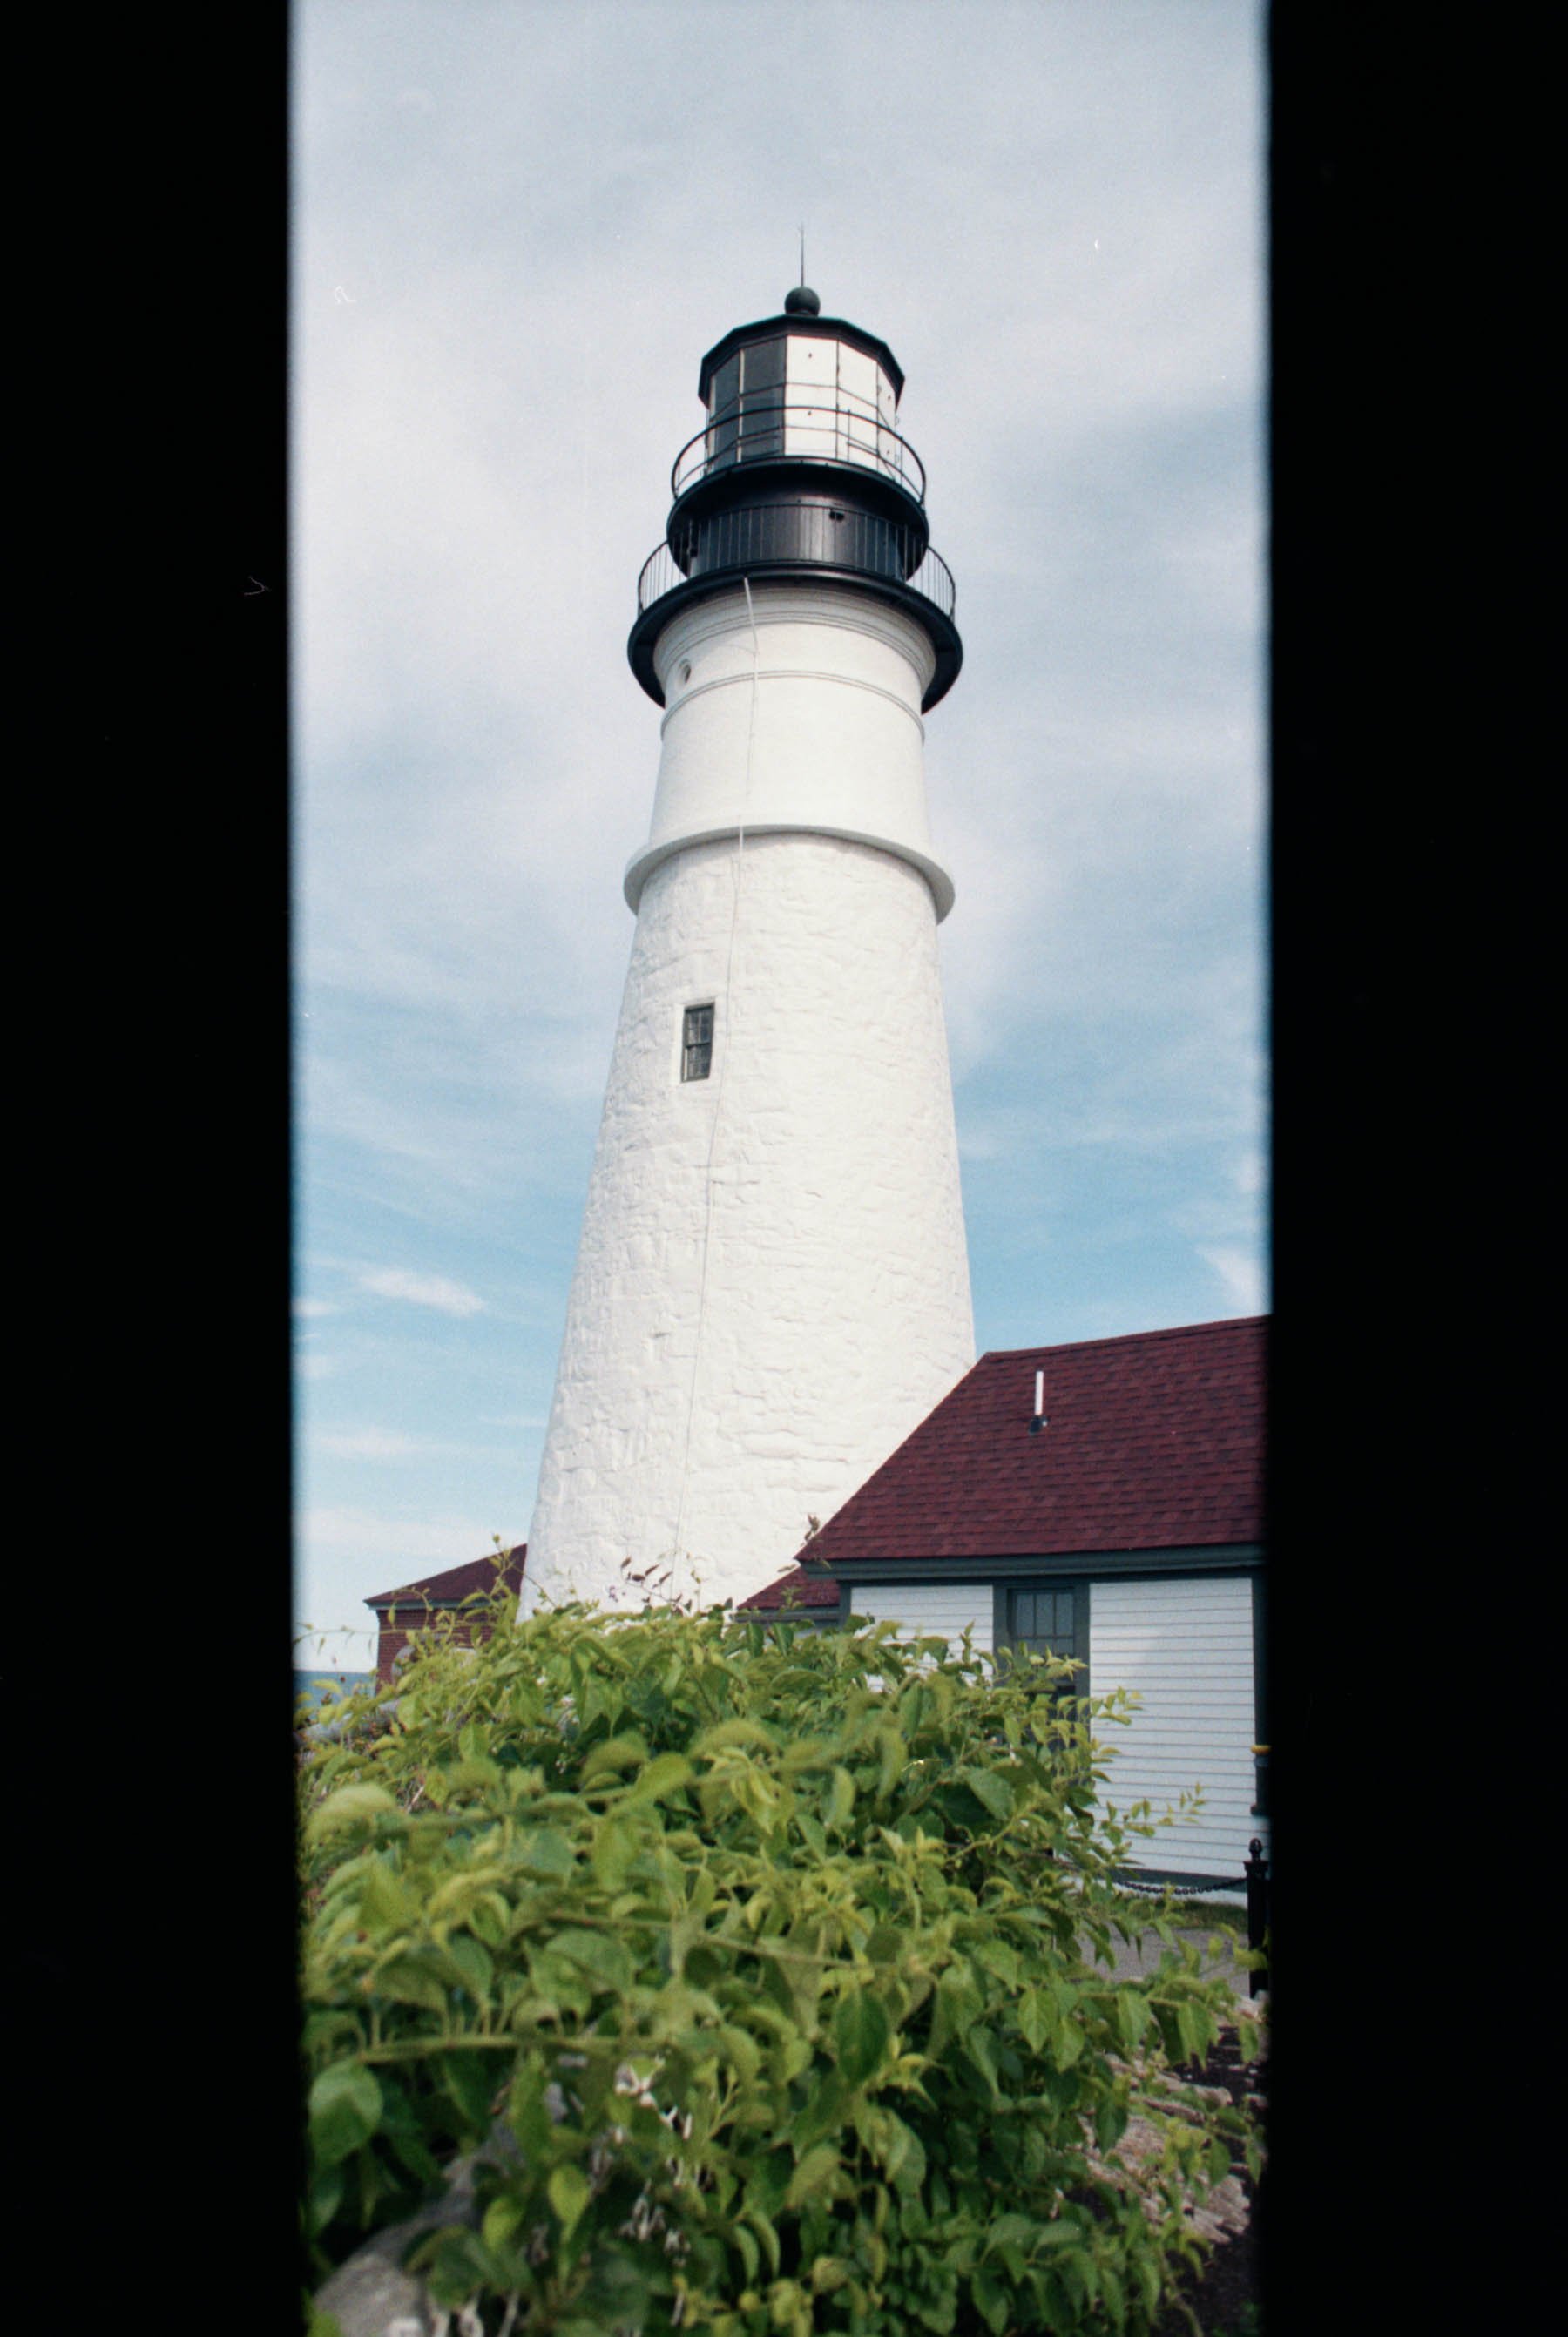
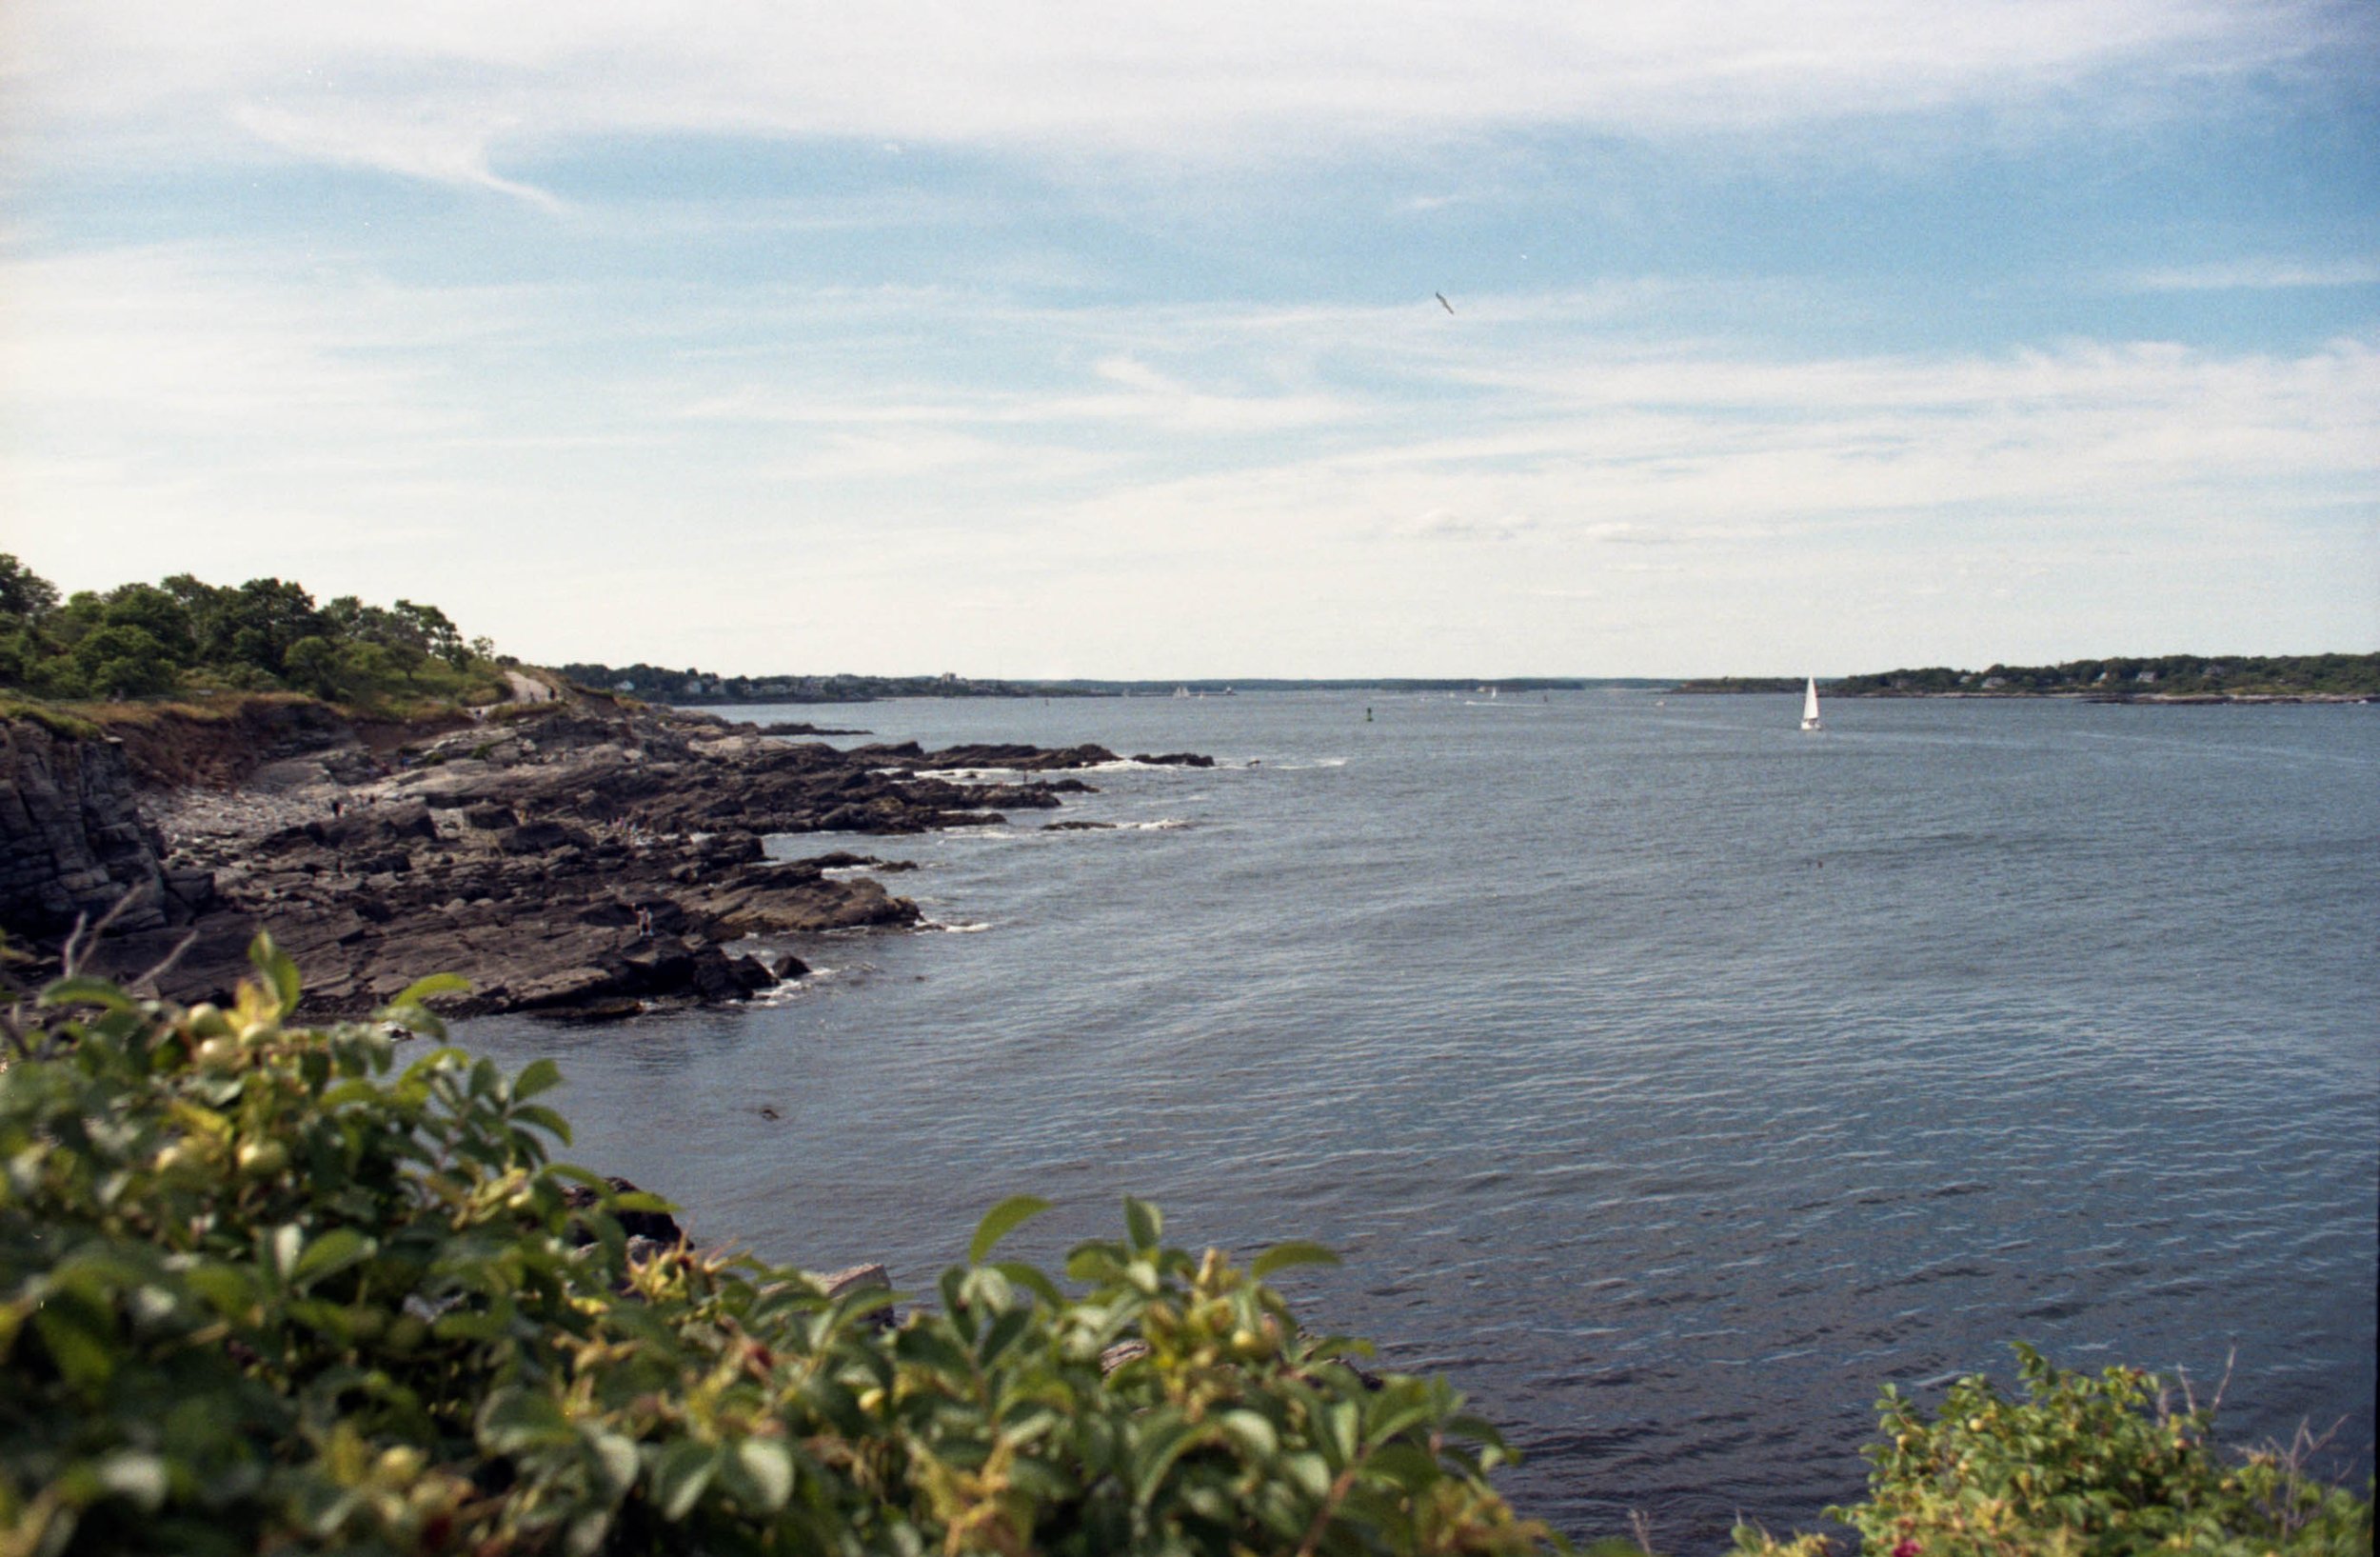
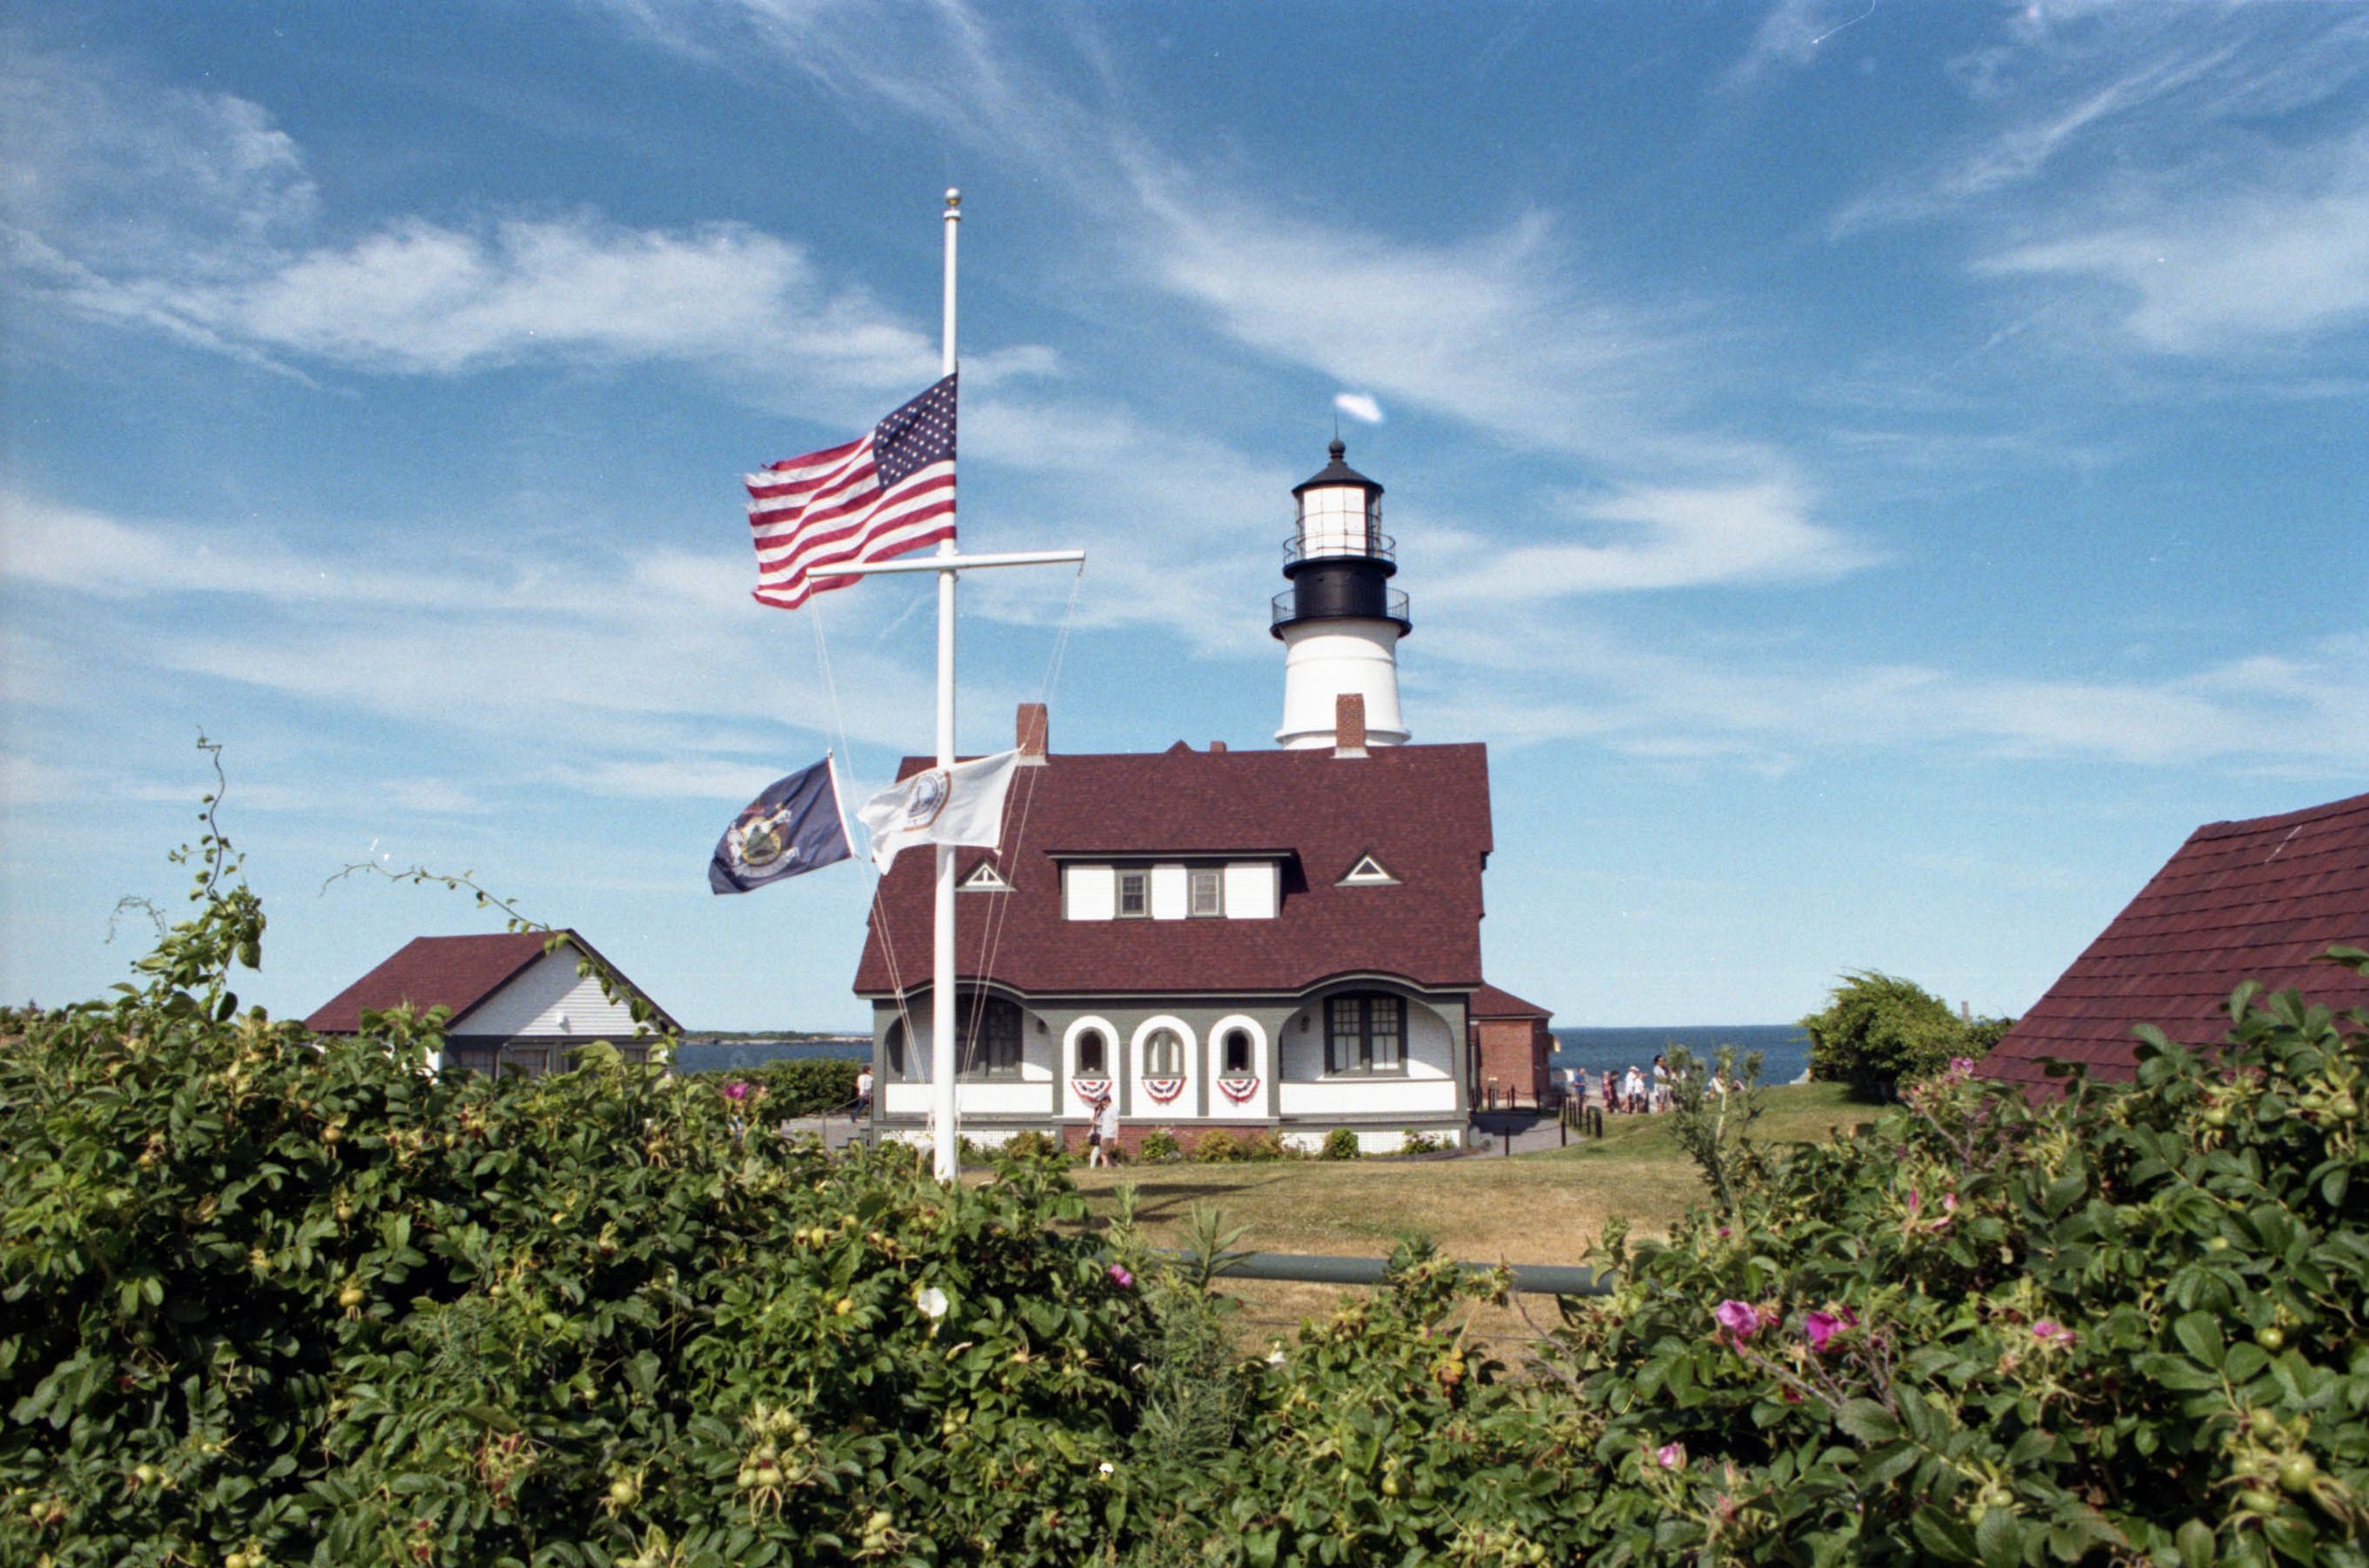
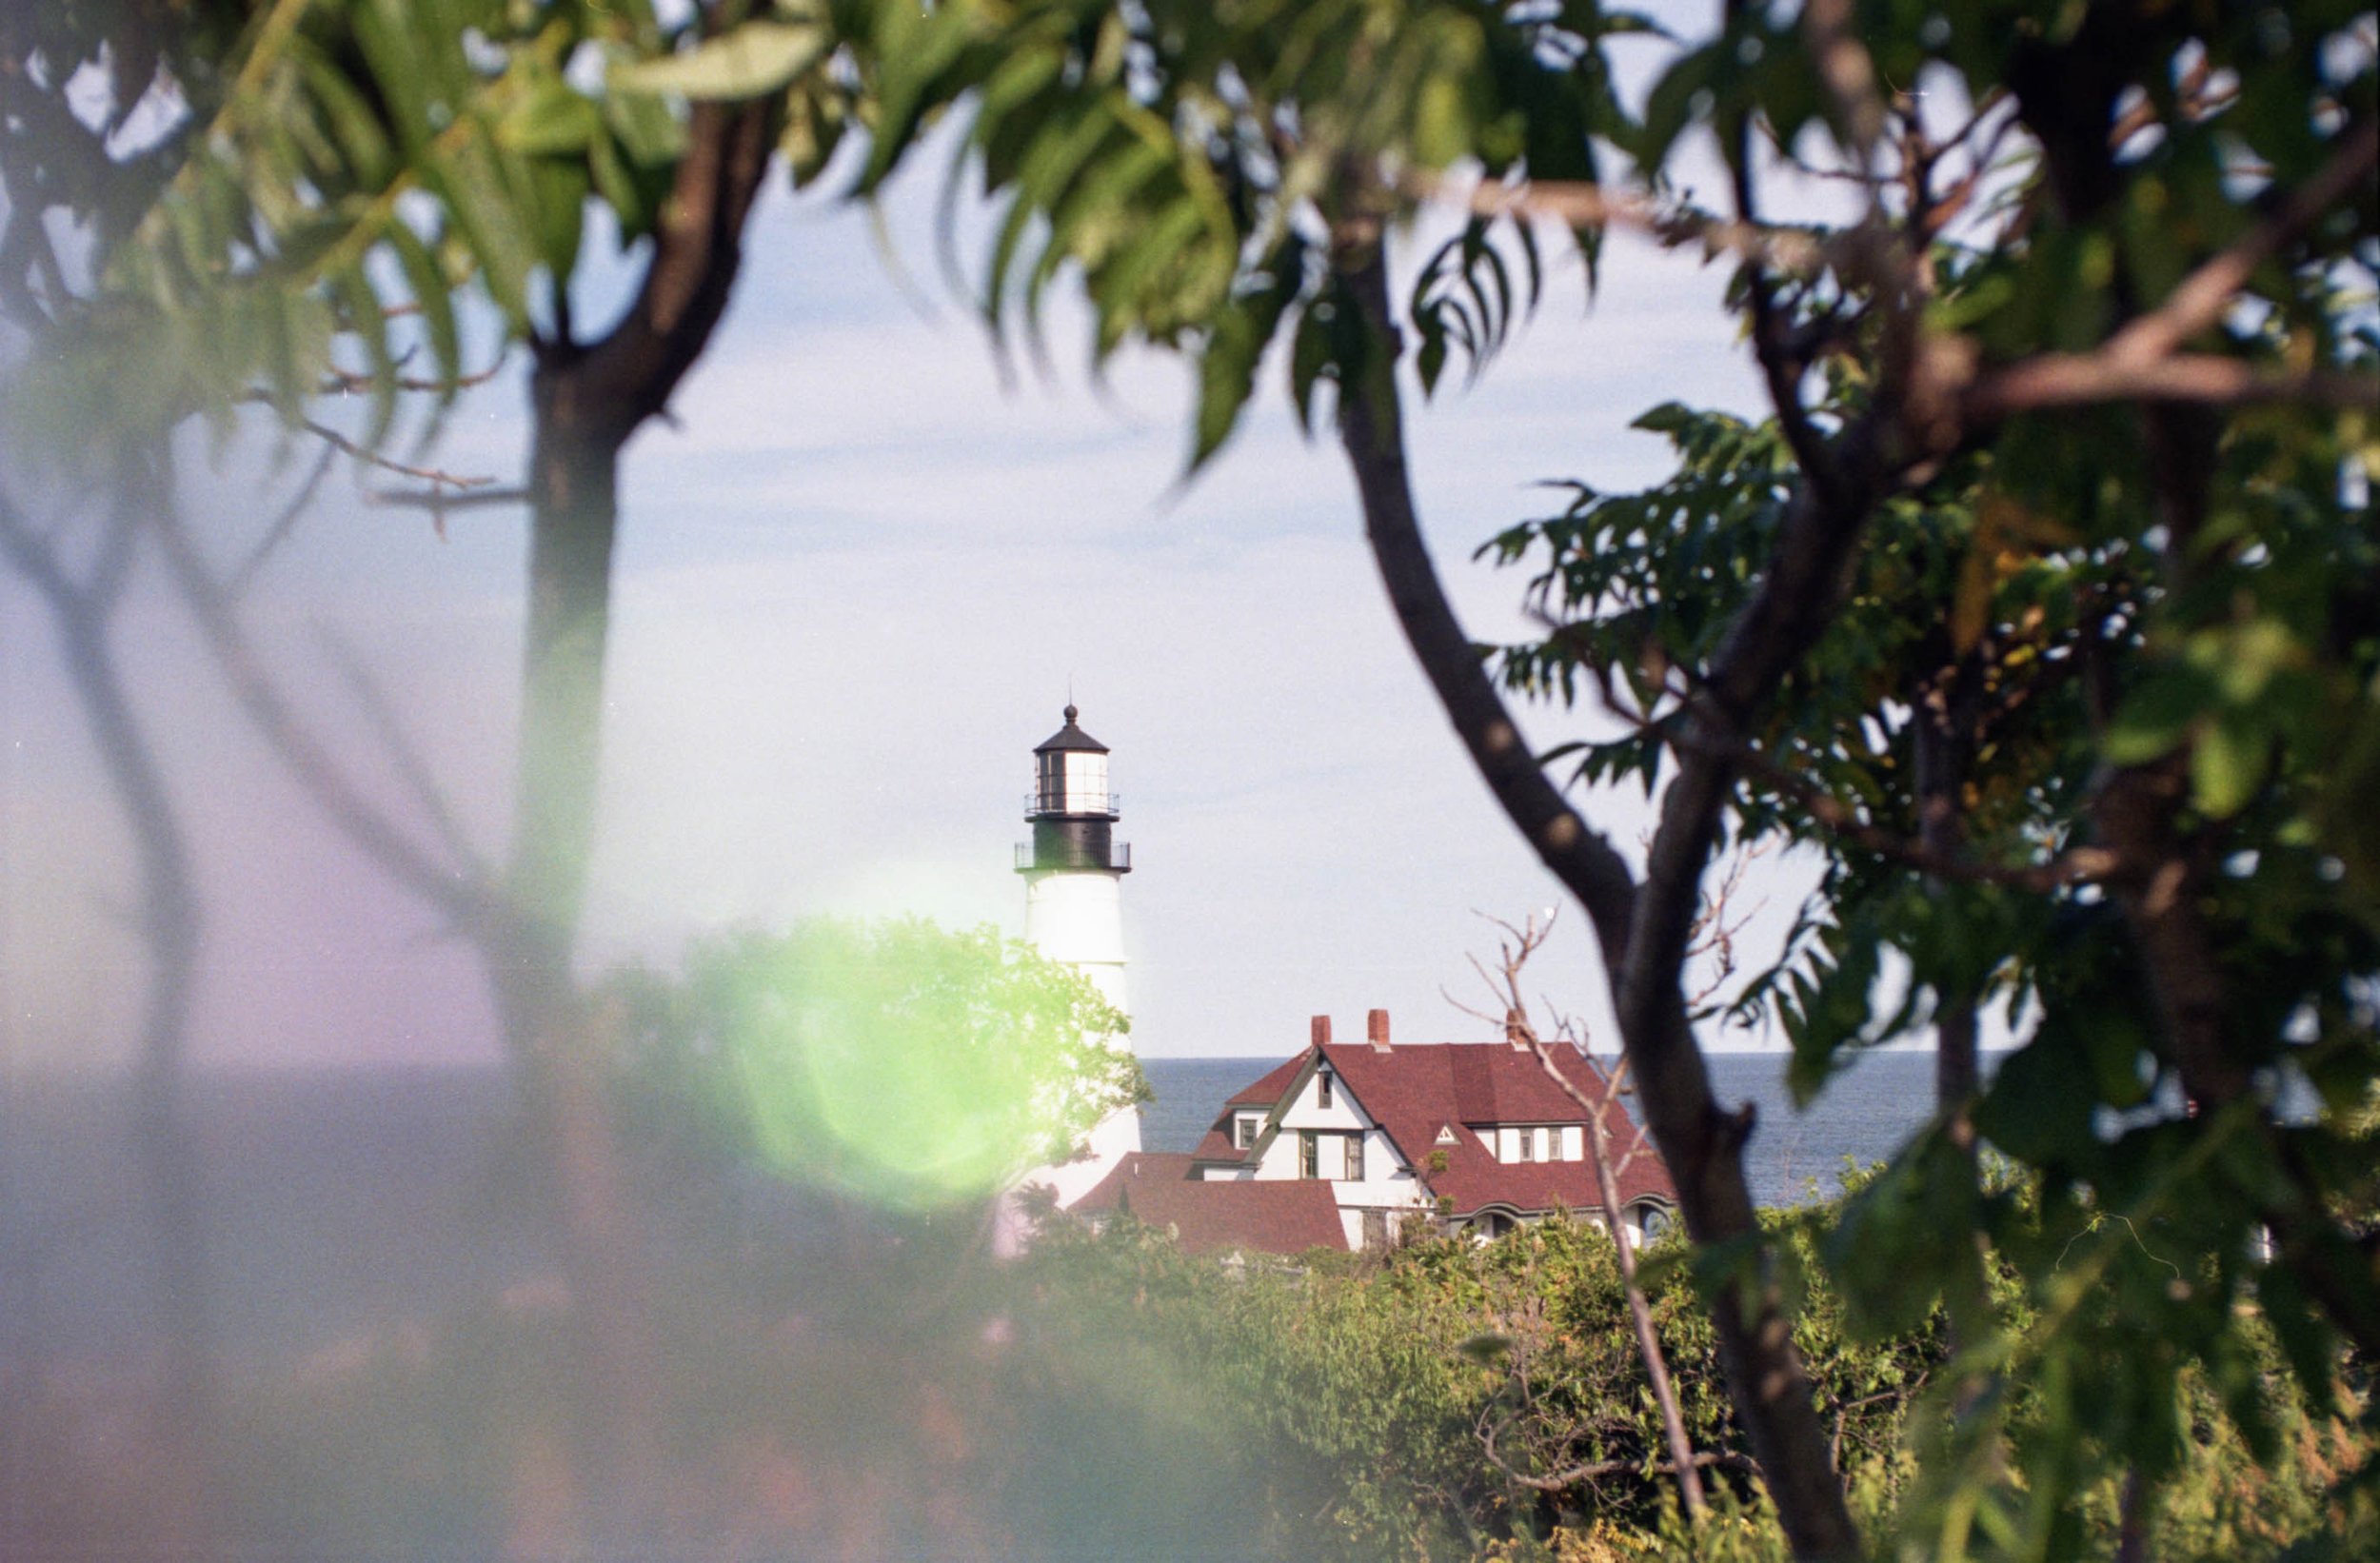
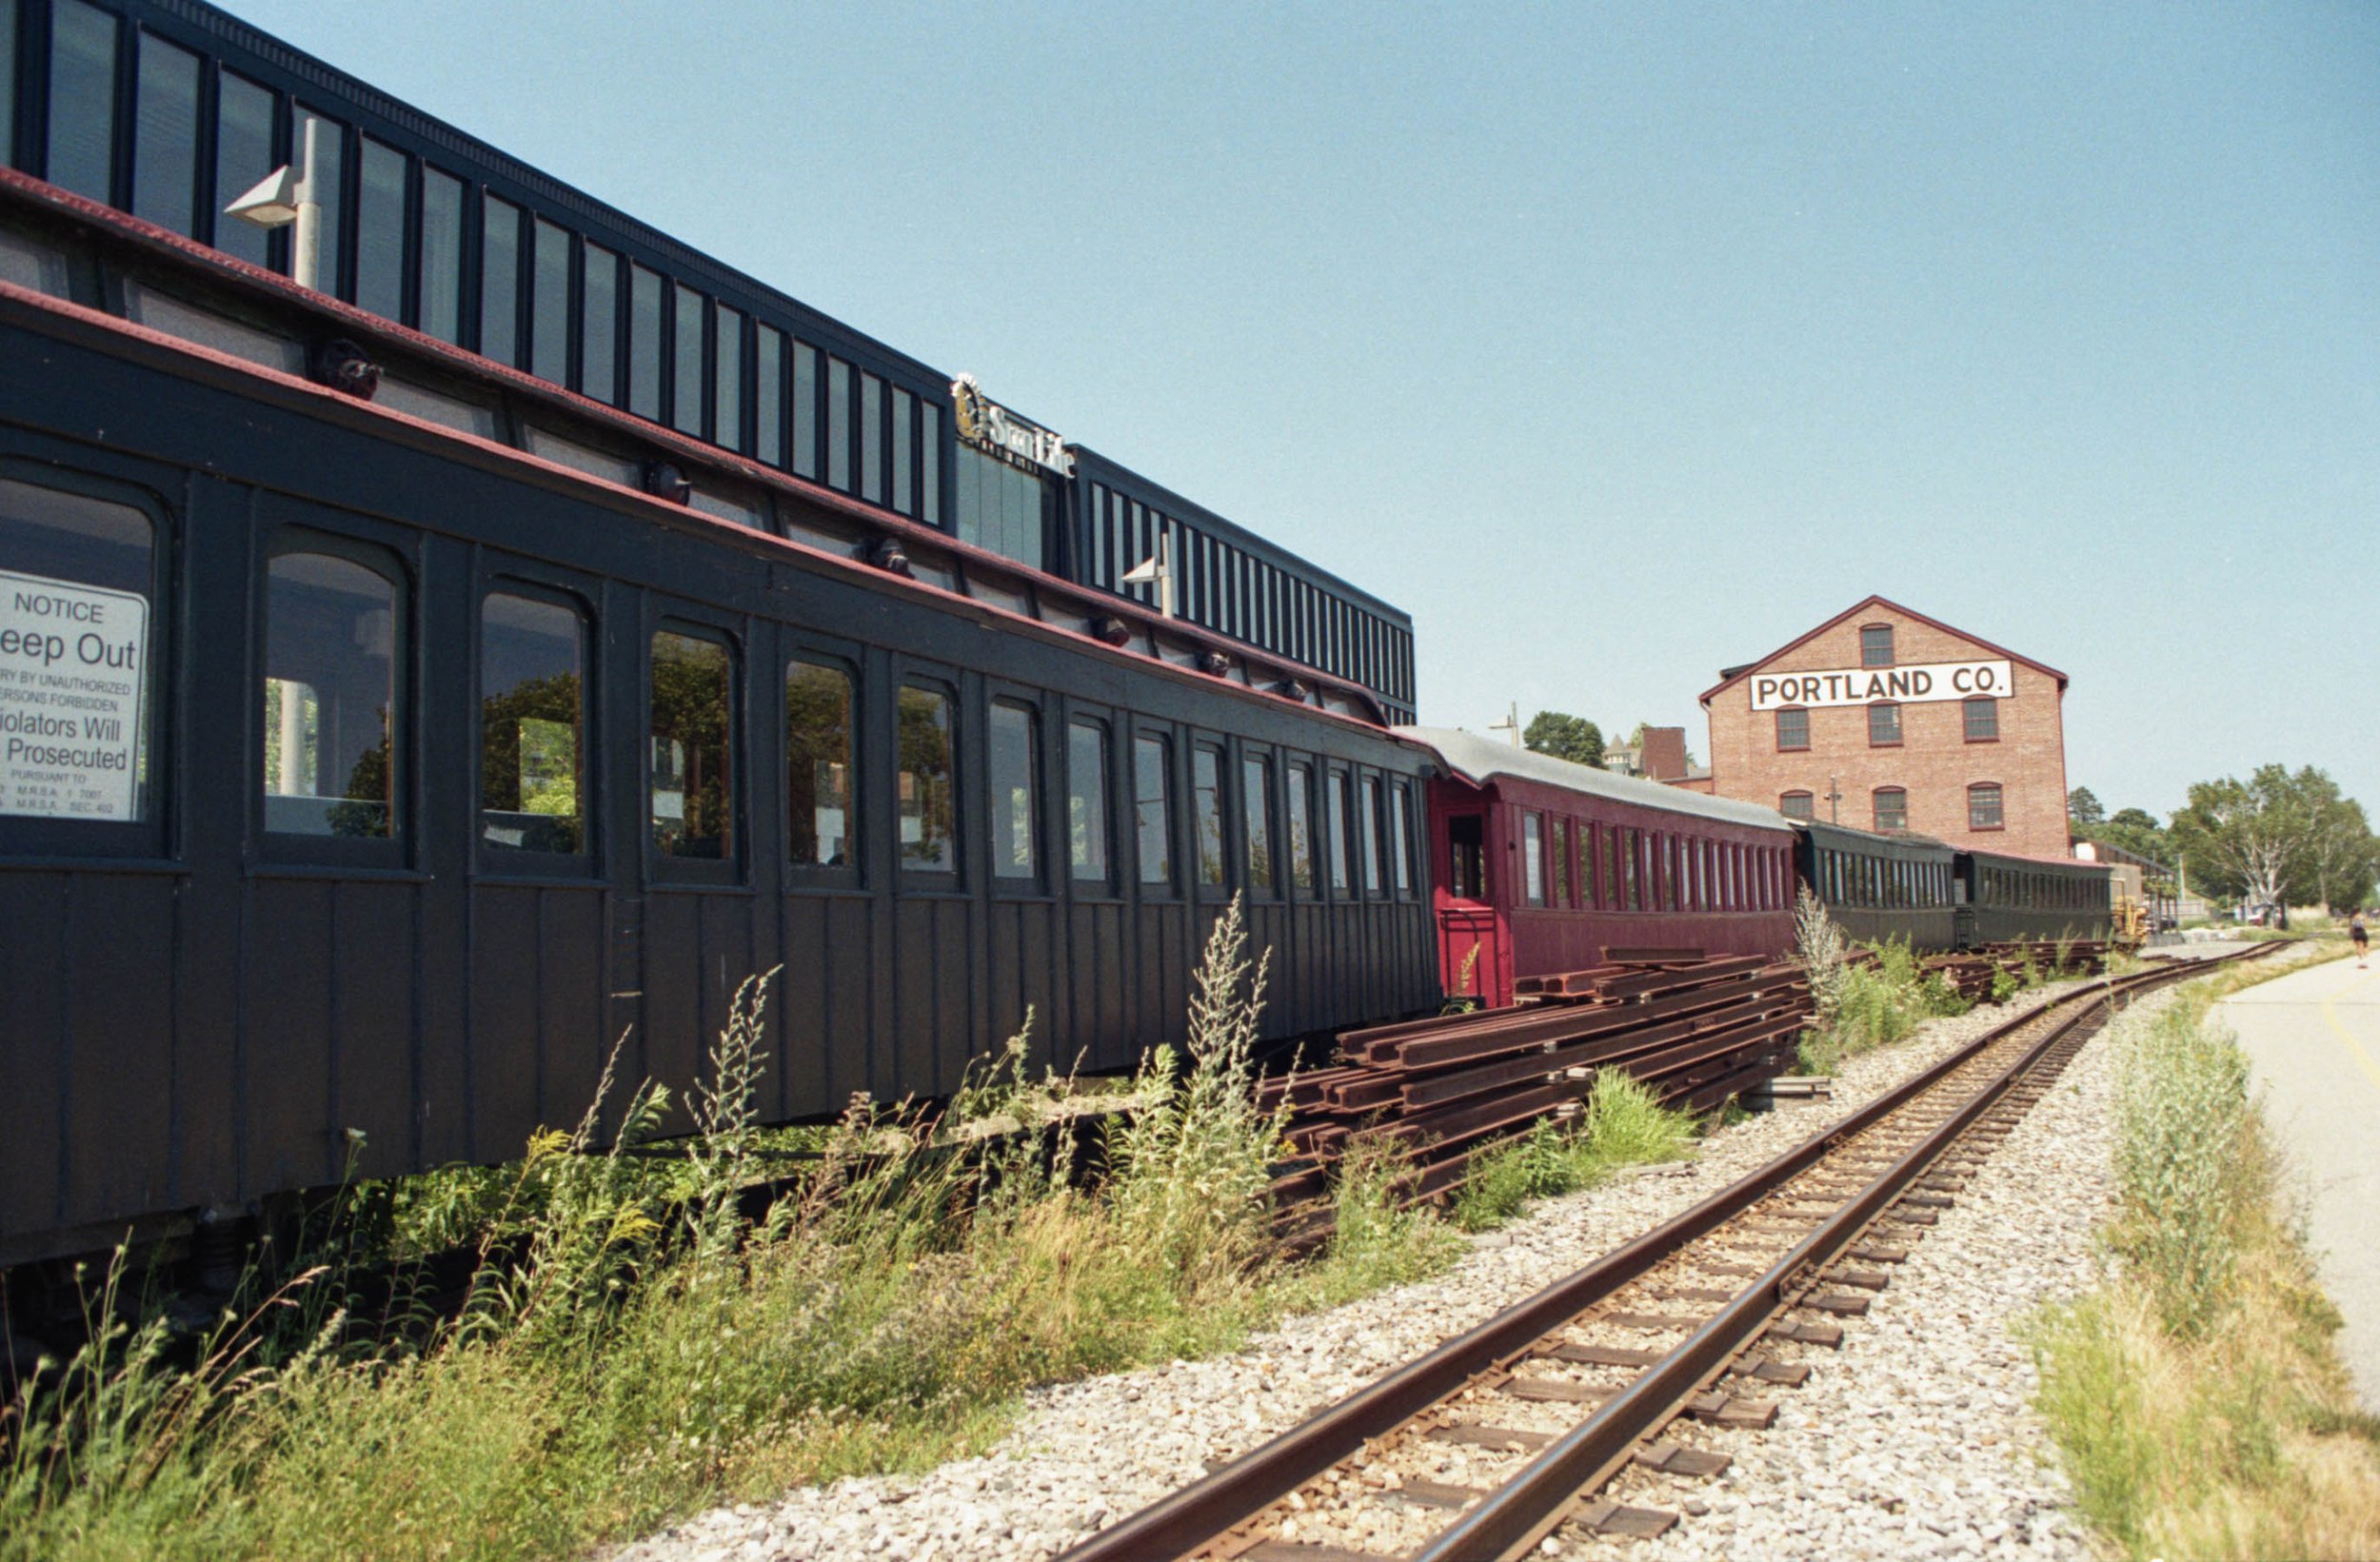
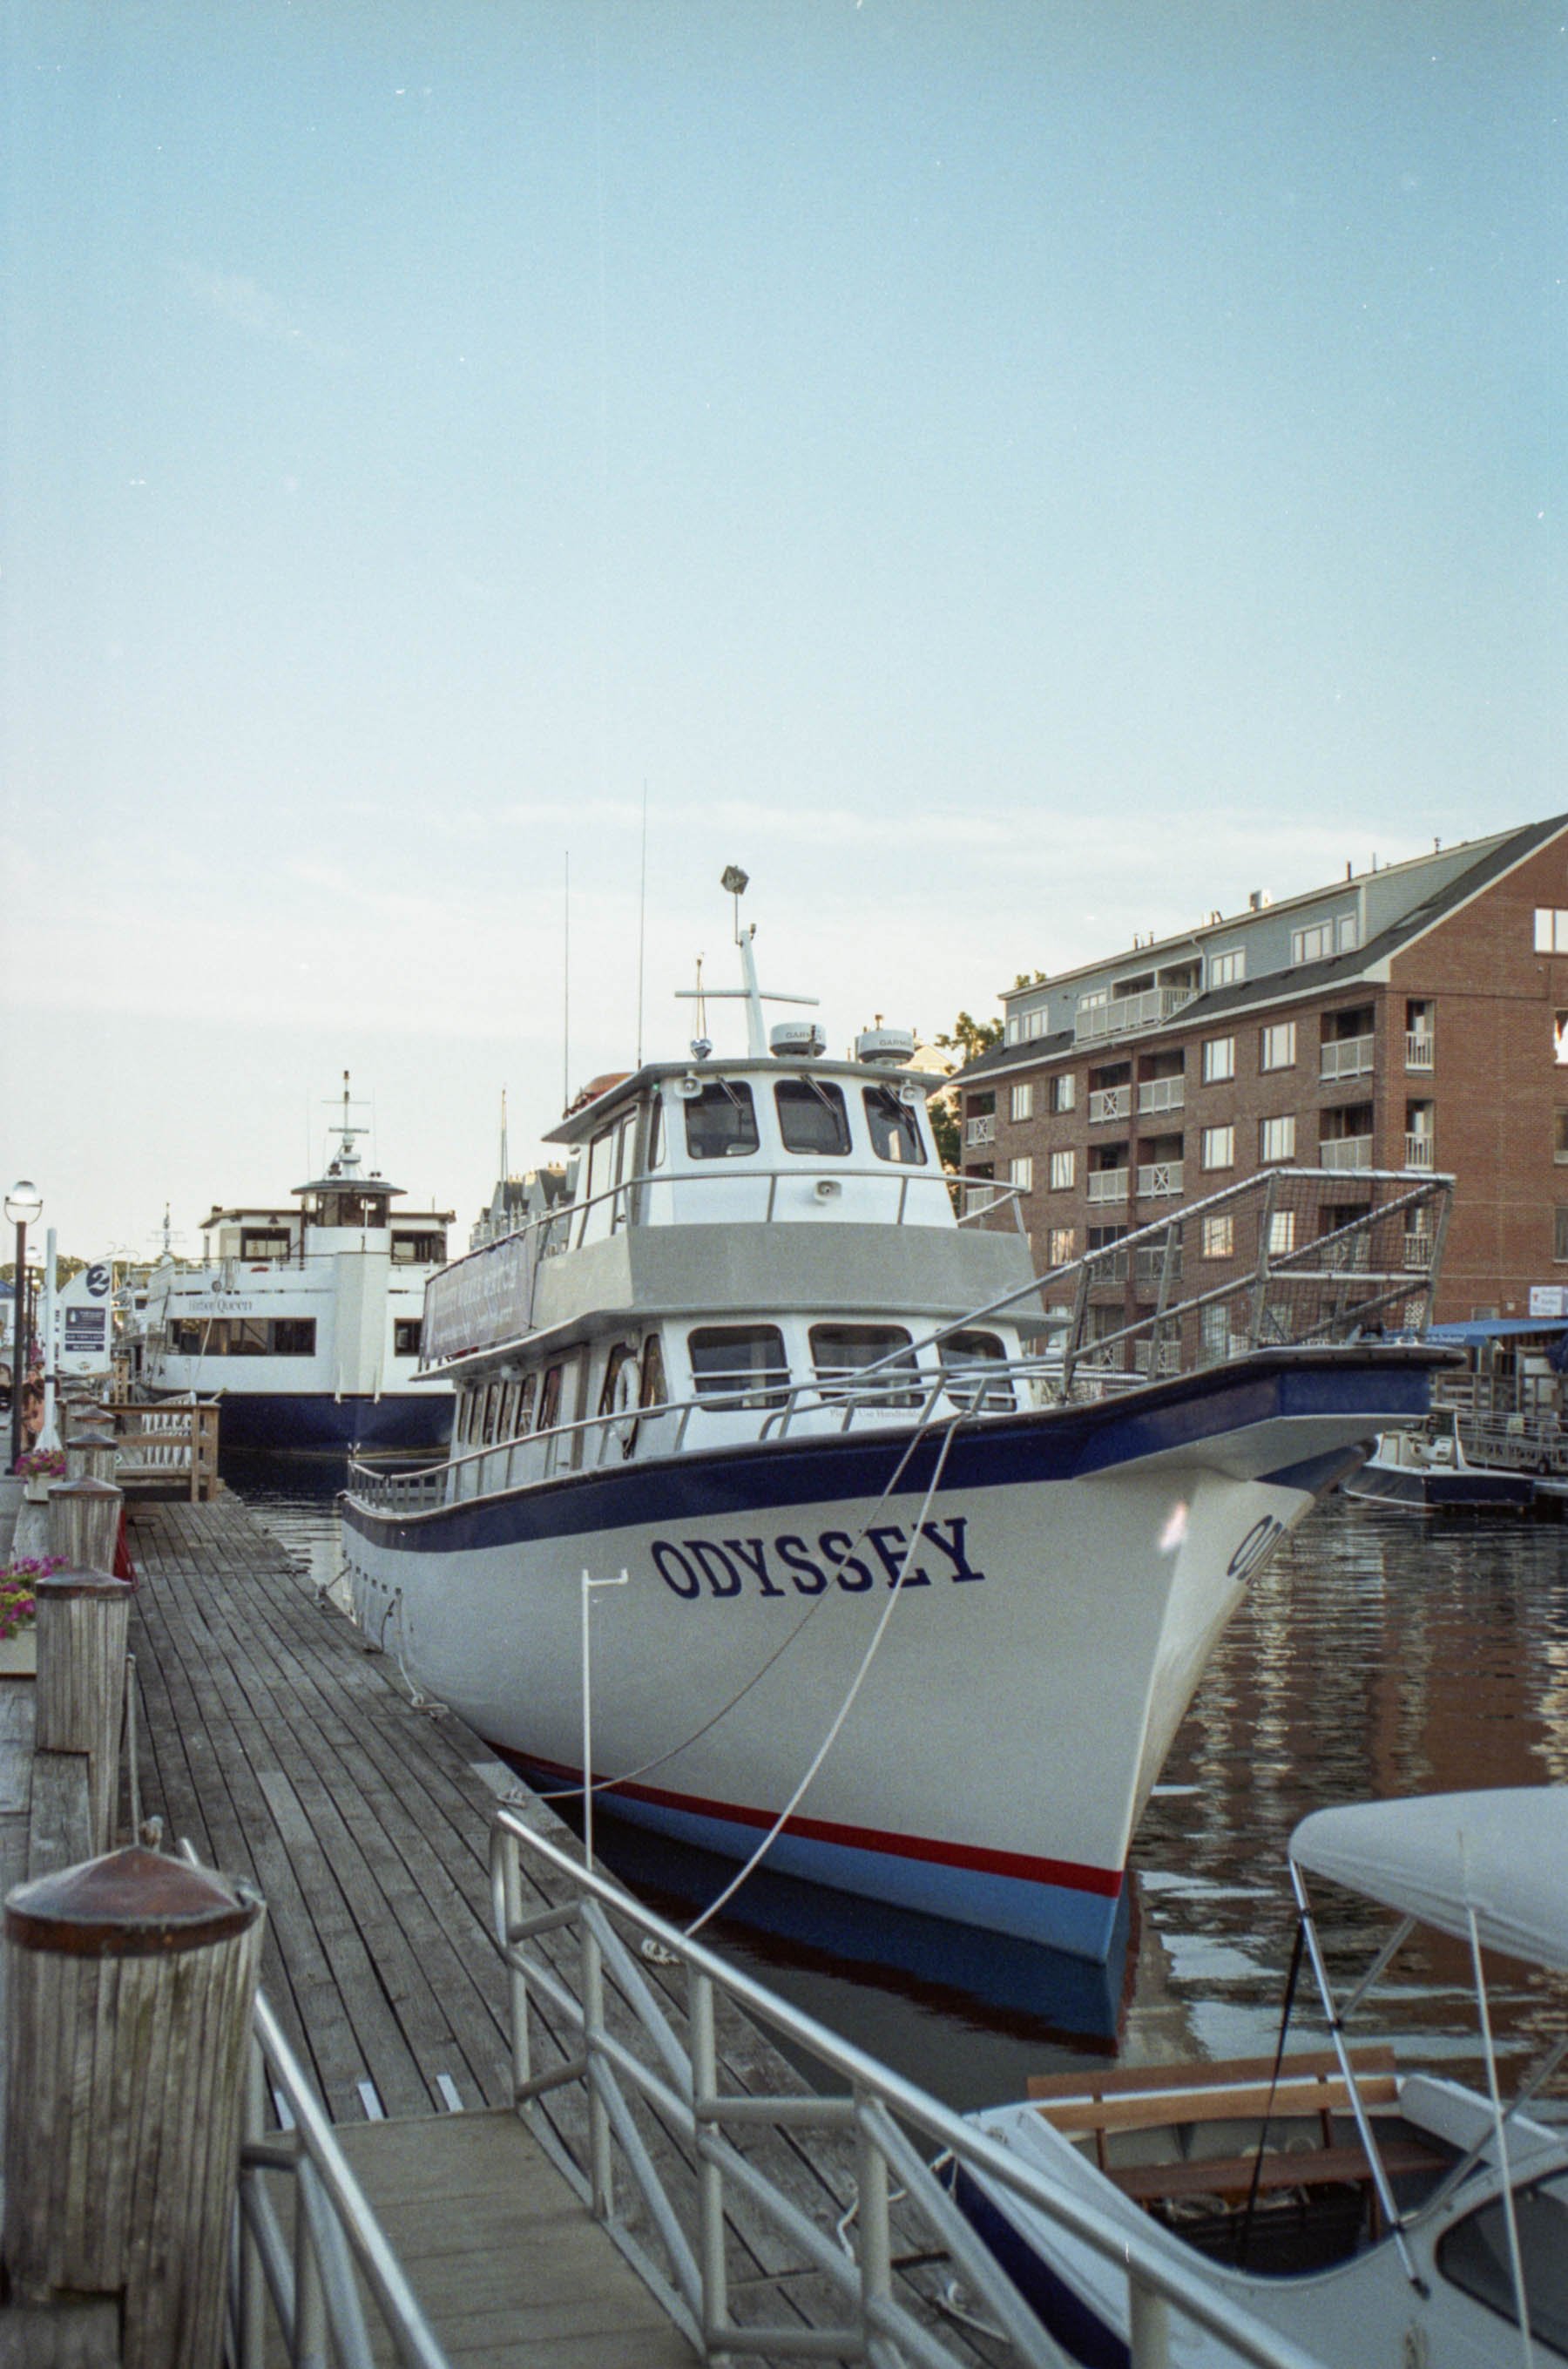
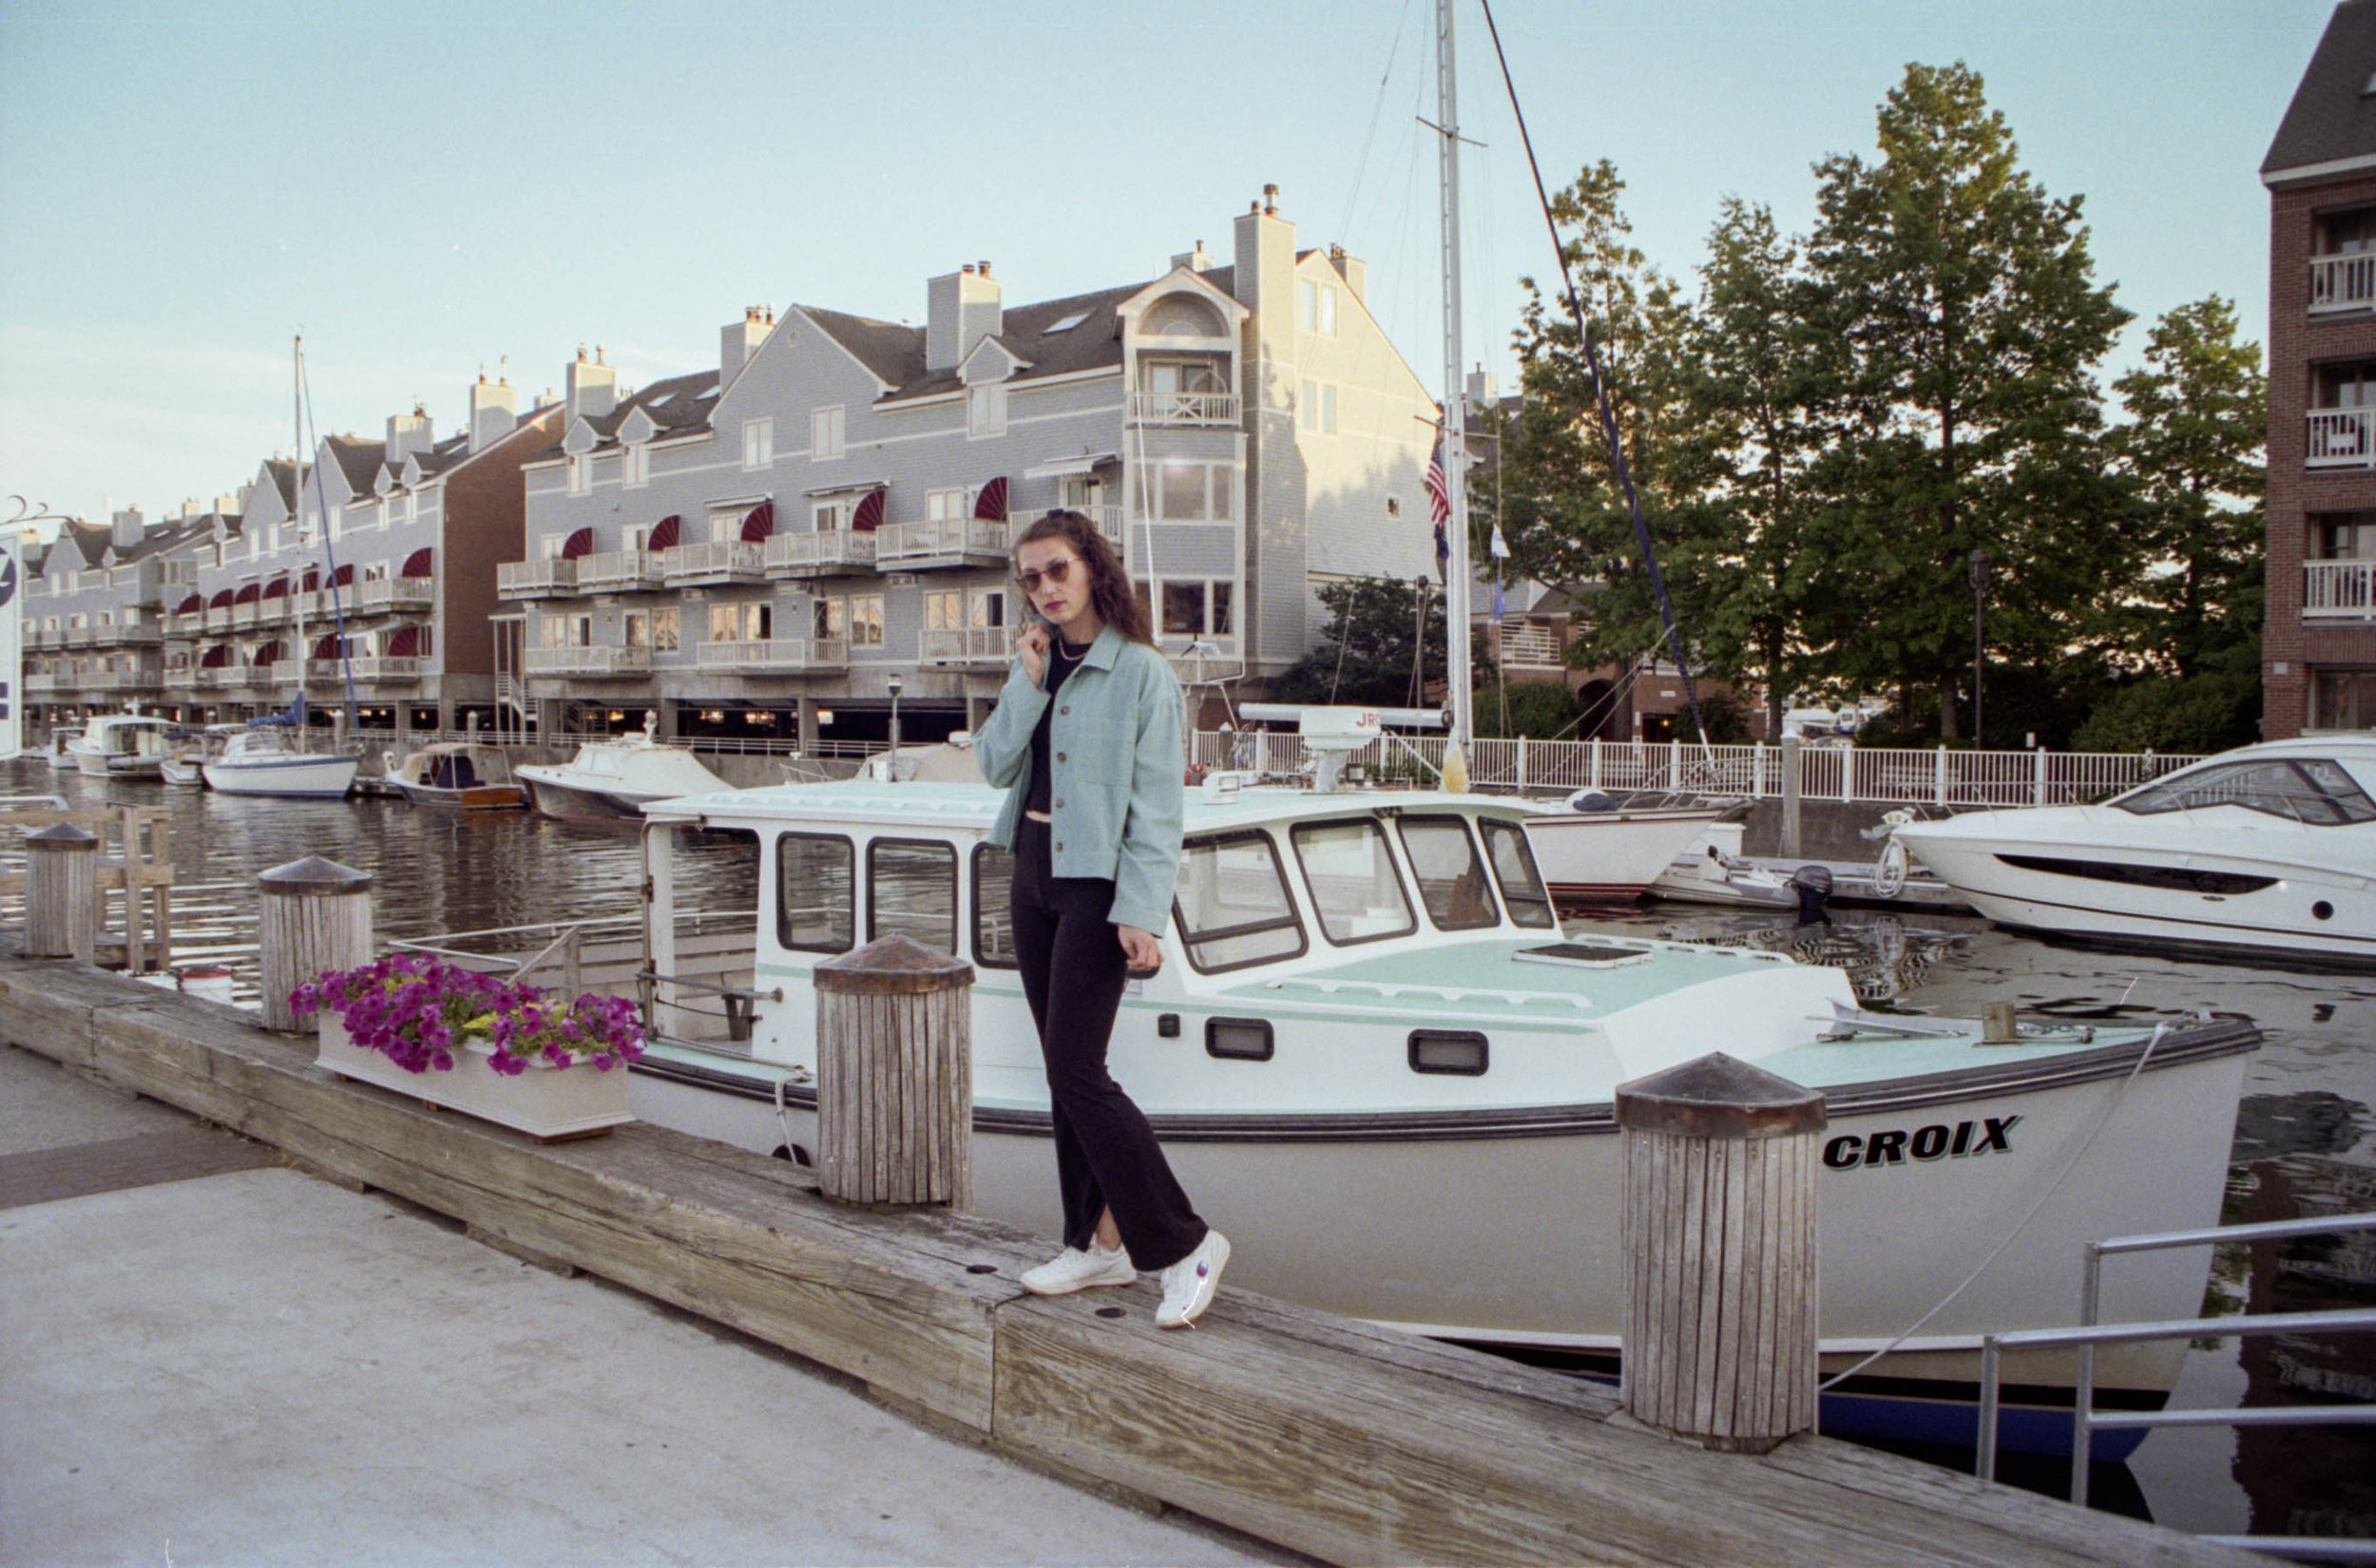
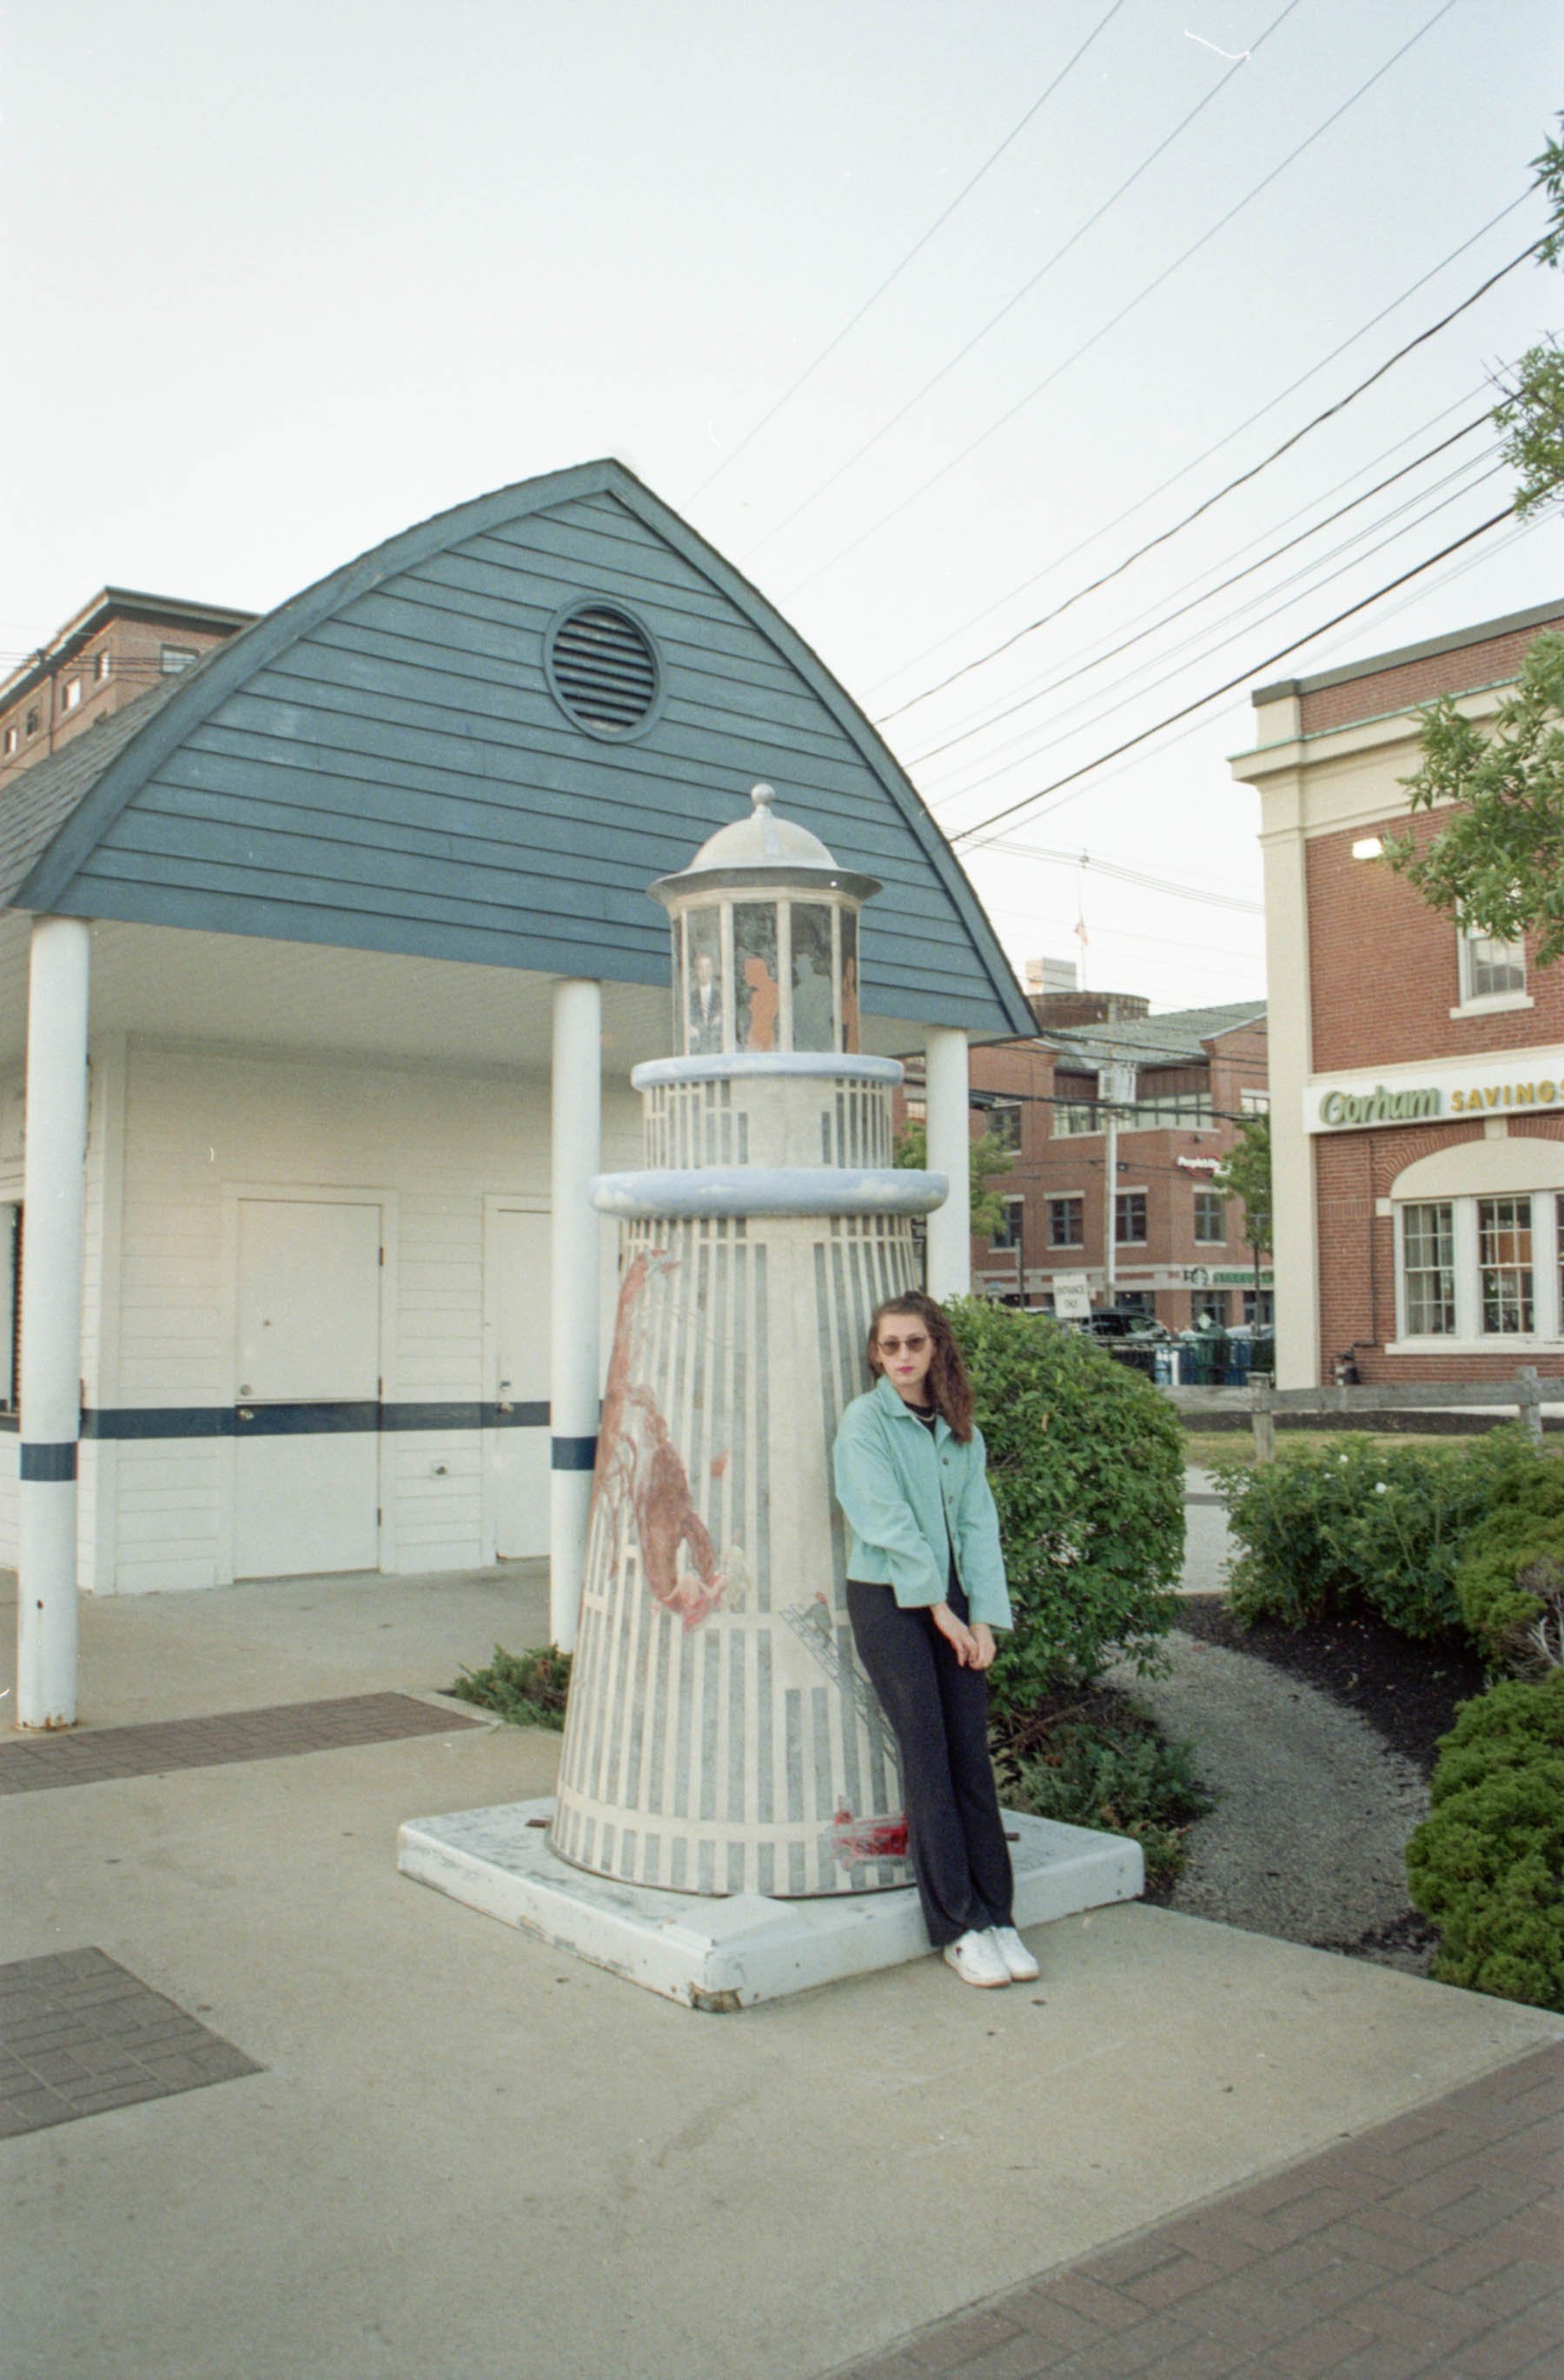
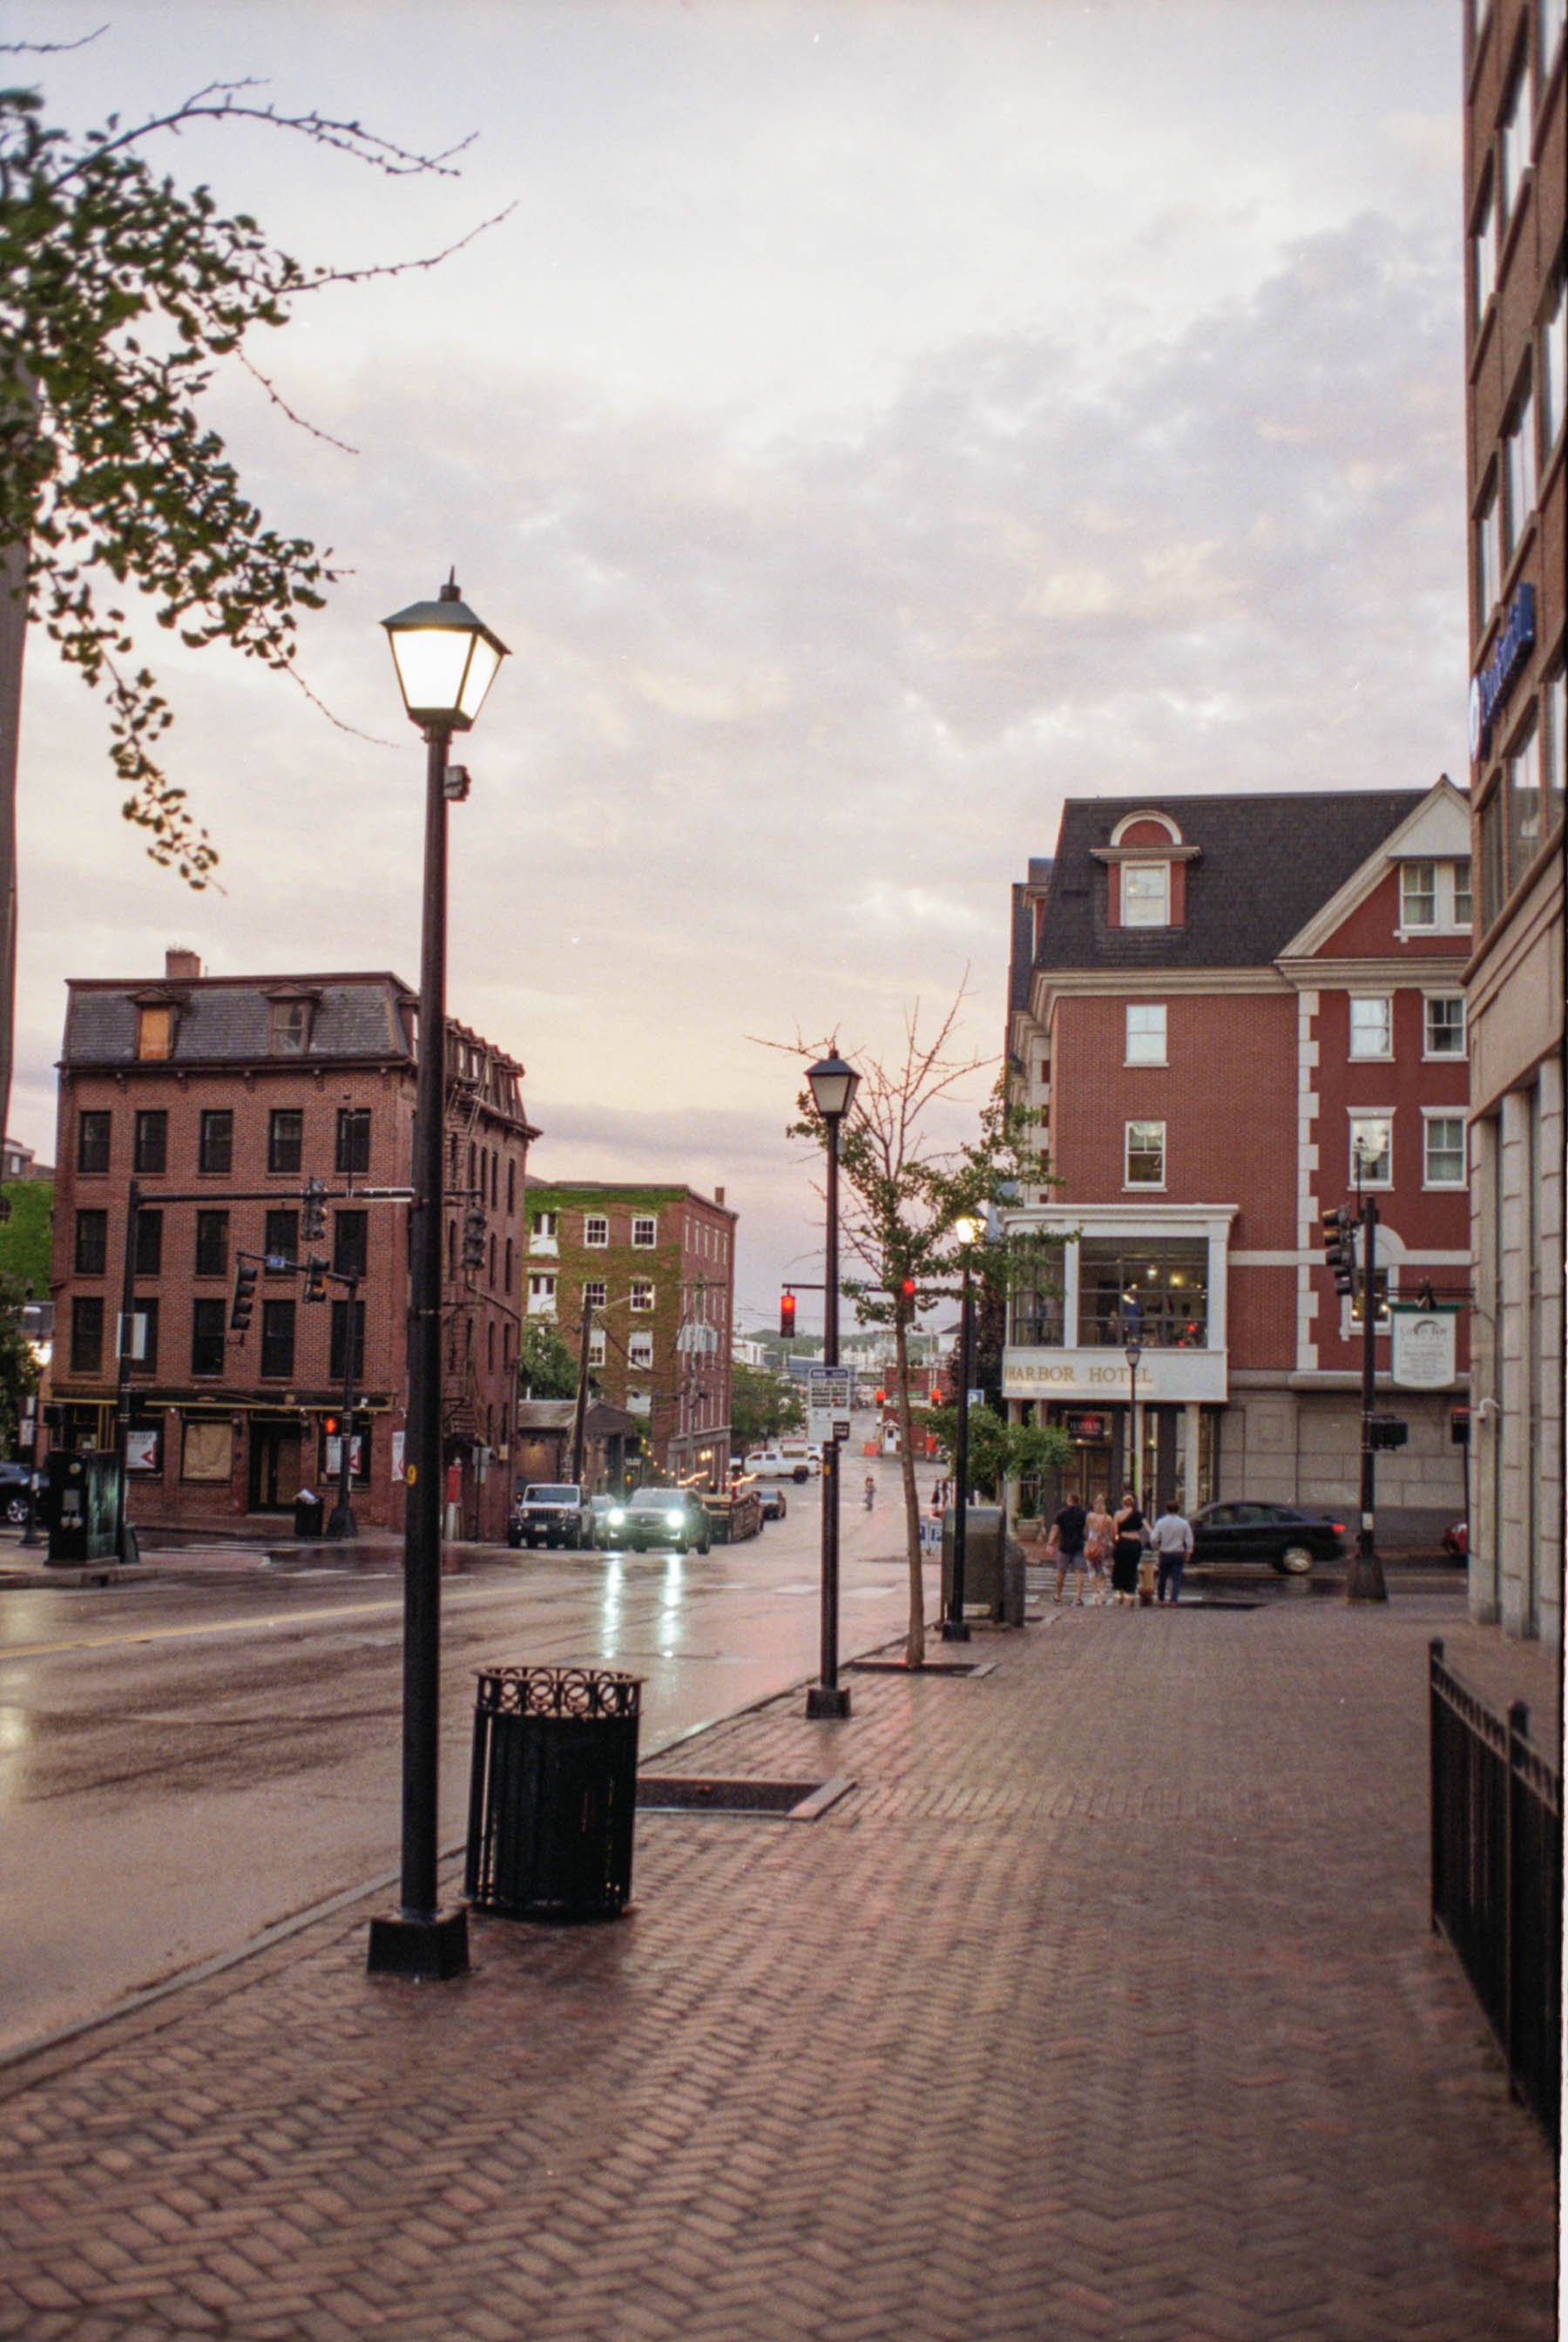
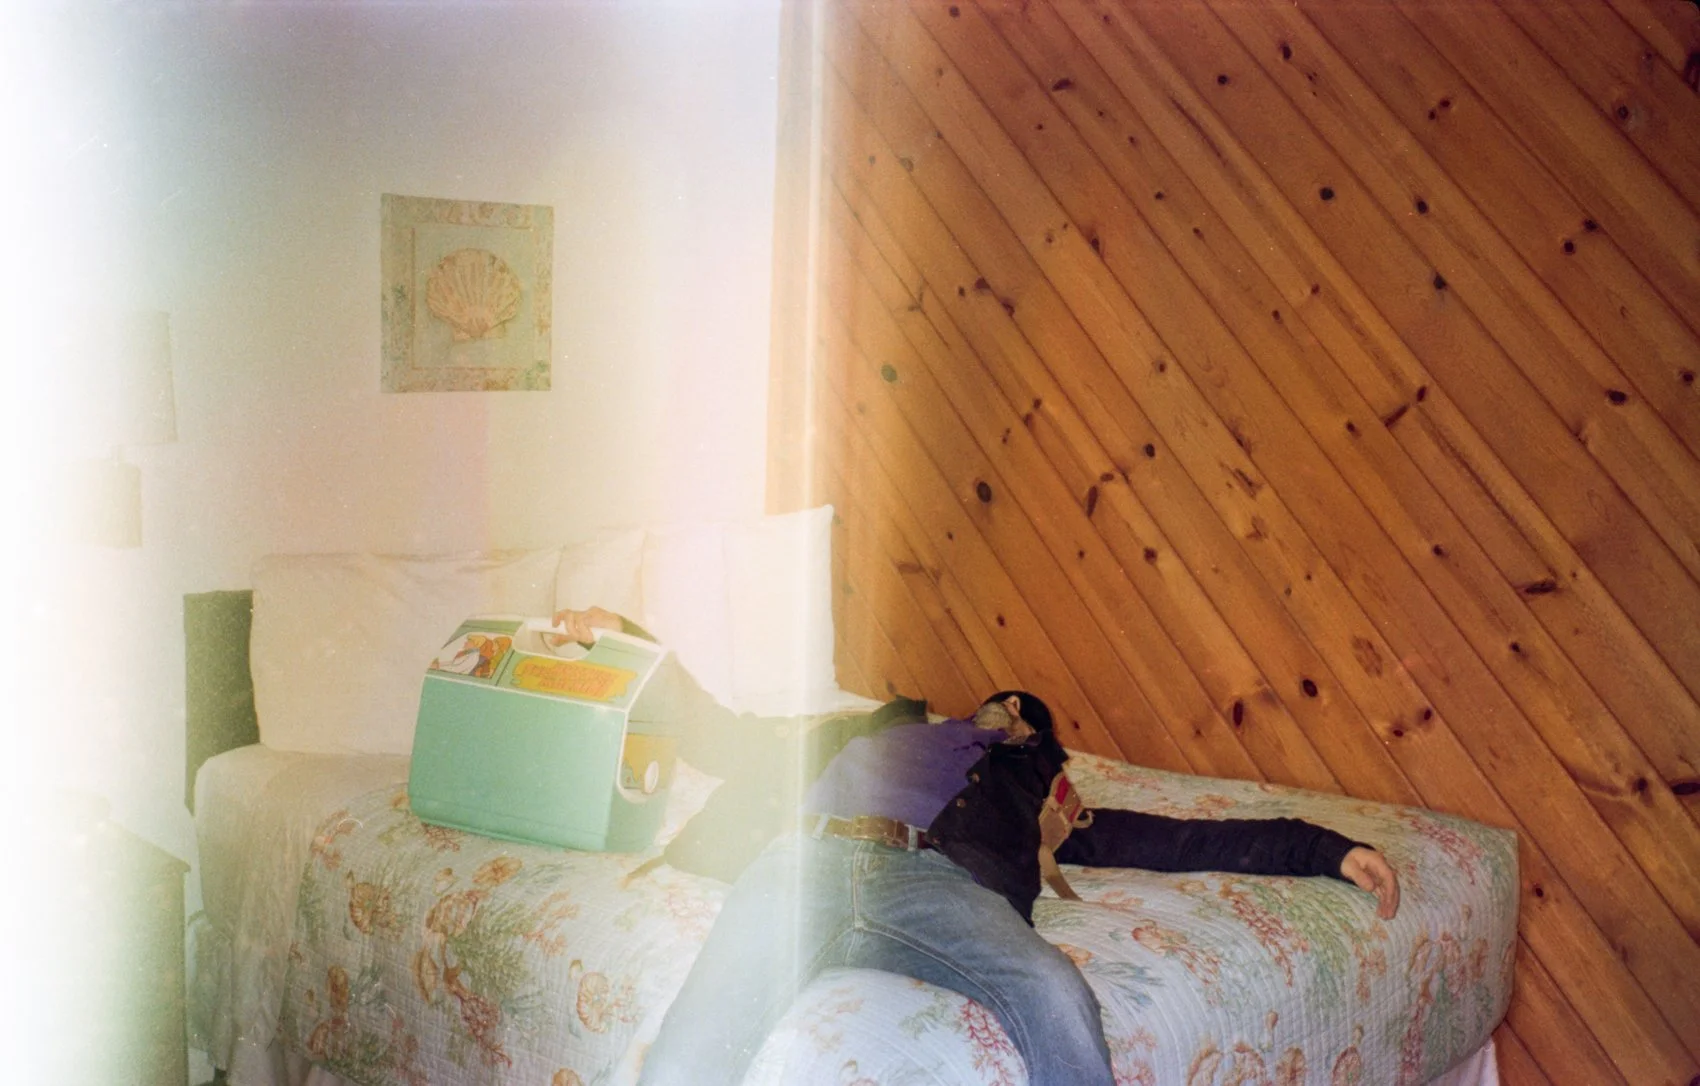
This is the first camera I’ve found that has ALL of those features. I’m heading to Italy next week and I will definitely be bringing this camera along. I recently took it on a trip with me to Portland, Maine and shot my first roll of film with it. You can look through them at the end of this post! I was pleasantly surprised with the sharpness of the lens, particularly with the panorama images. I’ve had quite a few panorama 35 mm cameras (such as the Vivitar IC 101) but they all lack a sharpness to the images. I’m absolutely thrilled that the Minolta Maxxum STsi beats them all in terms of crisp, sharp images, especially with a 100 speed film. I used Kodak Pro Image 100 for the images below.
Not to mention, this camera is extremely affordable. I purchased the body ($18) and the AF 28-85mm 3.5-4.5 Zoom lens ($25) separately, both on eBay. Browse through the available options here for the body or here for the lens!
But you can also find it on Amazon or KEH Camera. There are a ton of different versions of this camera, so if you ever have questions, I recommend calling KEH Camera and asking them what they’d recommend if they don’t have the STsi version. They’re always great with giving advice on film cameras.
FILM RECOMMENDATIONS:
#CommissionsEarned
While this is technically considered a beginner camera, it’s quickly becoming one of my favorite 35 mm cameras to travel with. I’ll be sure to share my photographs from our trip when we return home!
If you found this post helpful or if you’d like to see more of my work, I’d love it if you considered signing up for my Patreon! For as little as $1 a month, you’ll get early access to all of my YouTube videos, plus tons of photos that I don’t post anywhere else. Depending on which tier you choose, you could also receive seasonal prints and/or discounts! I always use all of the proceeds towards cameras, film & processing. Find out more here!
Thanks so much for stopping by! Feel free to leave questions and comments below.
Have a great day!
<3 Myles Katherine