When I first became obsessed with photography, I noticed that two of my favorite photographers (Wendy Laurel & Parker Fitzgerald) used a Contax 645 Medium Format Film Camera. It became a dream of mine to one day own that camera and create images that were as sharp and stunning as their photographs were. And I’m not the only one out there - this camera has developed quite a reputation for being one of the best medium format film cameras ever created. For years, I collected cheap. affordable film cameras to use alongside my more expensive digital camera. And while I loved my cheap, crappy film cameras (and still do!), I was never able to get that high-quality, professional look that the Contax 645 seemed to offer. I tried the Mamiya 645 for a few years, which I absolutely loved. It was, by far, the best film camera I had ever used and at a much more affordable price than the Contax 645. The images were beautiful. But I still wondered in the back of my mind what it would be like to finally own a Contax 645. I sold my Mamiya 645 and decided it was time to upgrade. I’d been a professional full-time photographer for 7 or 8 years and finally felt that I deserved to own the camera I’d always dreamed of using.
When my Contax 645 arrived in the mail, I couldn’t believe it. I never thought I’d ever own one or that I’d ever allow myself to purchase one. But I convinced myself that I deserved it. I’d worked hard. And not to mention, I could write it off on my taxes! So, now that I’ve owned the Contax 645 for a handful of years now, was it worth the price tag? What are the pros & cons of the camera?
PROS & CONS OF THE CONTAX 645 MEDIUM FORMAT FILM CAMERA
PROS:
1. The Images are Everything I’d Hoped For
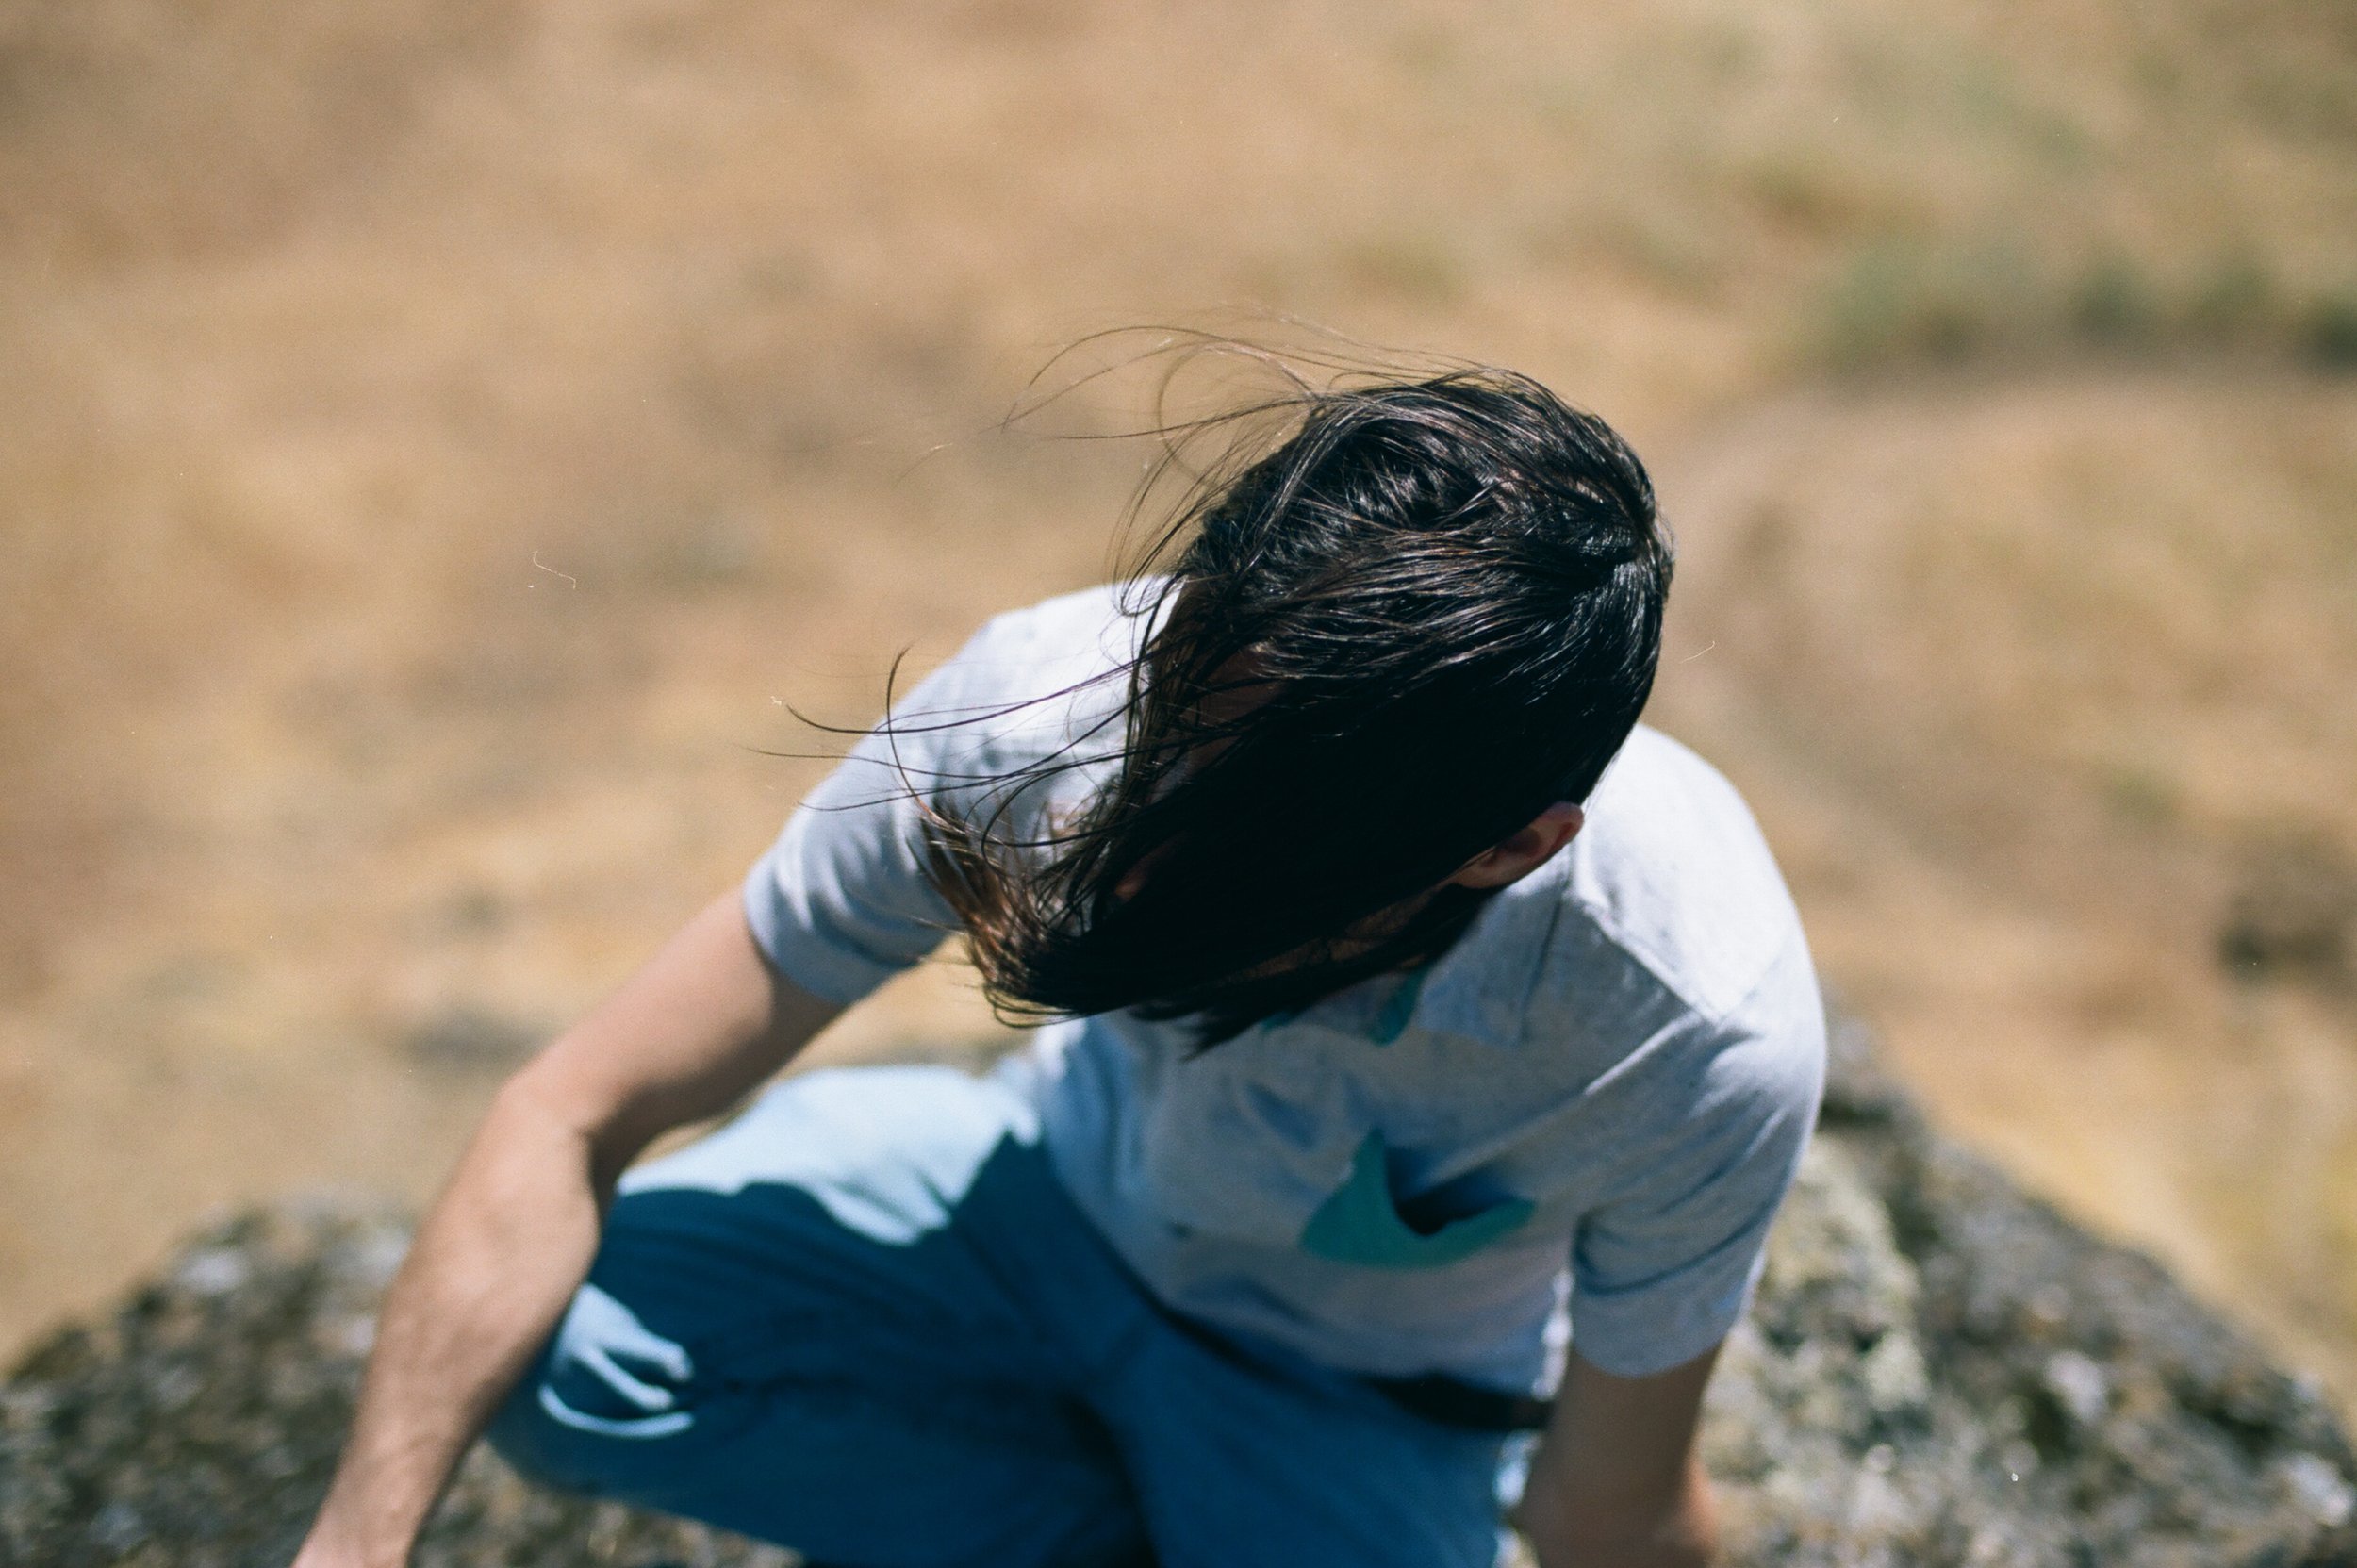
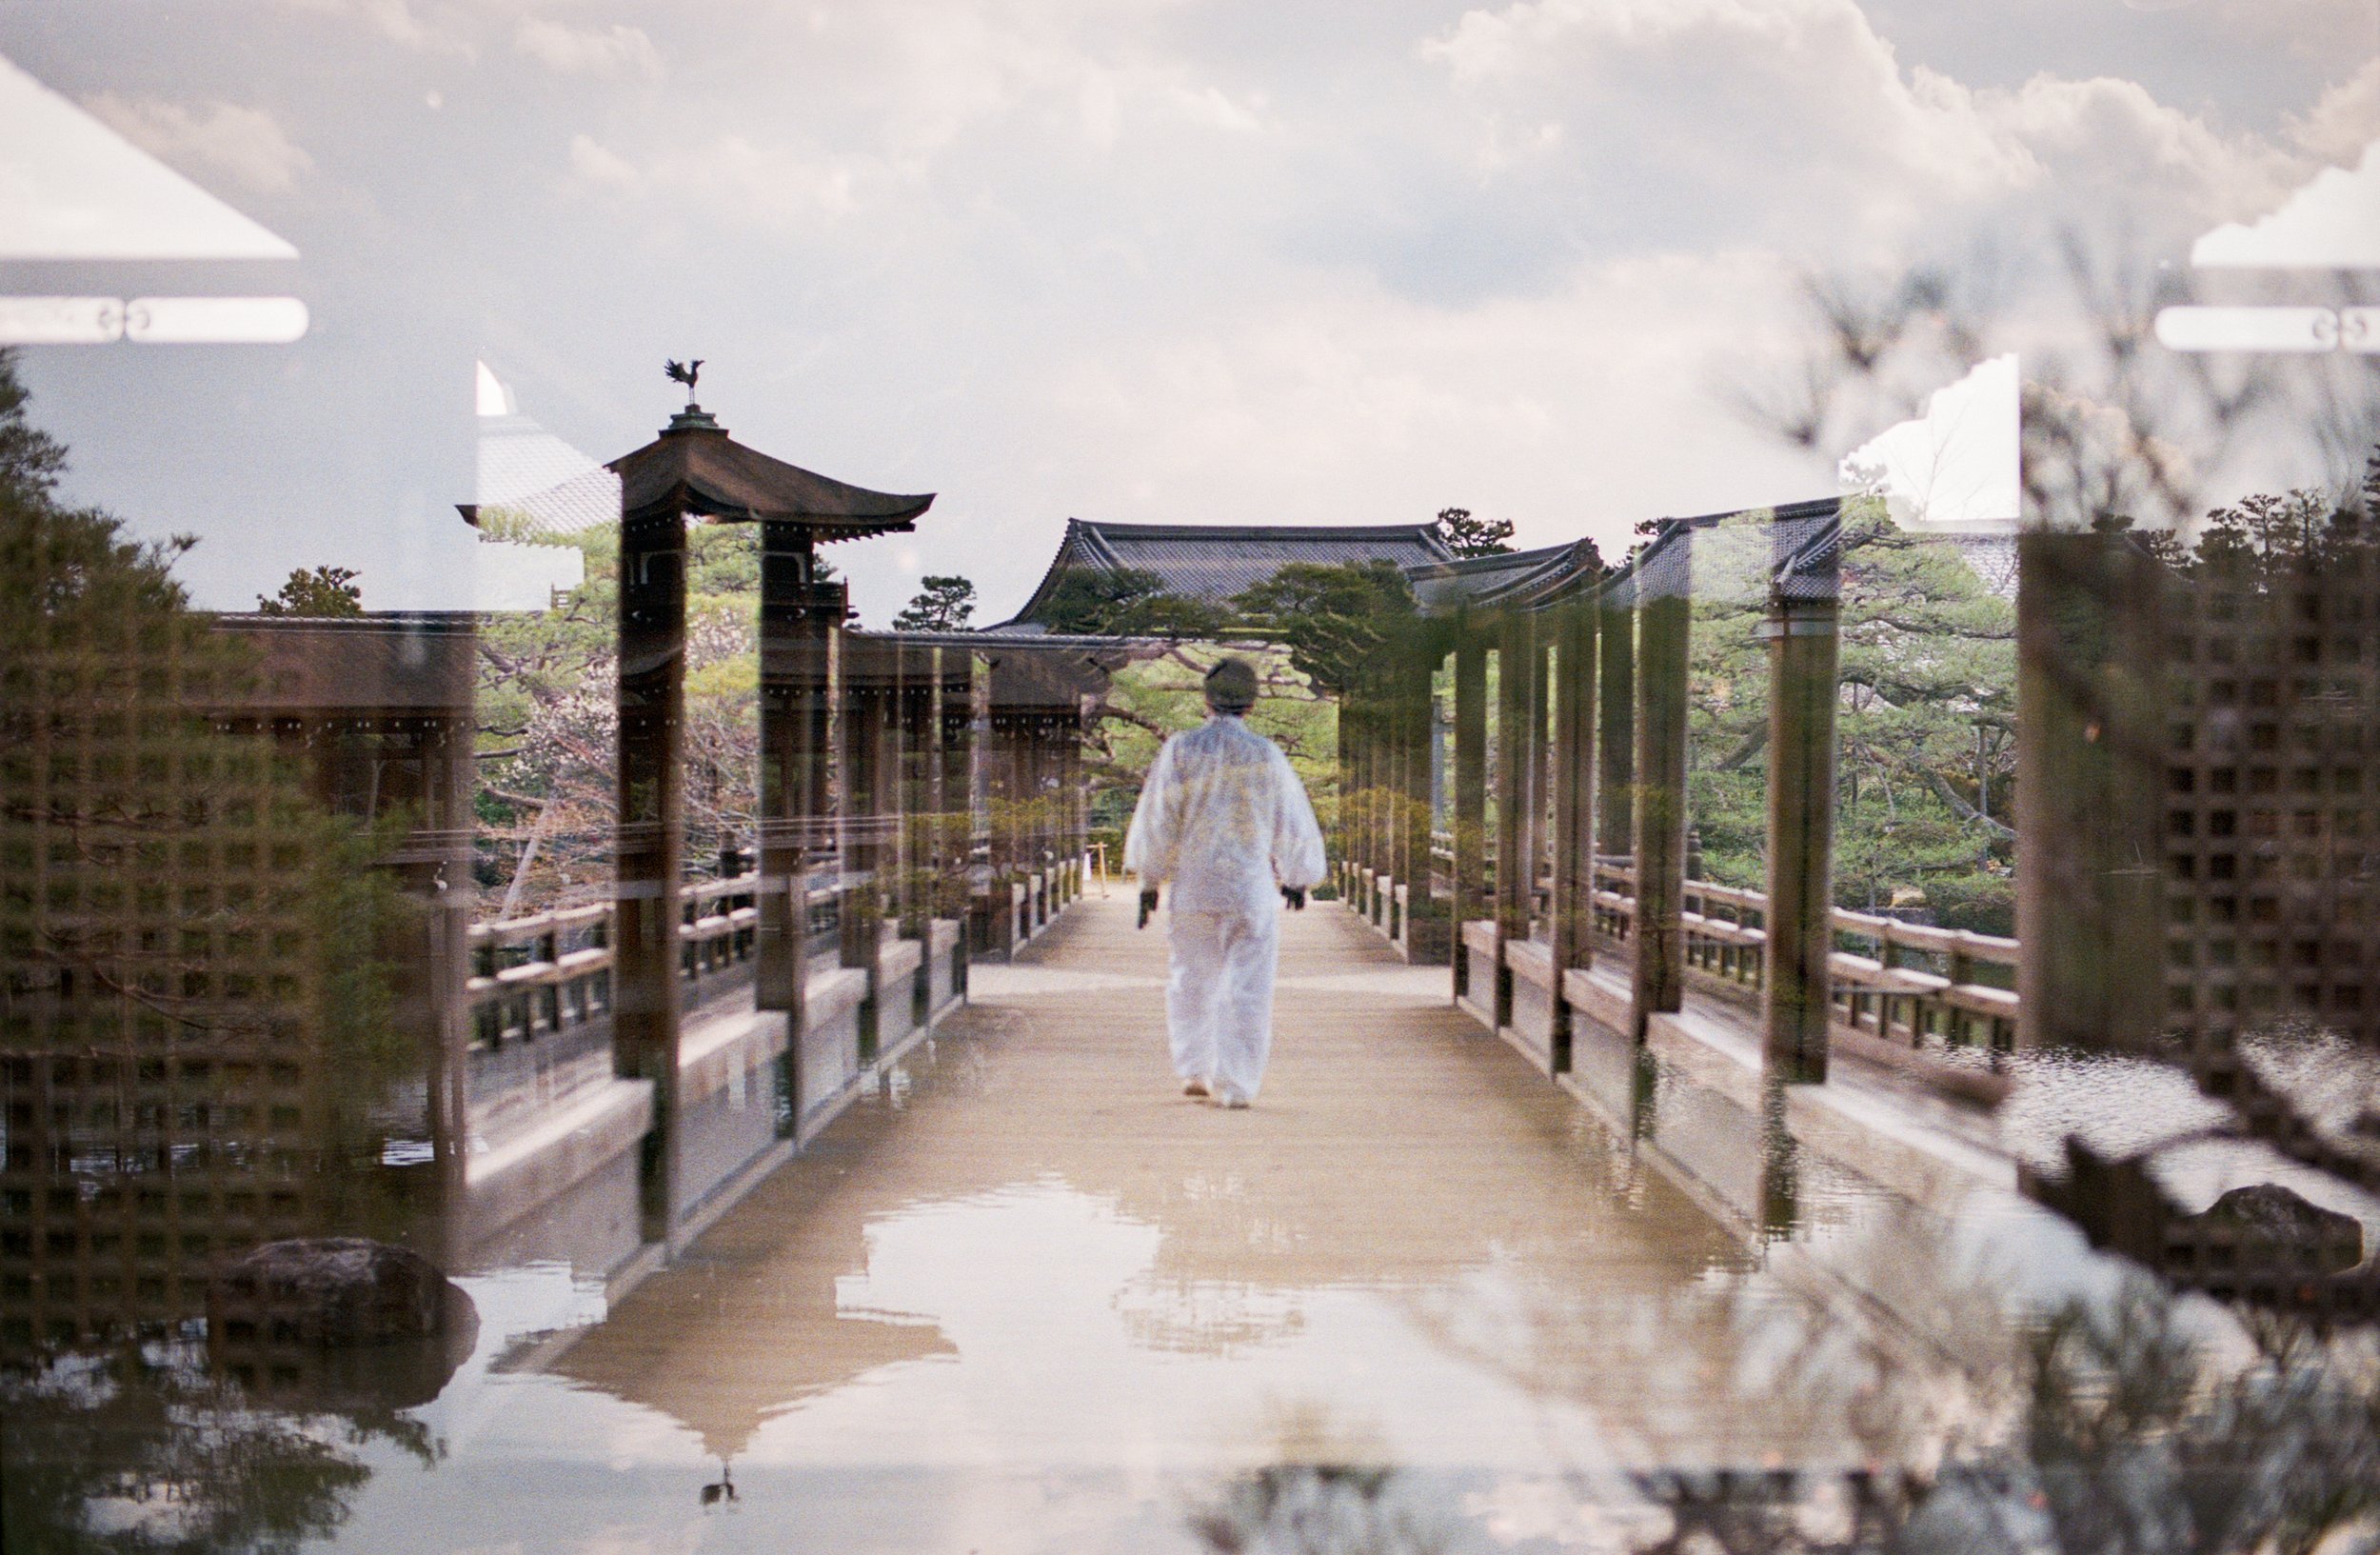
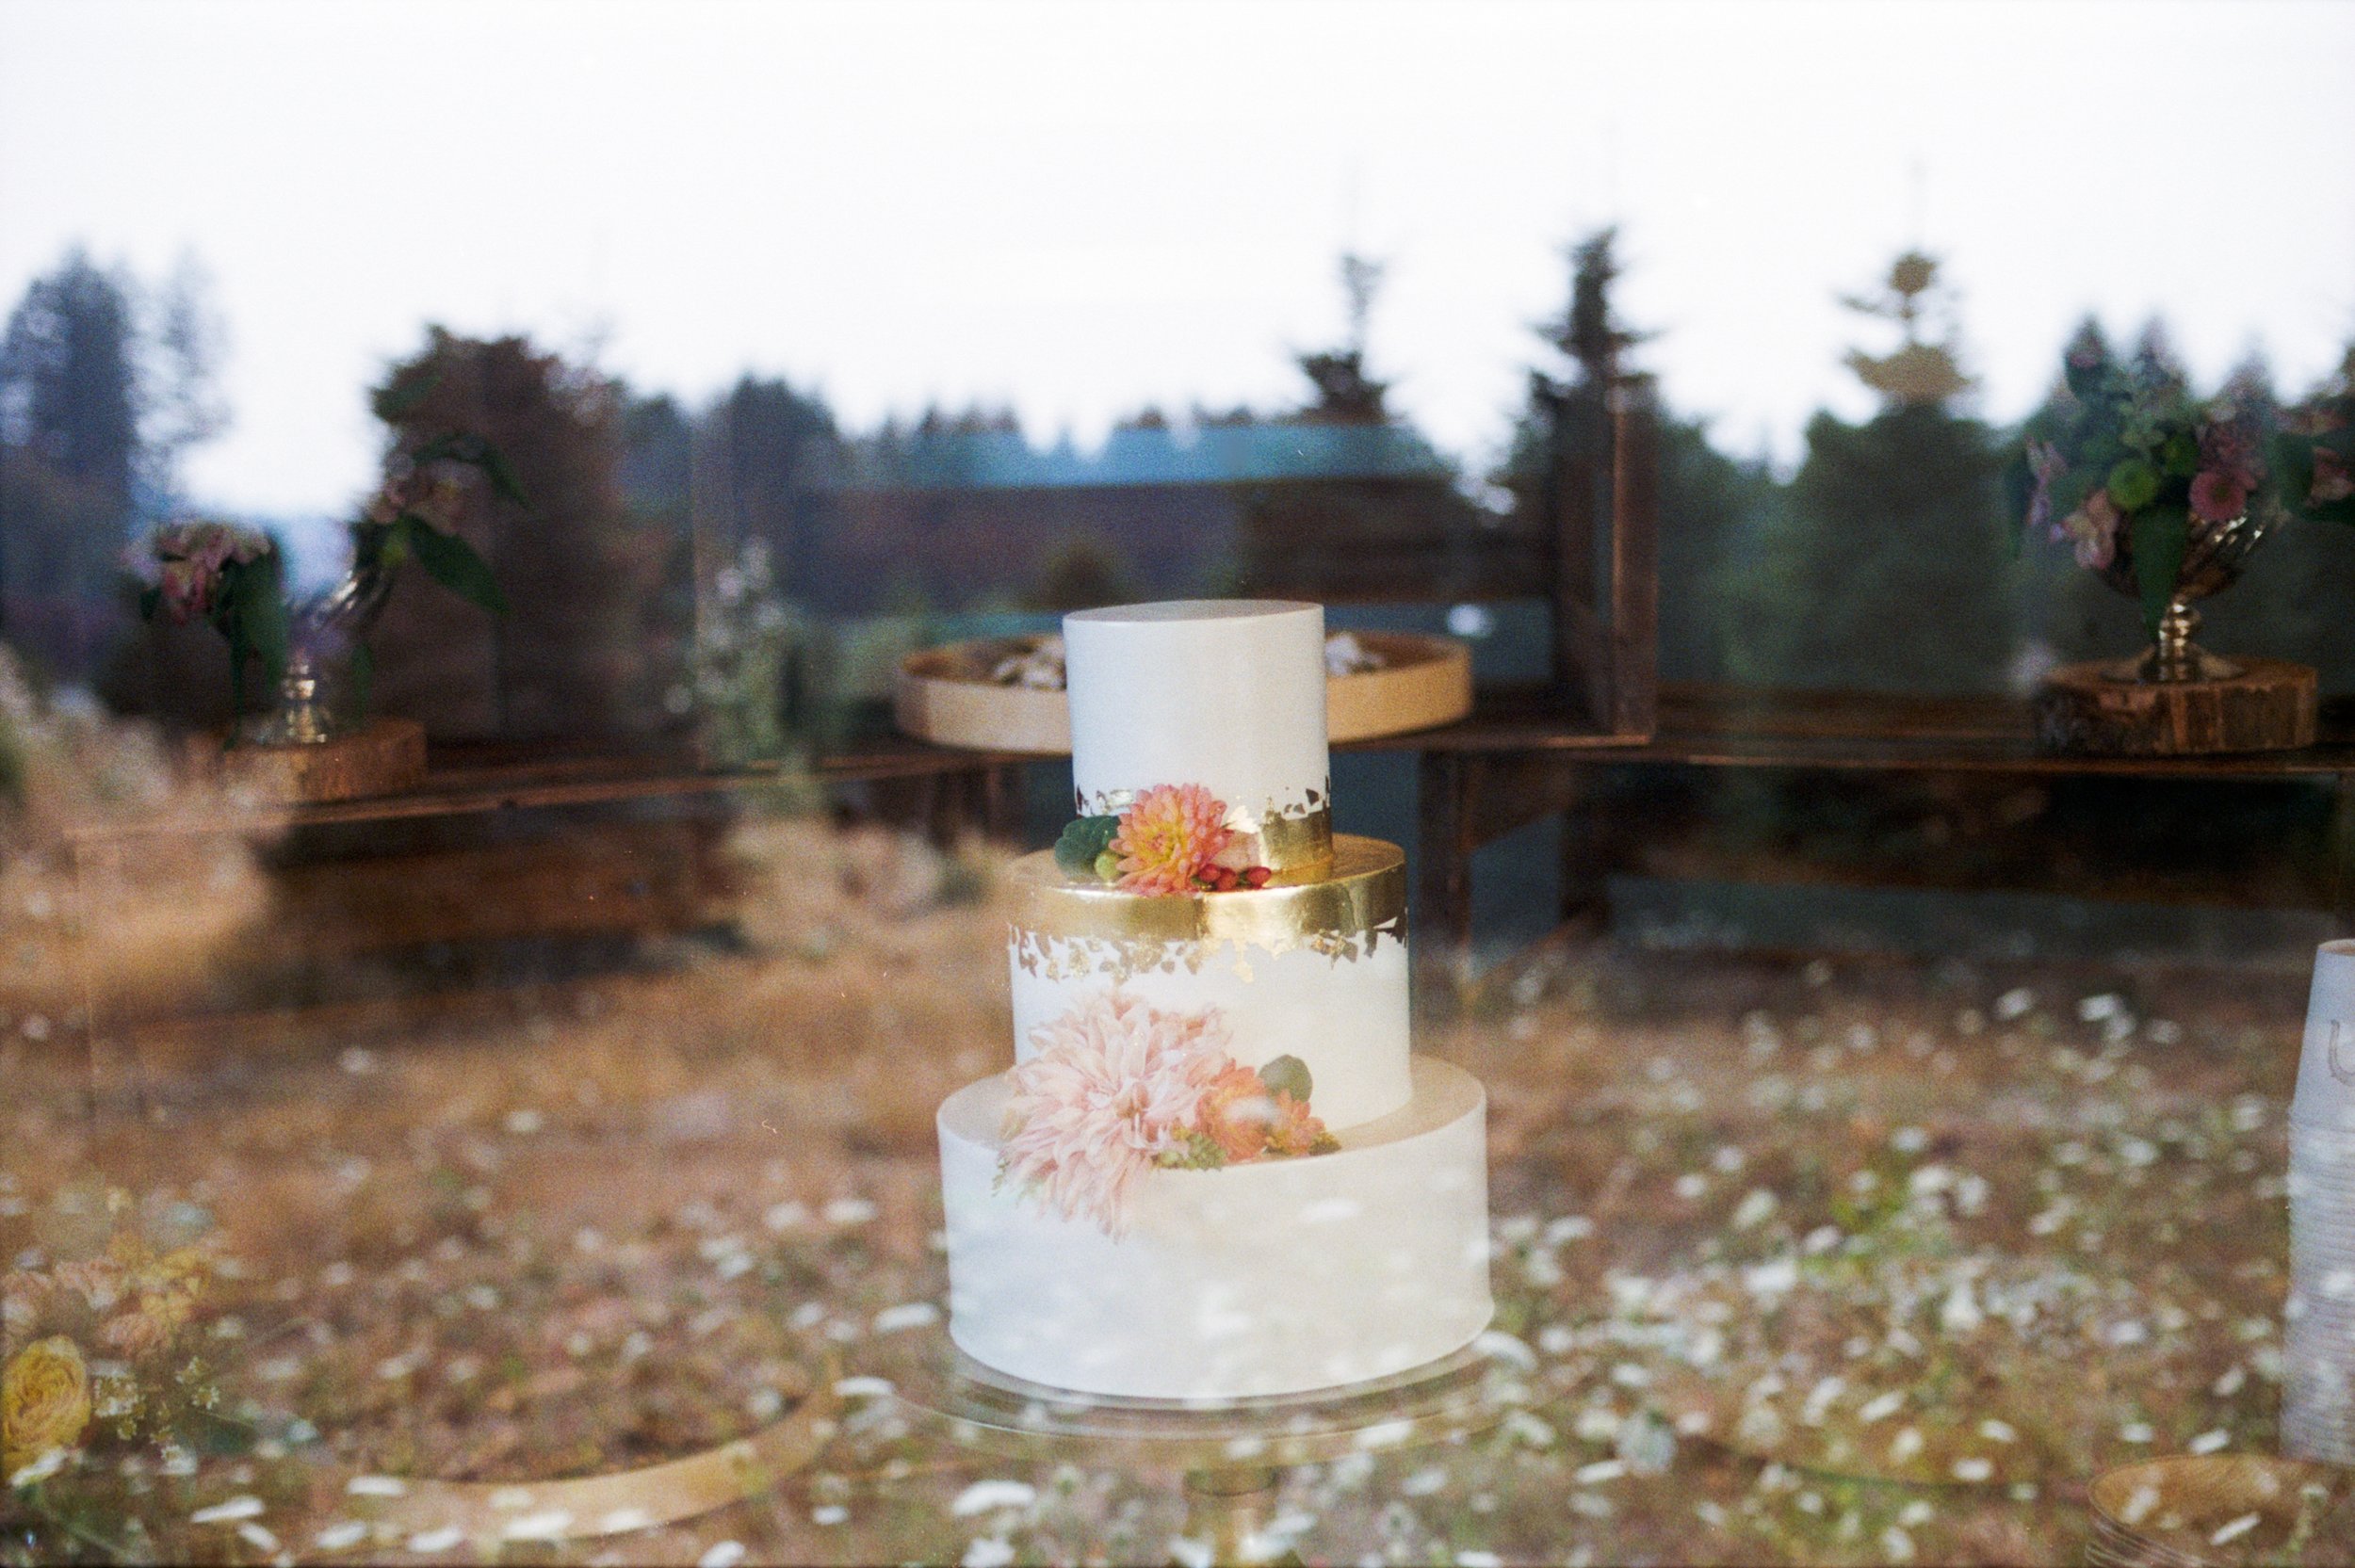
This camera is incredible. Sometimes, I can’t even tell them apart from my Canon 5d Mark IV. The photos are incredibly sharp and dynamic. The depth and clarity that I was always looking and hoping for with my crappy film cameras was finally there. The multiple exposures are beautiful, the low-light capabilities are great and I’m never disappointed in my photographs.


2. It’s Incredibly Easy to Use
For such an expensive, niche camera, it is surprisingly easy to use. I’m always on the lookout for cameras with Aperture-Priority - it’s my go-to setting for weddings and photo shoots. It’s essentially a partially automatic setting - you set the aperture you want and the camera does the rest. I prefer to shoot with very wide apertures to get that dreamy, surreal look to my images. When it comes down to it, I set the aperture and then I get to click away! It shouldn’t be so easy to use but it really is! You don’t even need to be a super professional photographer to use this camera. If you have a photographer friend who owns a Contax 645 and you’re interested in trying it out - don’t be afraid to ask and don’t be afraid that it’s going to be super complicated, because I promise, it’s not! There is also shutter-priority as well, which some photographers prefer over aperture-priority.
3. It Has a Multiple Exposure Setting
If you follow my work, you know how important this is to me. These days, I won’t even purchase a camera unless it has a multiple exposure option. Luckily, the Contax 645 has a lever on the side of the camera that you switch on. It stops the film from advancing so that you can take as many photos over top of each other as you’d like. The one thing I don’t like about it is that it can be easy to forget that I flipped the lever and I end up with triple or quadruple exposures before I realize that I need to flip it back. Luckily, the shutter makes a different sound when it’s using the multiple exposure function, so I’ve learned to pay attention to the sound.


4. It is Sturdy and Reliable
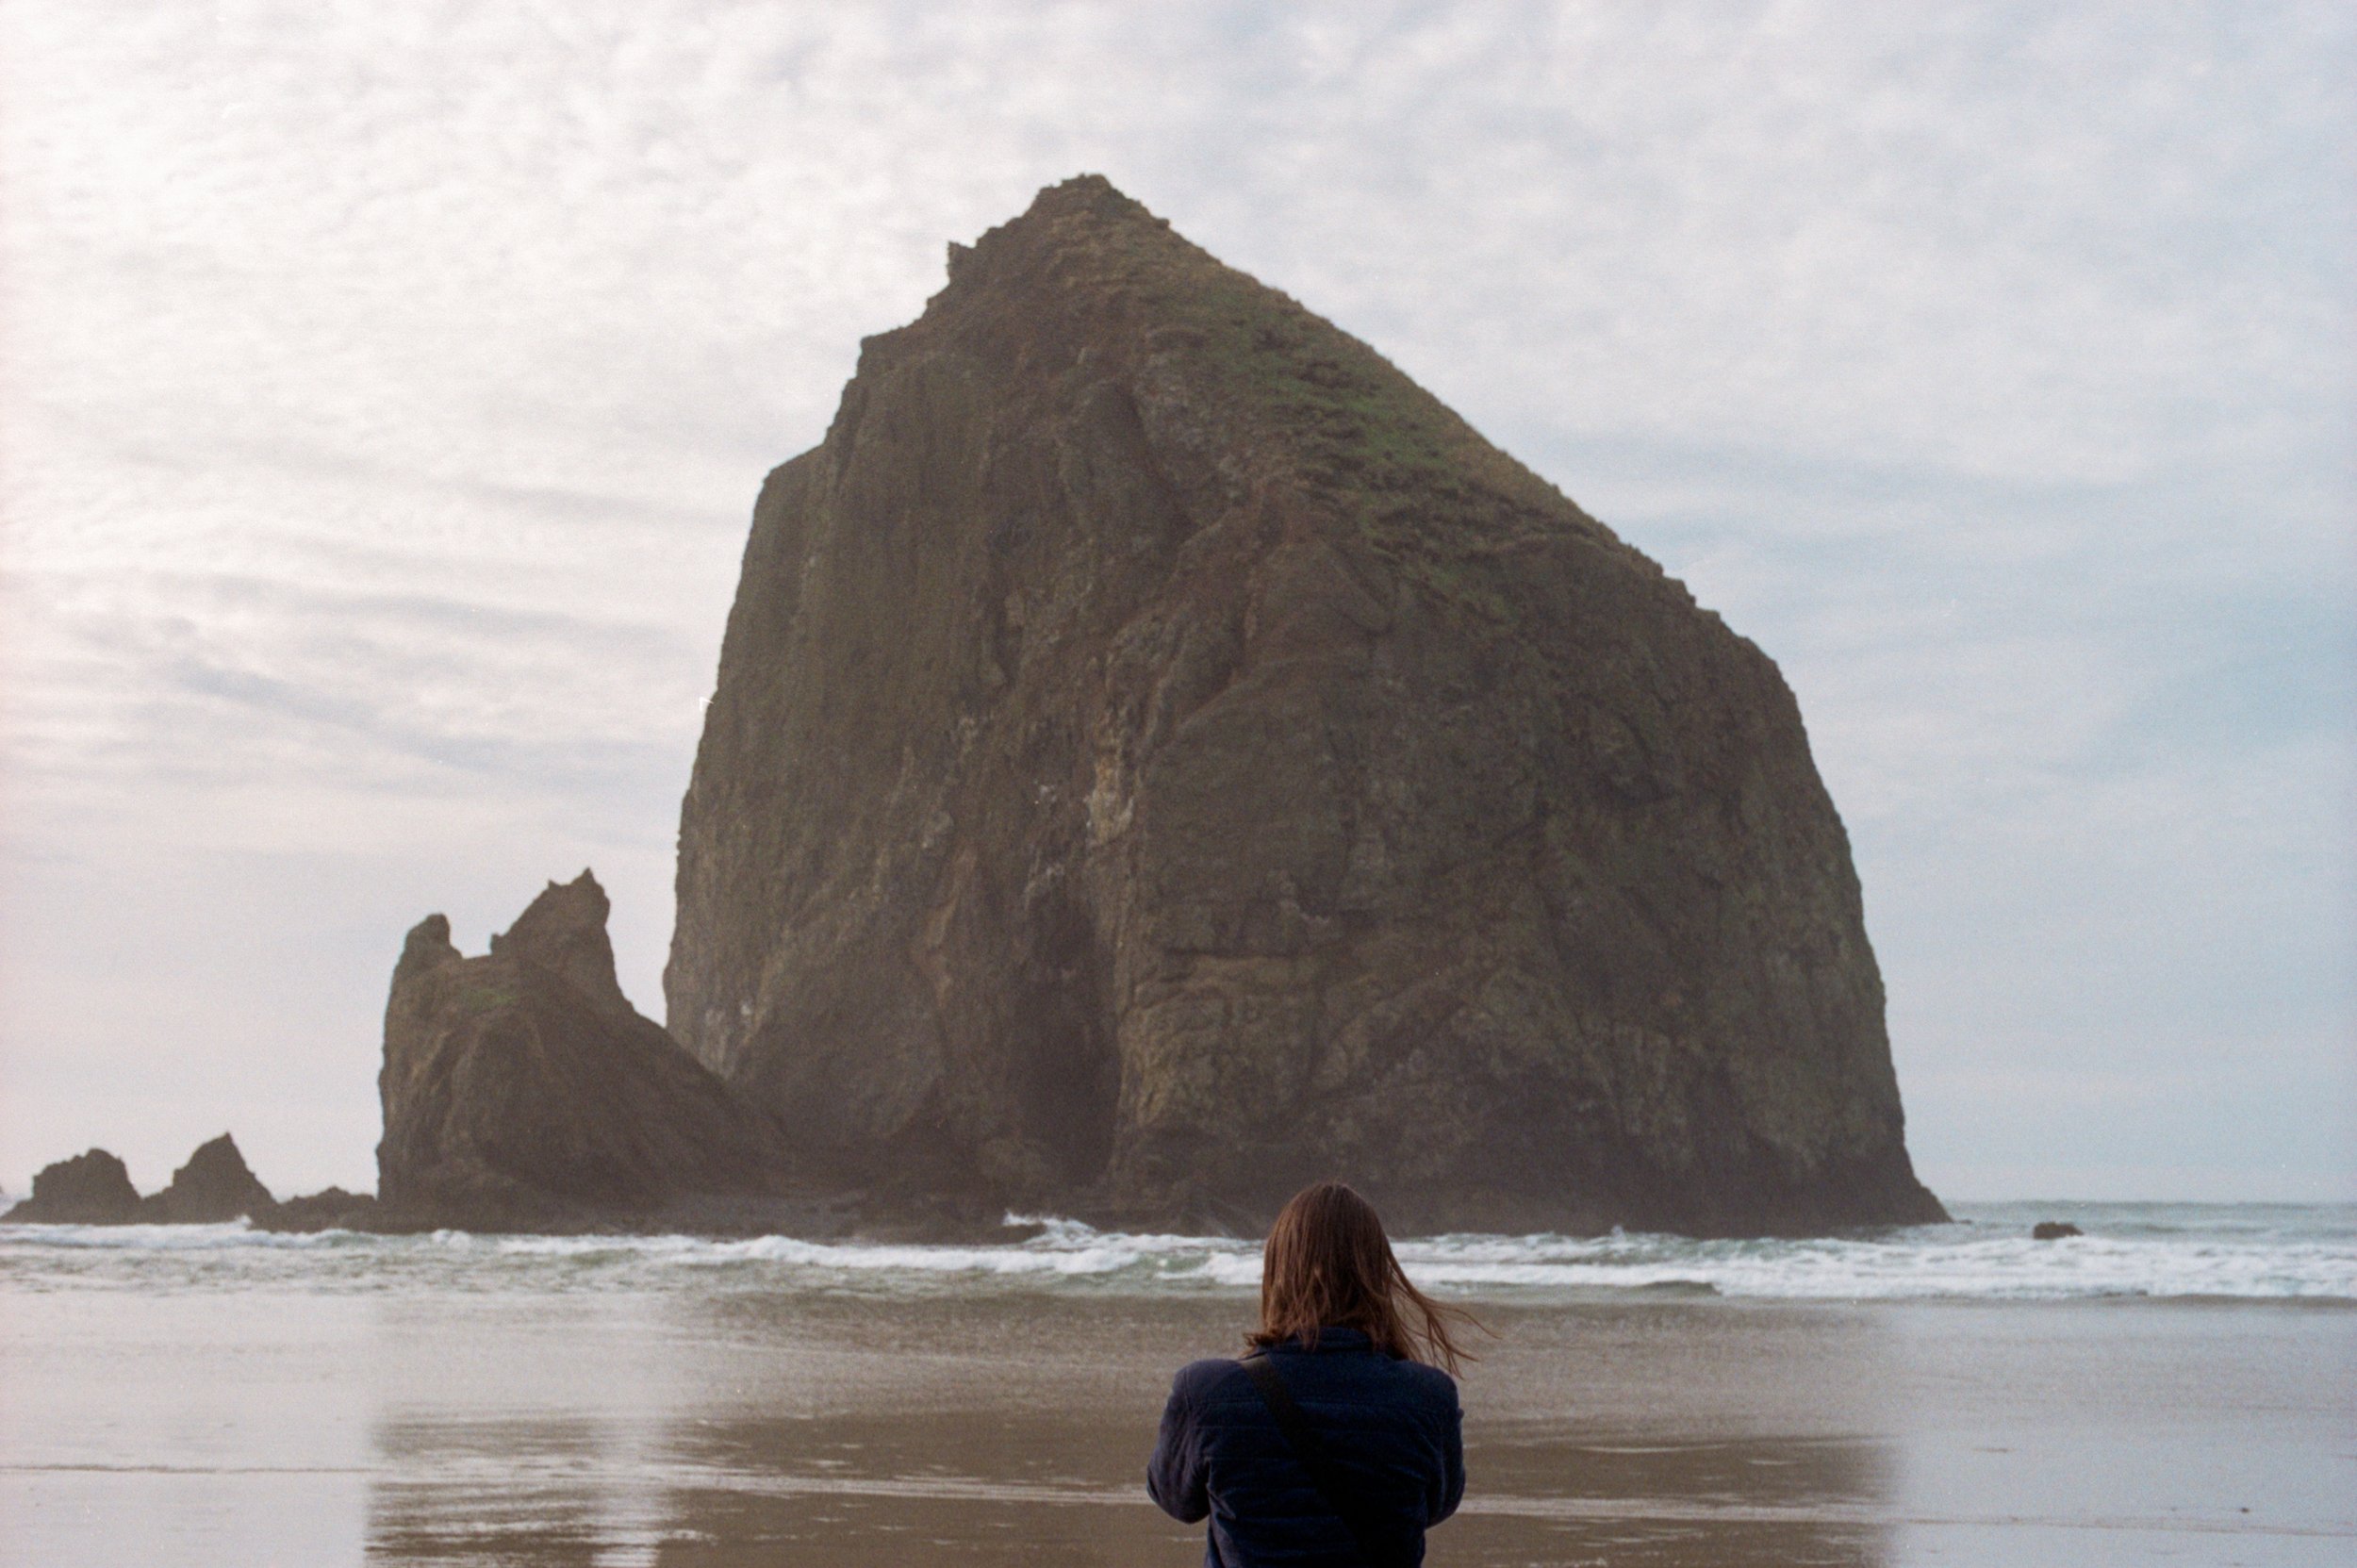
I’ve been using my Contax 645 for years with no issues, whatsoever. I take this camera to the beach pretty often too, and it has yet to run into any problems from the humidity or sand. Also, one of the photographers I mentioned earlier, Wendy Laurel, lives in Maui and uses two Contax 645s. She’s constantly around water and sand and still chooses to use the Contax 645 as her main camera. I’ve definitely bumped this camera a few times against doorframes and countertops too, but it hasn’t caused any issues. It feels durable when you’re holding it and you can tell that it was made to last. There’s a reason that people still love this camera and it’s because they’ve continued to last and function, even though they were released in the late 1990s. I will say that I do not use this camera as my main camera, so I don’t run this camera into the ground. I’m not entirely sure how it would fare in that case, but considering many photographers use it as their main camera, it seems they are quite reliable and professional in that regard.
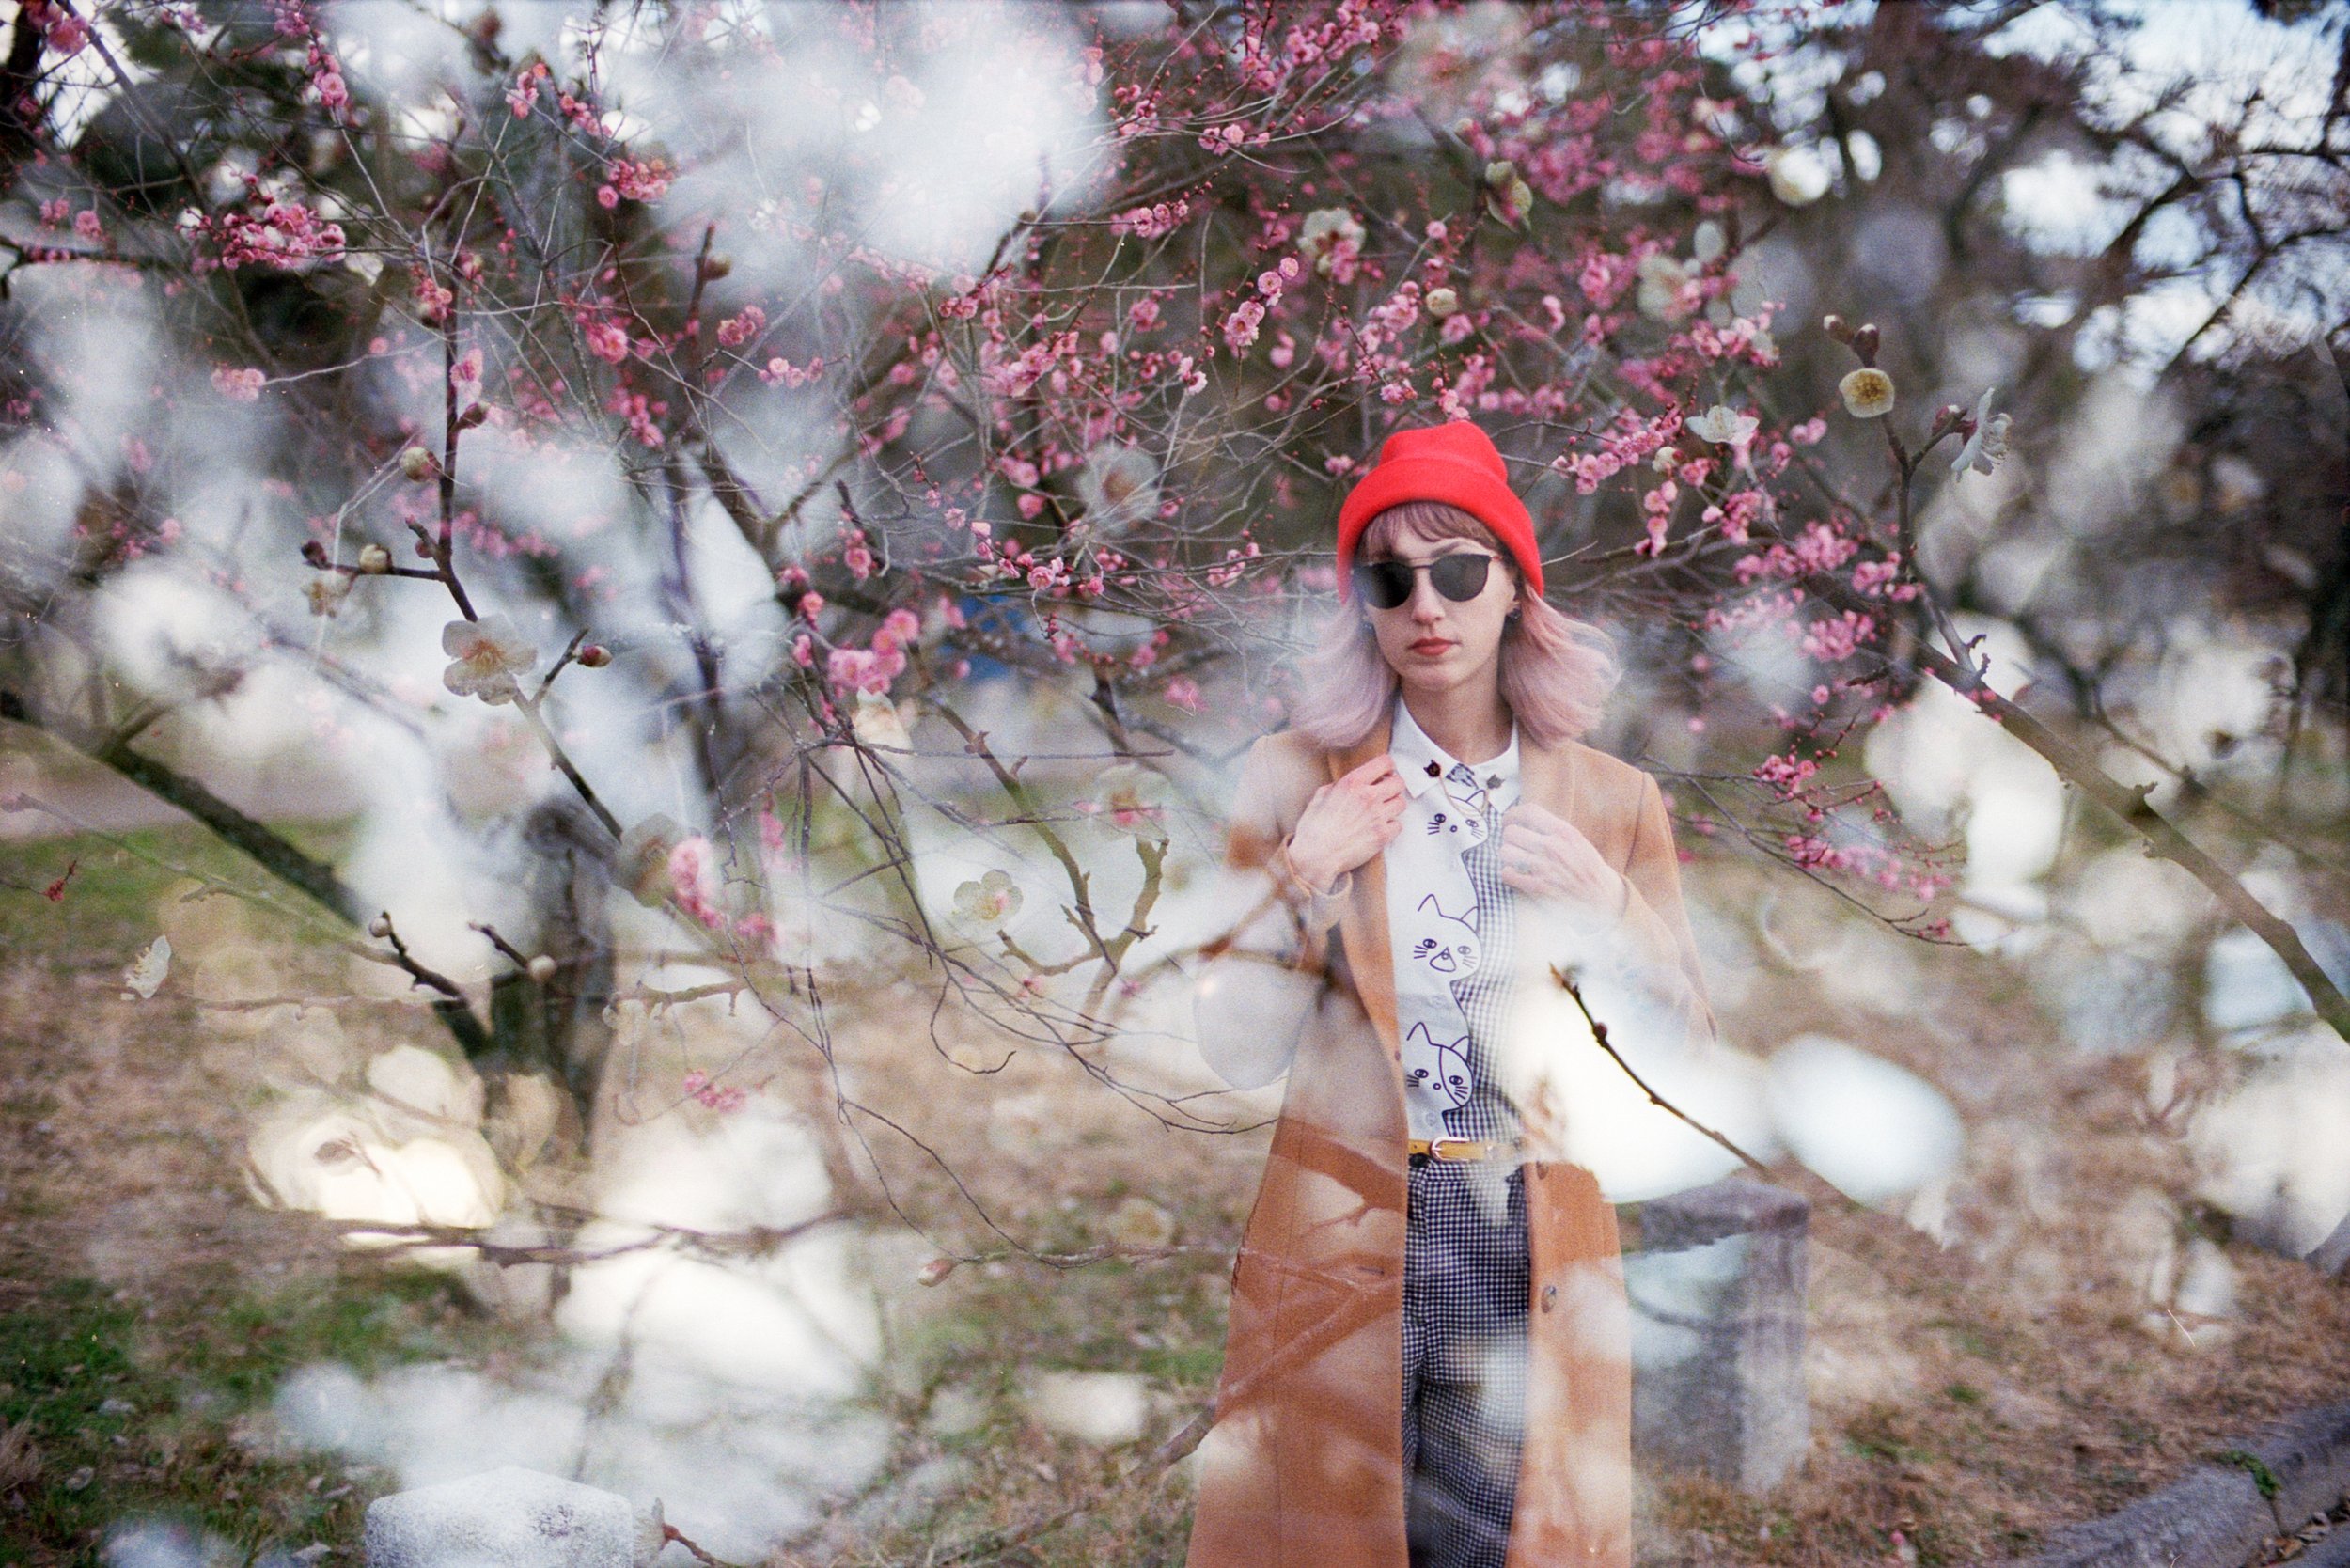
5. The Zeiss Planar 80mm f/2.0 lens is Magical
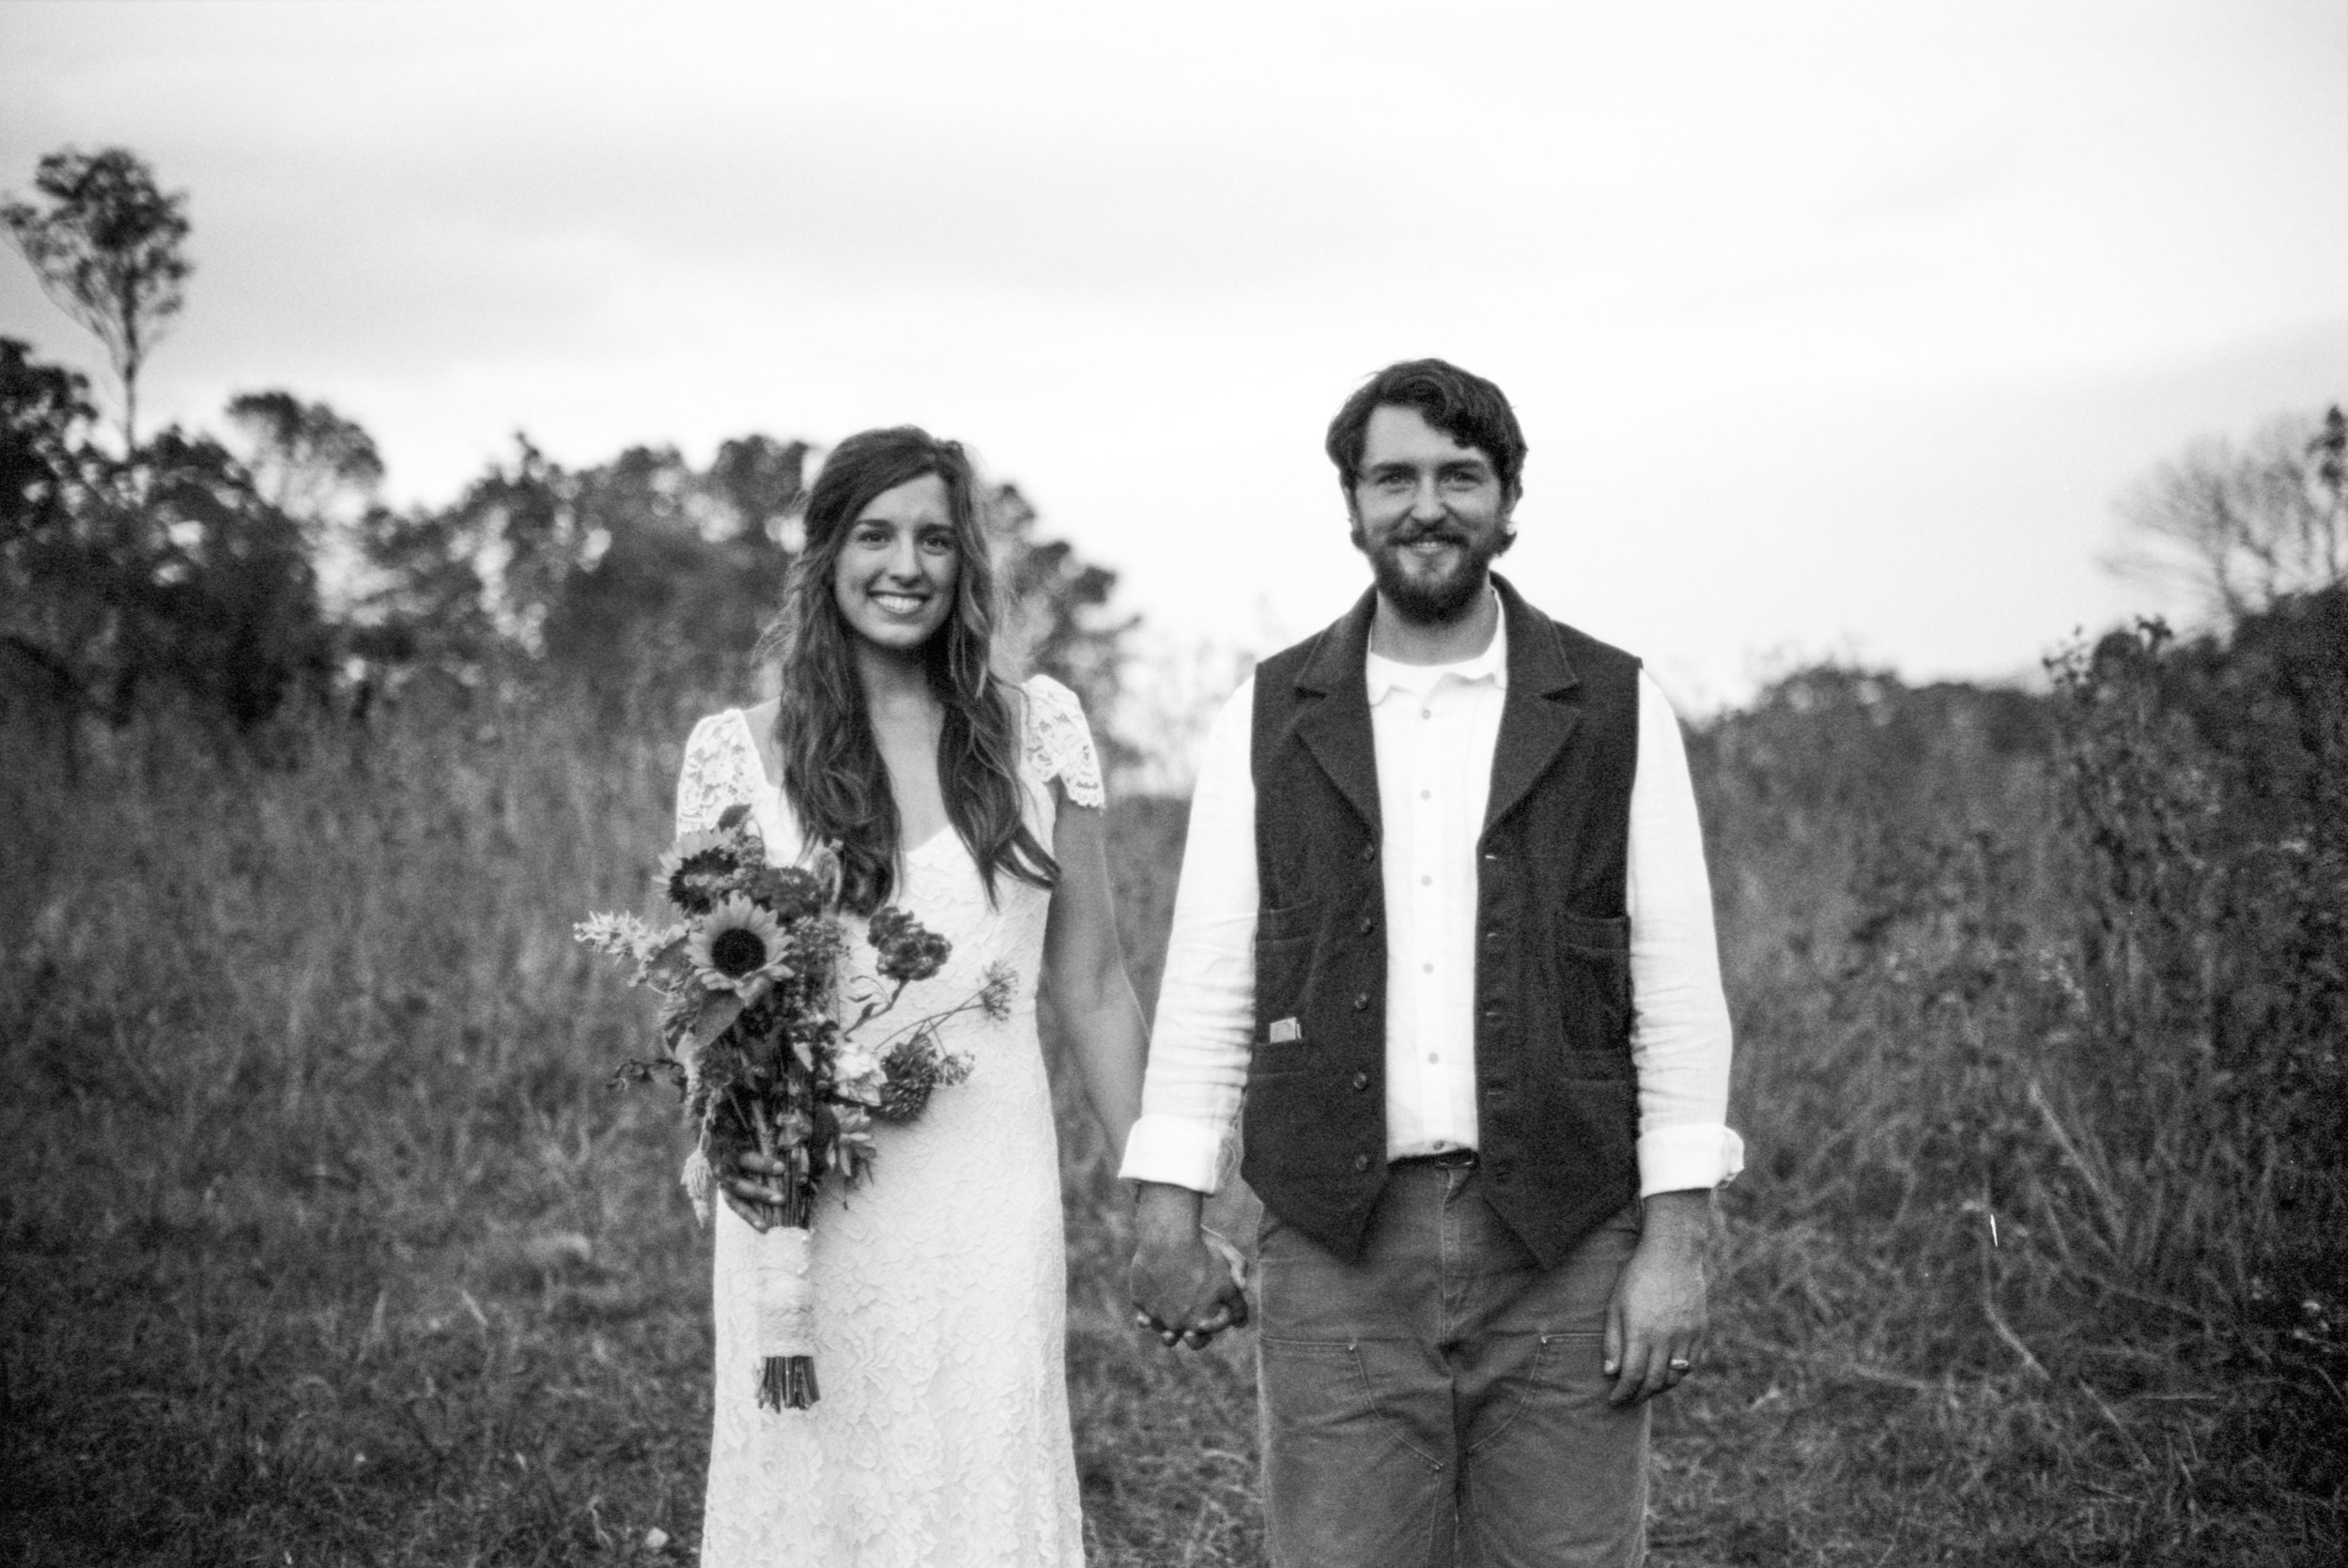
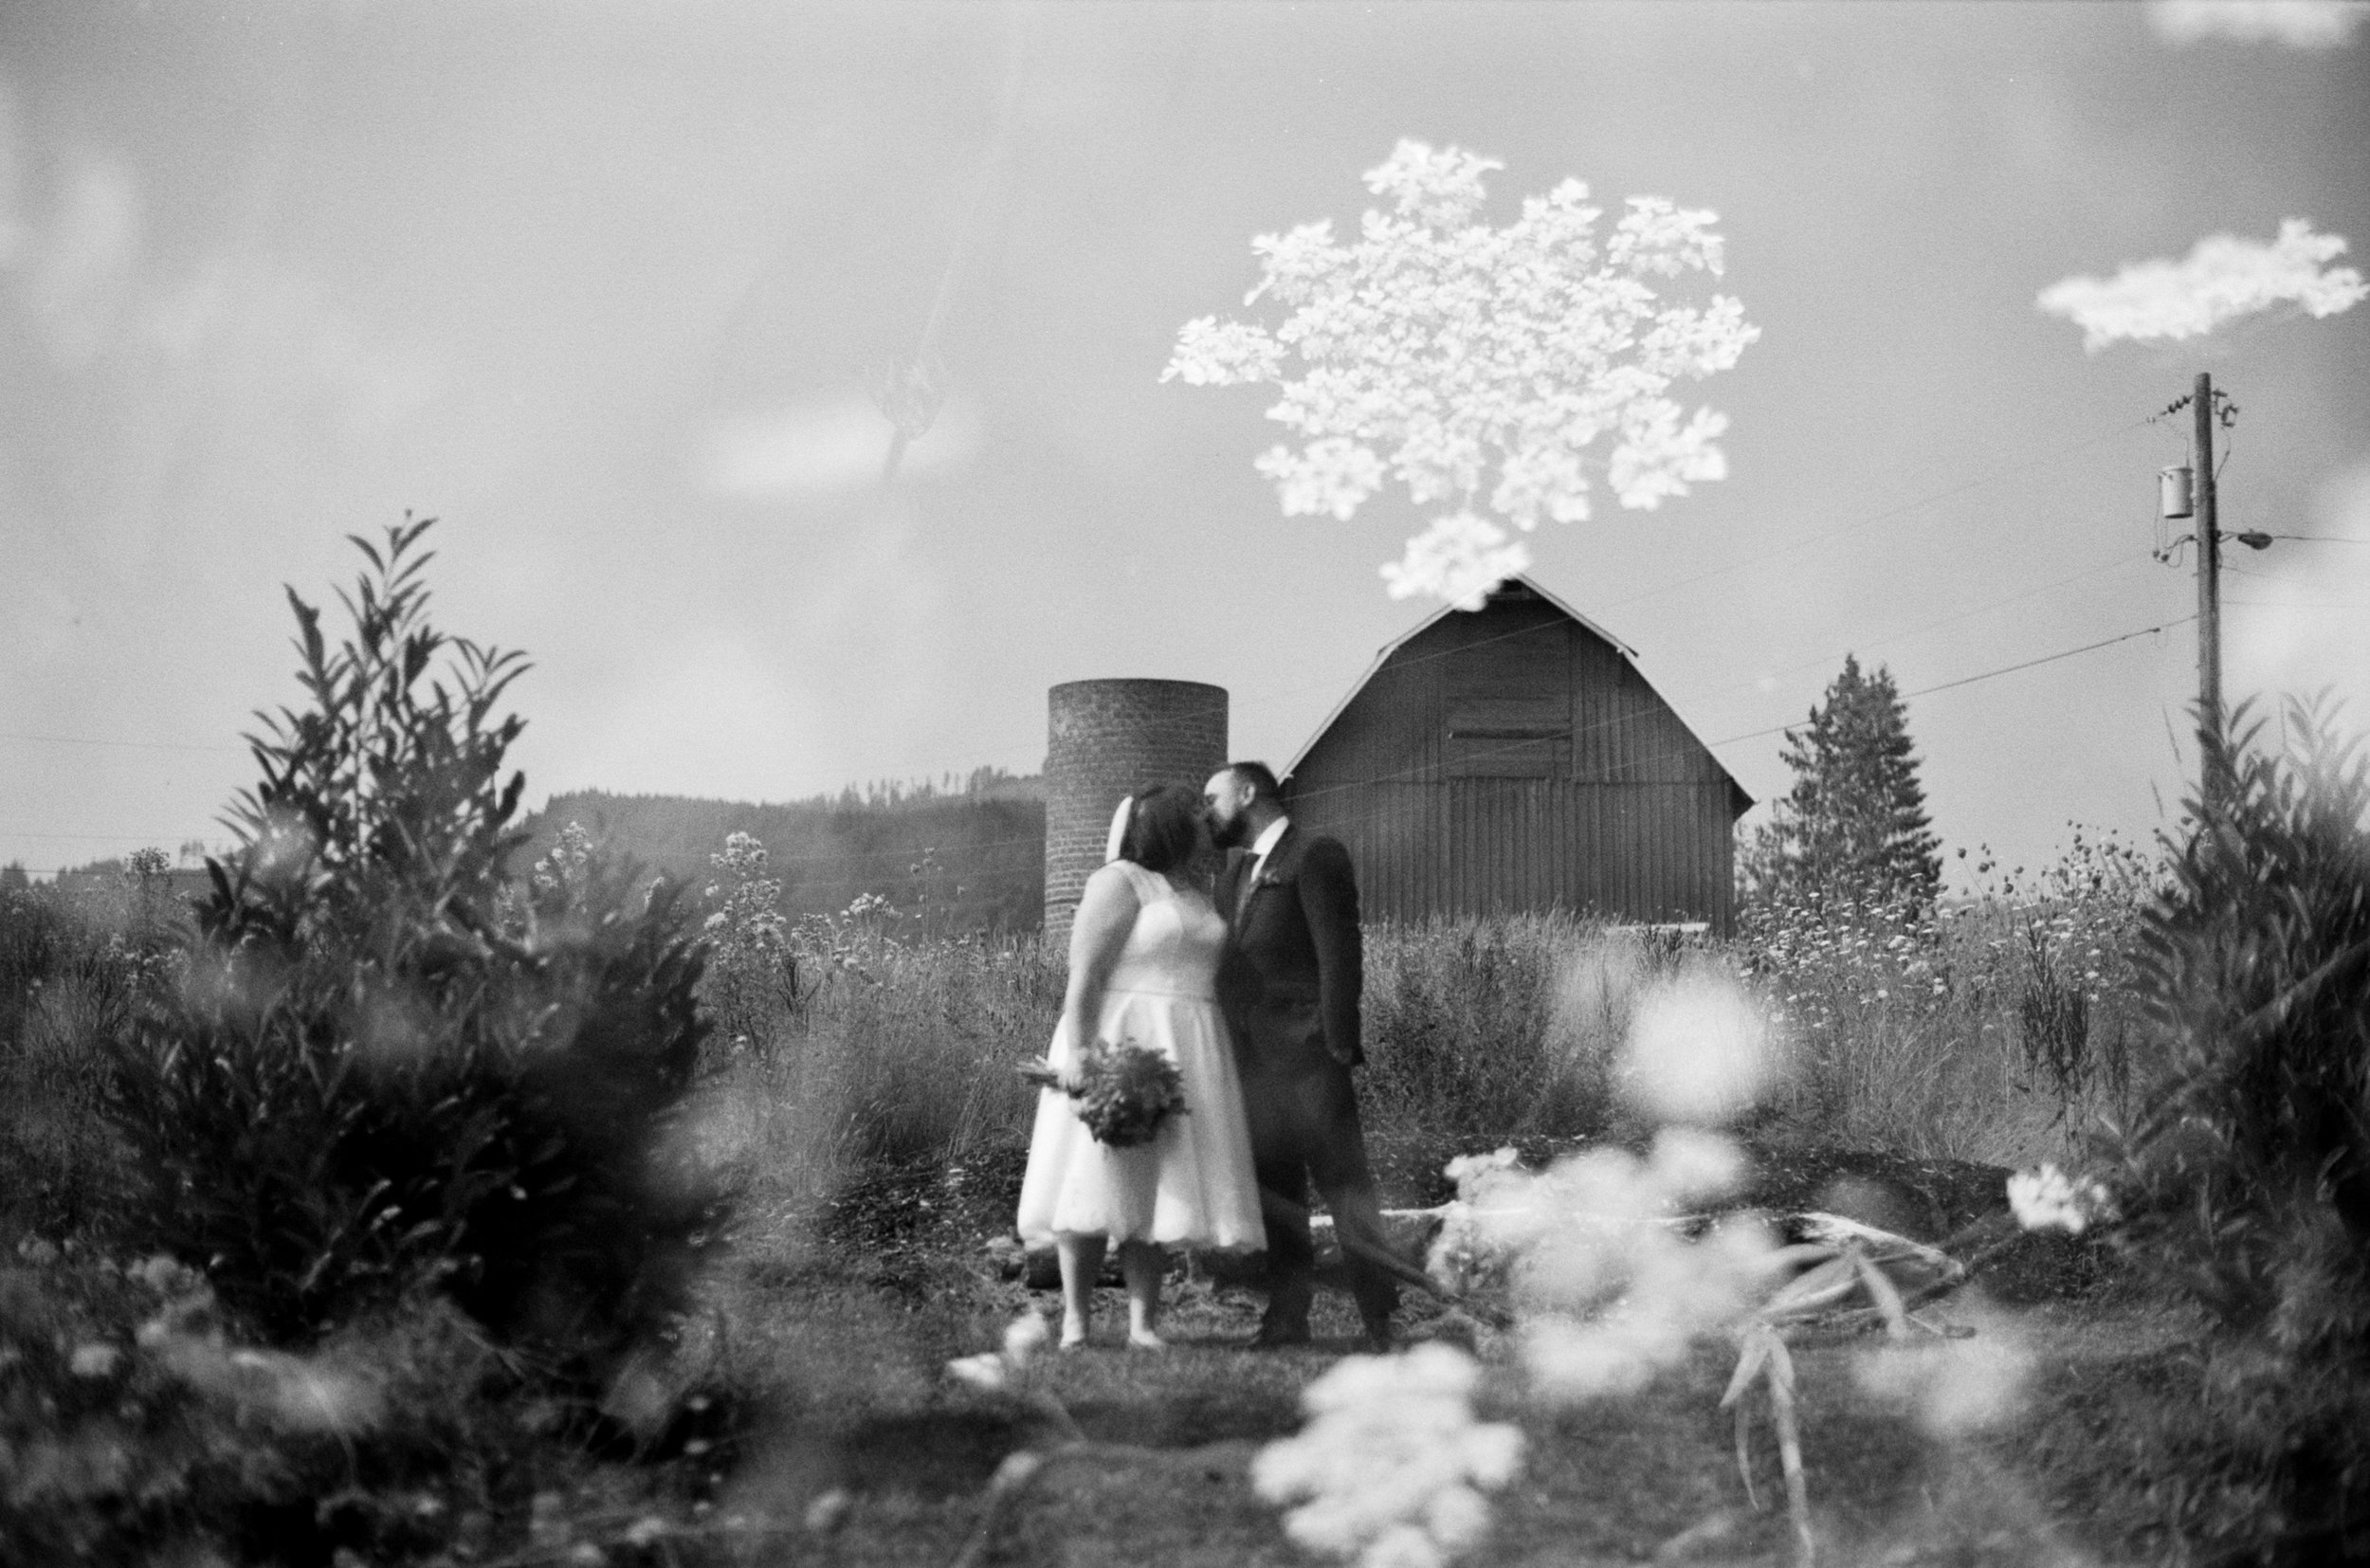
I opted to go for the classic and highly regarded Contax Carl Zeiss Planar 80mm f/2.0 lens that this camera is known for. It’s incredible for portraits, has beautiful bokeh when using wide apertures and is super sharp when using more narrow apertures. If you’re a portrait photographer, you can’t get much better than this. It’s specifically great for wedding photography, especially if you’re looking for those beautiful, close-up portraits with dreamy background bokeh to amp up your portfolio. I have some wedding clients who specifically request for me to use this camera - typically, clients who know a thing or two about photography. This lens is EVERYTHING. To be completely honest, I wouldn’t consider myself to be a portrait photographer or consider portraits to be one of my strong suits, but this camera makes me feel like the most incredible portrait photographer in the world. I’ve definitely learned a lot from this camera, just because it shows me what portraits SHOULD look like and how important the lens is when it comes to your subject.


PURCHASE A CONTAX CARL ZEISS PLANAR 80MM F/2.0 LENS ON KEH CAMERA
PURCHASE A CONTAX CARL ZEISS PLANAR 80MM F/2.0 LENS ON EBAY
CONS:
1. It is Huge and Heavy
For many photographers who use the Contax 645, it’s their main camera. They don’t lug around 10 other cameras to all of their shoots like I do. Yes, I have a problem! I just enjoy a lot of different cameras because of the unique vibe that each one offers. However, when I do bring the Contax 645 with me, I never regret it. It always ends up taking my favorite photos from the day. It’s just that half of the time, I end up leaving it at home because it’s just SO gigantic and a pain to carry around. Unfortunately, this means that I don’t get as much use out of it as I’d like to. But I’m working on leaving more cameras at home, so that I can bring this one instead. And I haven’t quite made the transition to shooting entirely film. I still rely on my digital camera for taking the majority of my images. One day though, I plan to make the Contax 645 my main camera and use my digital camera as a back up. One day…
2. It’s Expensive
Yes, everyone knows that this camera is NOT cheap. There are much more expensive cameras out there though, for sure. For me, this camera falls right into the tip top of my range of comfort when it comes to spending. I’m definitely not at a place where I’d spend $30,000 on a camera. $3,000-4,000 though, if I know it’s going to benefit my work and my business, that feels more comfortable to me. It remains one of the most expensive purchases I’ve ever made for my business. But I know that I’d never have felt complete without it. It was more of a personal goal for myself, to own and use this camera. I finally felt that I’d made it to the level of my muse photographers. I finally realized that I was just as good as they were. I had accomplished an enormous goal and dream of mine. And that is priceless. Of course, if you aren’t quite ready to shell out thousands of dollars for a Contax 645, the Mamiya 645 is truly an amazing camera too that will get you that medium format look without the hefty price tag.
3. Repairs are also Expensive
While I’ve been lucky enough to not have to repair my Contax 645 yet, I know that it might happen one day. Because the camera is so large and heavy, it’s definitely more prone to drops and bumps. I’m extremely careful with mine though, which is funny because I’m not careful with any of my other cameras. But I want this one to last. I know that Nippon Photoclinic is authorized to repair them, but I also know they are quite expensive. The good news is that the Contax 645 is a very sturdy and reliable cameras in general. Just make sure you’re buying one from a reputable seller and that they have some sort of return or warranty for the first few months while you’re testing it out for issues.
SO, WOULD I BUY IT AGAIN?
Some people may think I’m crazy for owning this camera but it was a huge milestone for me, personally. I would absolutely buy it again. The images are 100% worth it if you’re looking for flawless, incredible medium format photographs. They amaze me every time I get a roll of film back. If you have the funds and it’s a camera you’ve always been dreaming of, you won’t regret it. Just please make sure you’re getting it from a trusted seller.
Also, if you’re thinking about taking the leap, it’s better to do it sooner rather than later. These cameras are only going to get older, more used and more expensive. There are still quite a few out there in great condition, so I’d take advantage of that!
WHERE DO I BUY IT?
I recommend KEH camera first and foremost. They are always great with returns and are extremely knowledgeable whenever I talk to them on the phone about any issues I’ve had with a camera. They buy, sell and trade used camera equipment and are my go-to when it comes to buying used gear. However, they don’t always have the gear you’re looking for just because gear is constantly going in and out. I recommend to keep checking back every week or two. Or as a secondary option, I recommend eBay. I’ve bought a LOT of gear off of eBay over the years. Just make sure to check the sellers reviews and percentage rating on their sales. Lastly, there is always Amazon. However, there aren’t always Contax 645’s available on Amazon just because it is a used camera and there aren’t a whole lot of them out there. But if you’re able to find one on there and trust the seller, go for it! Plus, Amazon returns tend to be pretty straightforward if you’re not happy with your purchase.
CAMERA
PURCHASE A CONTAX 645 ON KEH CAMERA
PURCHASE A CONTAX 645 ON EBAY
PURCHASE A CONTAX 645 ON AMAZON
LENS
PURCHASE A CONTAX CARL ZEISS PLANAR 80MM F/2.0 LENS ON KEH CAMERA
PURCHASE A CONTAX CARL ZEISS PLANAR 80MM F/2.0 LENS ON EBAY
FILM RECOMMENDATIONS
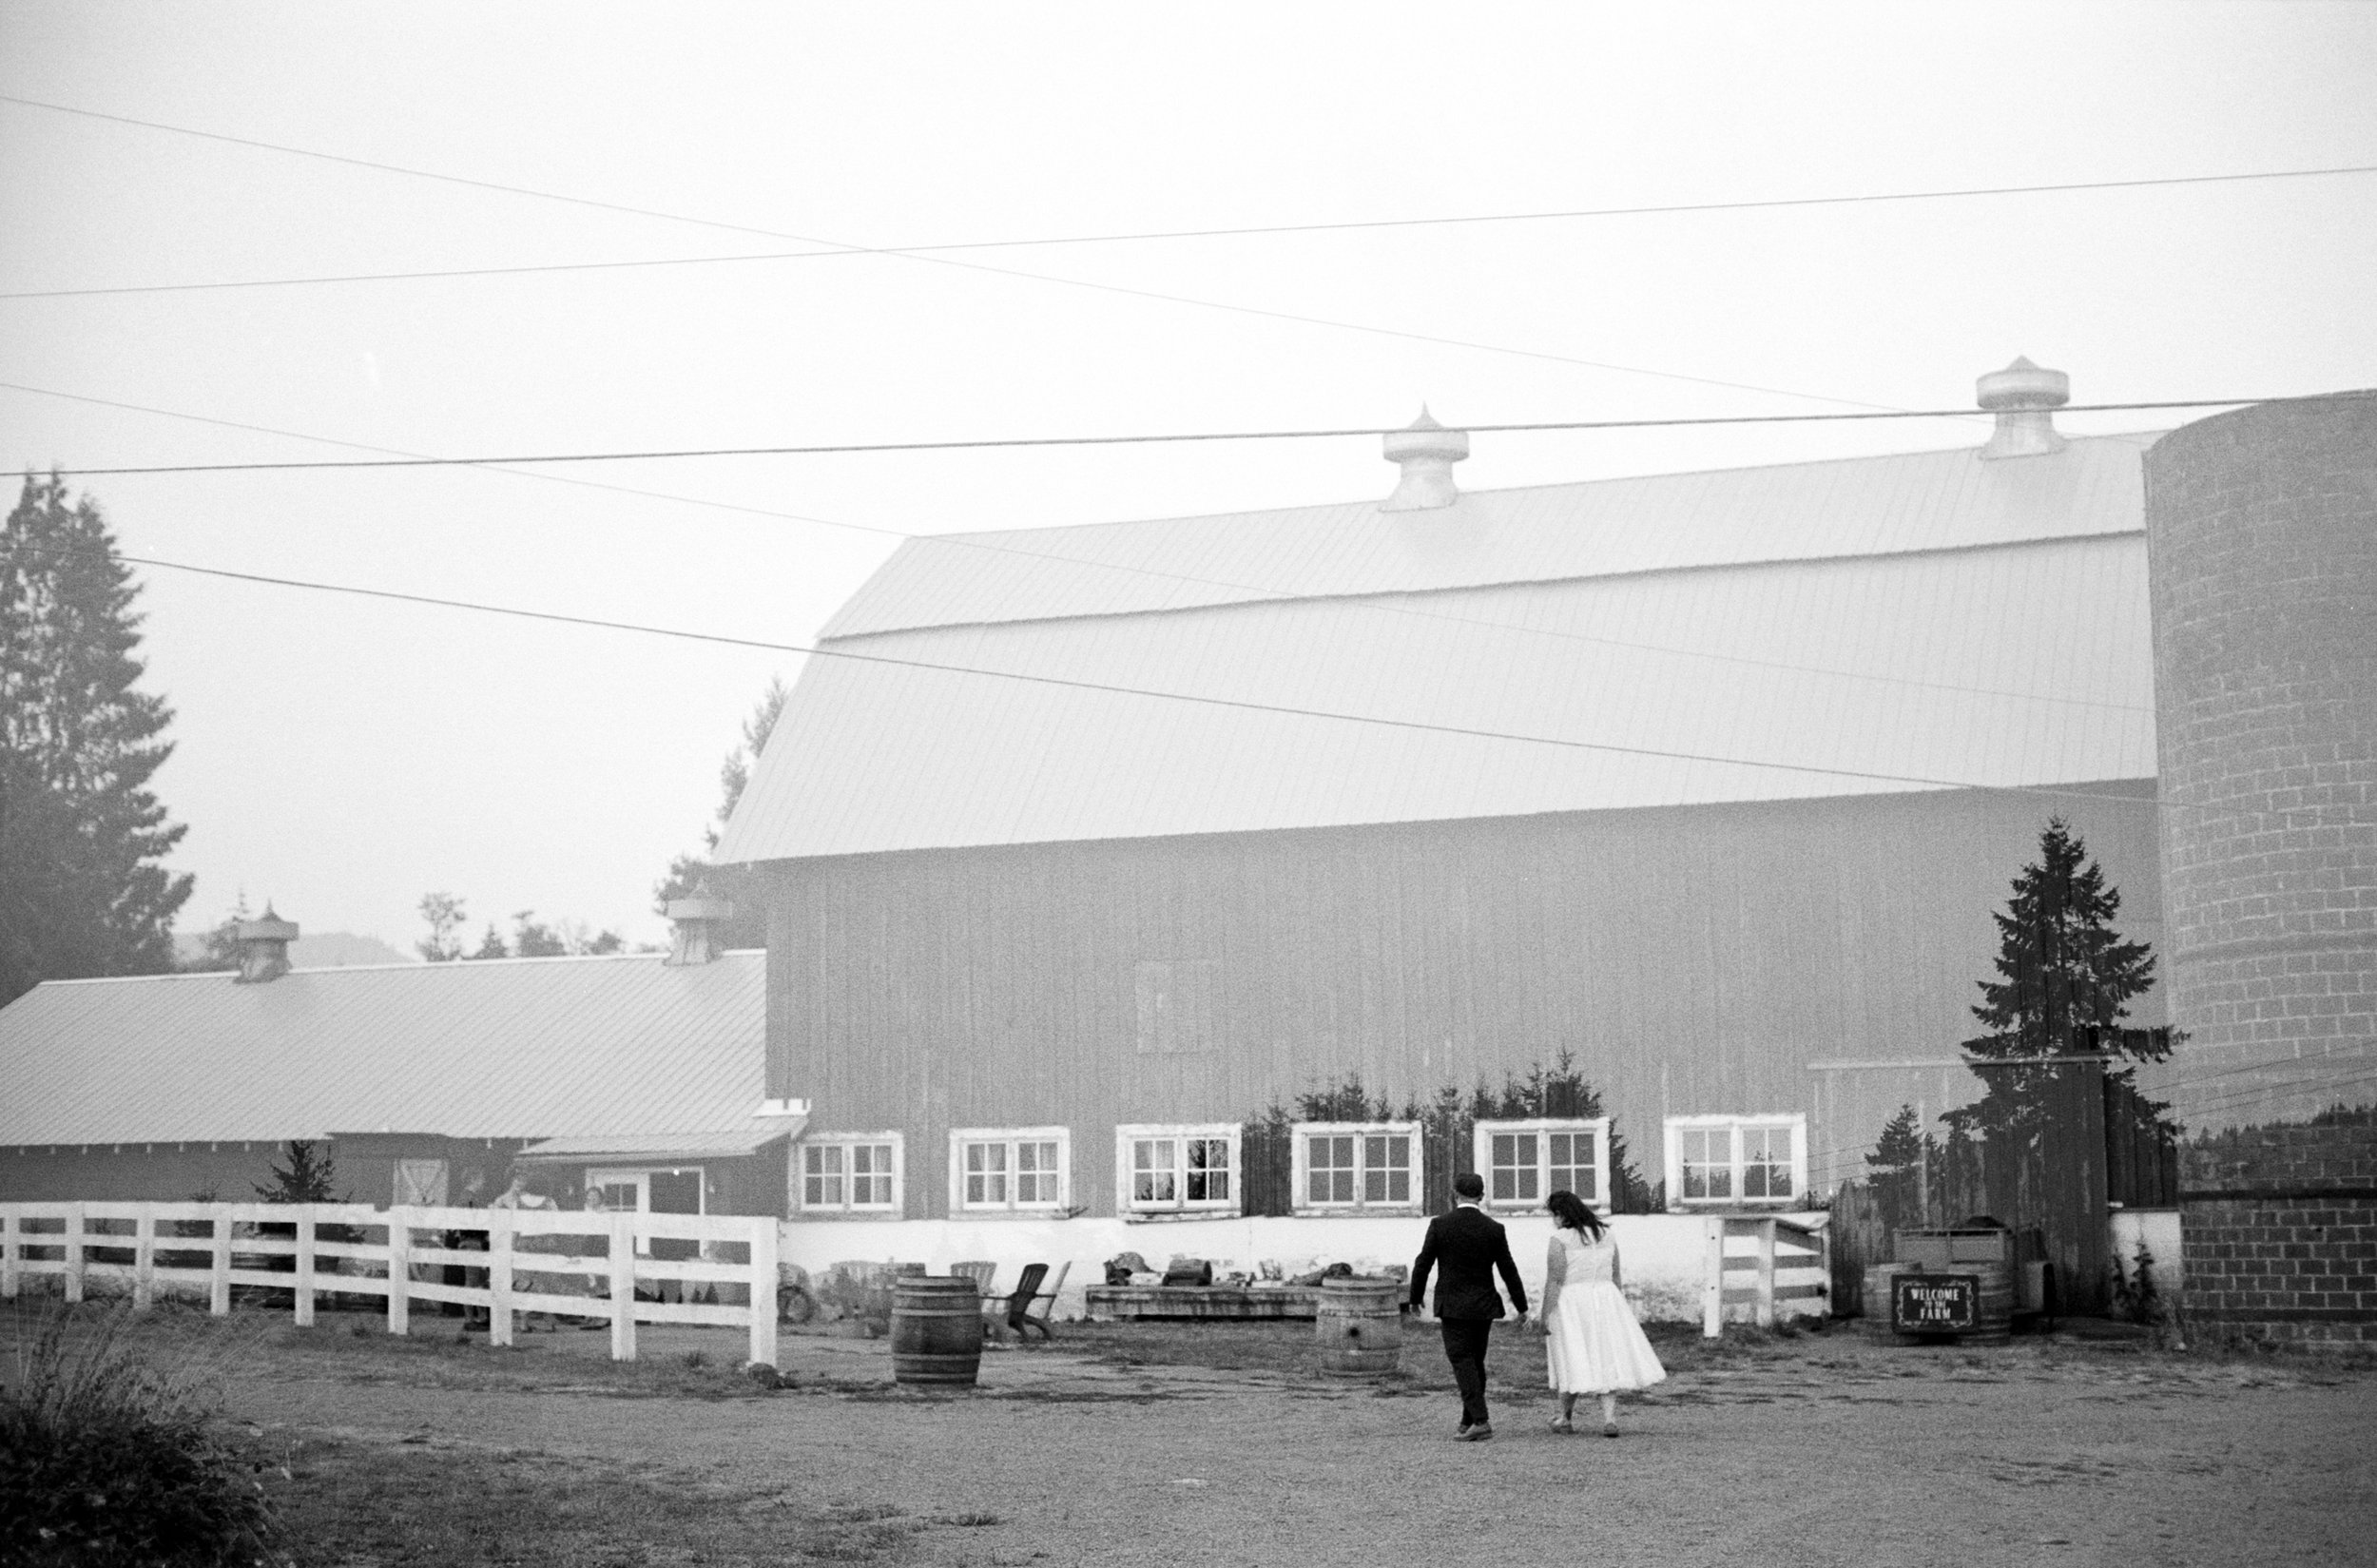
Neopan Across 100 Black & White 120 Film
#CommissionsEarned
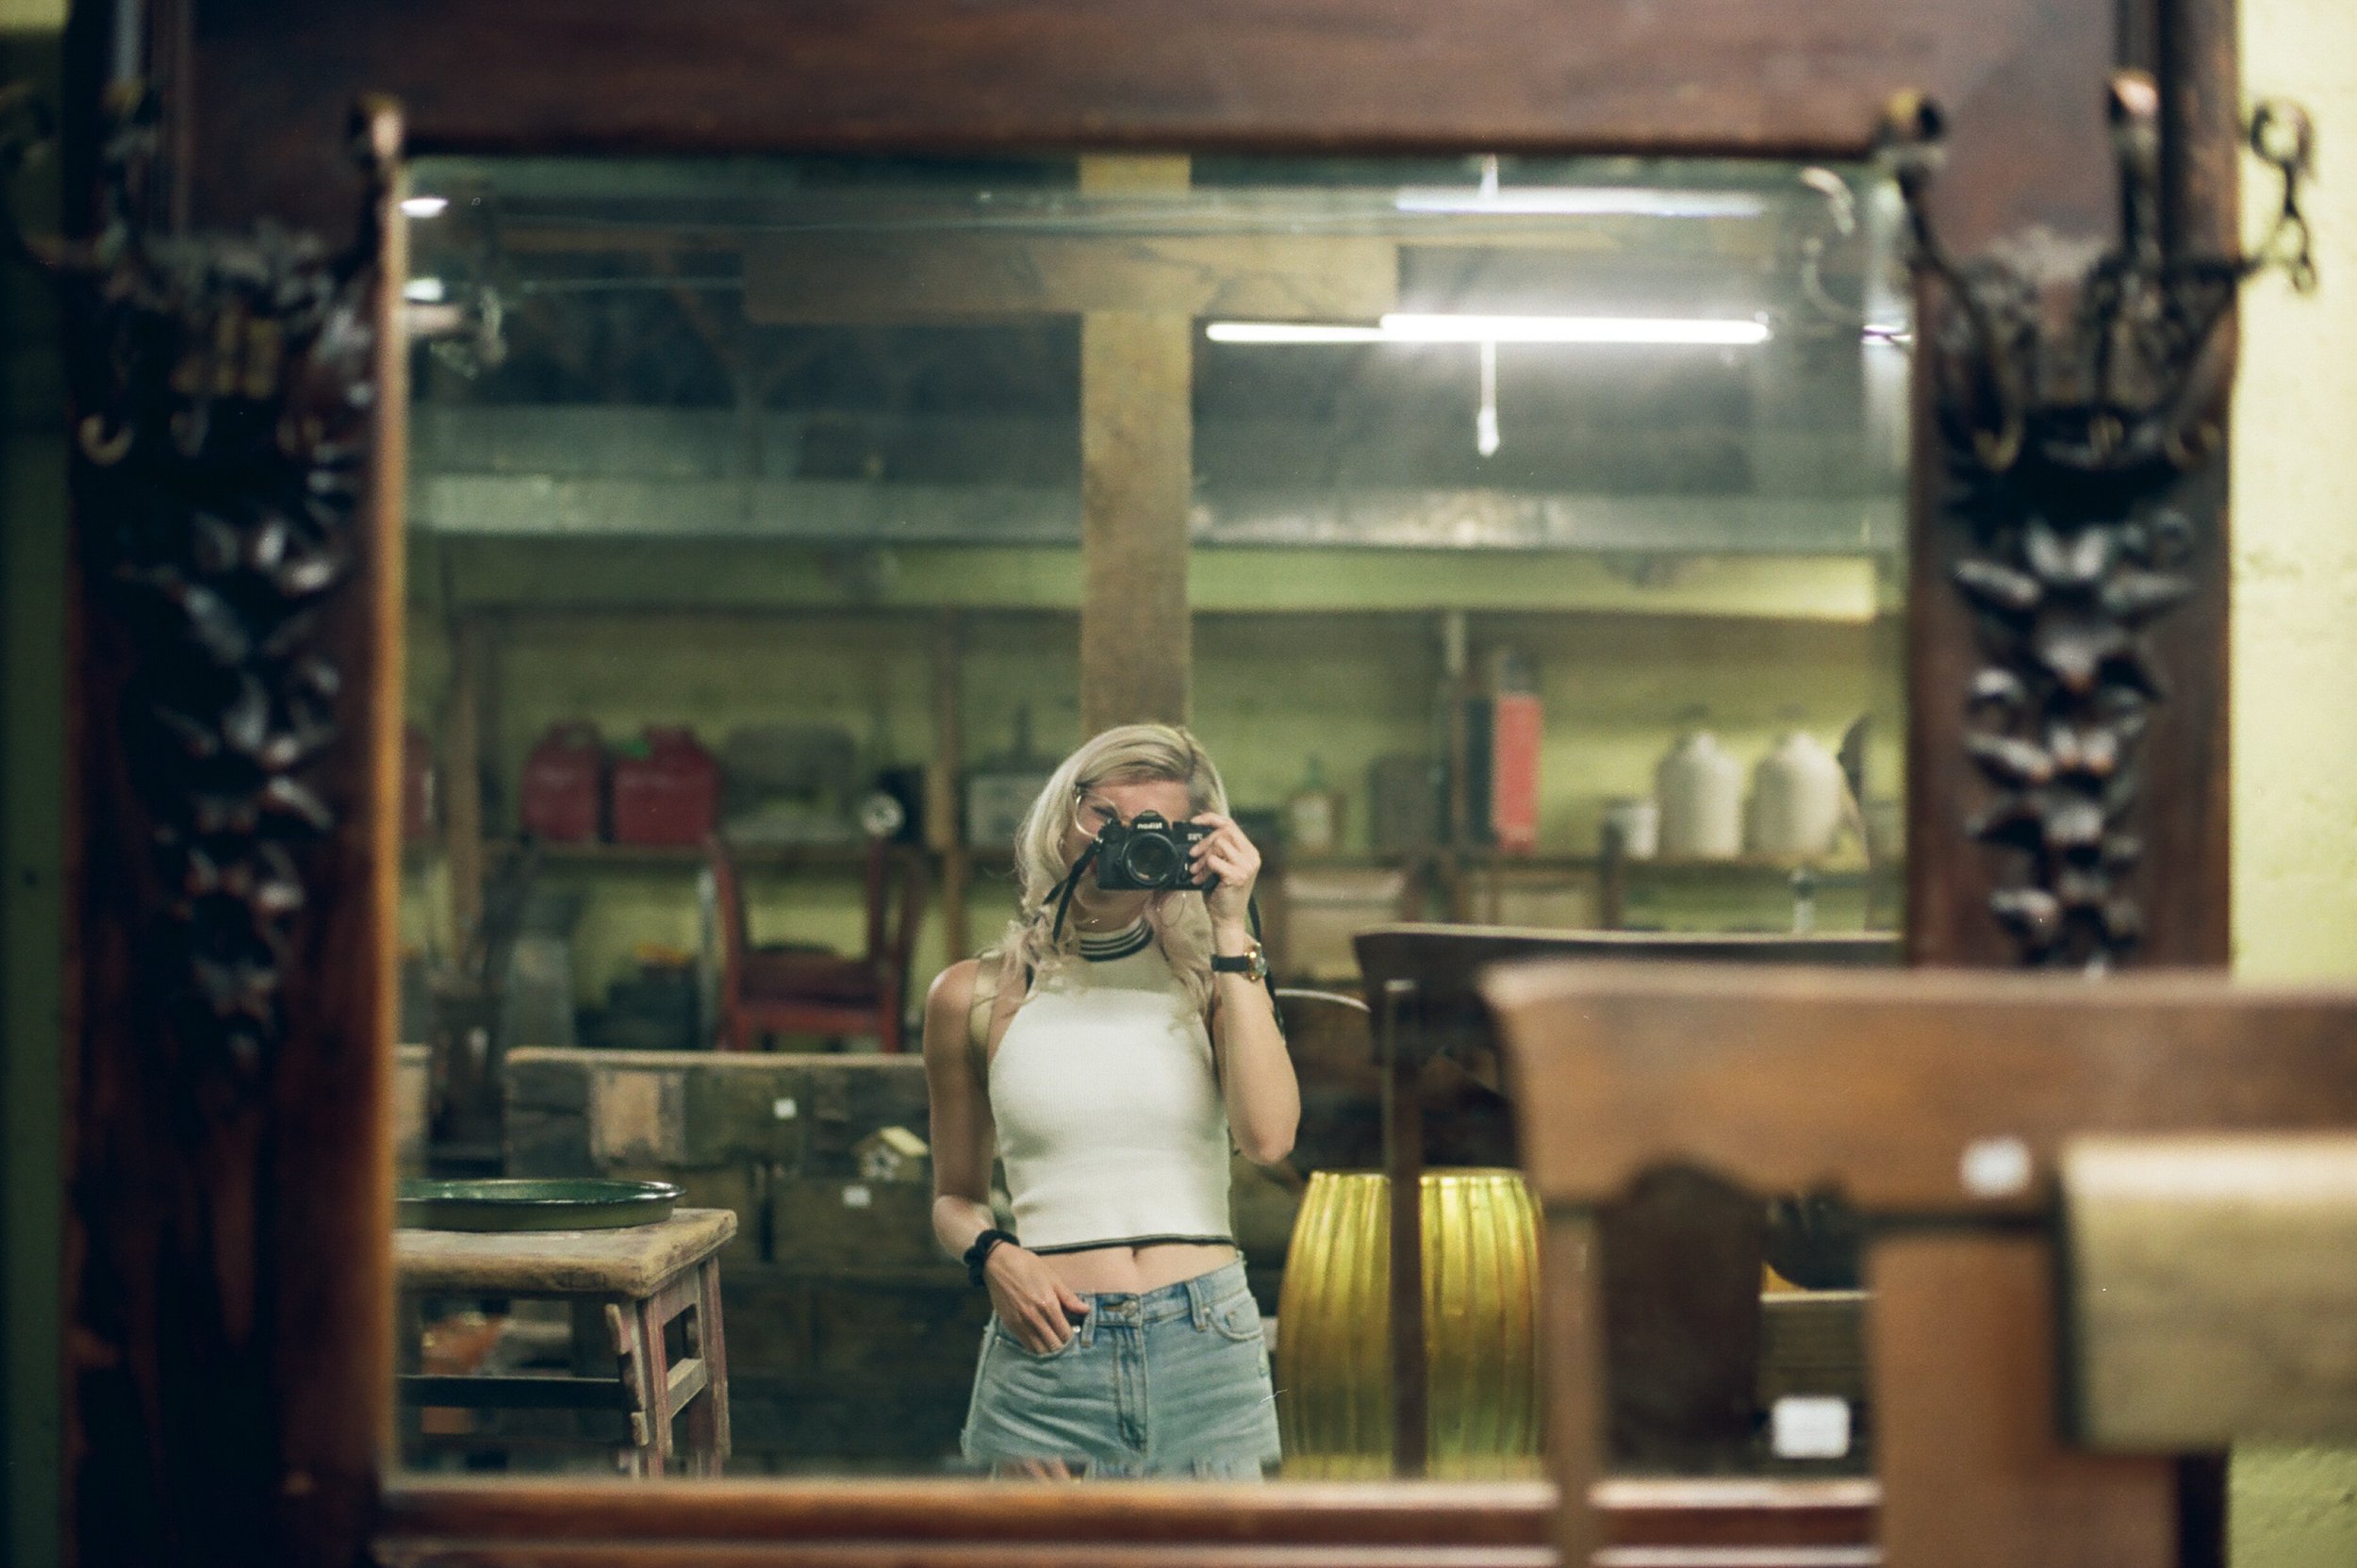
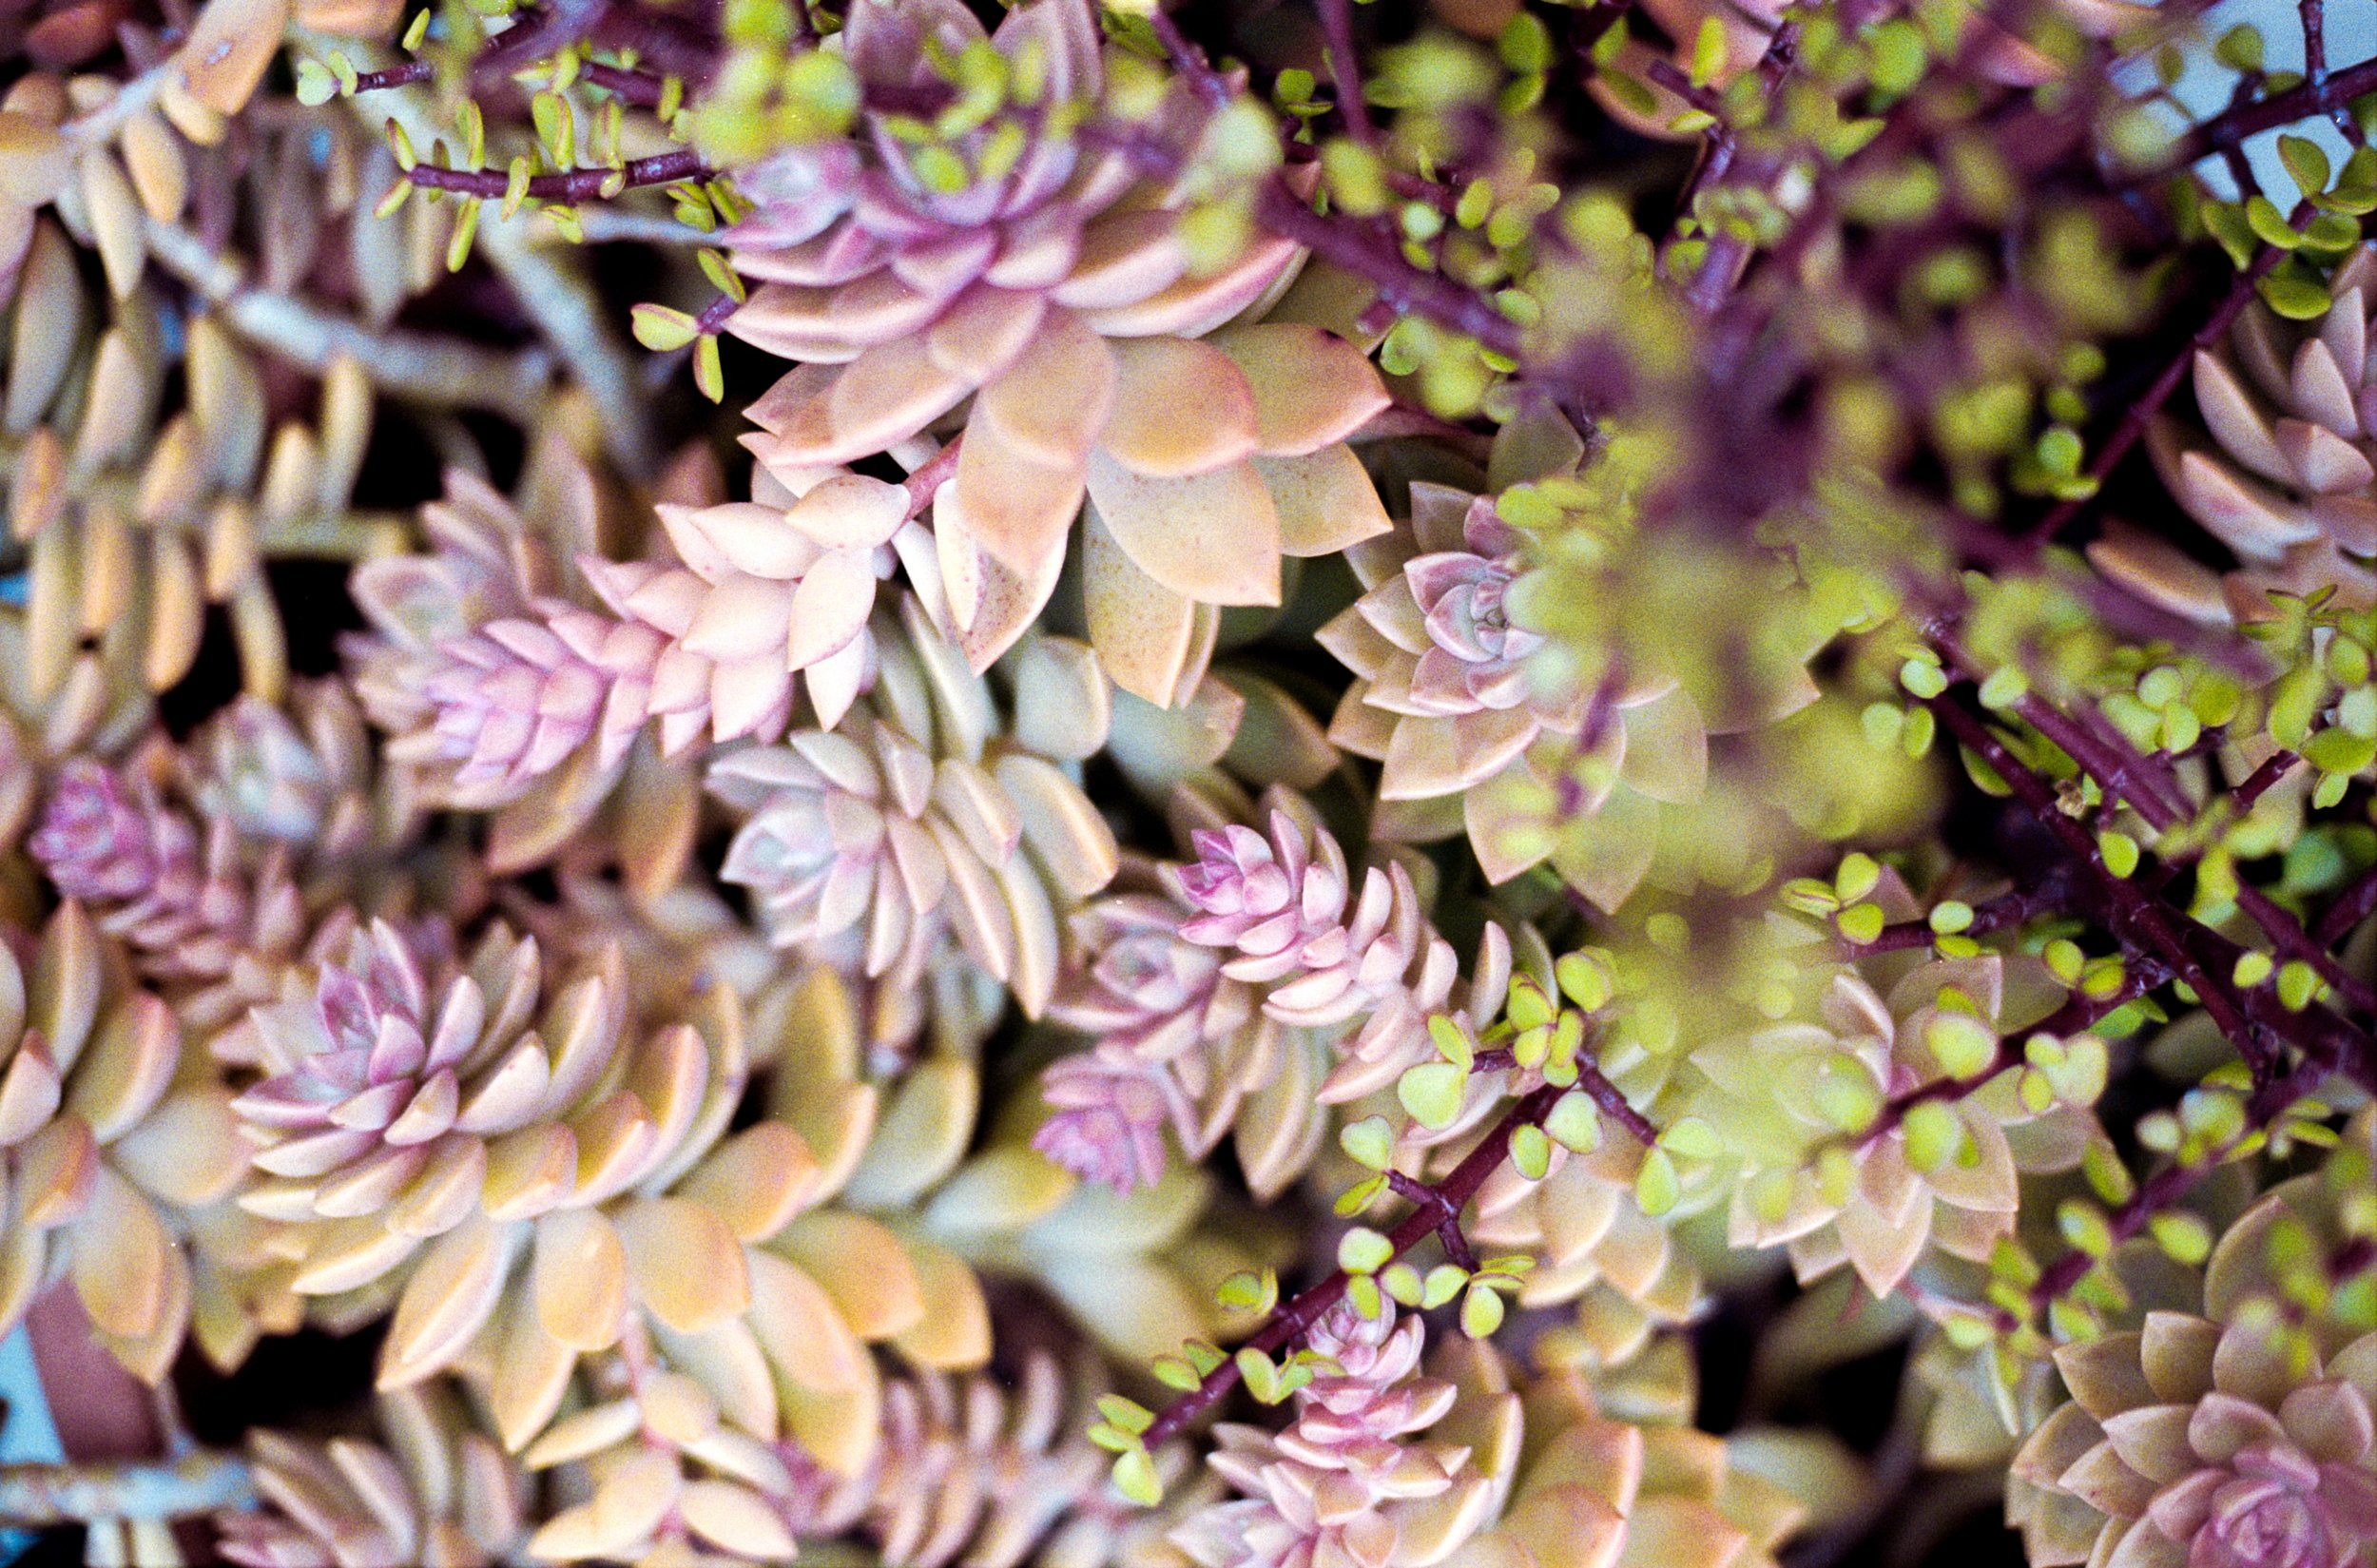
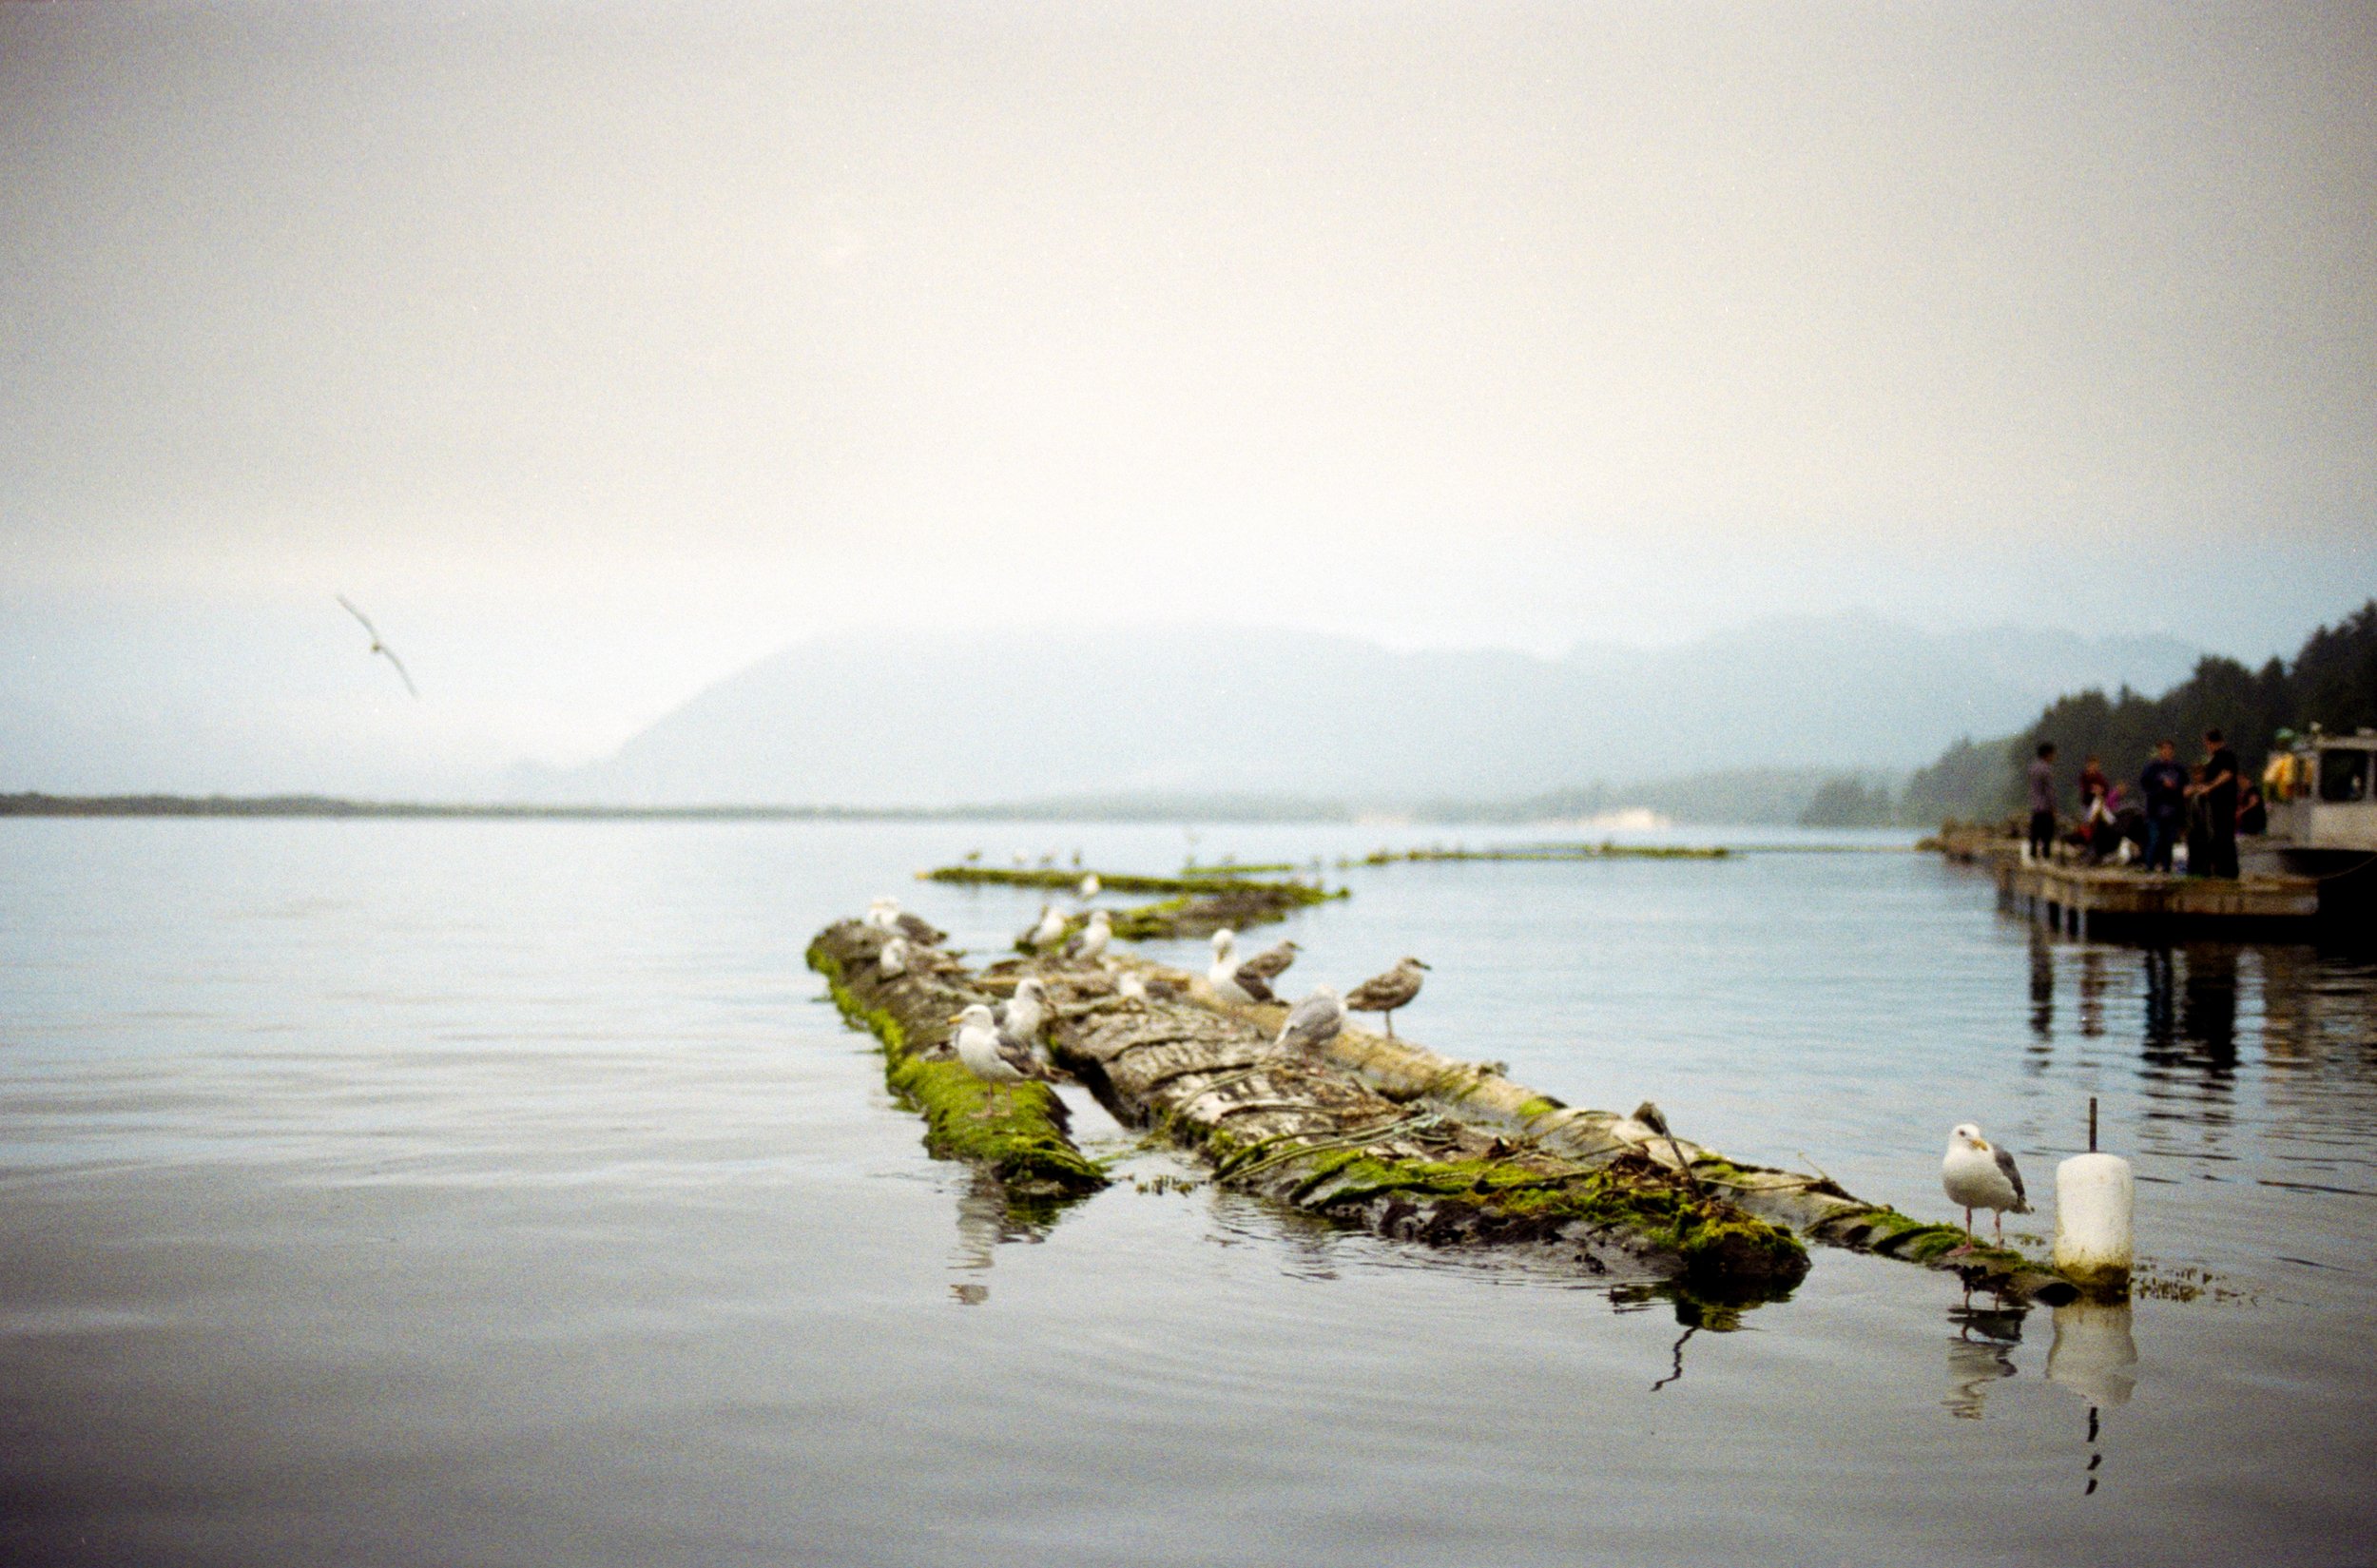
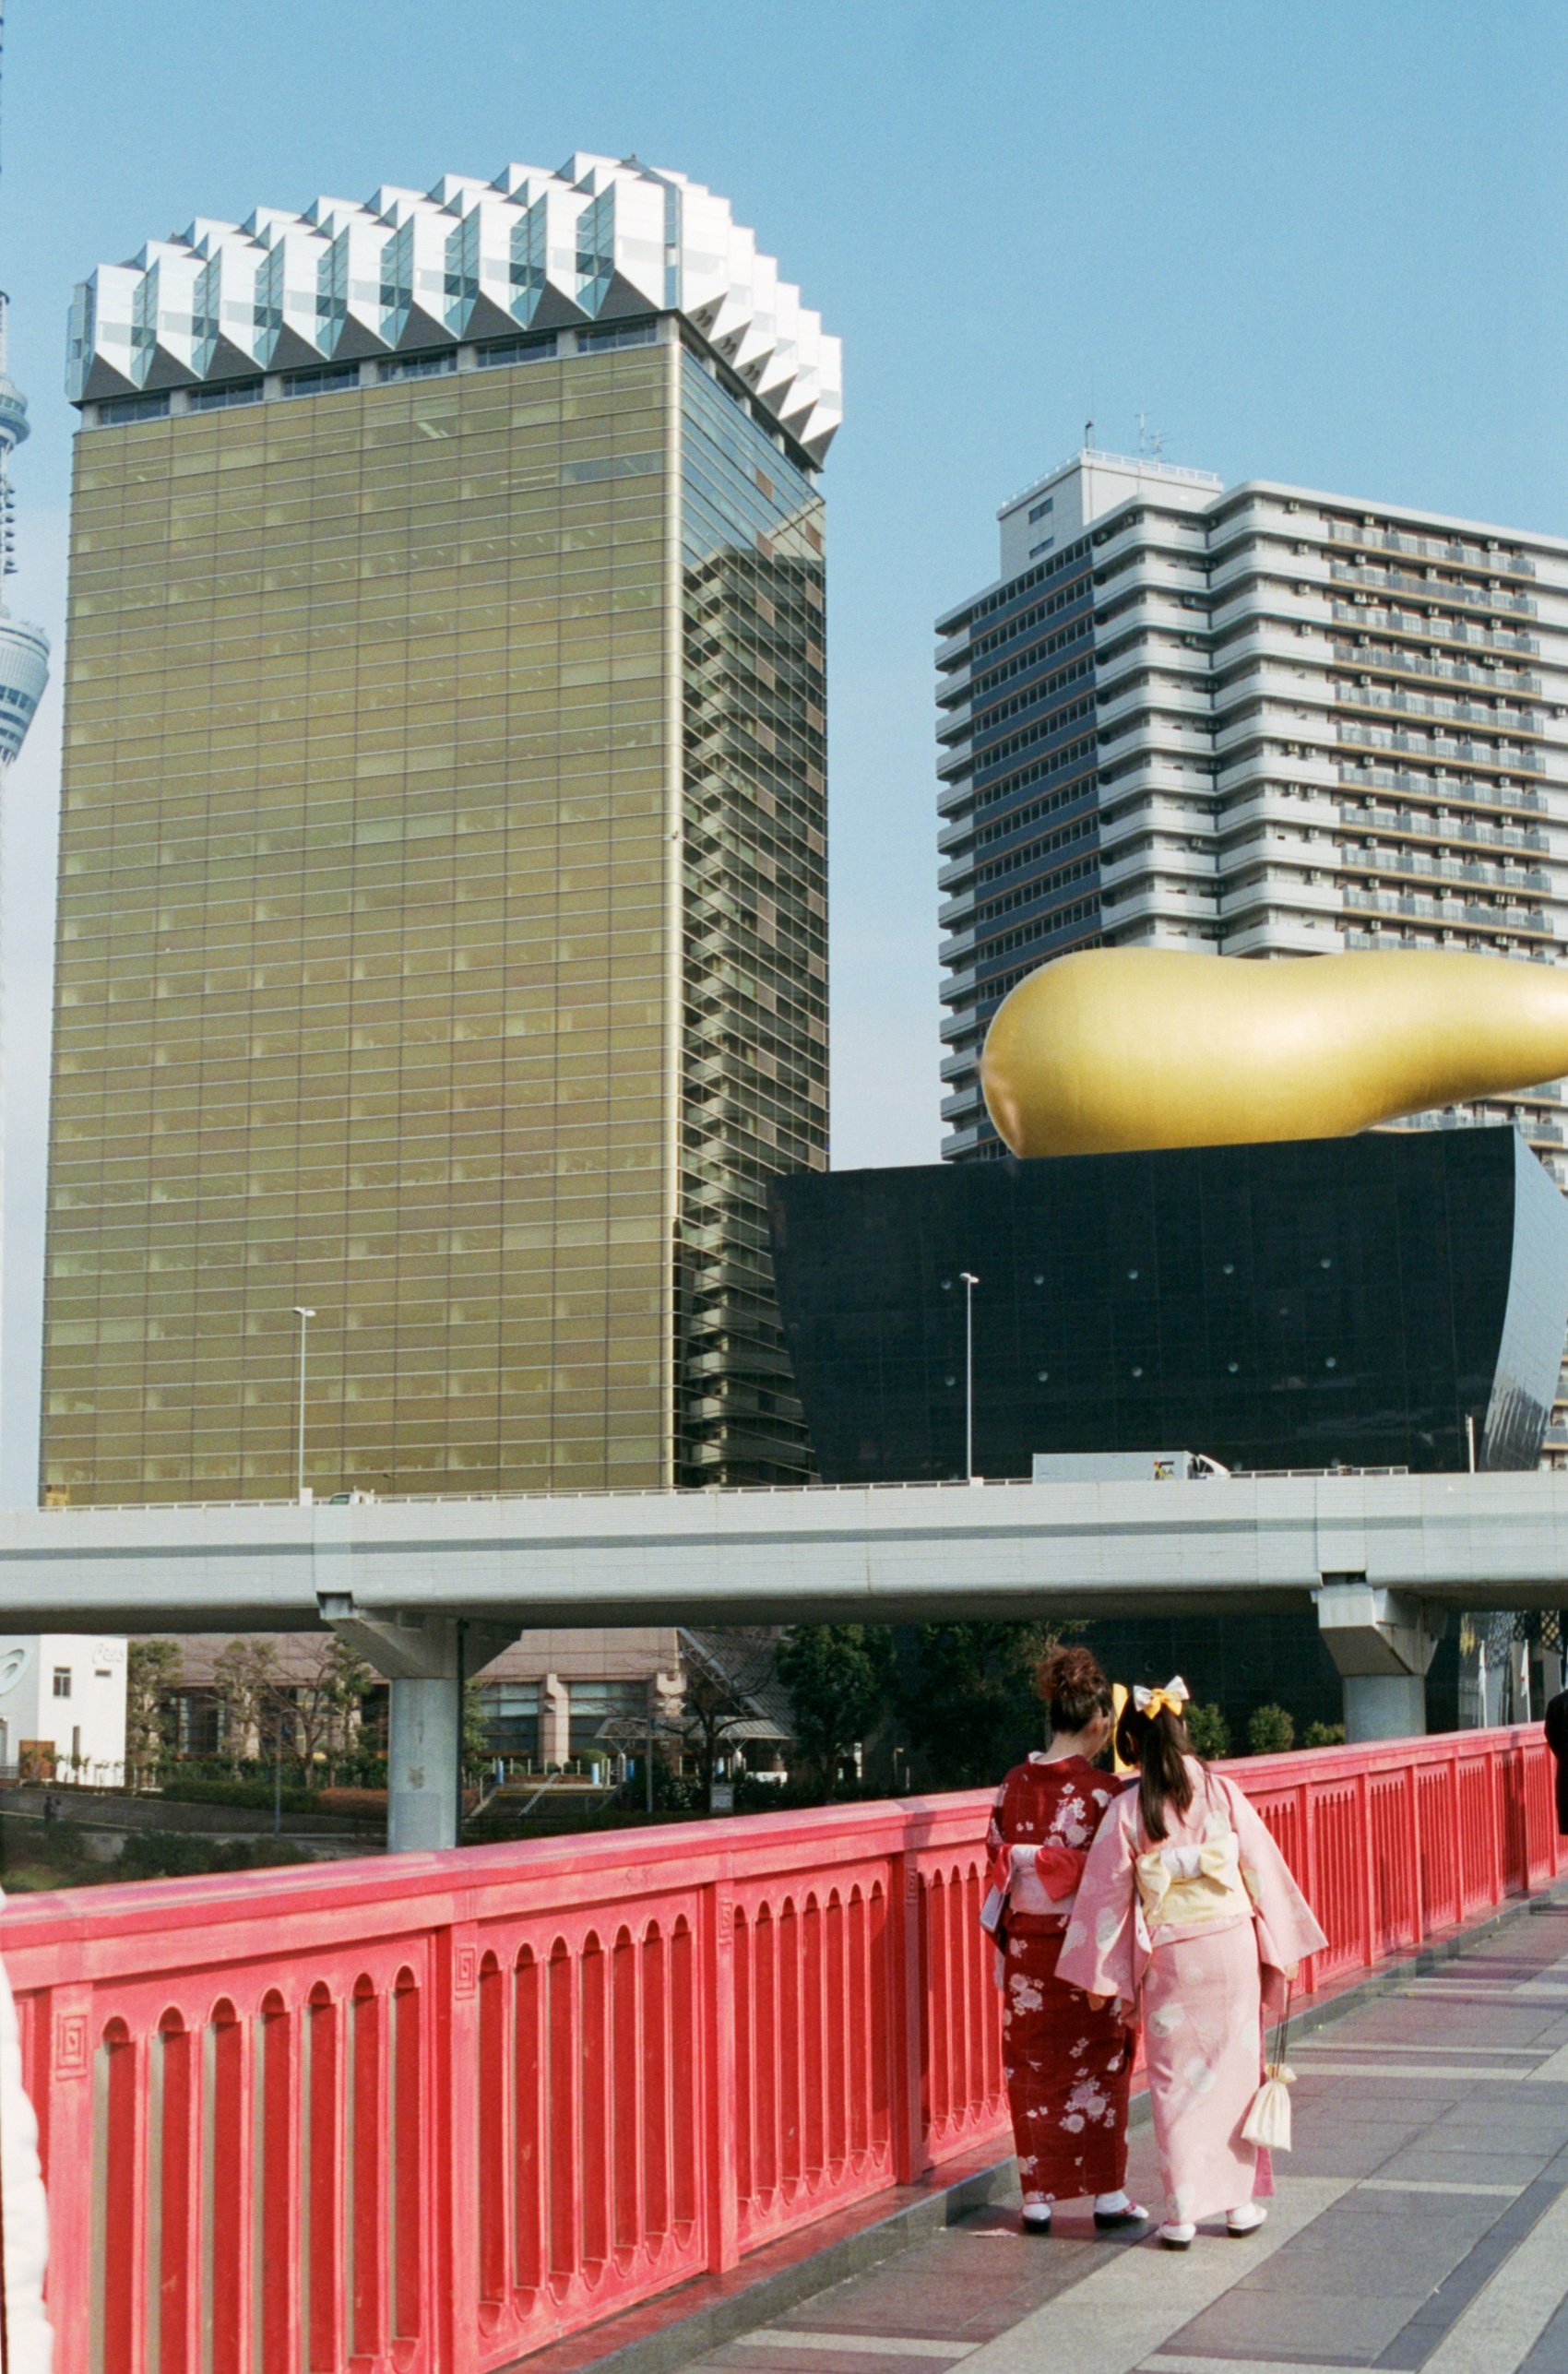
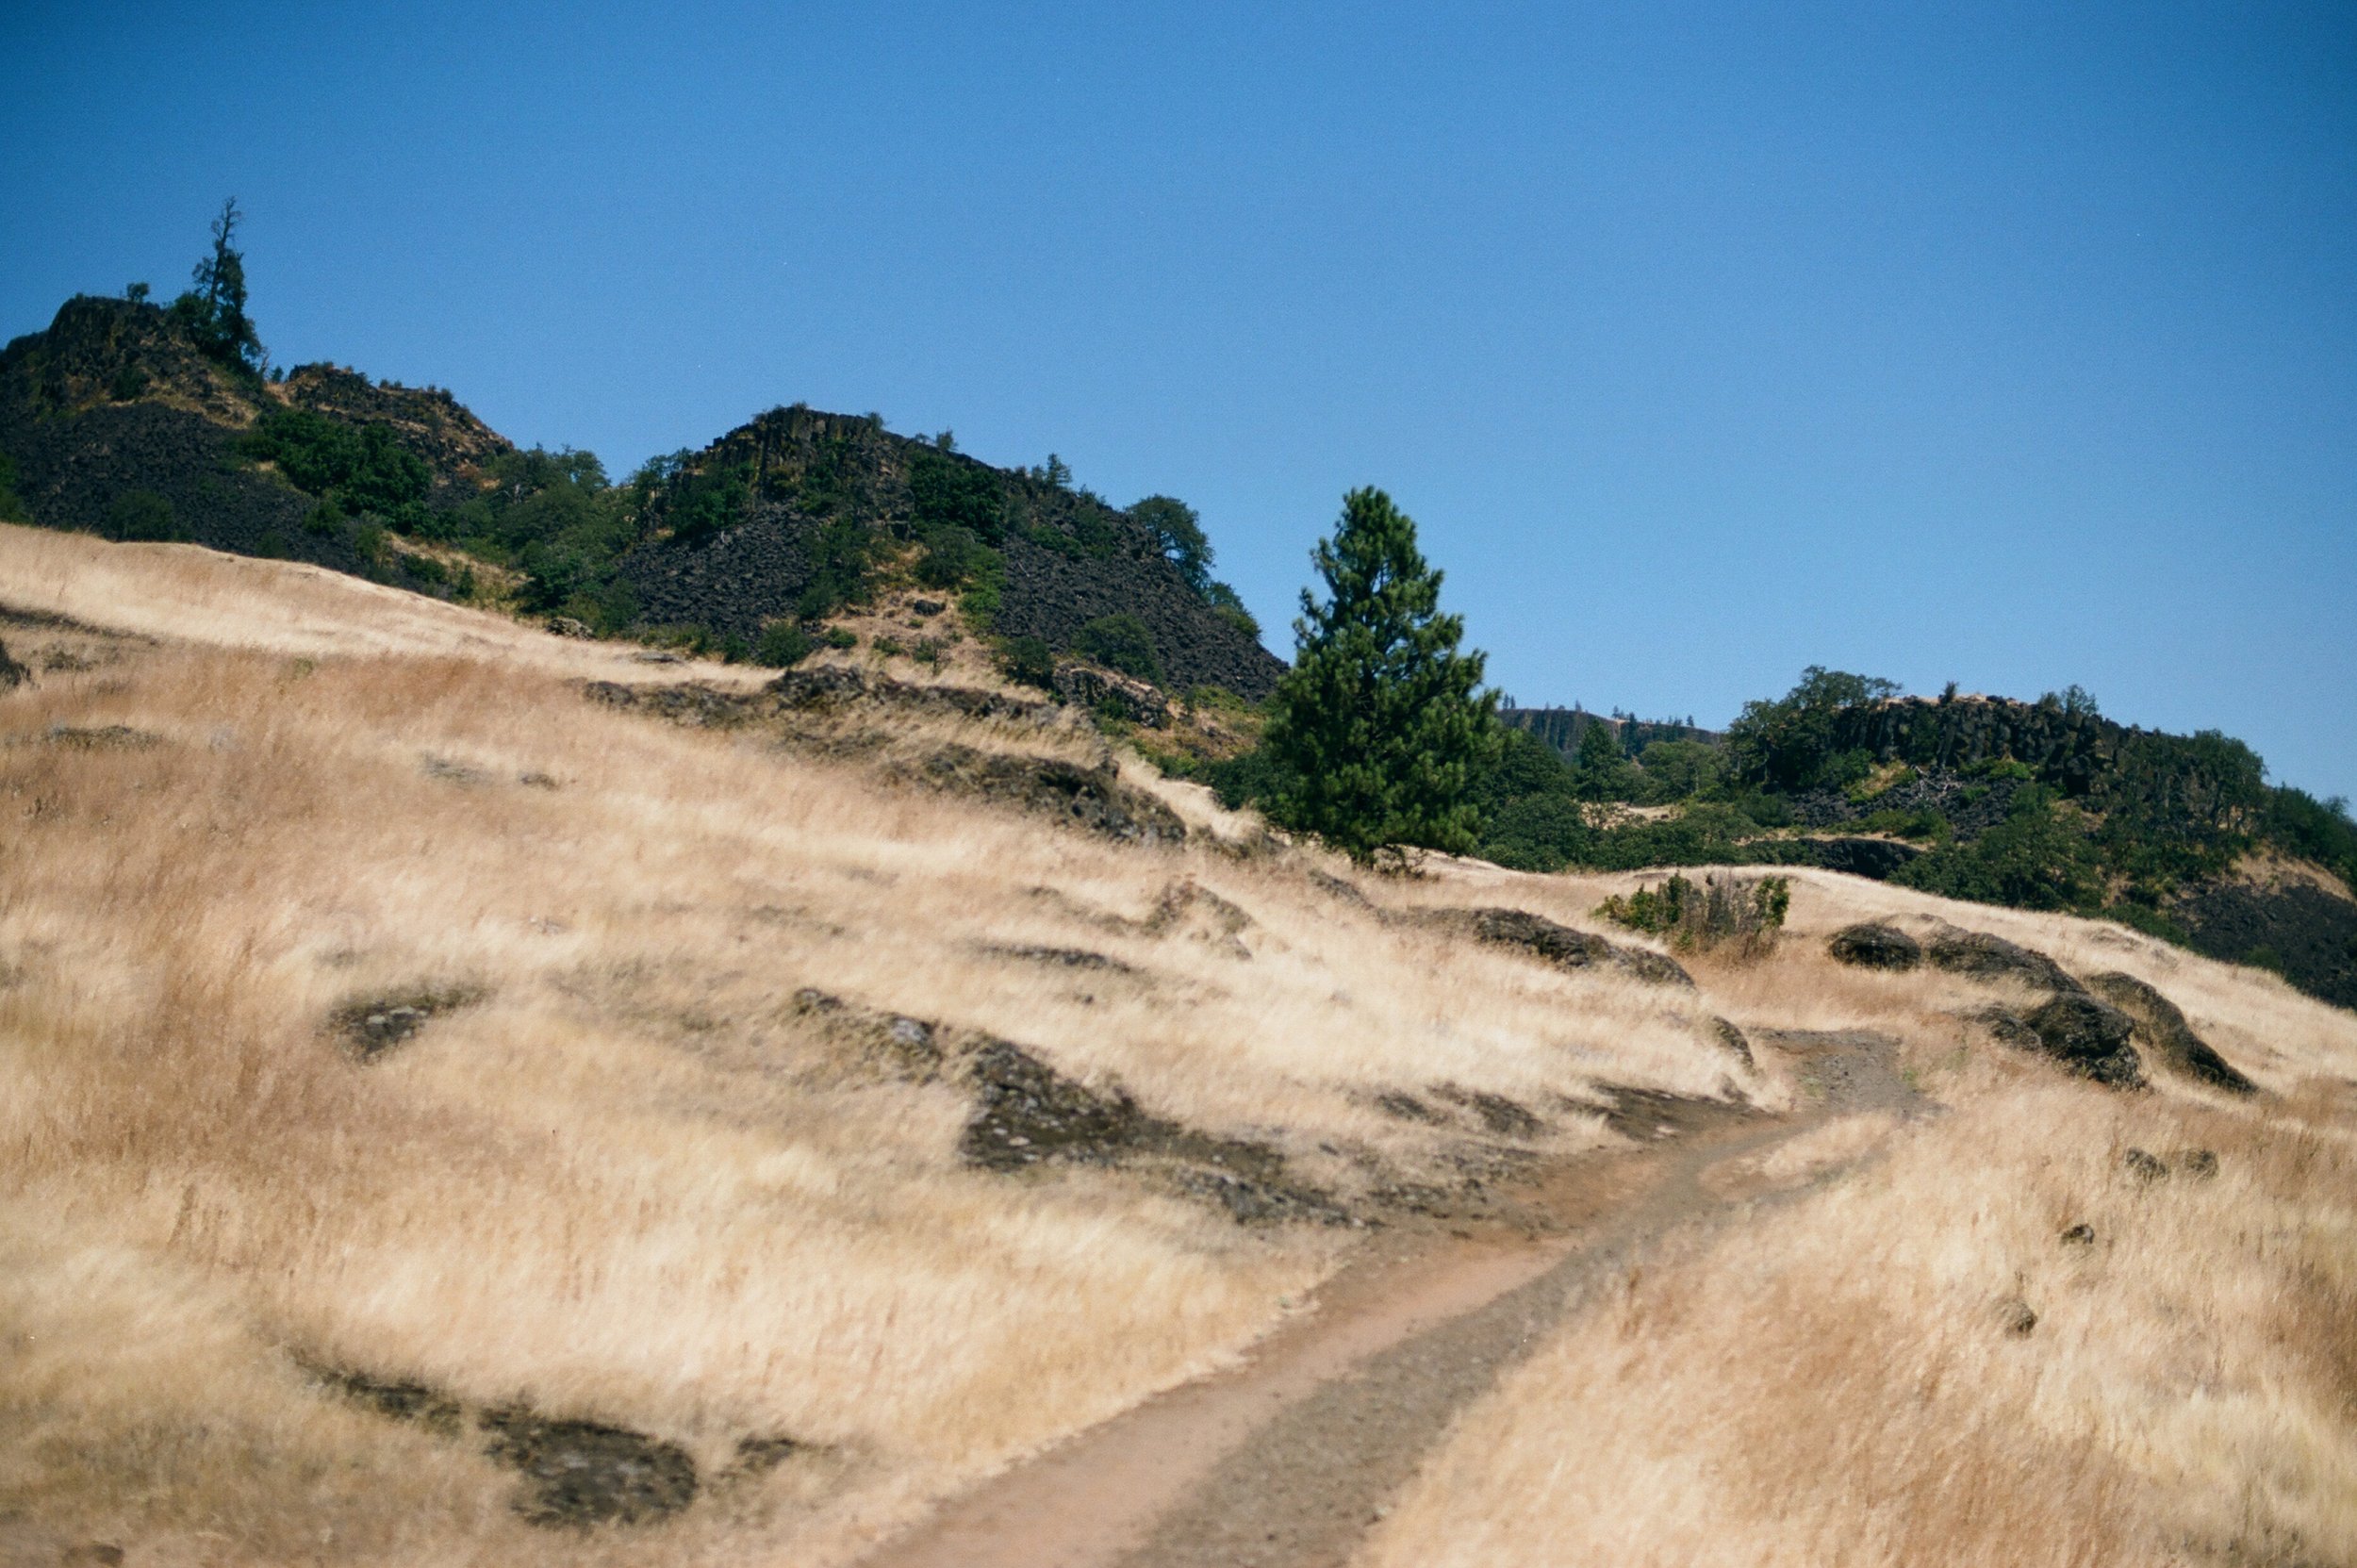
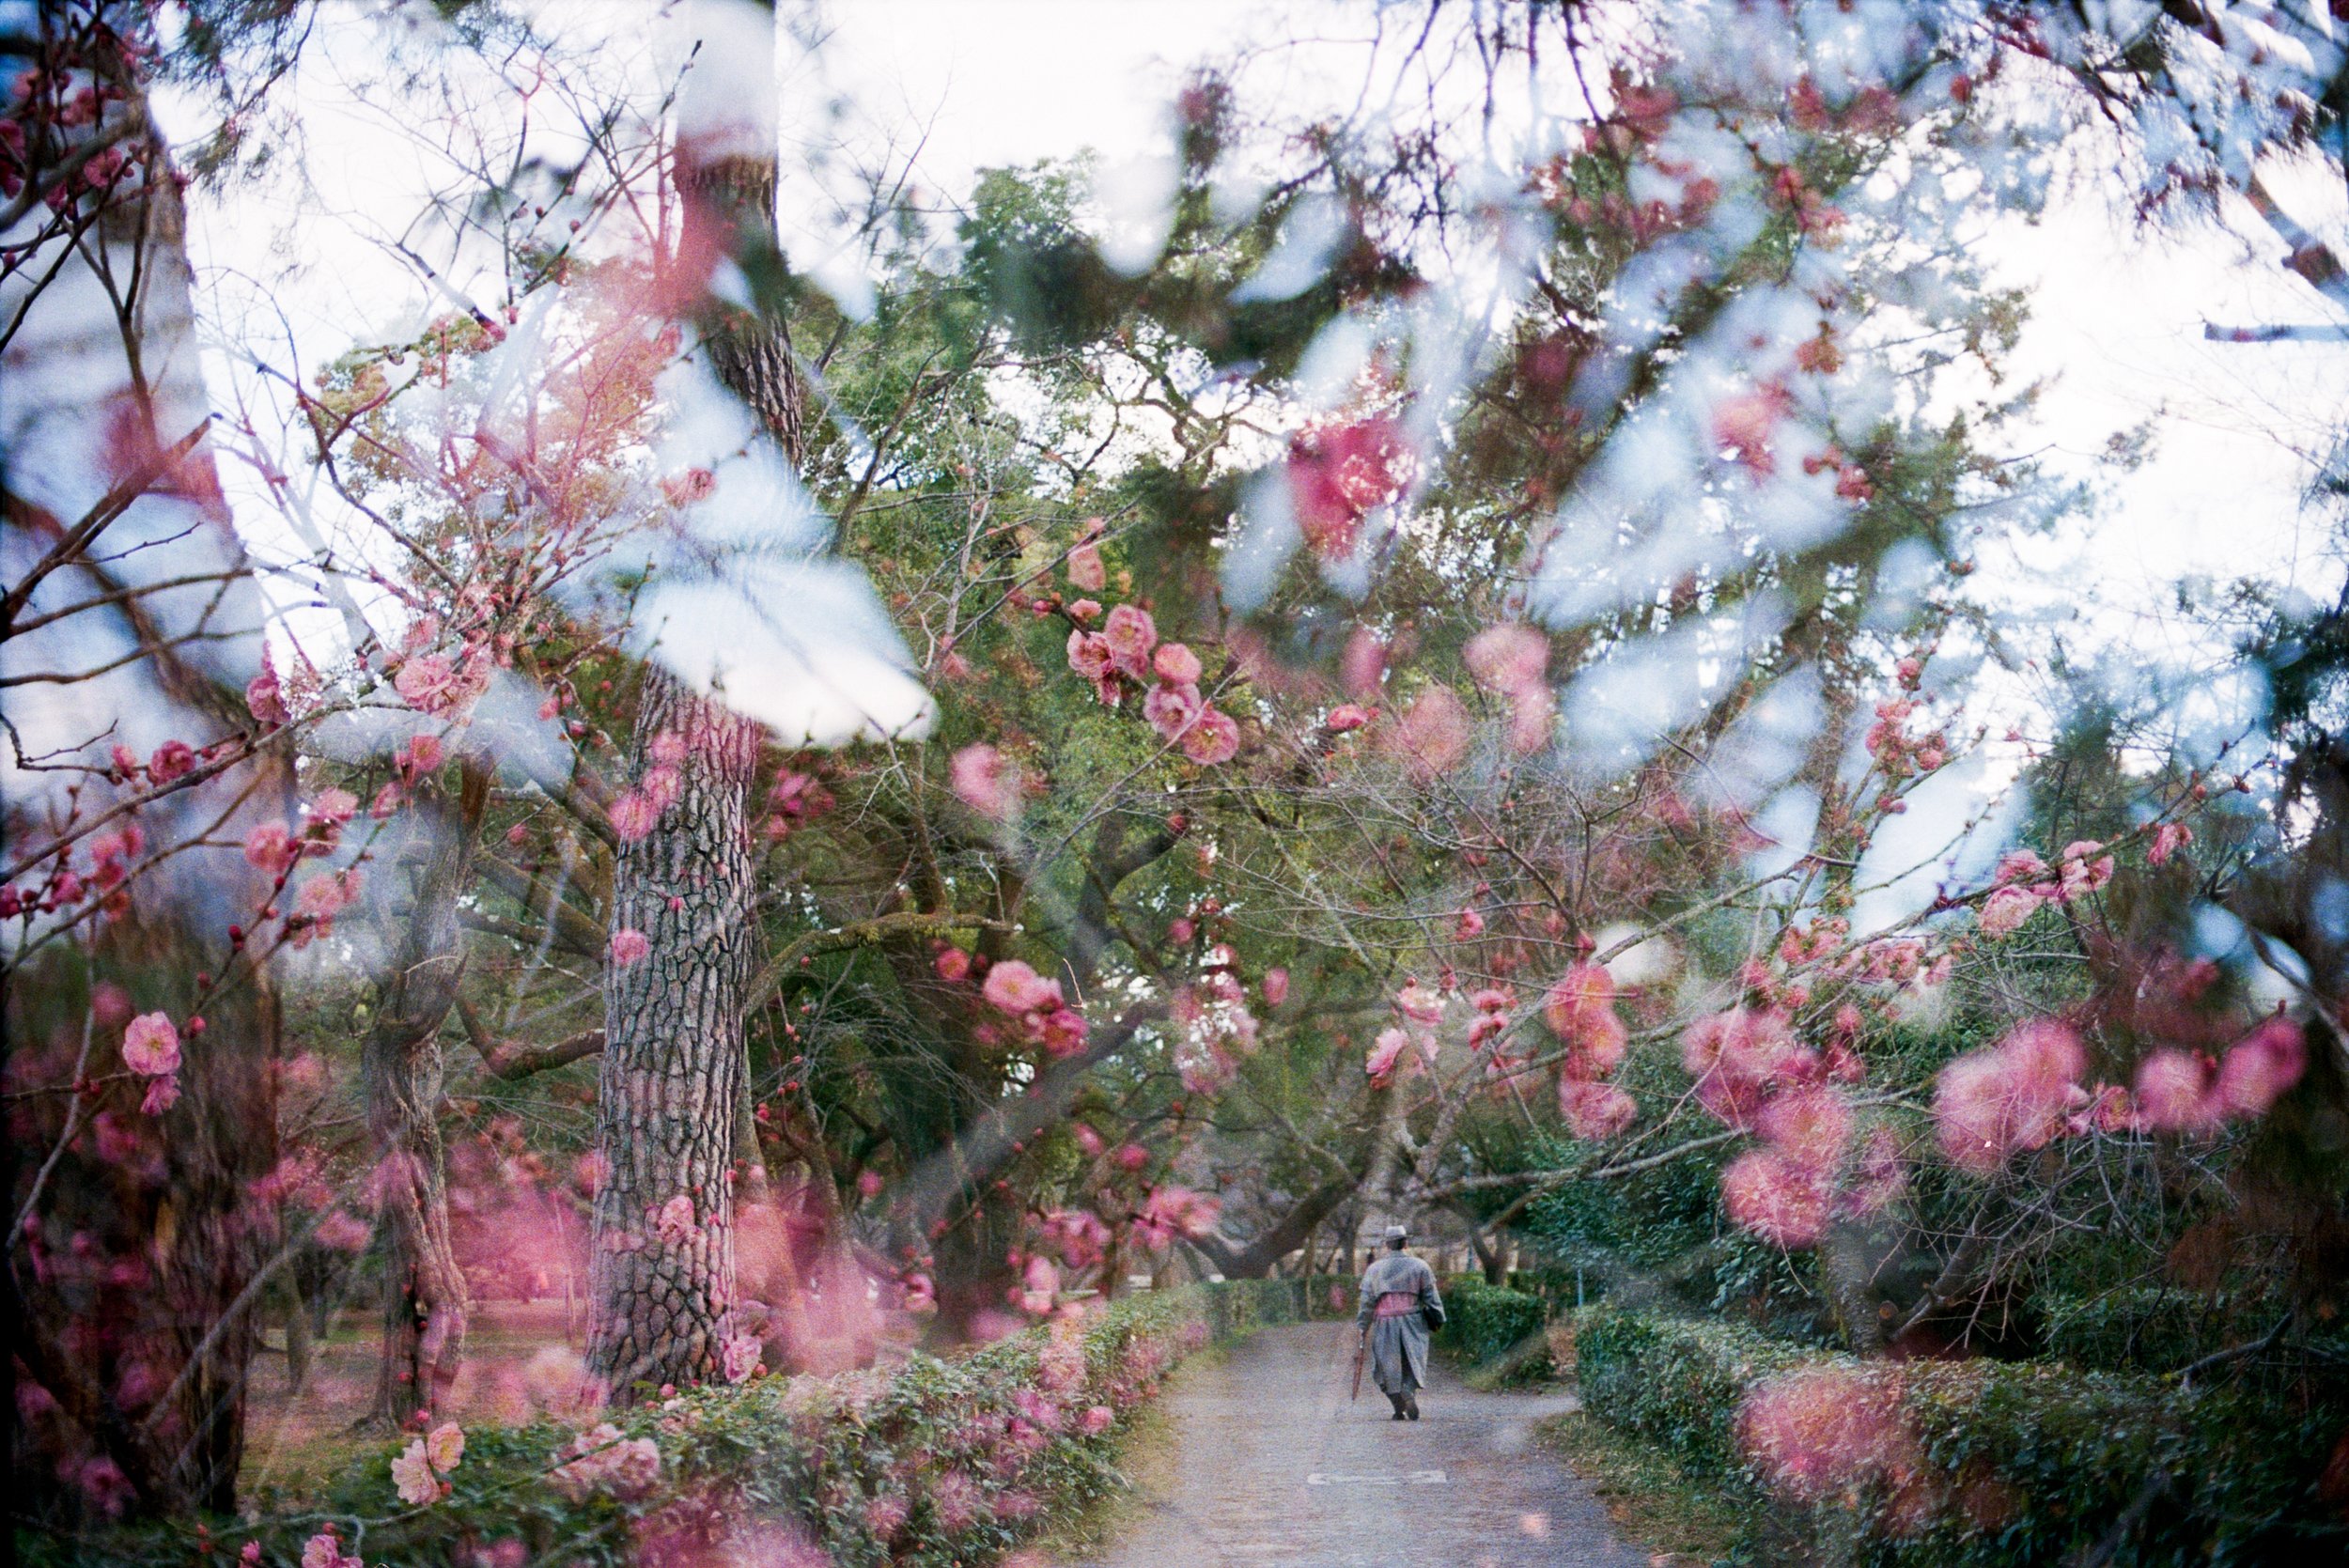
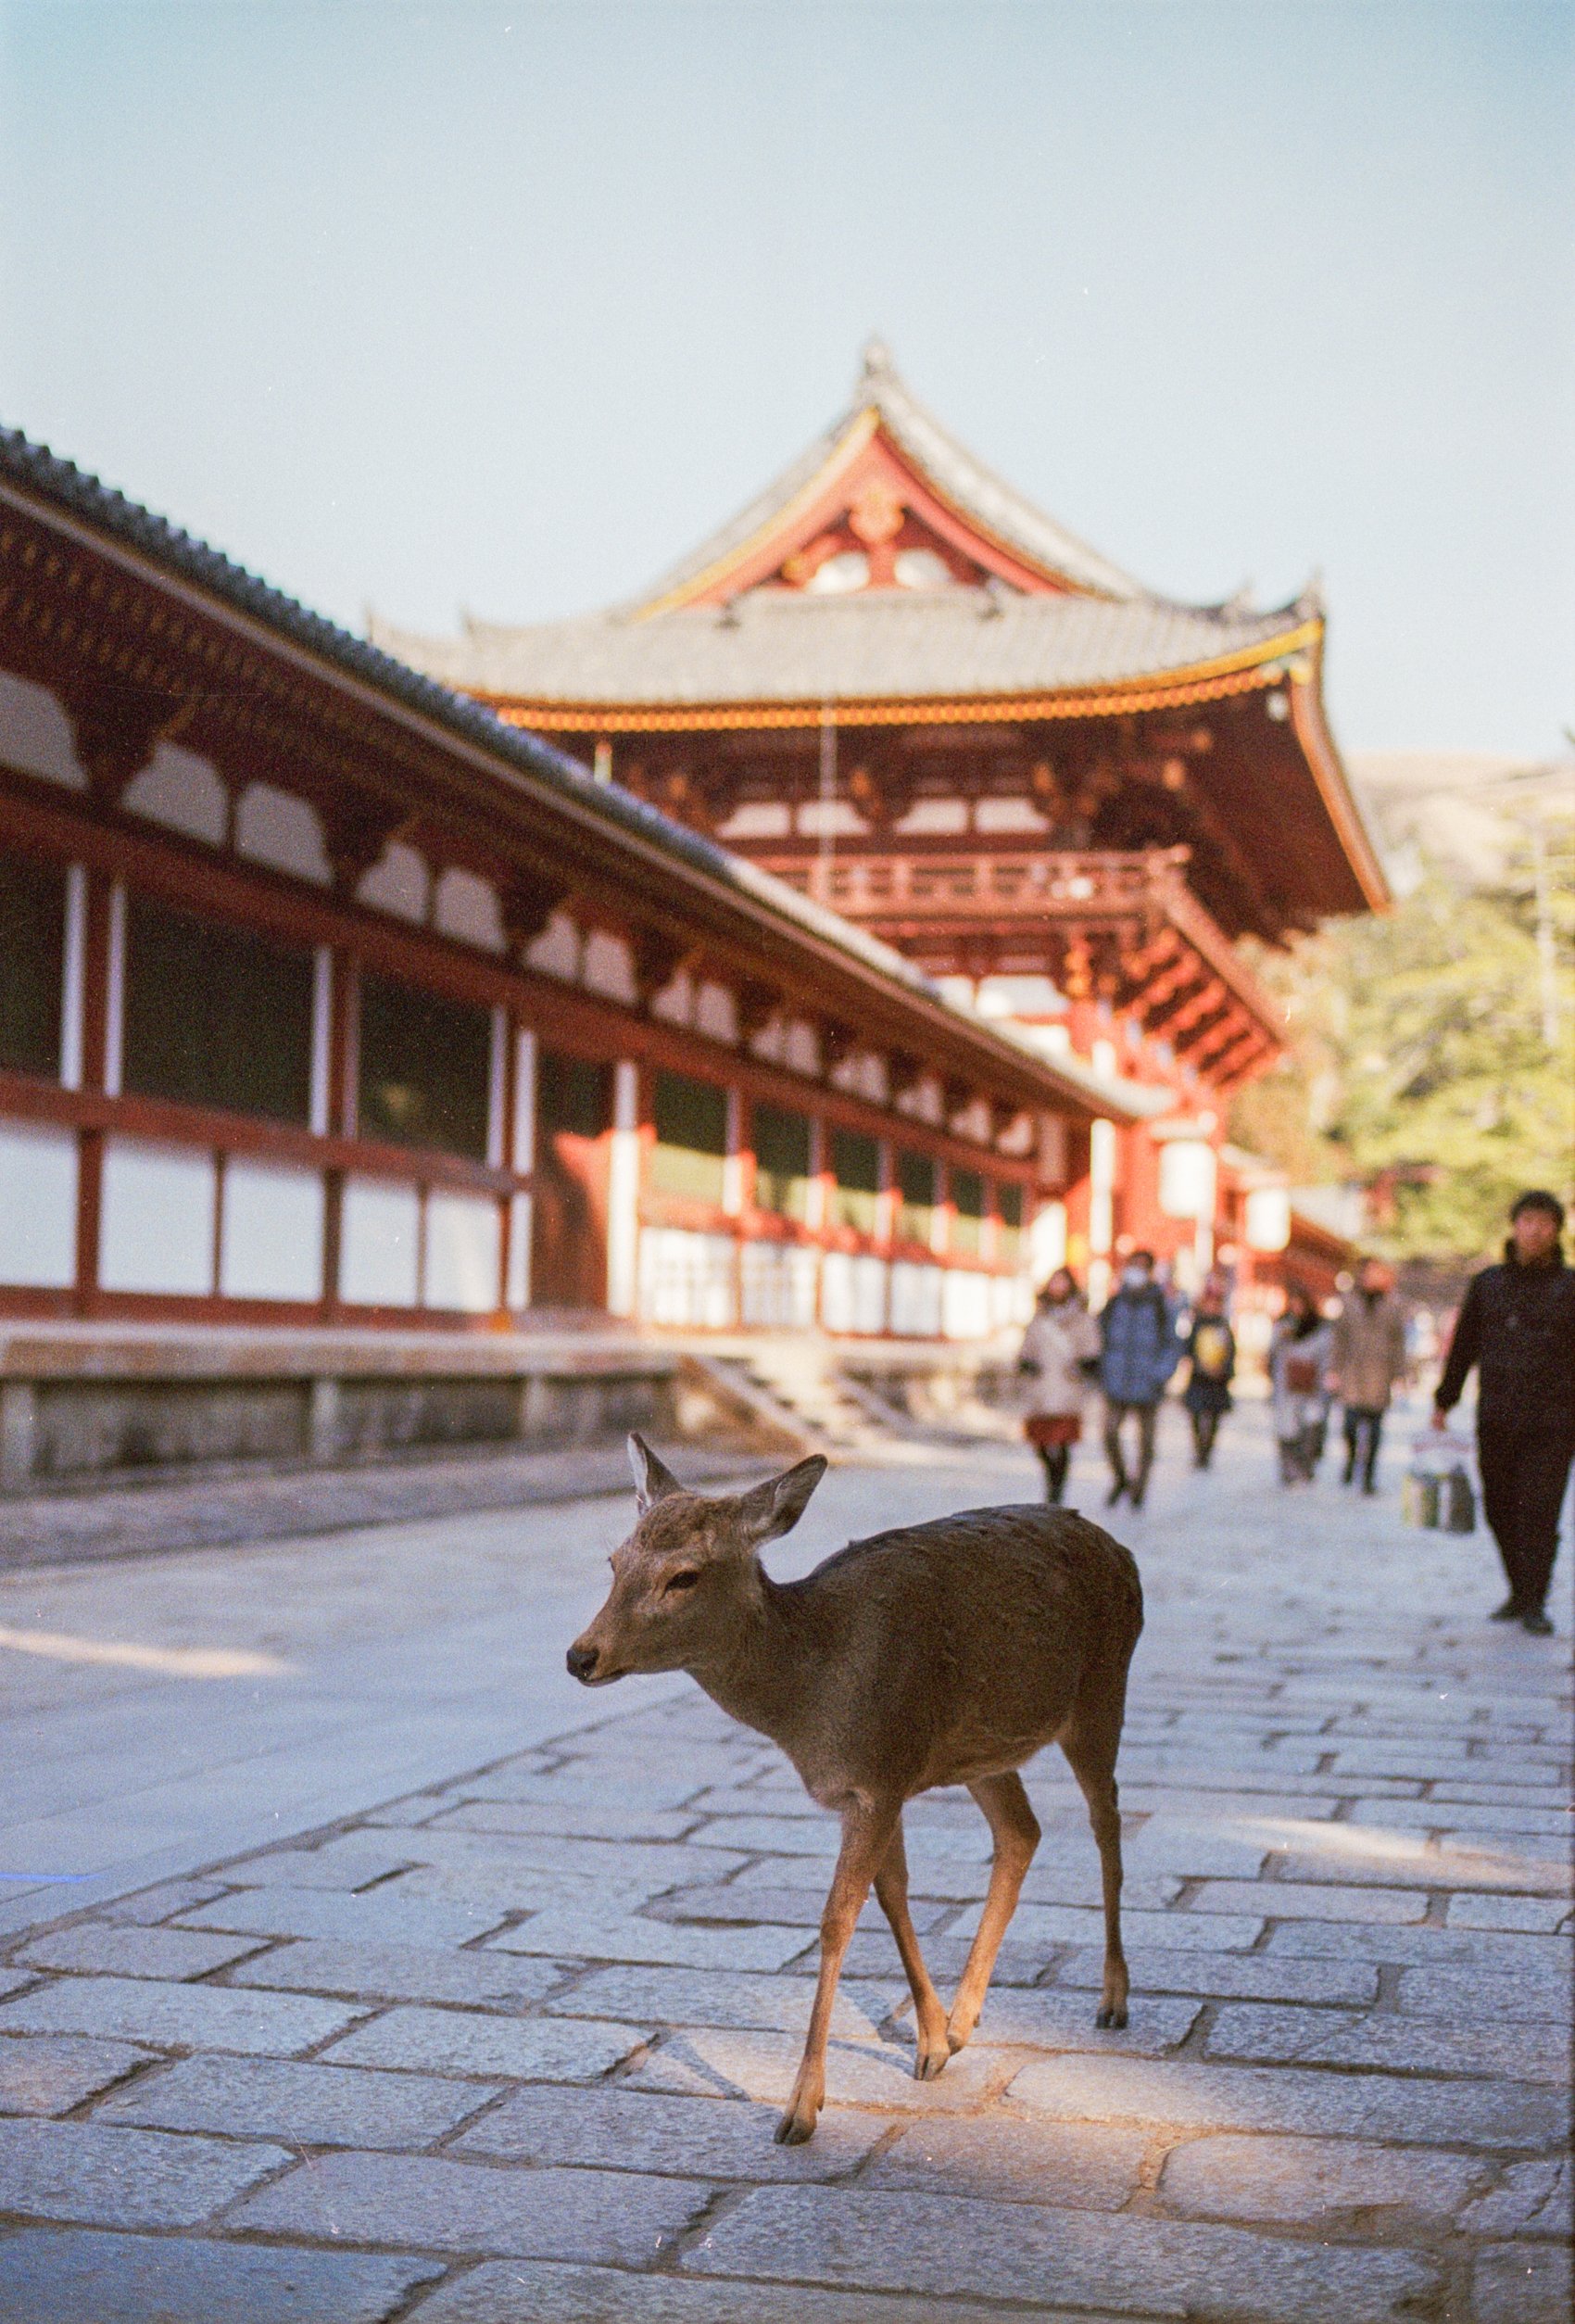
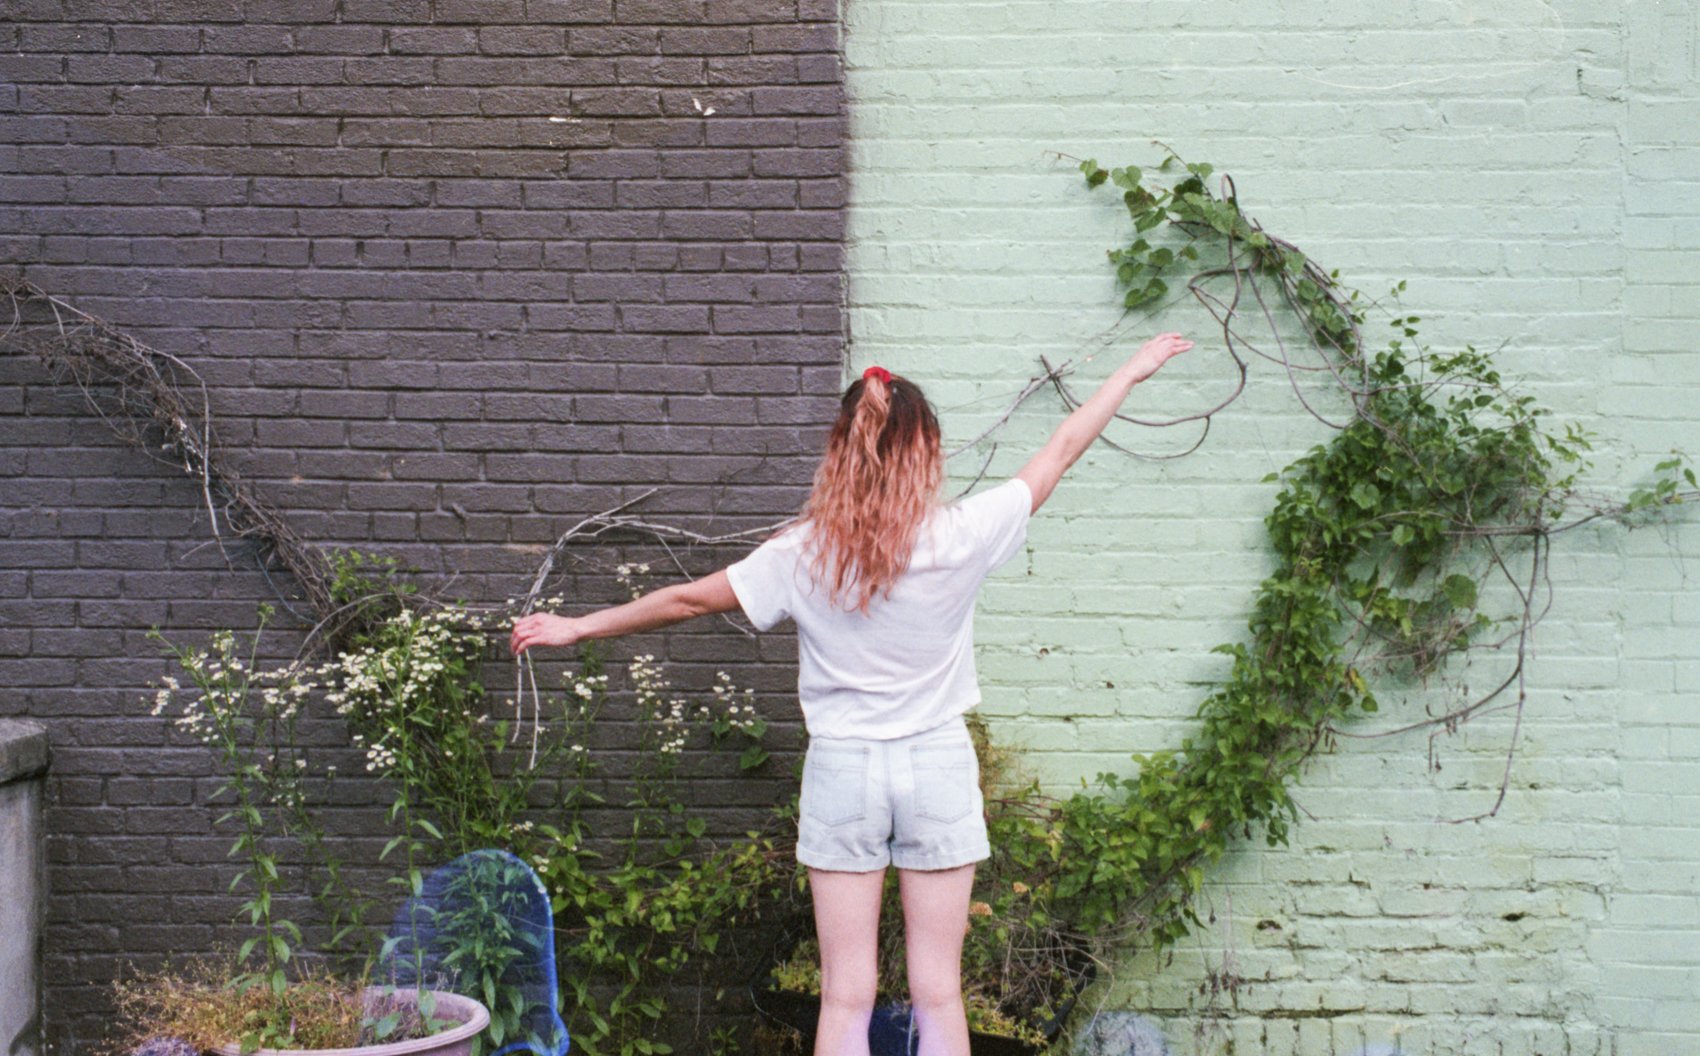
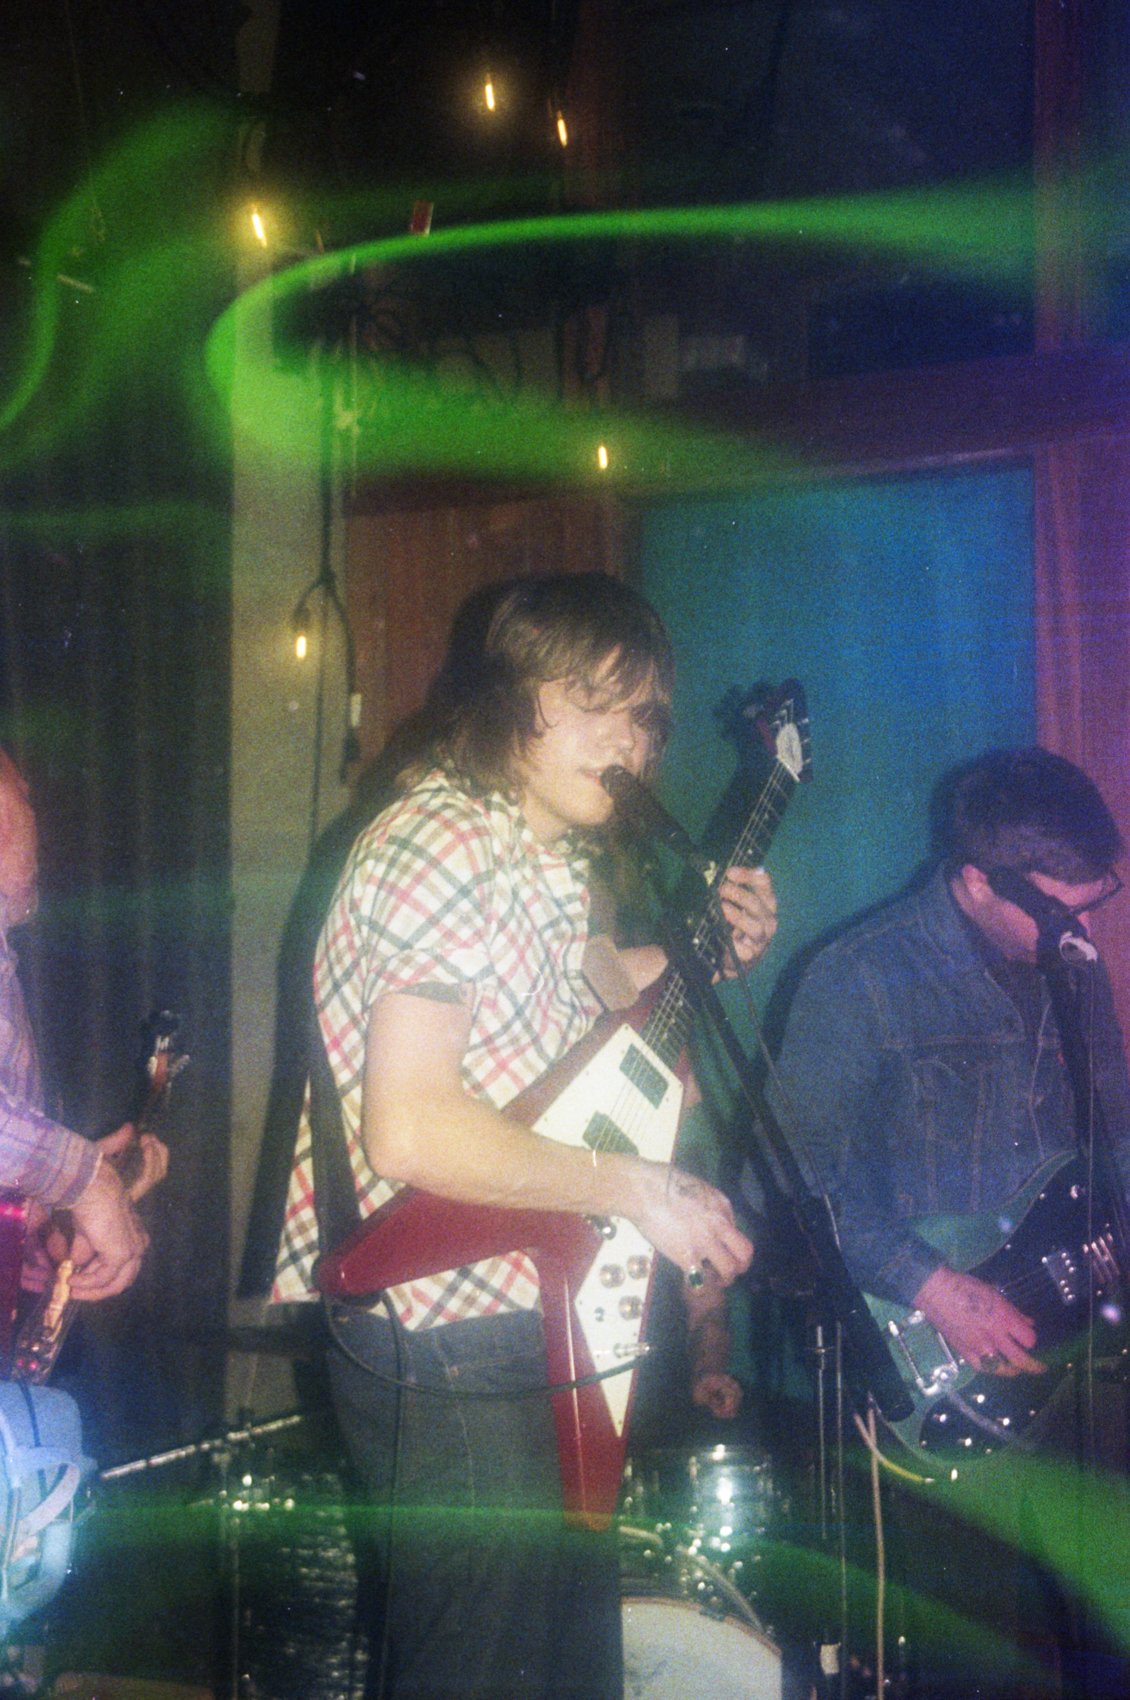
I’ve included more of my favorite images I’ve taken over the years with my Contax 645 below. I hope this has helped you in deciding whether the Contax 645 is for you. I love this camera with my whole heart and probably won’t ever sell mine. The photographs are just too beautiful. Writing this blog post has definitely reminded me that I need to use it more often!
I also have a YouTube video about the Contax 645 on my YouTube channel, Cameras & Cats! You can check it out here. :)
If you found this post helpful or if you’d like to see more of my work, I’d love it if you considered signing up for my Patreon! For as little as $1 a month, you’ll get early access to all of my YouTube videos, plus tons of photos that I don’t post anywhere else. Depending on which tier you choose, you could also receive seasonal prints and/or discounts! I always use all of the proceeds towards film & processing. Find out more here!
Feel free to leave any questions, thoughts, comments below. Have a lovely day!
<3 Myles Katherine