Natalie & Roomi's Wedding Portrait Photo shoot in Montepulciano, Italy | Destination Wedding Photography in Italy

I’m SO excited to share these photos from a pre-wedding photo shoot I did with my sister in Montepulciano, Italy. As much as I would have LOVED to photograph my sister’s wedding, I wanted to make sure I didn’t miss out on being her sister and being a PART of the wedding, rather than the documentarian. I helped her pick out an incredible photographer for the actual wedding day in Tuscany, but we made sure to squeeze in a photo shoot together the day before the wedding. We drove to the nearby town of Montepulciano and trekked to the top of the hill to the city square. It was absolutely beautiful and every corner of the city was picturesque. My sister and her fiancé were wearing the cutest outfits that really added to the aesthetic of the whole experience. The tones and colors were something out of a dream. I’m just obsessed with how everything turned out, it was almost impossible to narrow it down to my favorites. I wish I could relive the entire trip.

<3 Myles Katherine

Nikon FE2 Review with Sample Photos | Nikon FE2 vs. Pentax K1000 | The Best 35 mm Camera for Beautiful Multiple Exposures


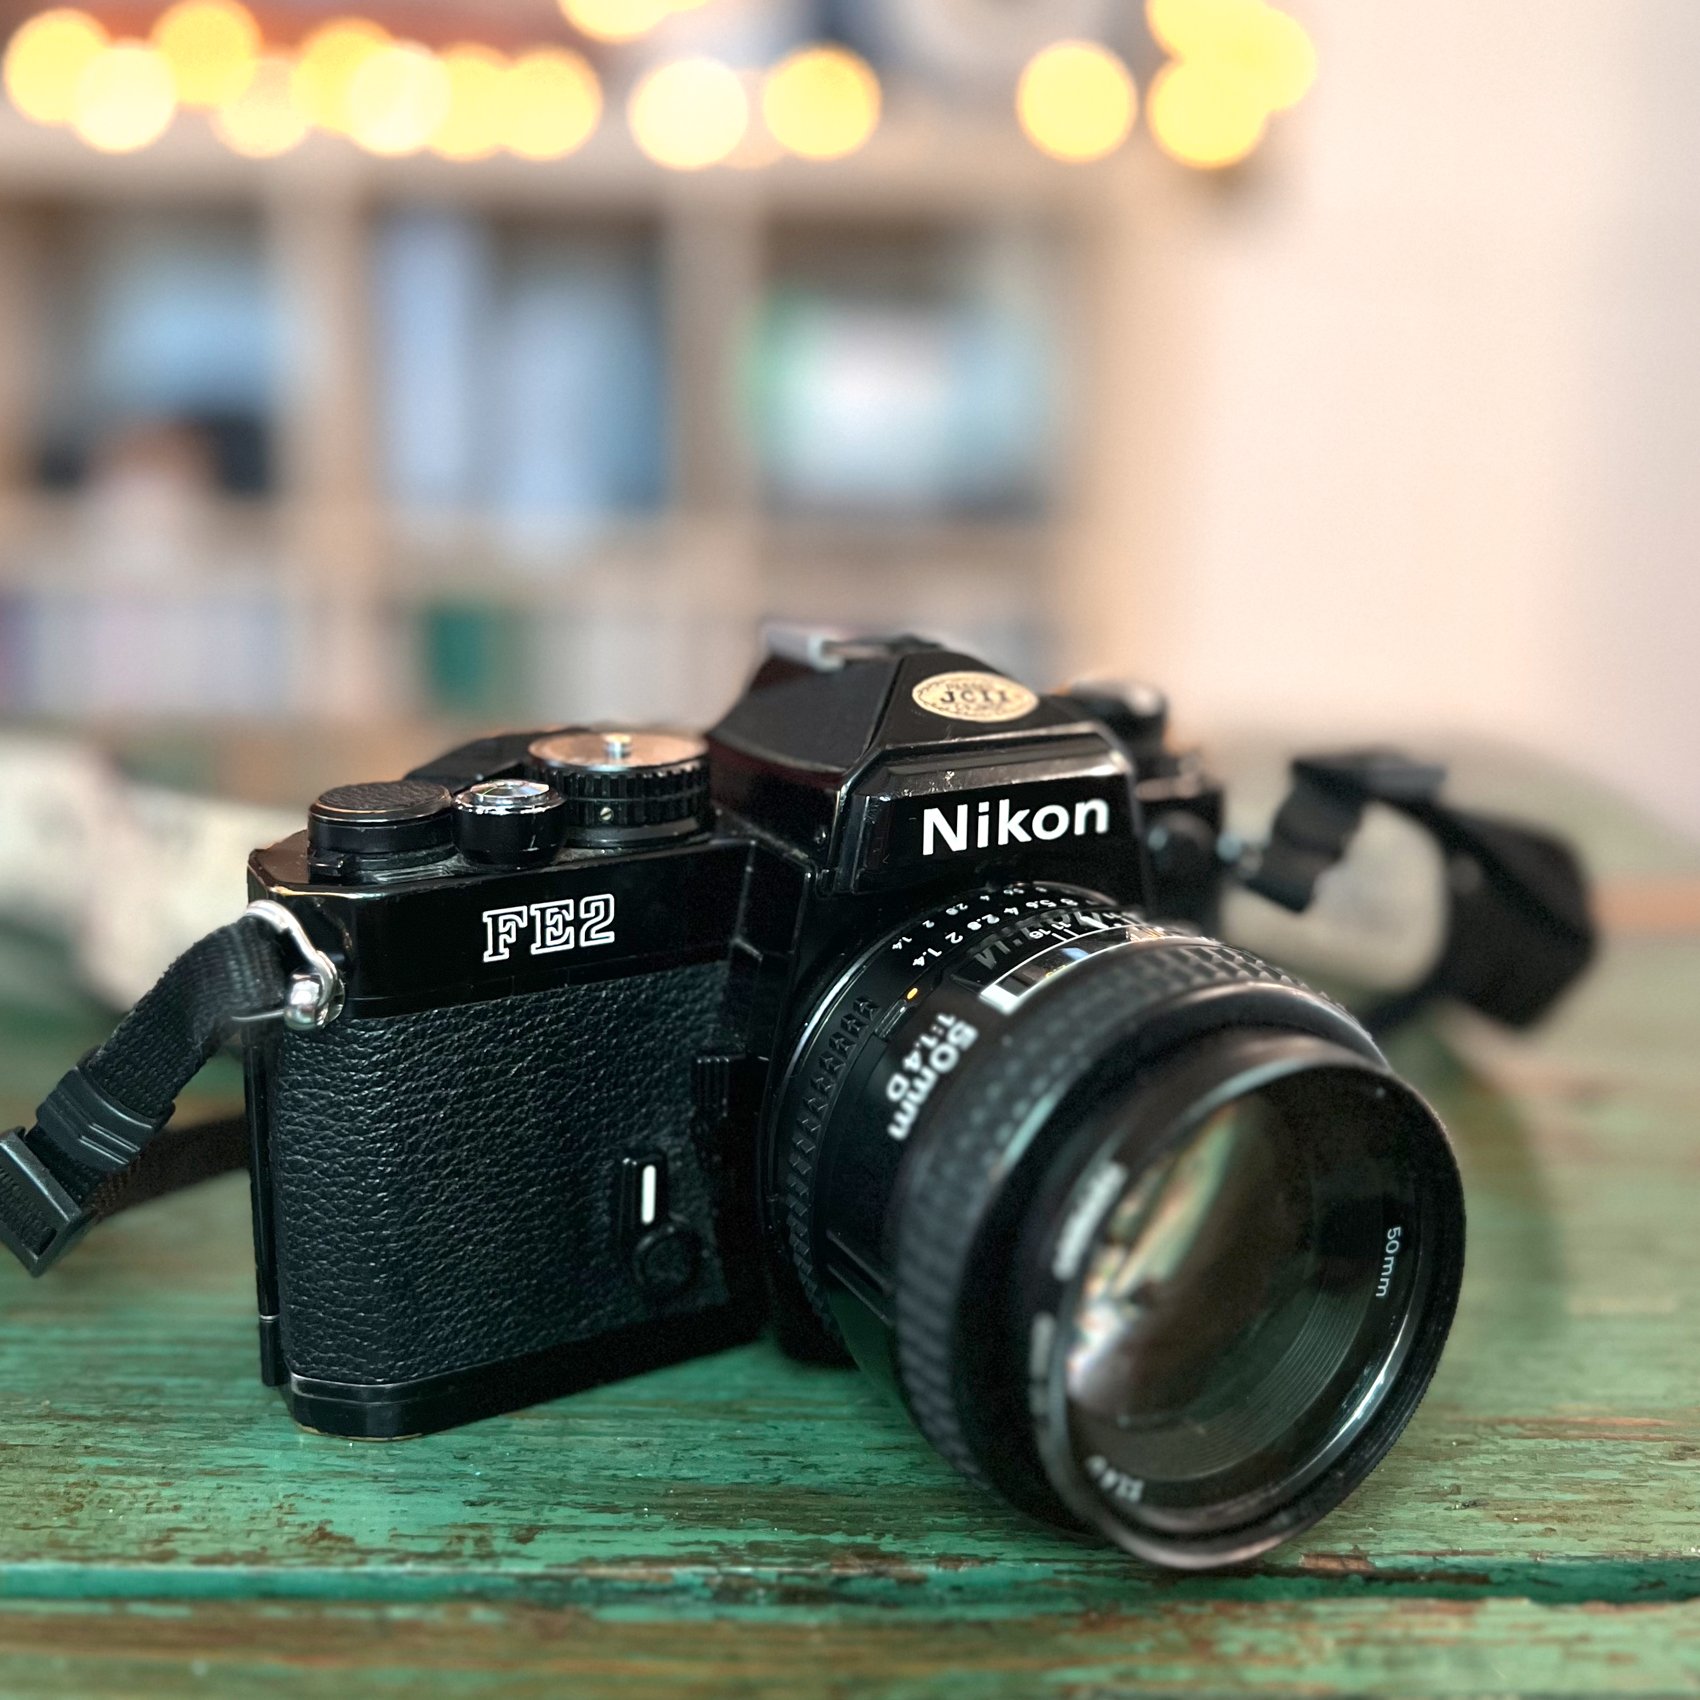
I’ve had my Nikon FE2 for almost 10 years now and I LOVE it. It was my first “nice” 35 mm camera. Up until the day that I purchased it, I’d been using cheap 35 mm cameras and making it through just fine. However, I was ready for sharper, more expensive-looking film photos with beautiful bokeh and background blur. I wanted my images to look as sharp and high quality as my digital photos from my 5D Mark II but BETTER, with a filmy vibe that couldn’t be achieved with a digital camera. I headed to Blue Moon Camera in Portland, Oregon with the intention of buying a Pentax K1000 upon recommendation from a friend. I didn’t know much about the camera and was going into it somewhat blindly. After chatting with the sales associate though, I quickly realized that the Nikon FE2 was better suited for me and my personal photography needs. The Pentax K1000 didn’t have a multiple exposure feature, so I immediately knew it wasn’t for me. You can sort of “trick” the K1000 into creating a double exposure, but I wanted it to be easy and quick, as I’m often at weddings and don’t have time to guess or mess with rewind buttons. And I’ve learned over the years that I NEED a reliable multiple exposure feature with every camera that I buy. Also, The Nikon Nikkor lenses are known for being SUPER sharp, which was something else I was looking for. AND, most importantly, the Nikon FE2 has Aperture Priority. The Pentax K1000 is a manual-only camera. As a wedding photographer, Aperture Priority is a NECESSITY. I’m honestly SO glad I chose the Nikon FE2 over the K1000 because I think I’ve gotten way more use out of it than I would have with the K1000. It’s just more “me”. I think that’s such an important part of the process when you’re searching for a new camera - don’t get stuck in the idea of one specific camera because it might not be the right one for you. I’m glad I stayed open-minded and went with the one that Blue Moon Camera was recommending.

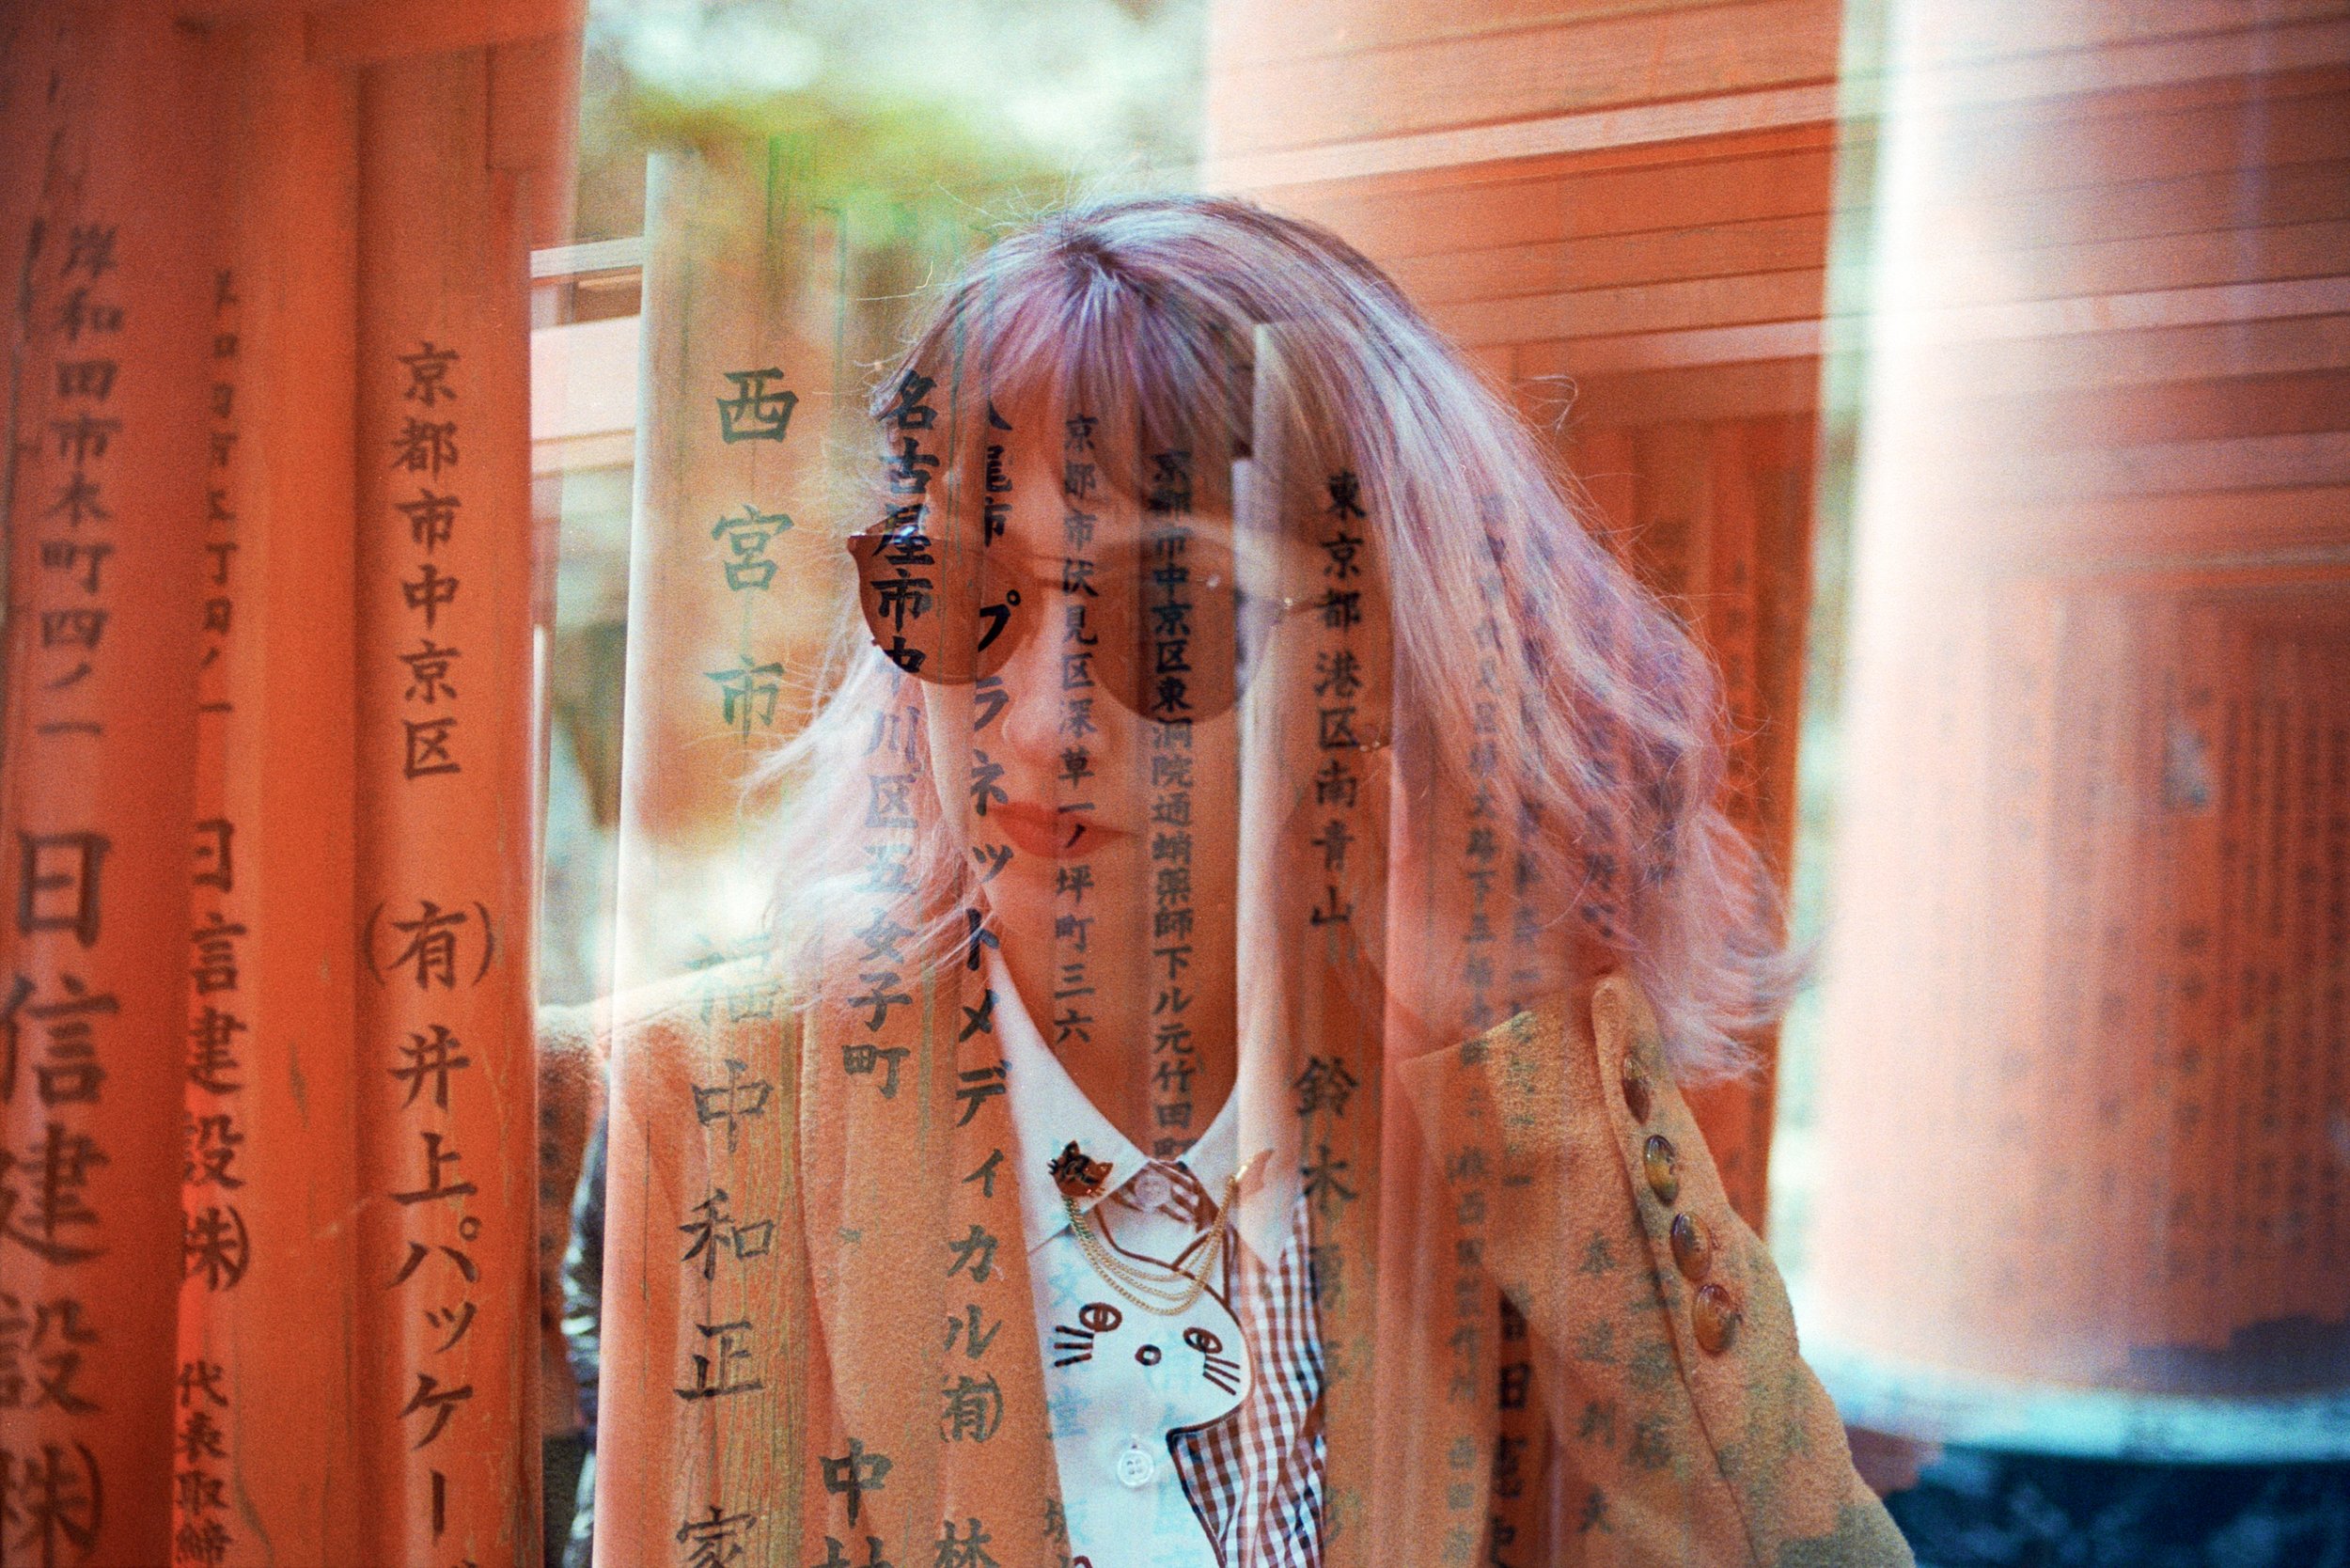
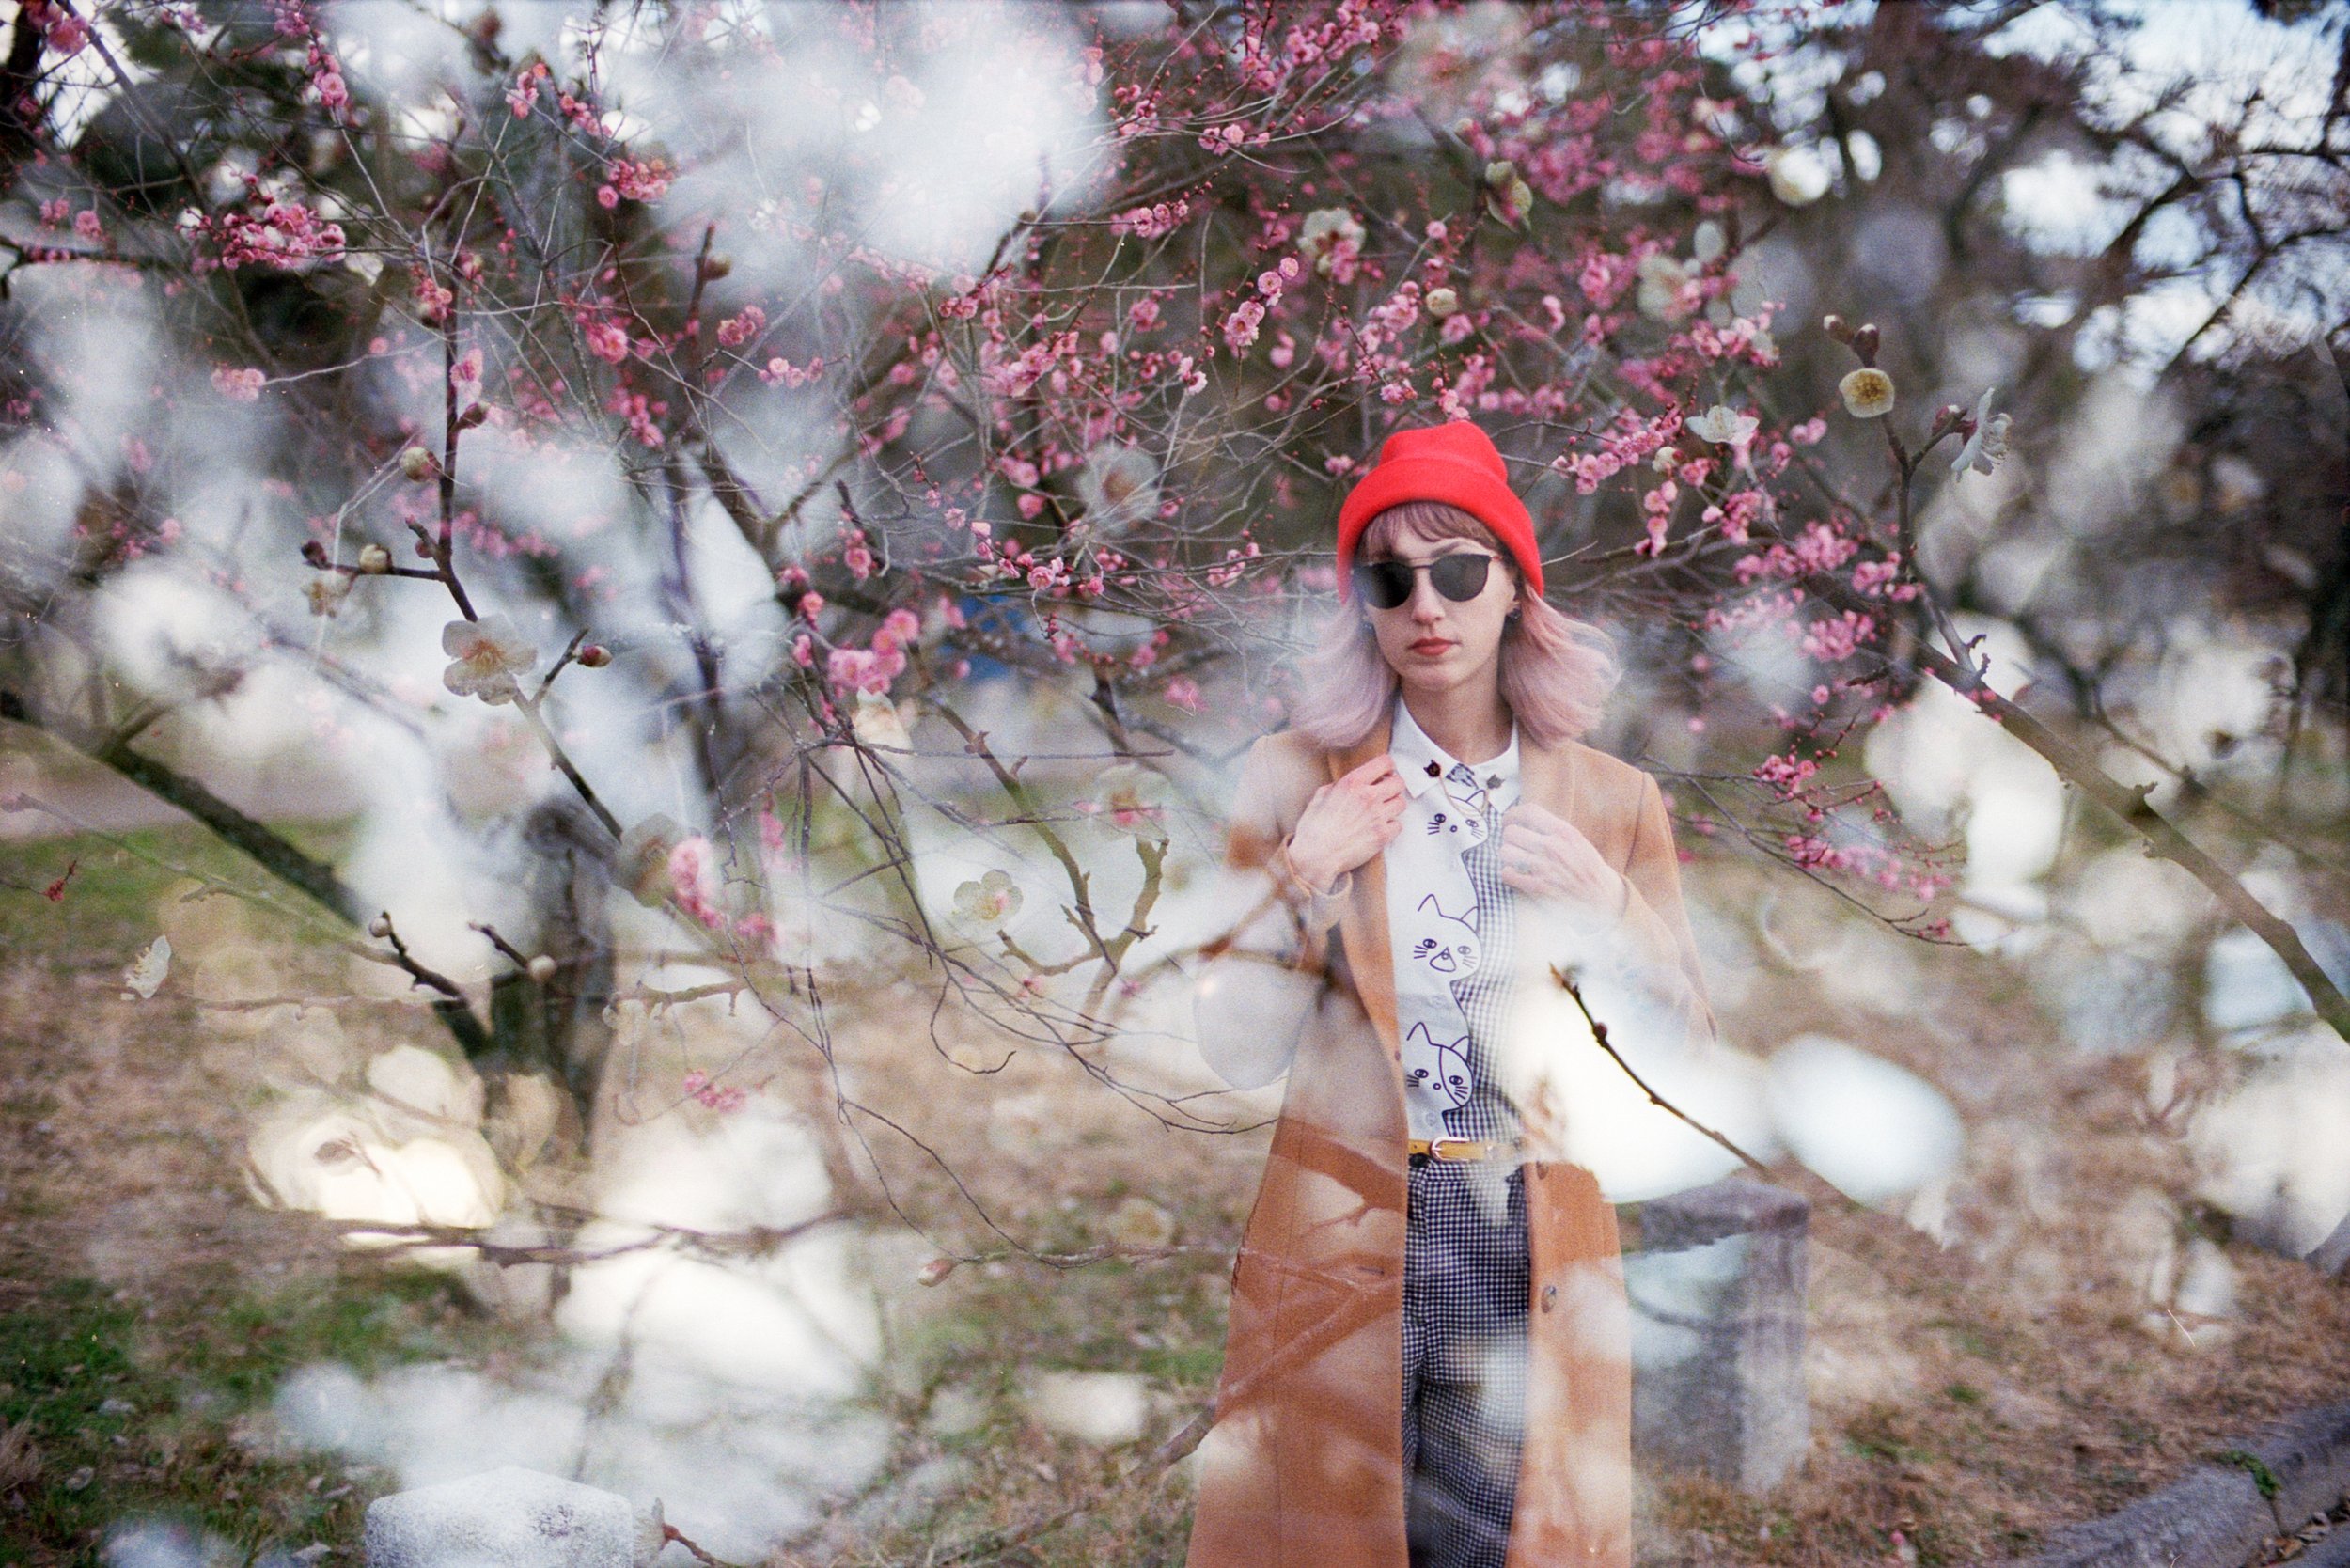
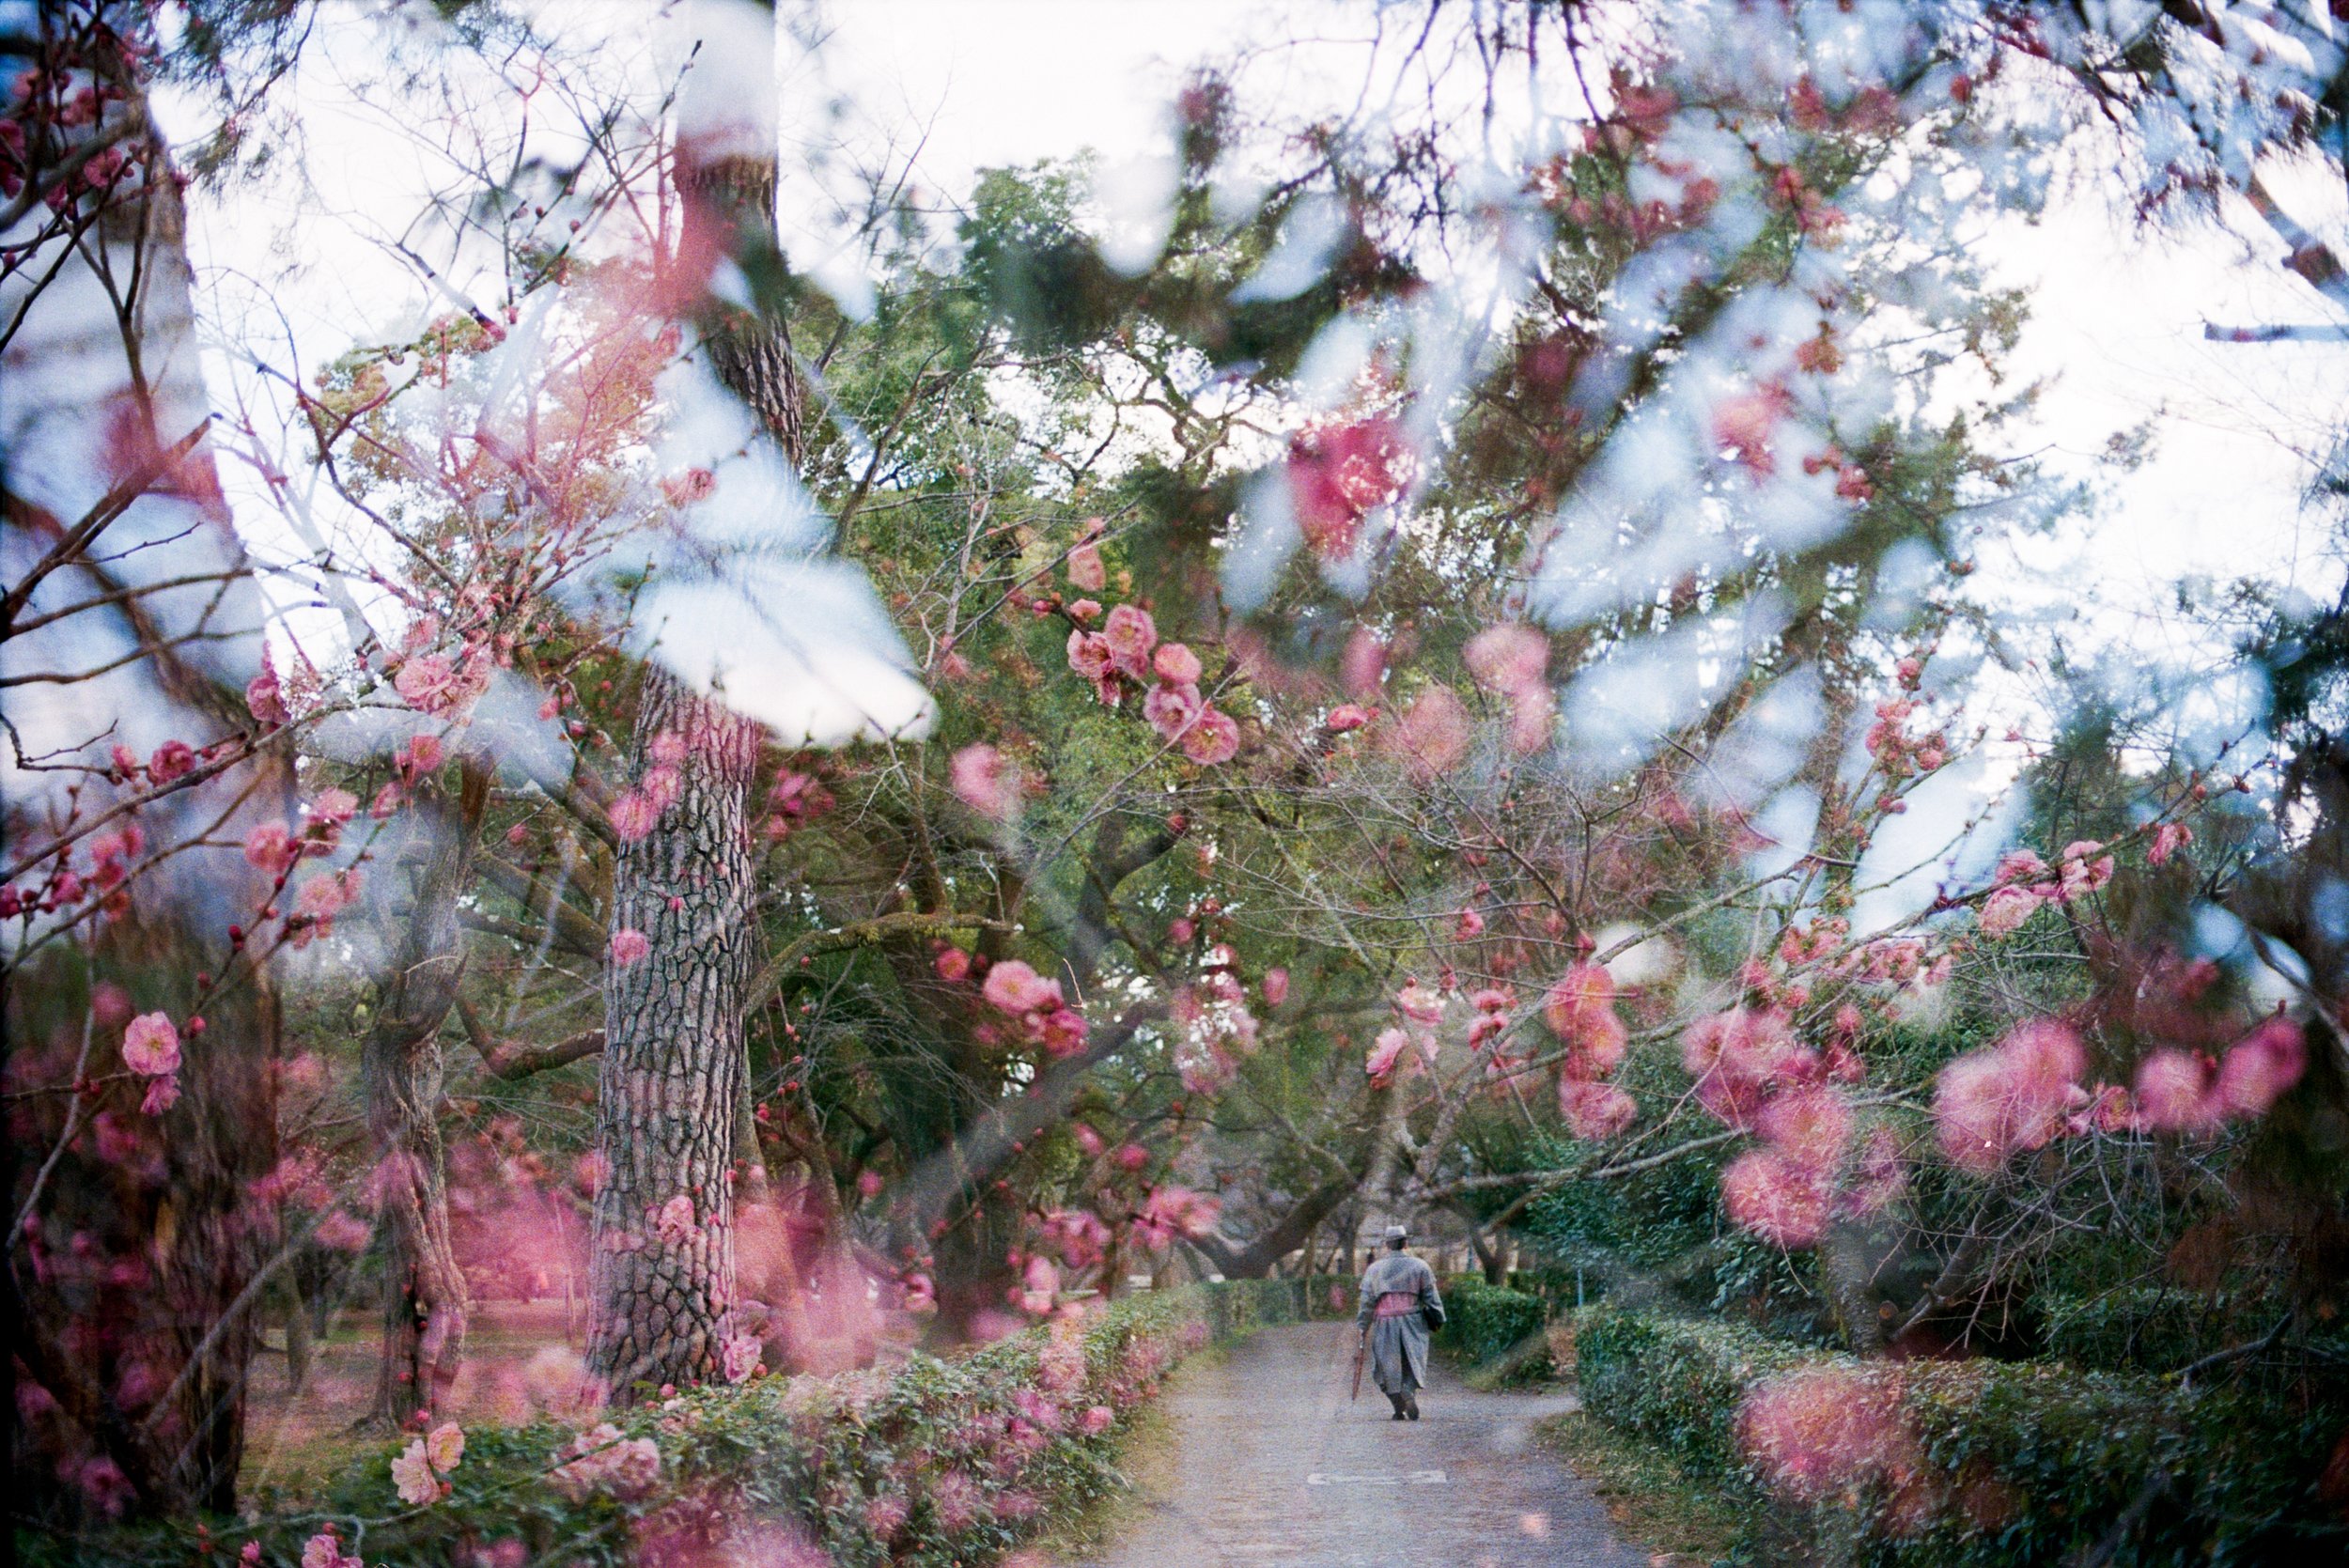
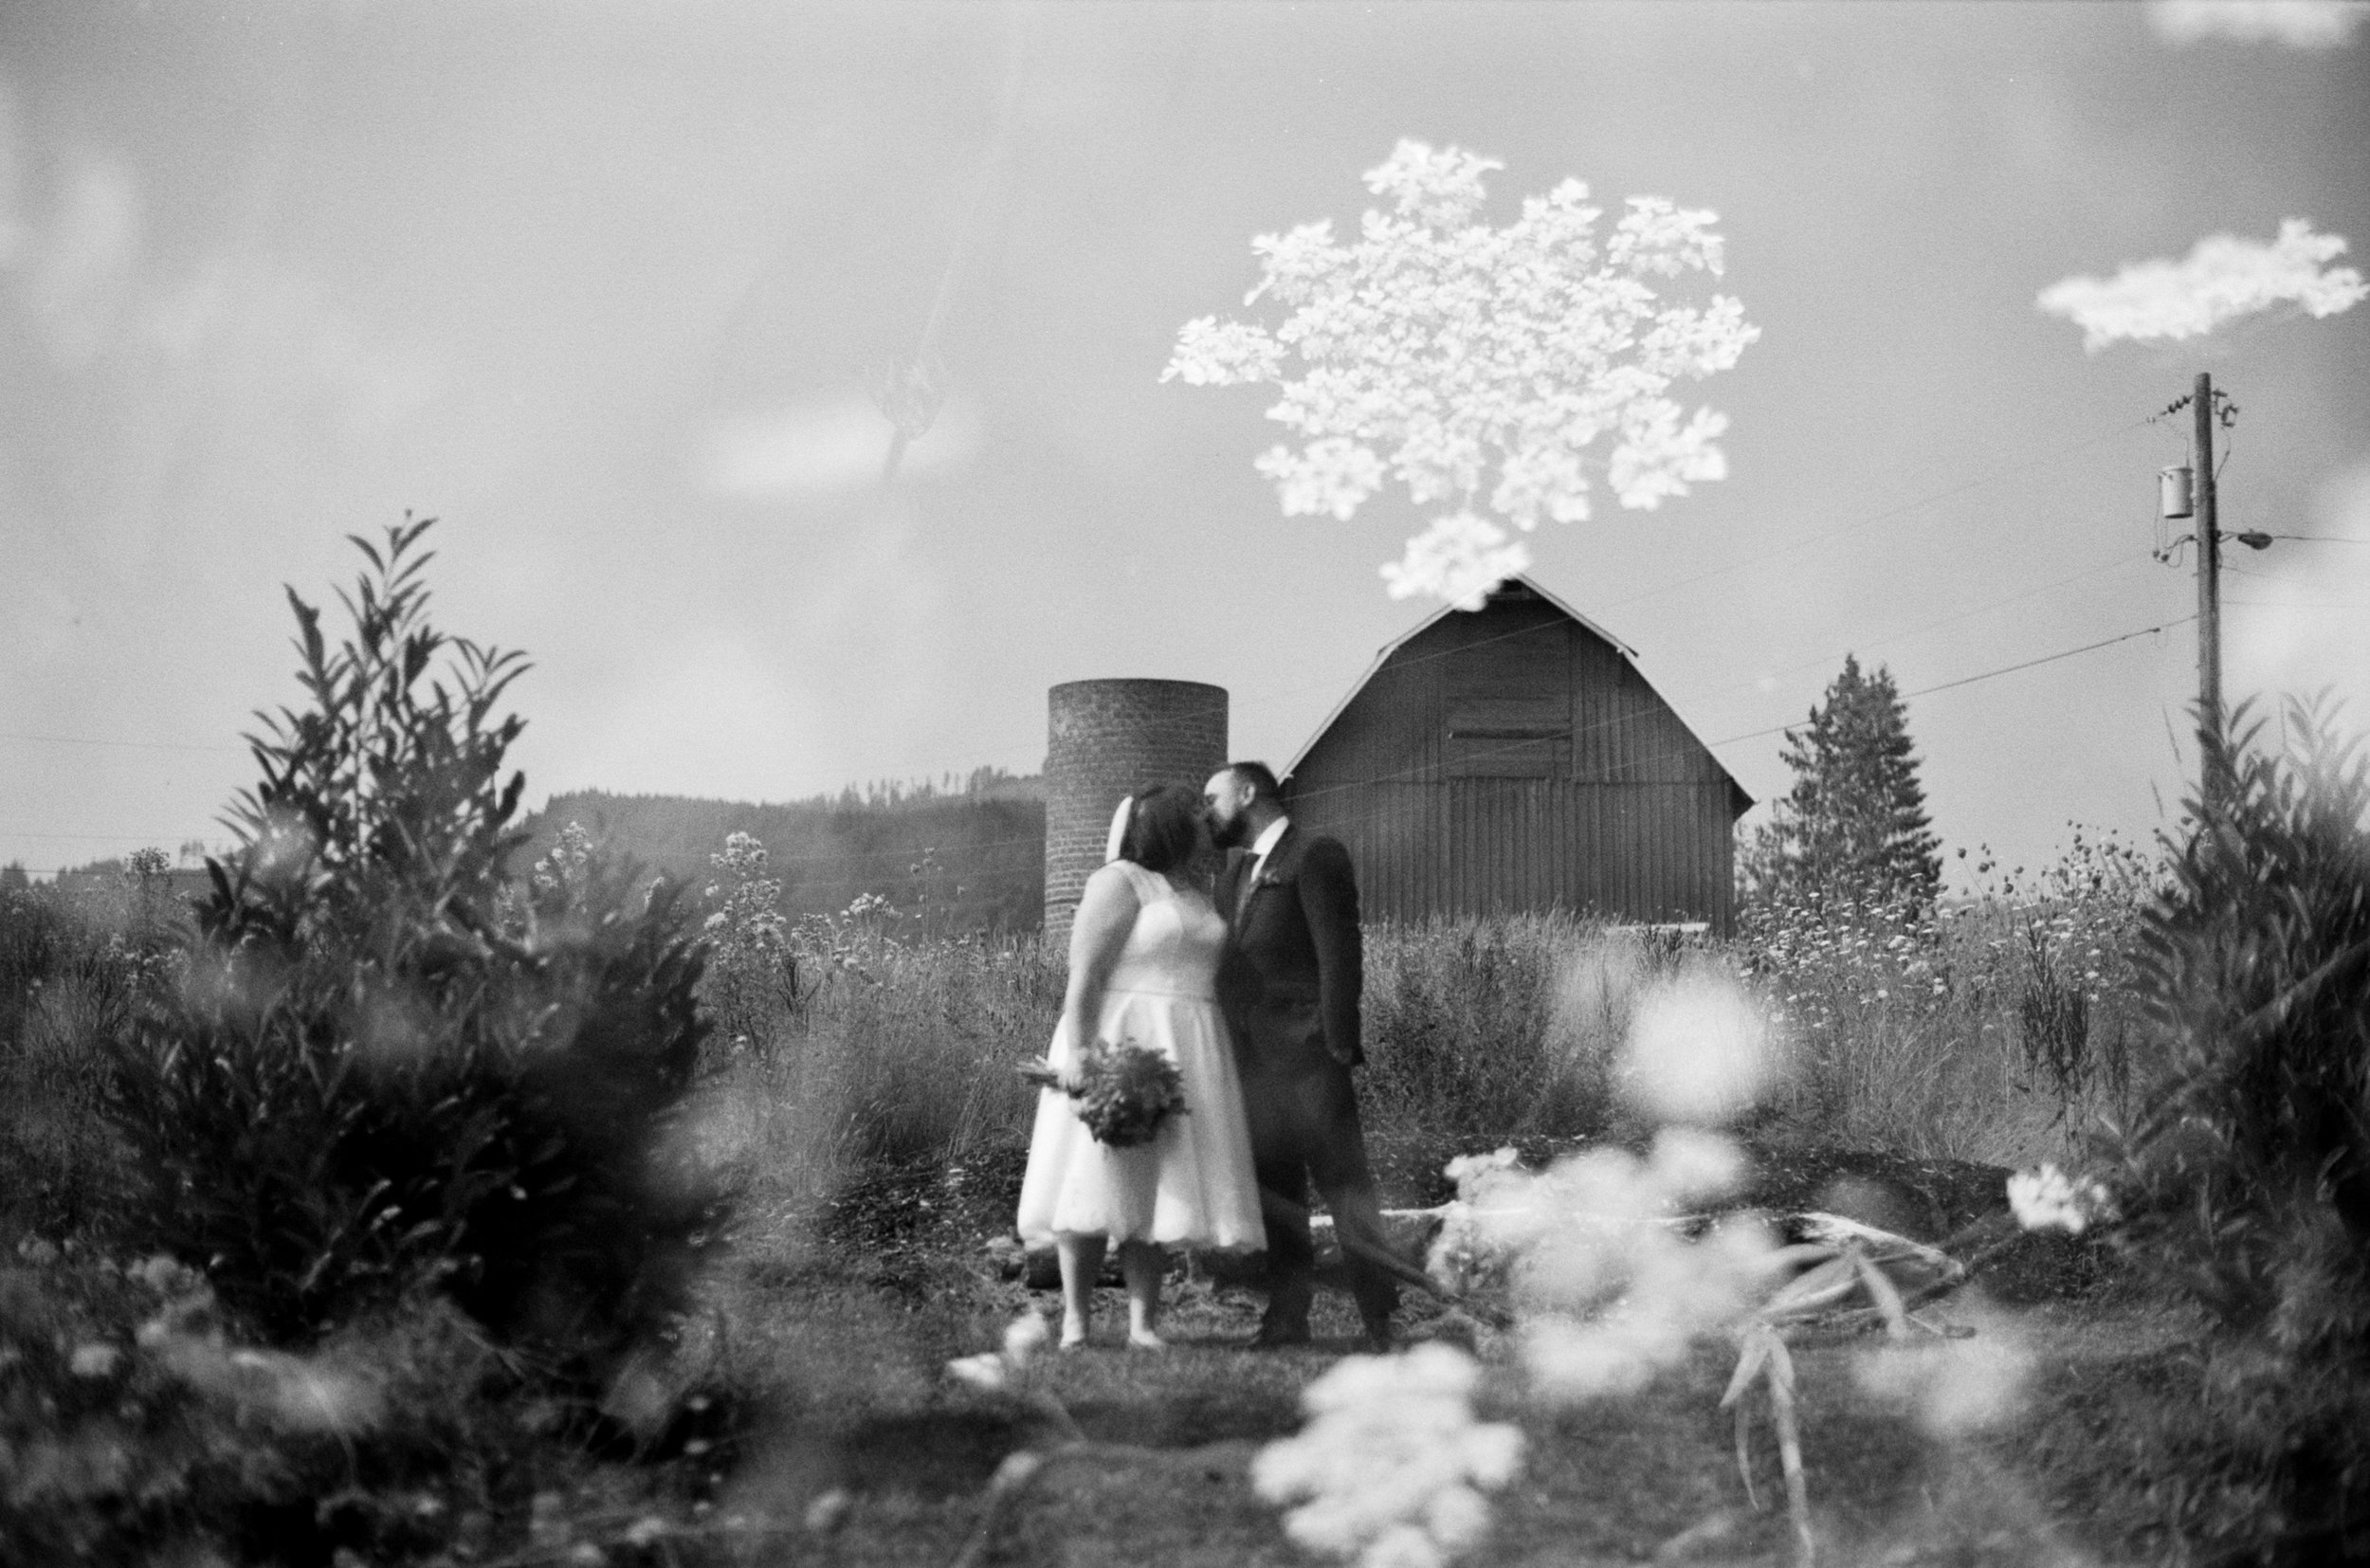
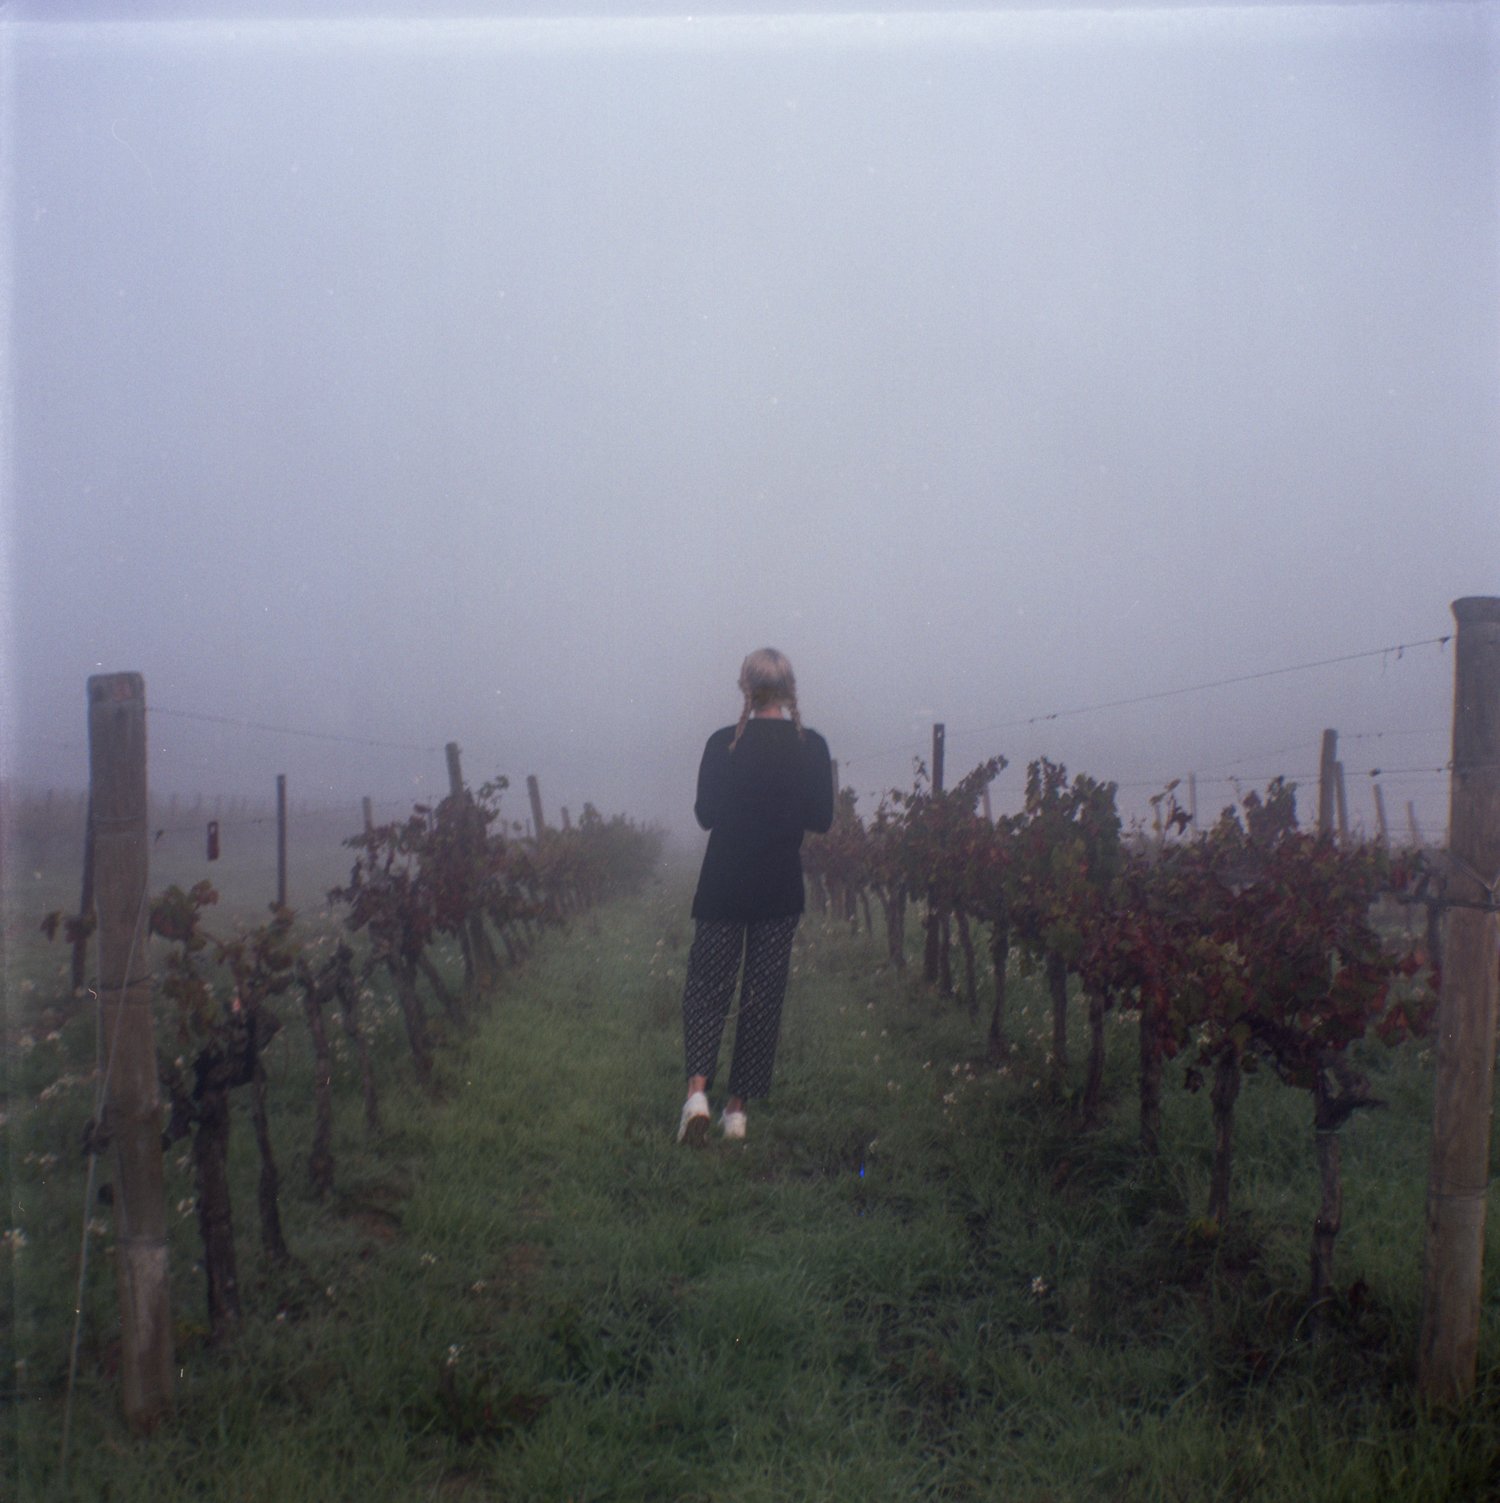
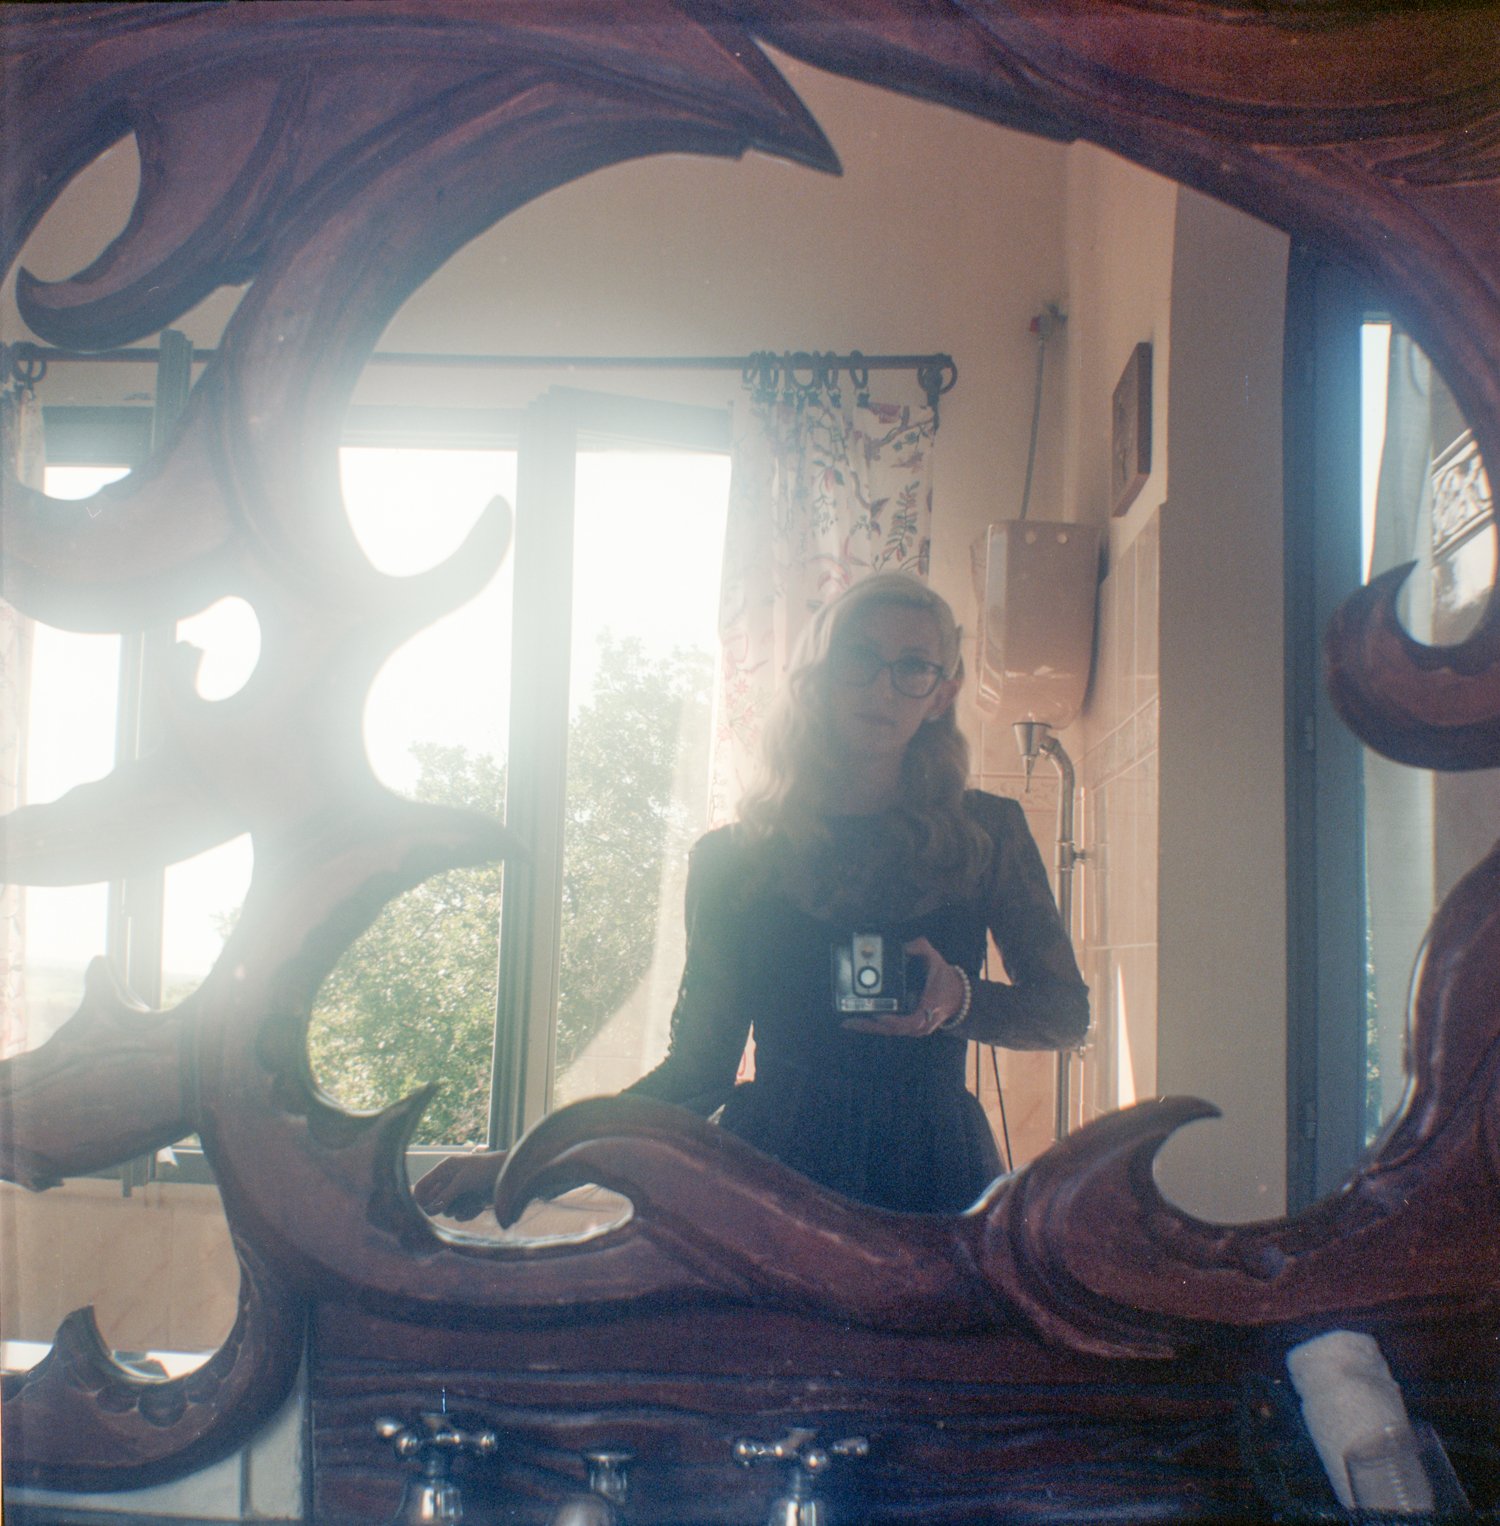
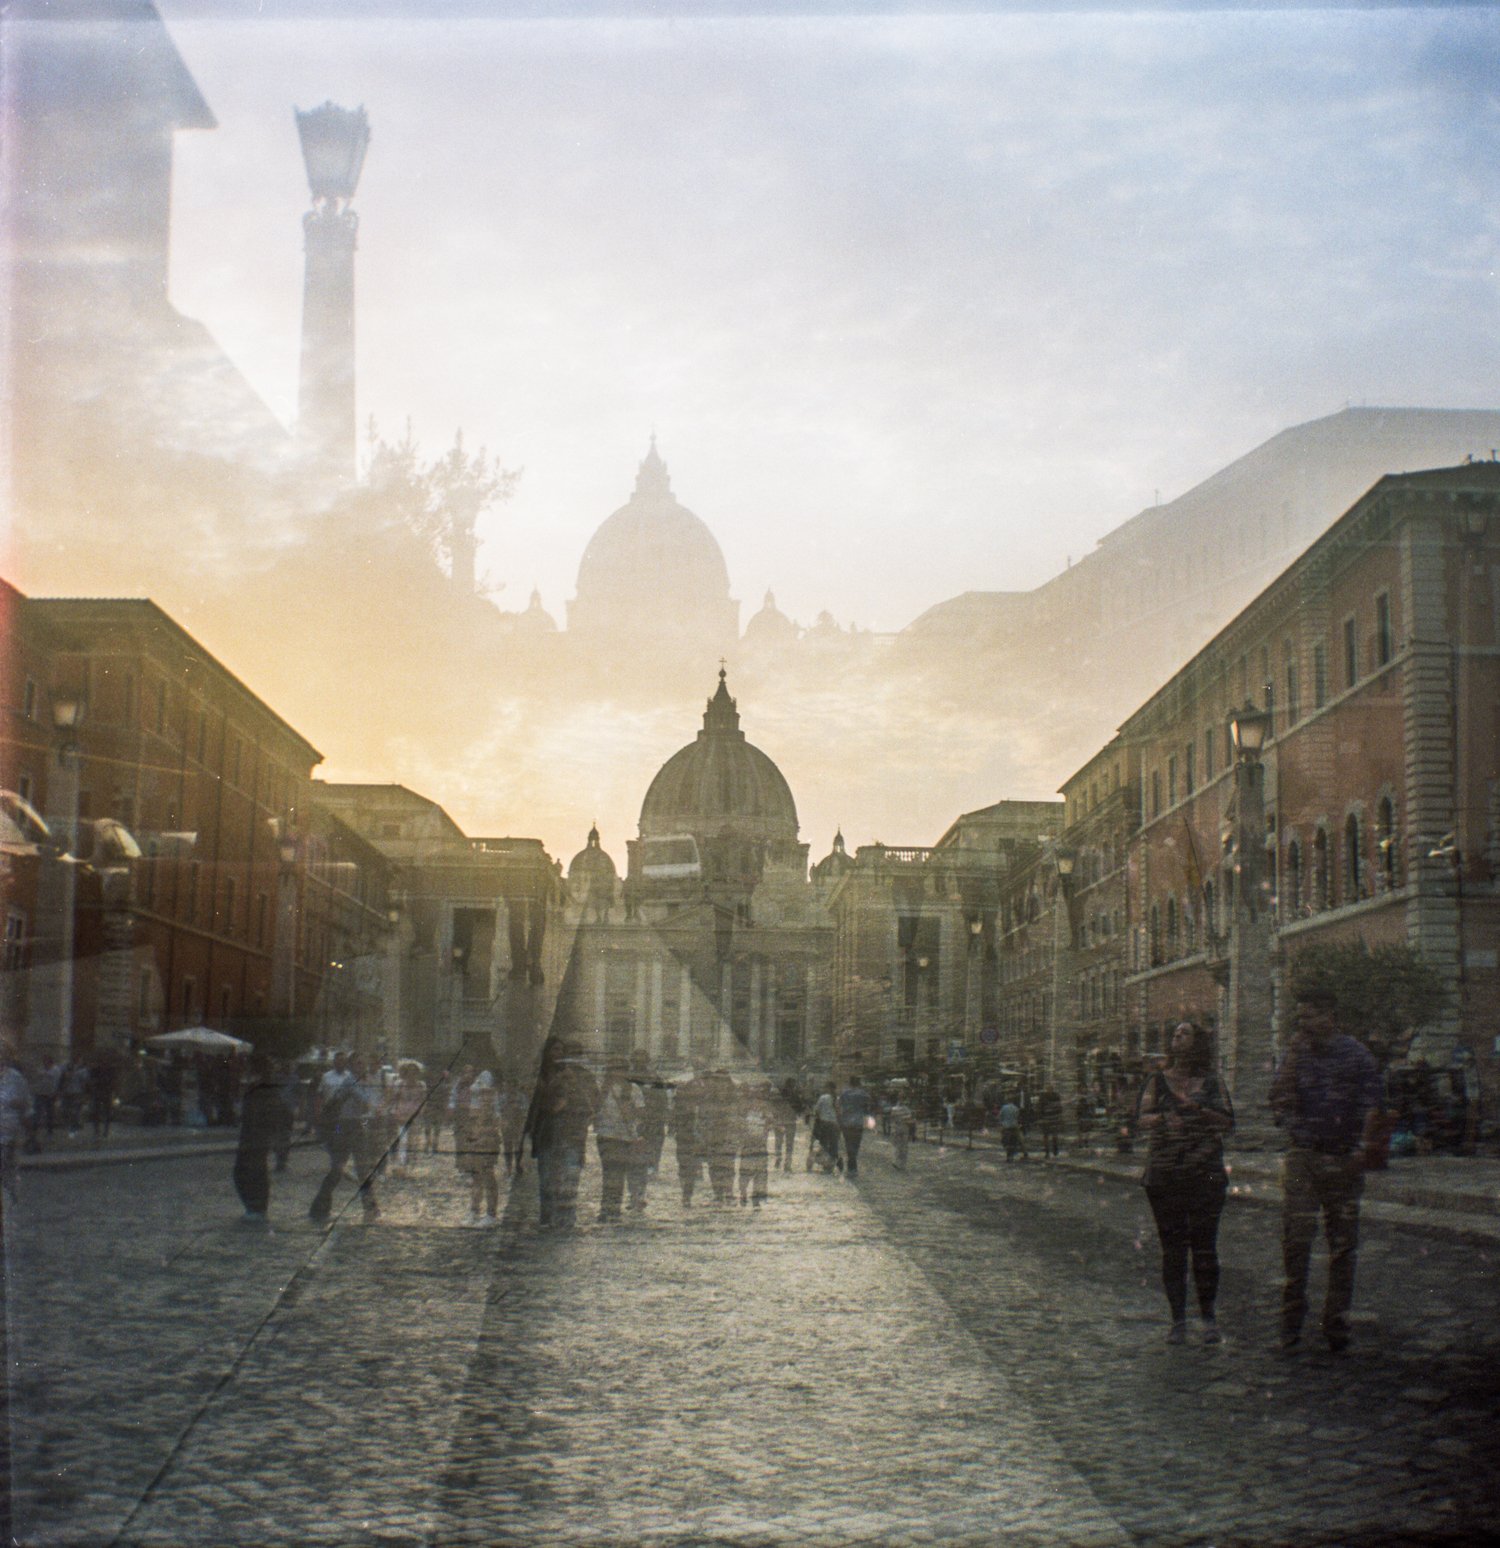
The Nikon FE2 is a 35 mm film single lens reflex (SLR) camera and was originally manufactured in Japan from 1983 to 1987. It’s super sturdy and well-made, but not too bulky or inconvenient. It’s the perfect travel size, in my opinion, AND it has that beautiful classic film camera look to it. The shutter is extremely satisfying and I love pulling the film advance lever in-between shots. To create a multiple exposure, there is a tiny little lever sitting in front of the main film advance lever. You slide that lever over to the right and hold it while advancing the larger film advance lever. Basically, instead of the film advancing to the next frame, it stays on the same one so you can shoot over it. You can do this as many times as you want on the same frame! It’s super easy, which is why I love this camera so much!

The Nikon FE2 uses F-mount lenses and I personally have the 50mm f/1.4 AF Nikkor lens. It’s important to keep in mind that the lens is technically newer than the camera so the AF feature does NOT work. The lens will be fully manual when attached and will not have any autofocus features. While this is a bummer, most cameras from this time period were fully manual. It’s also part of the fun! I’m not going to lie, manual focusing can be a pain sometimes and takes some getting used to, but the results are WORTH IT.

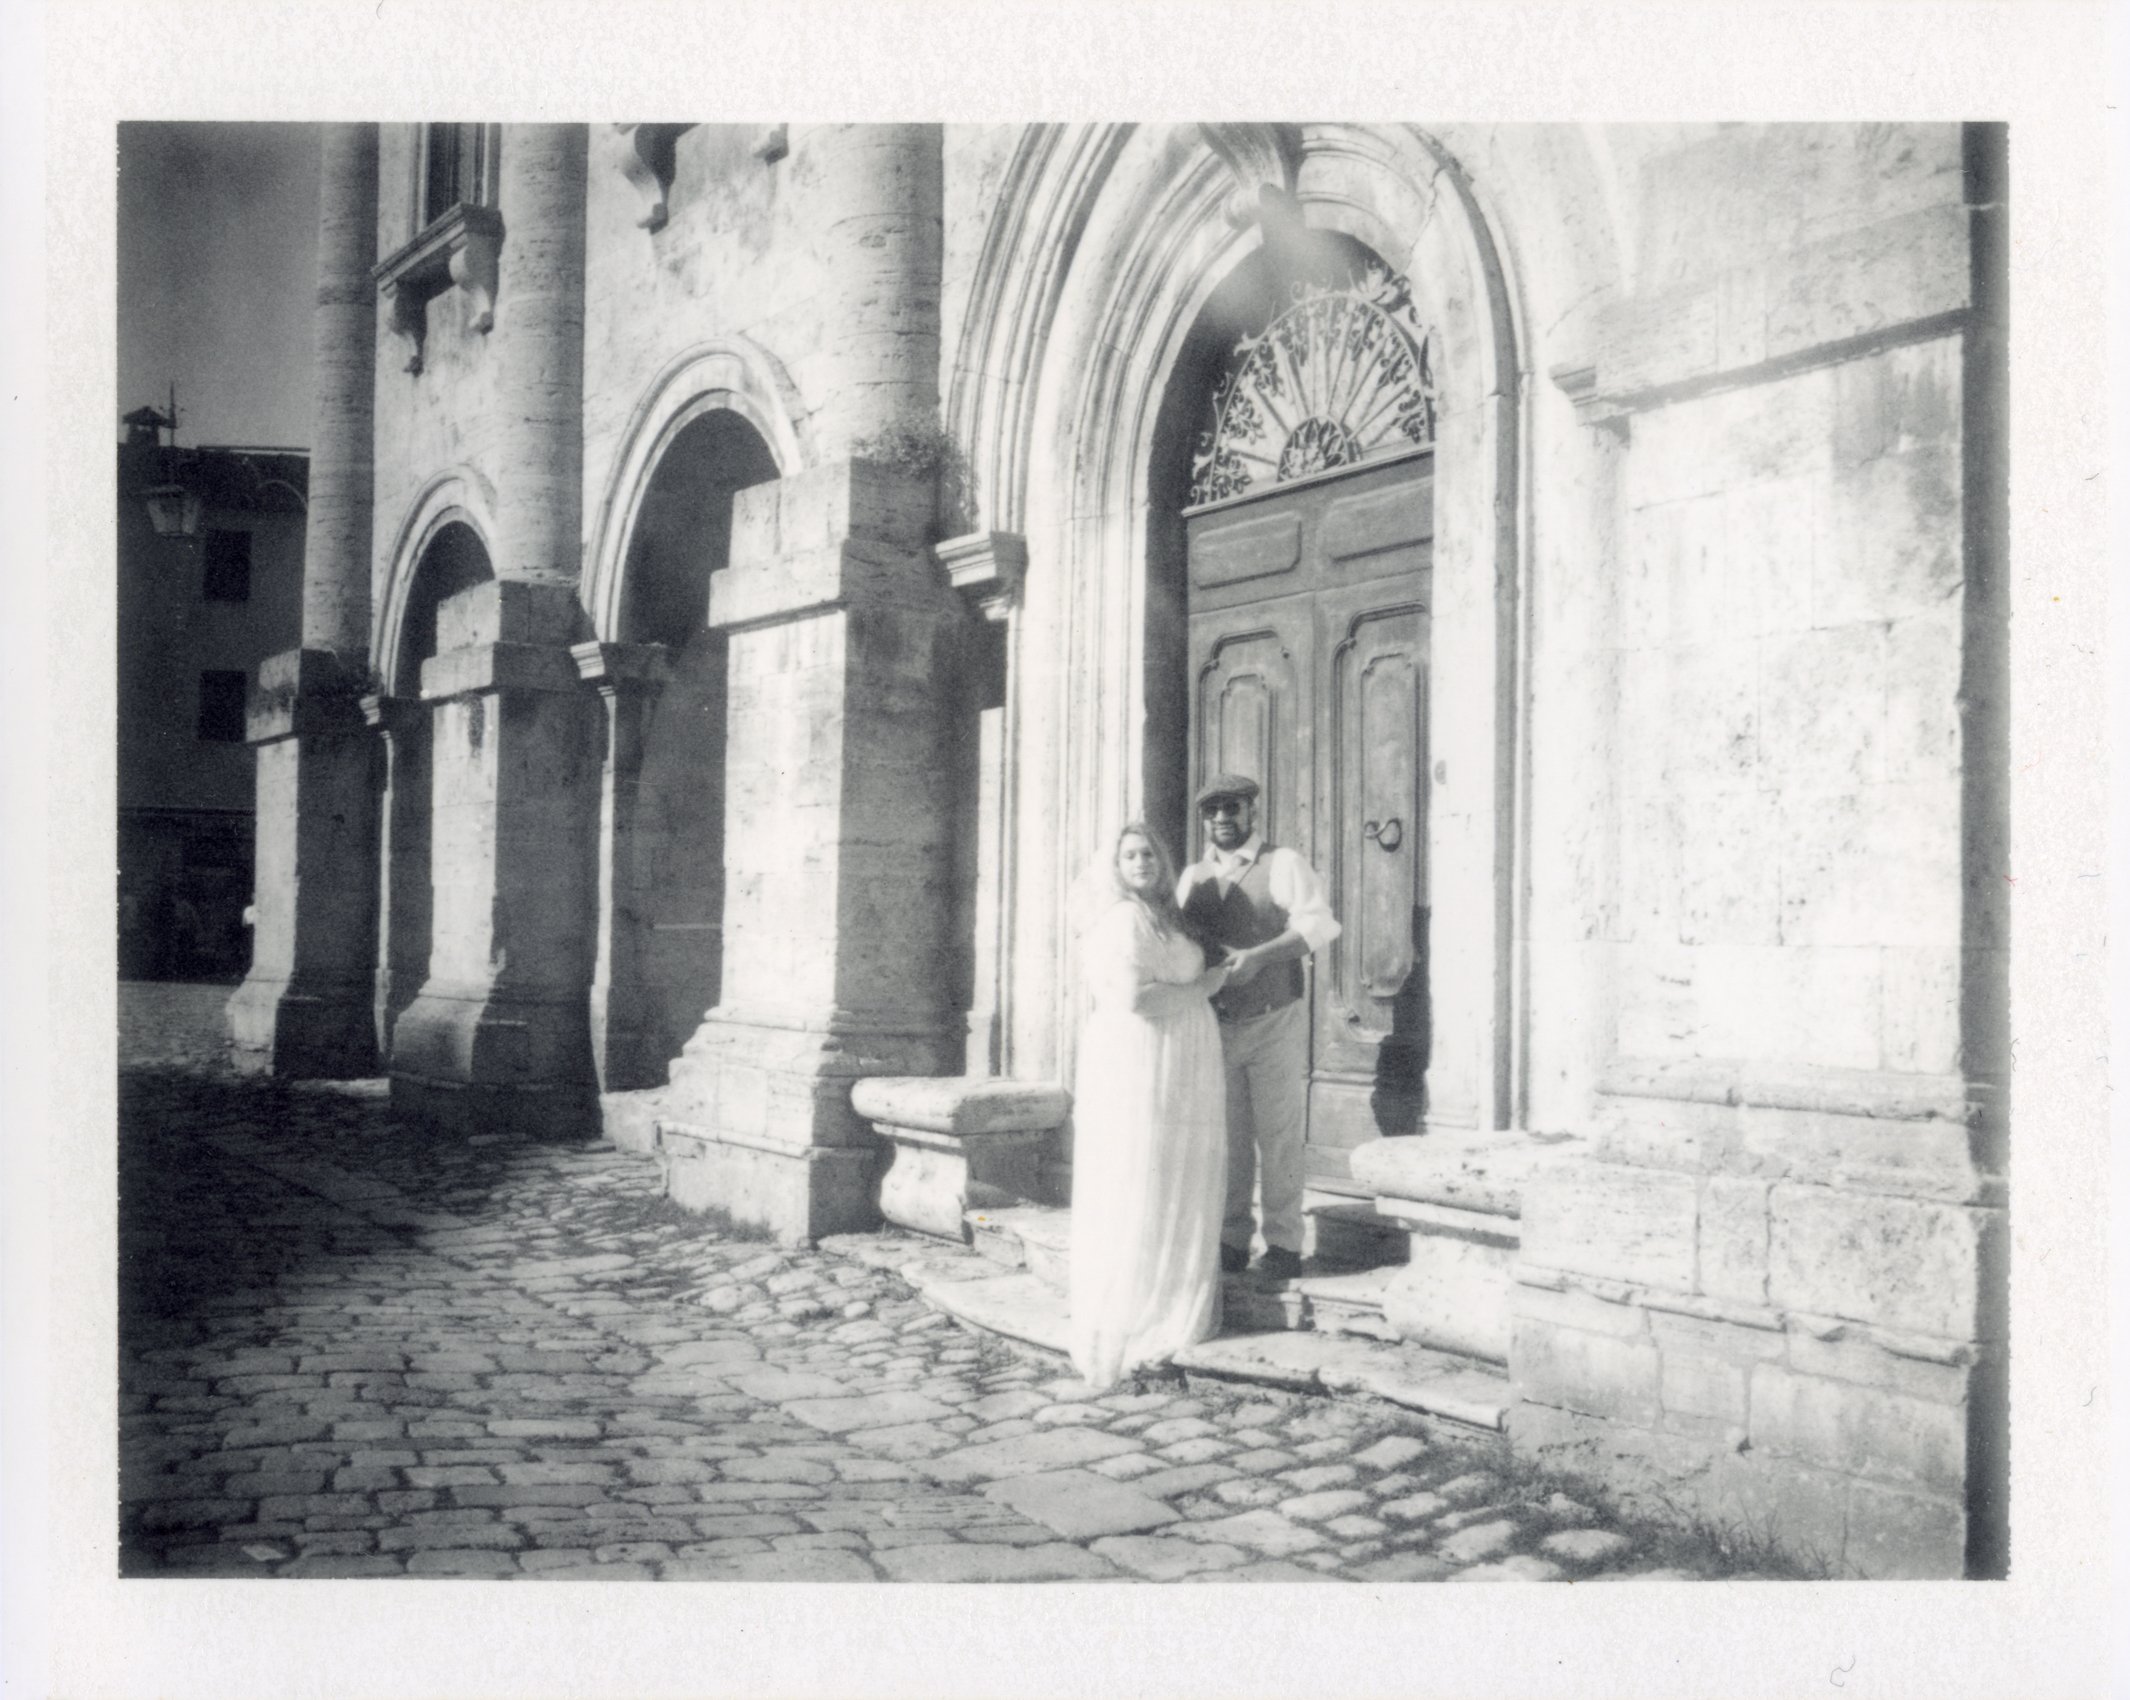
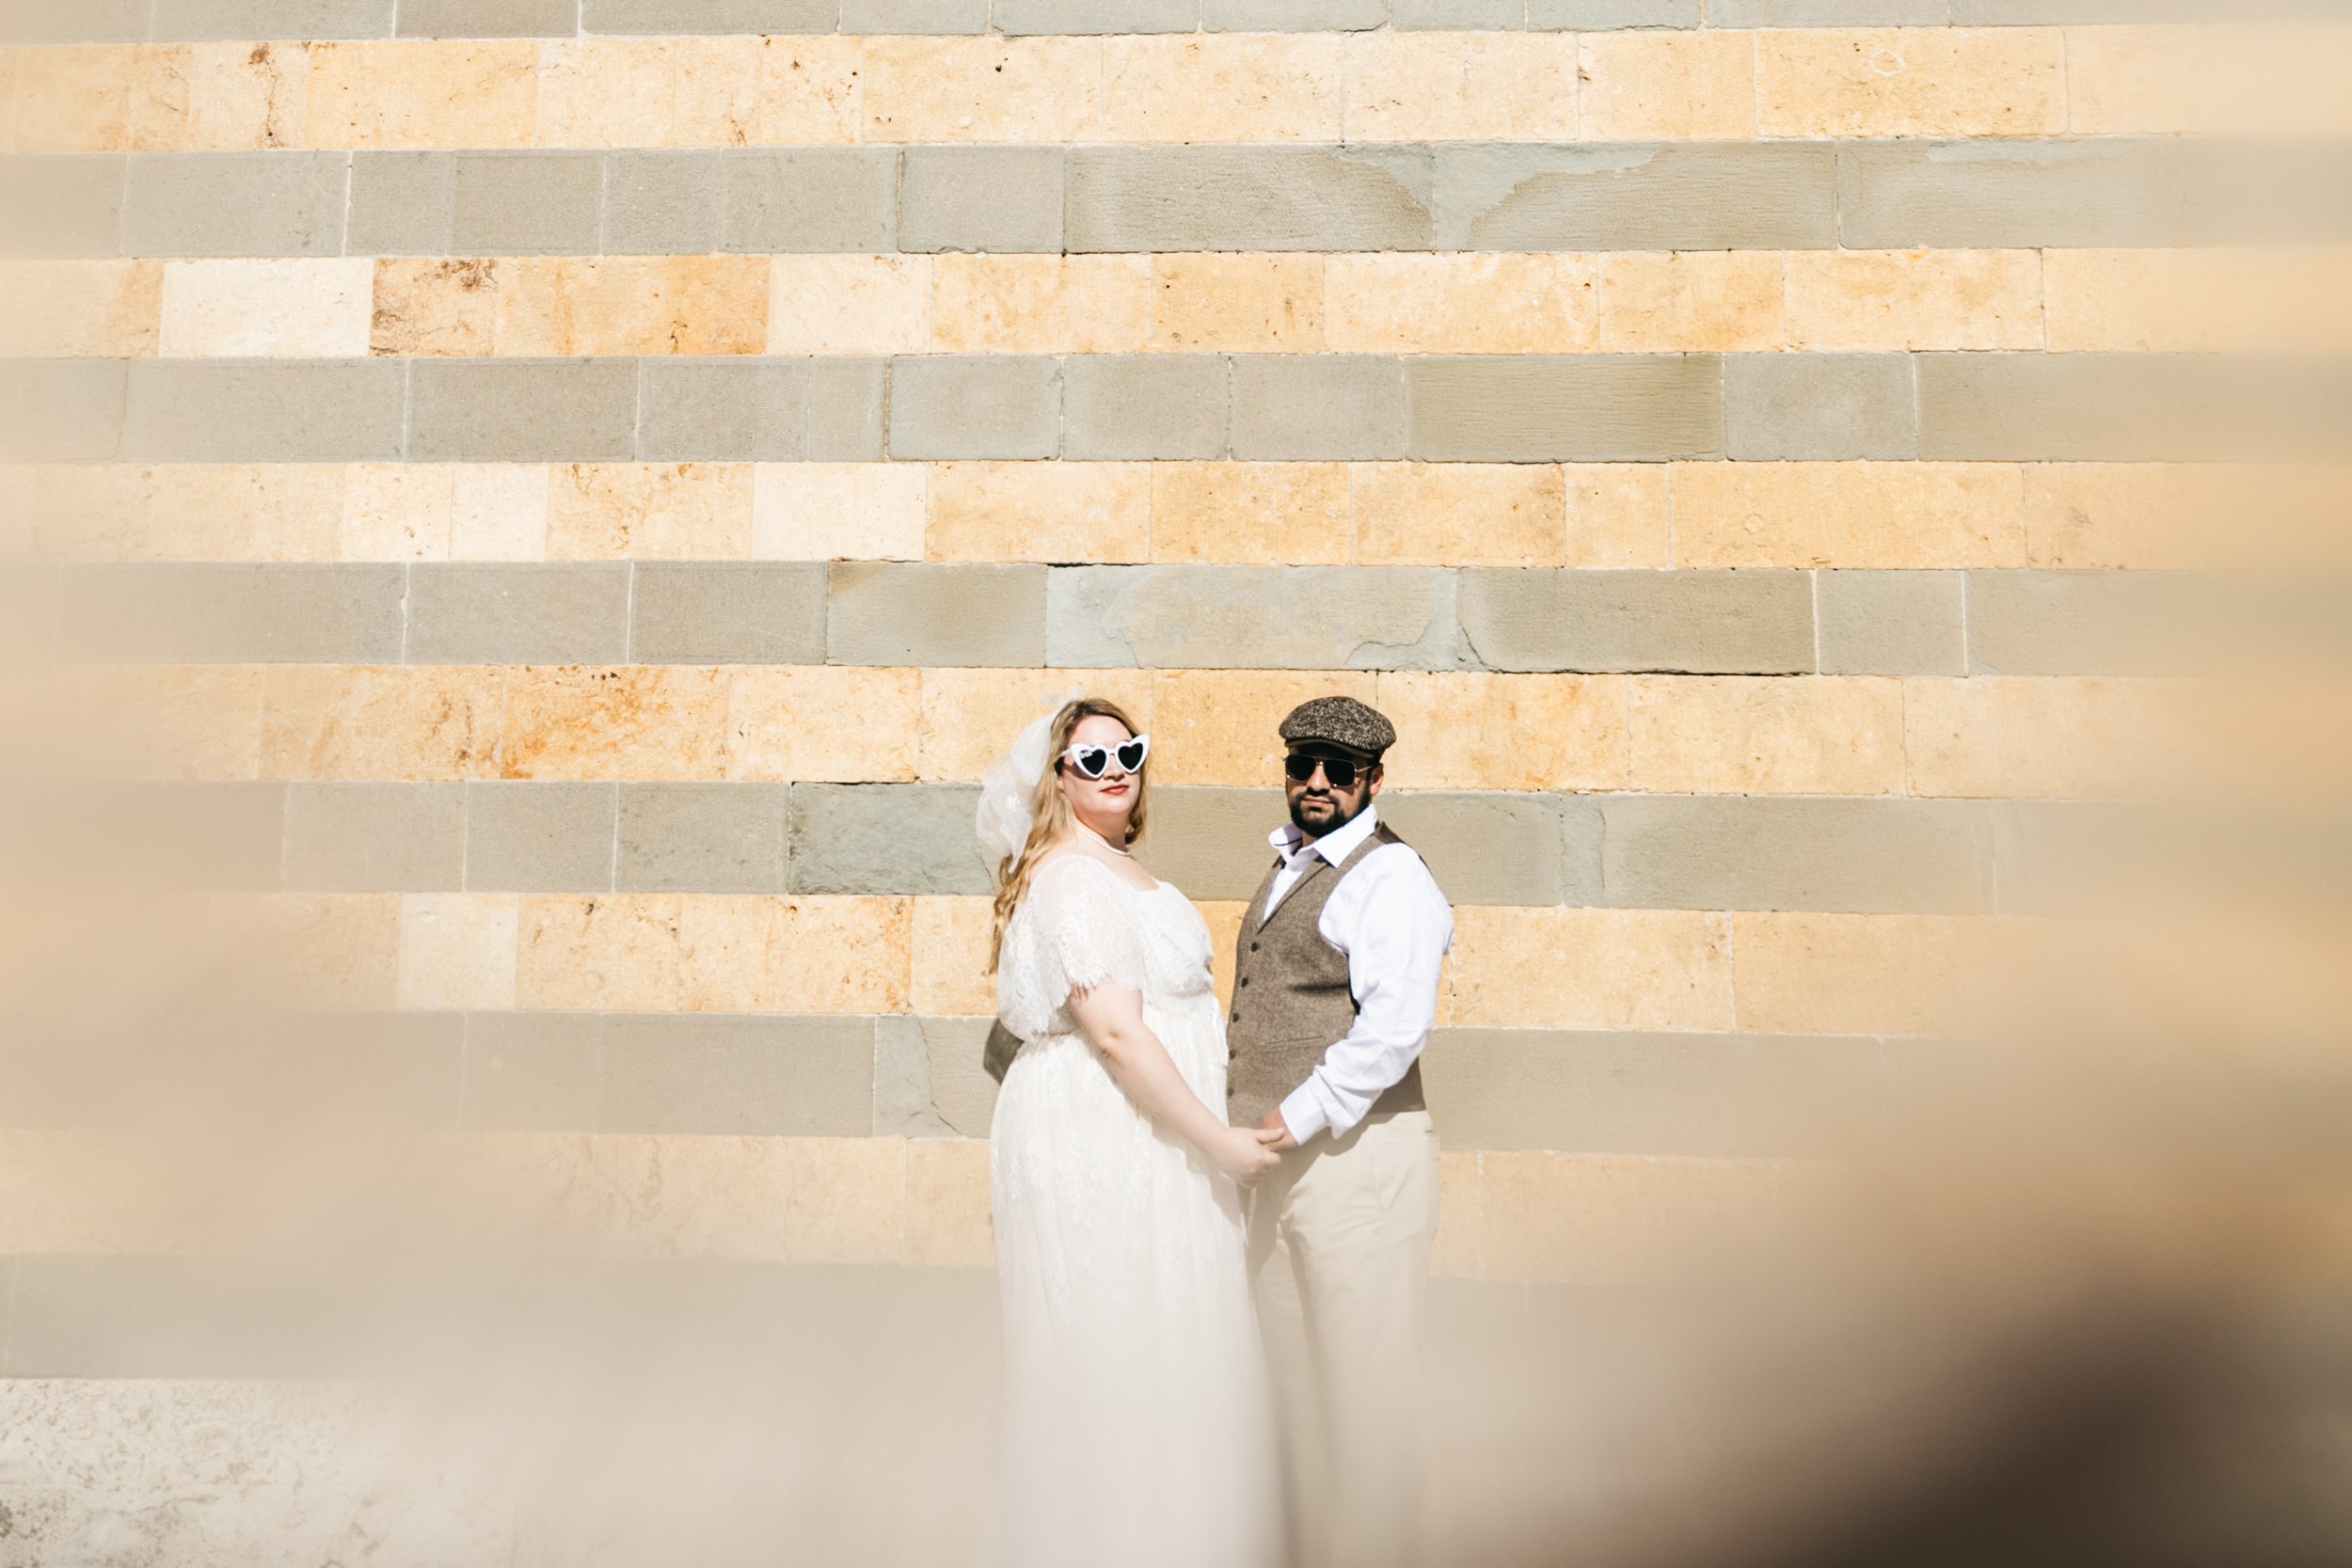
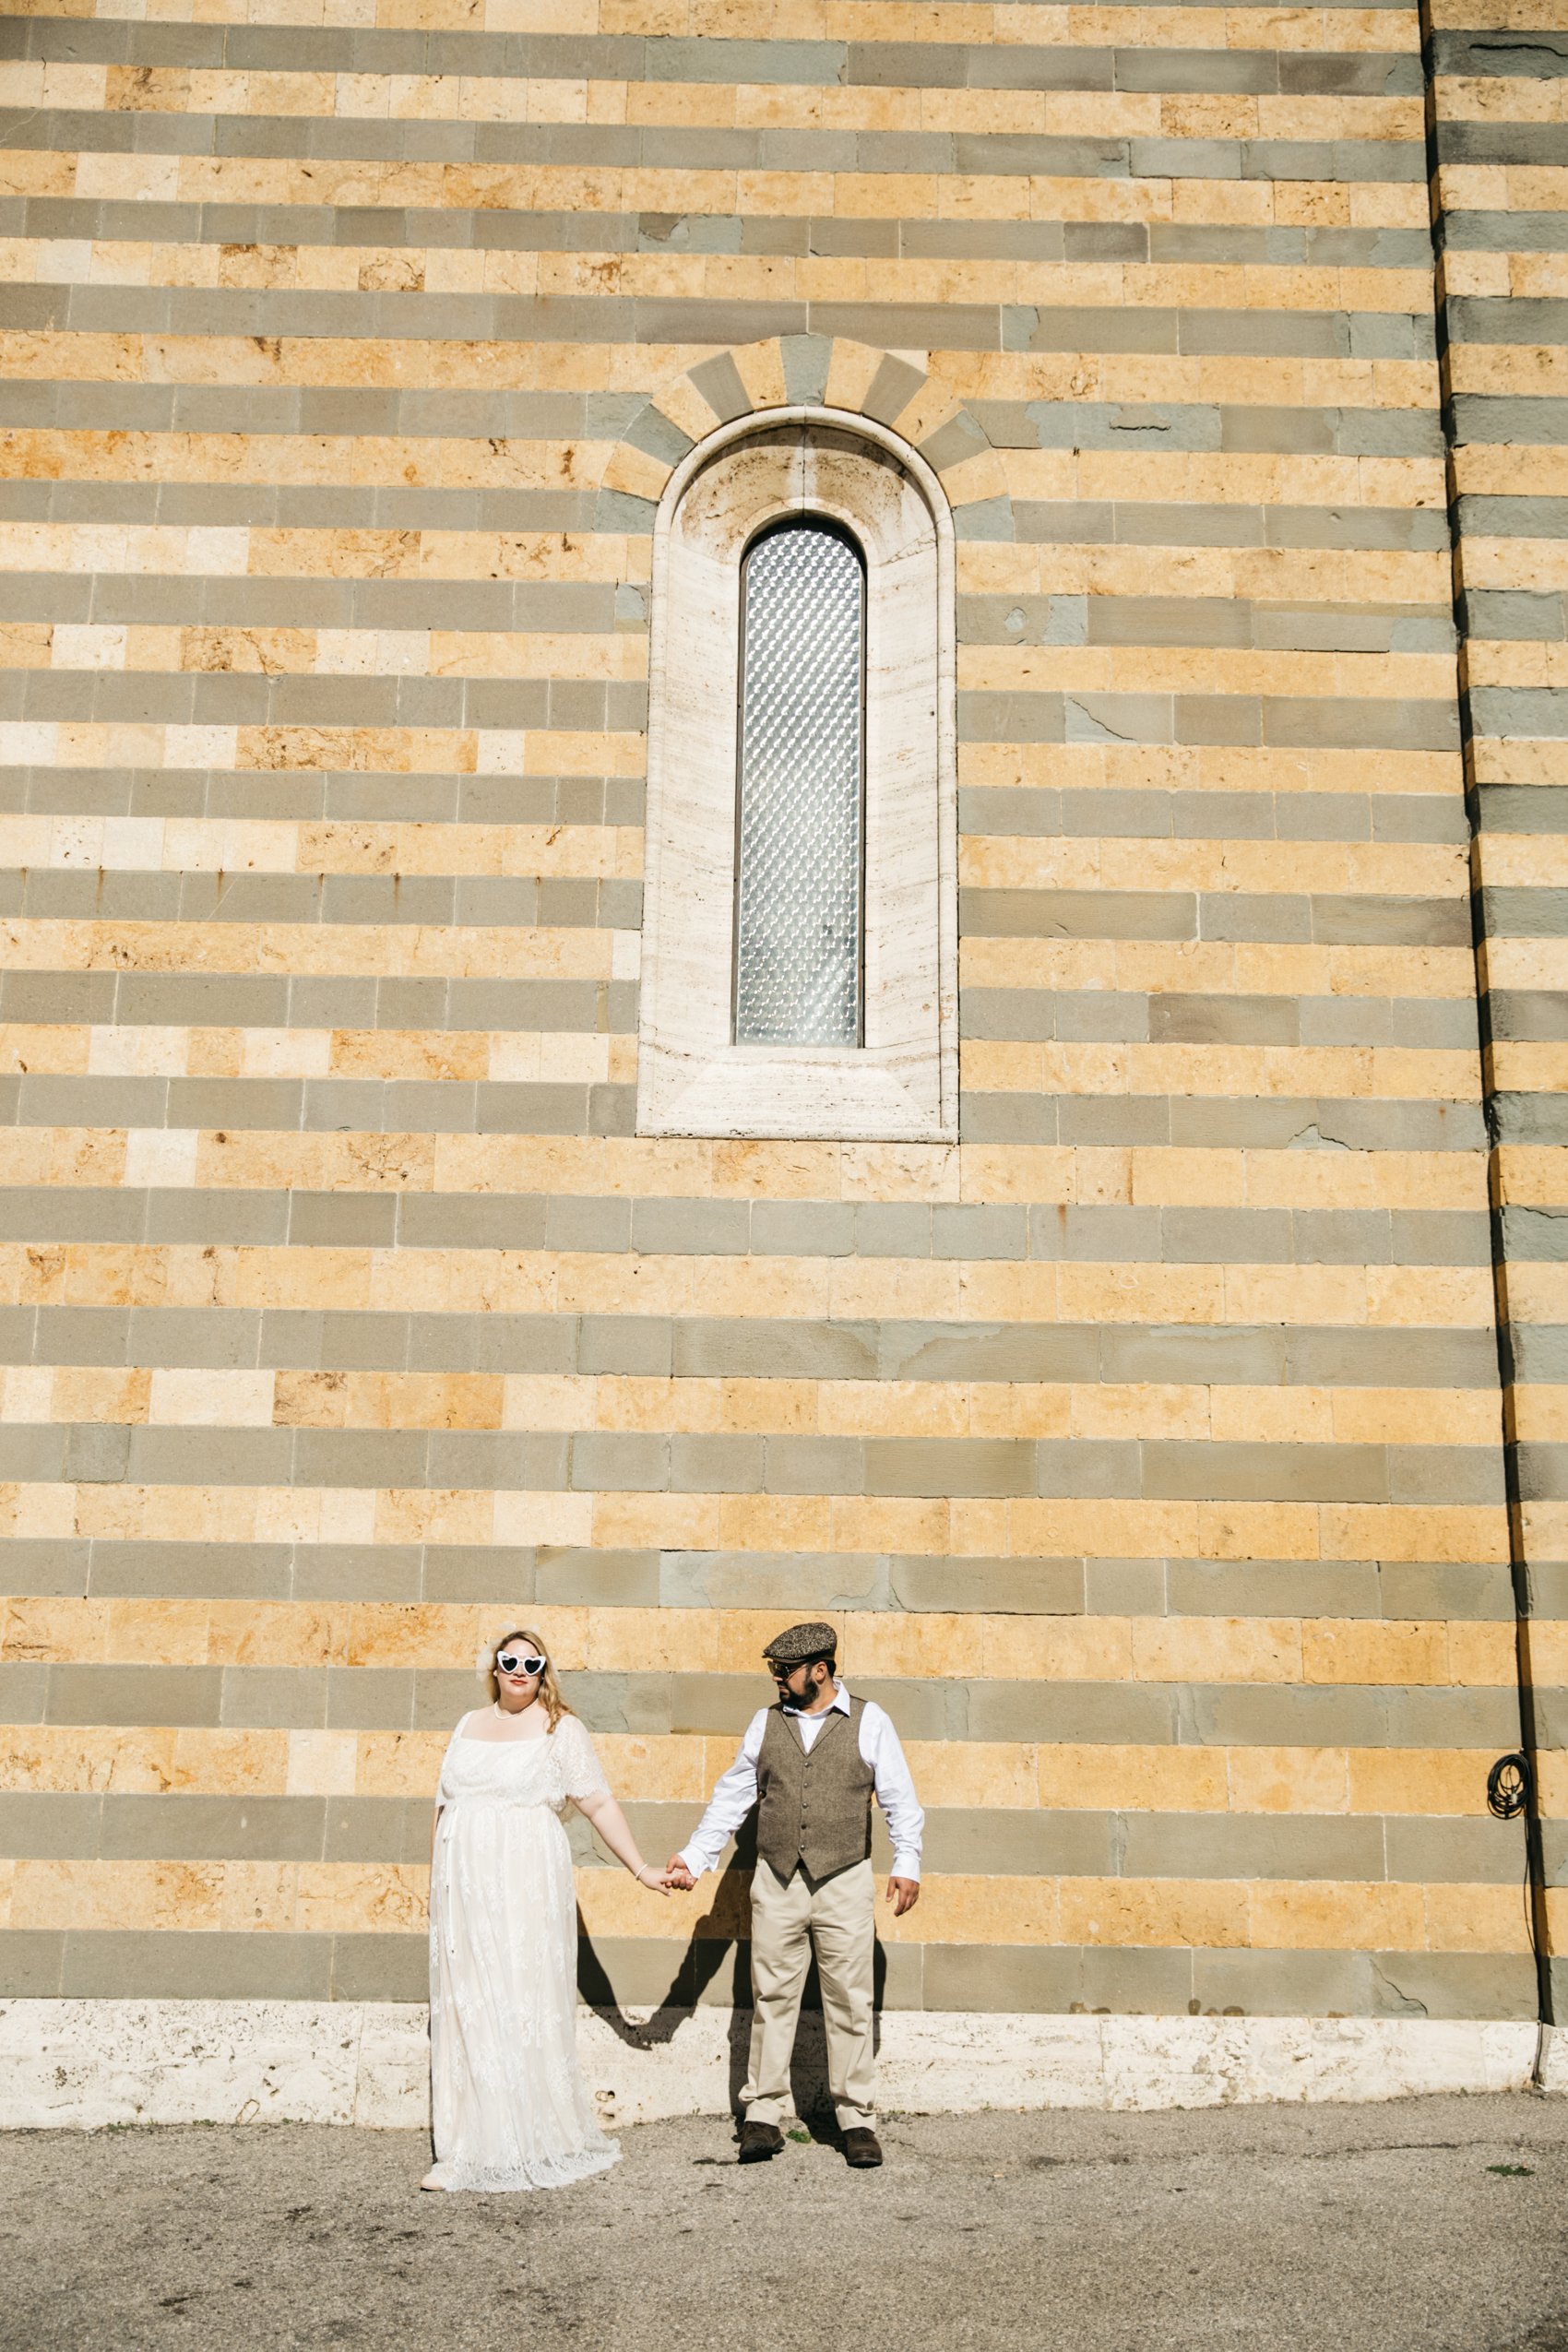
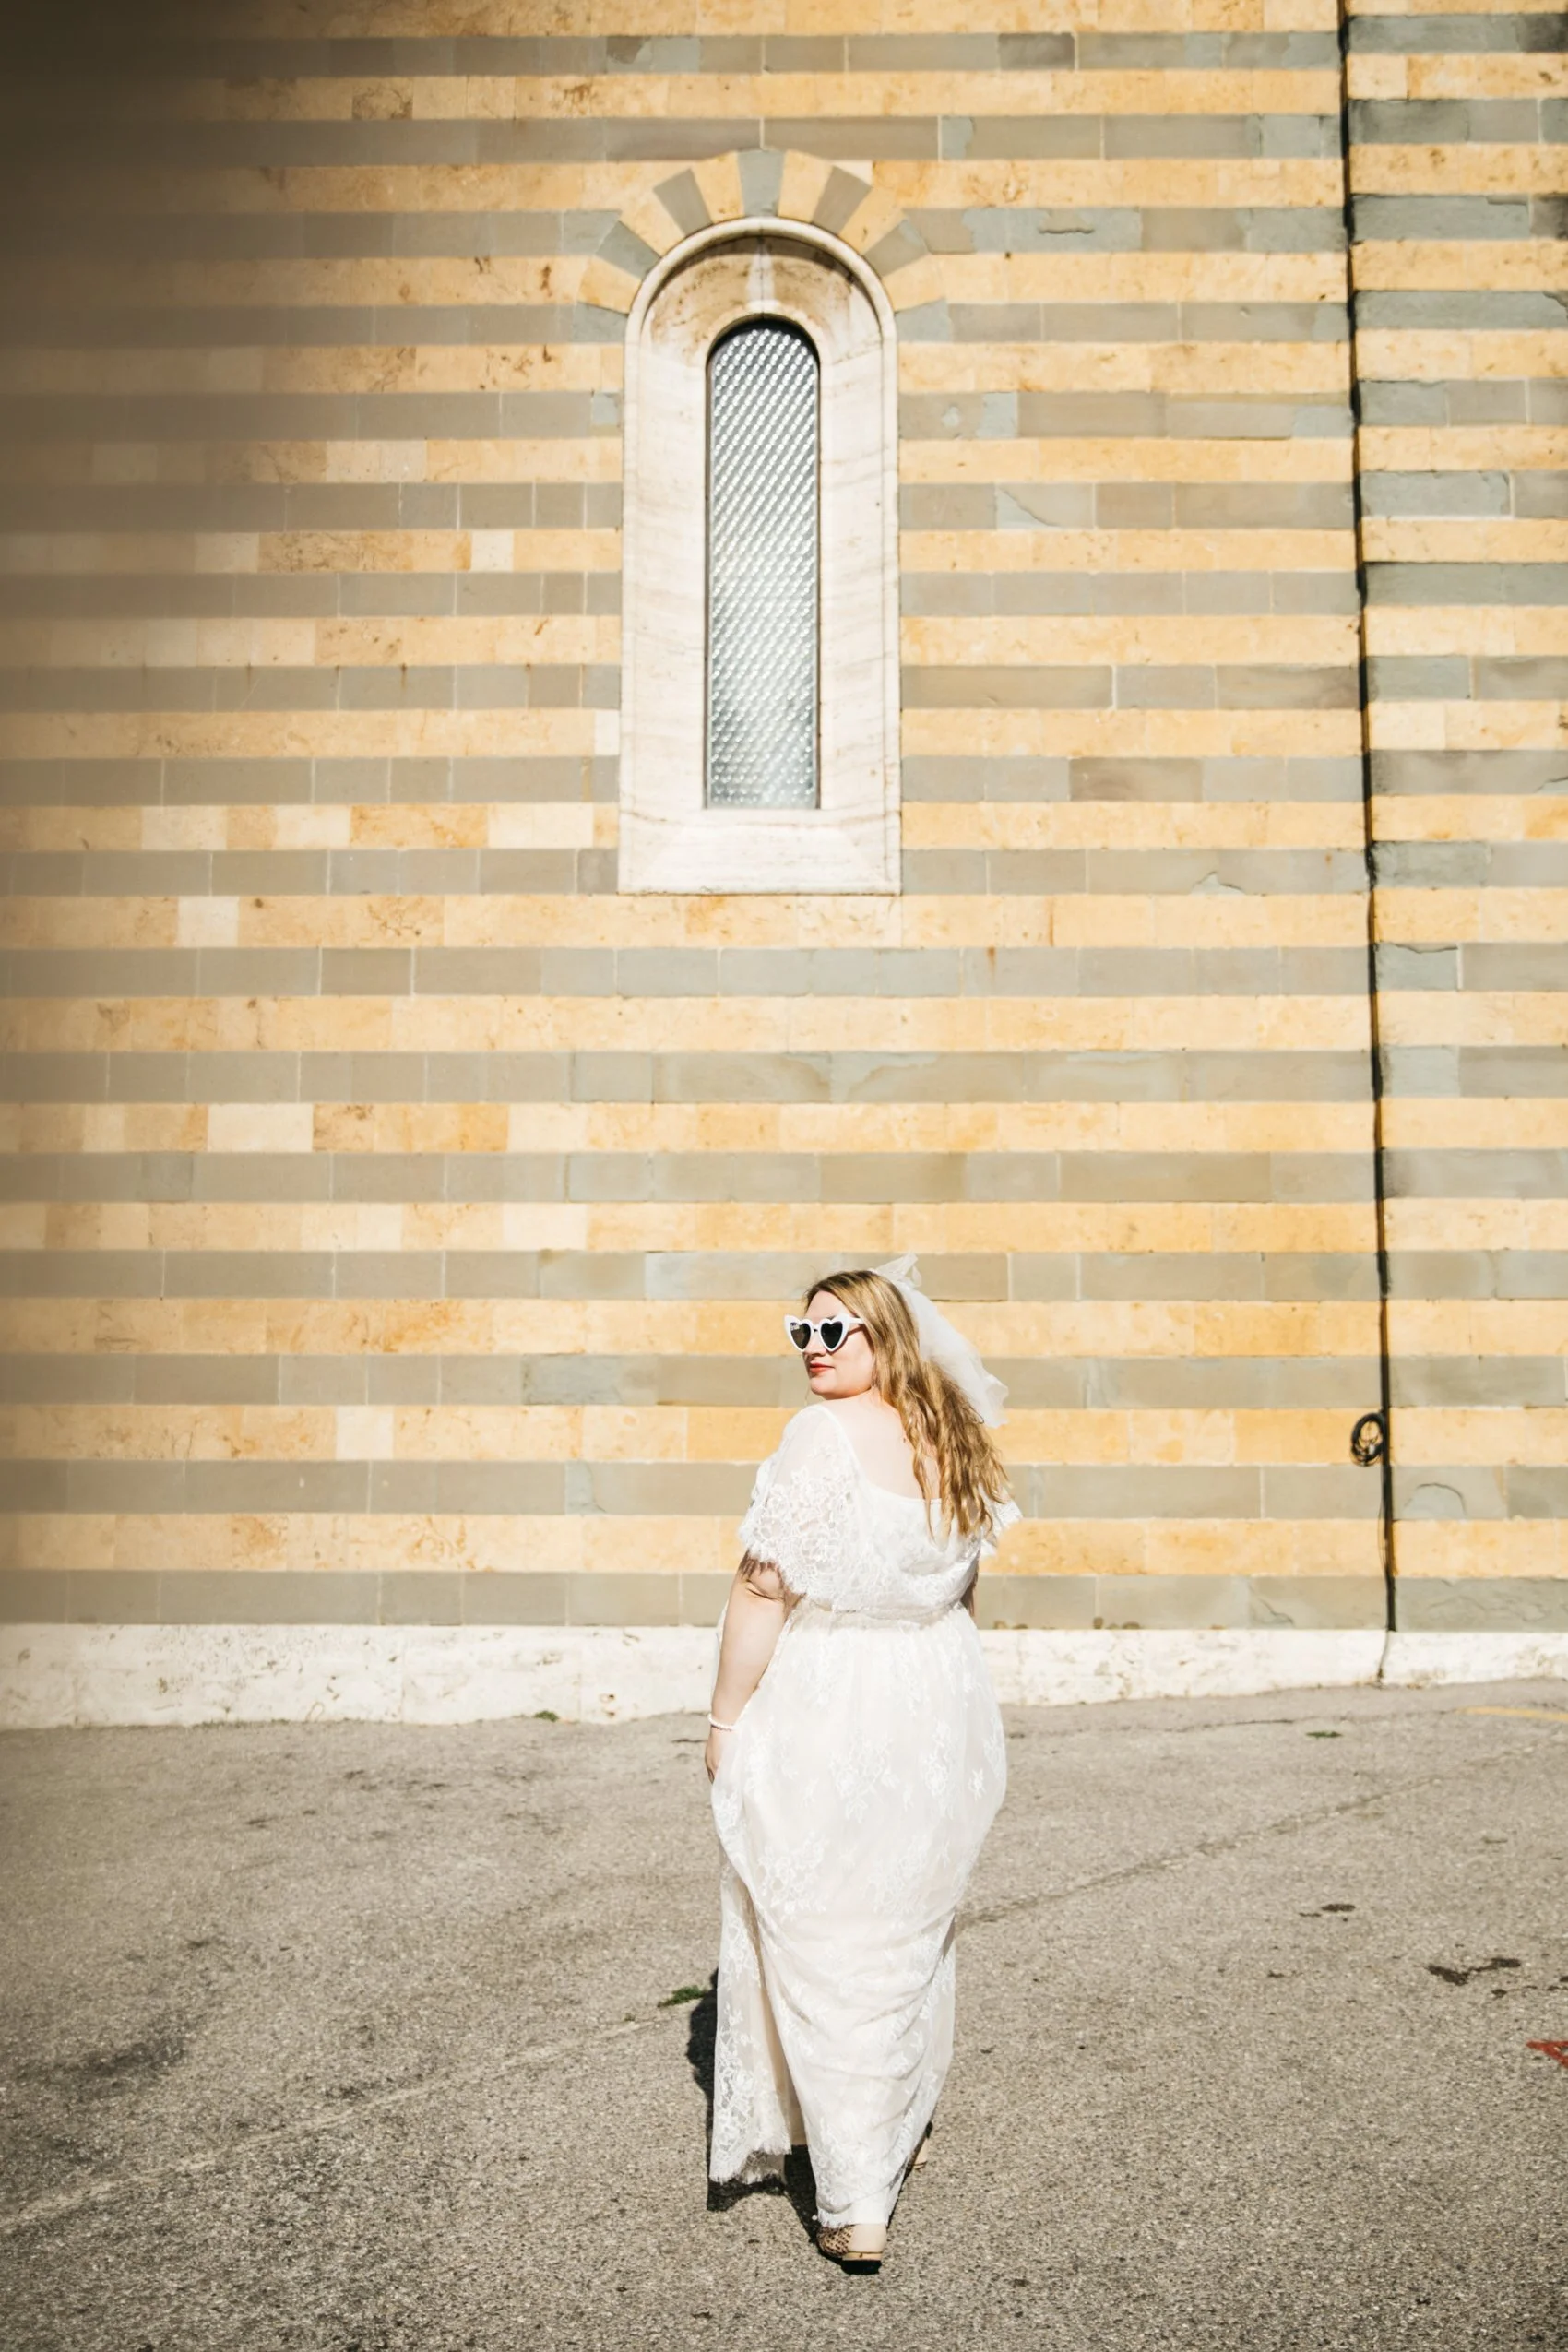
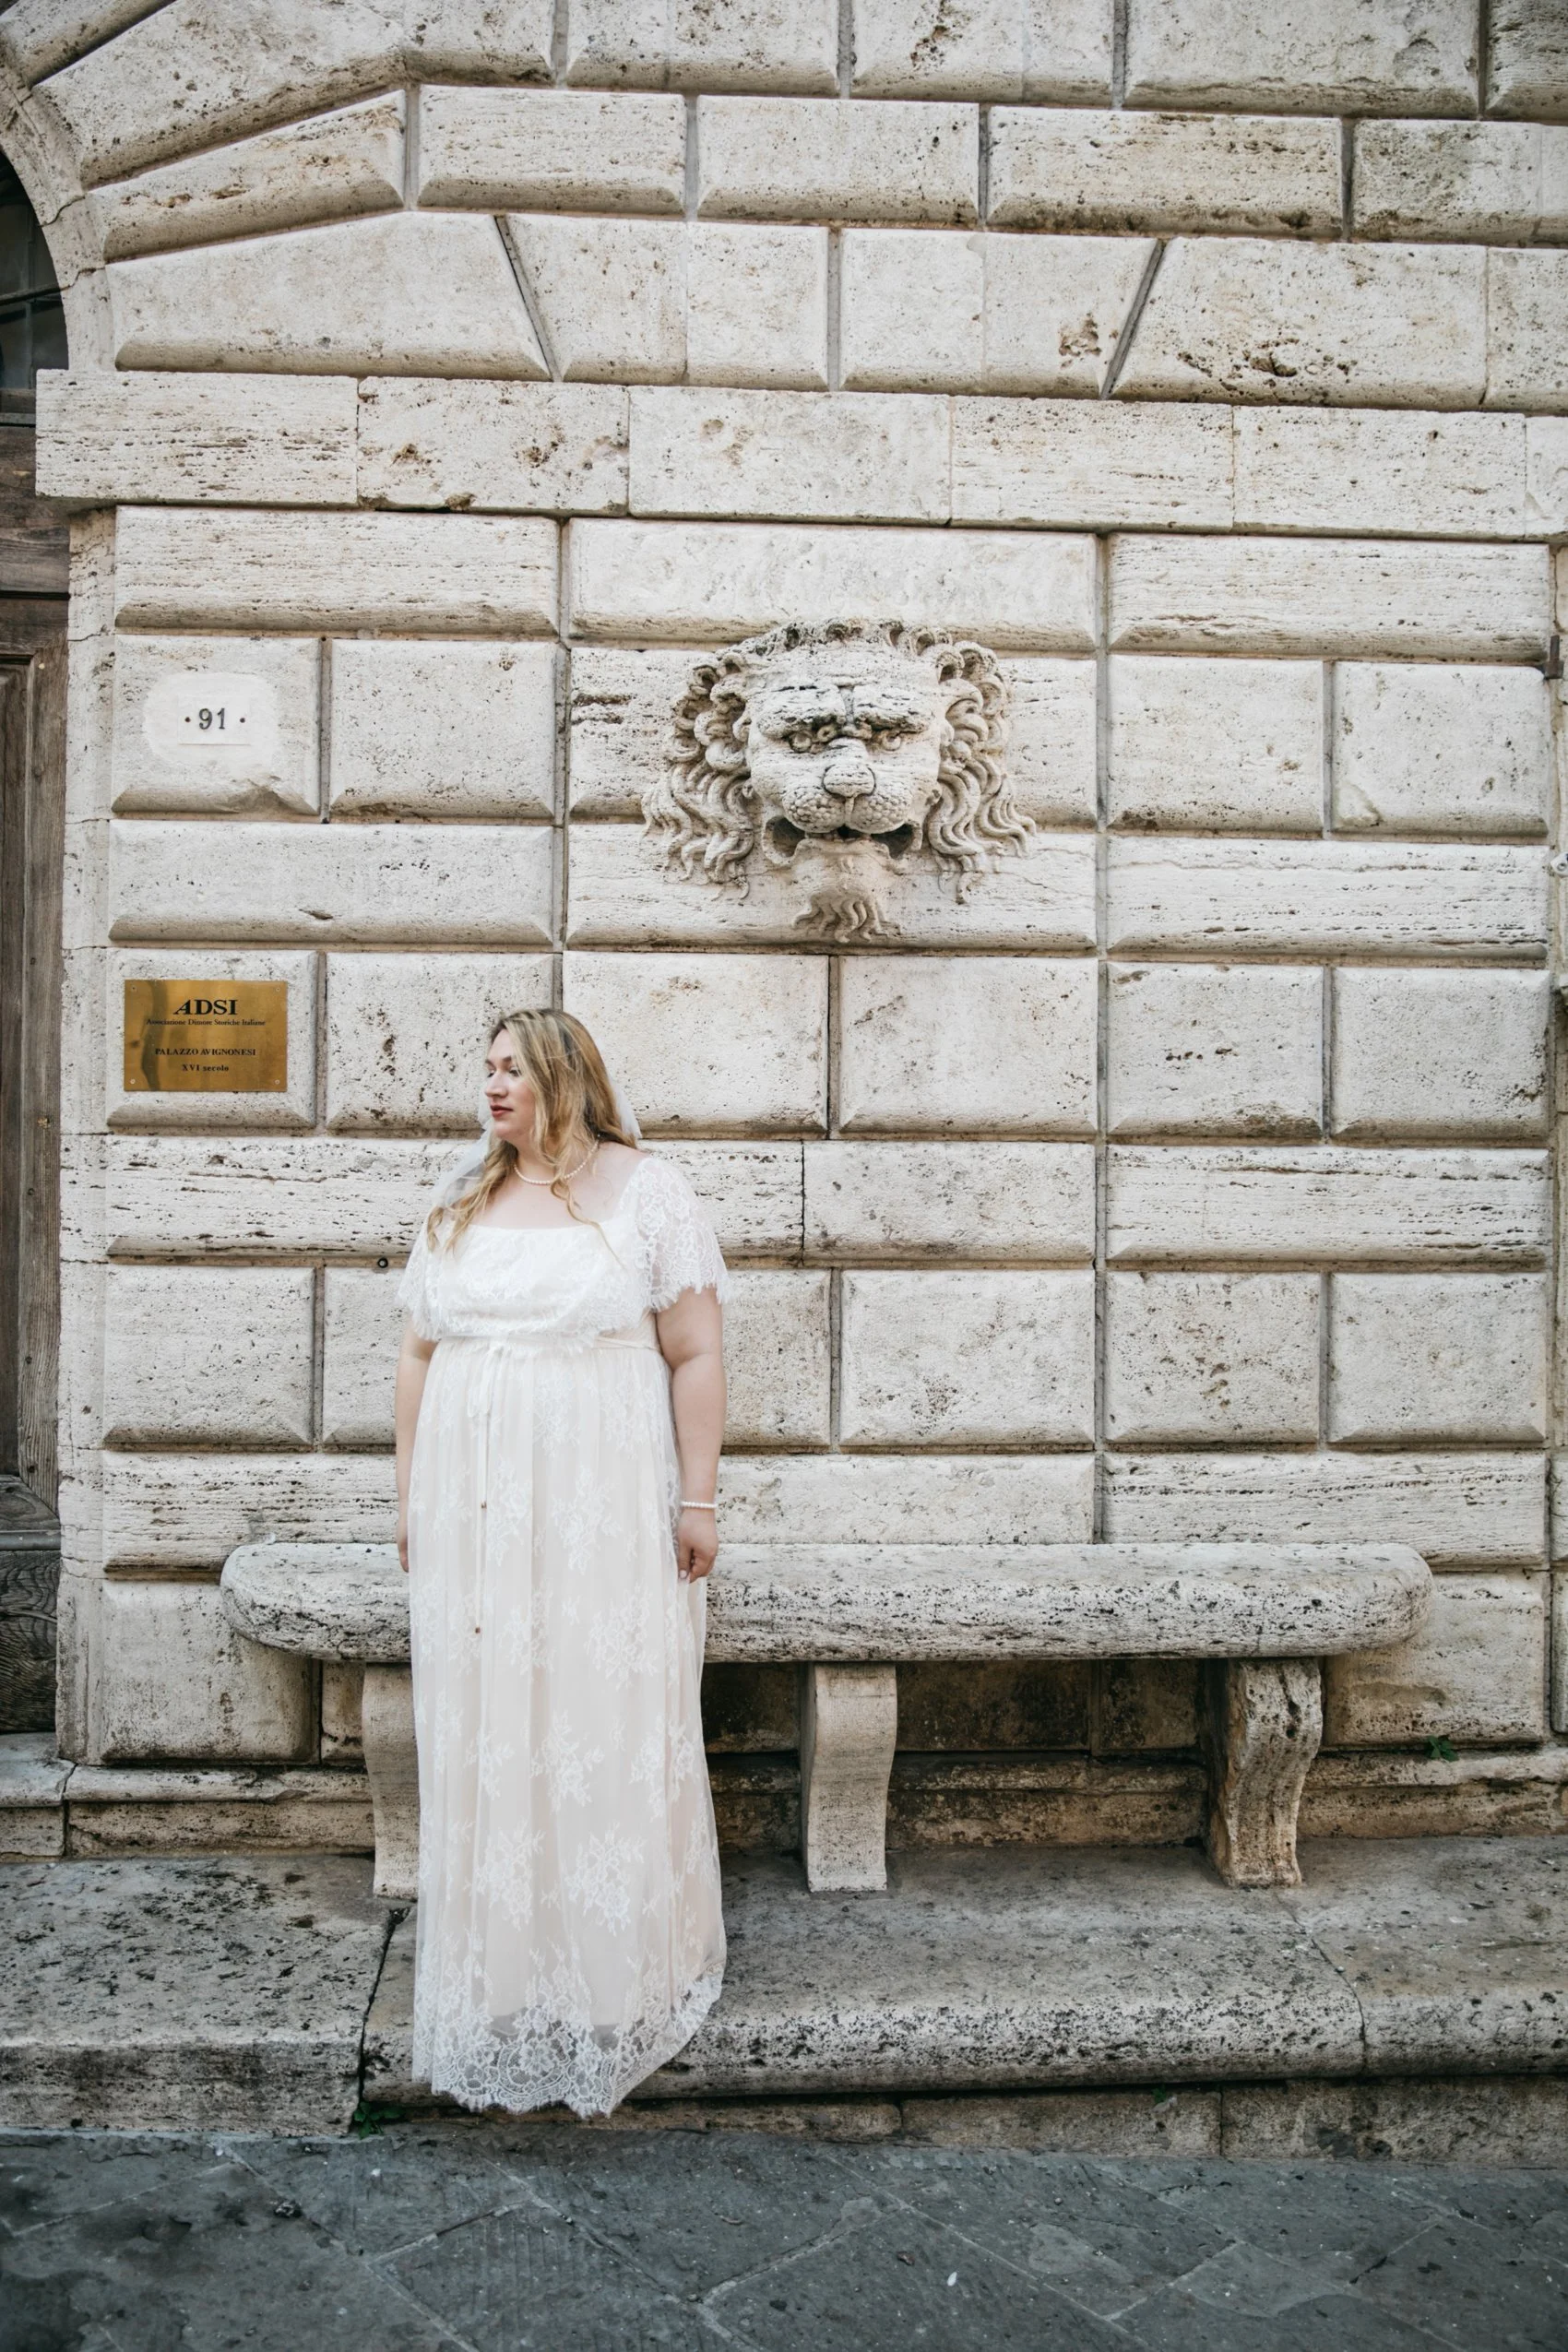
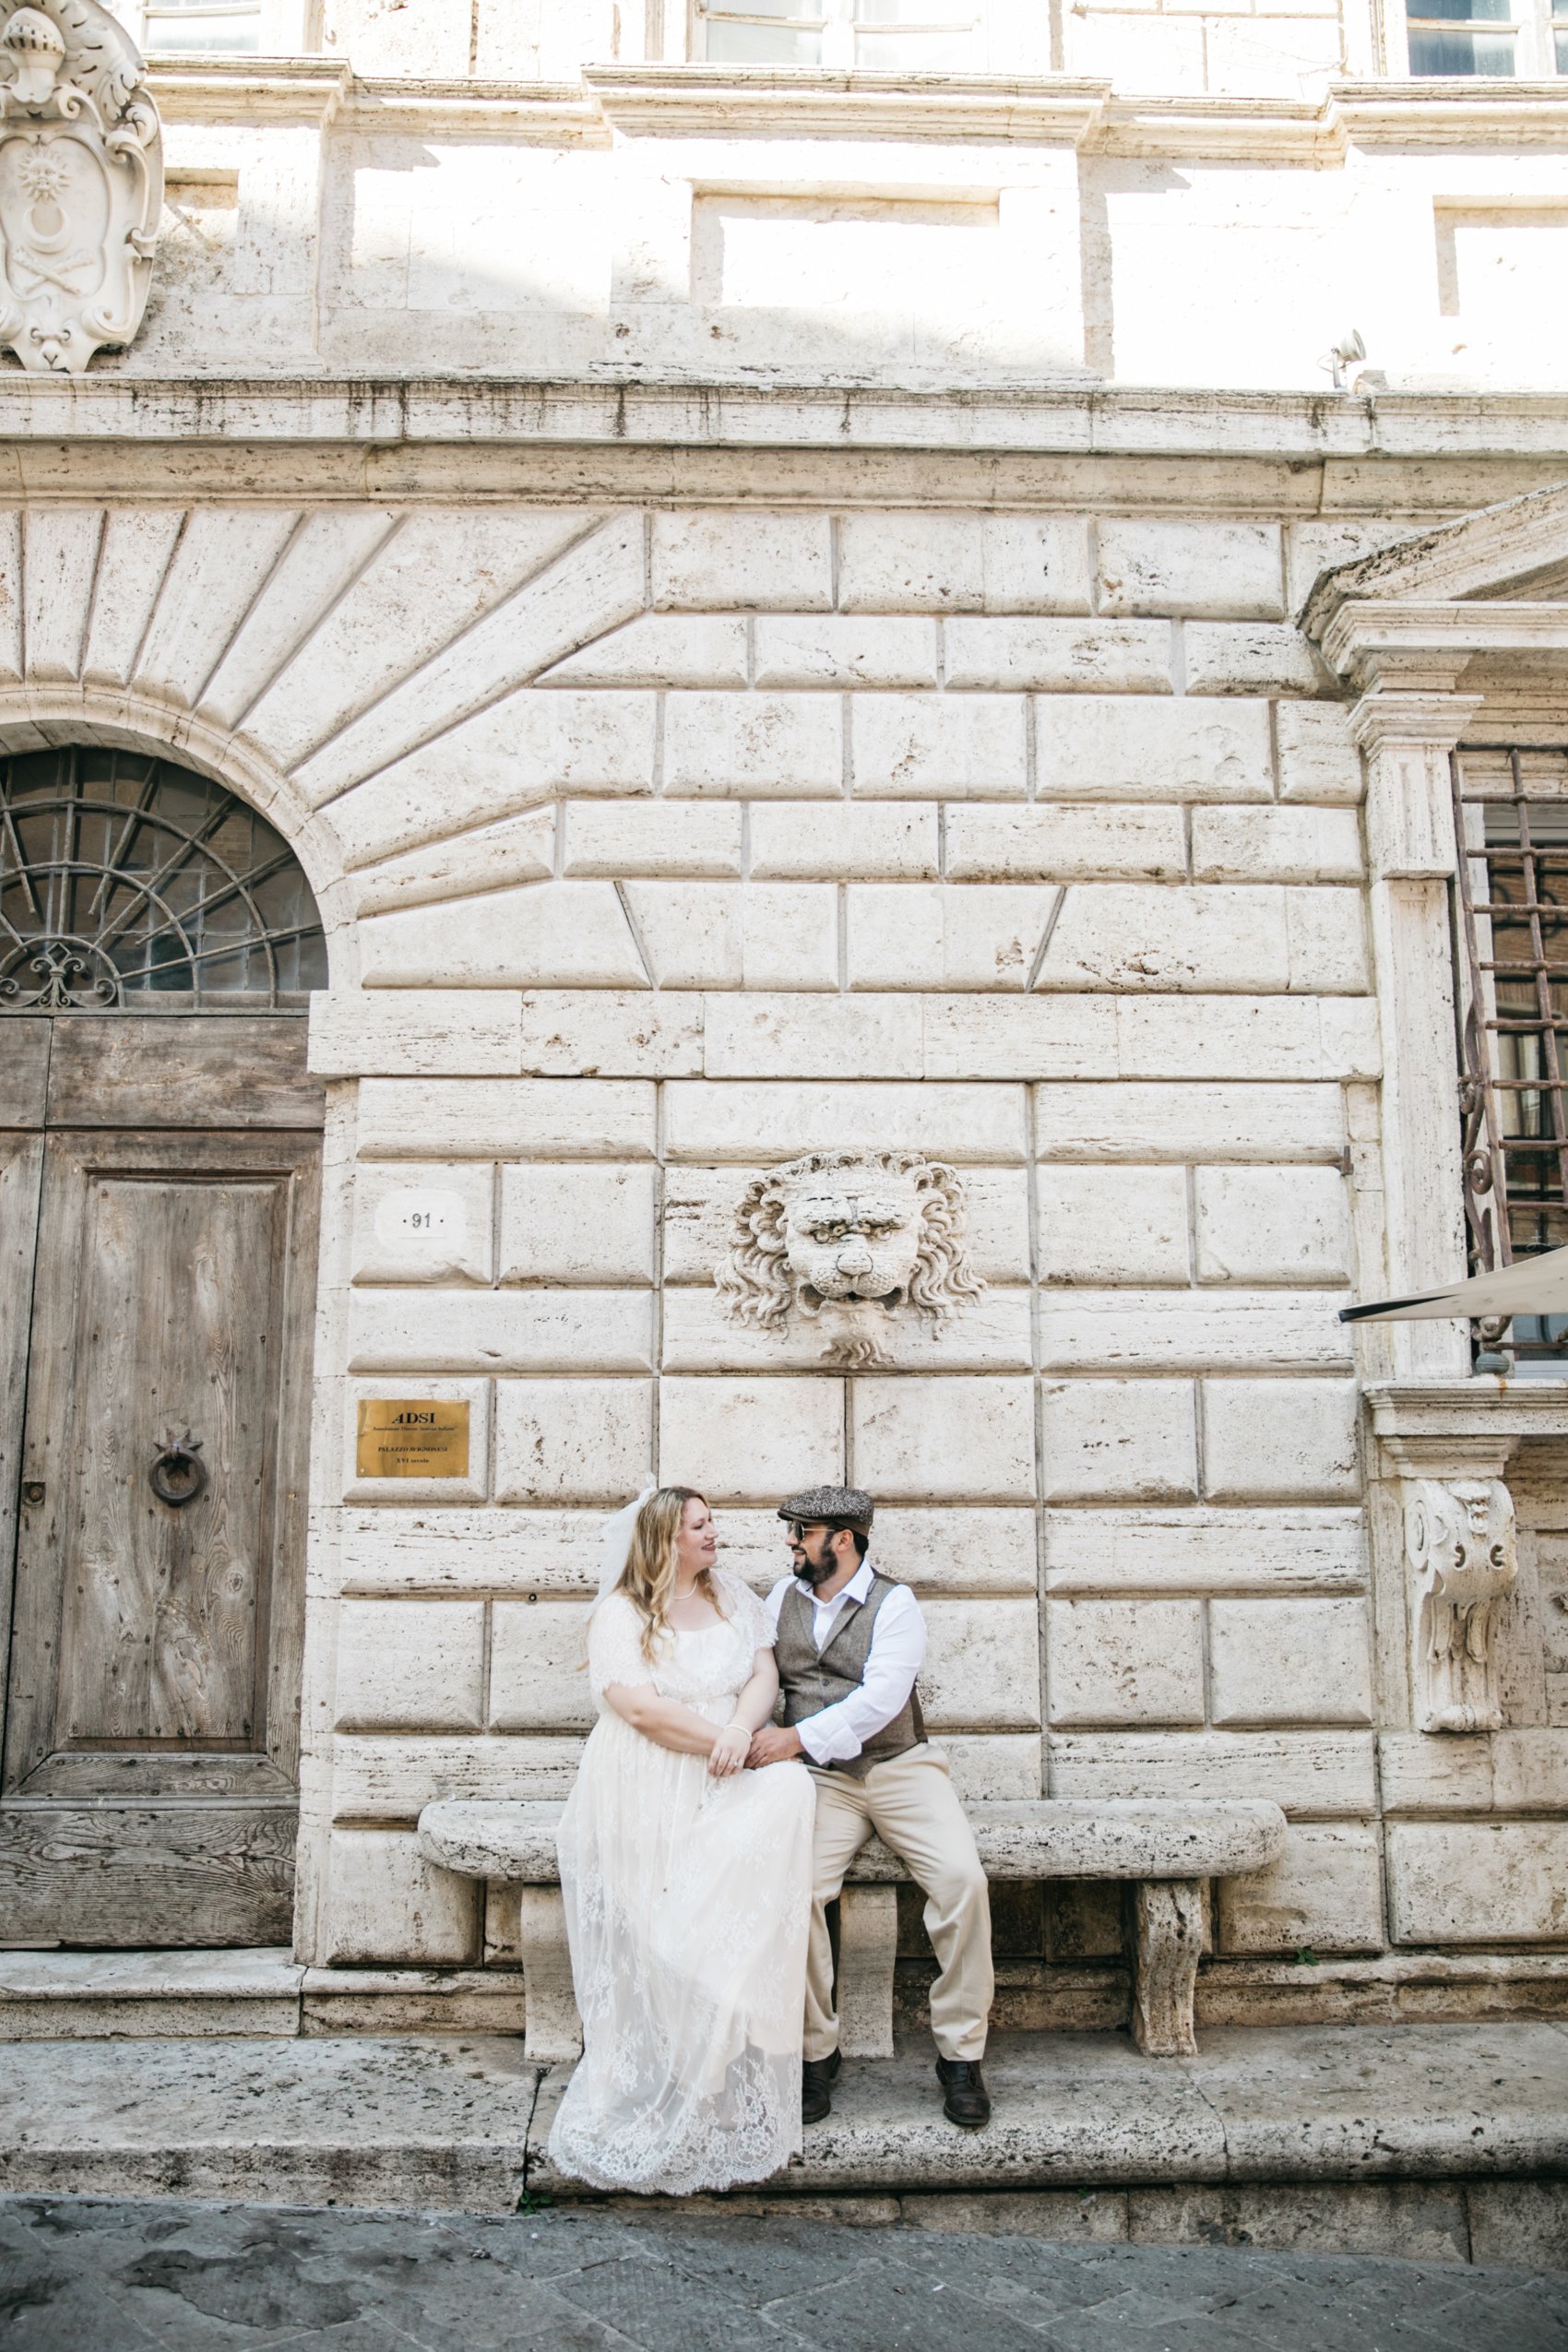
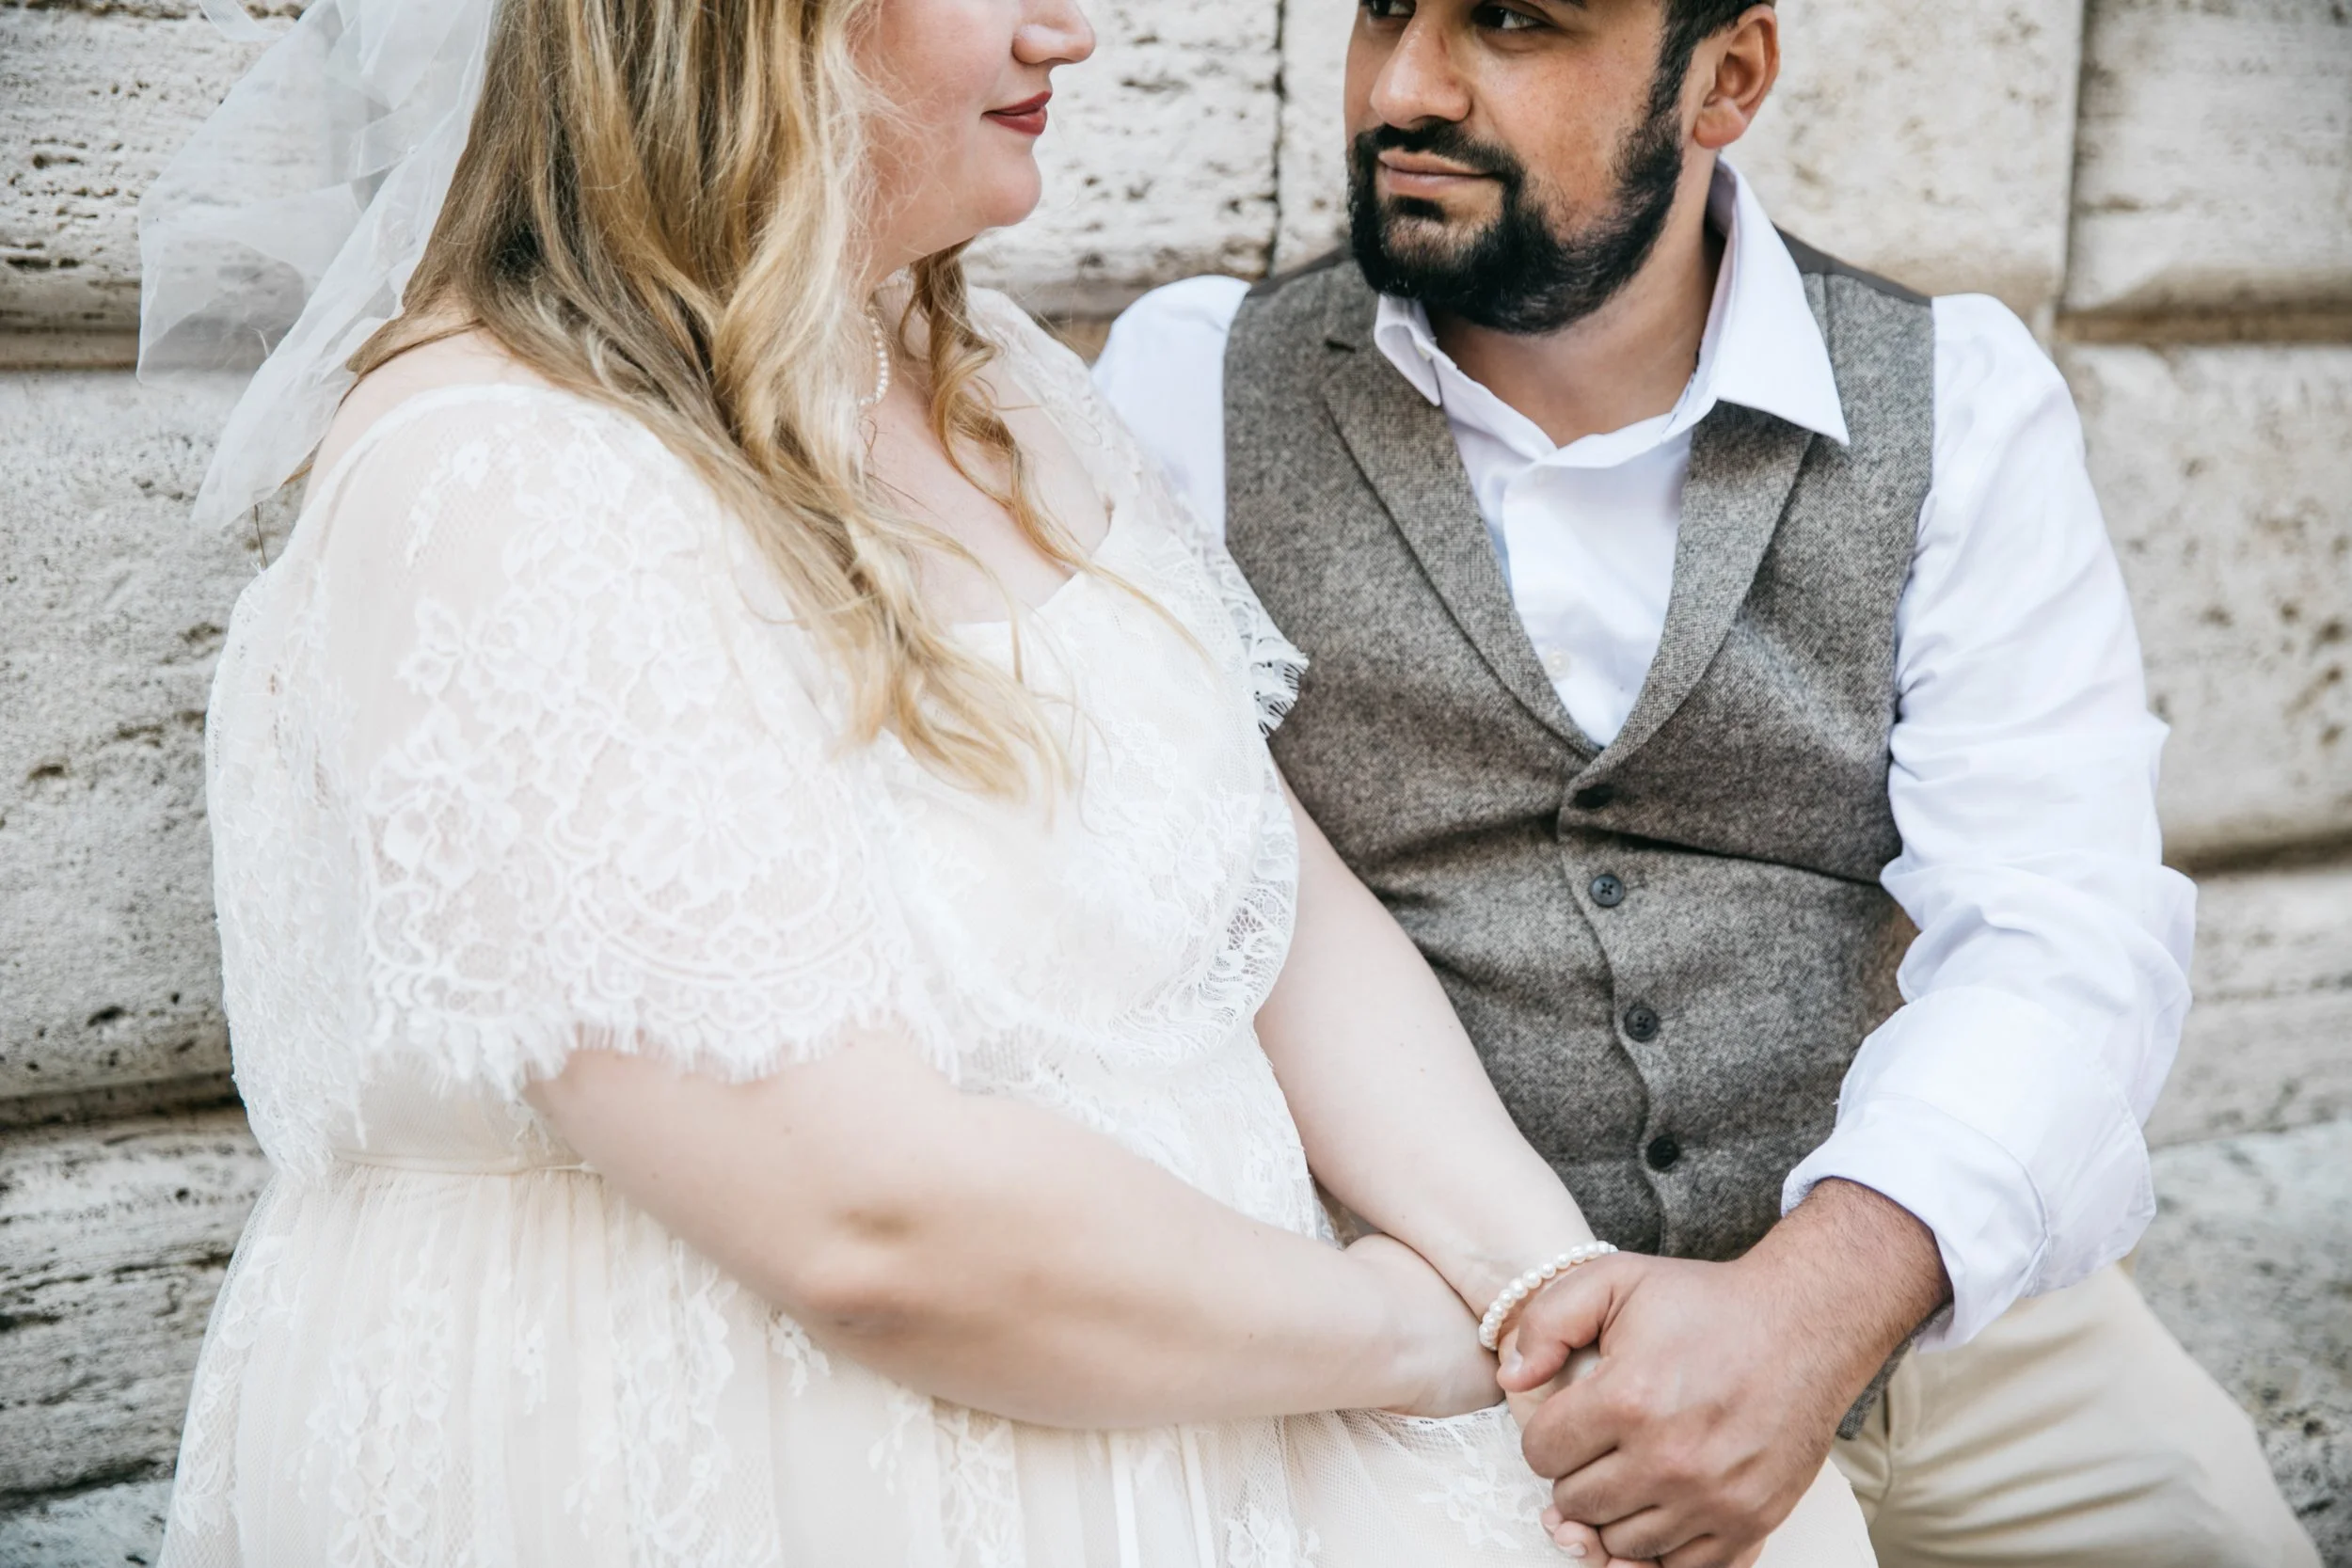
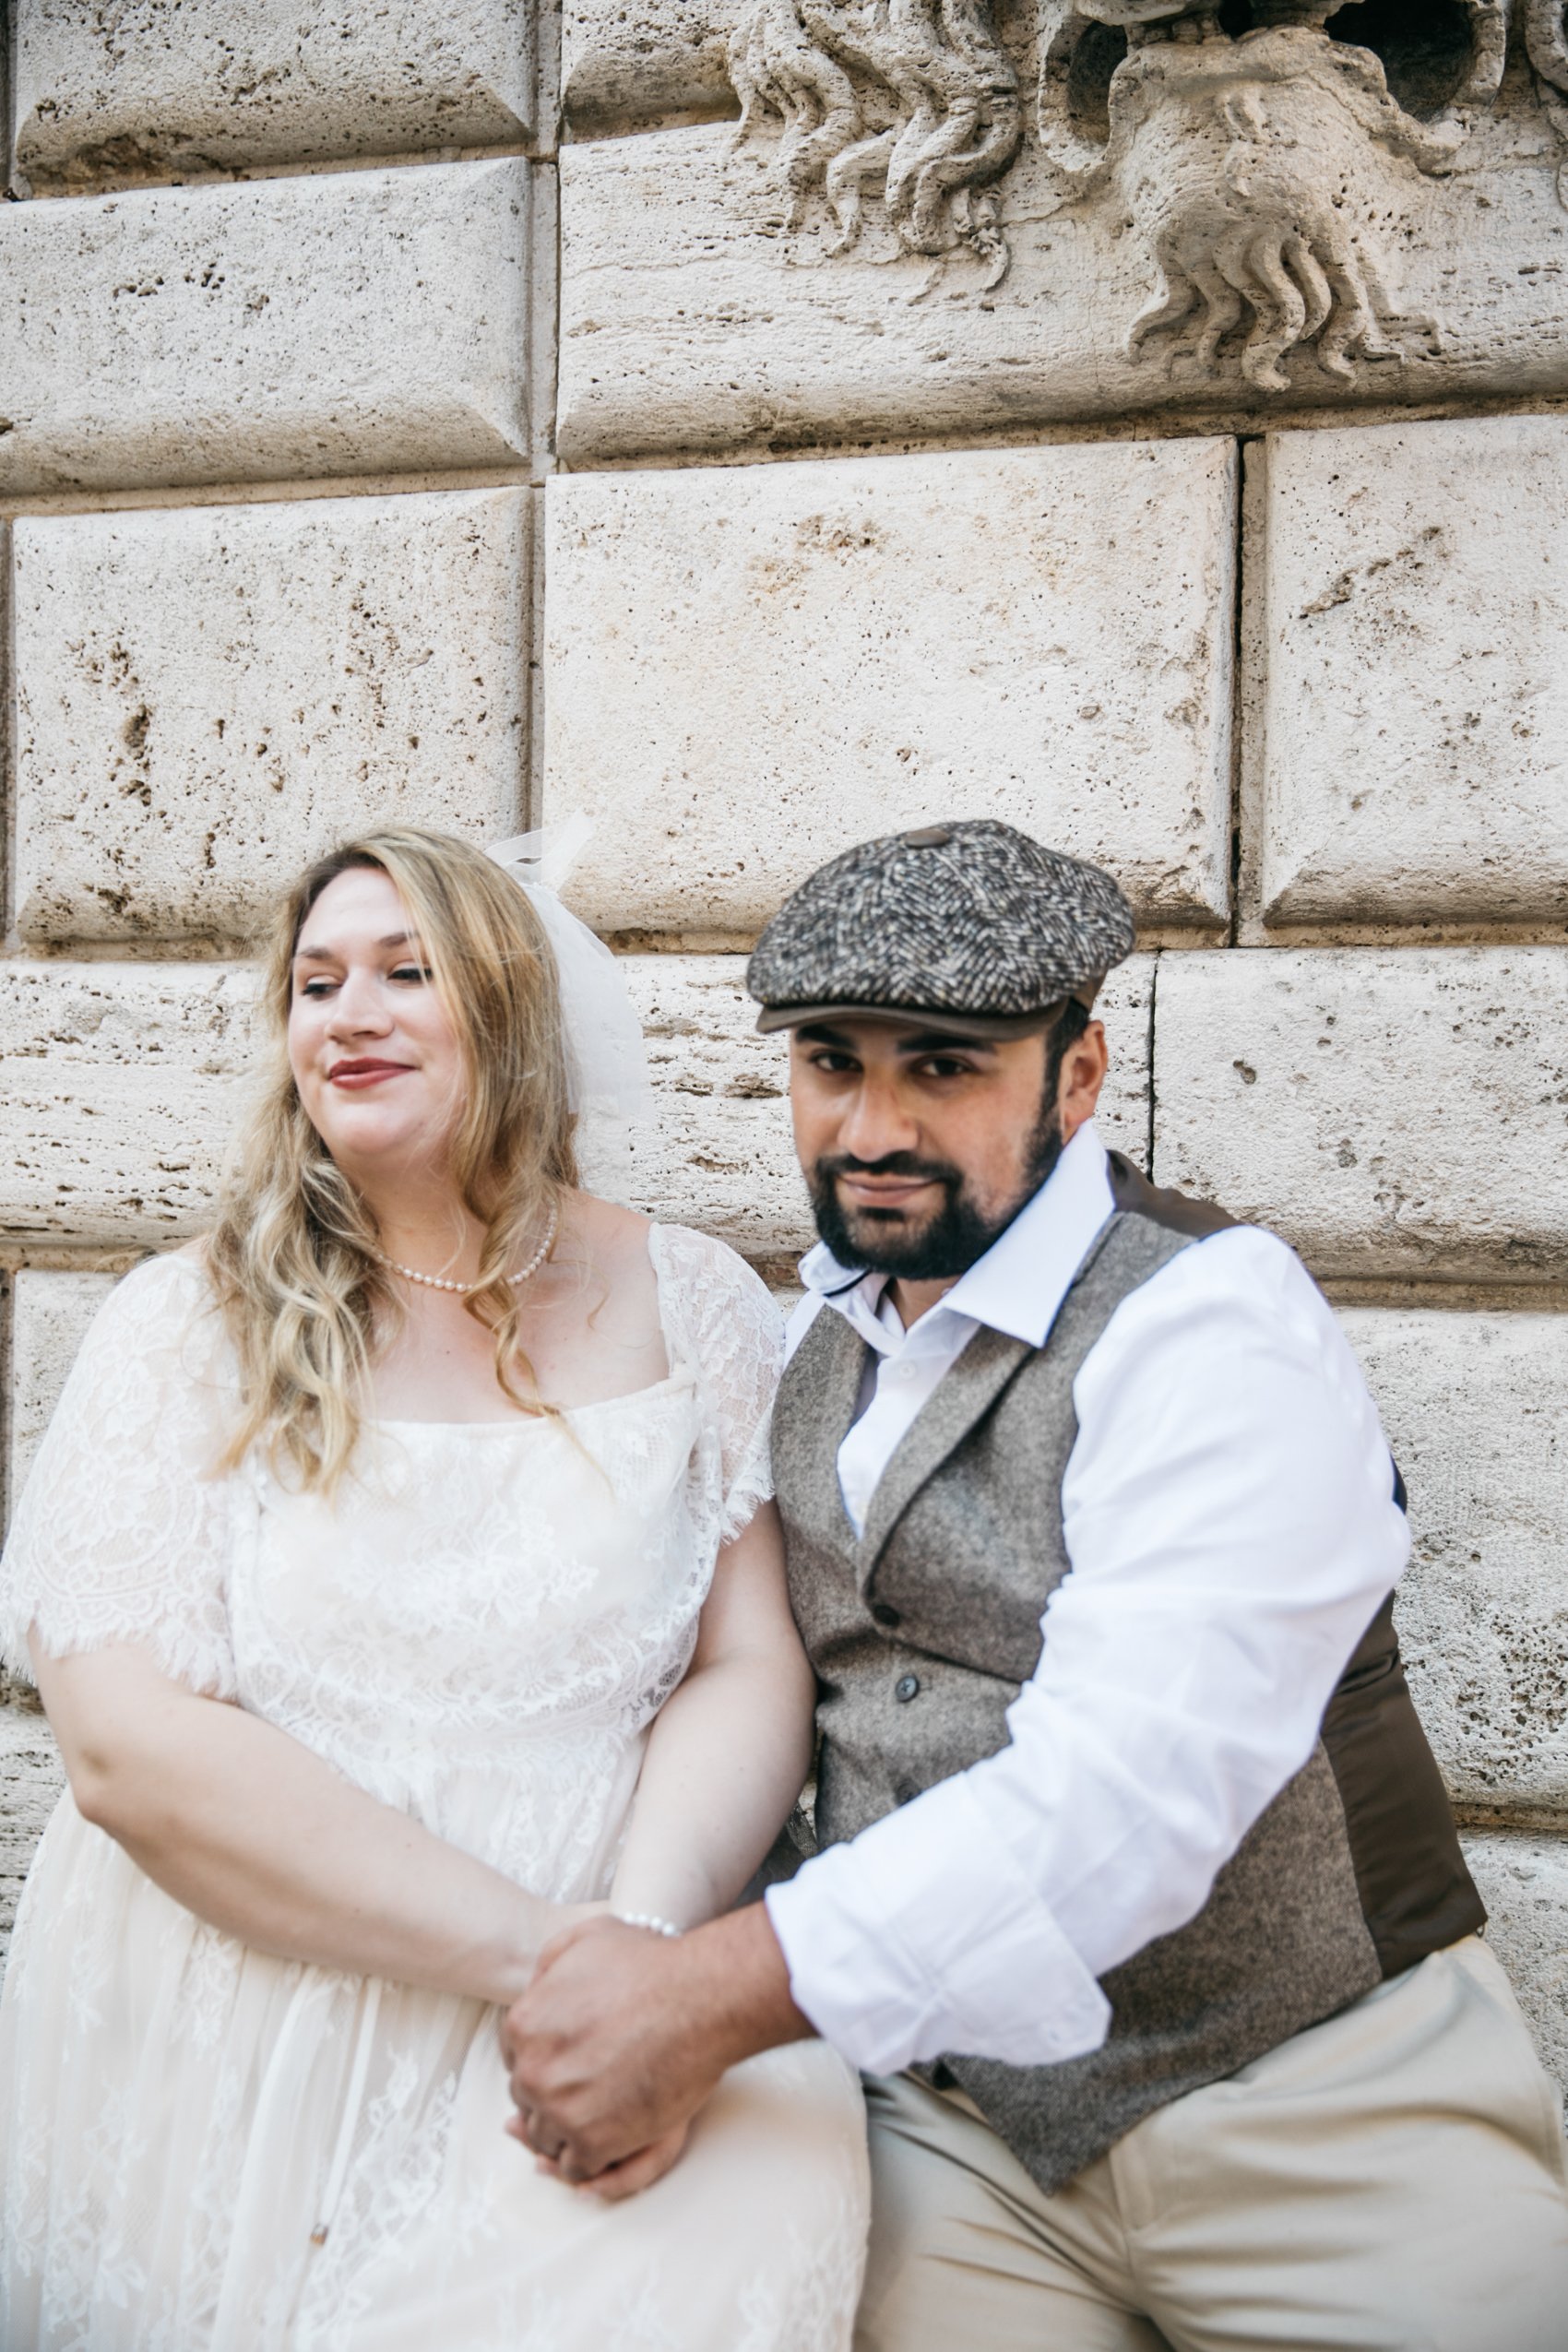
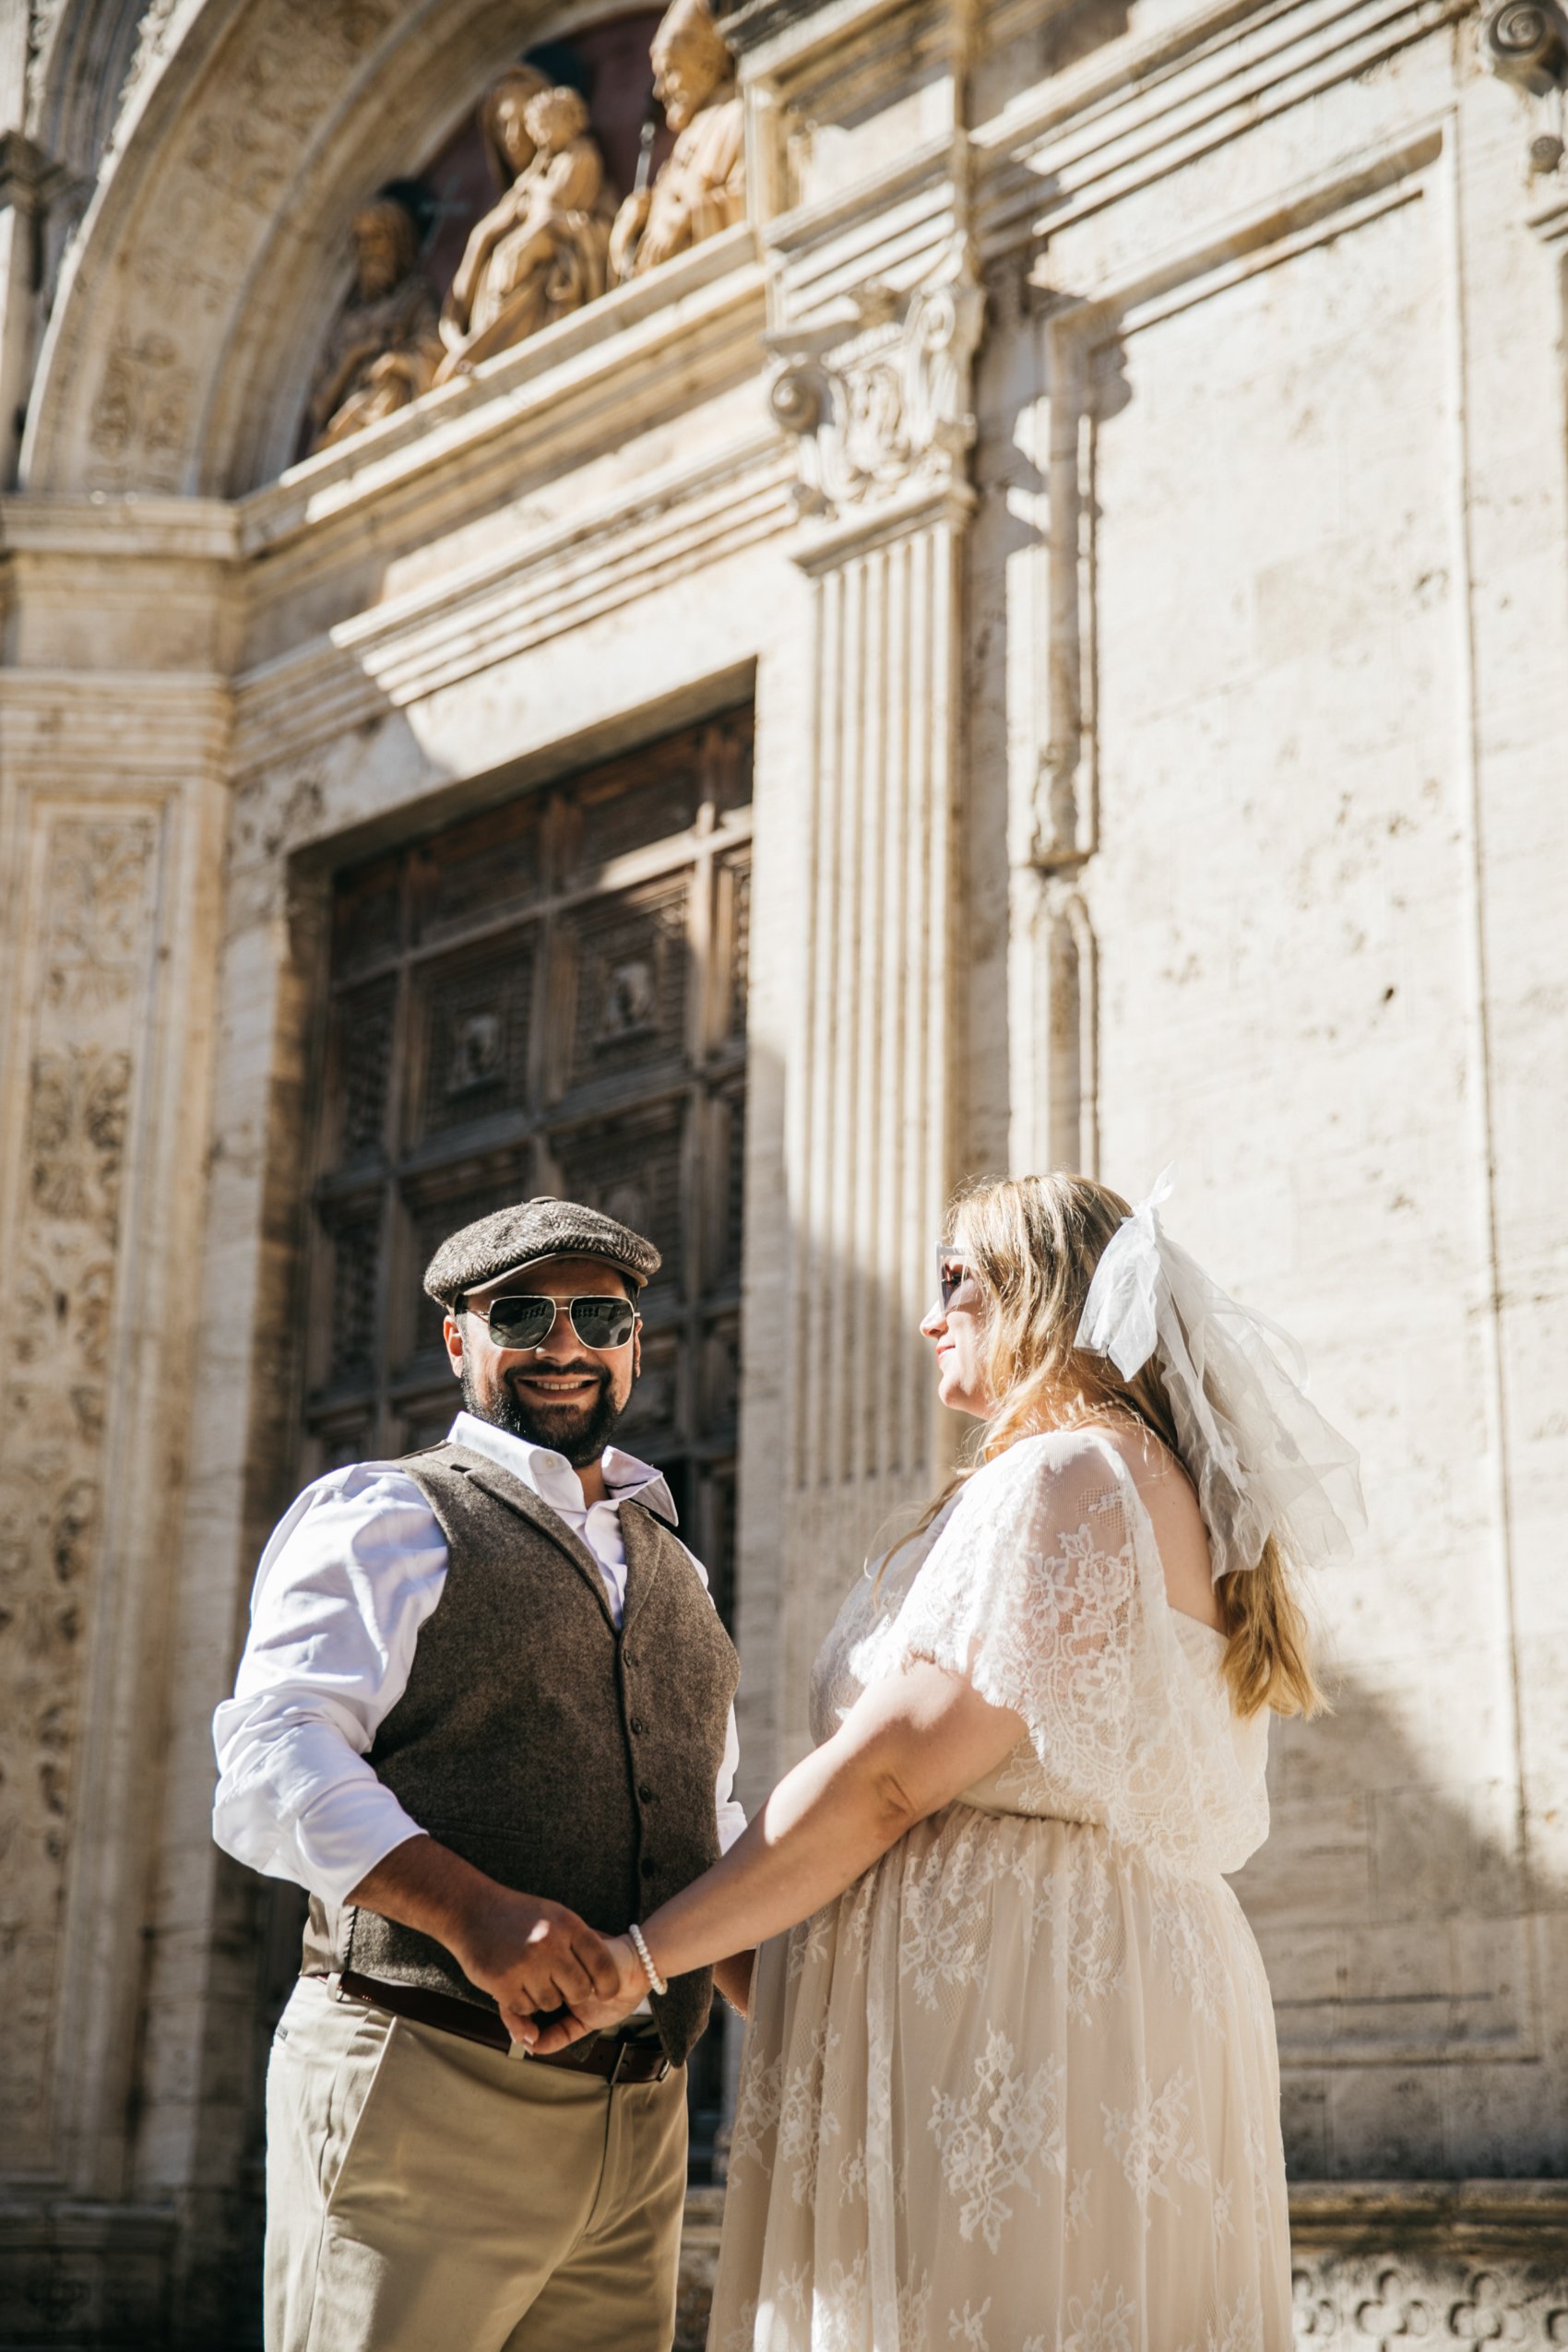
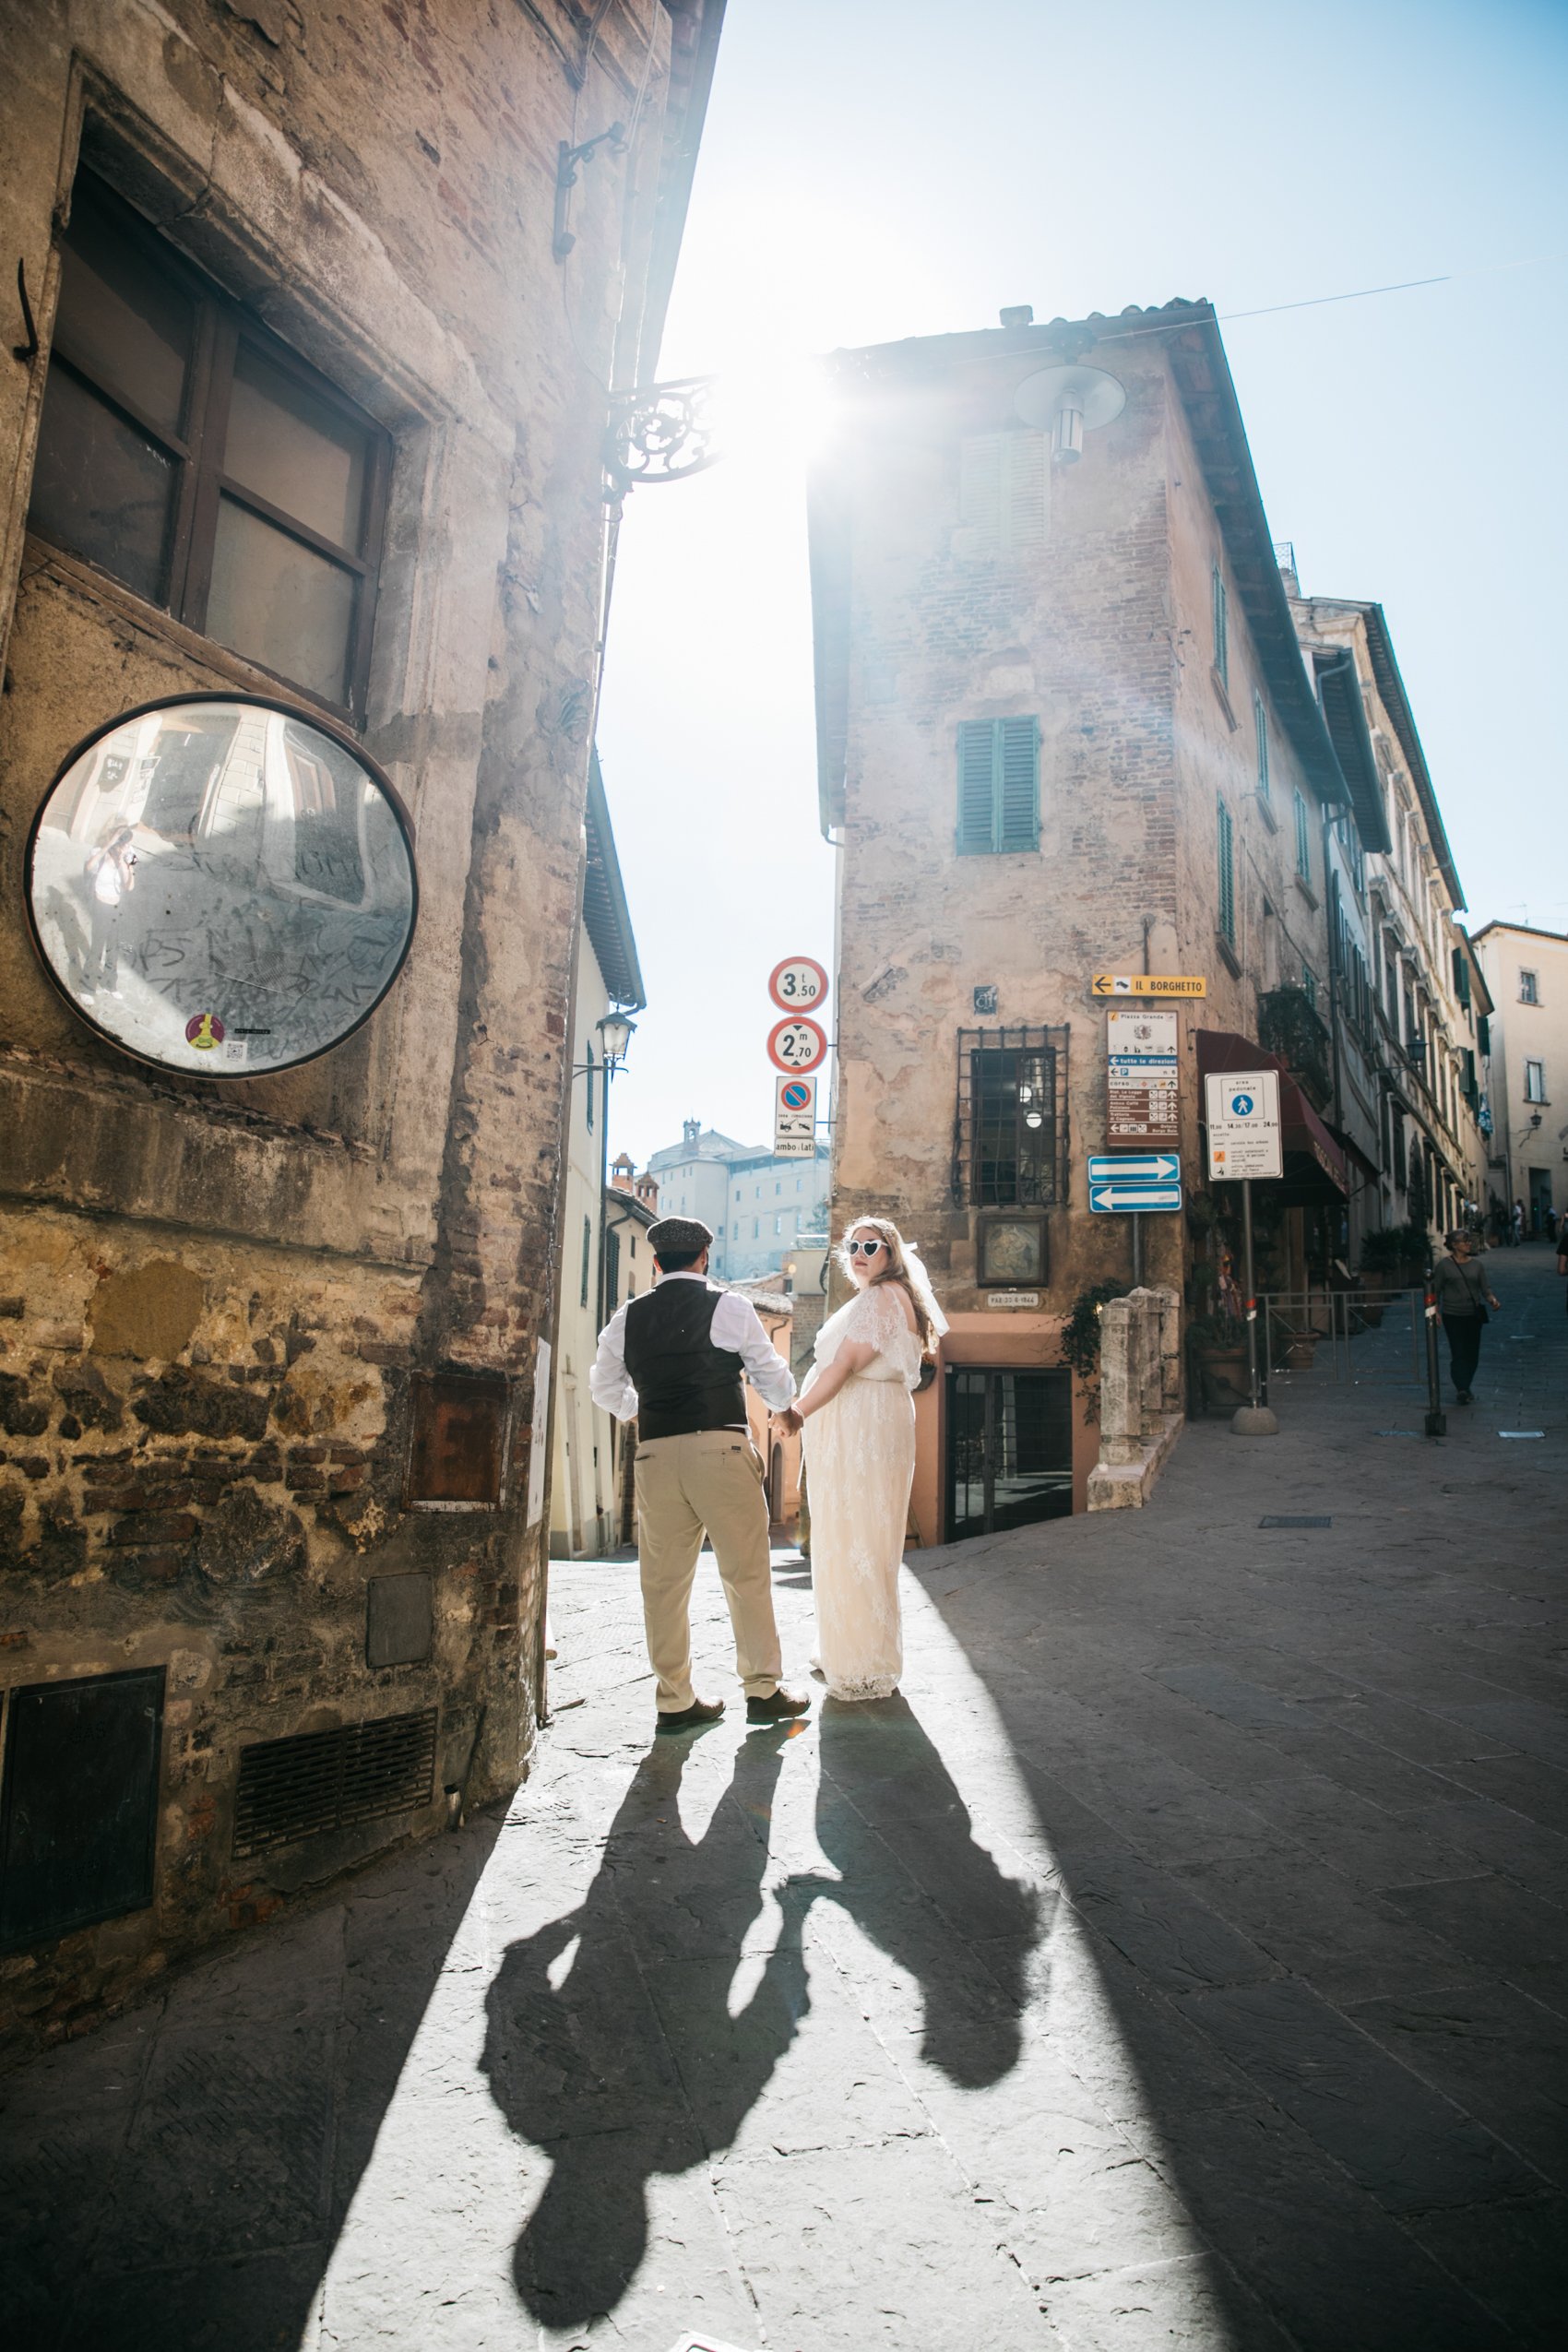
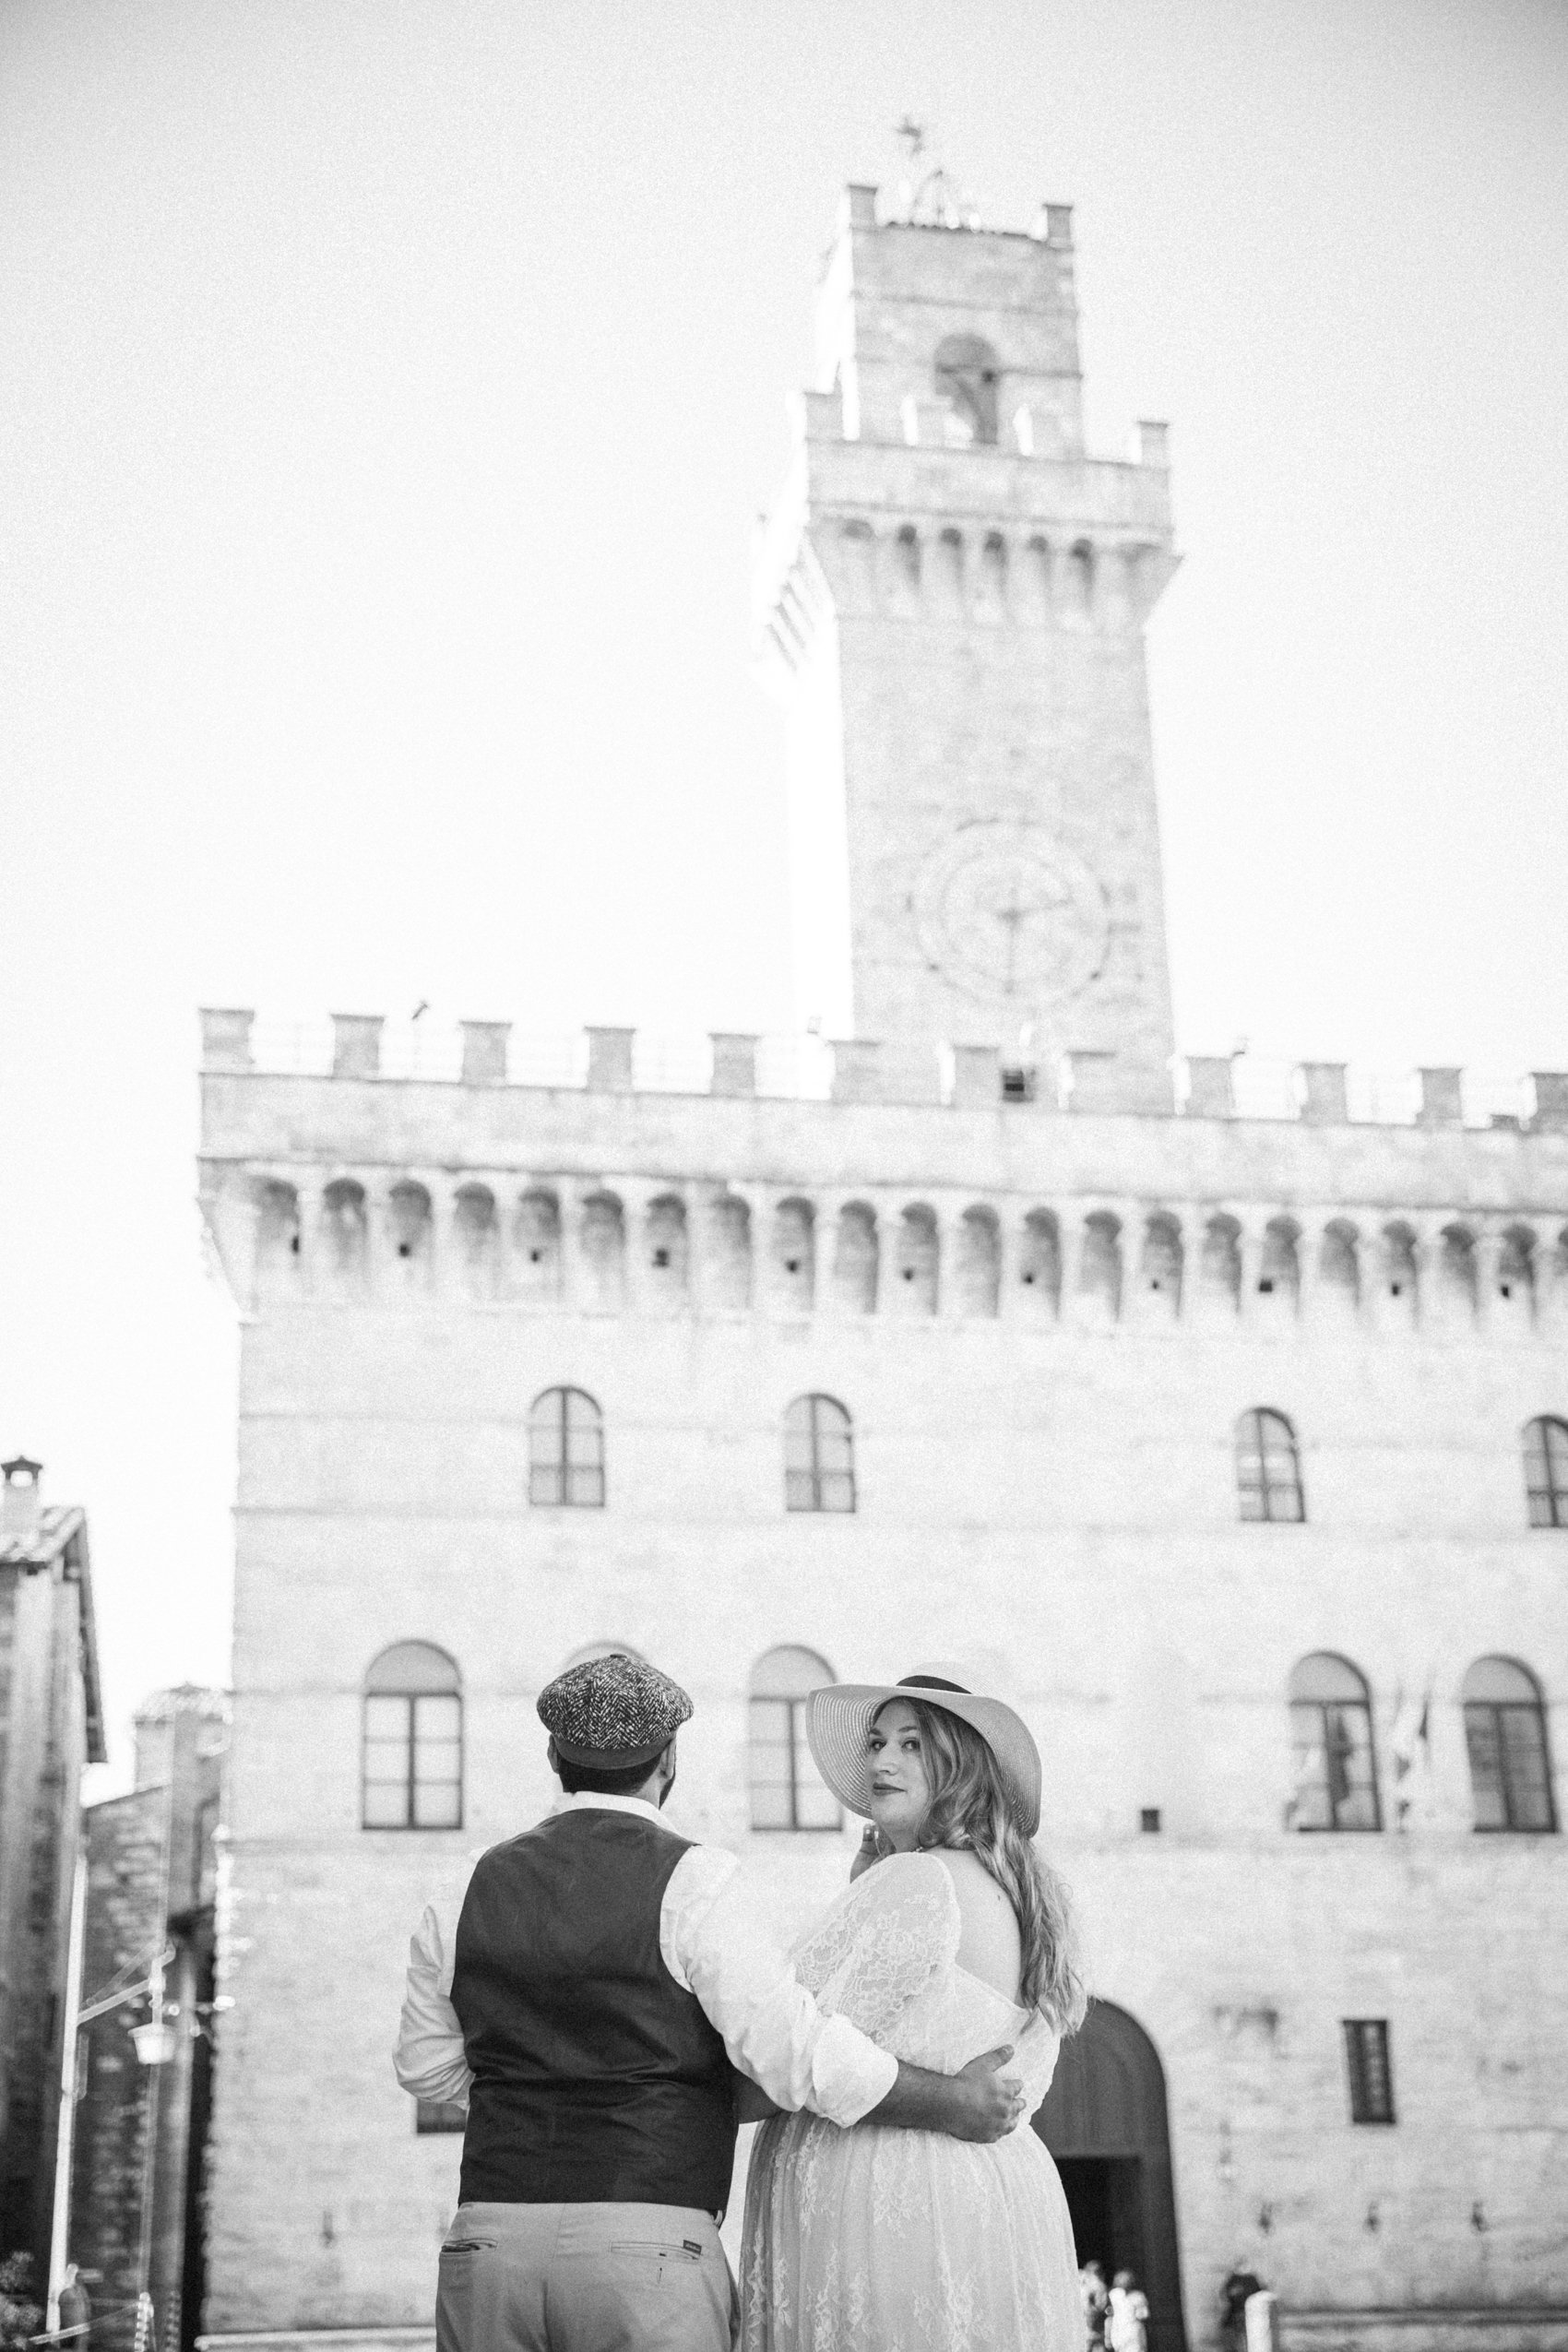
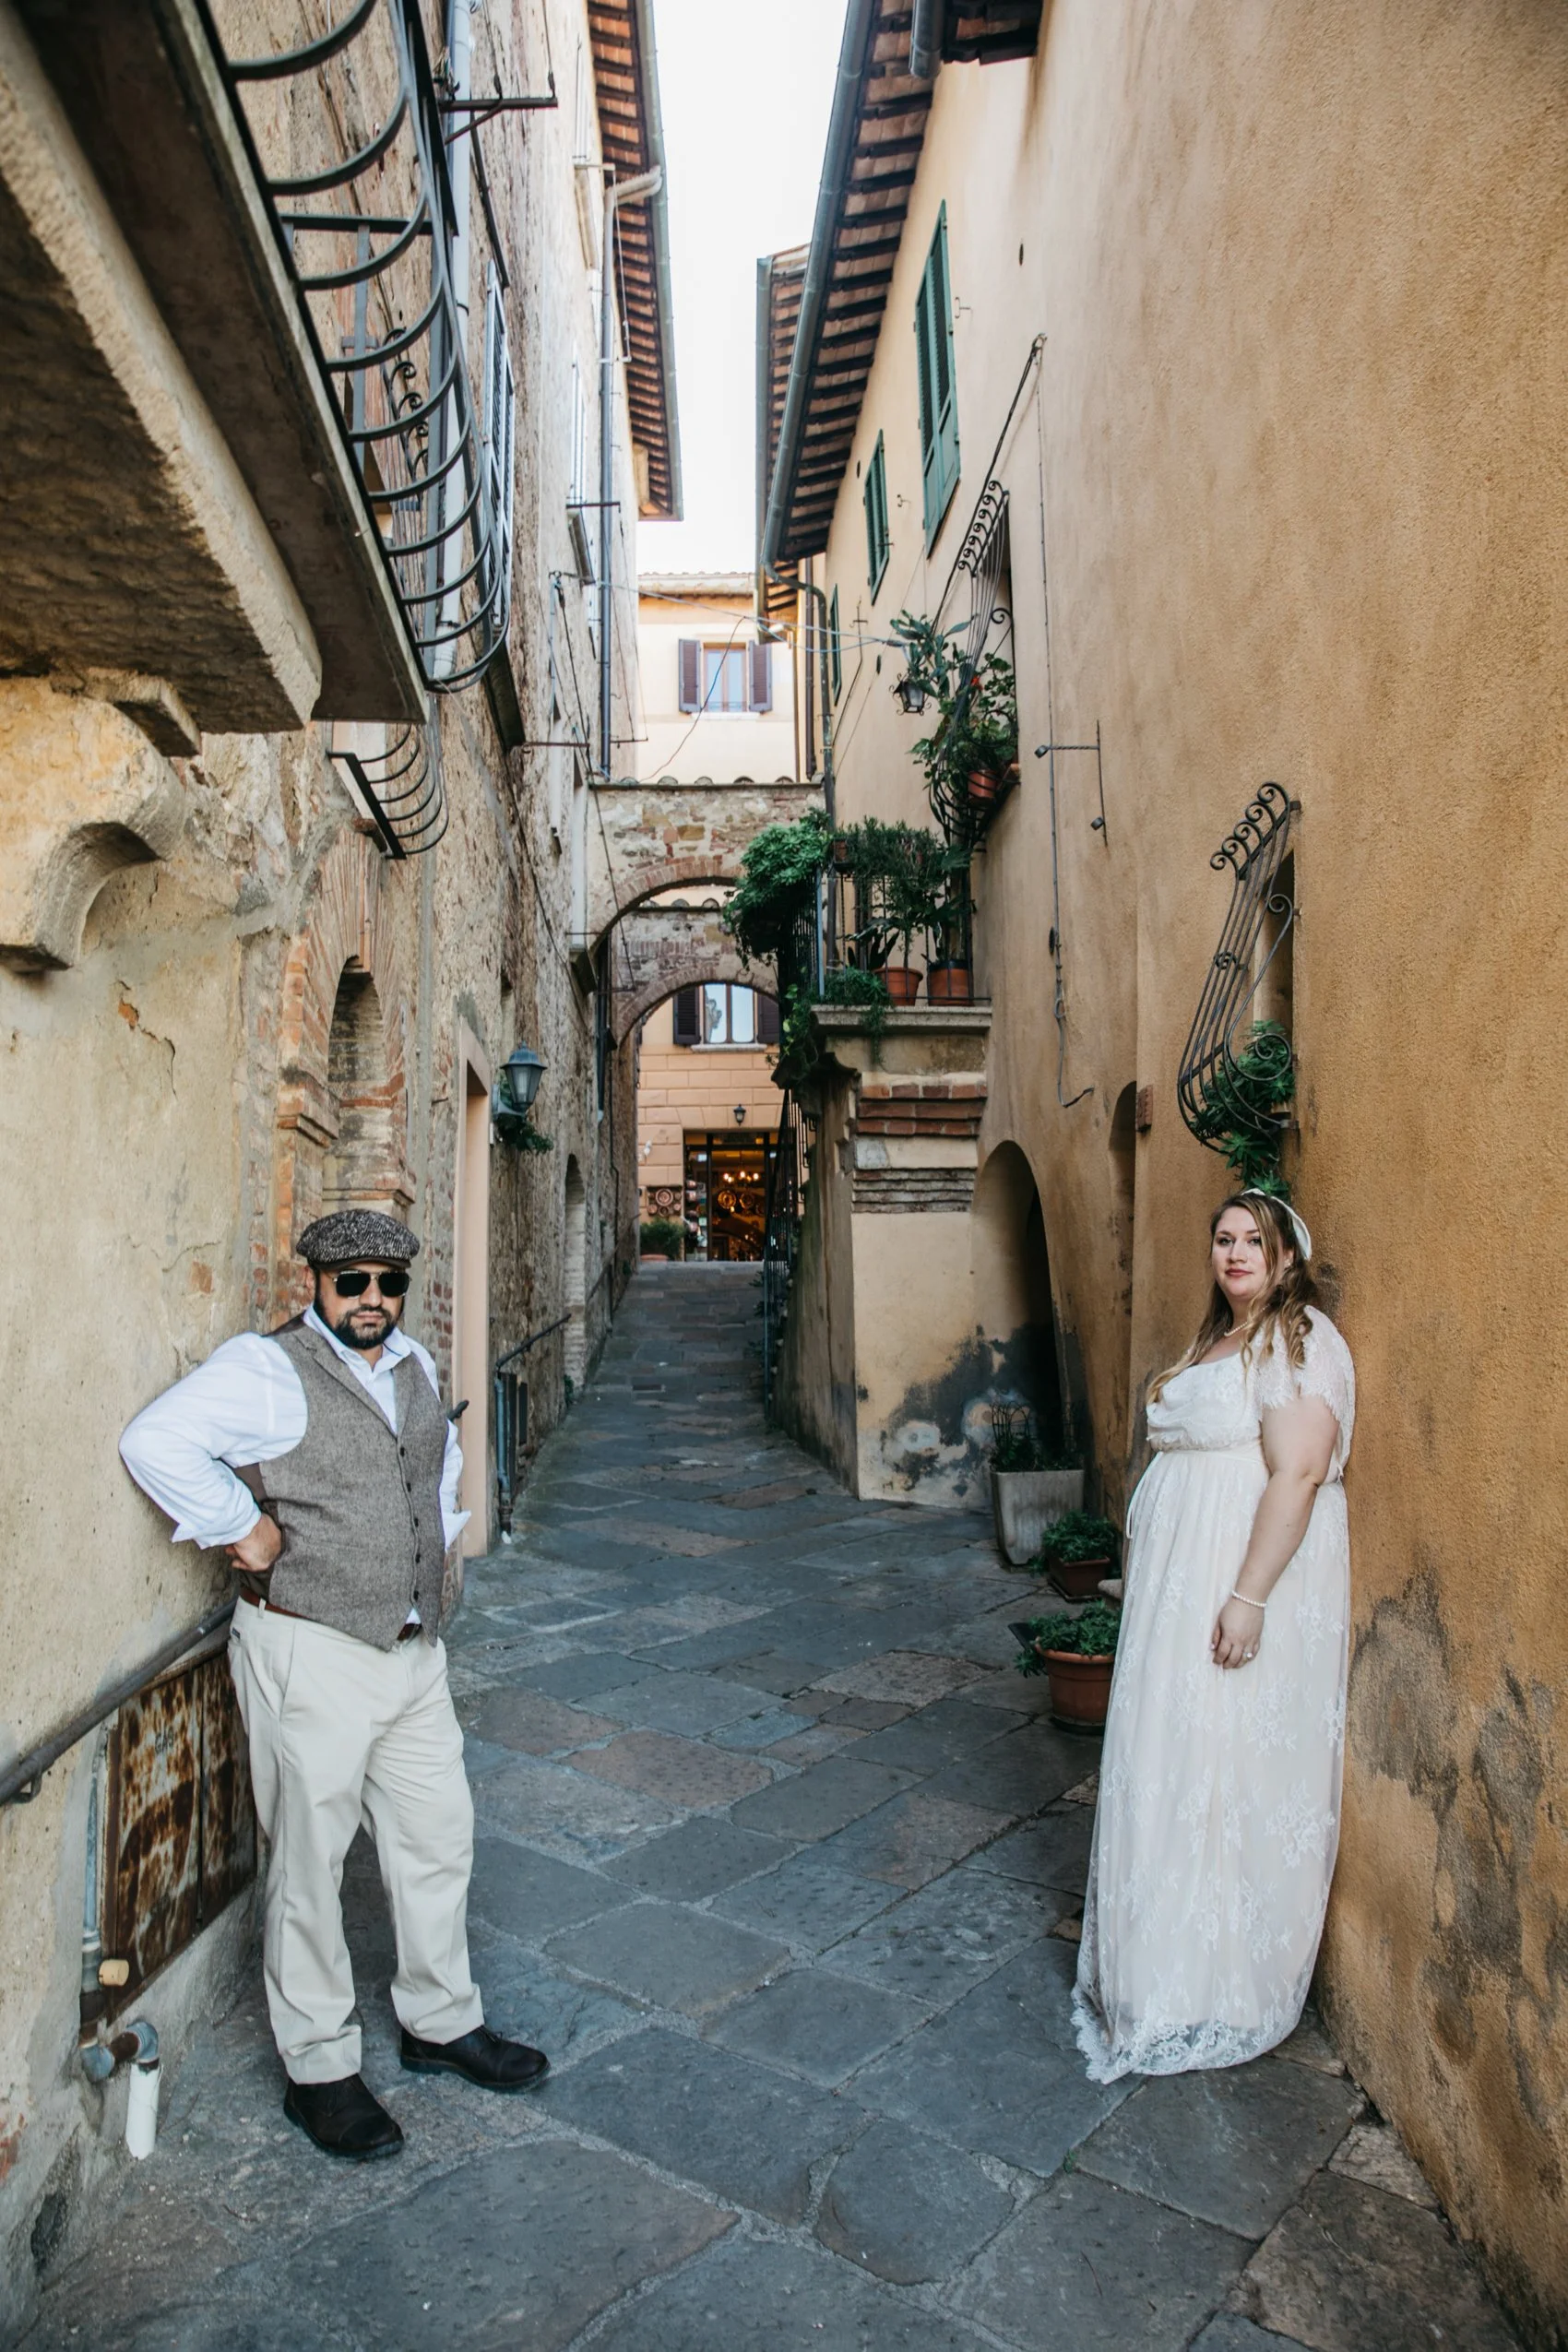
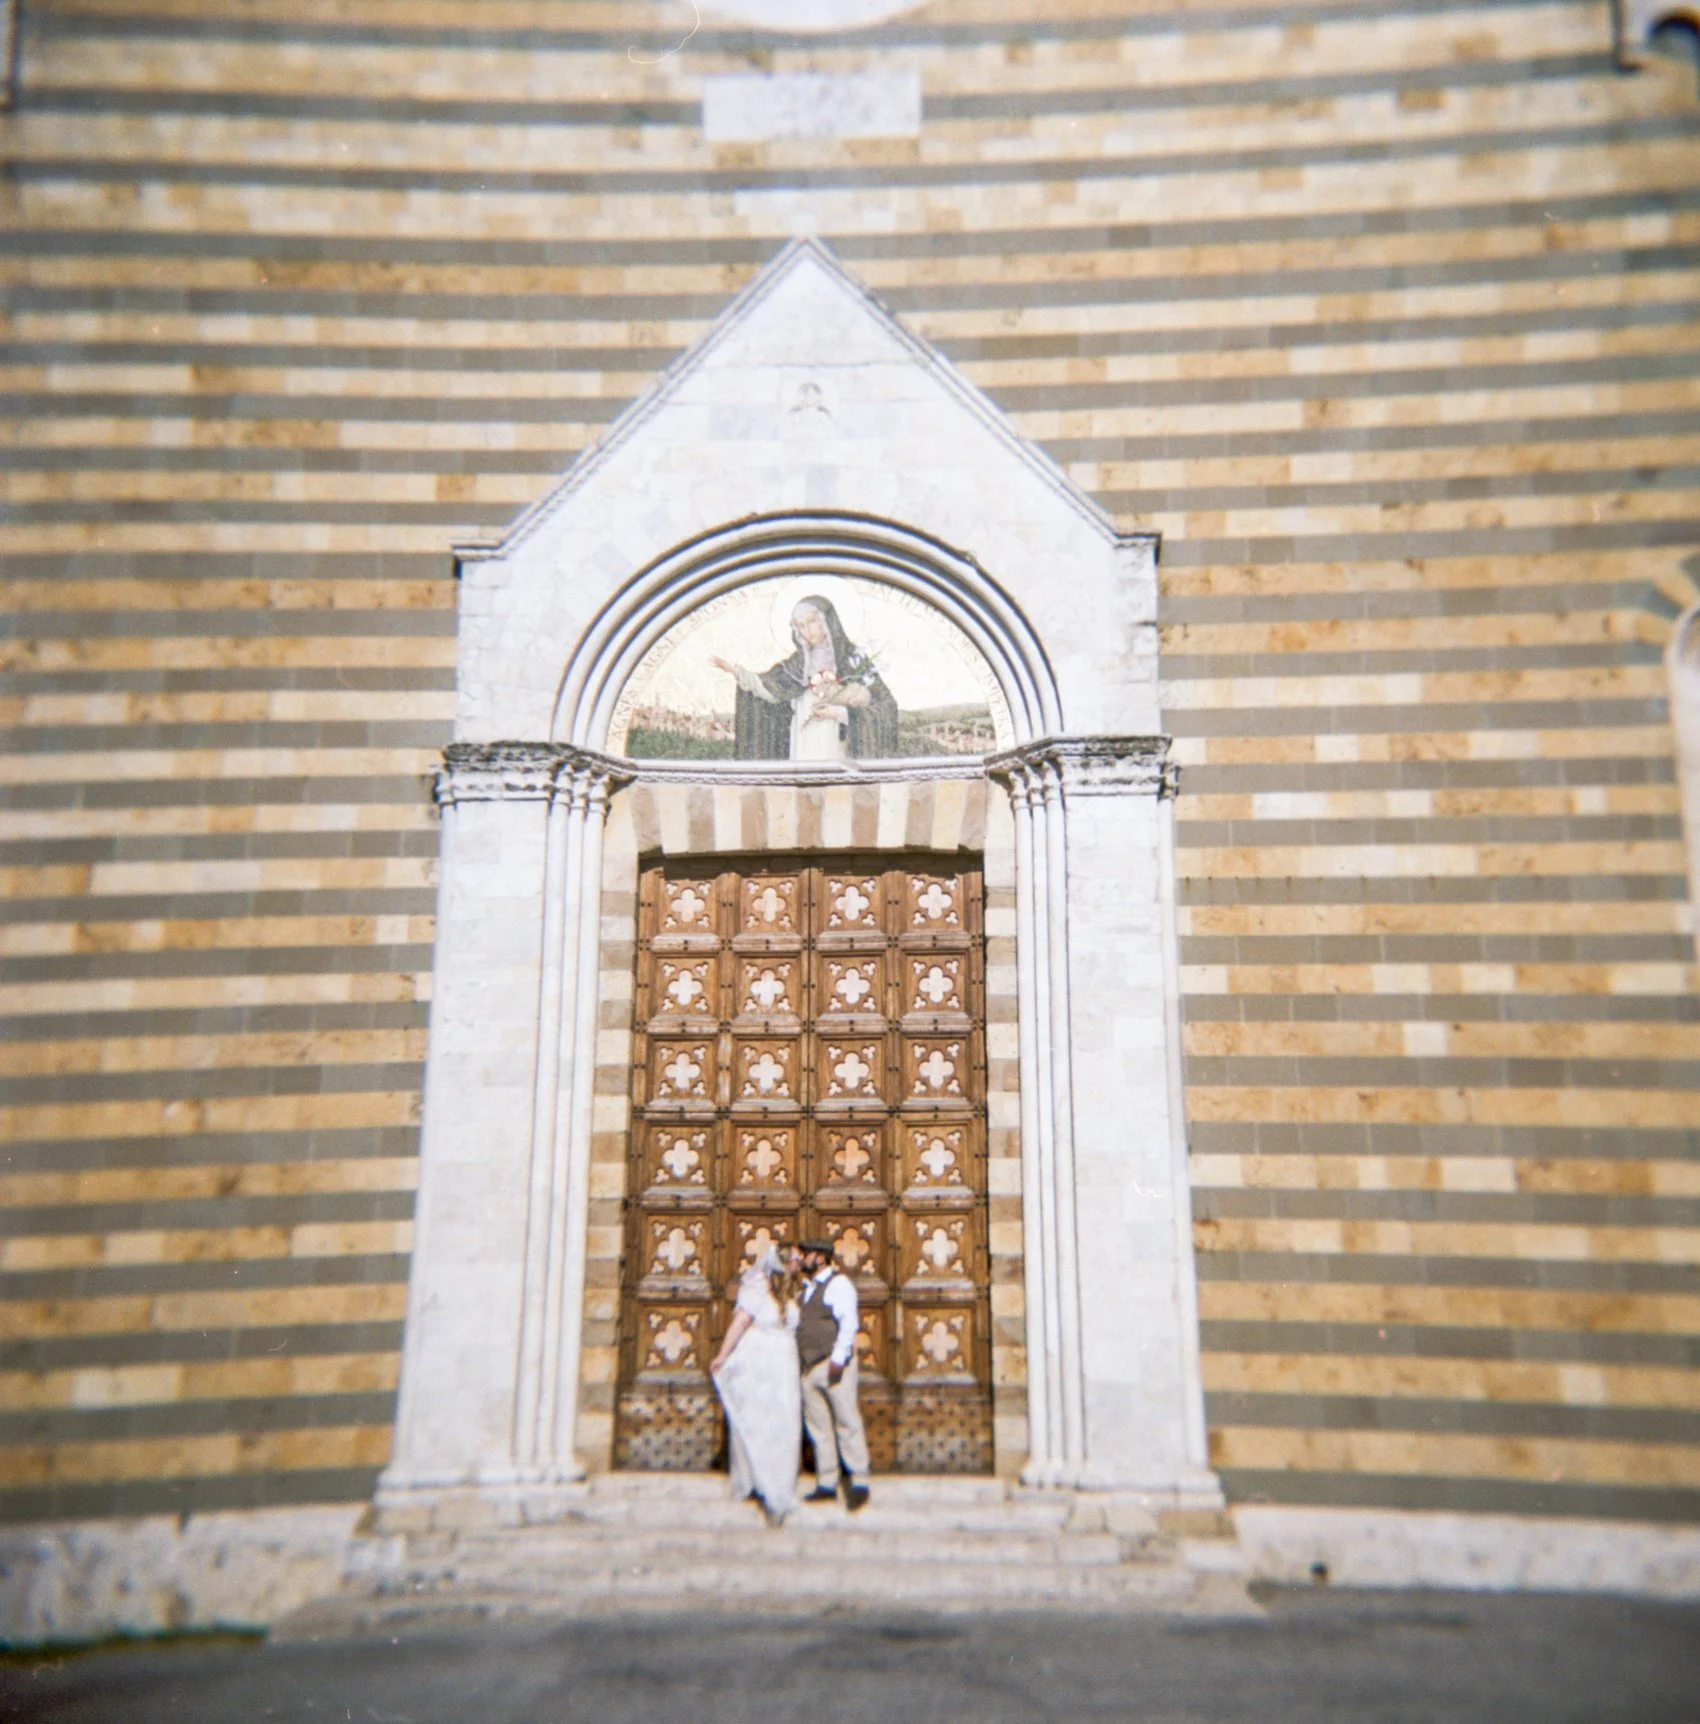
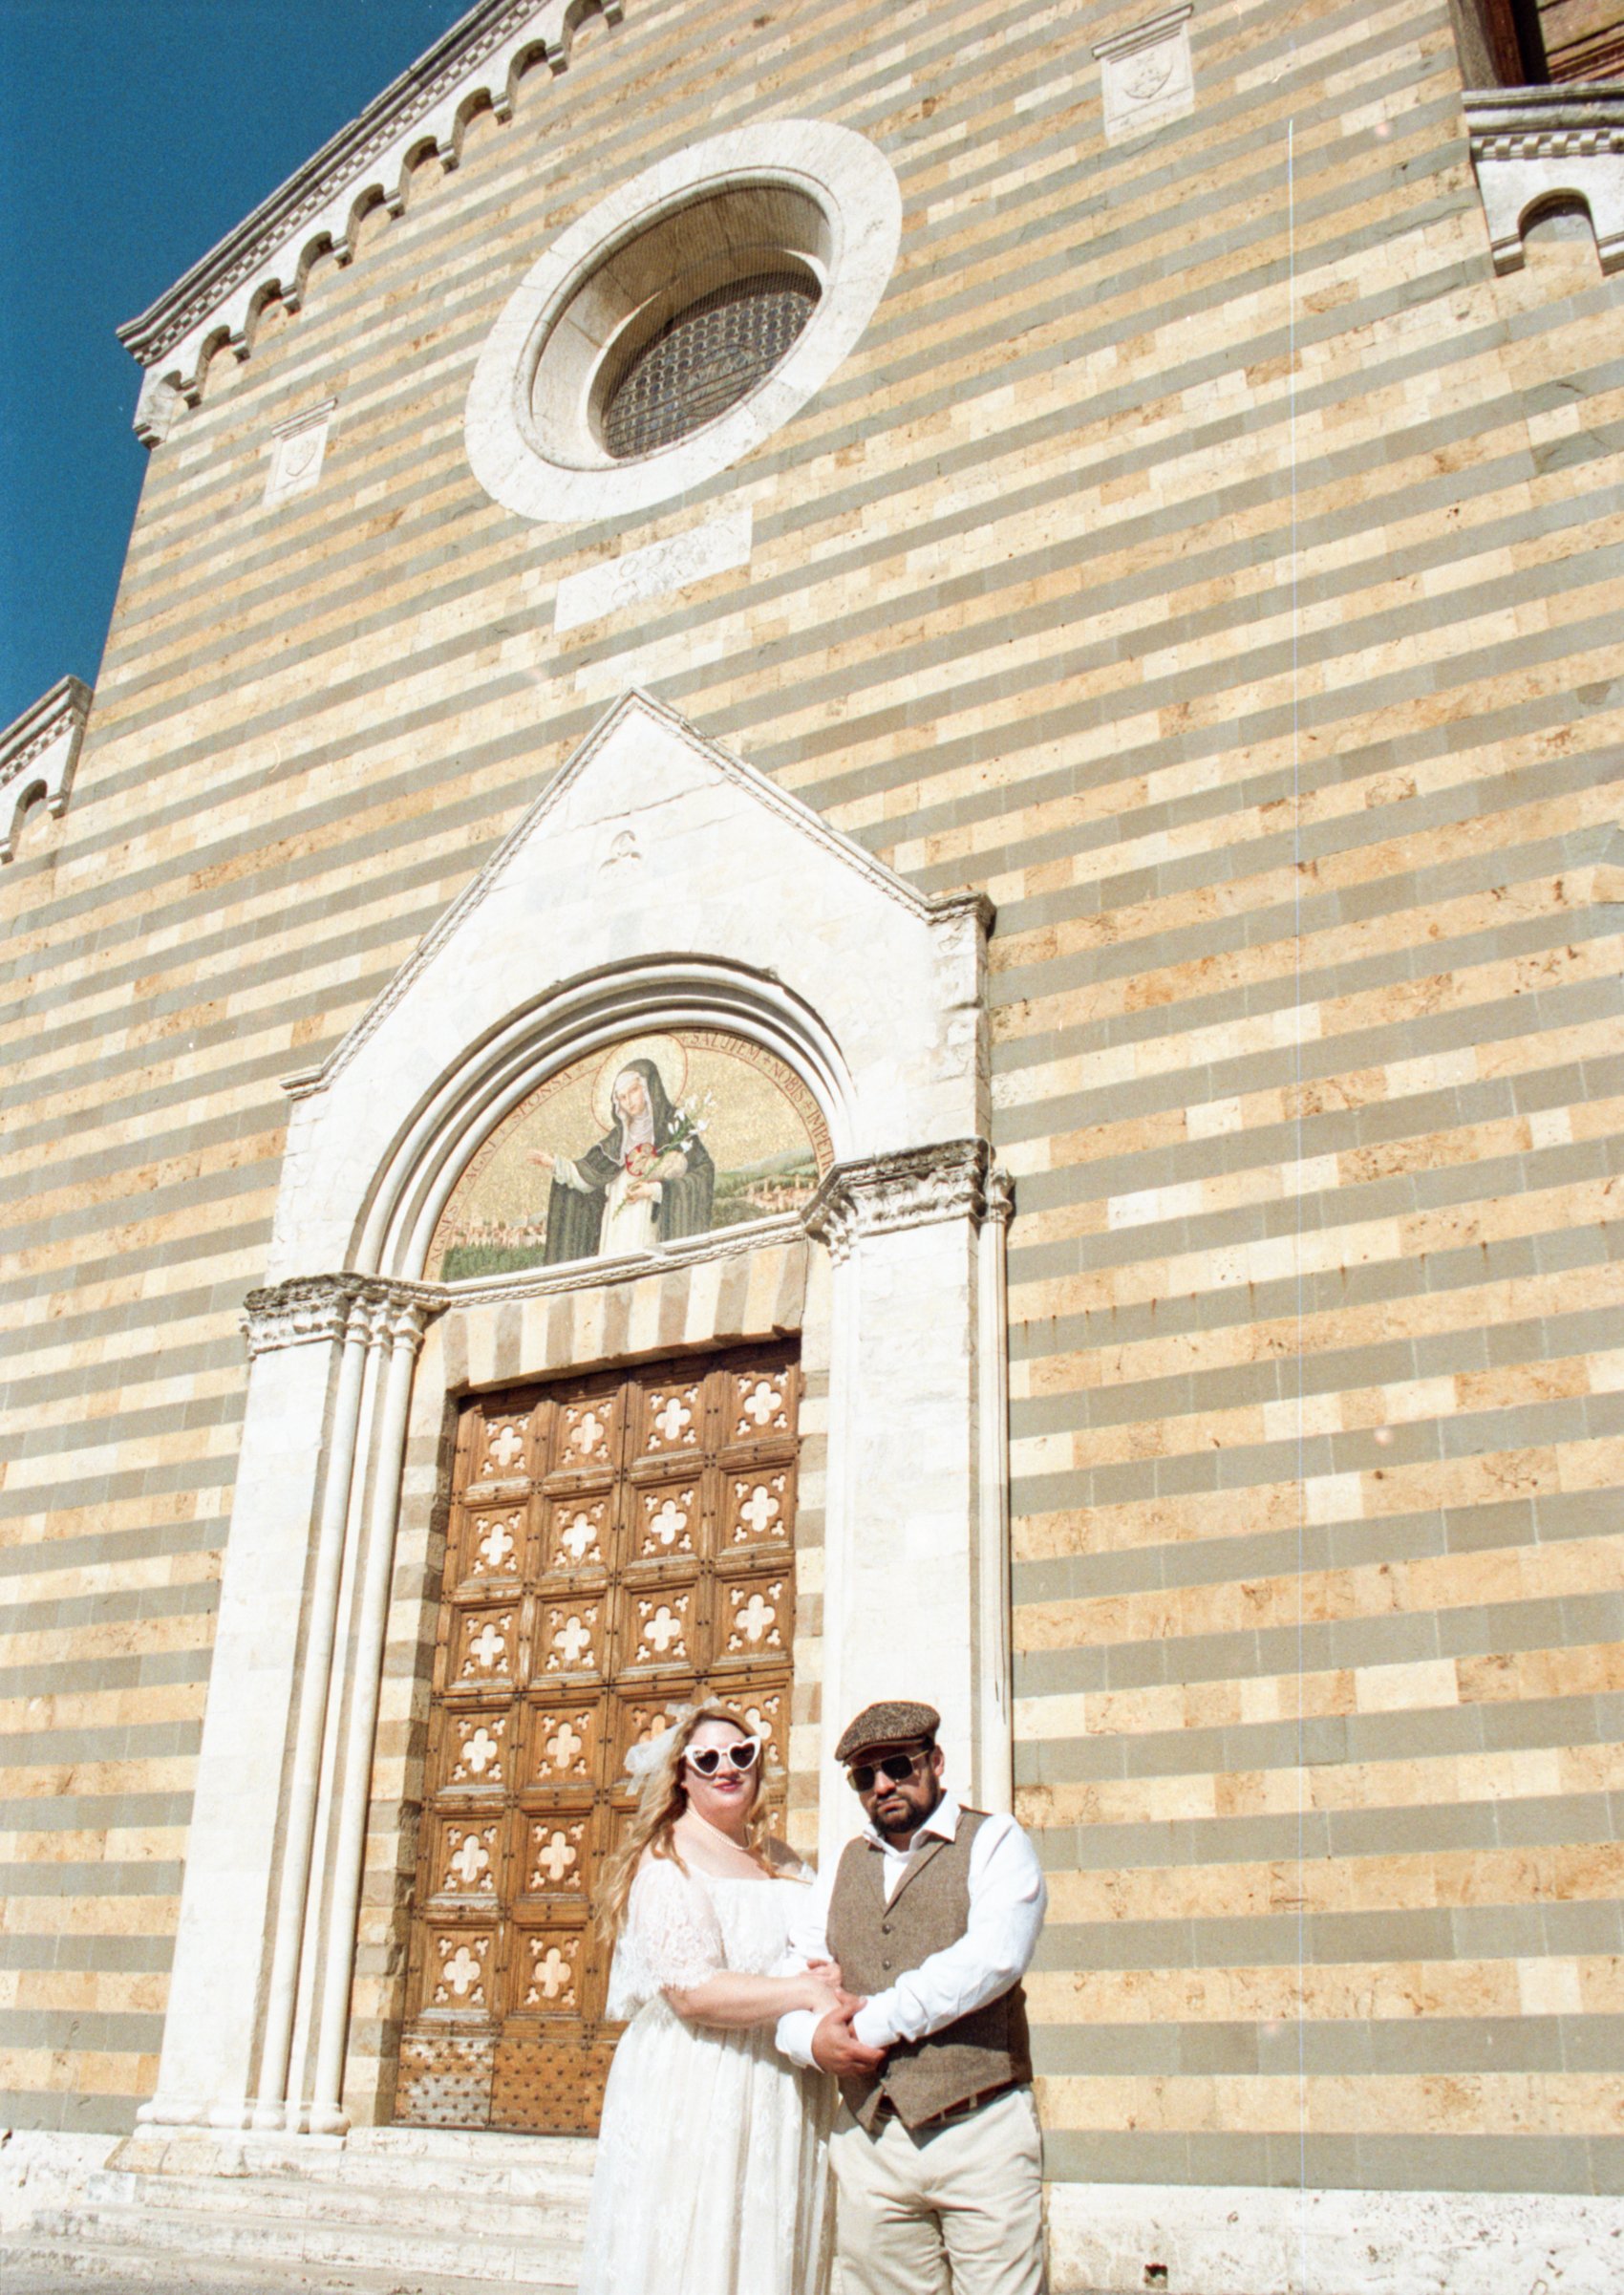
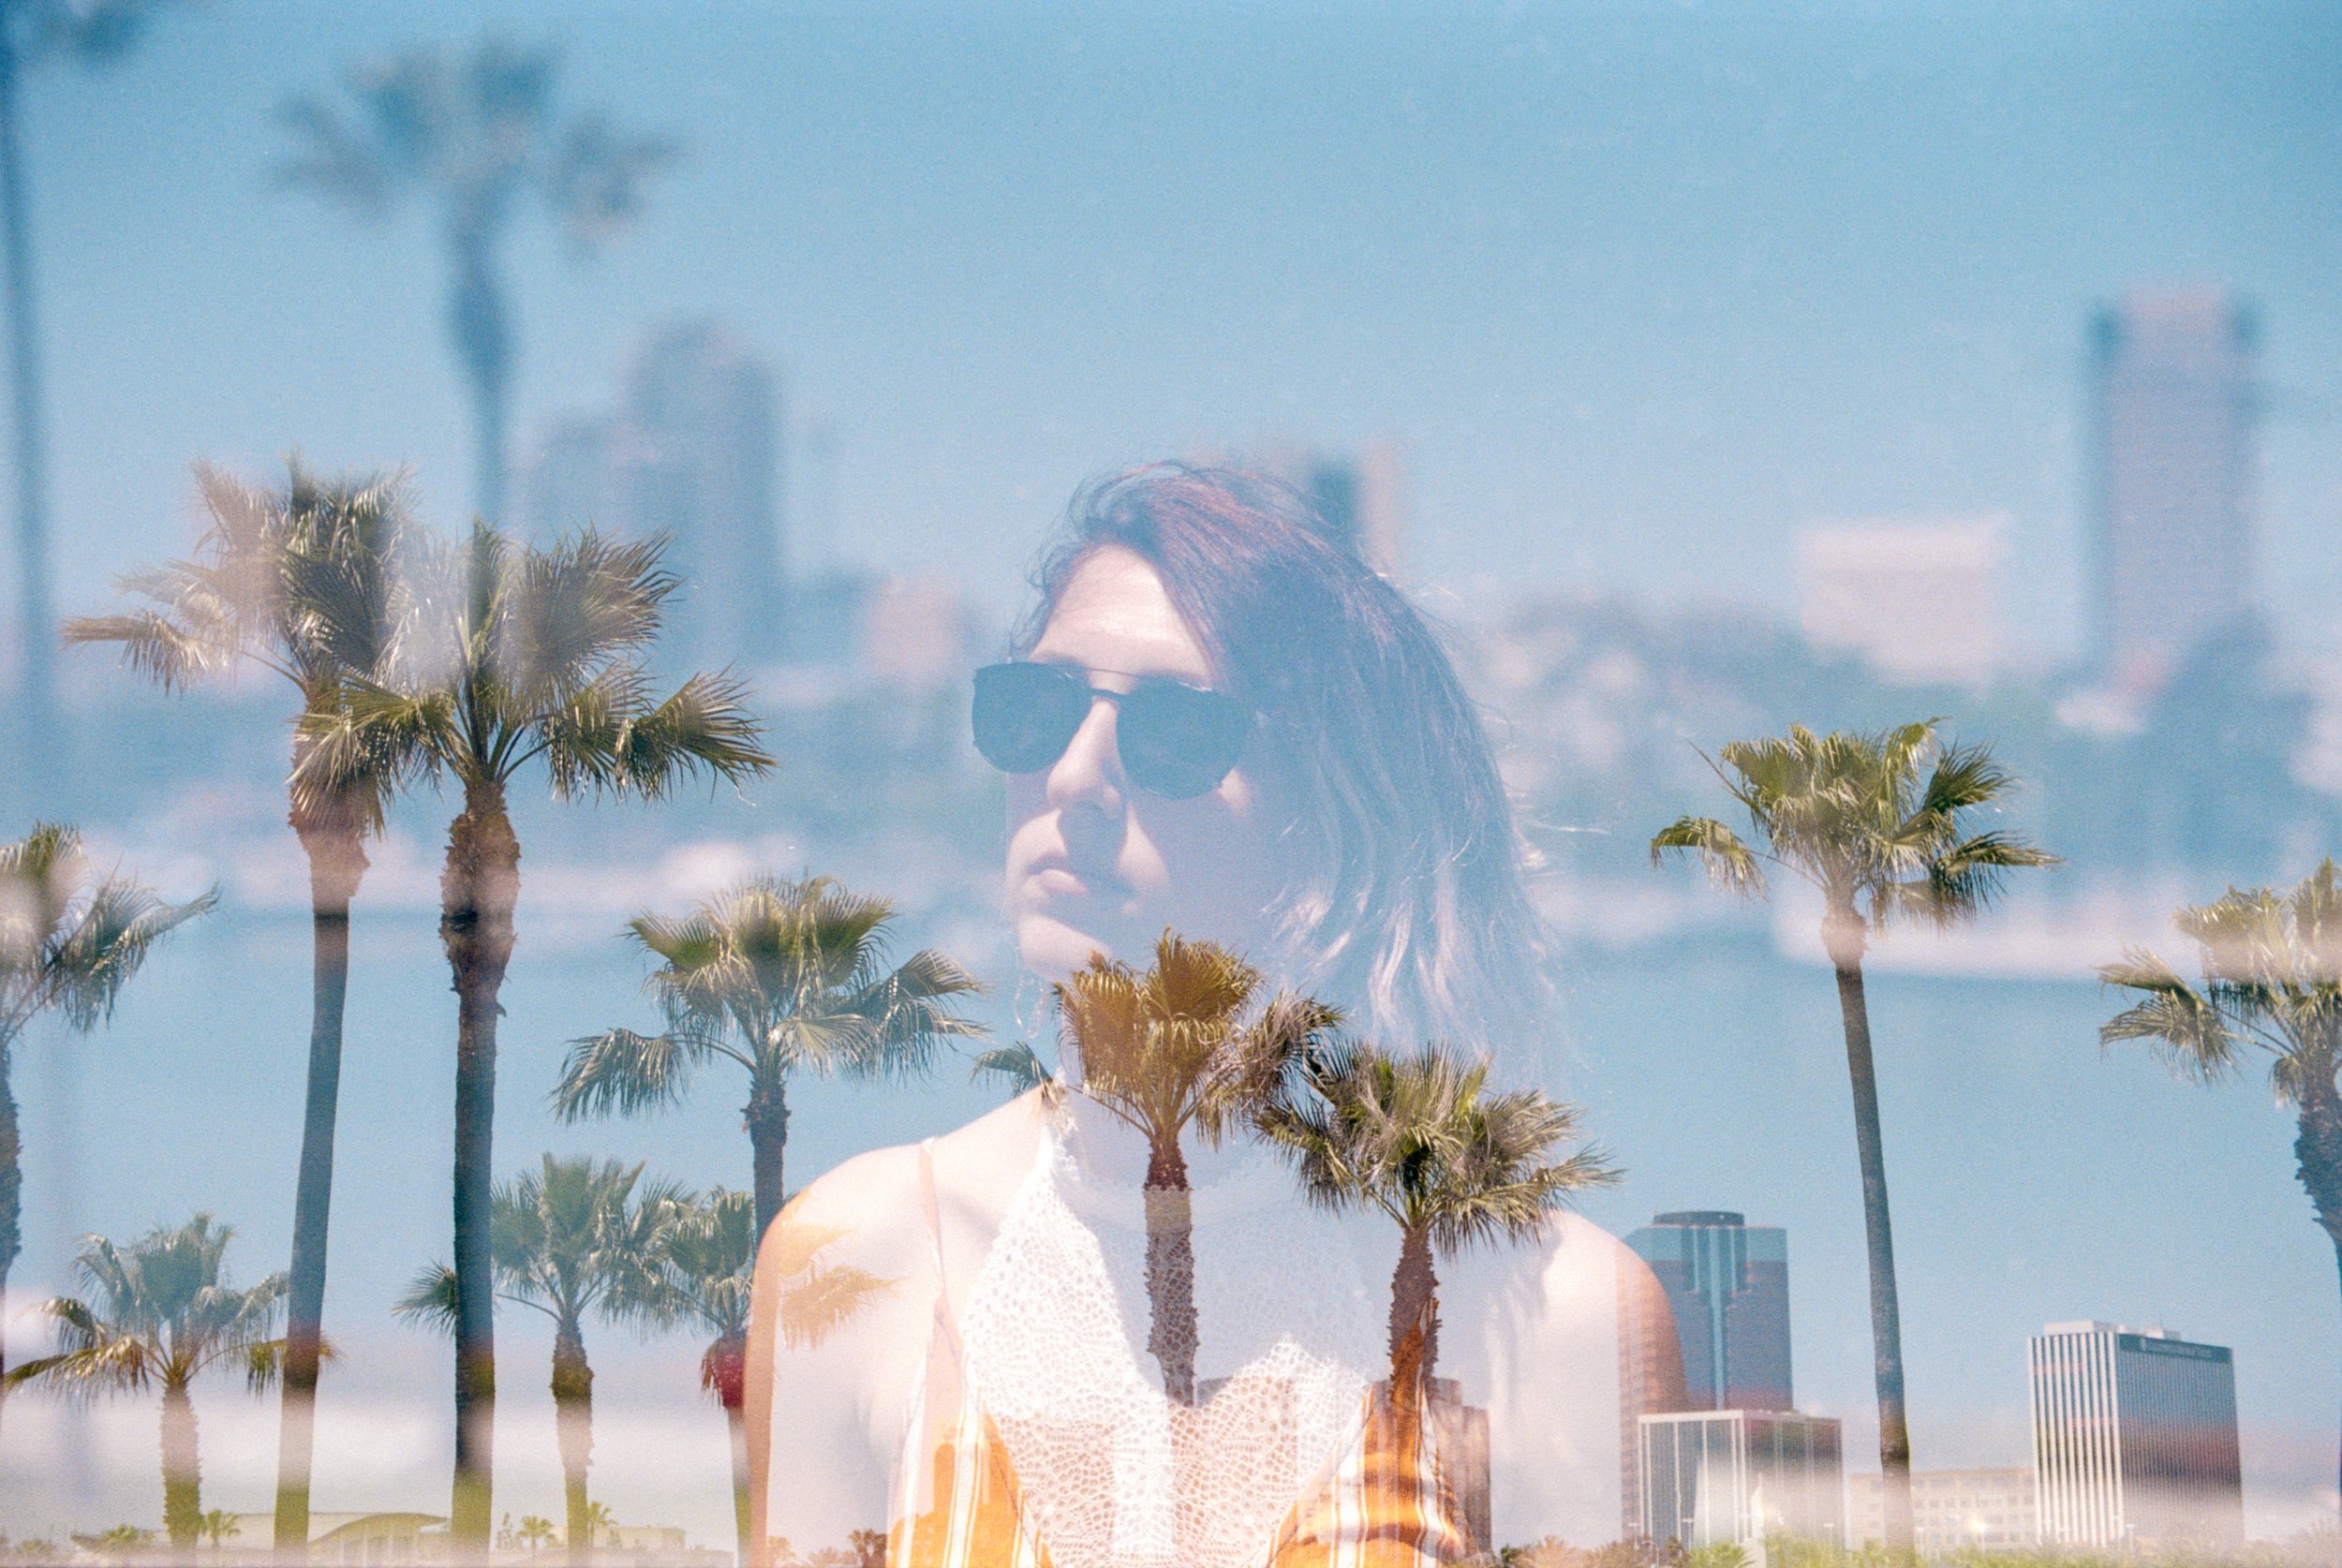
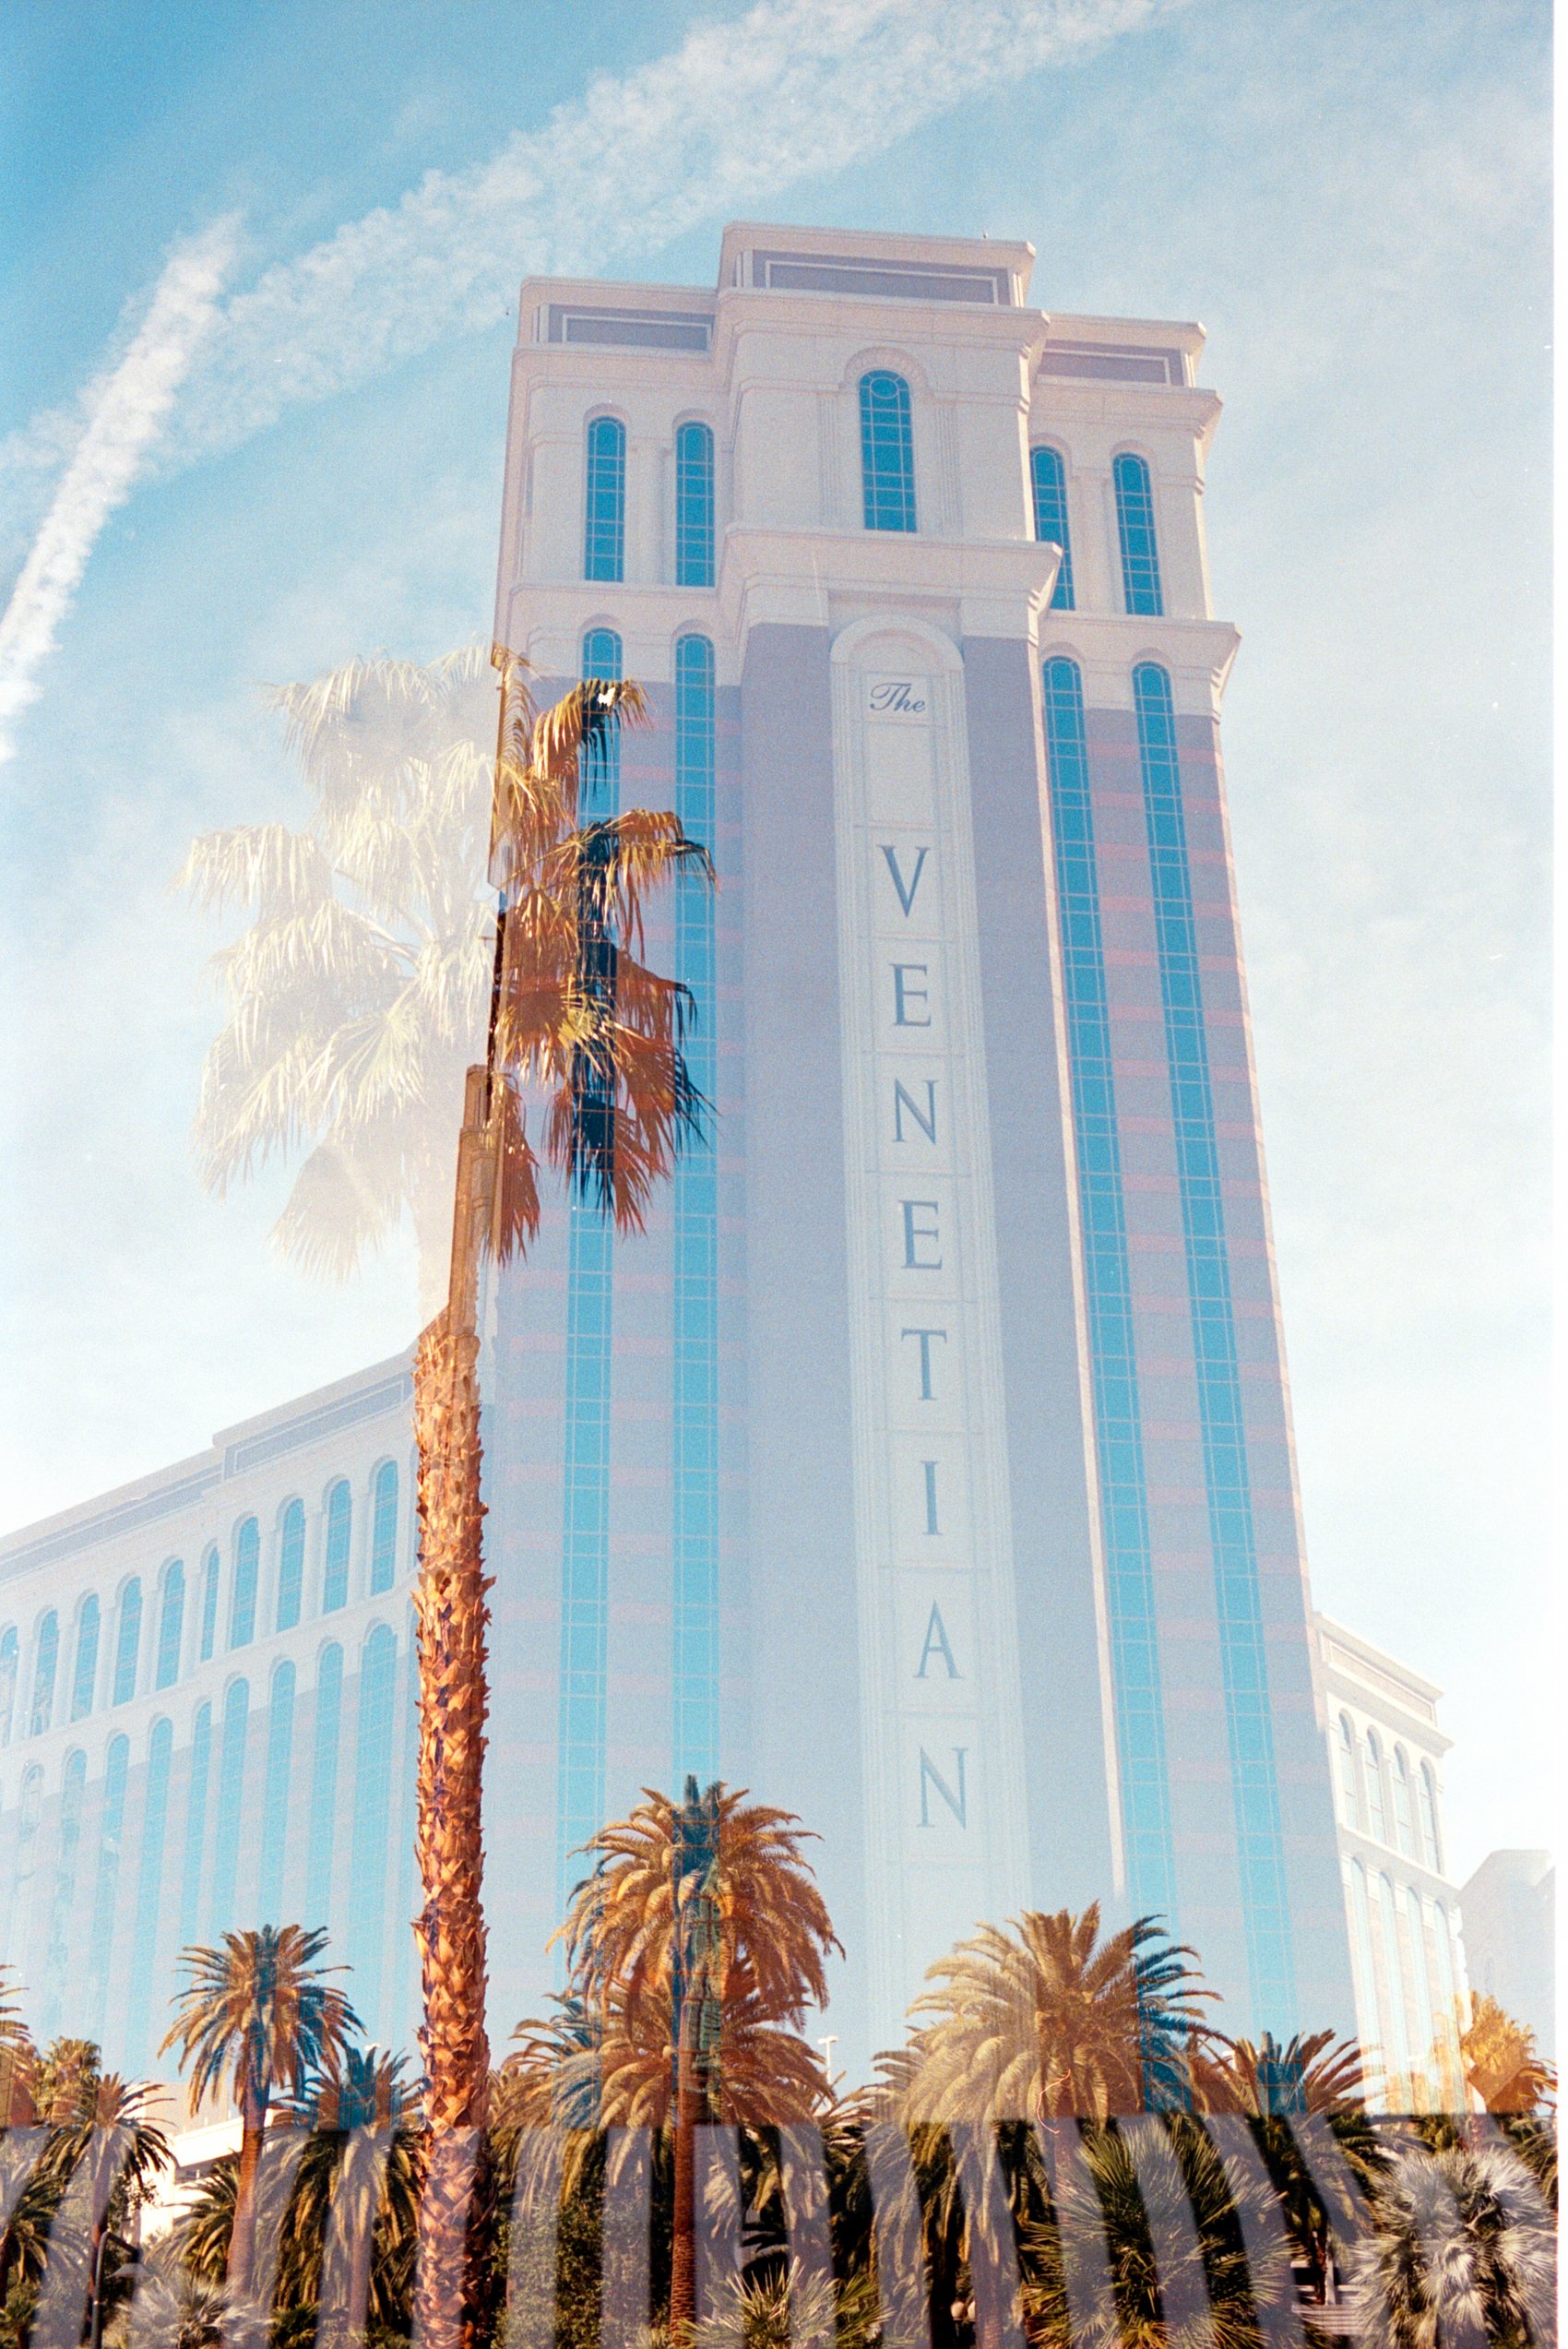
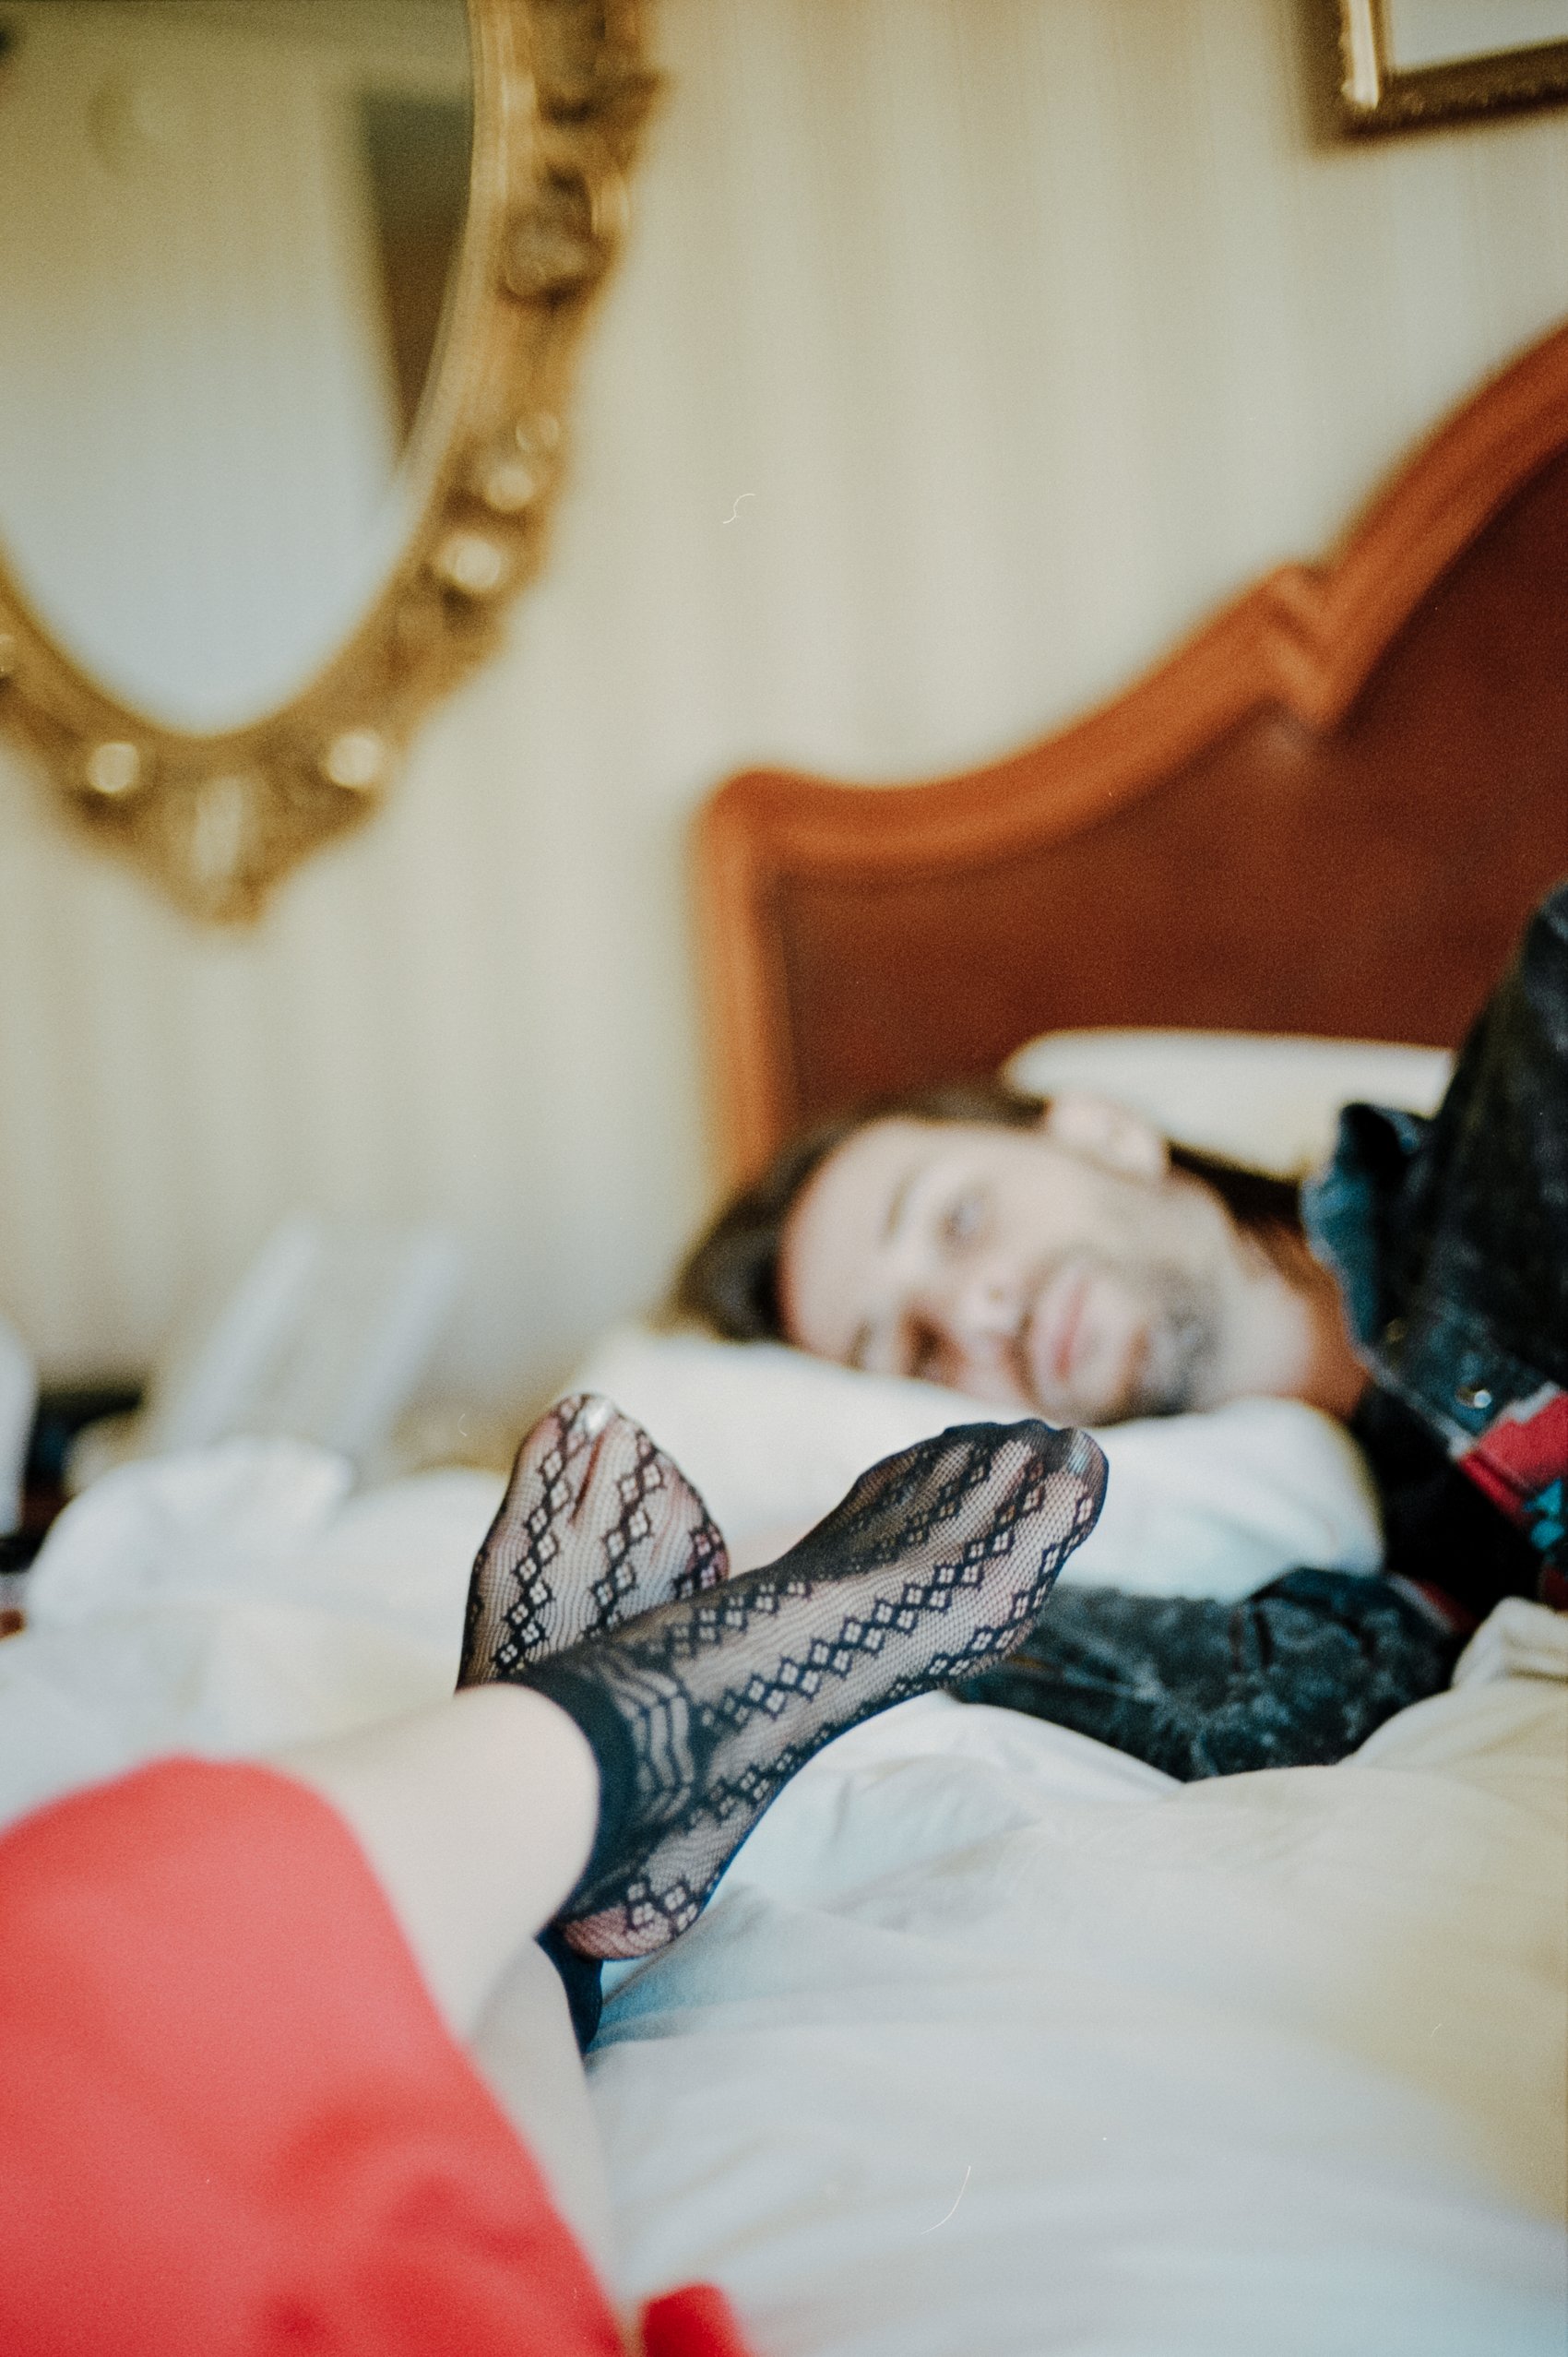
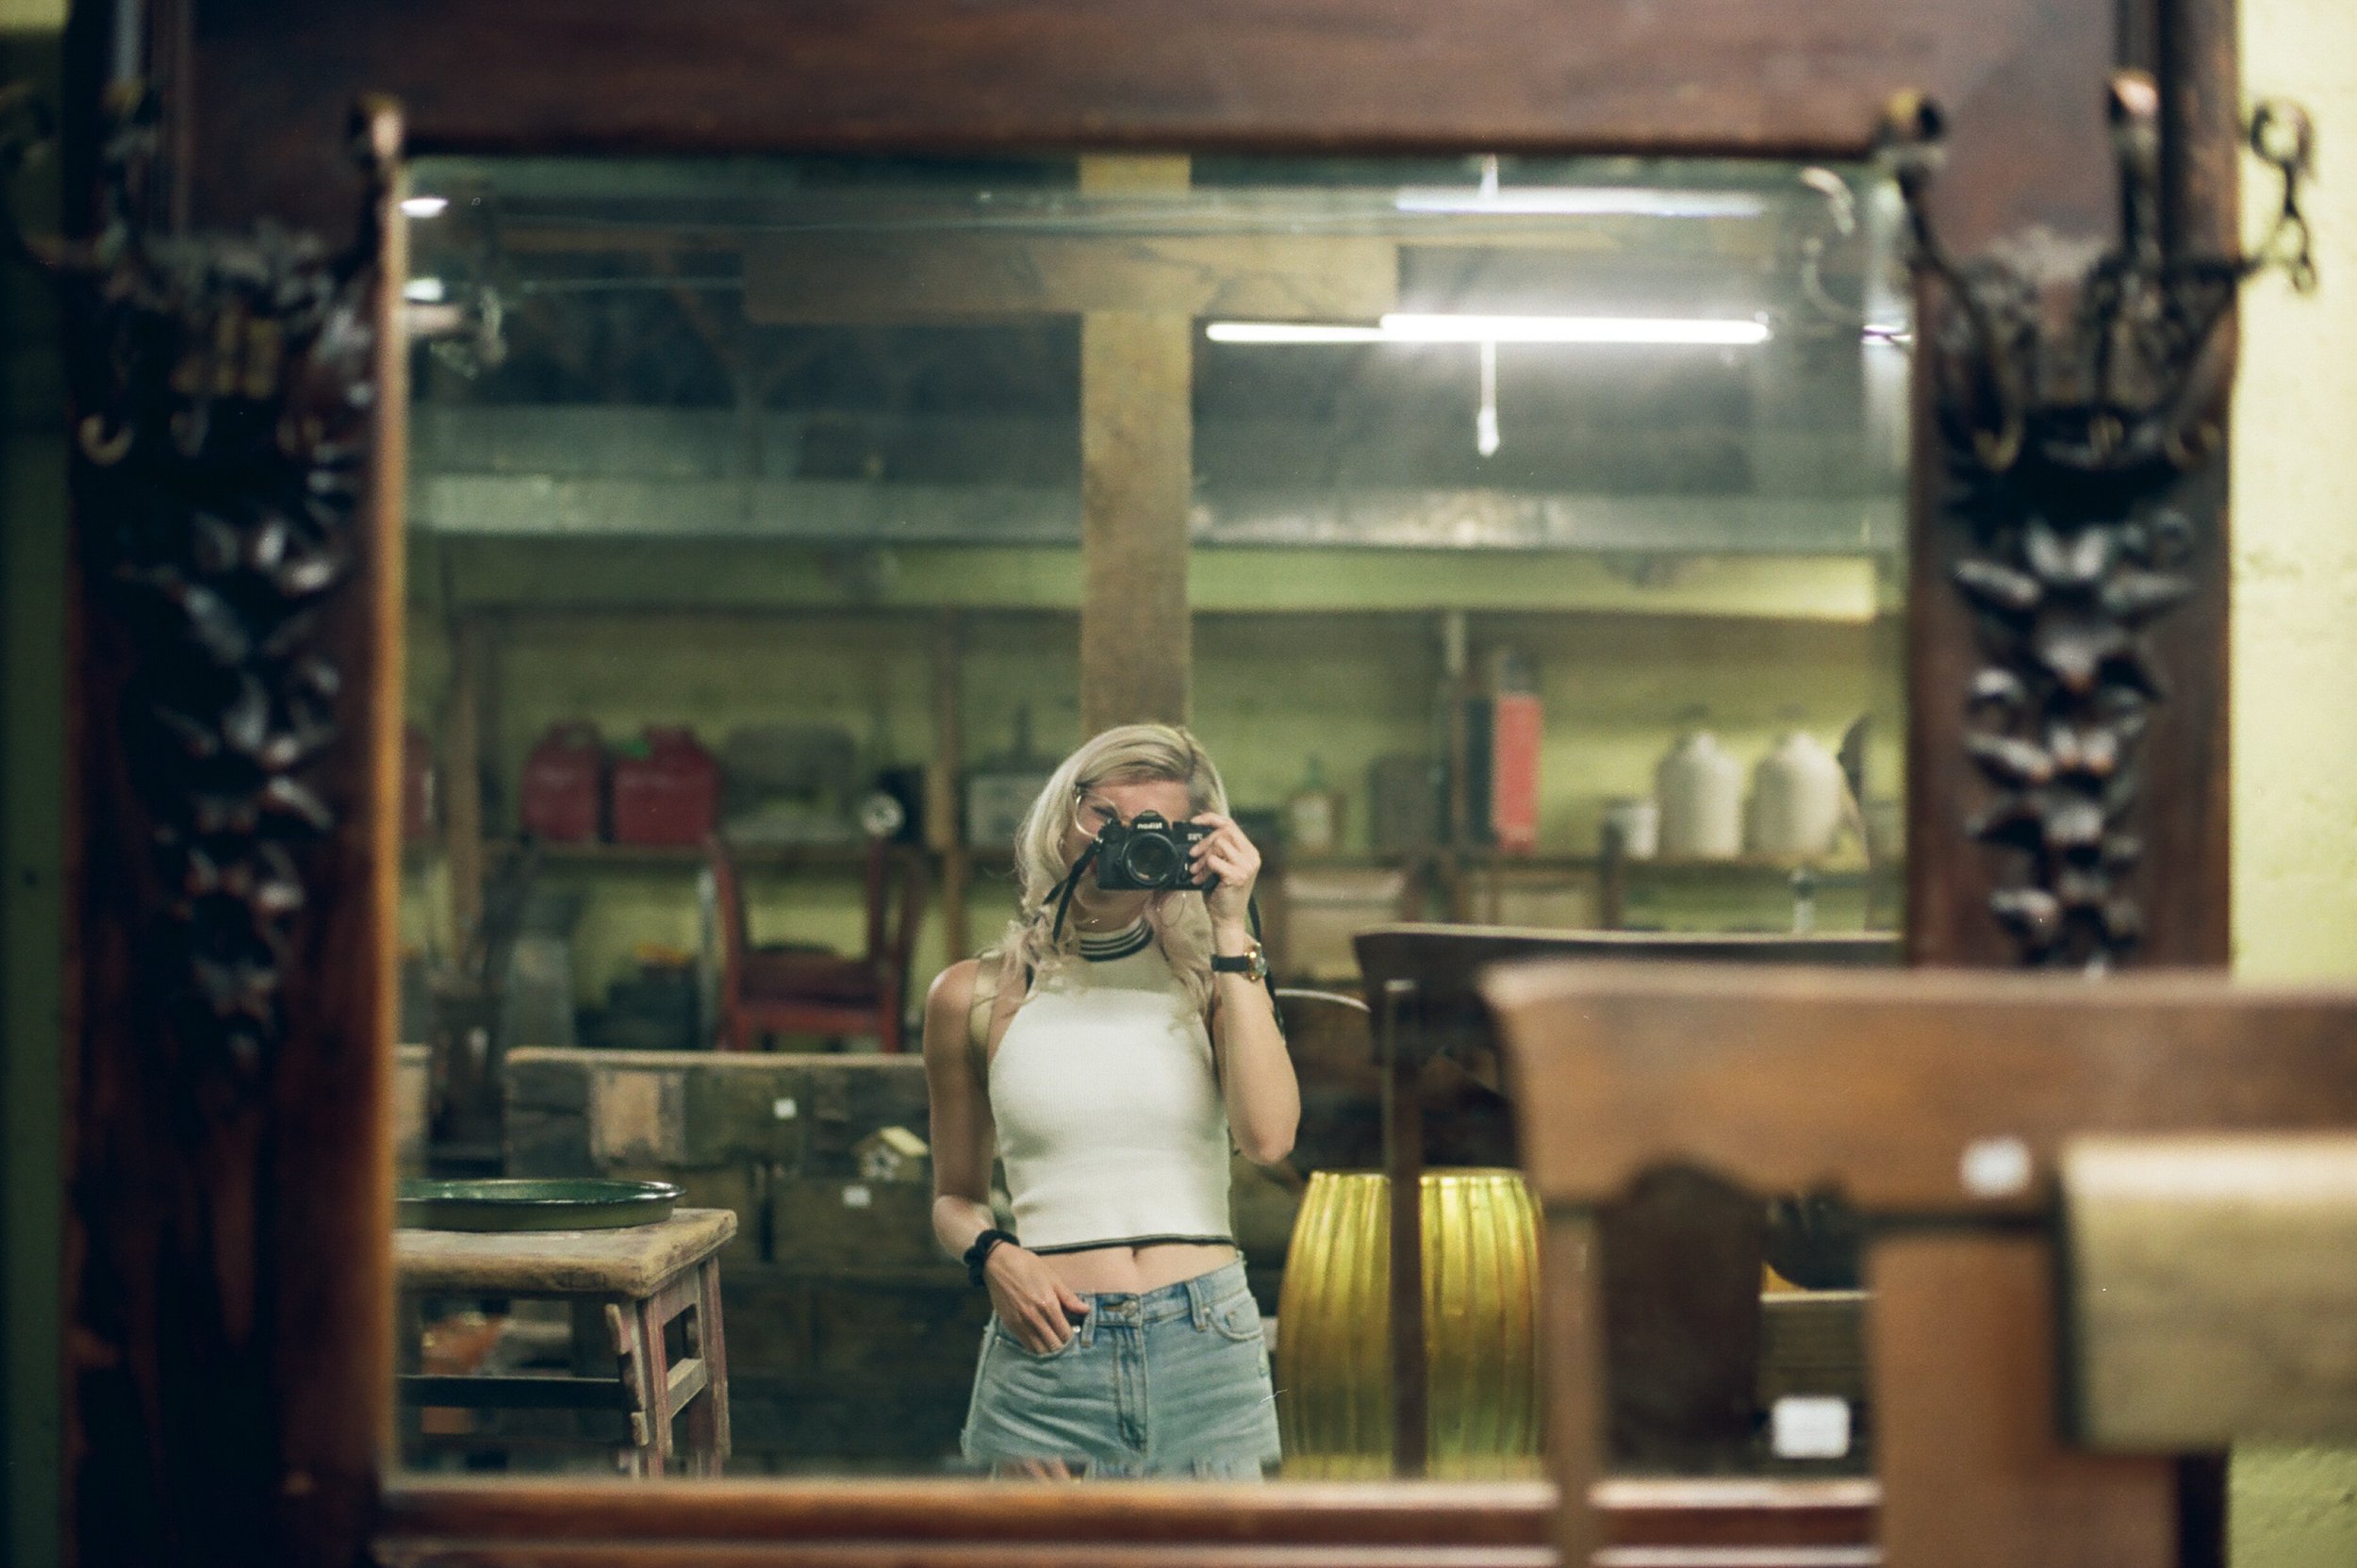
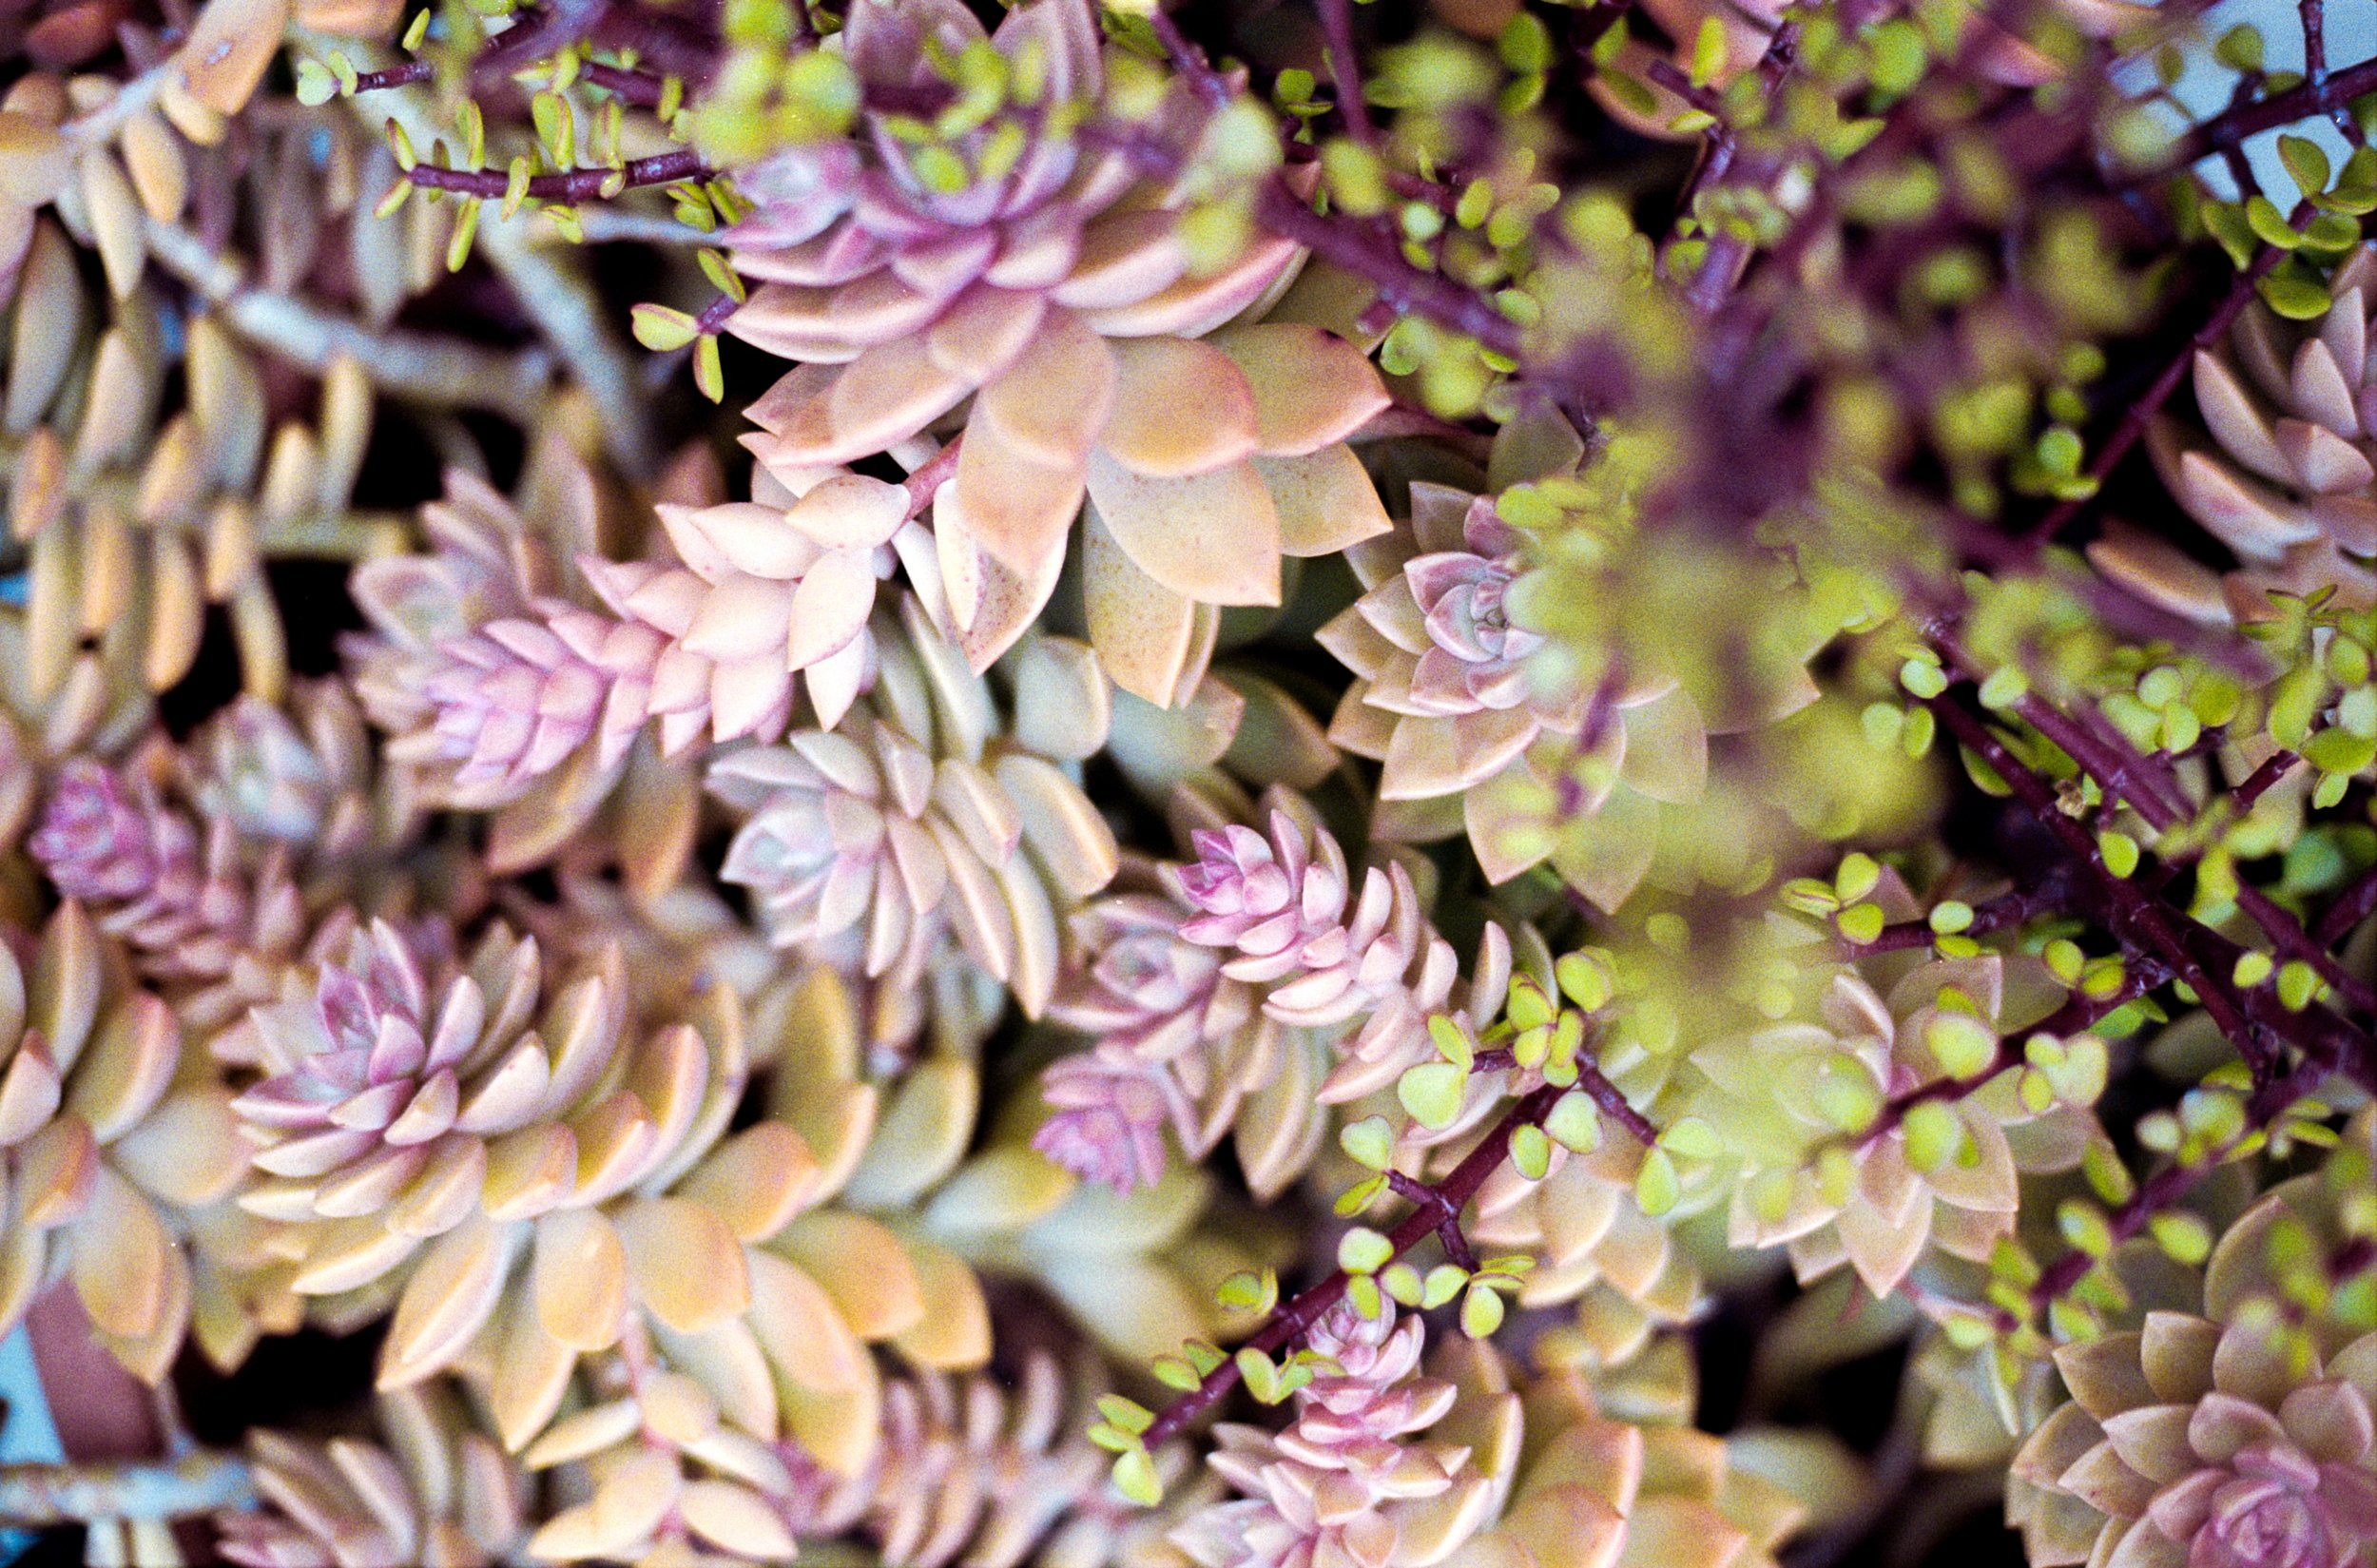
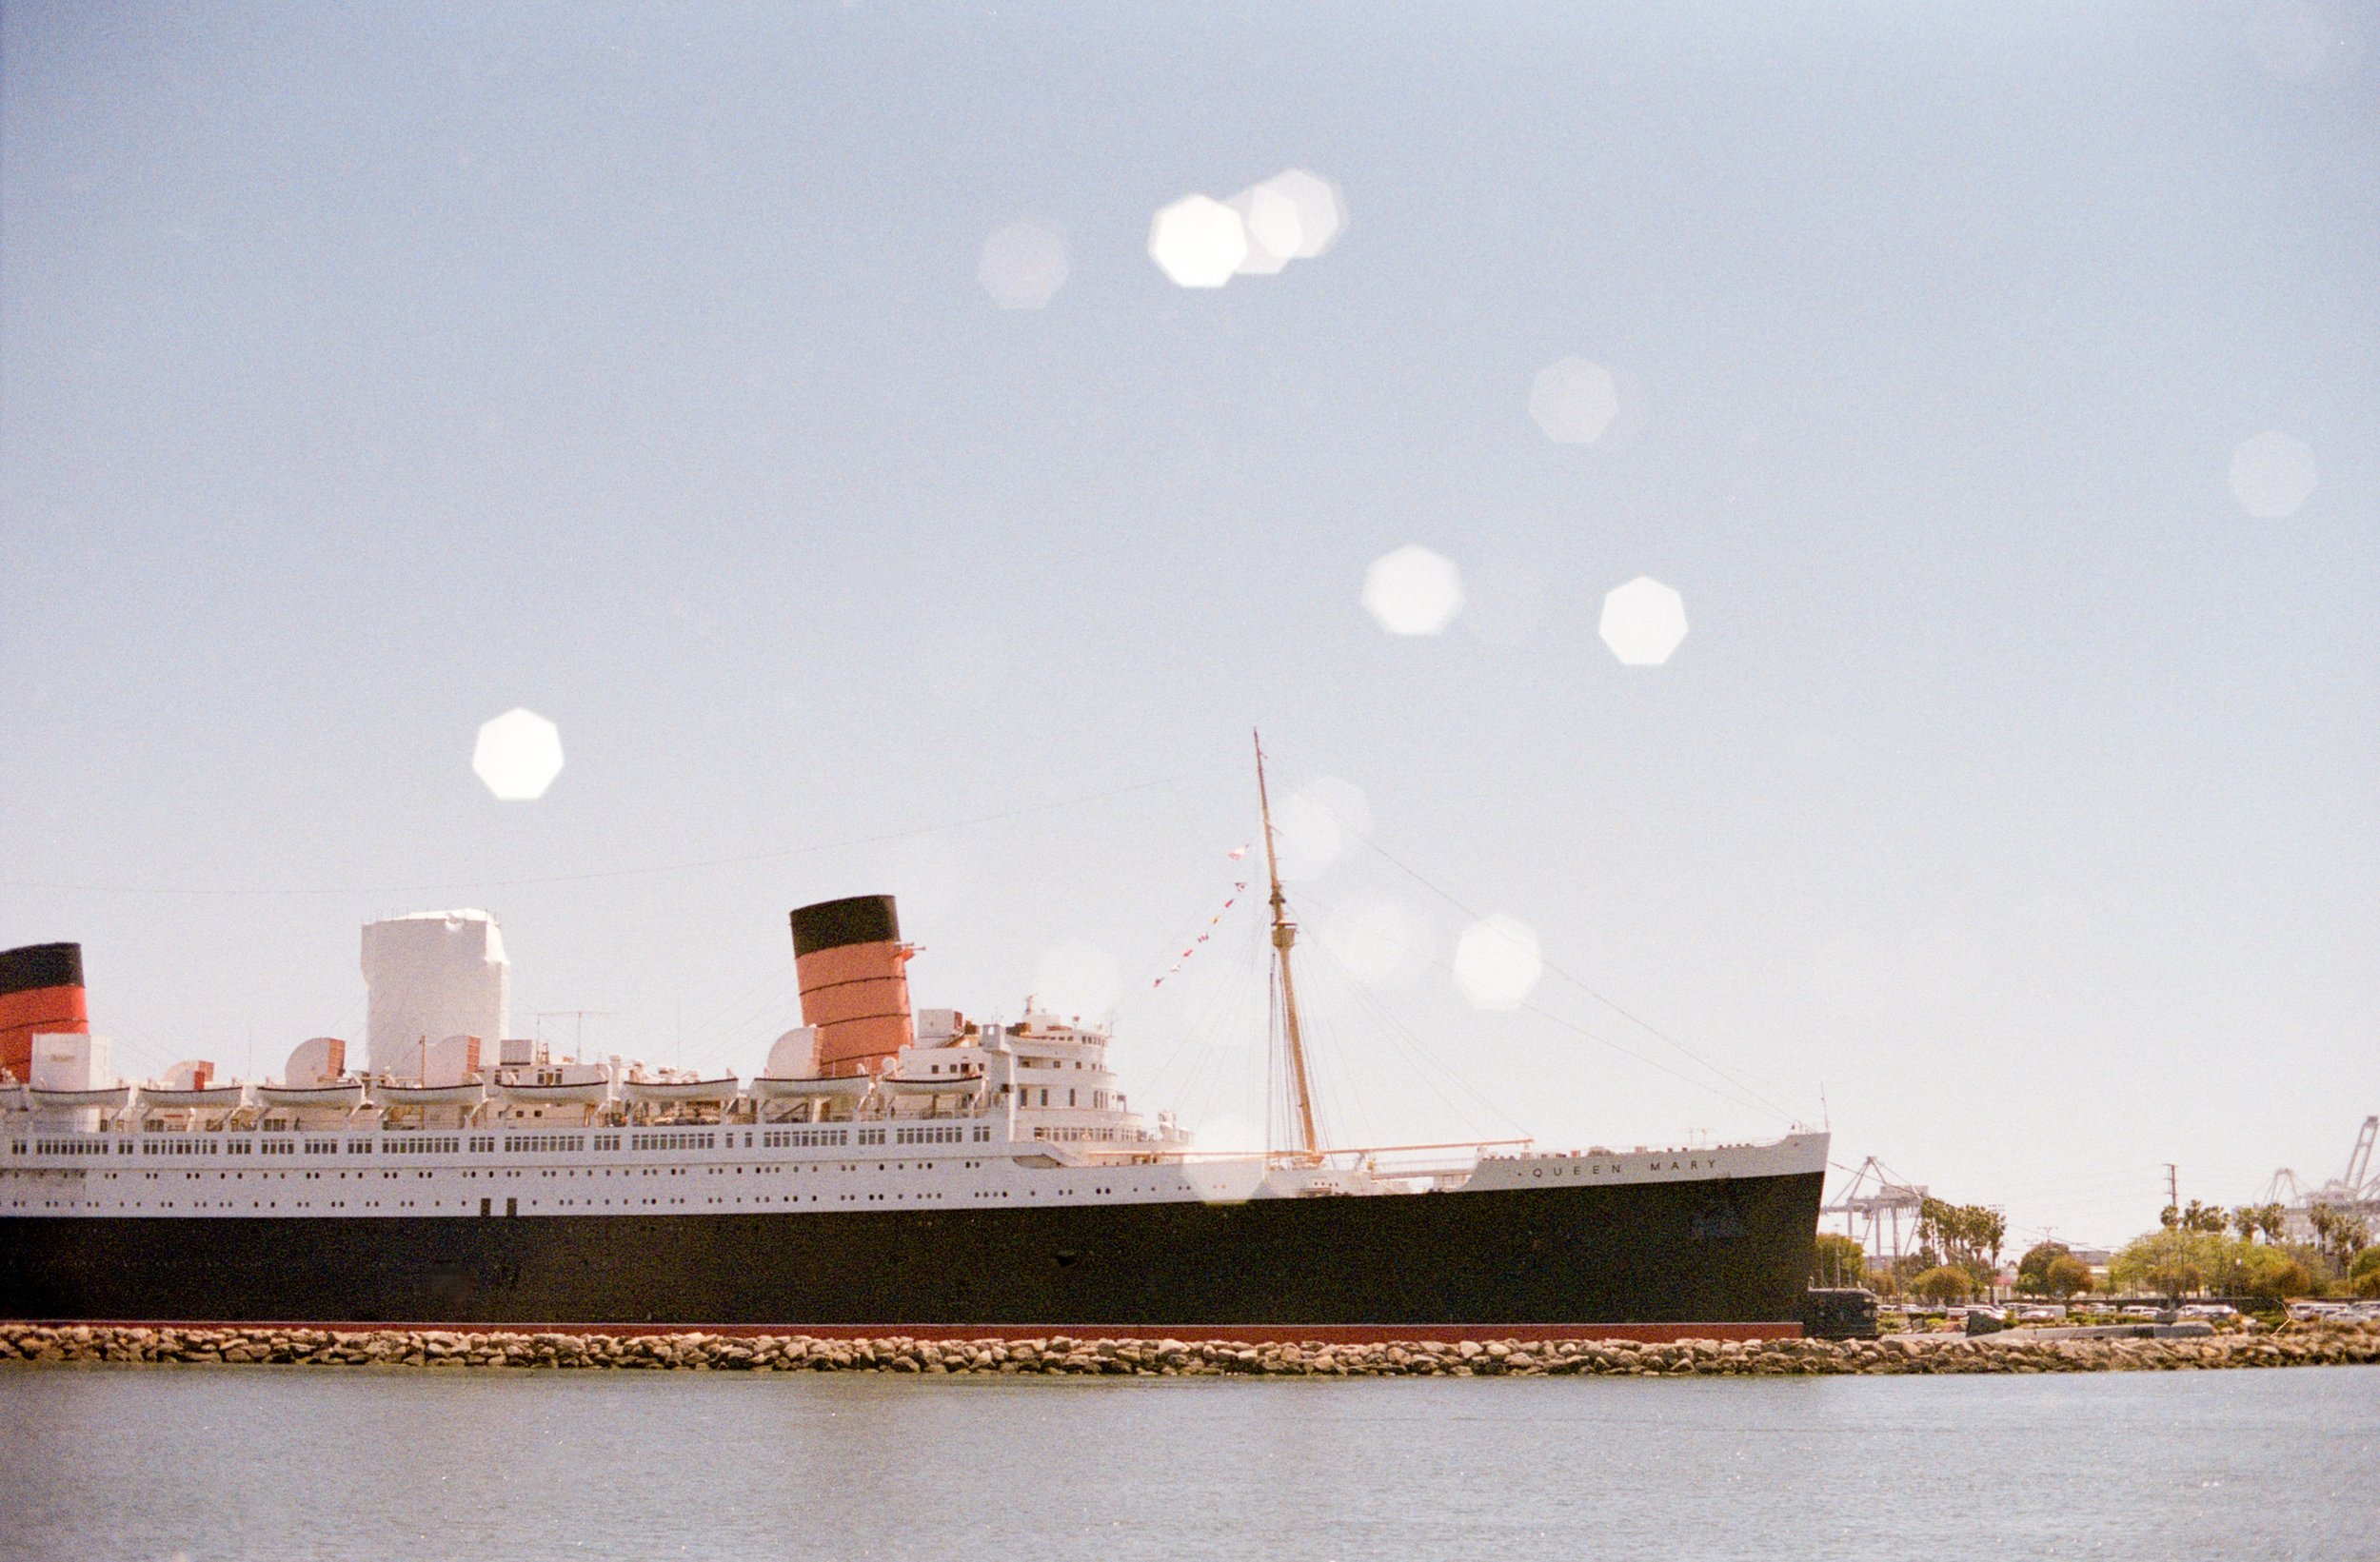
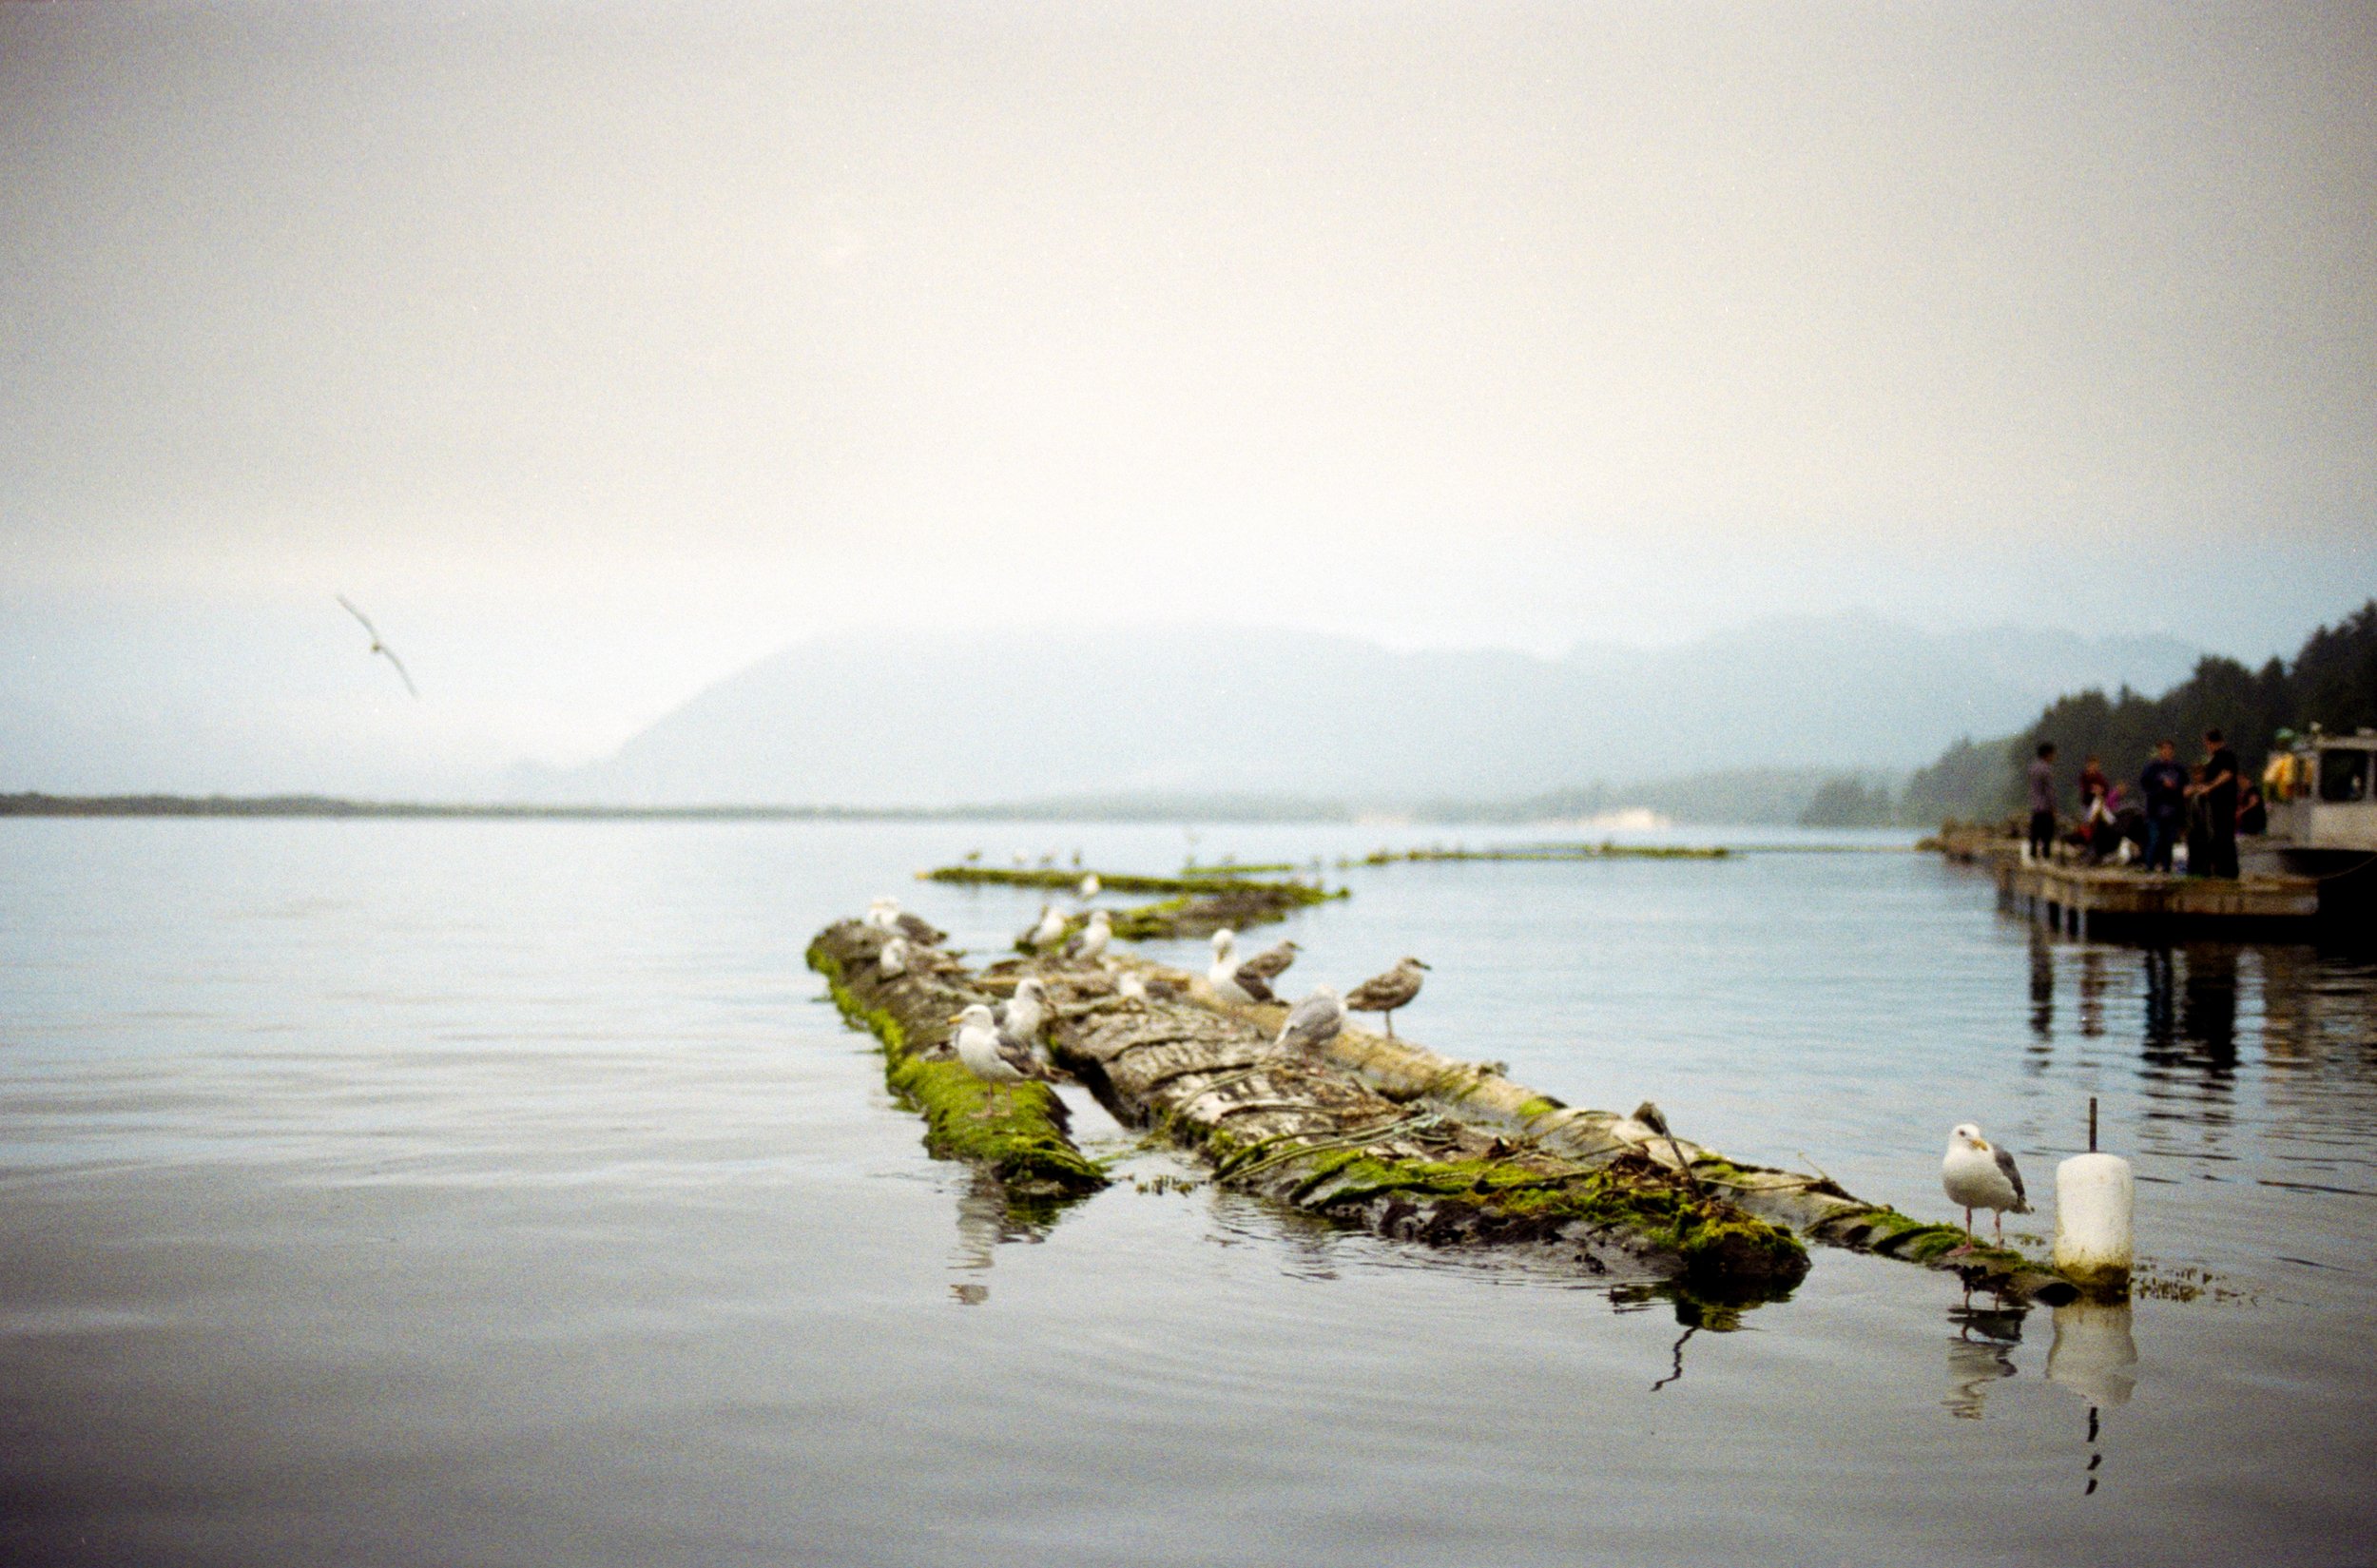
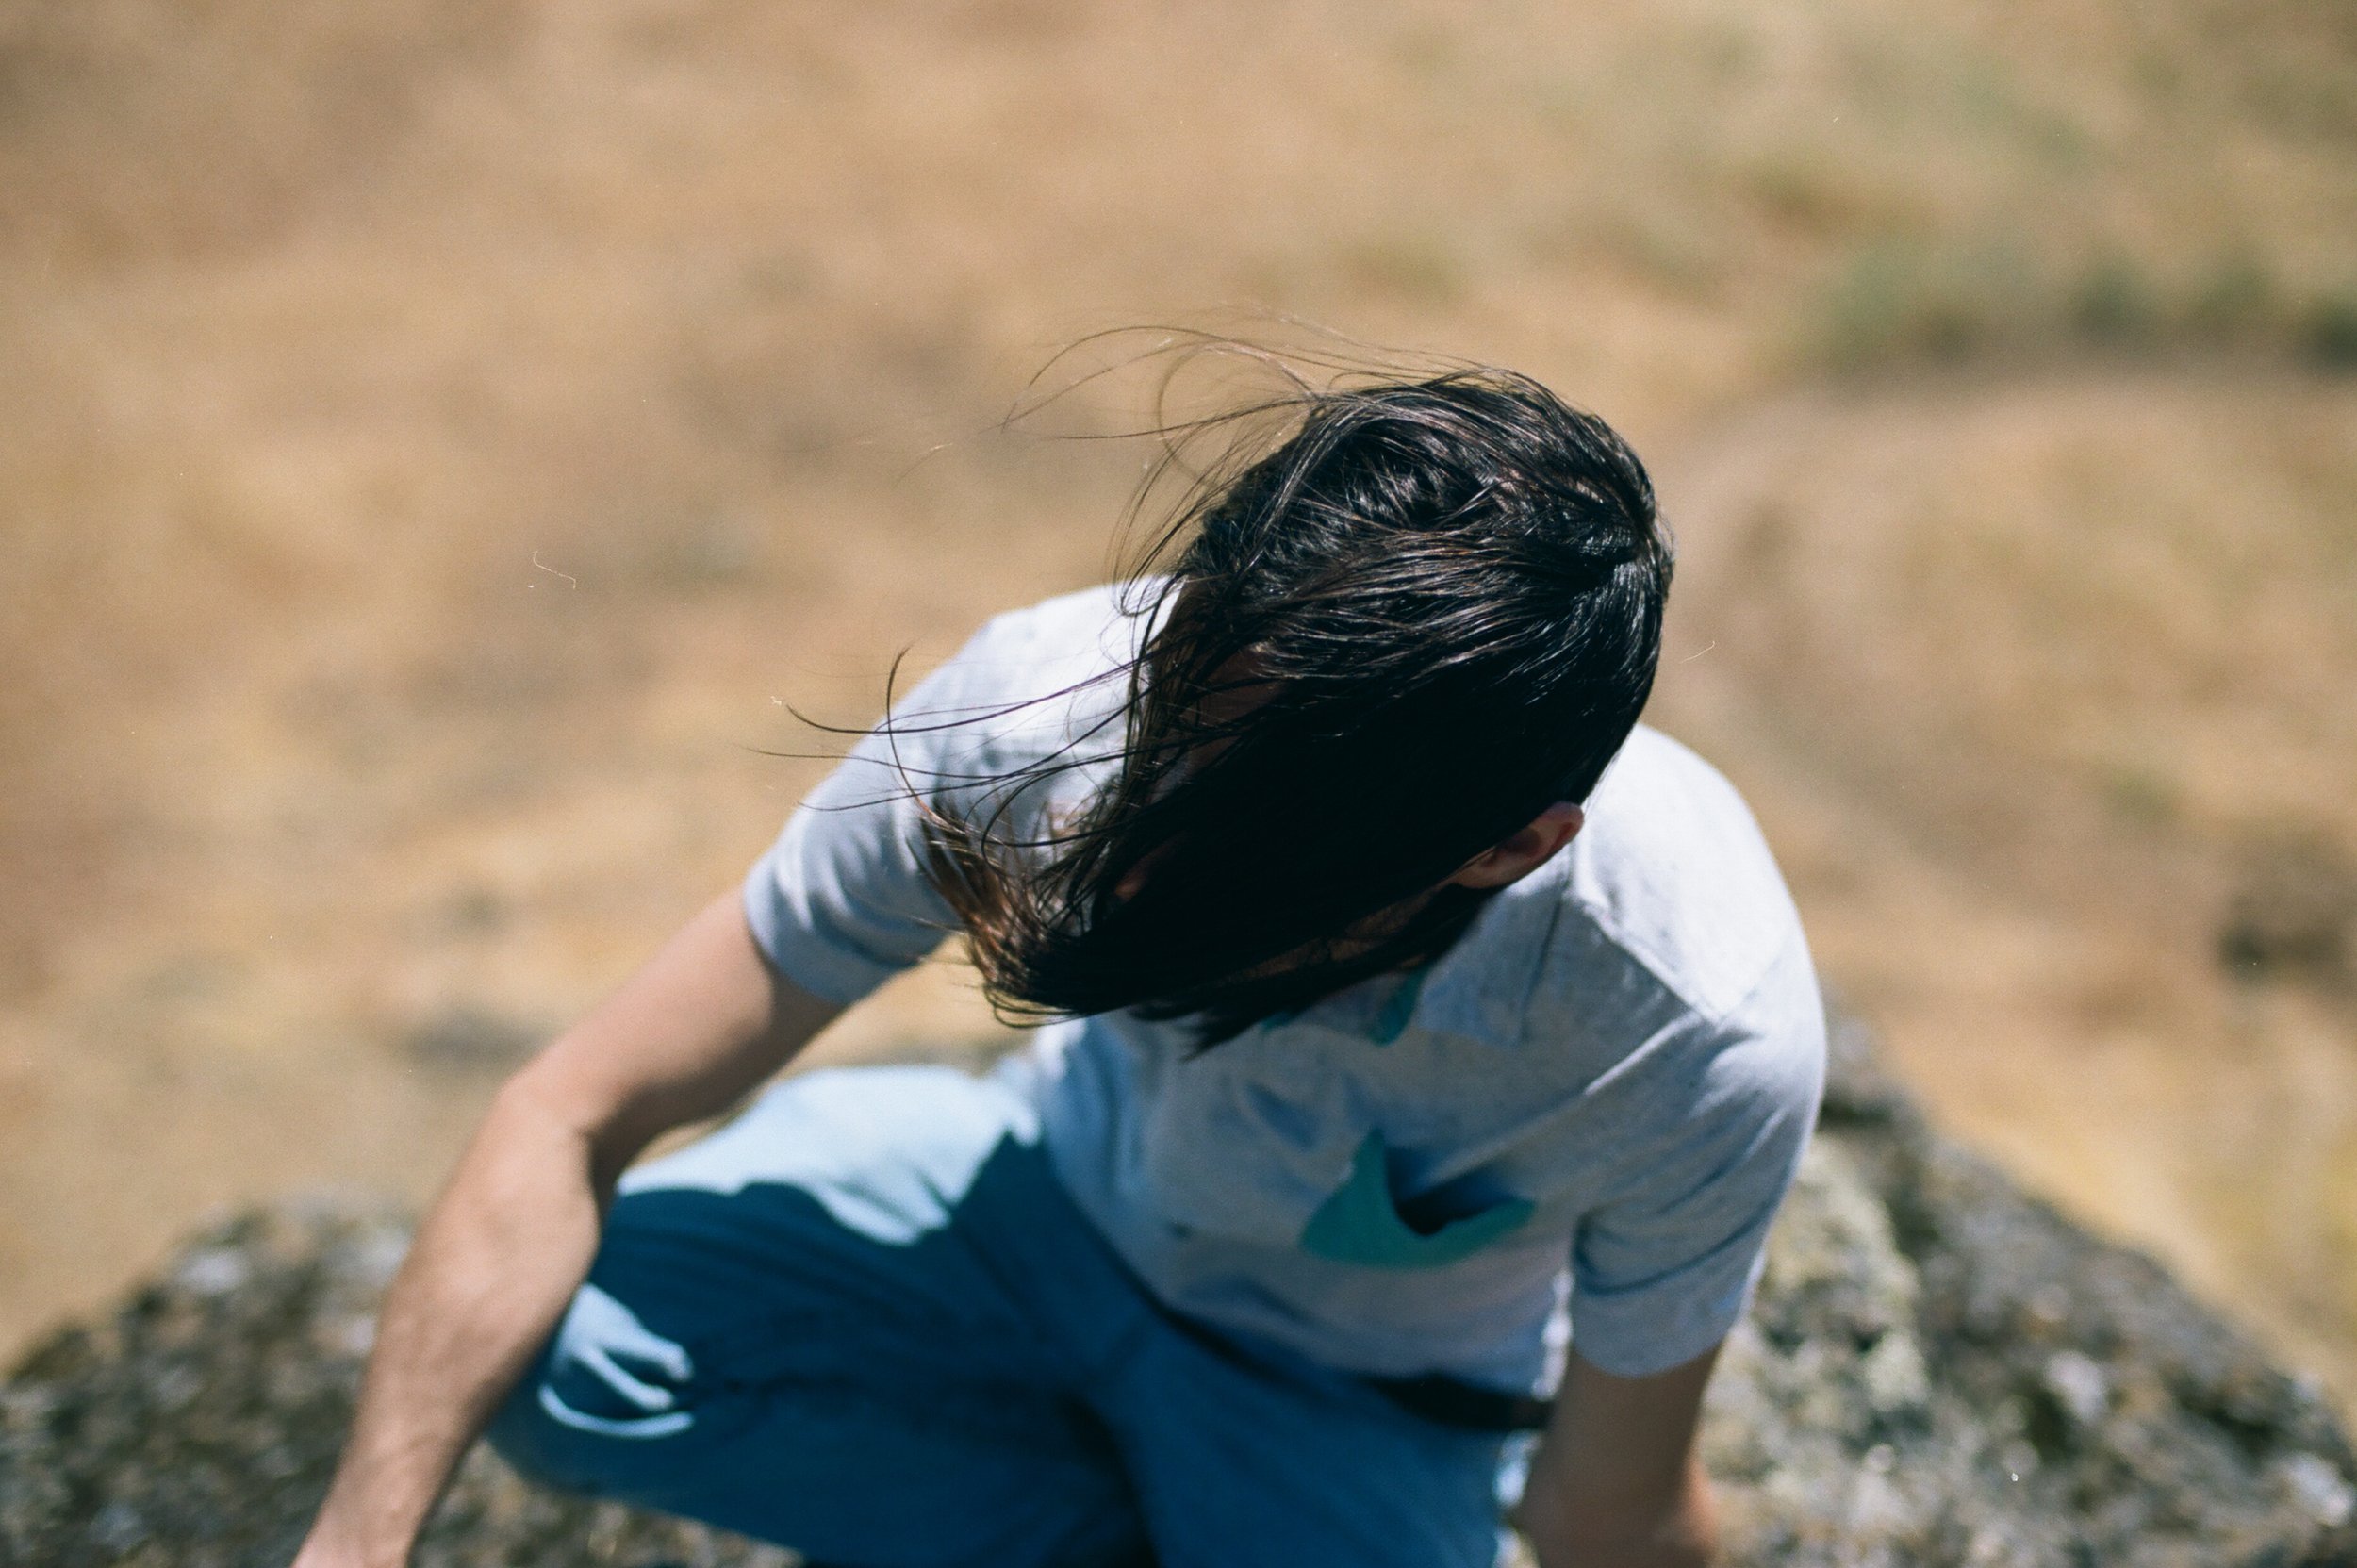
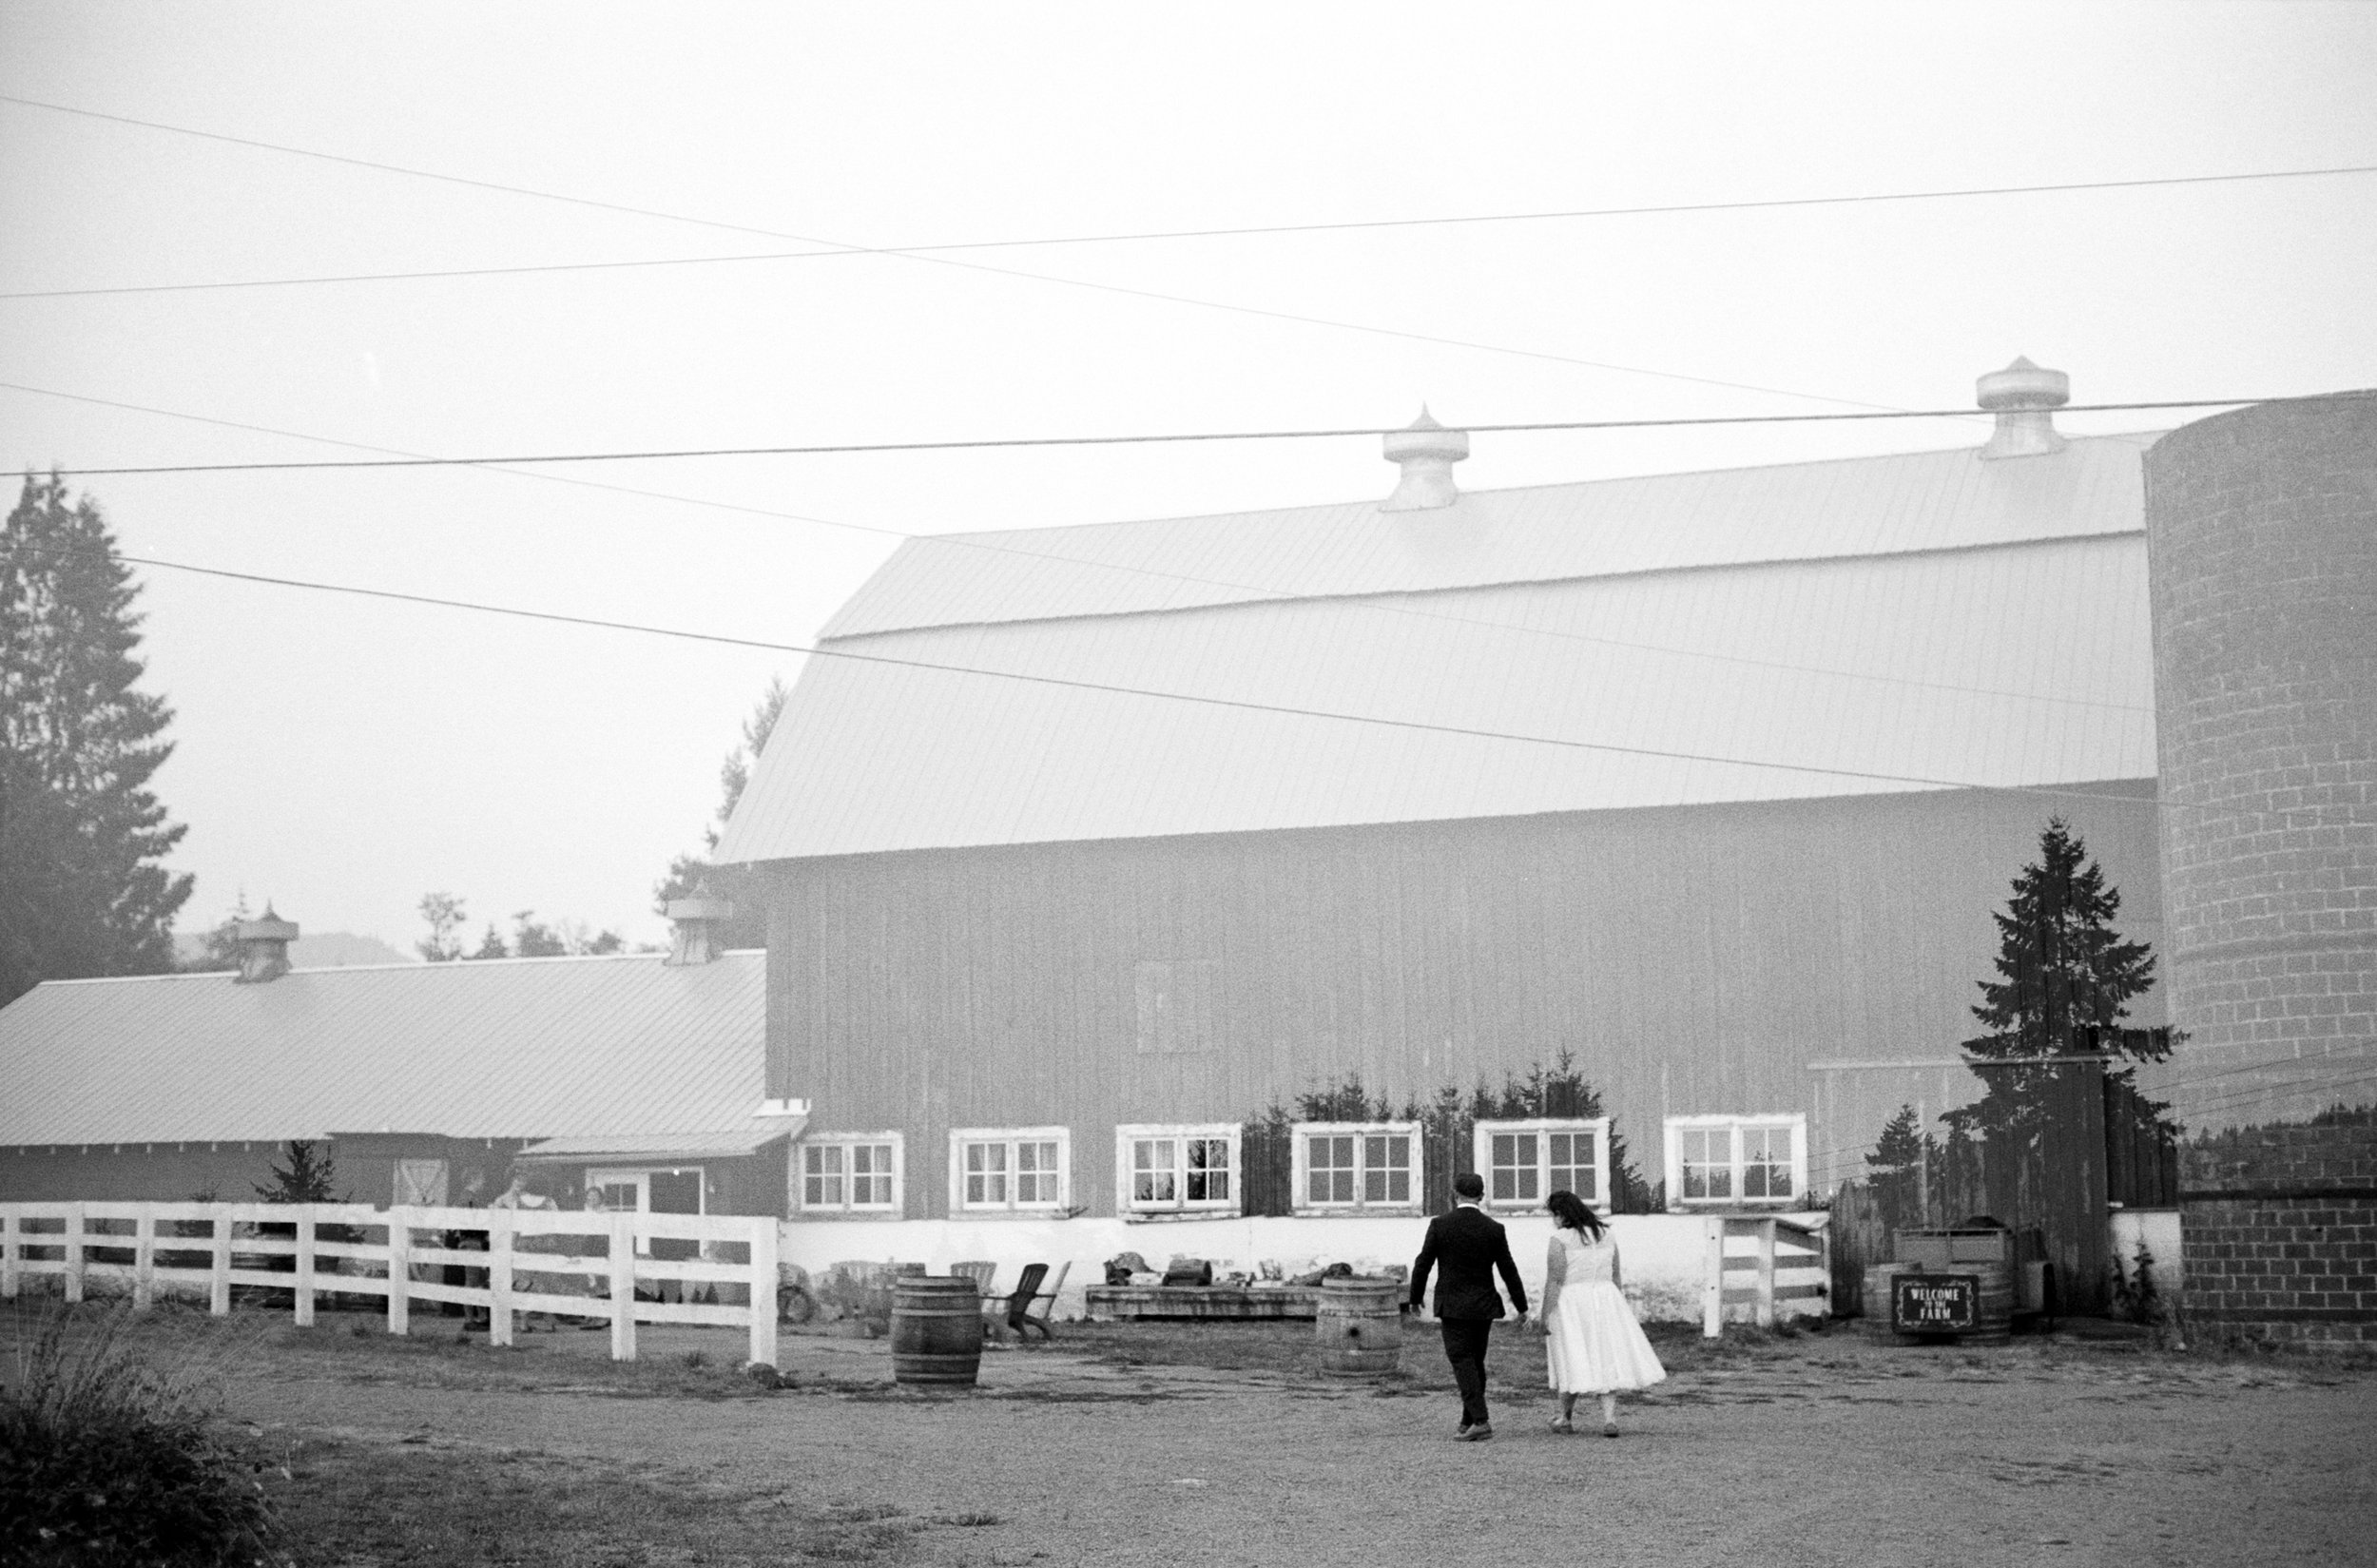
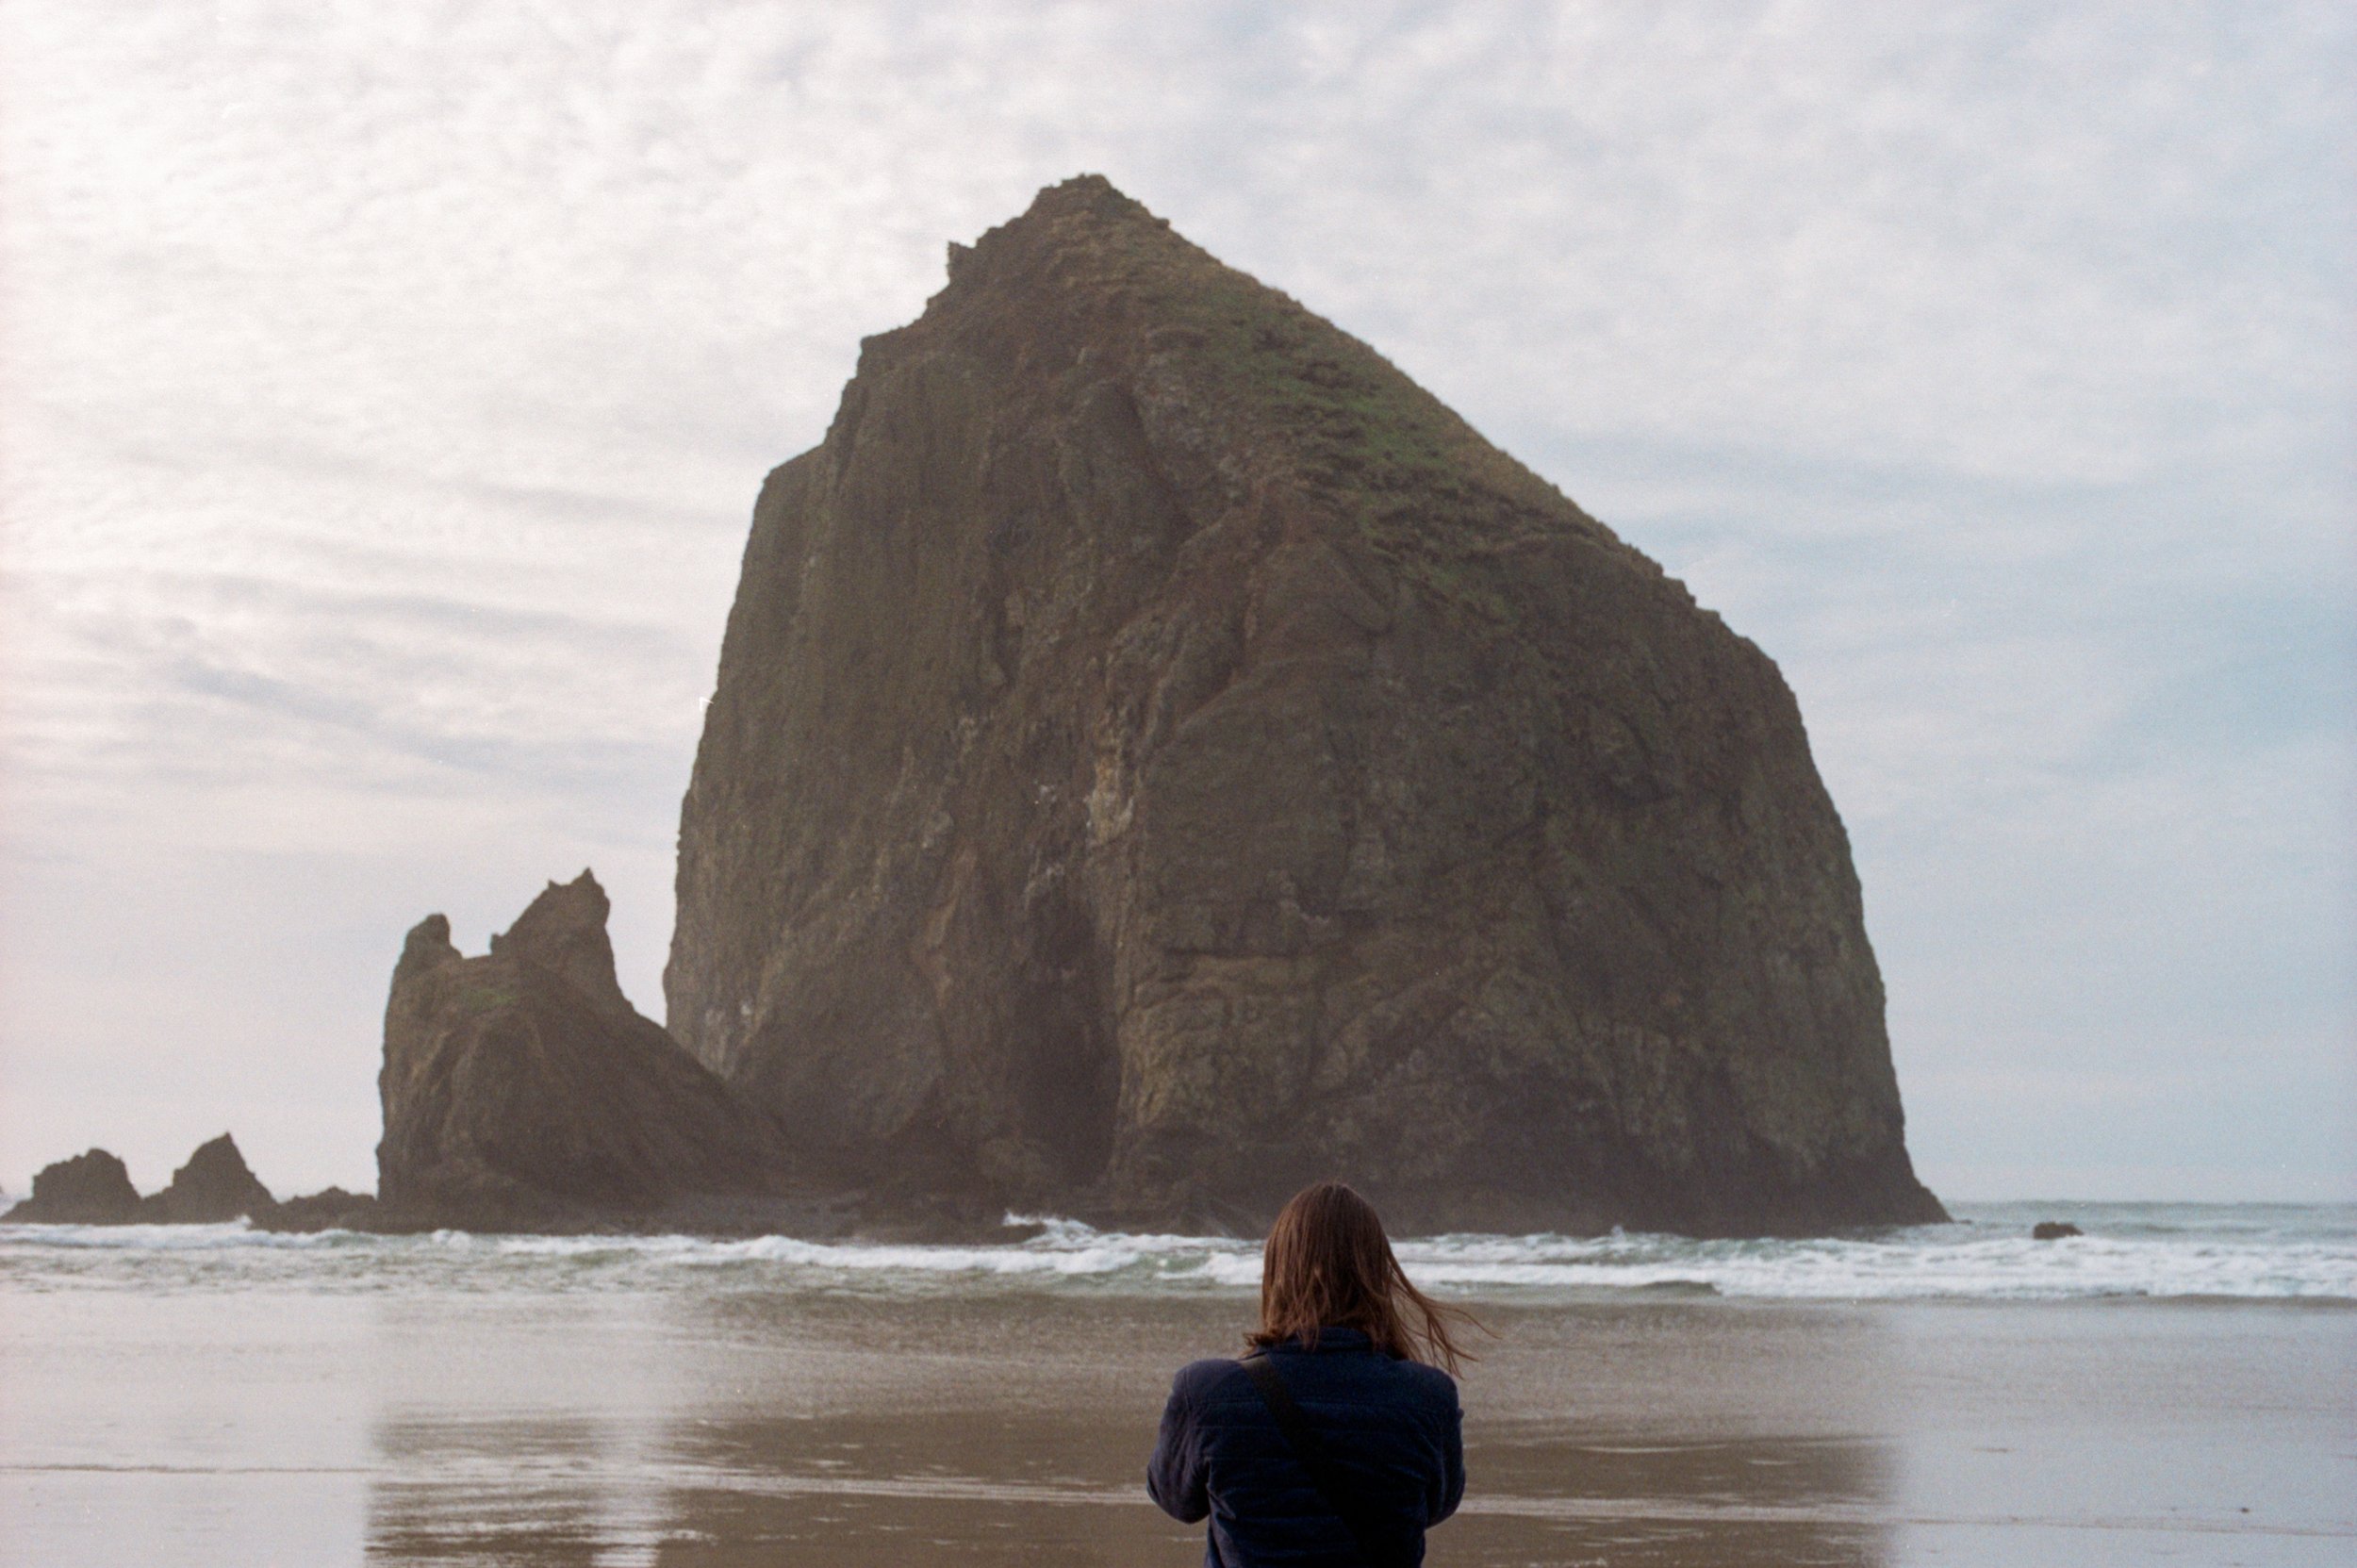
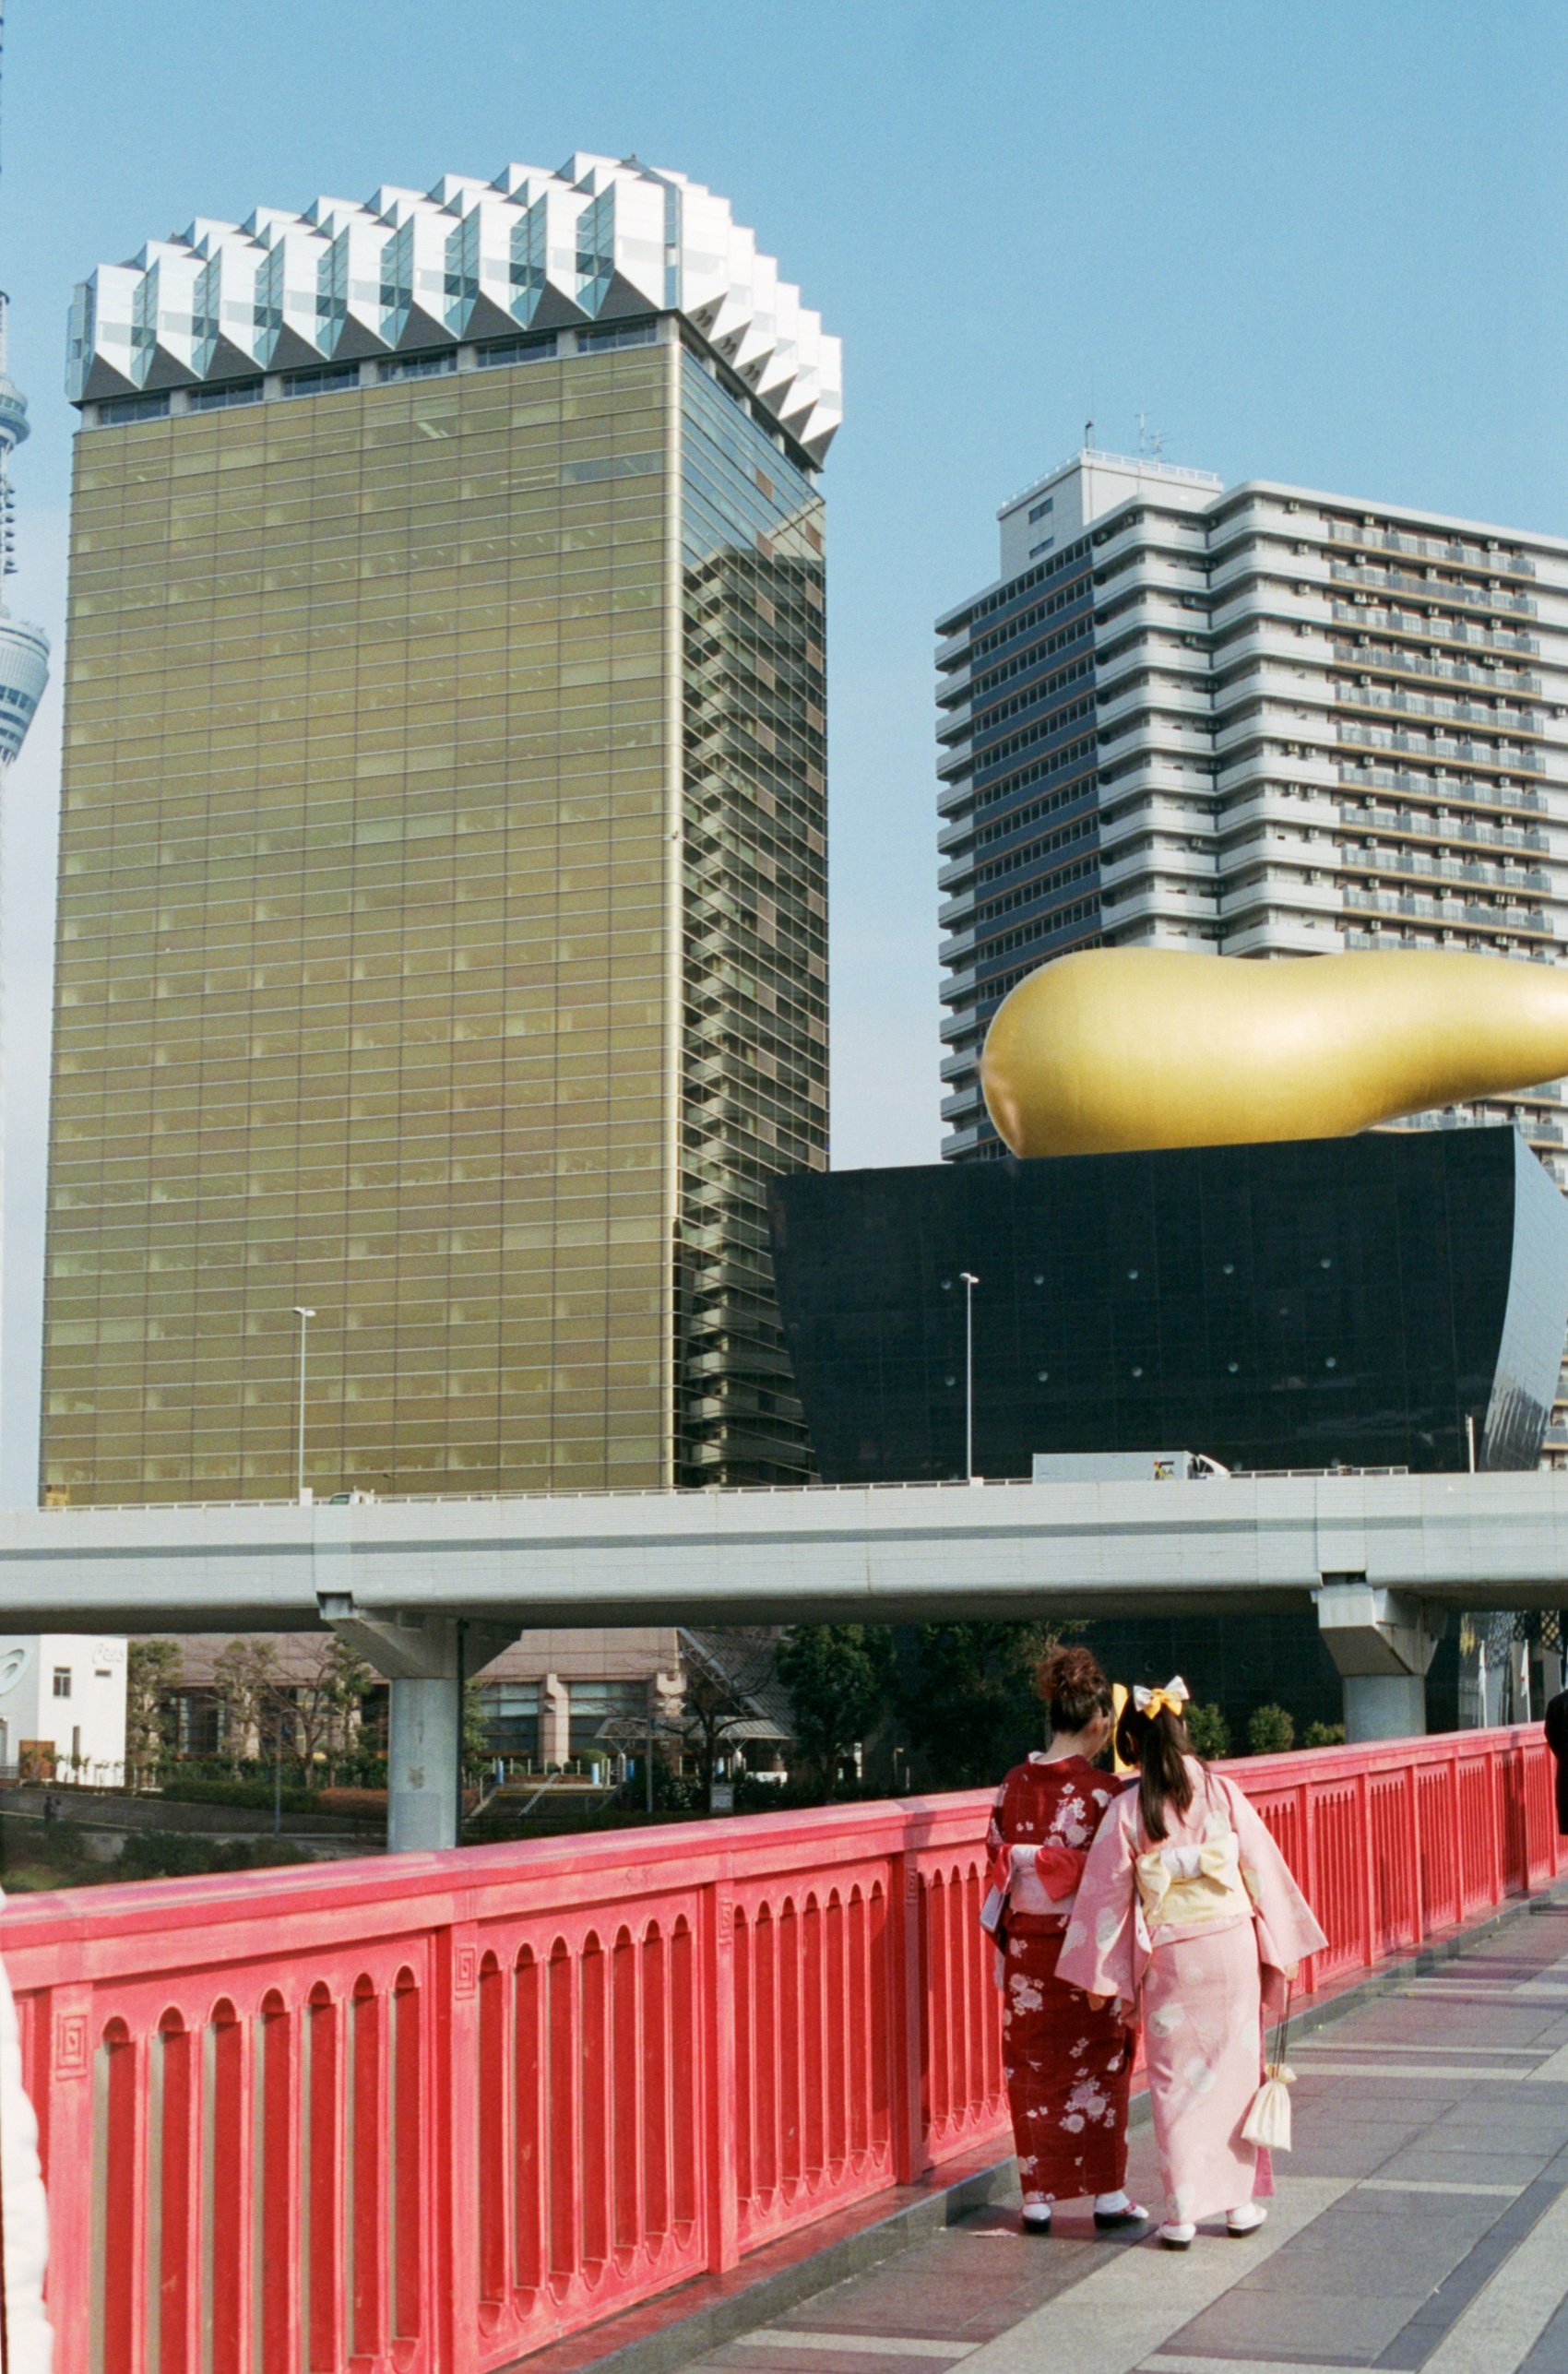
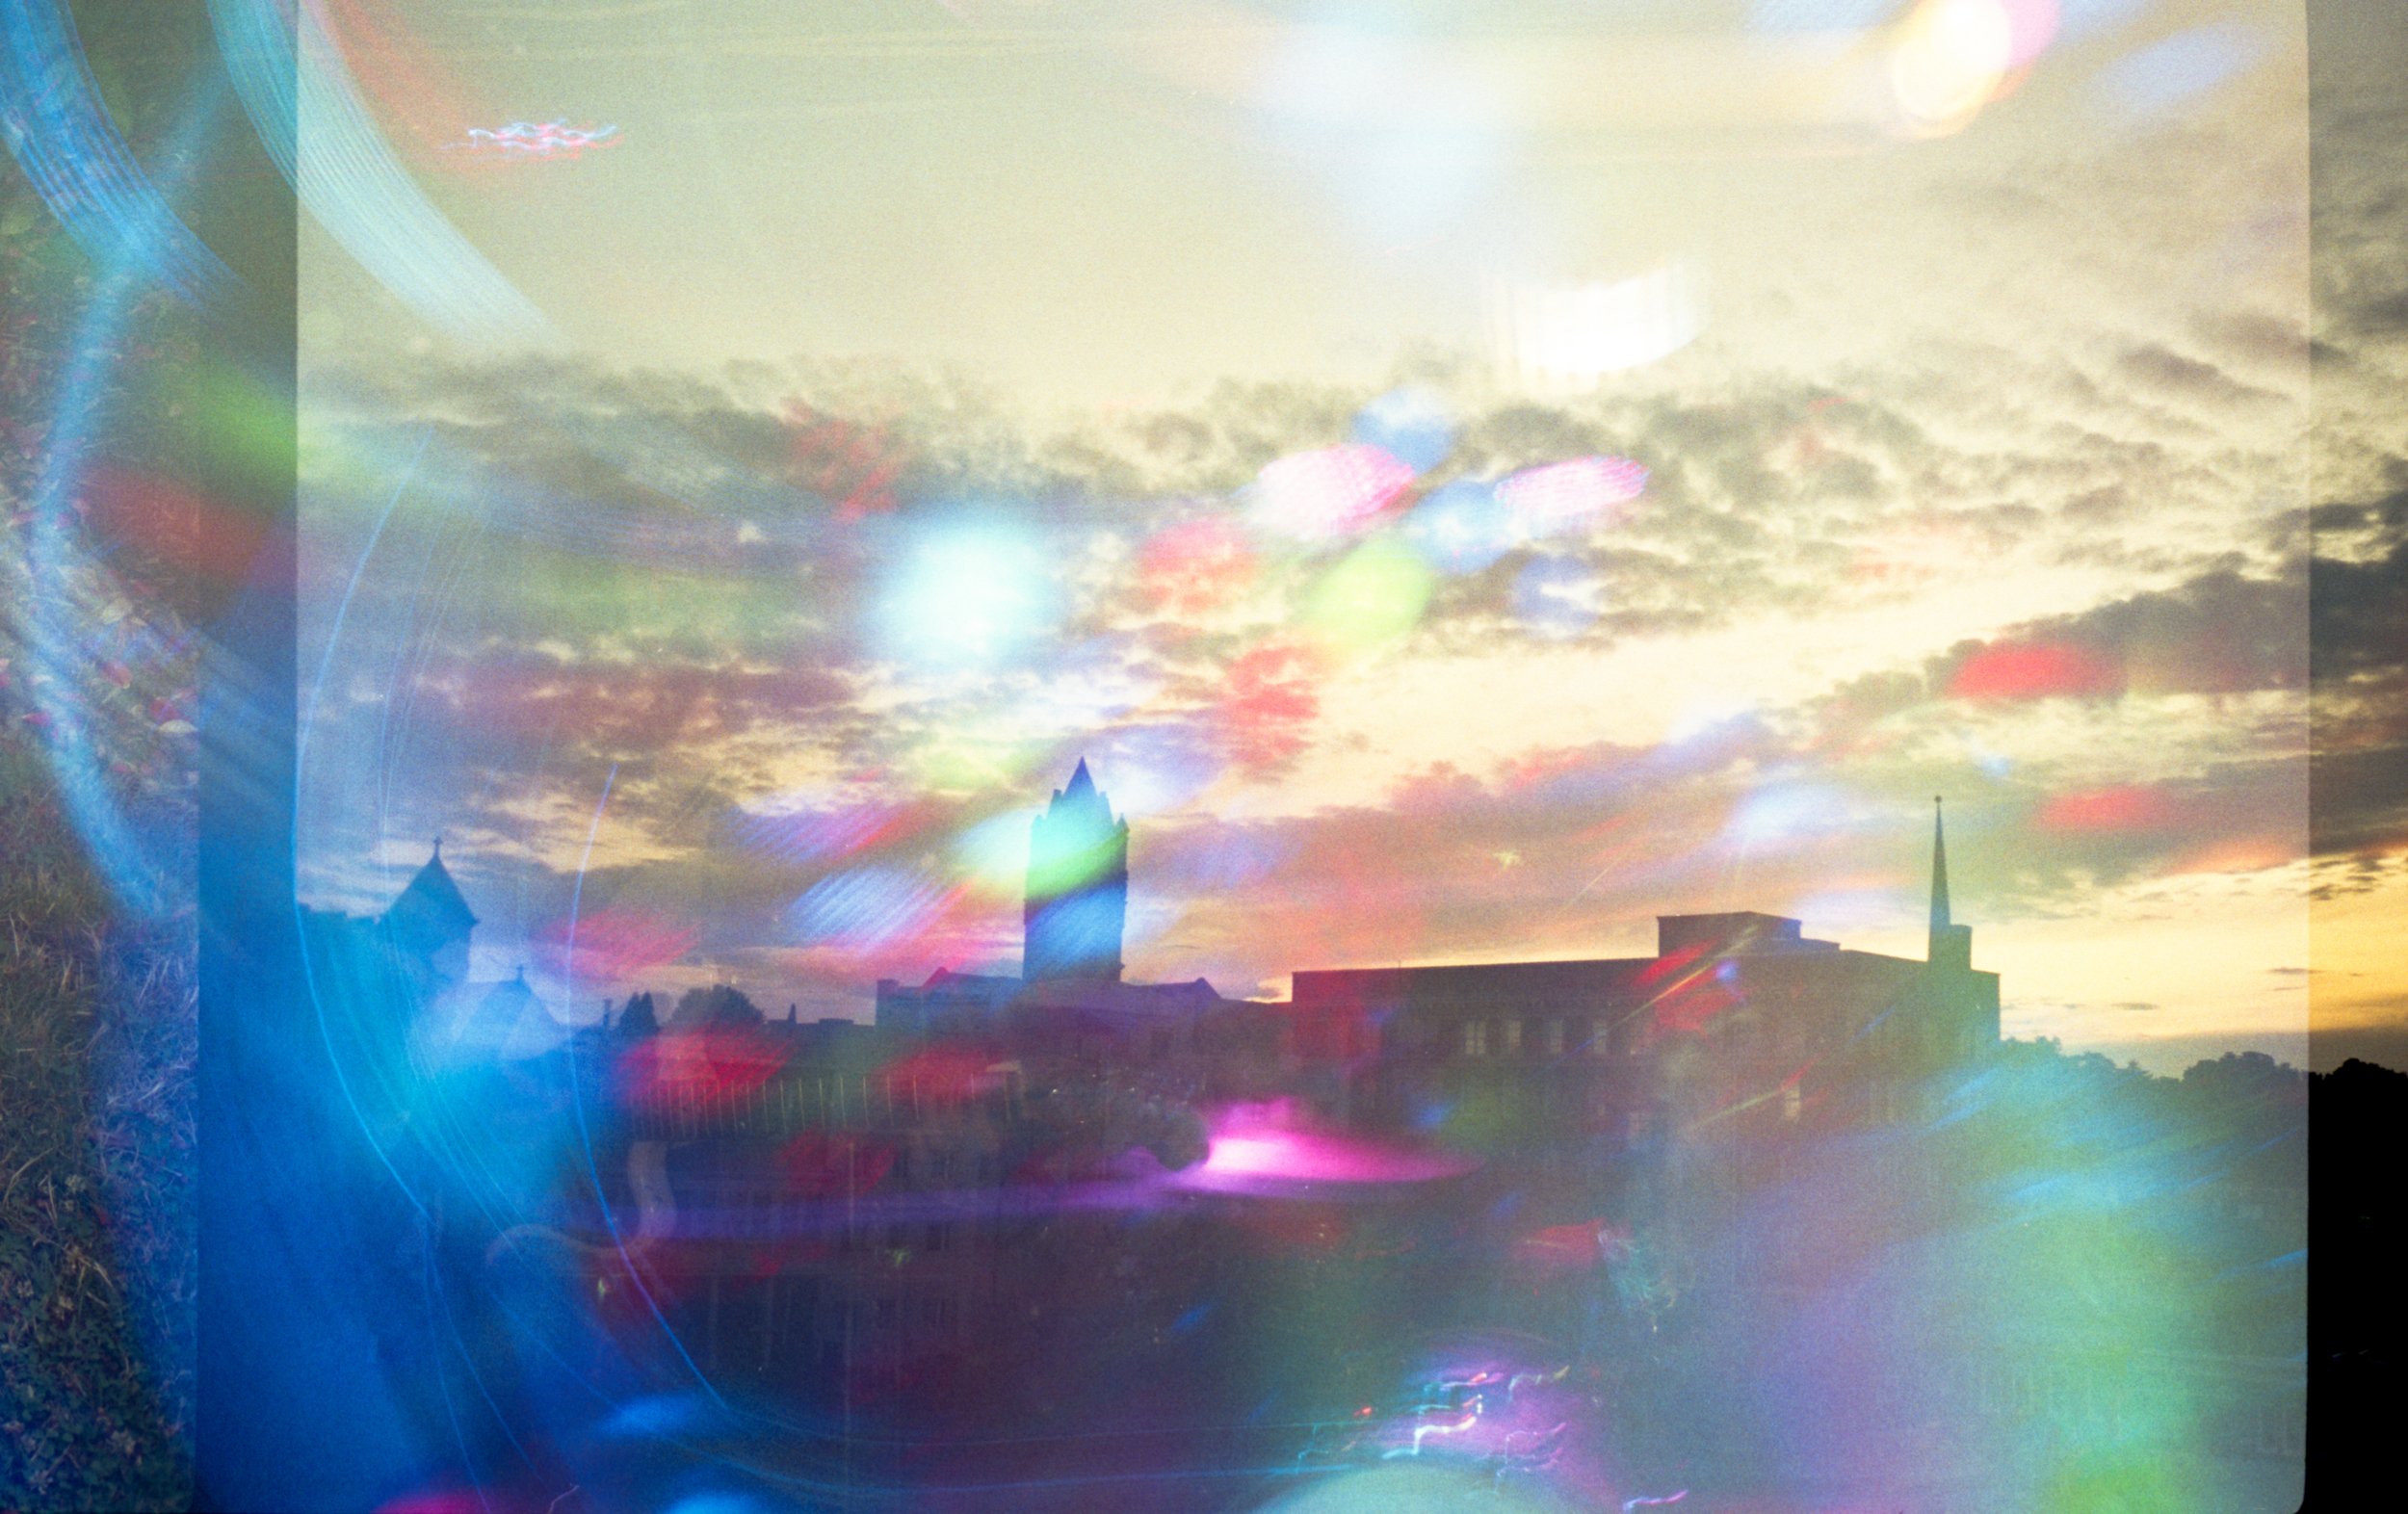
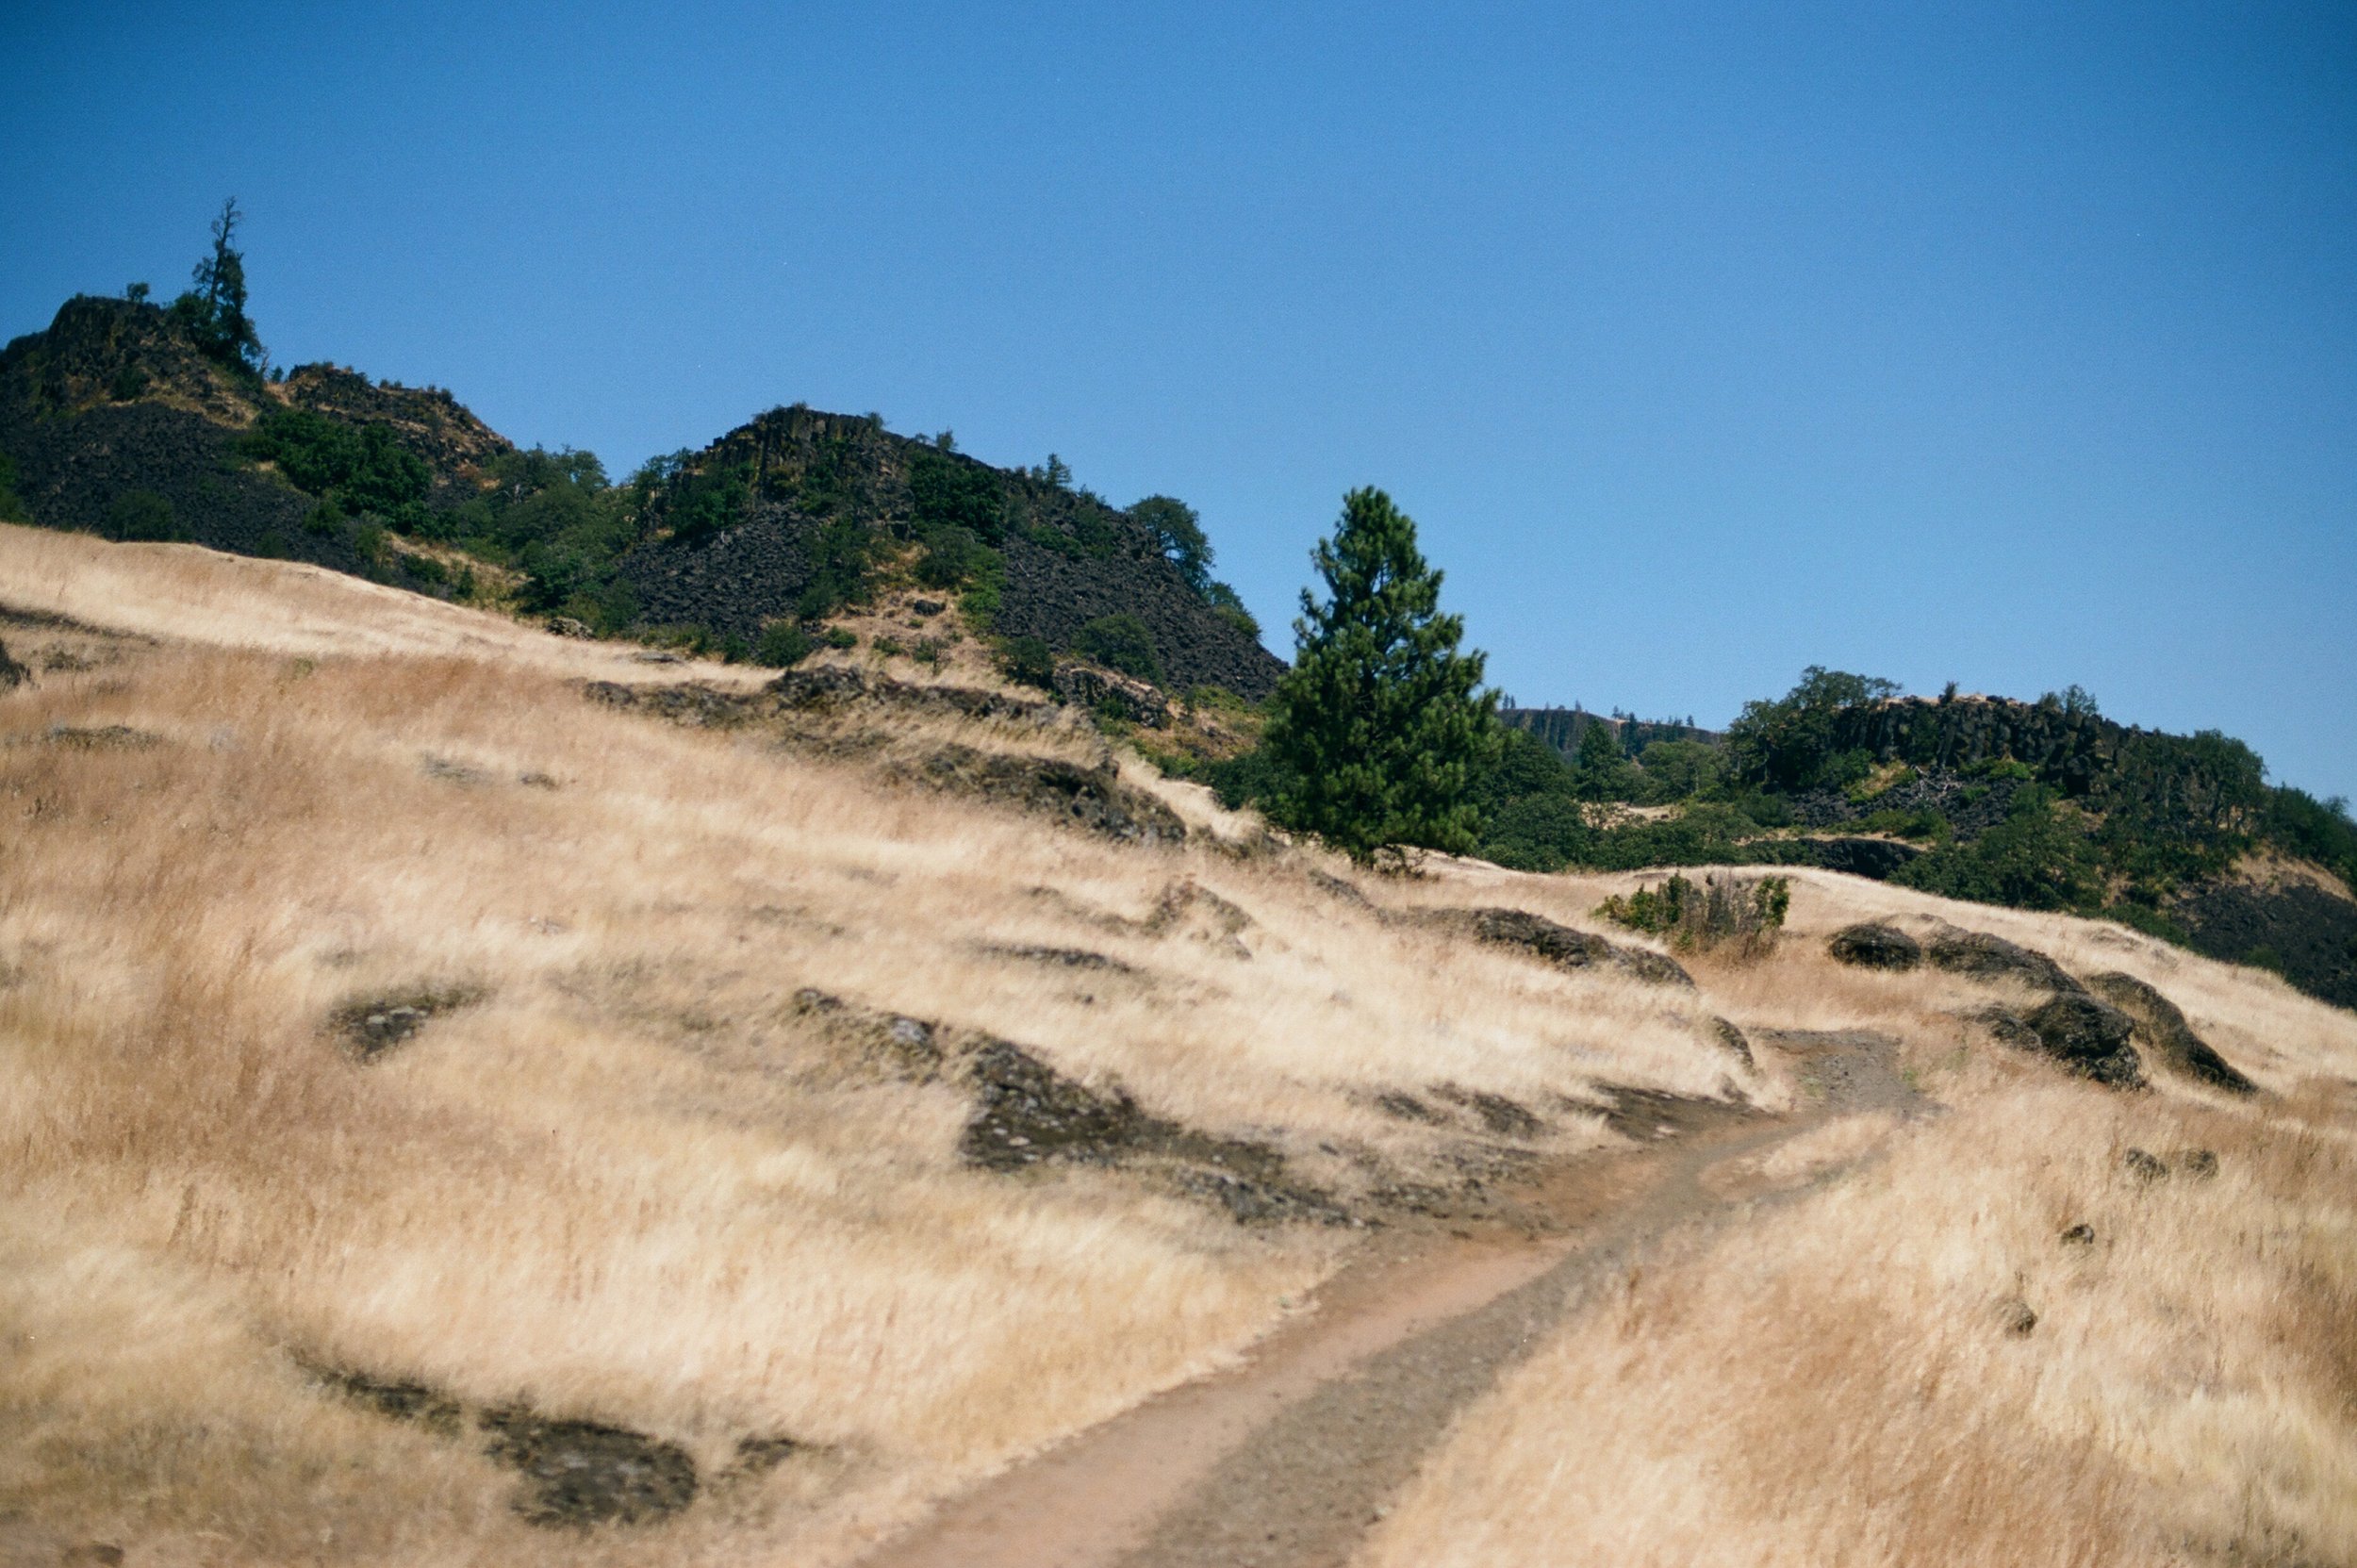
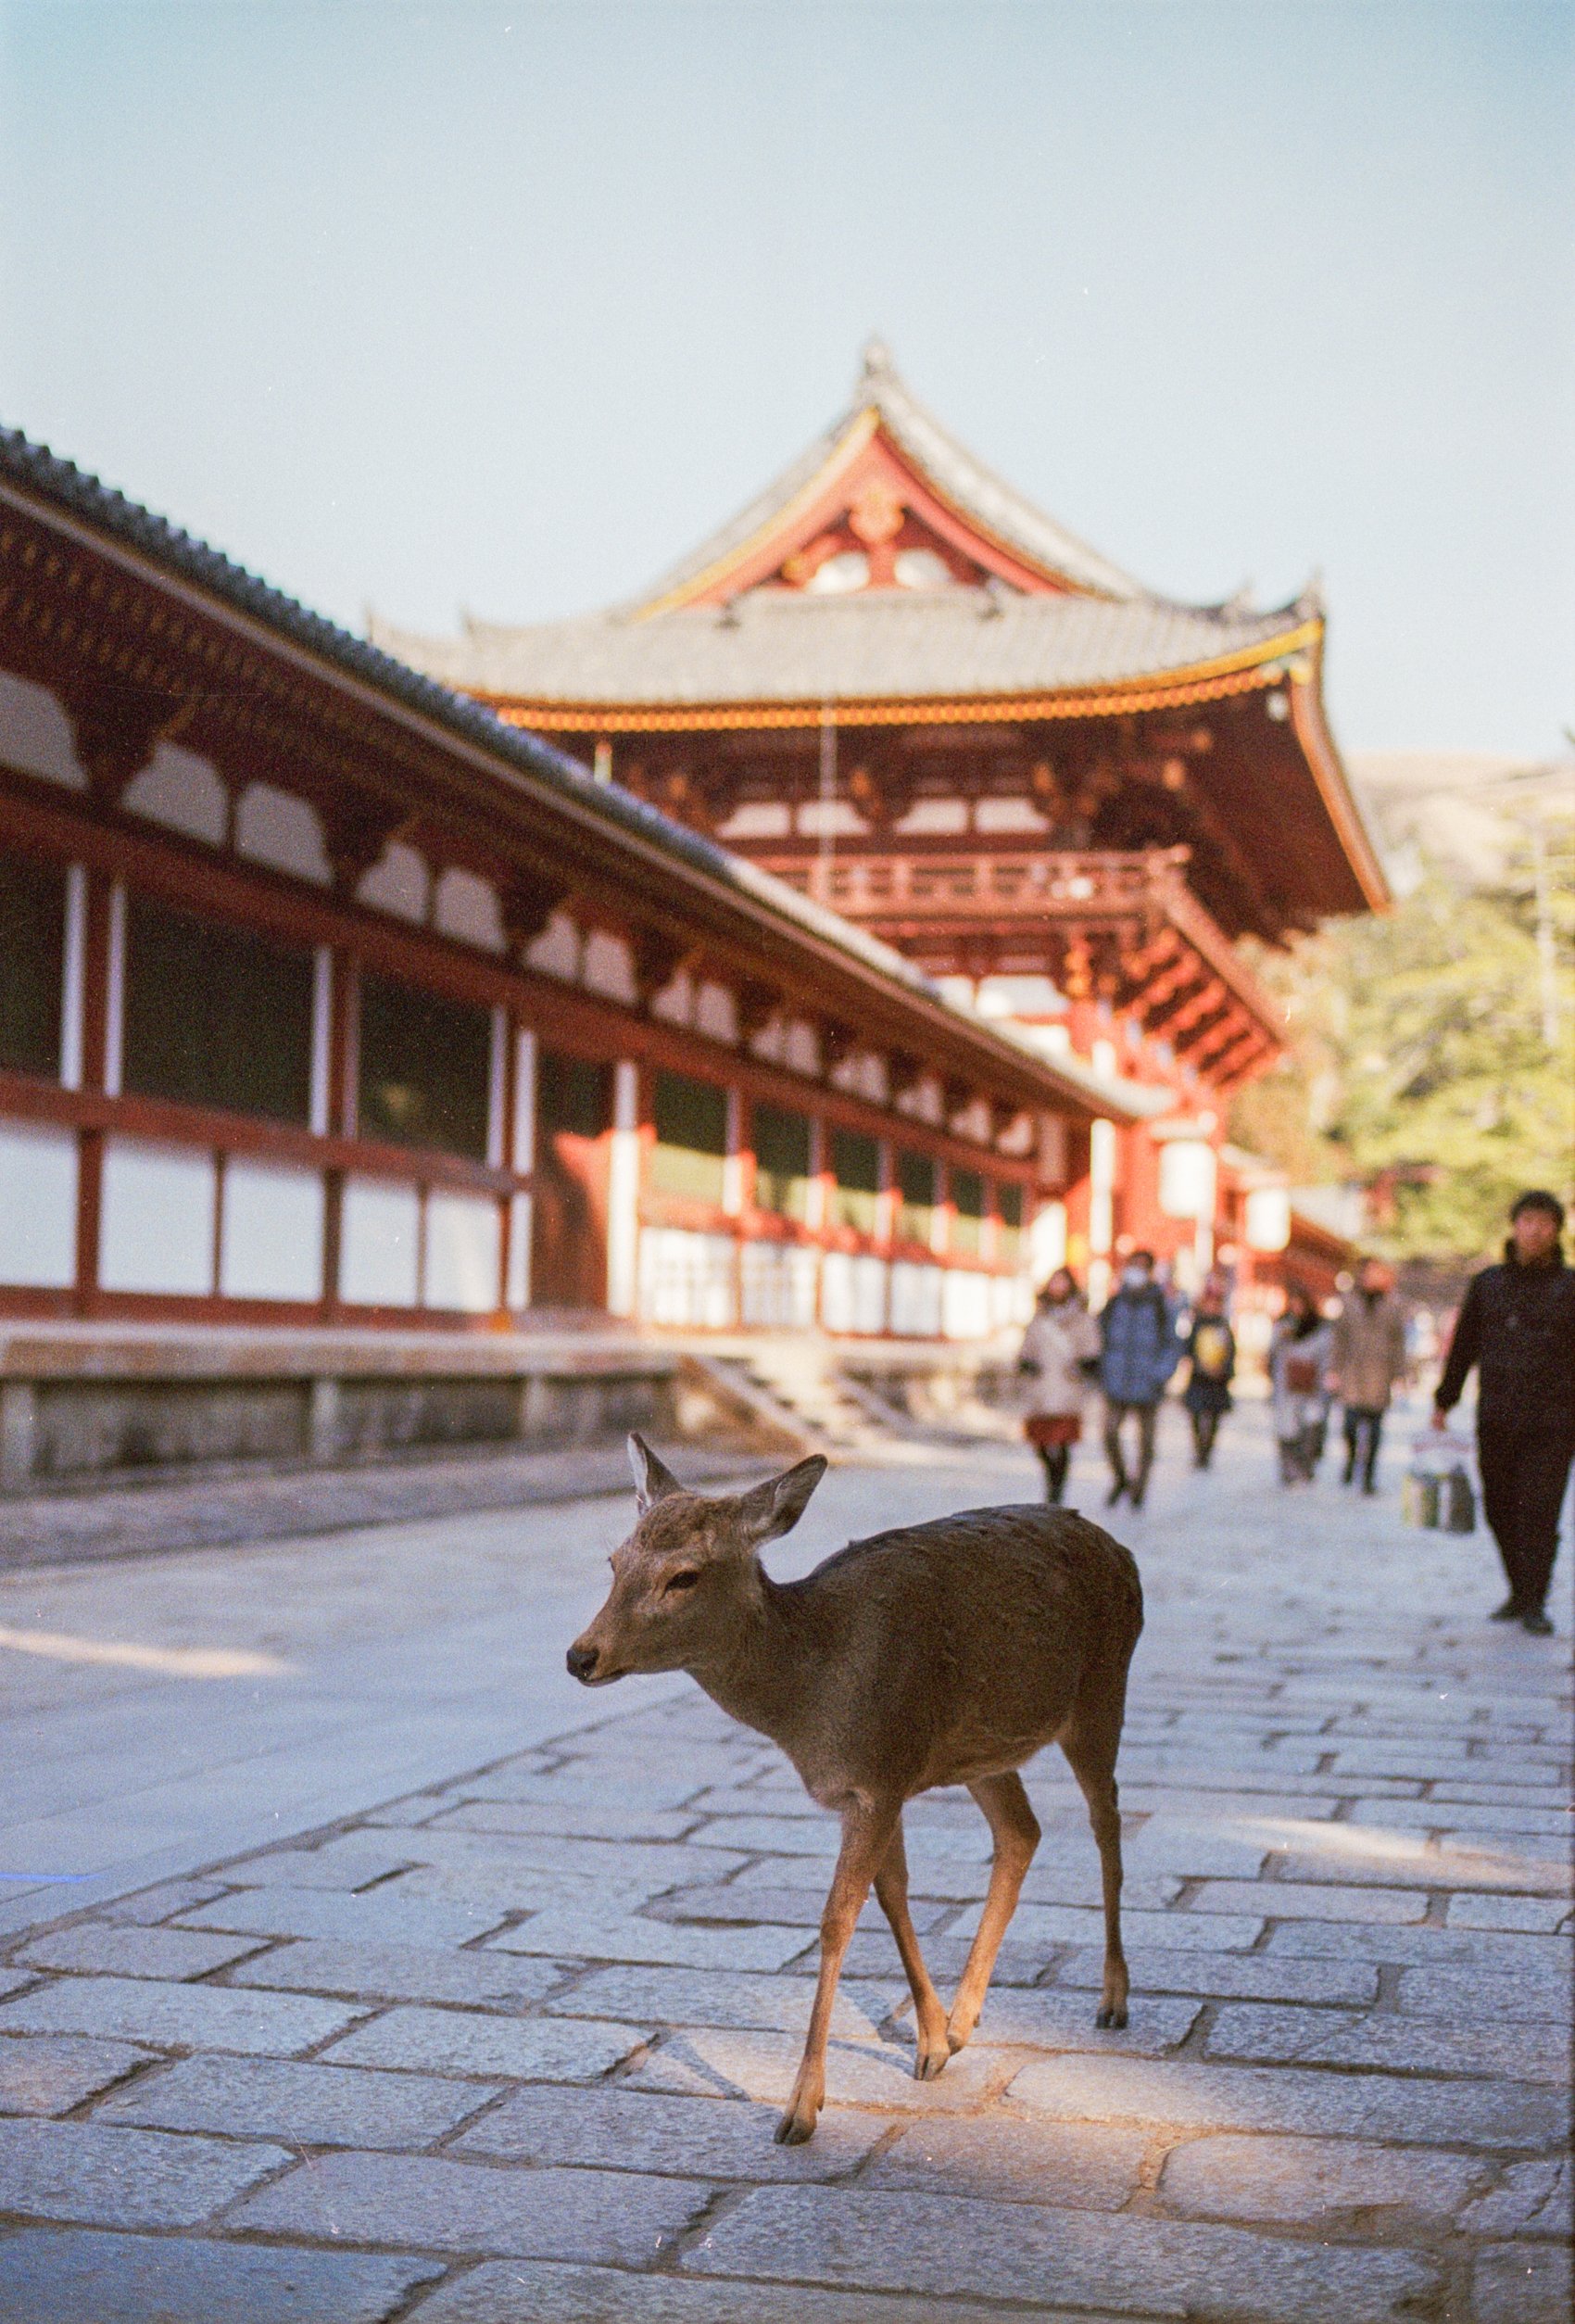
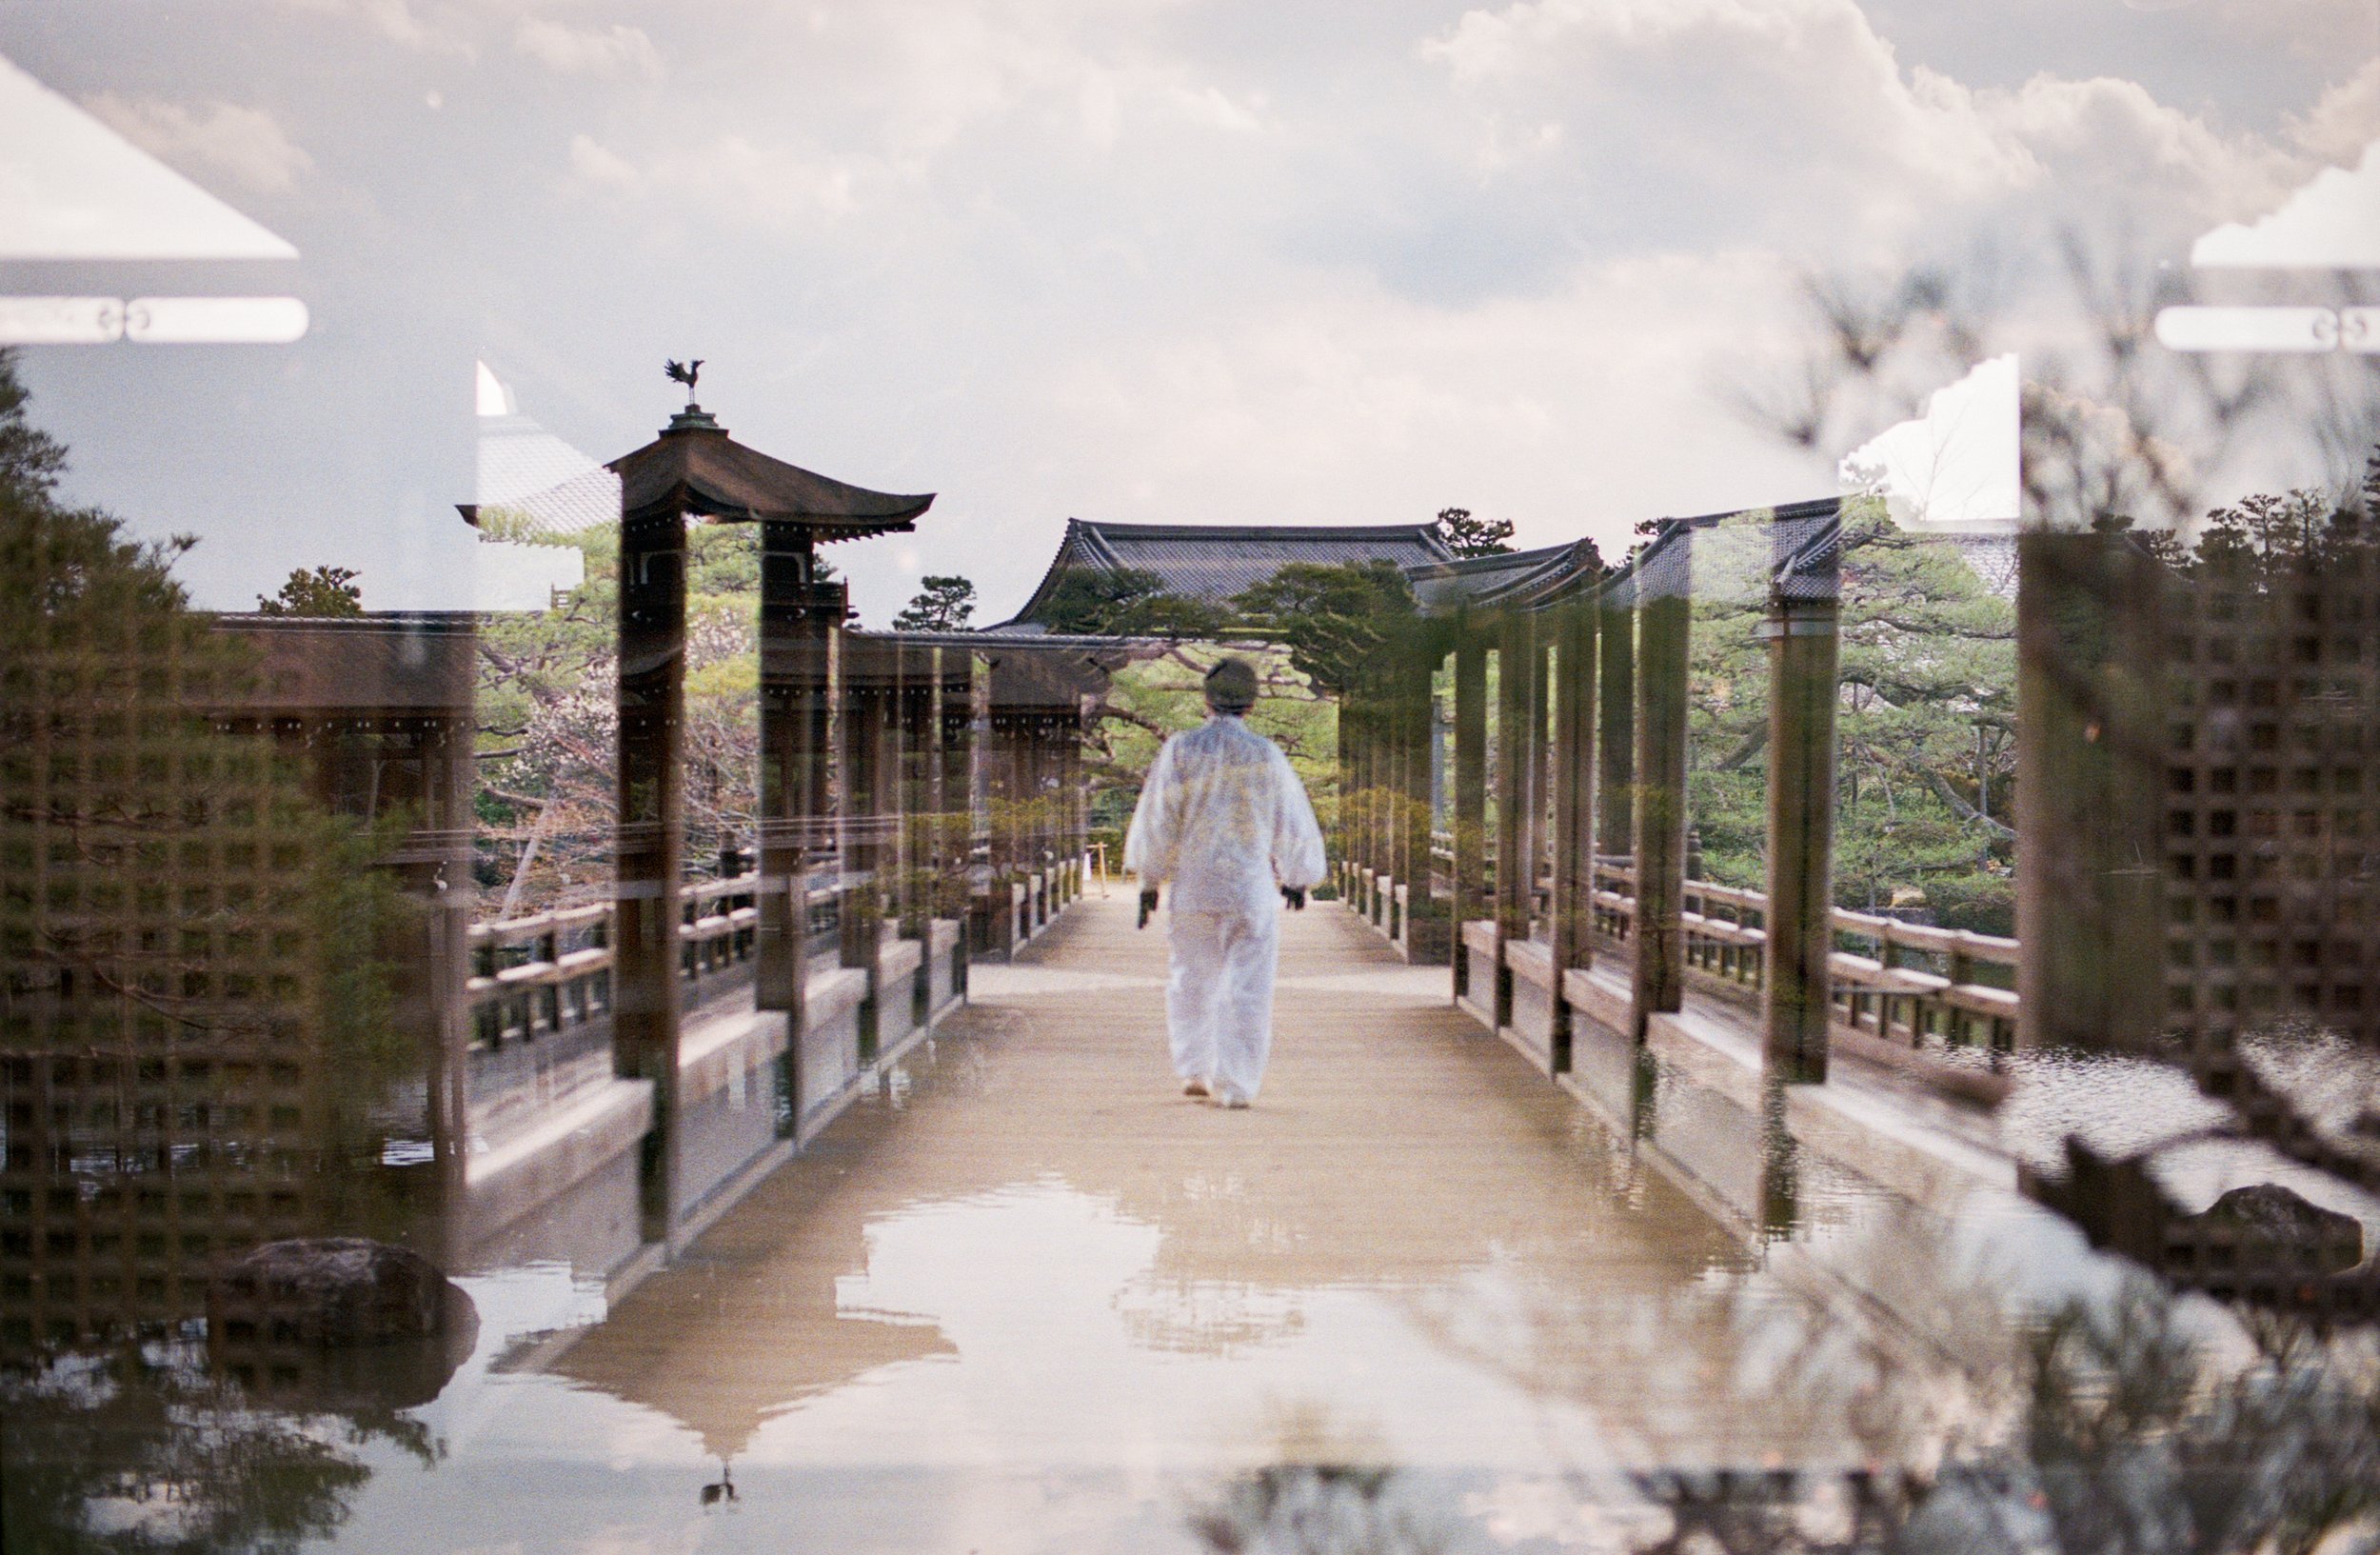
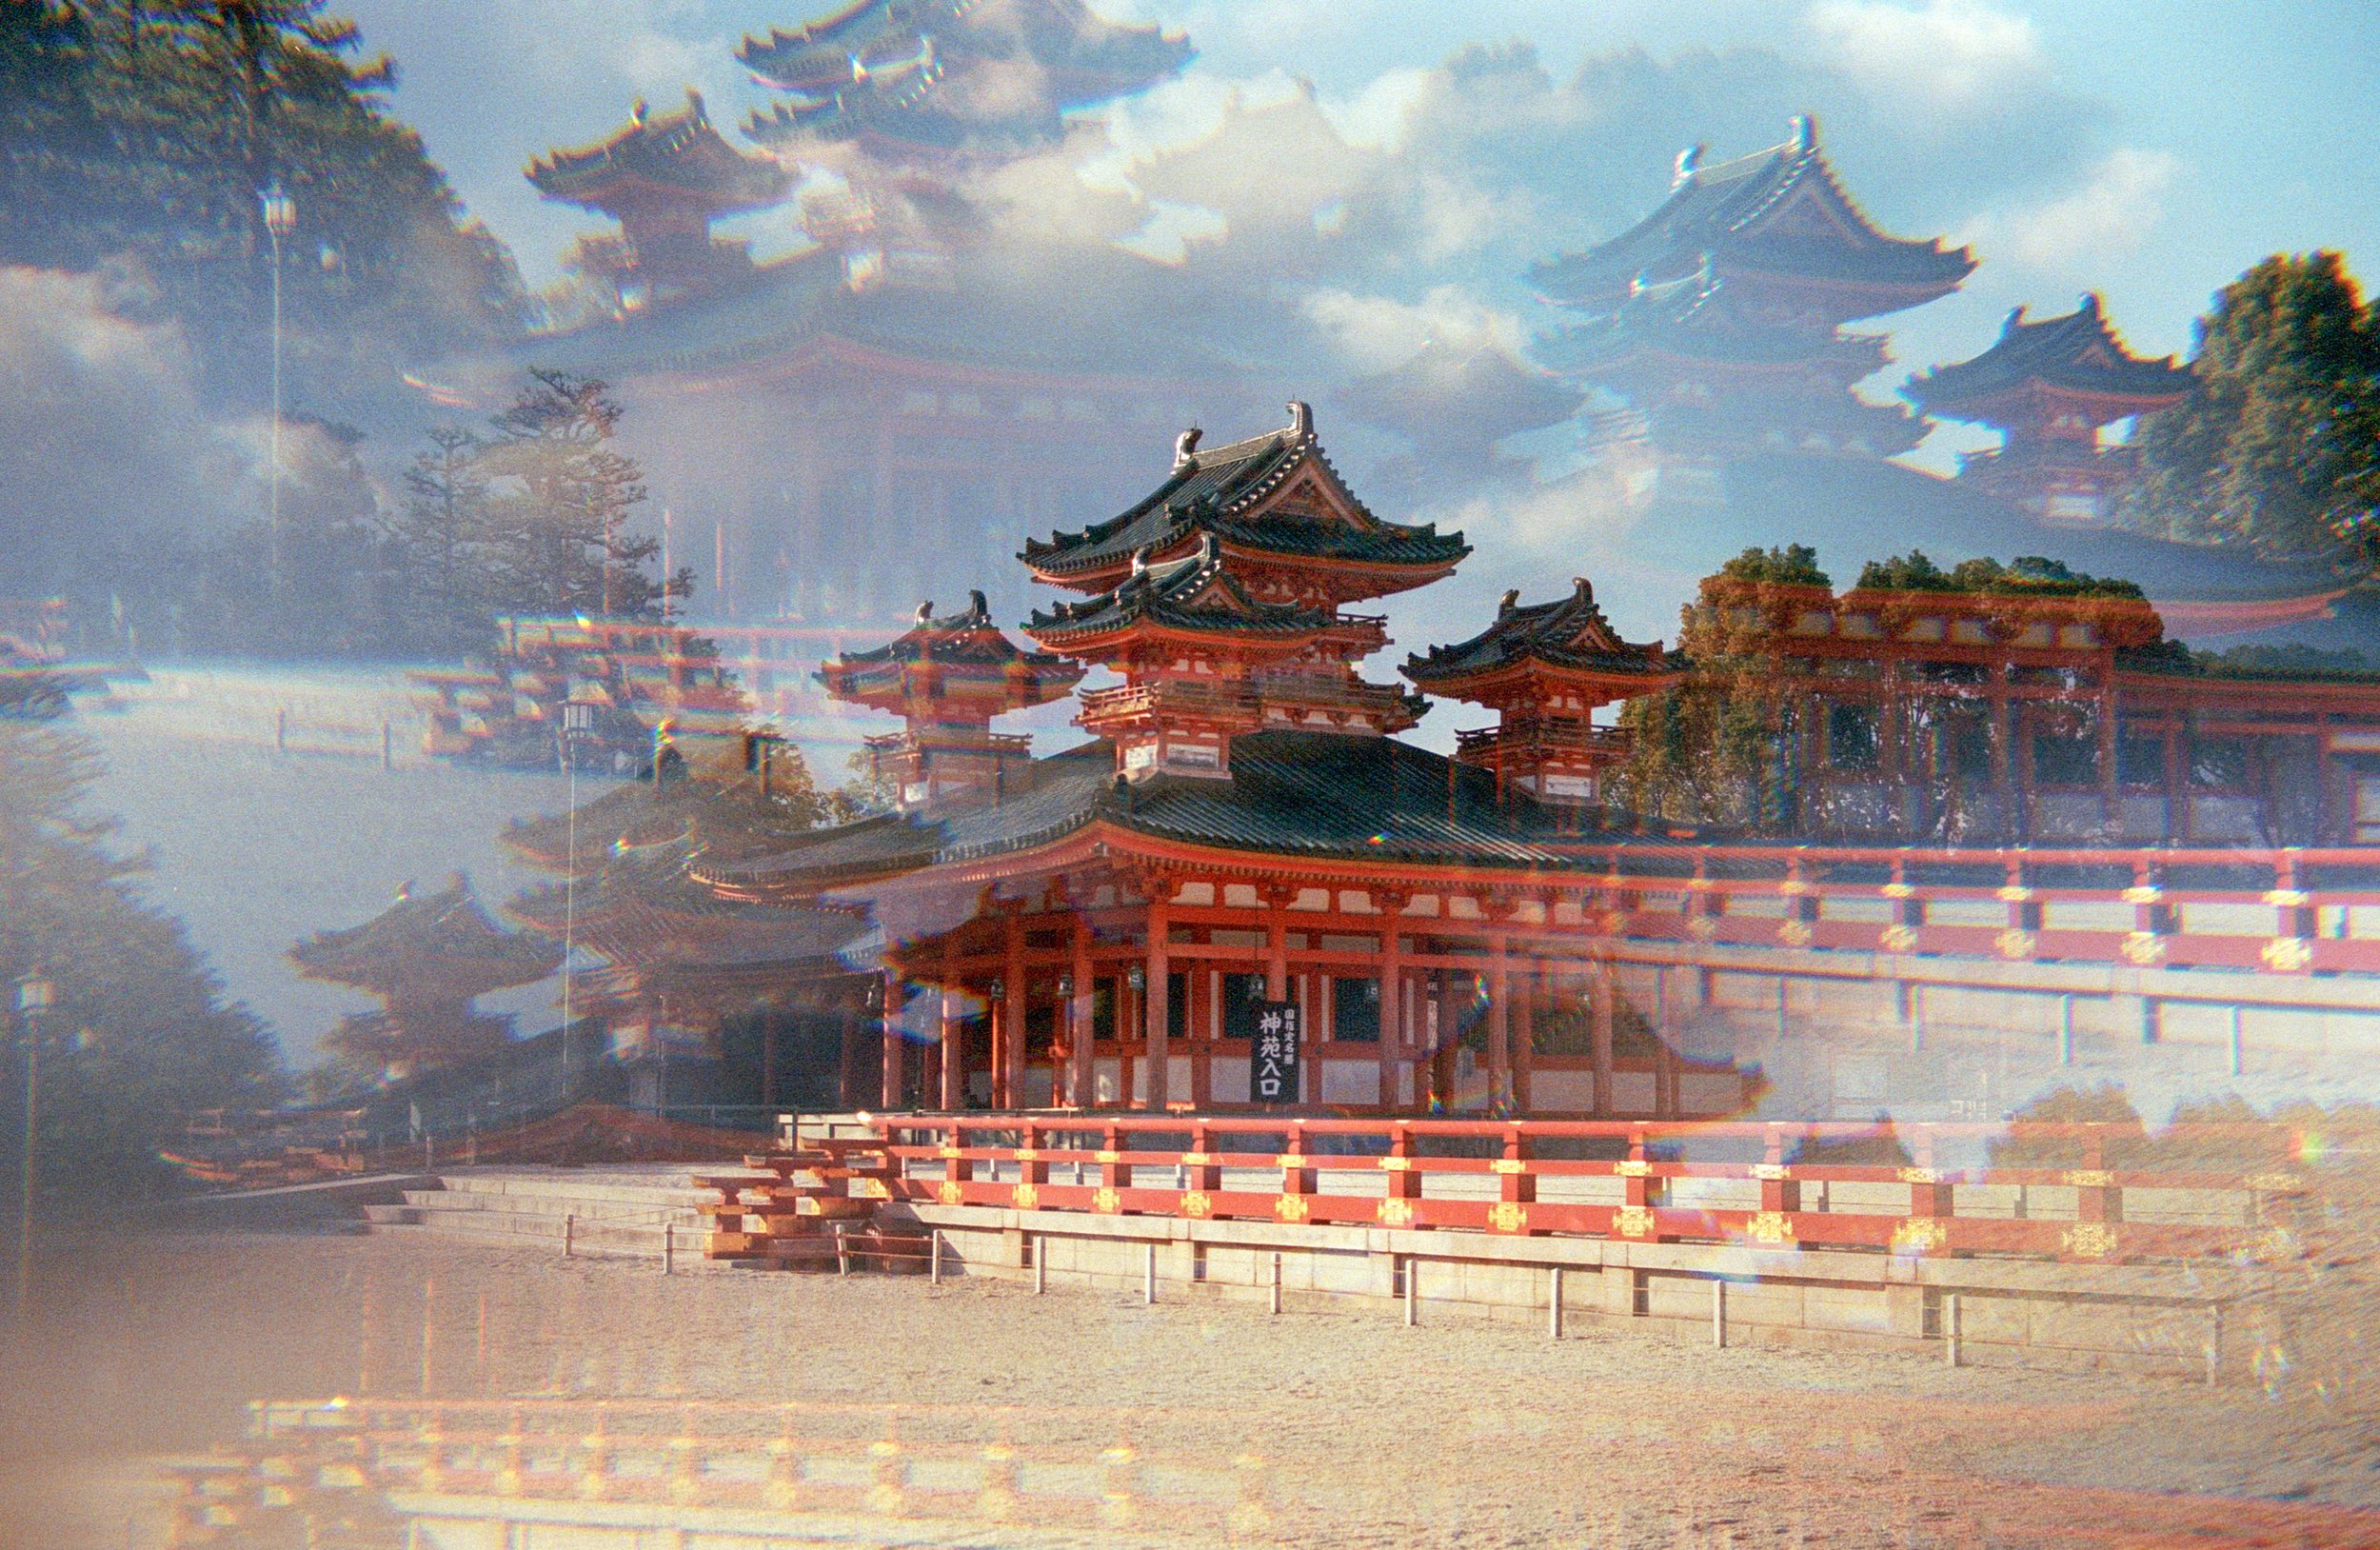
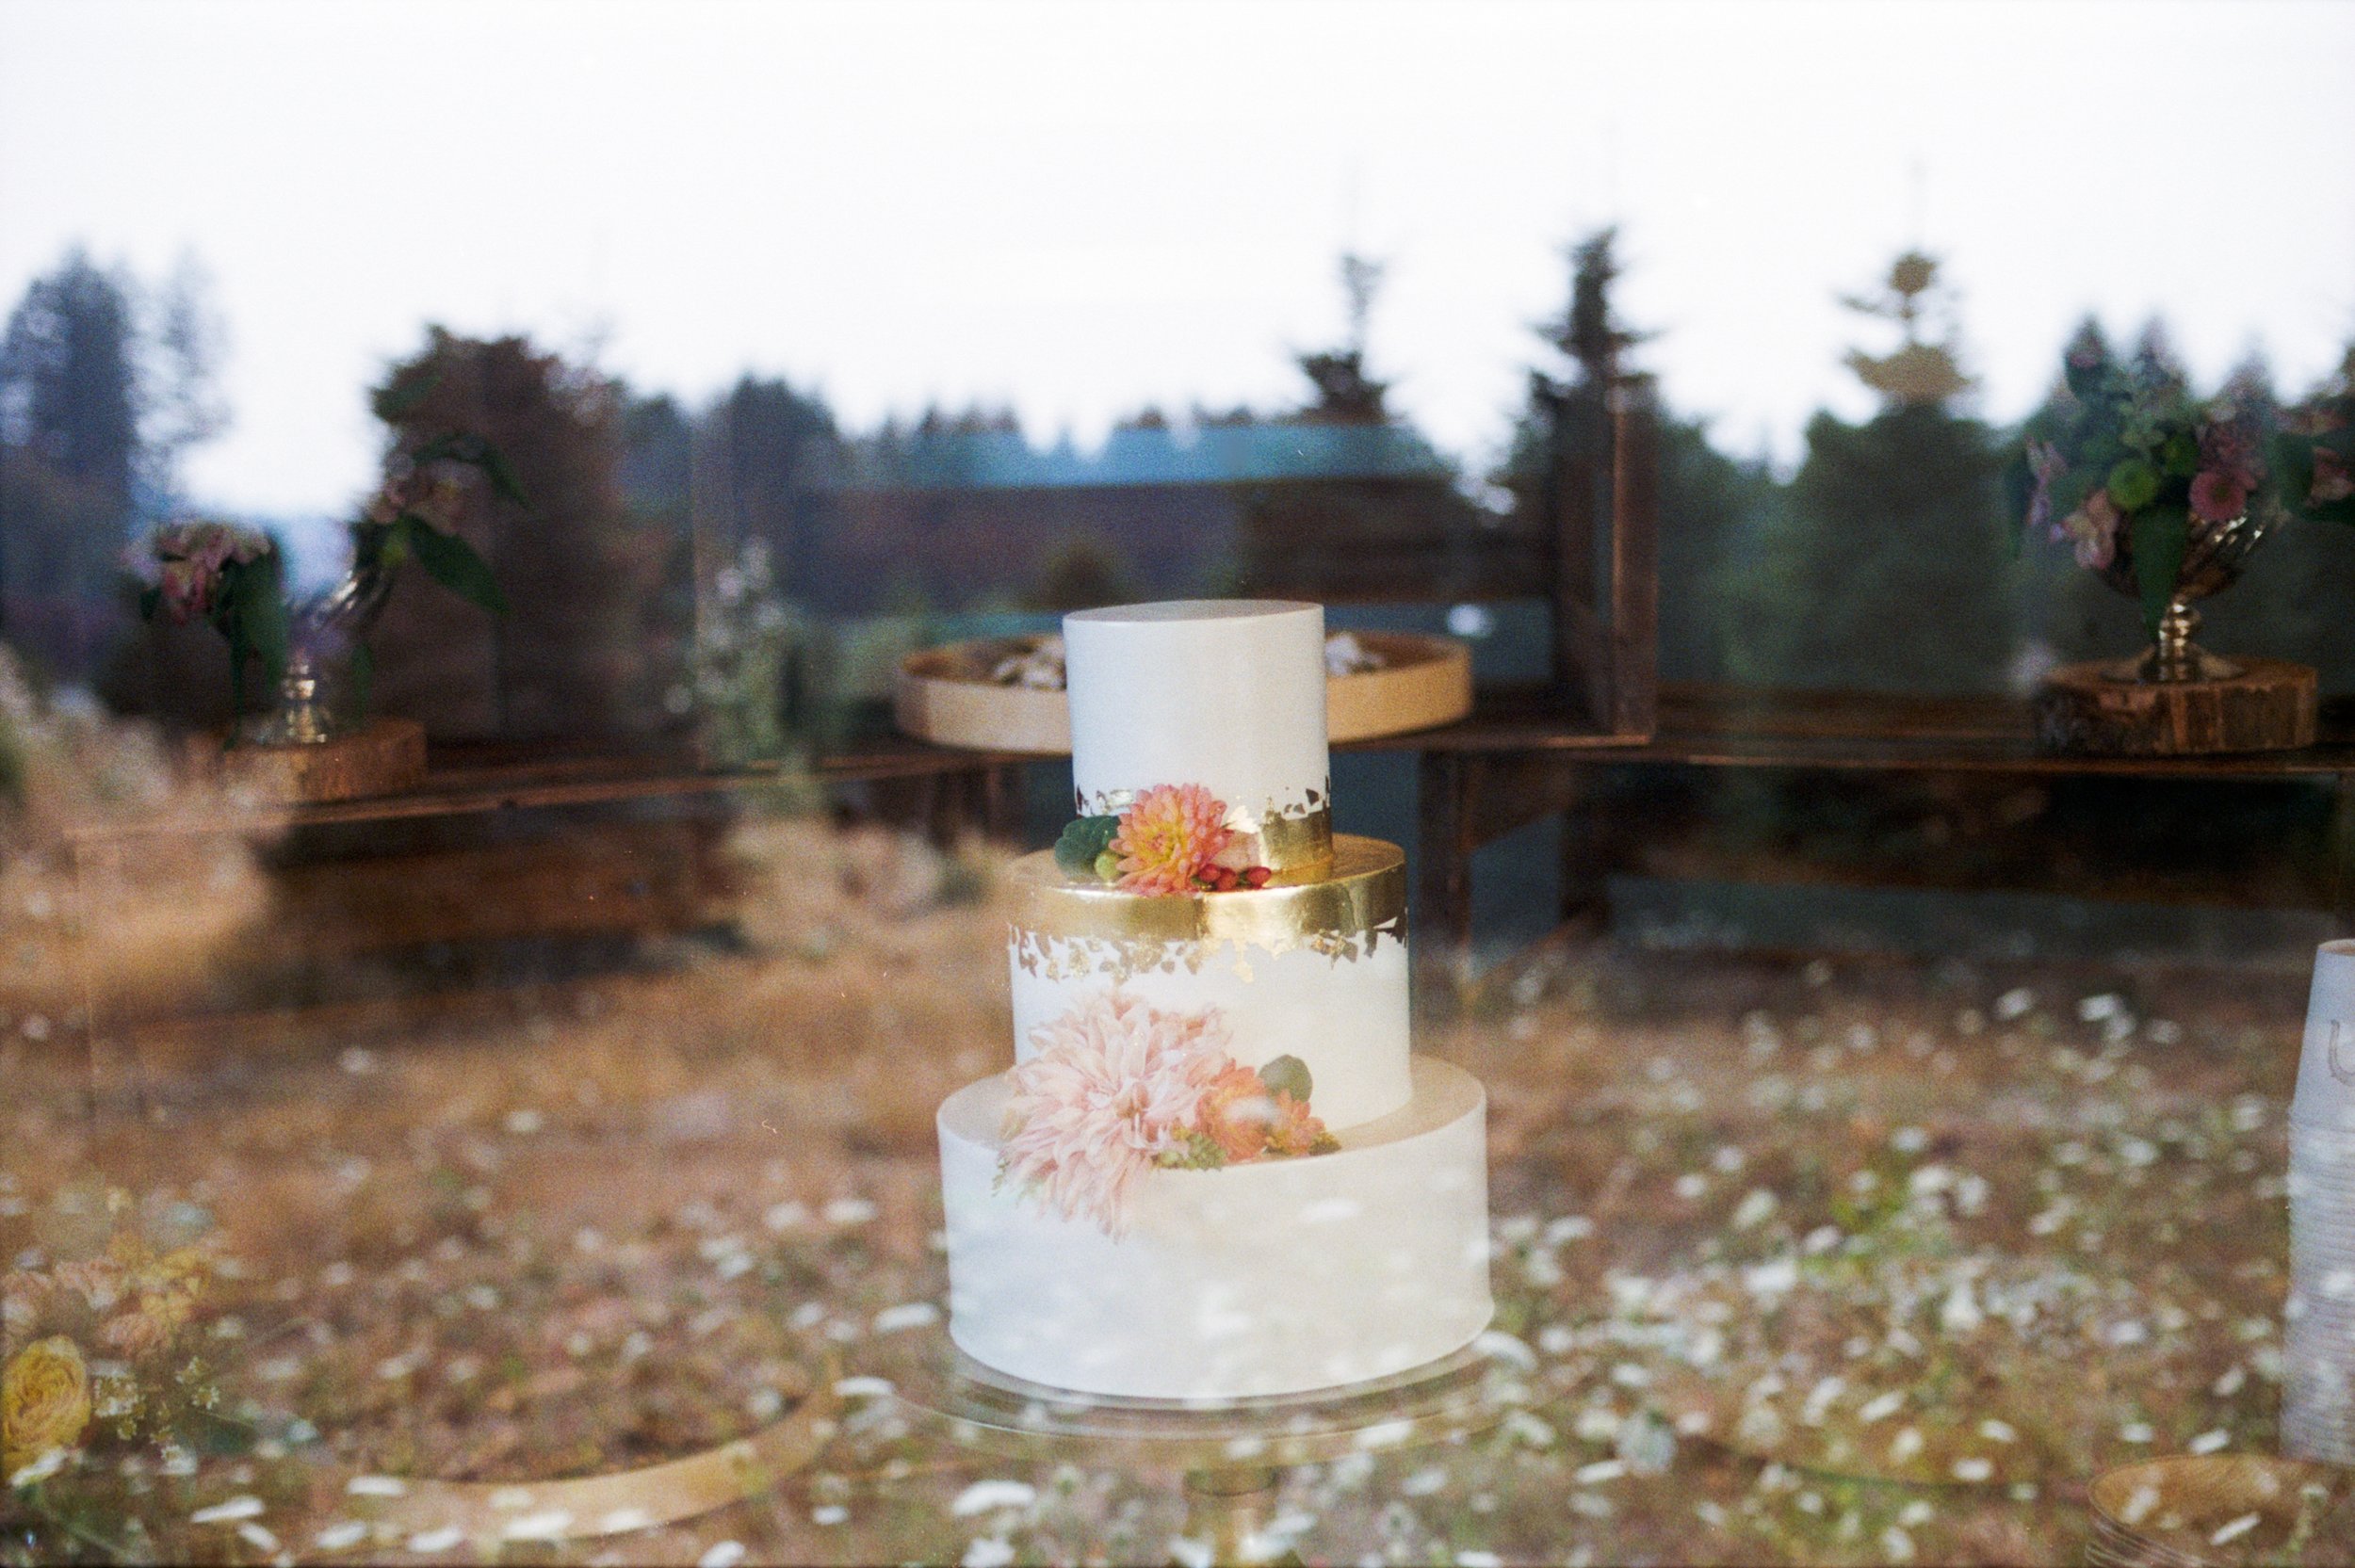
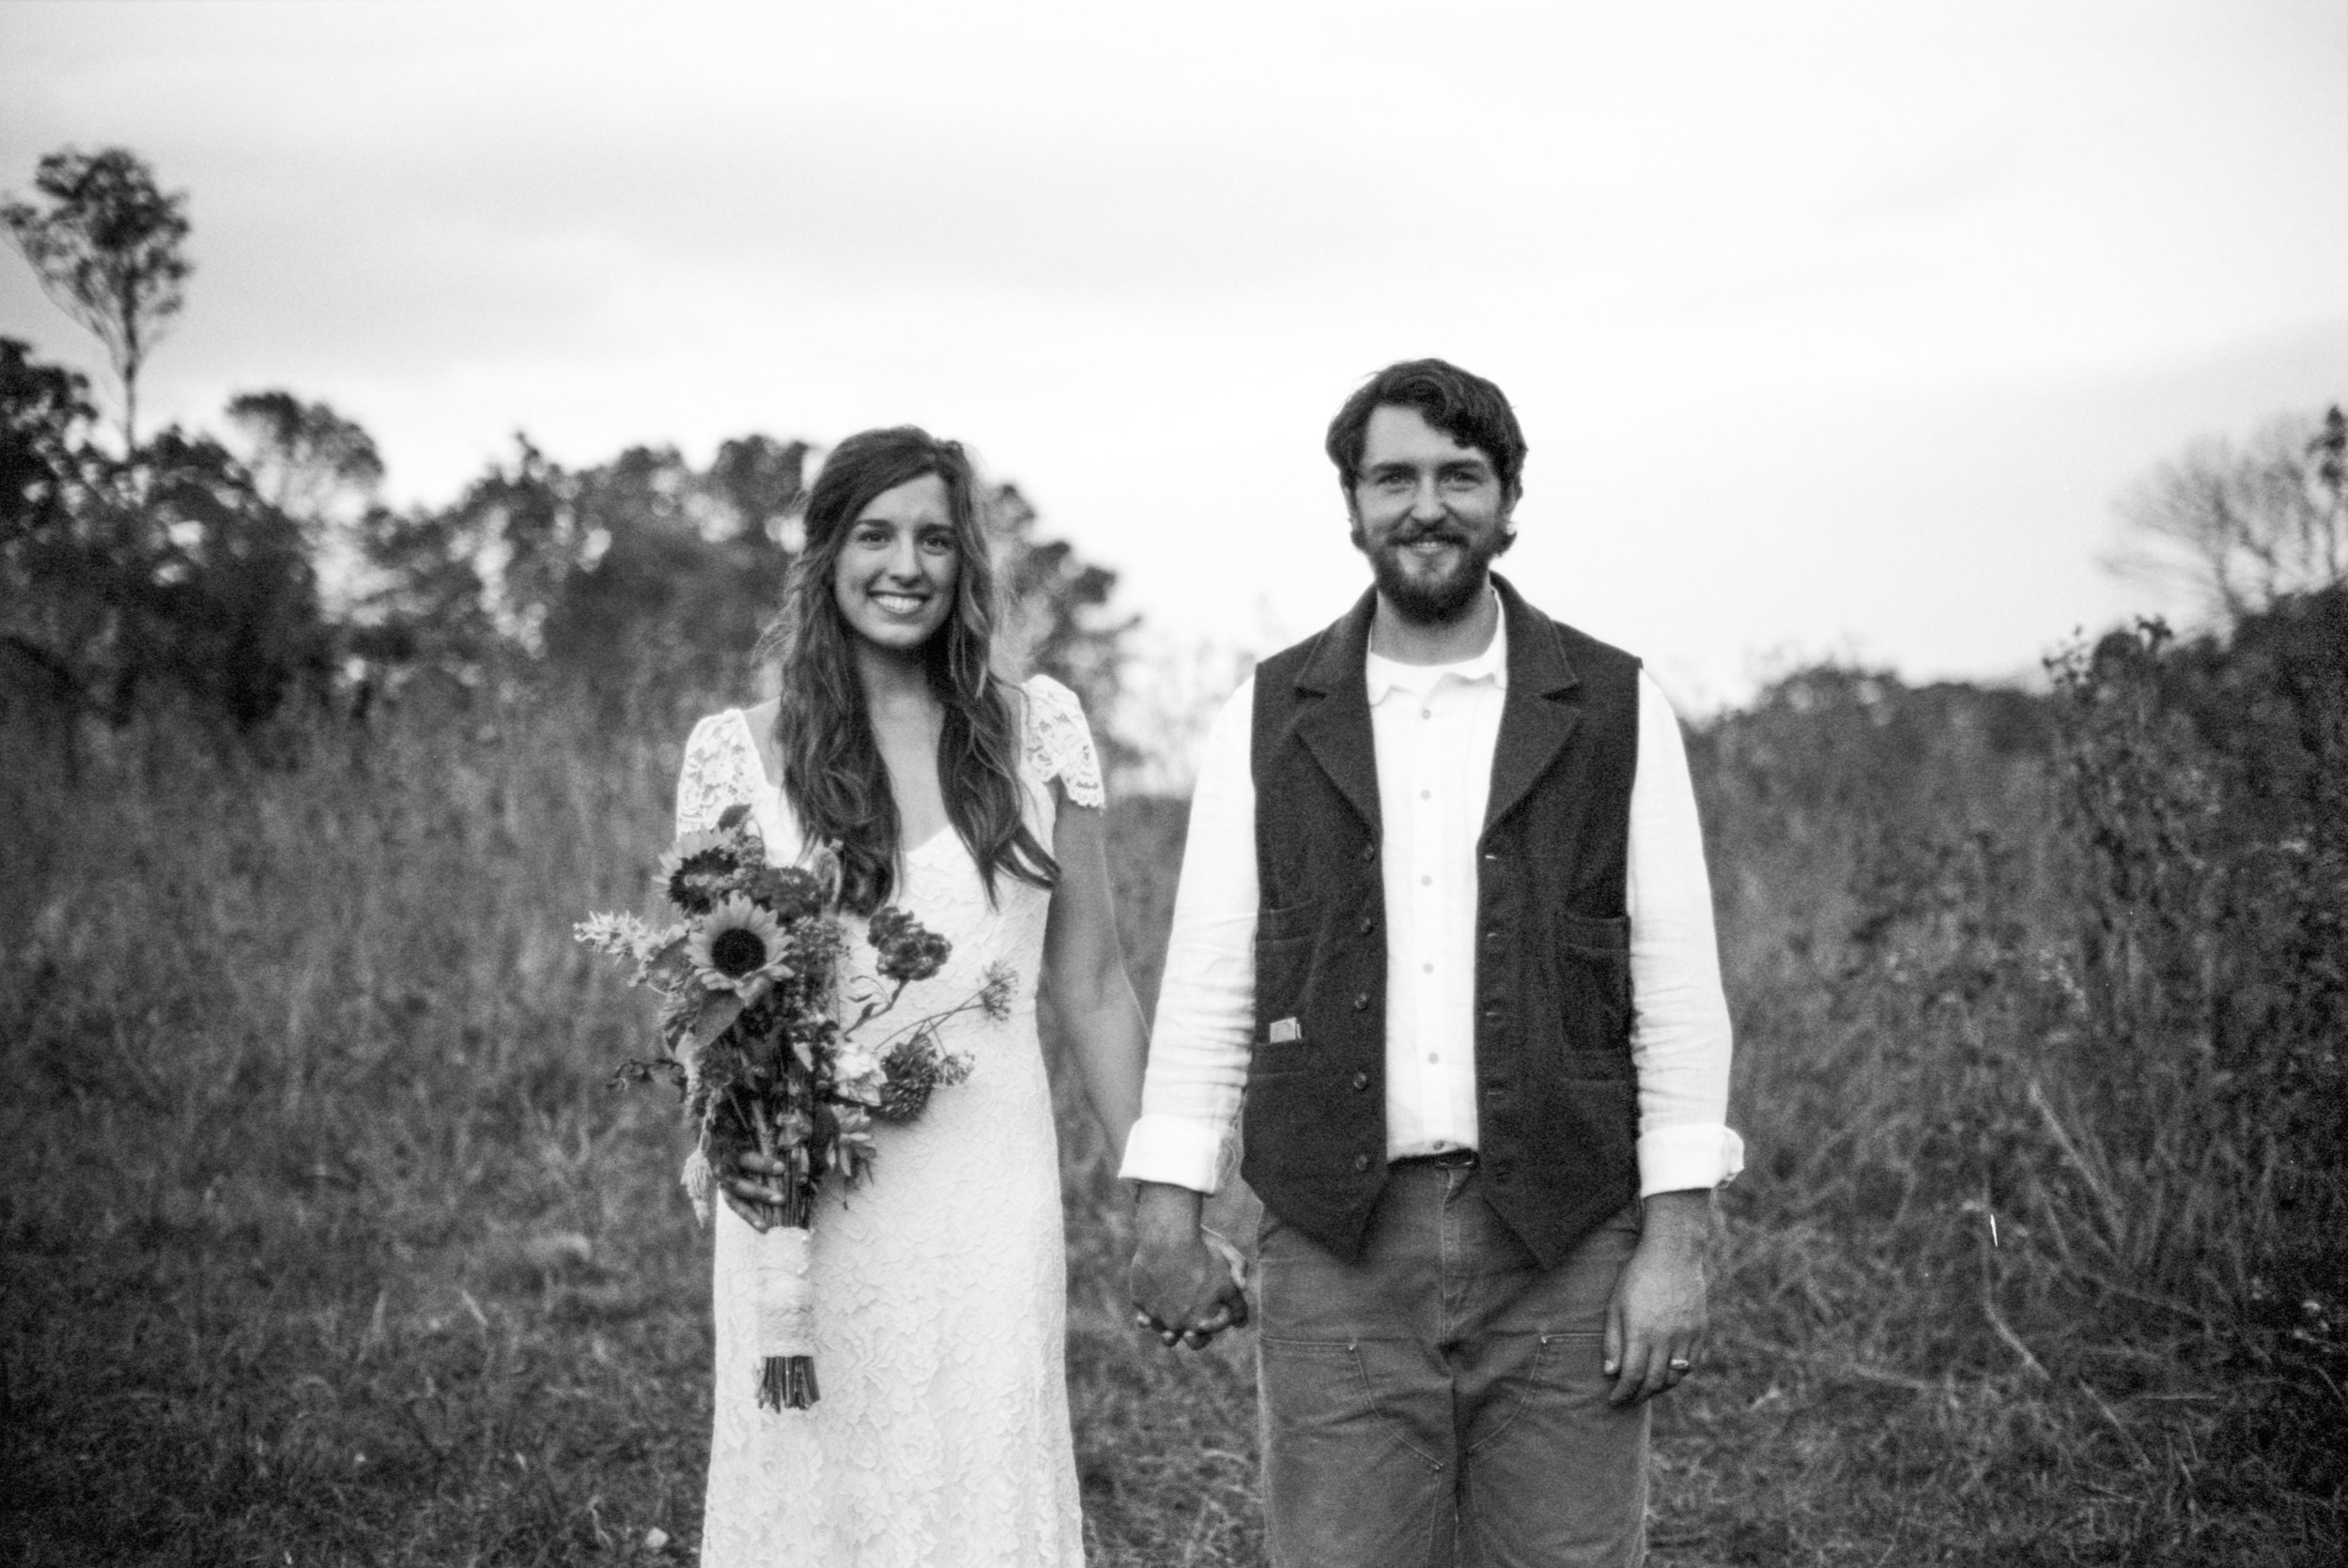
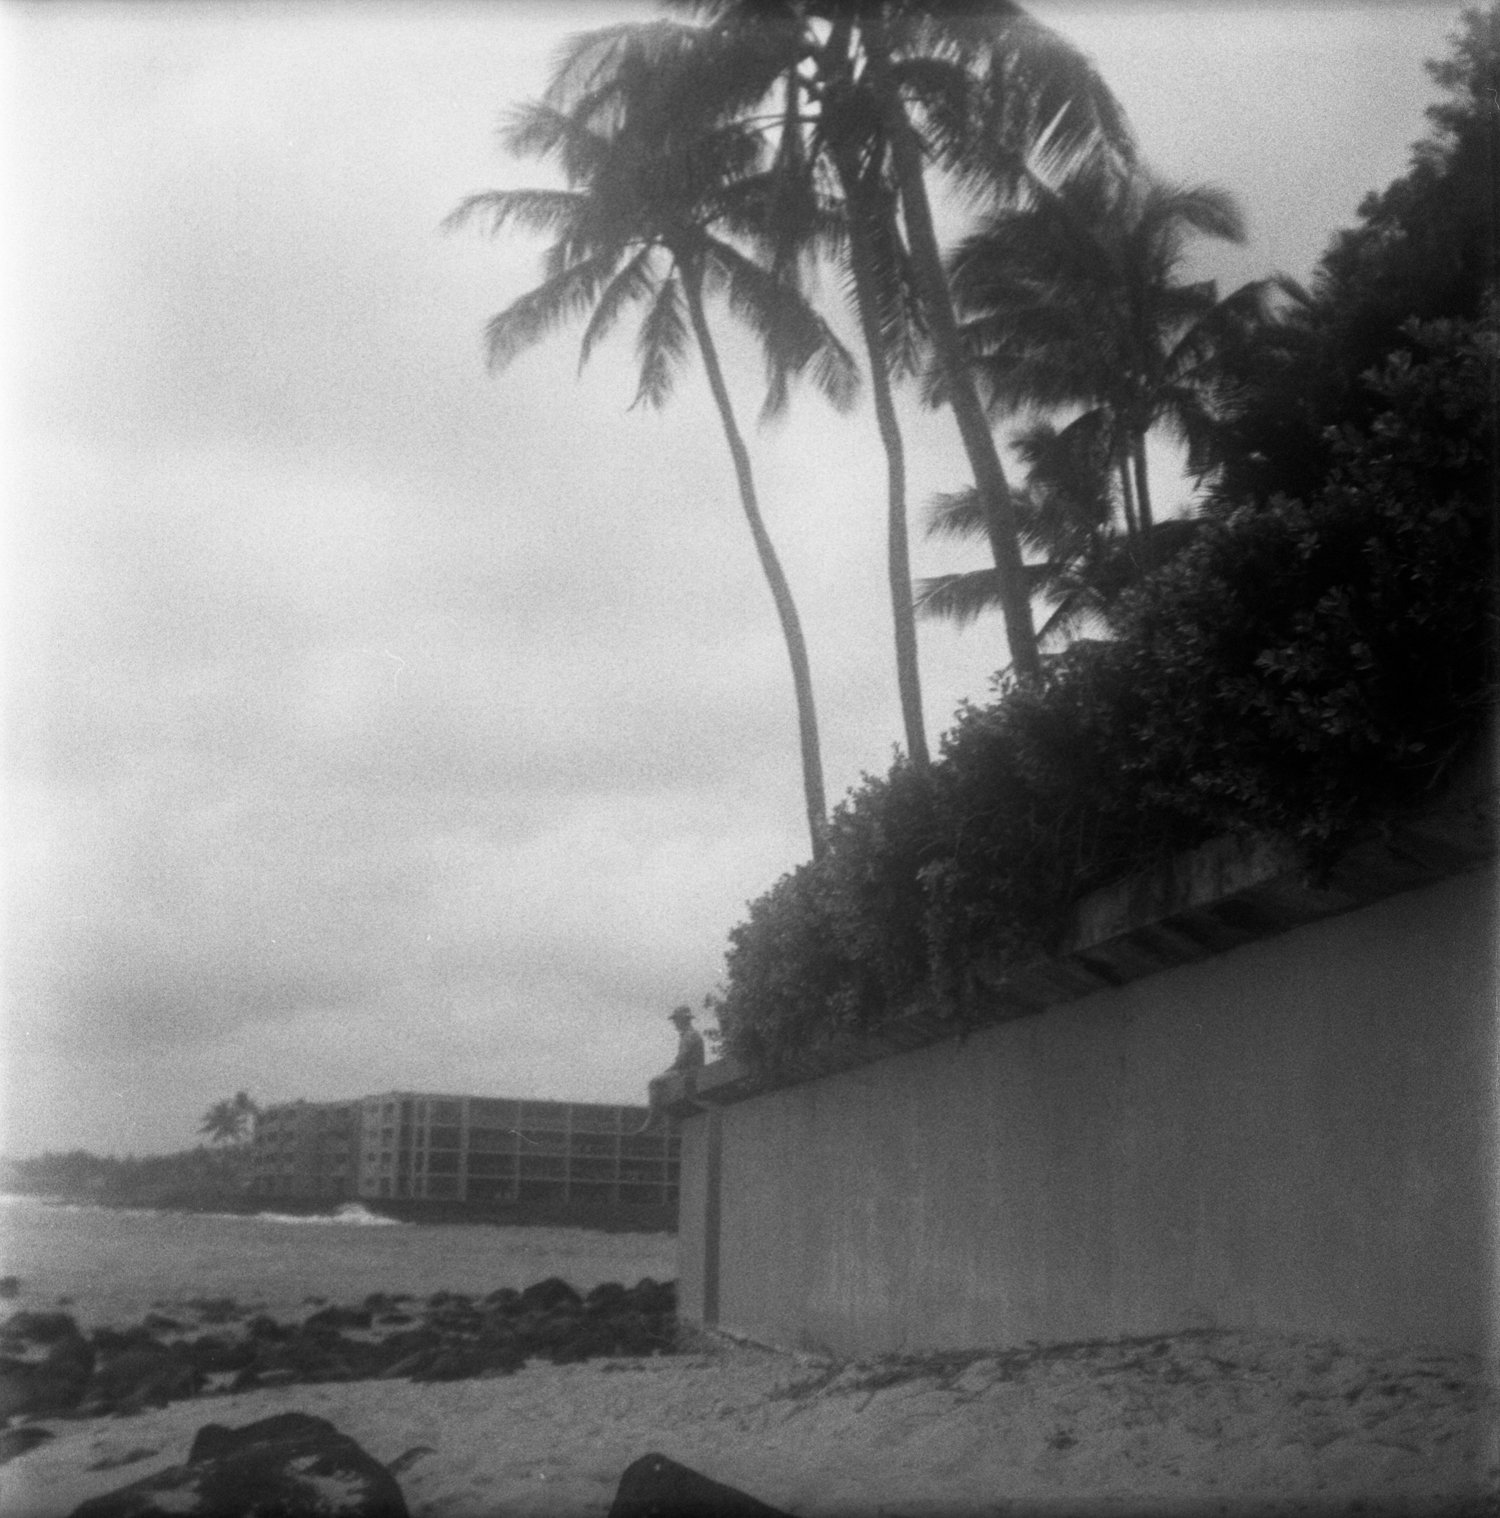
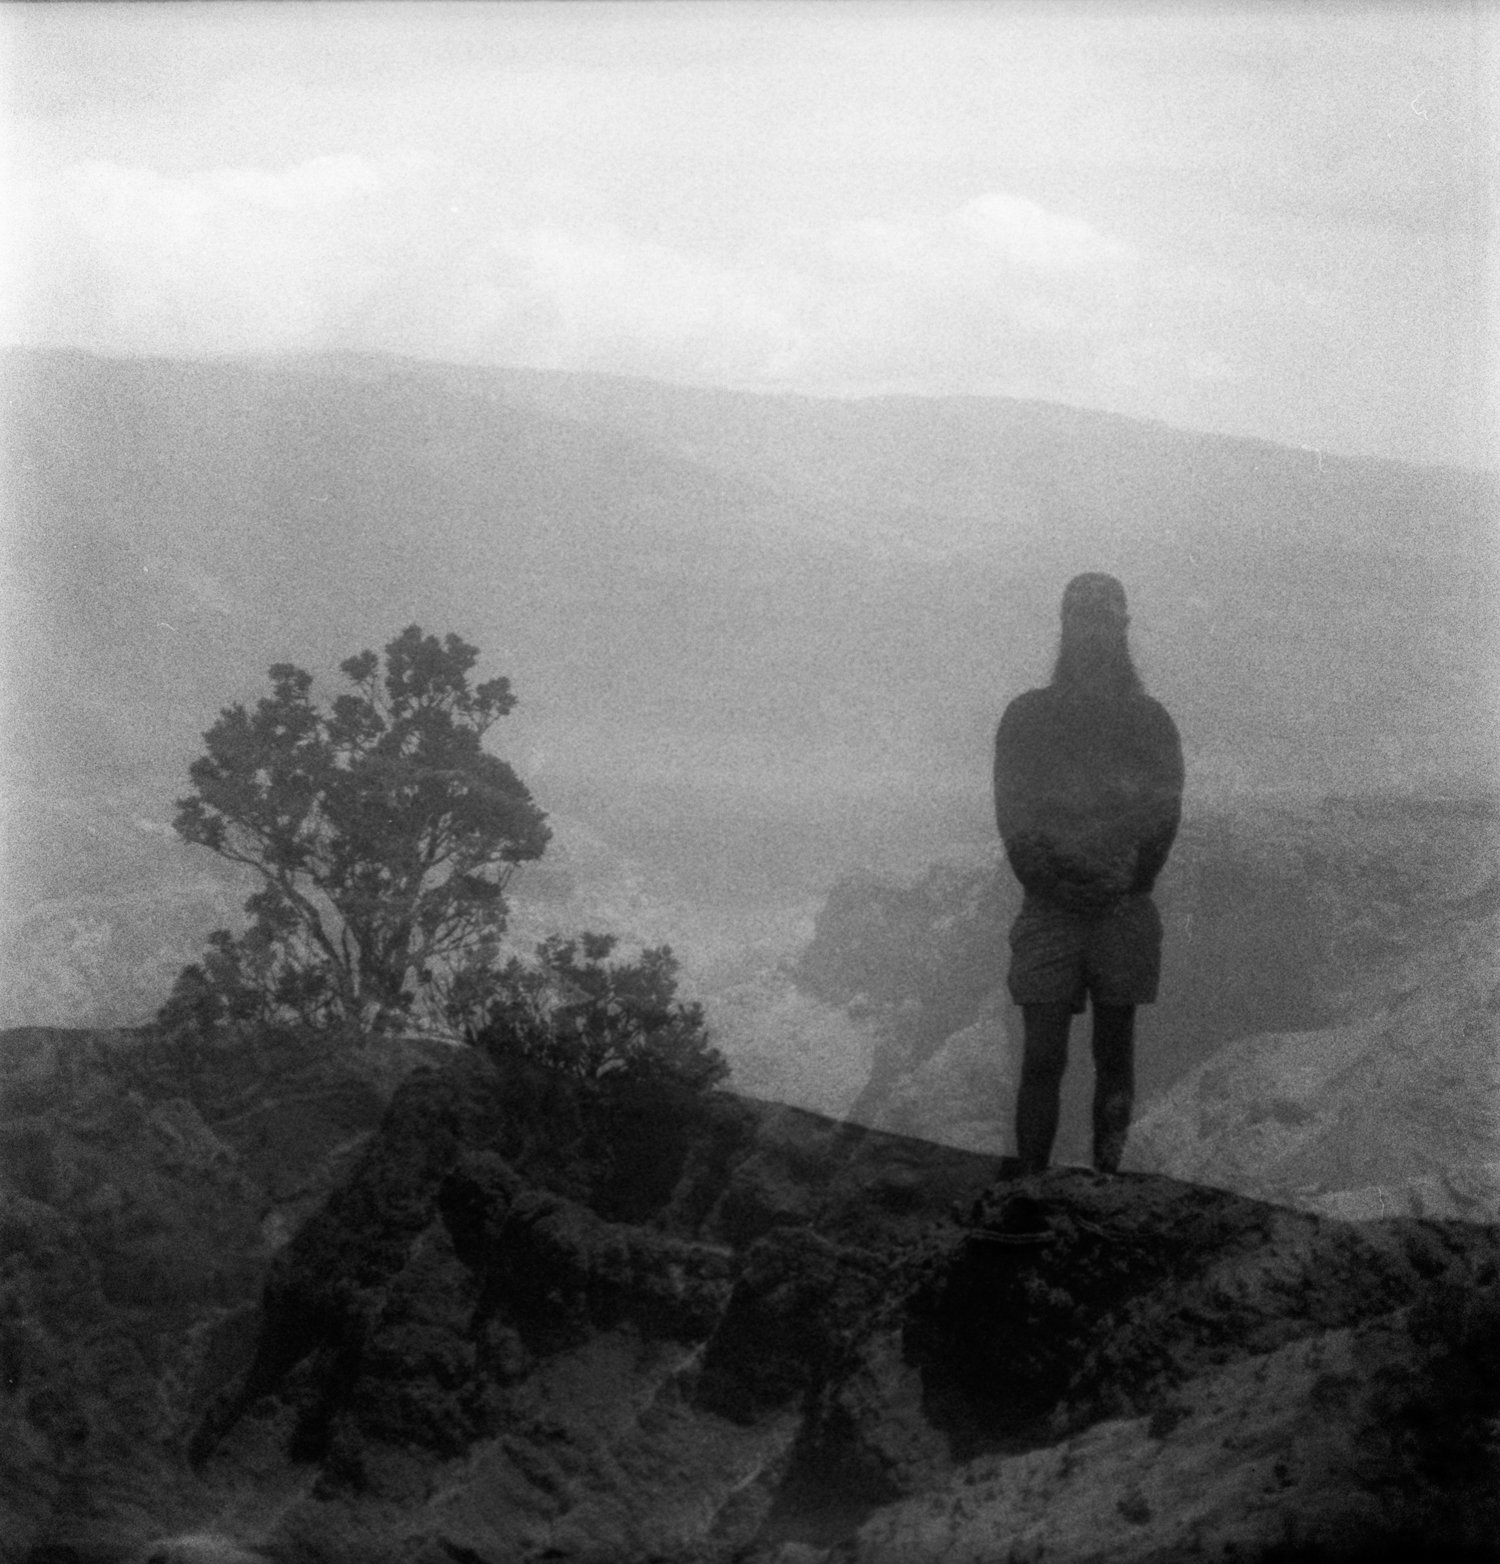
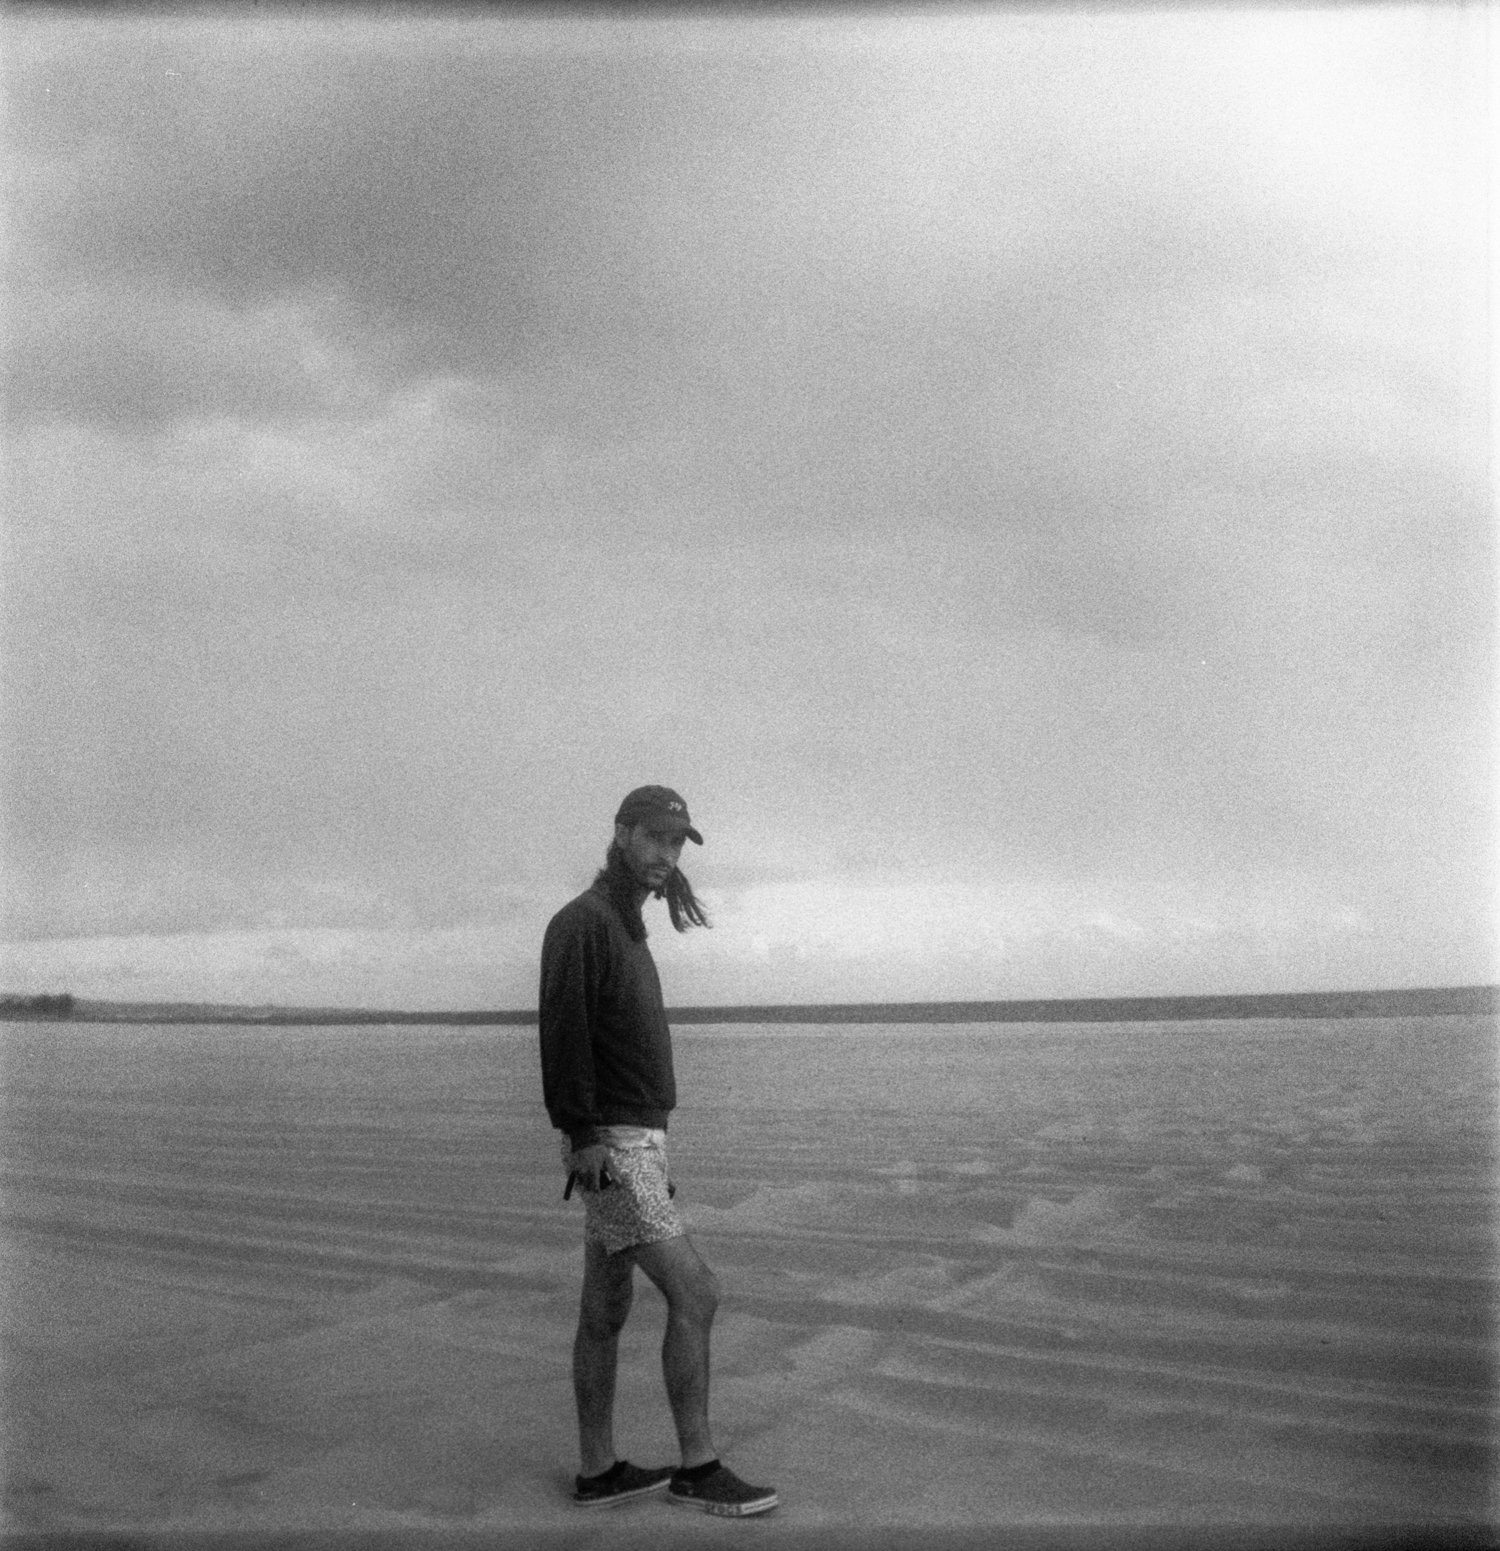
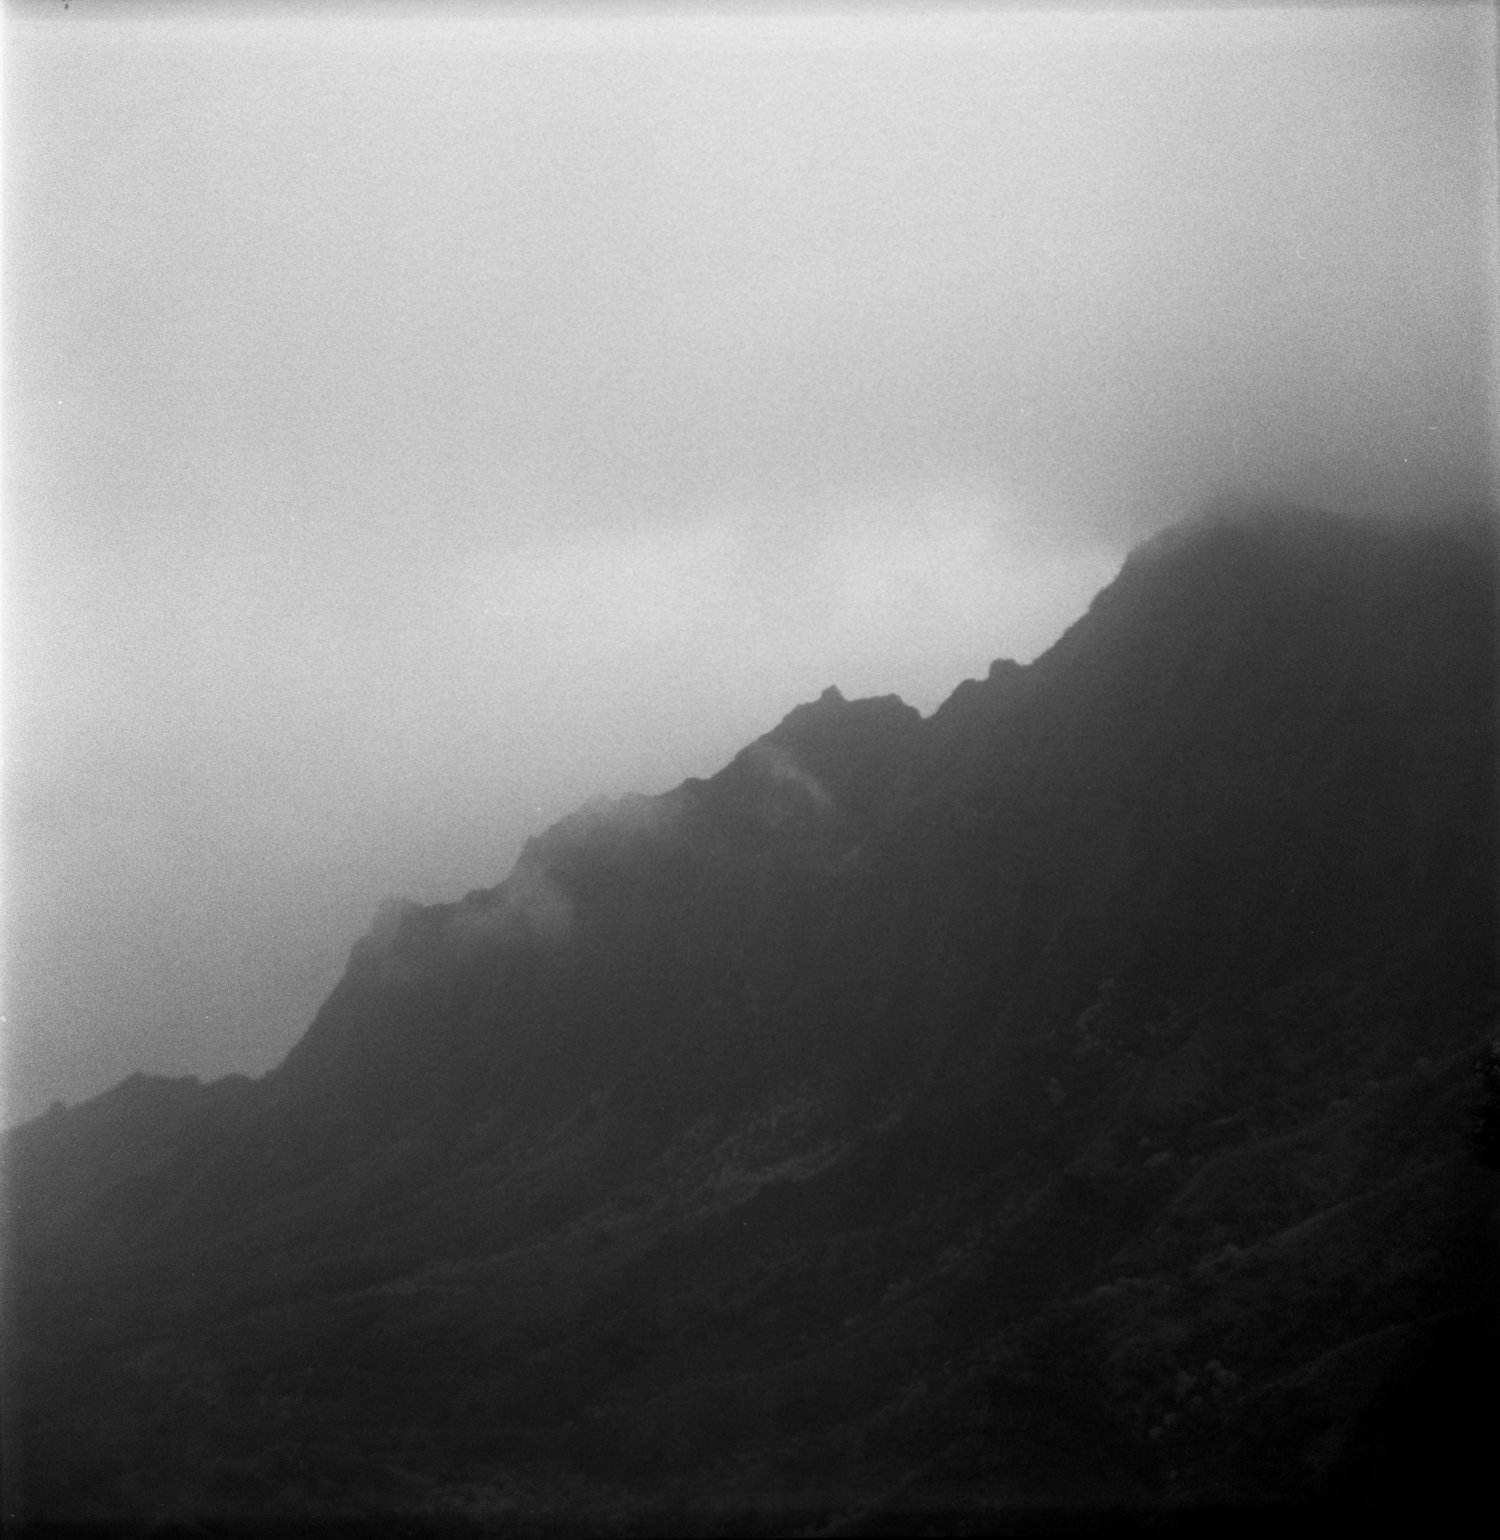
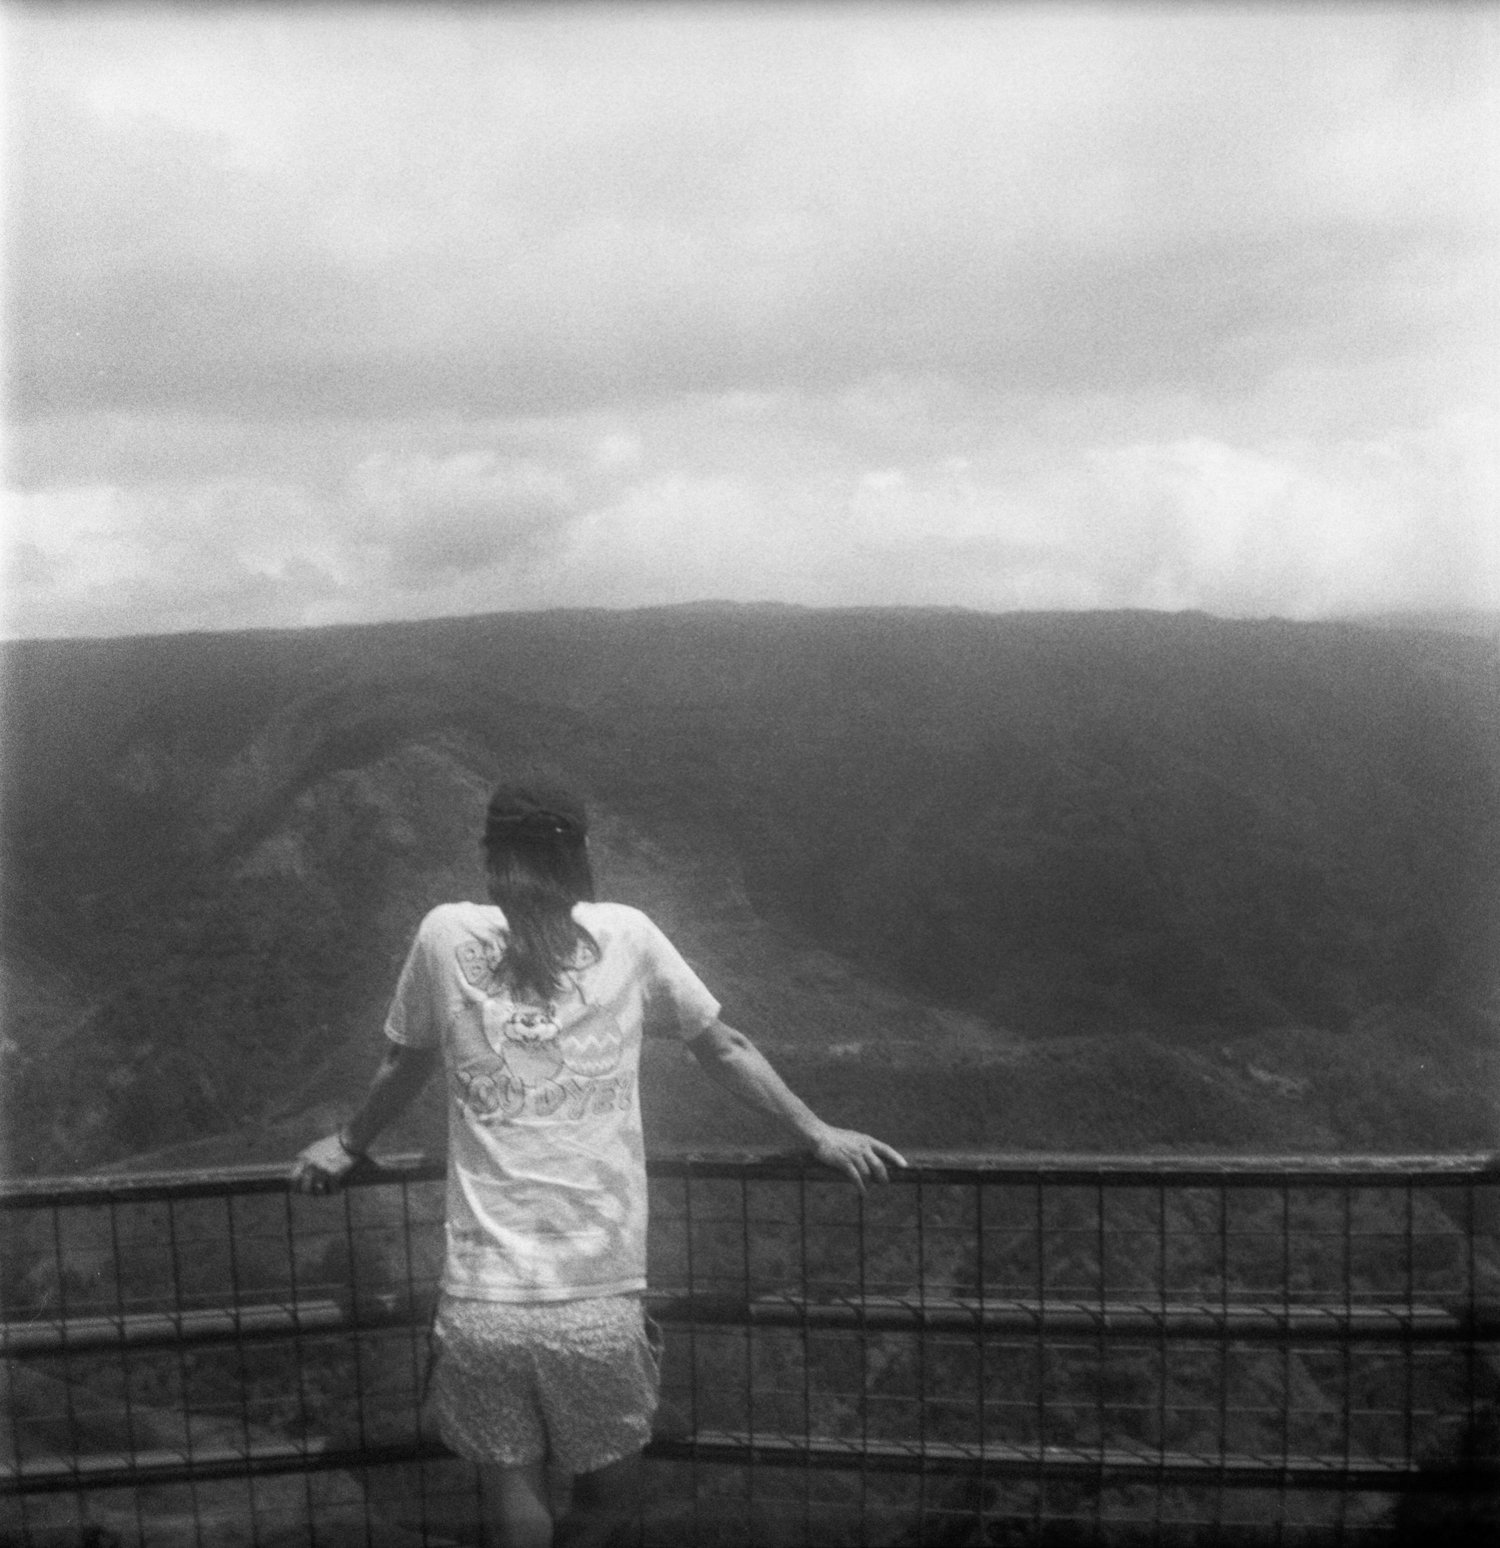
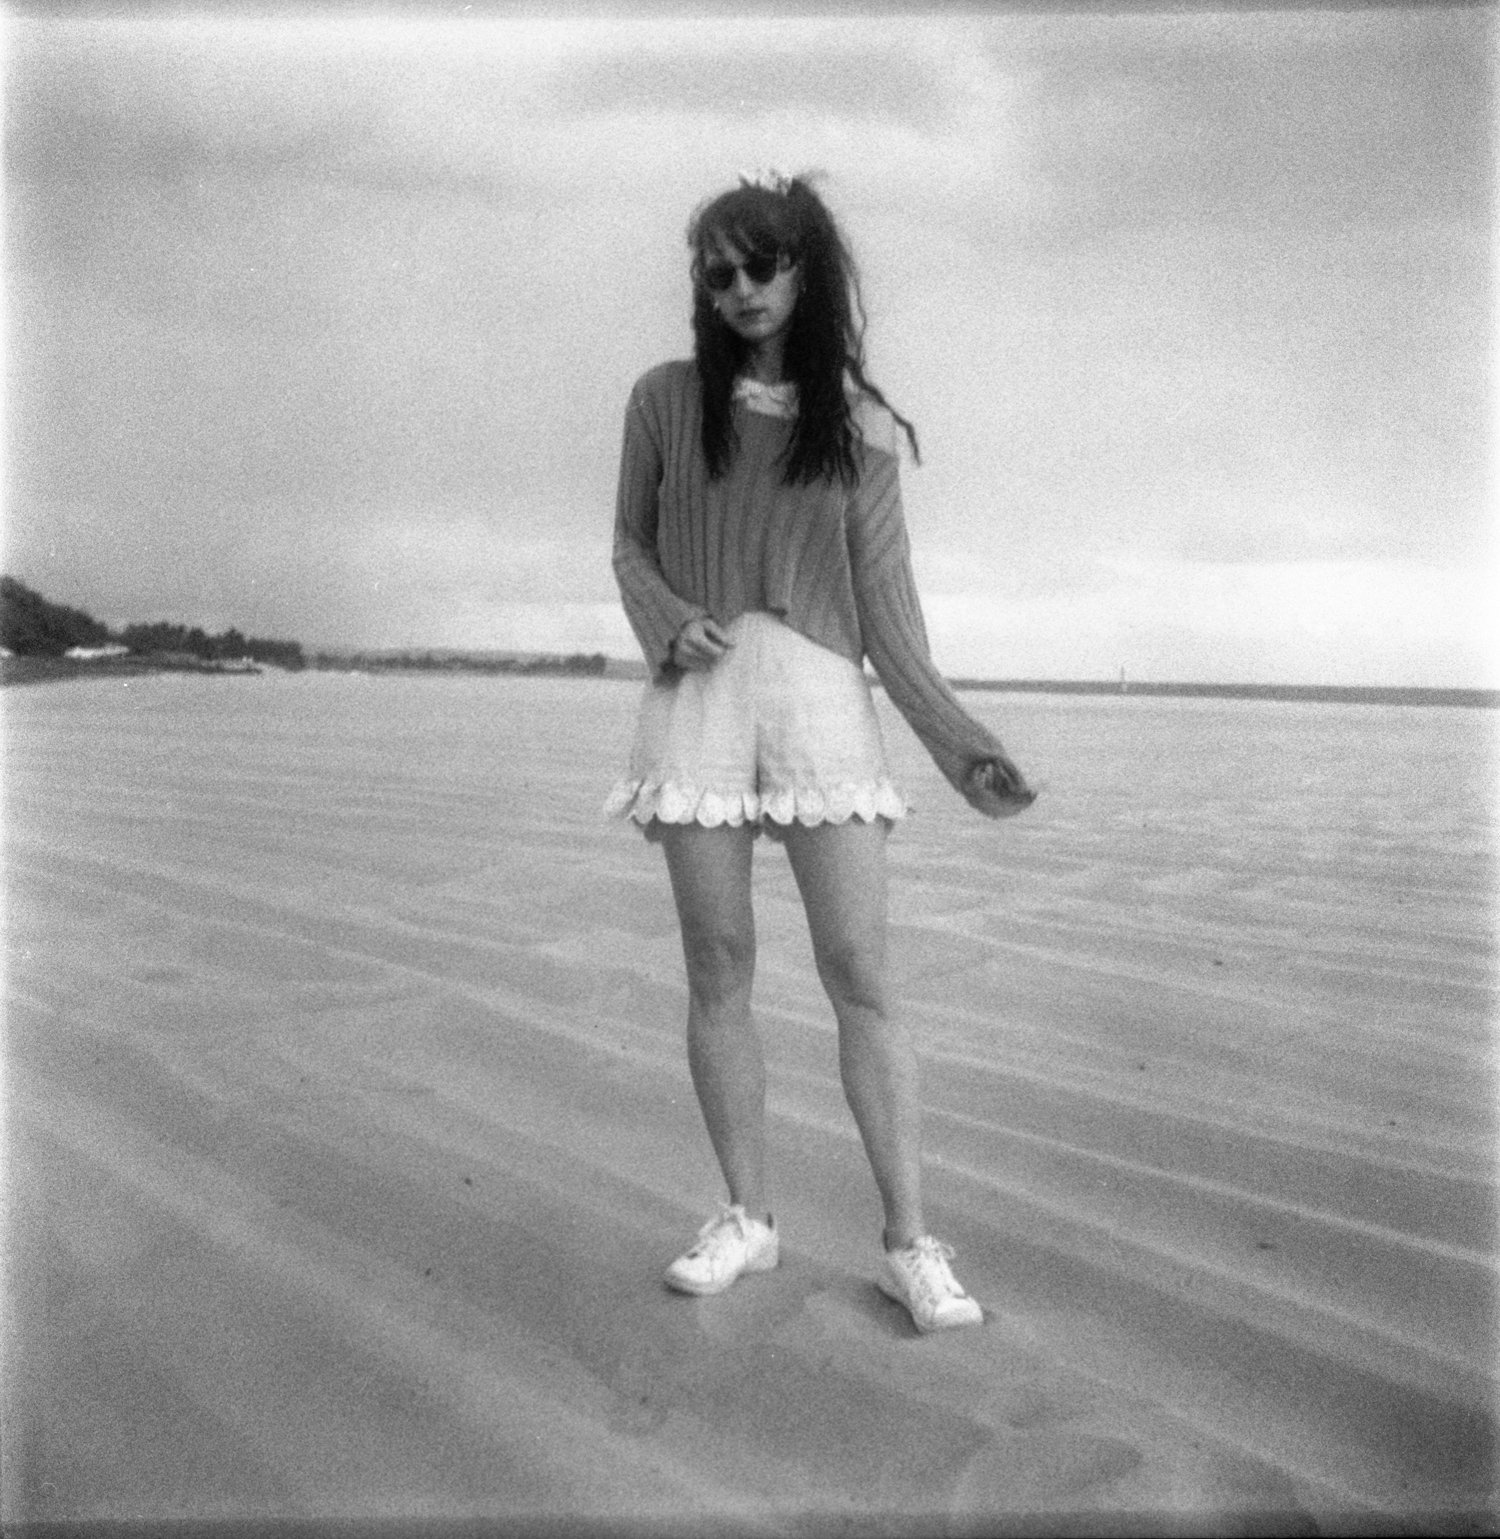
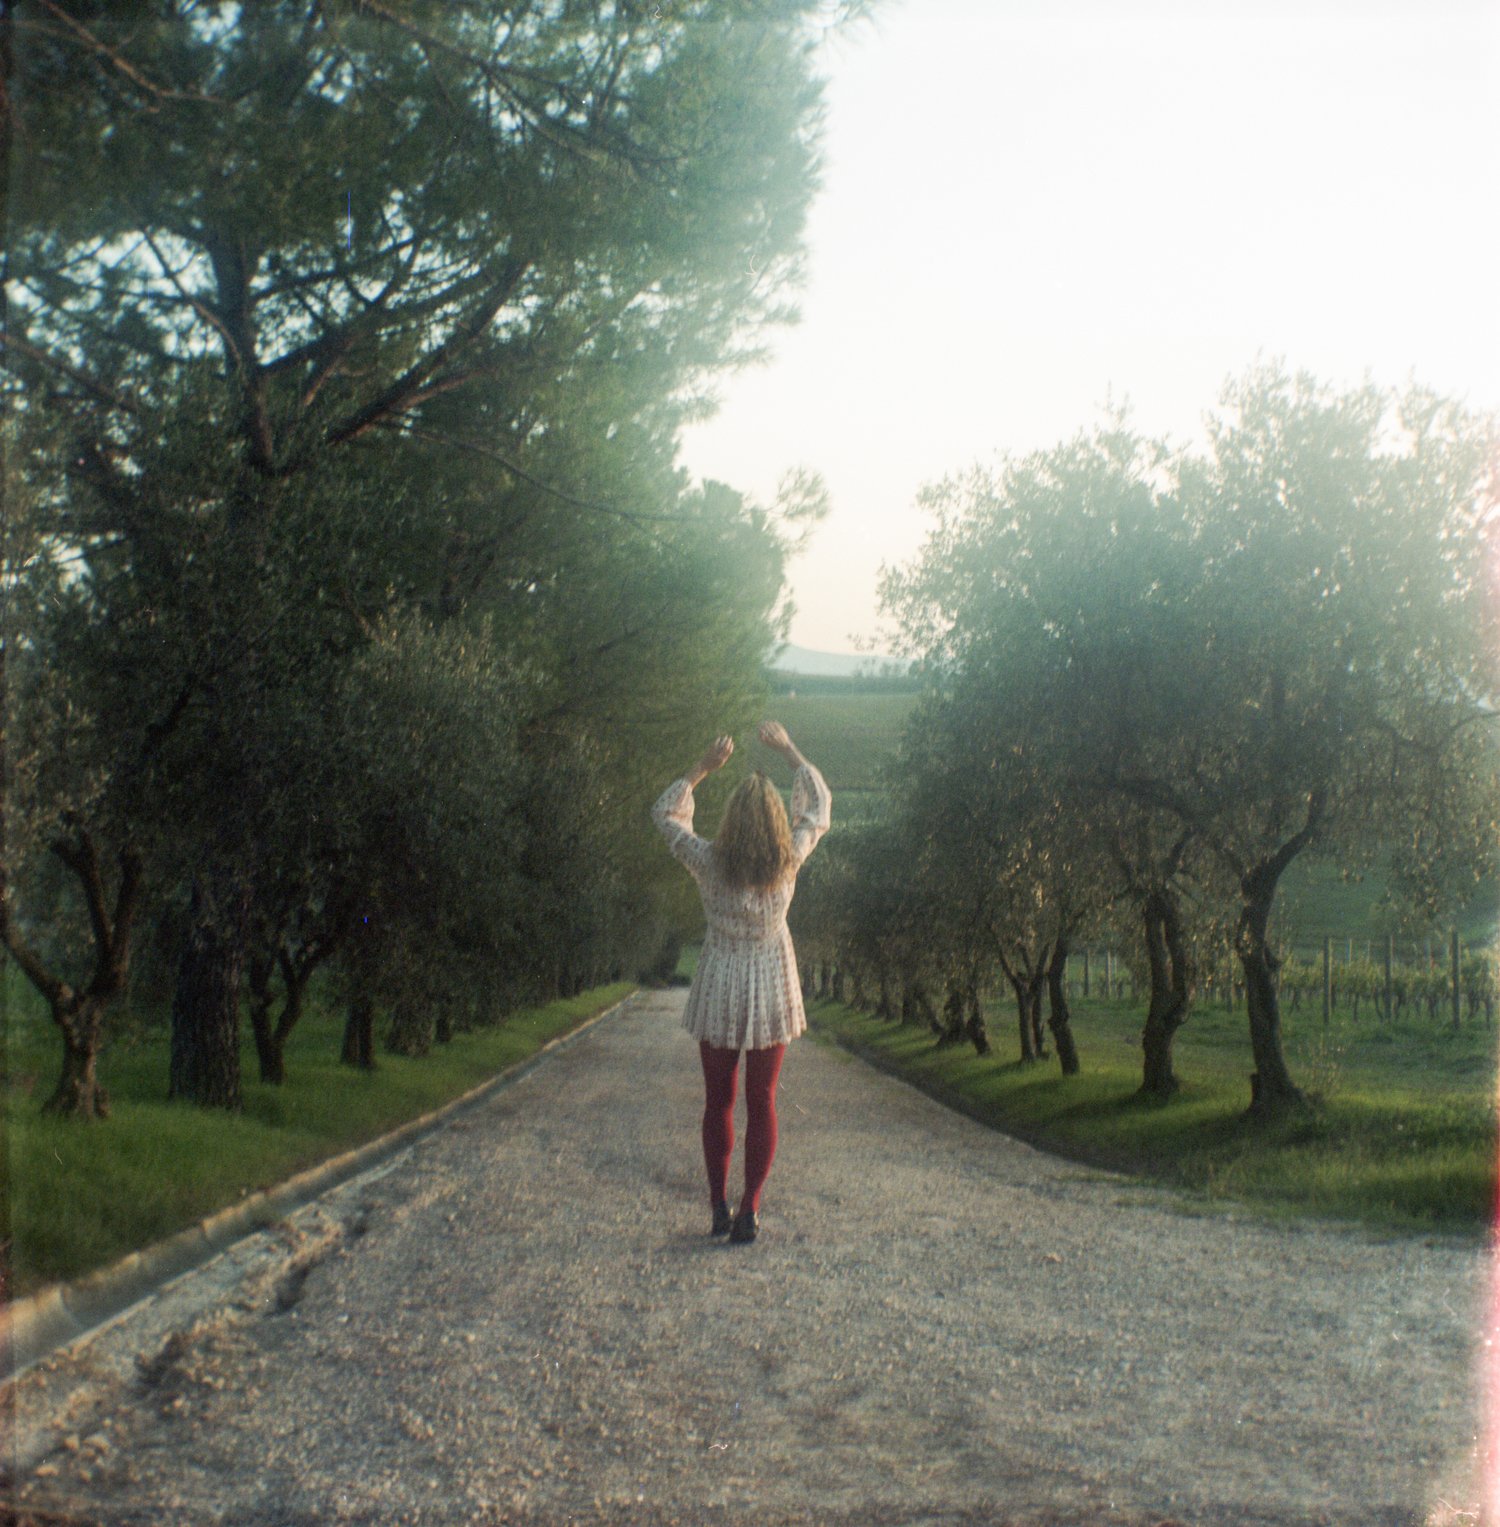
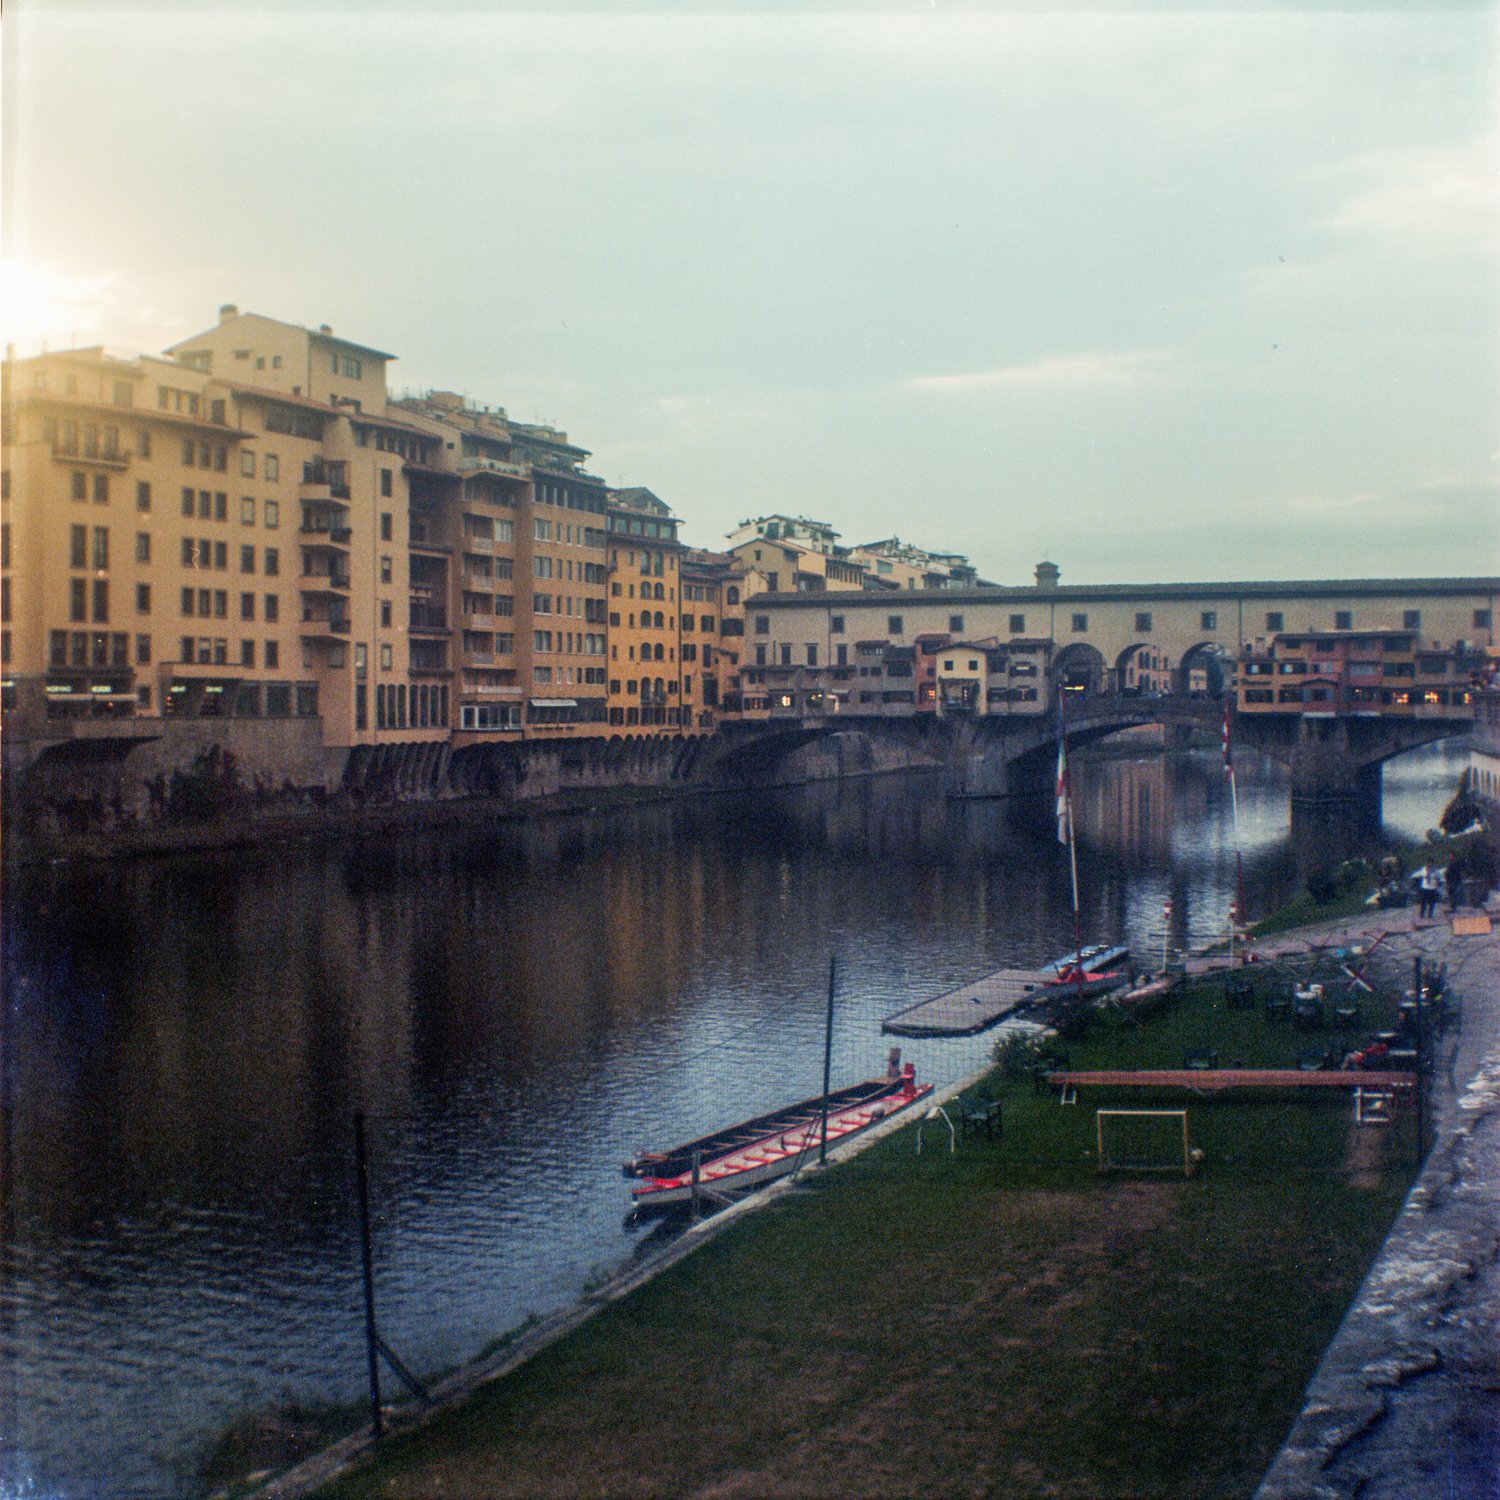
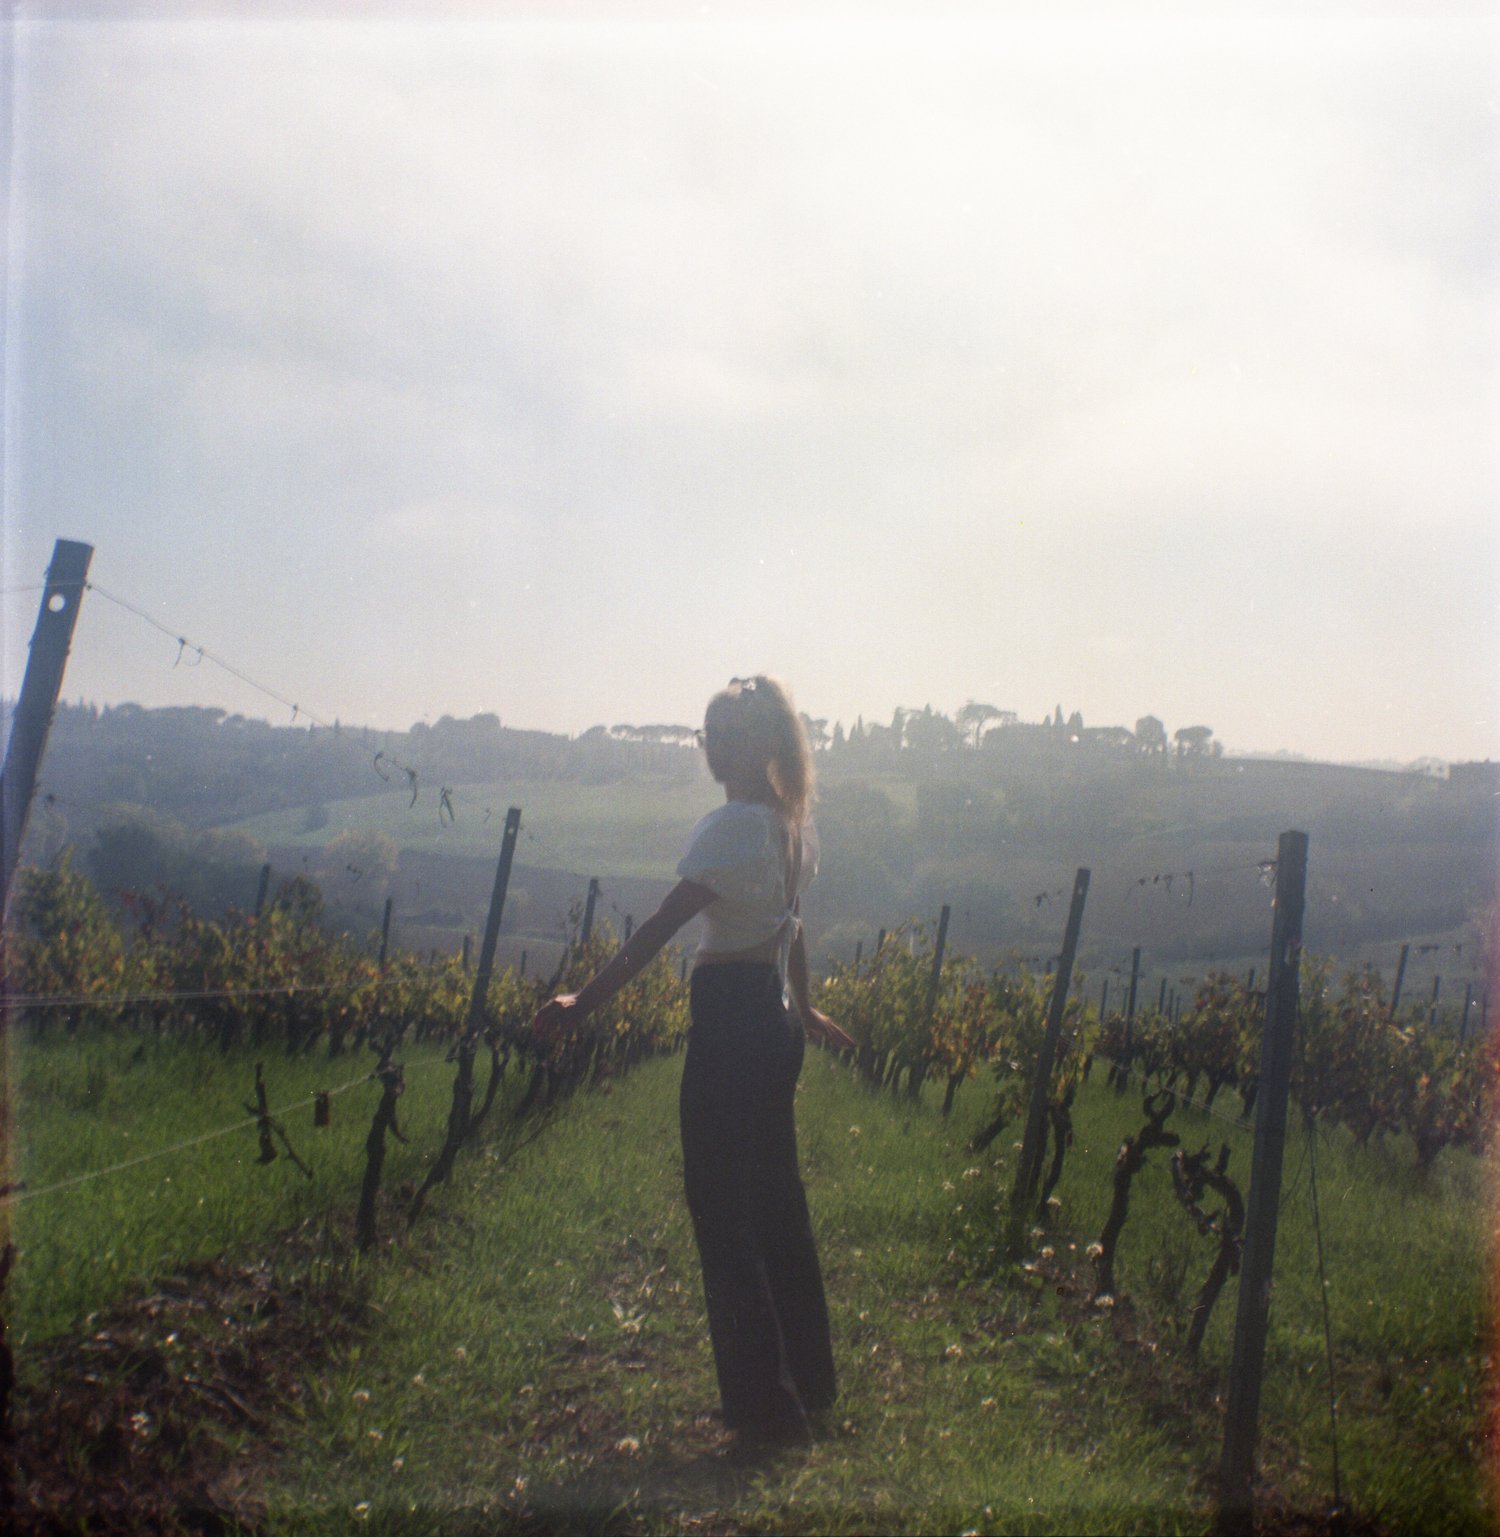
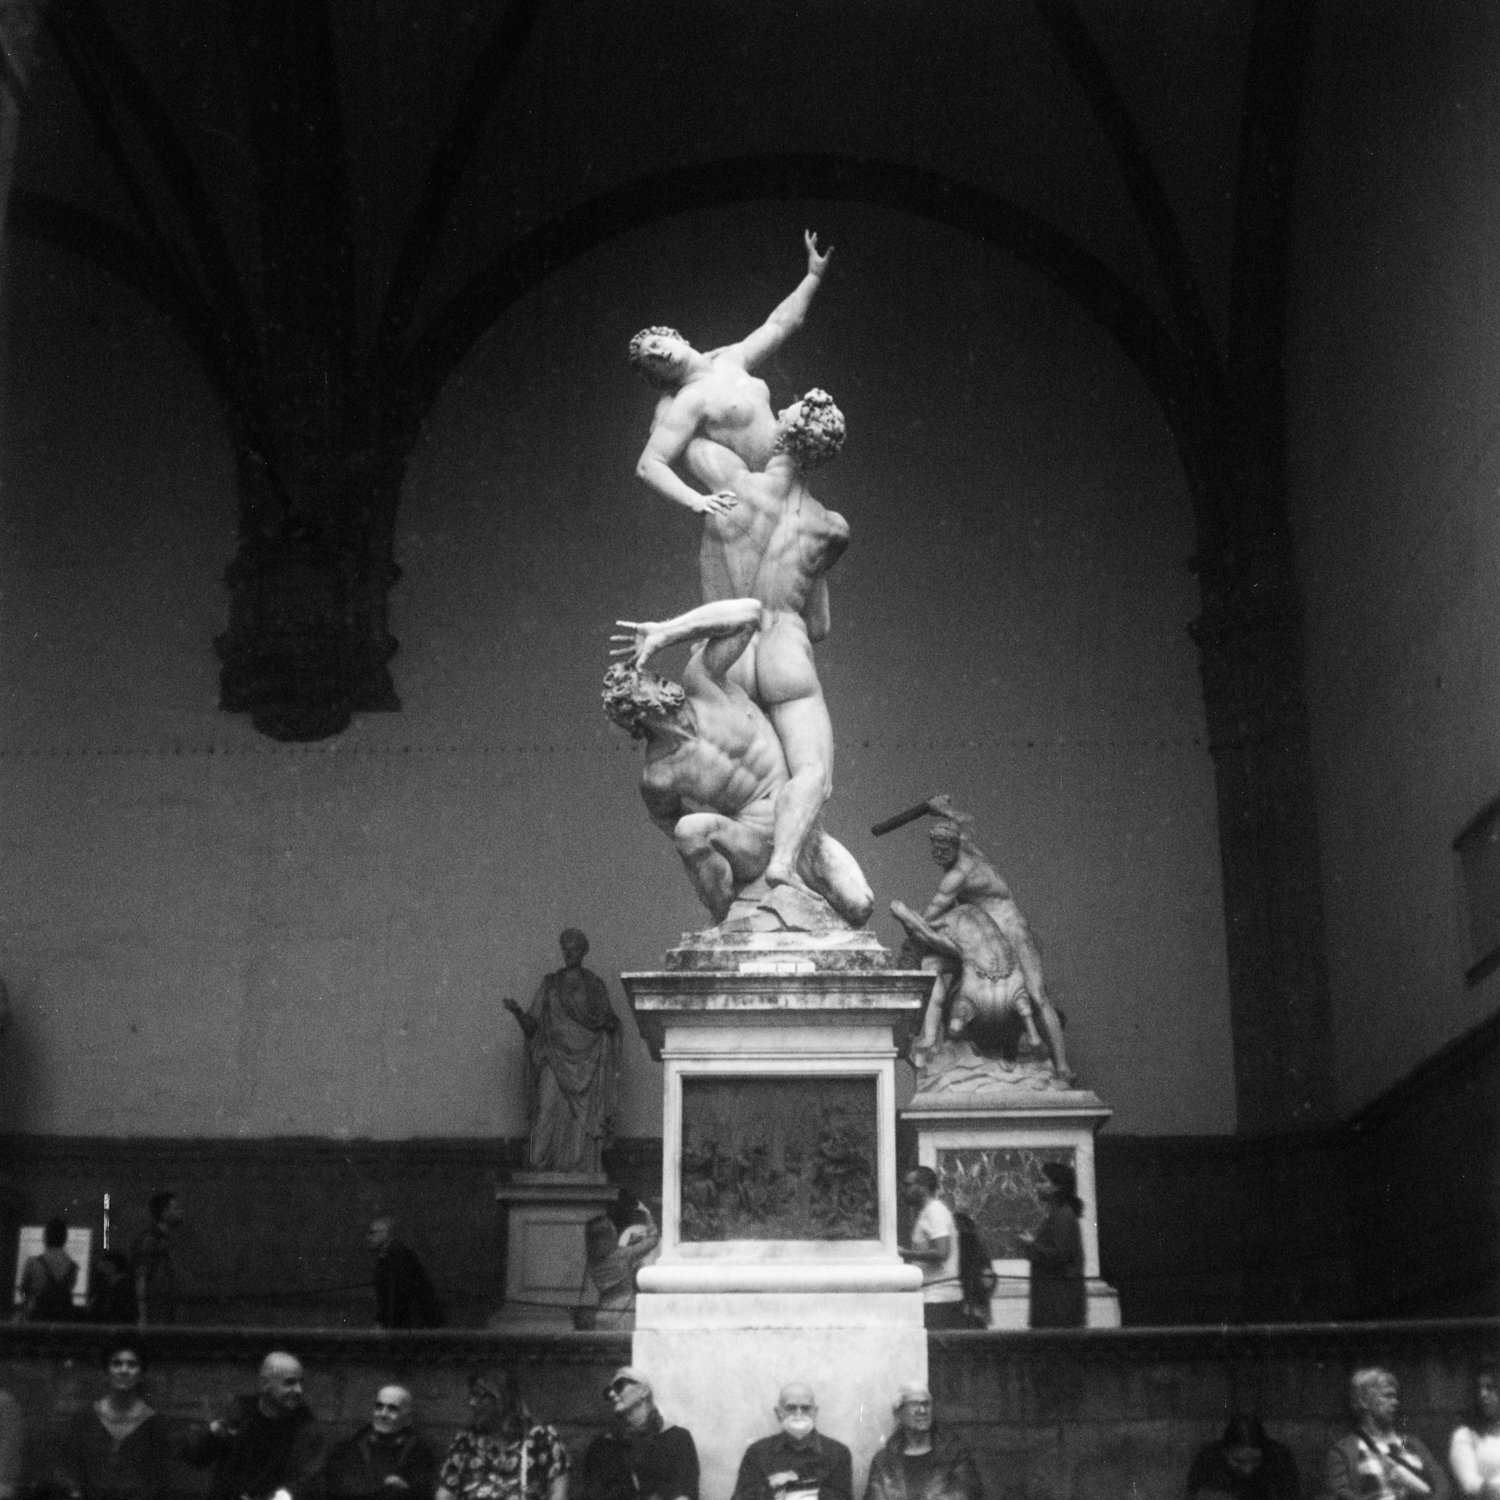
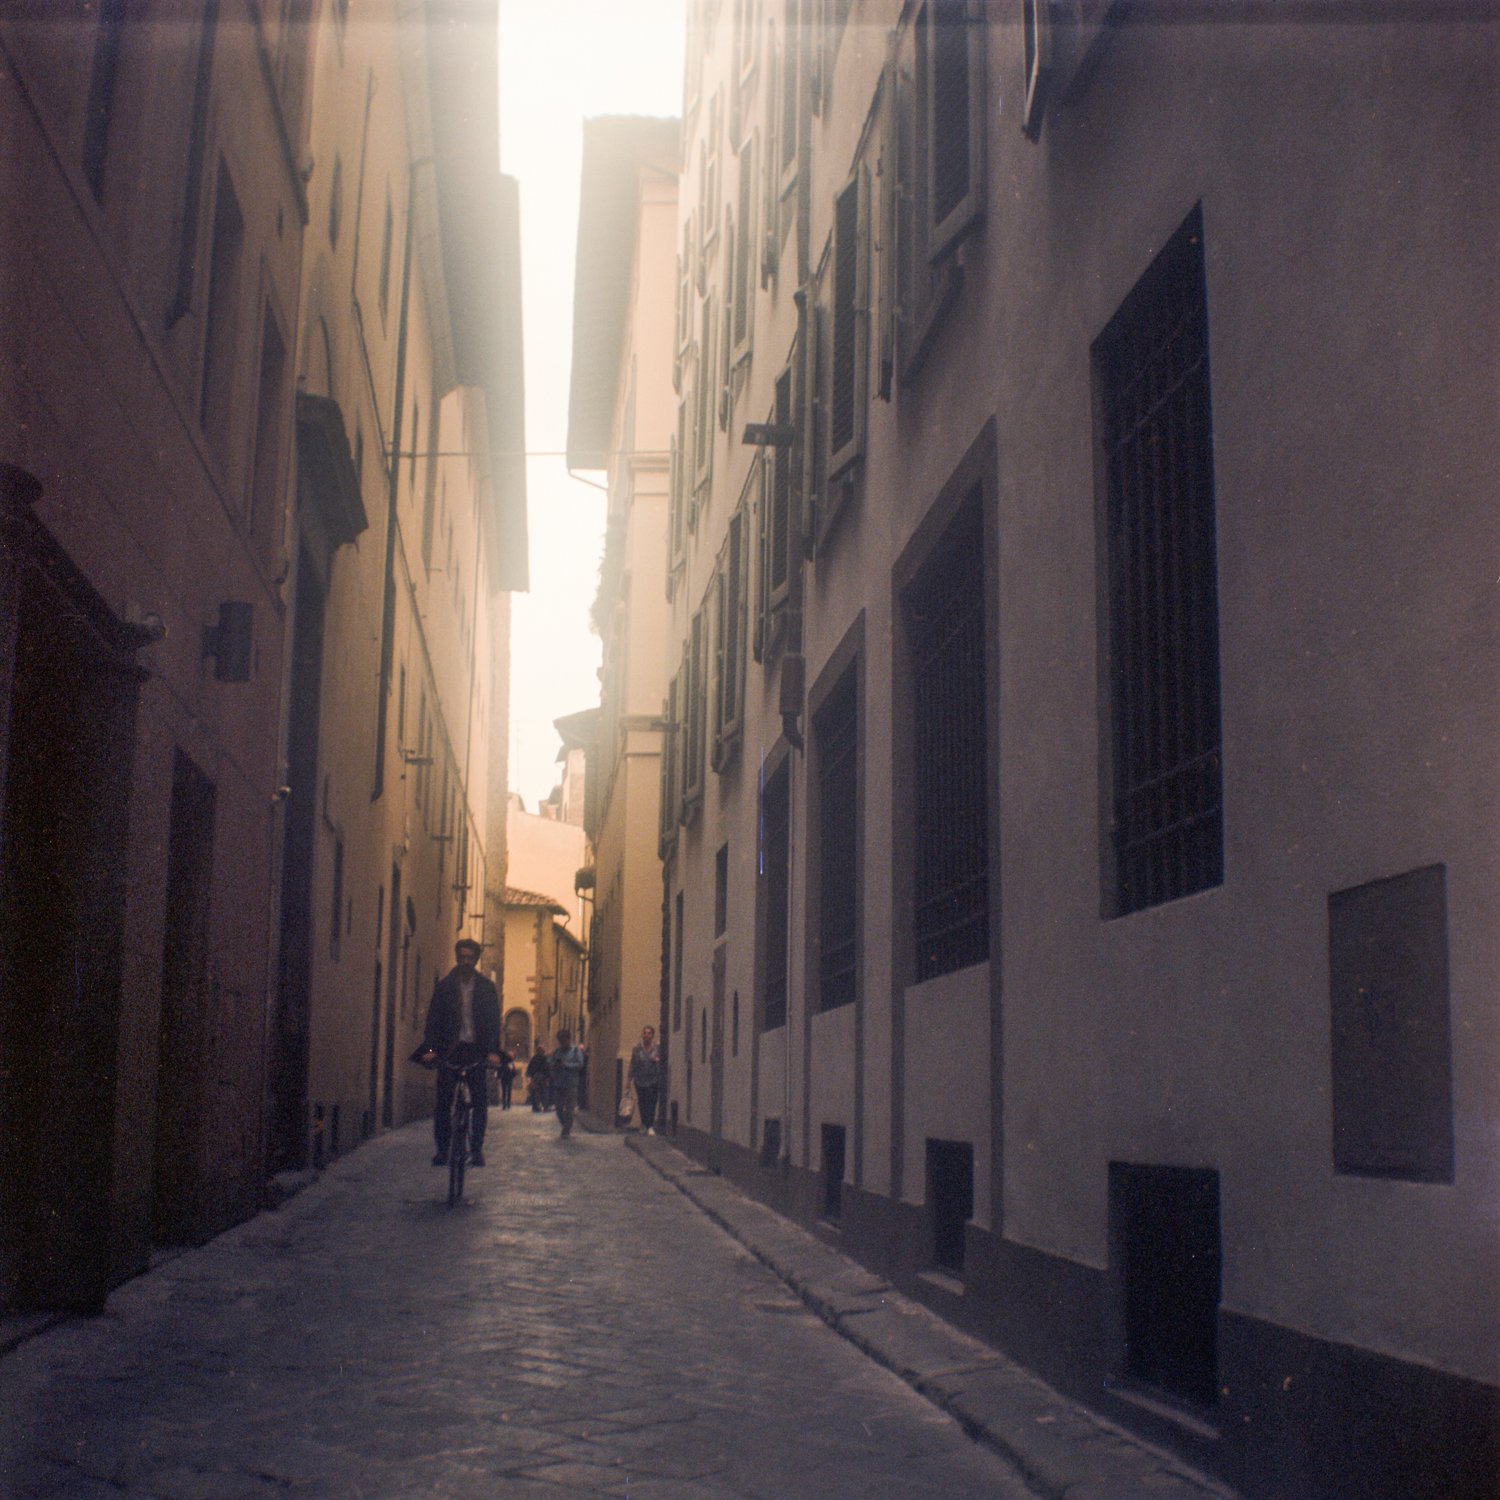
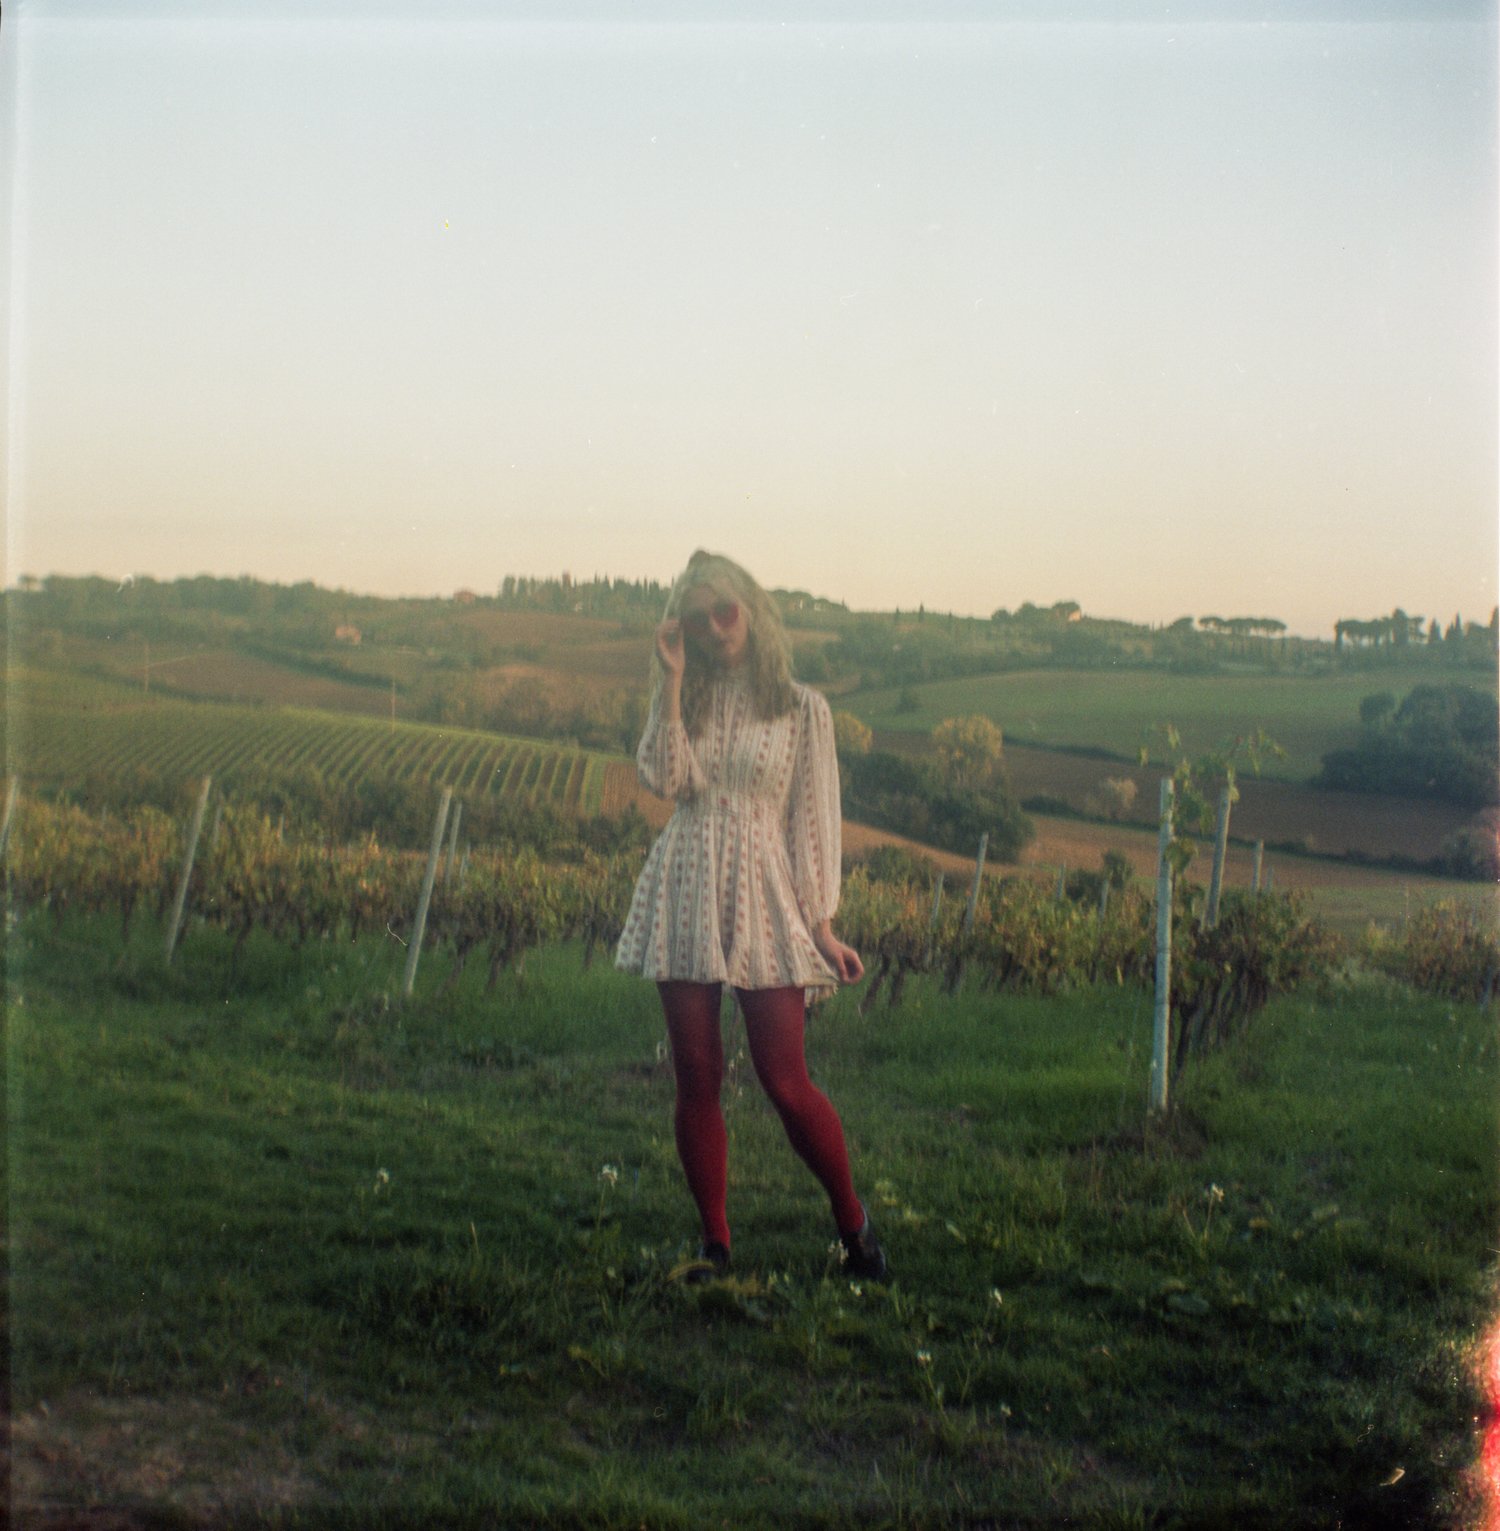
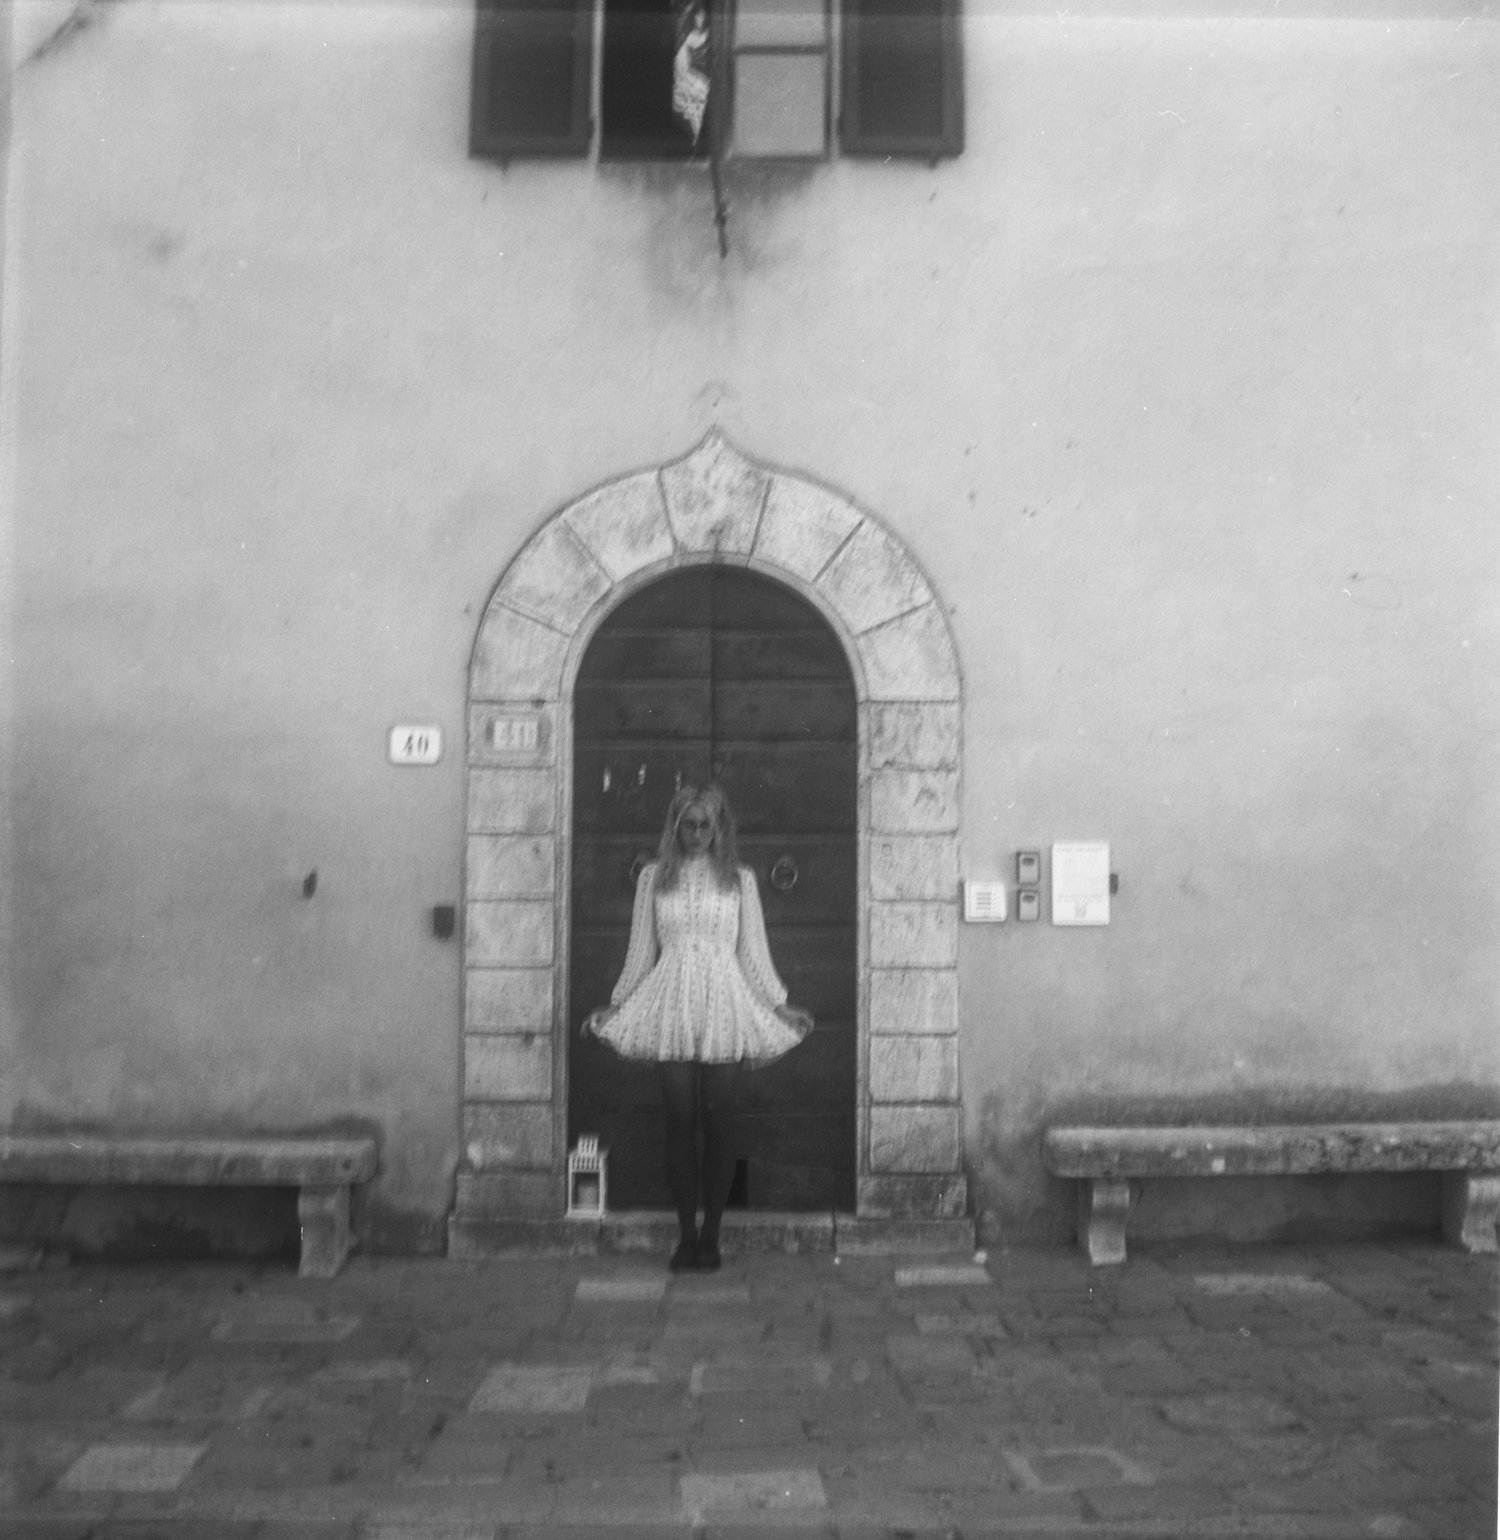
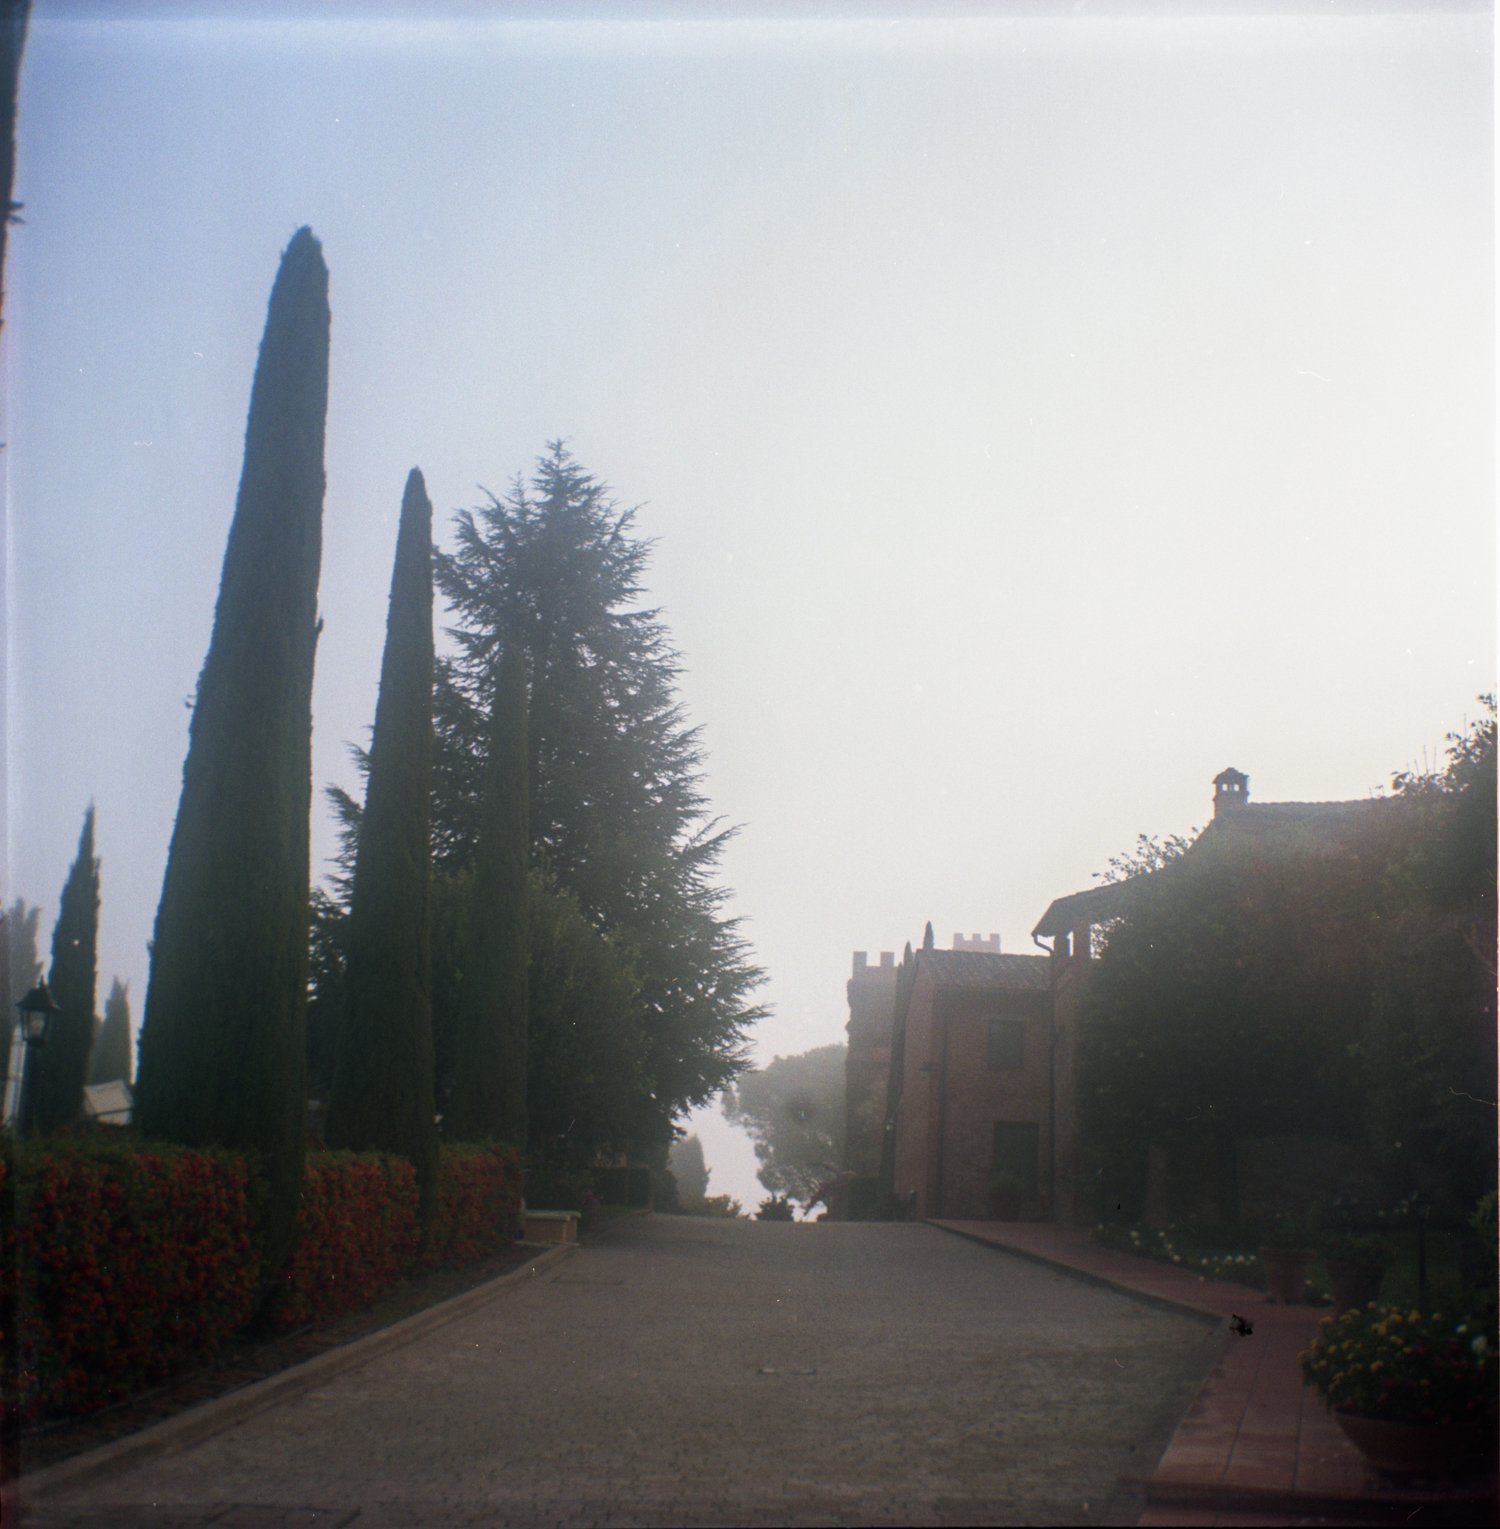
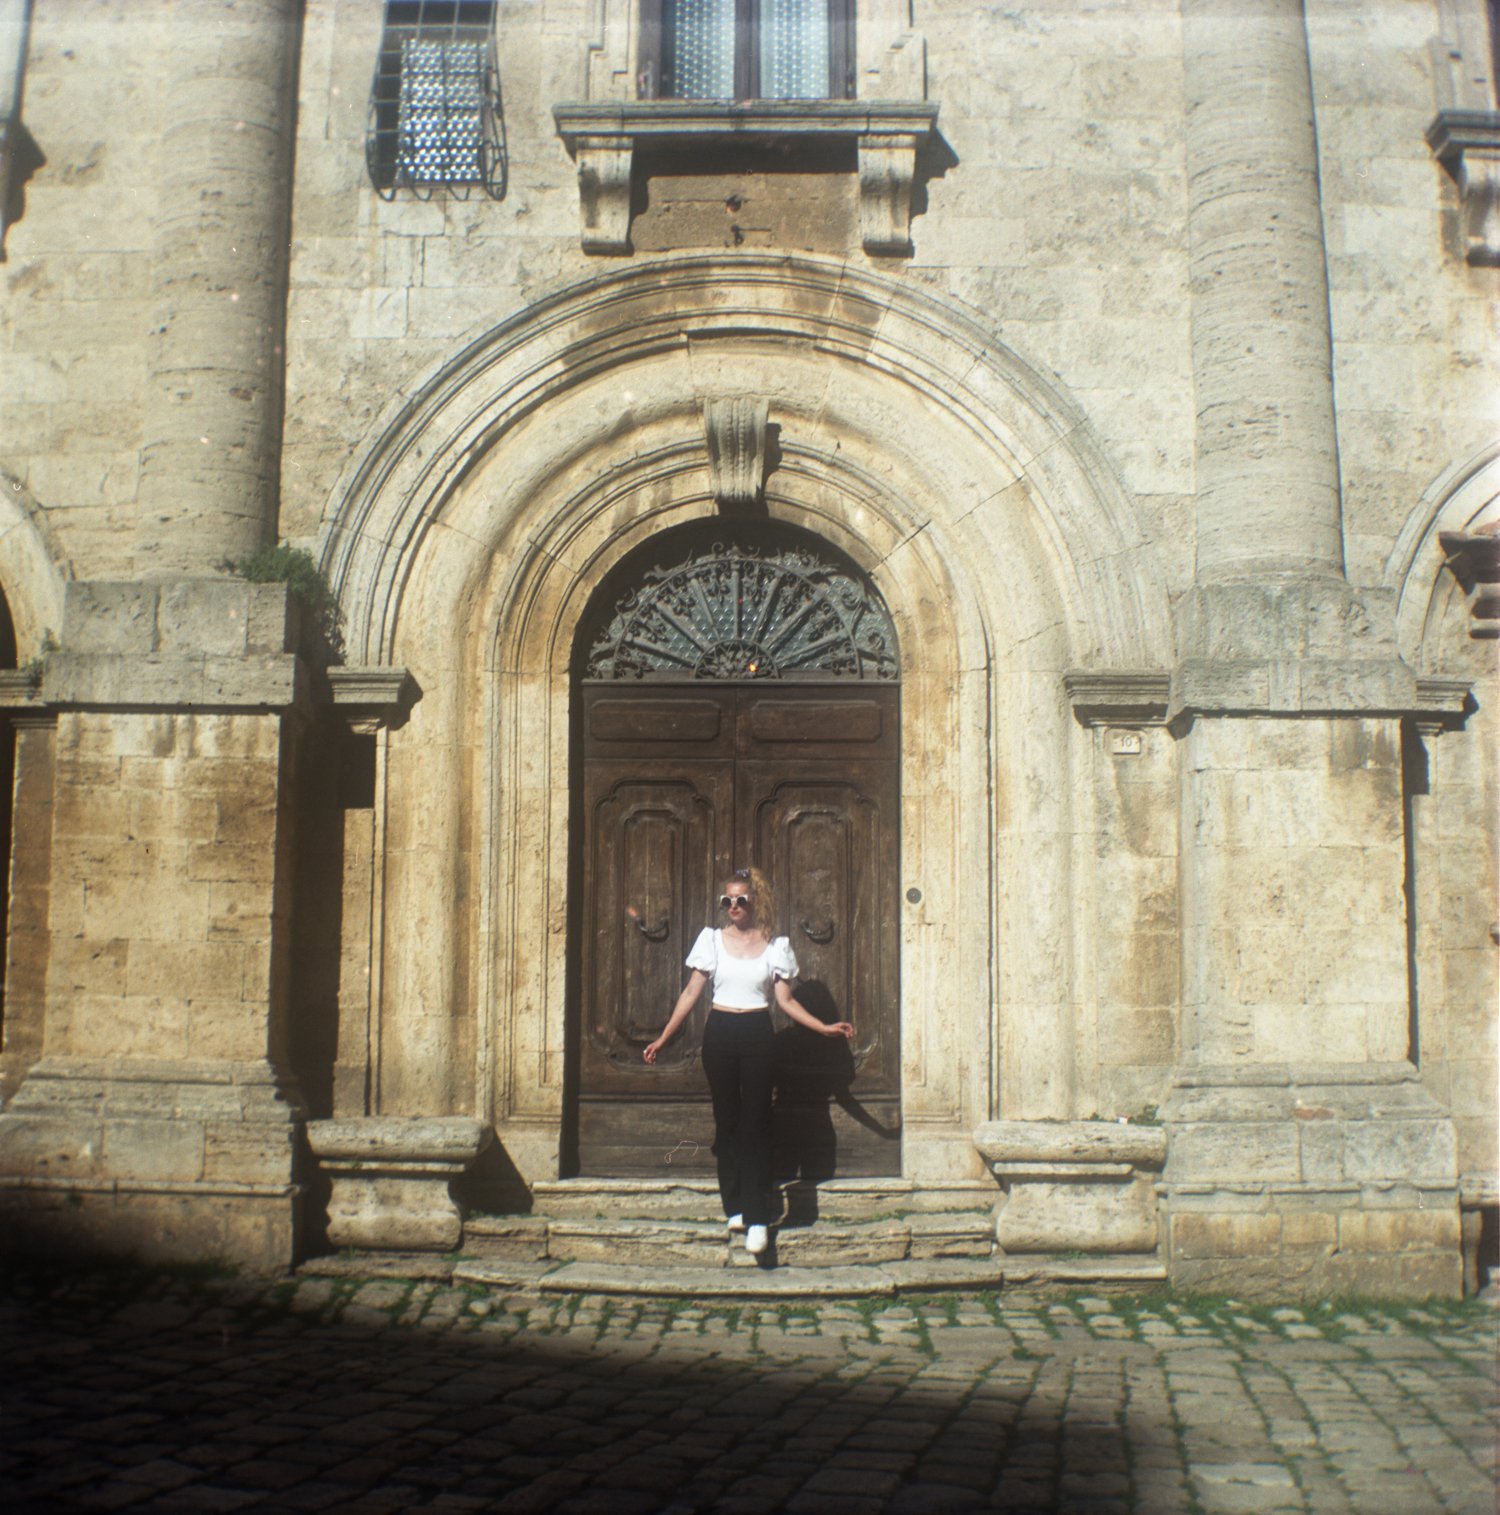
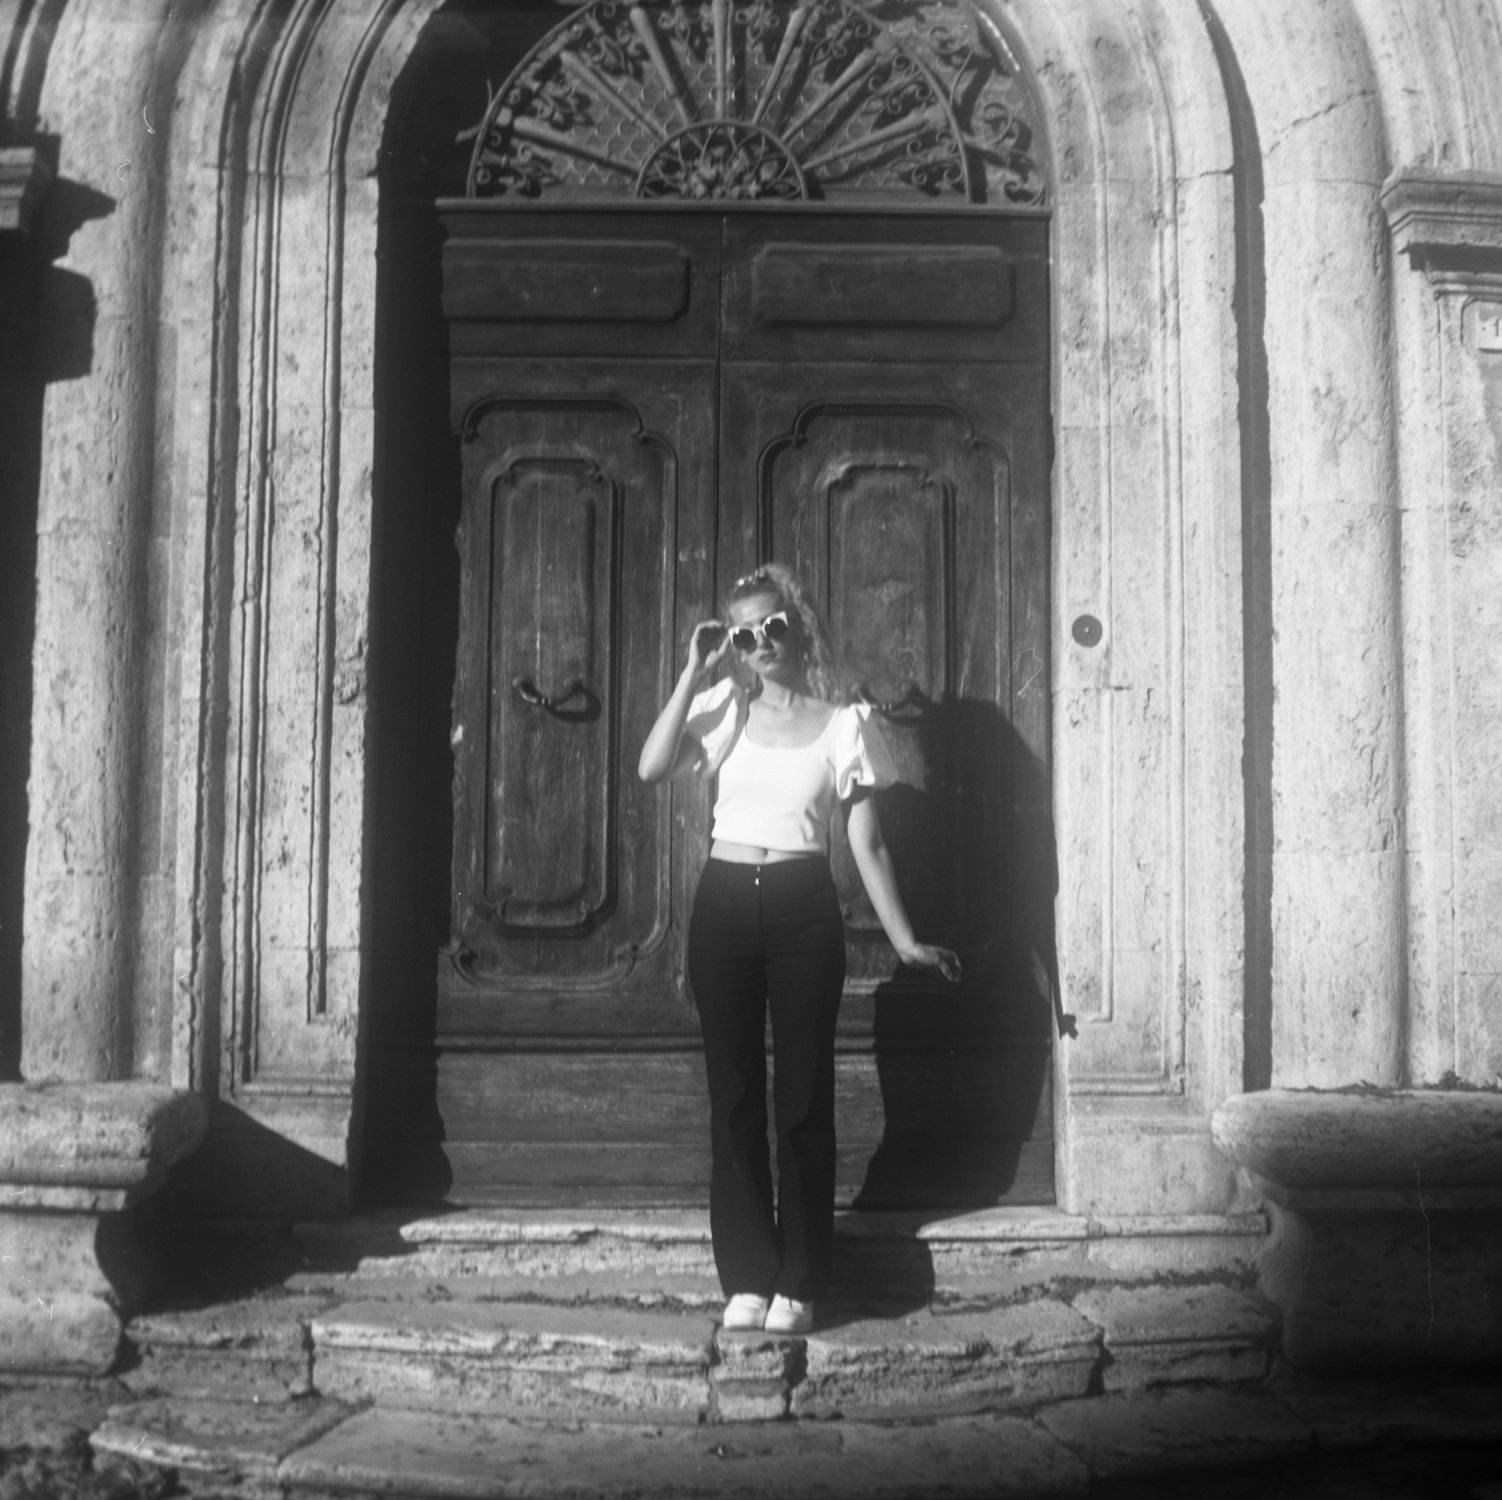
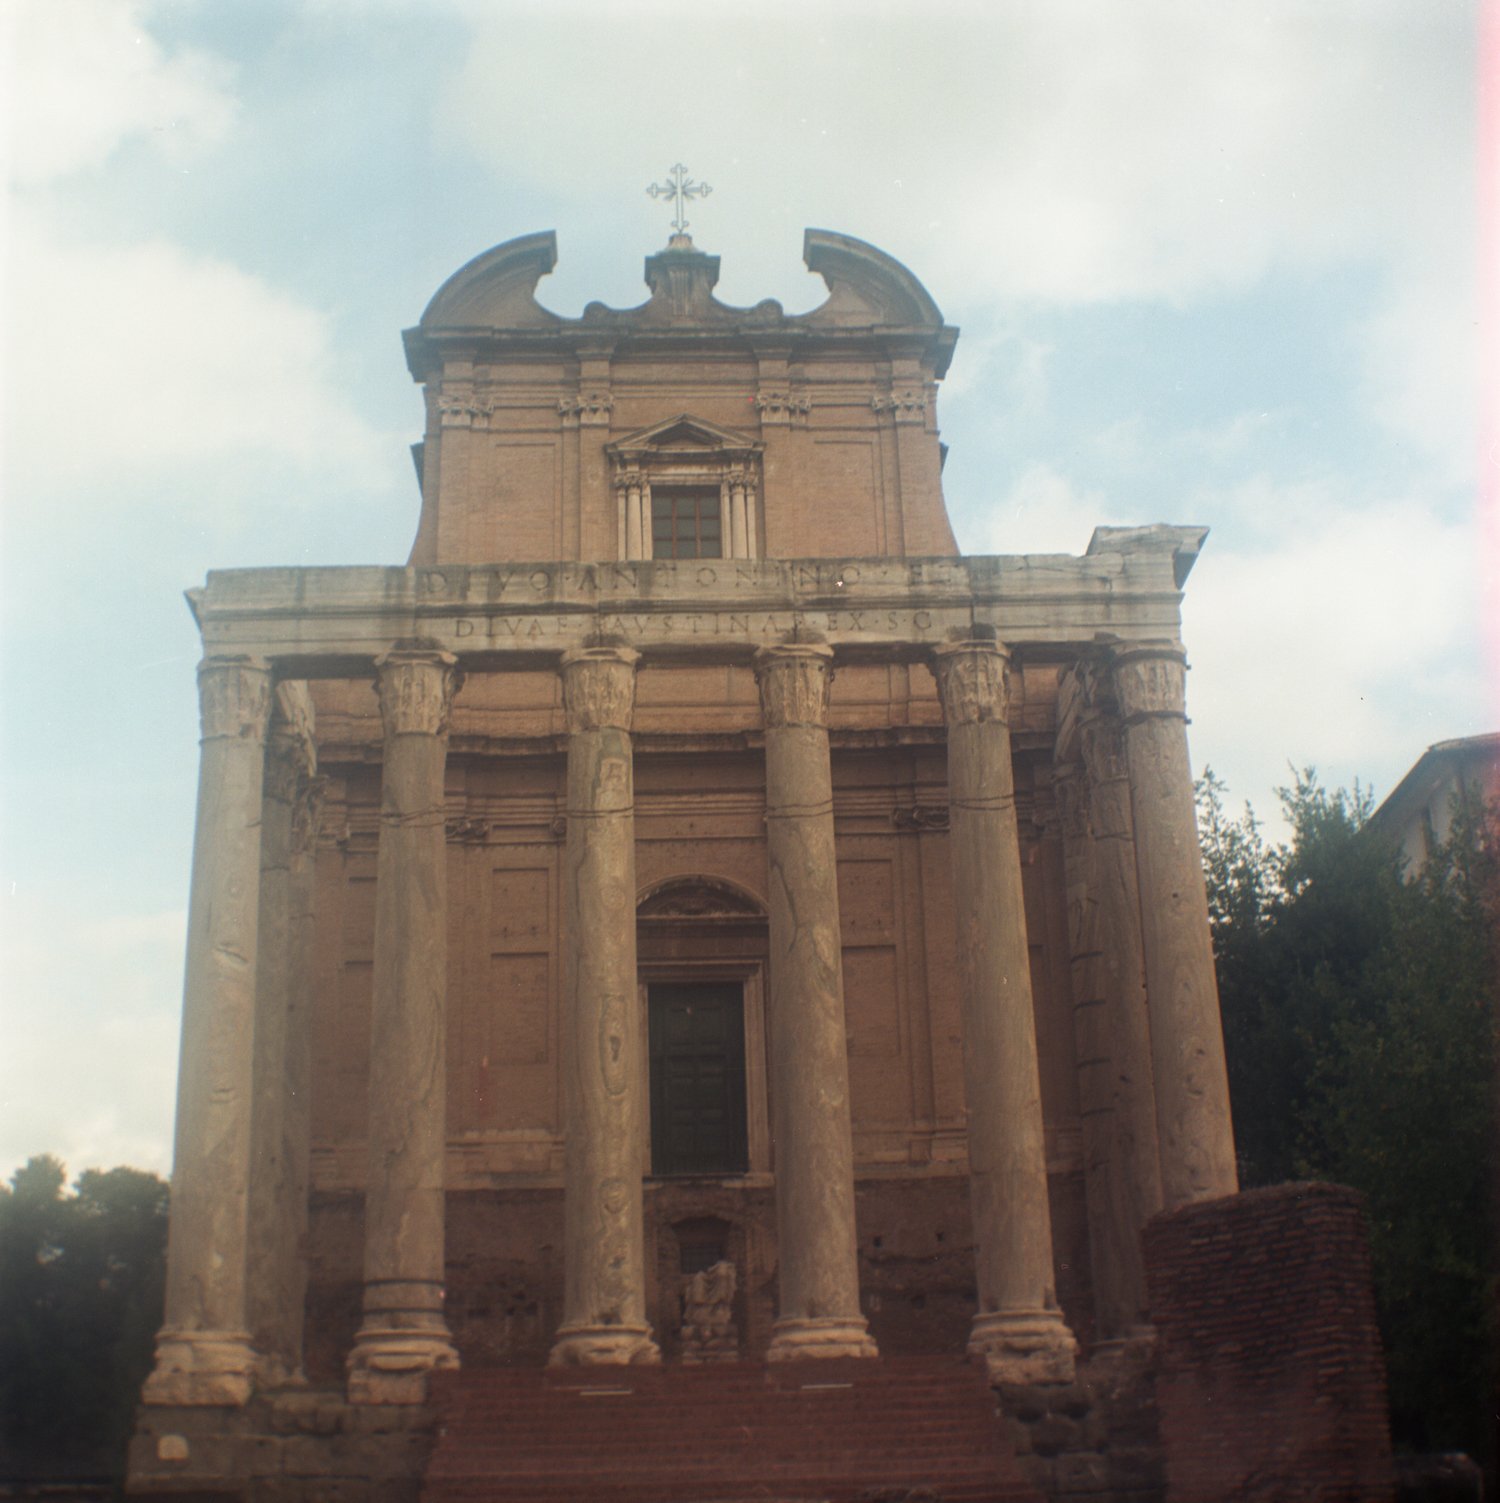
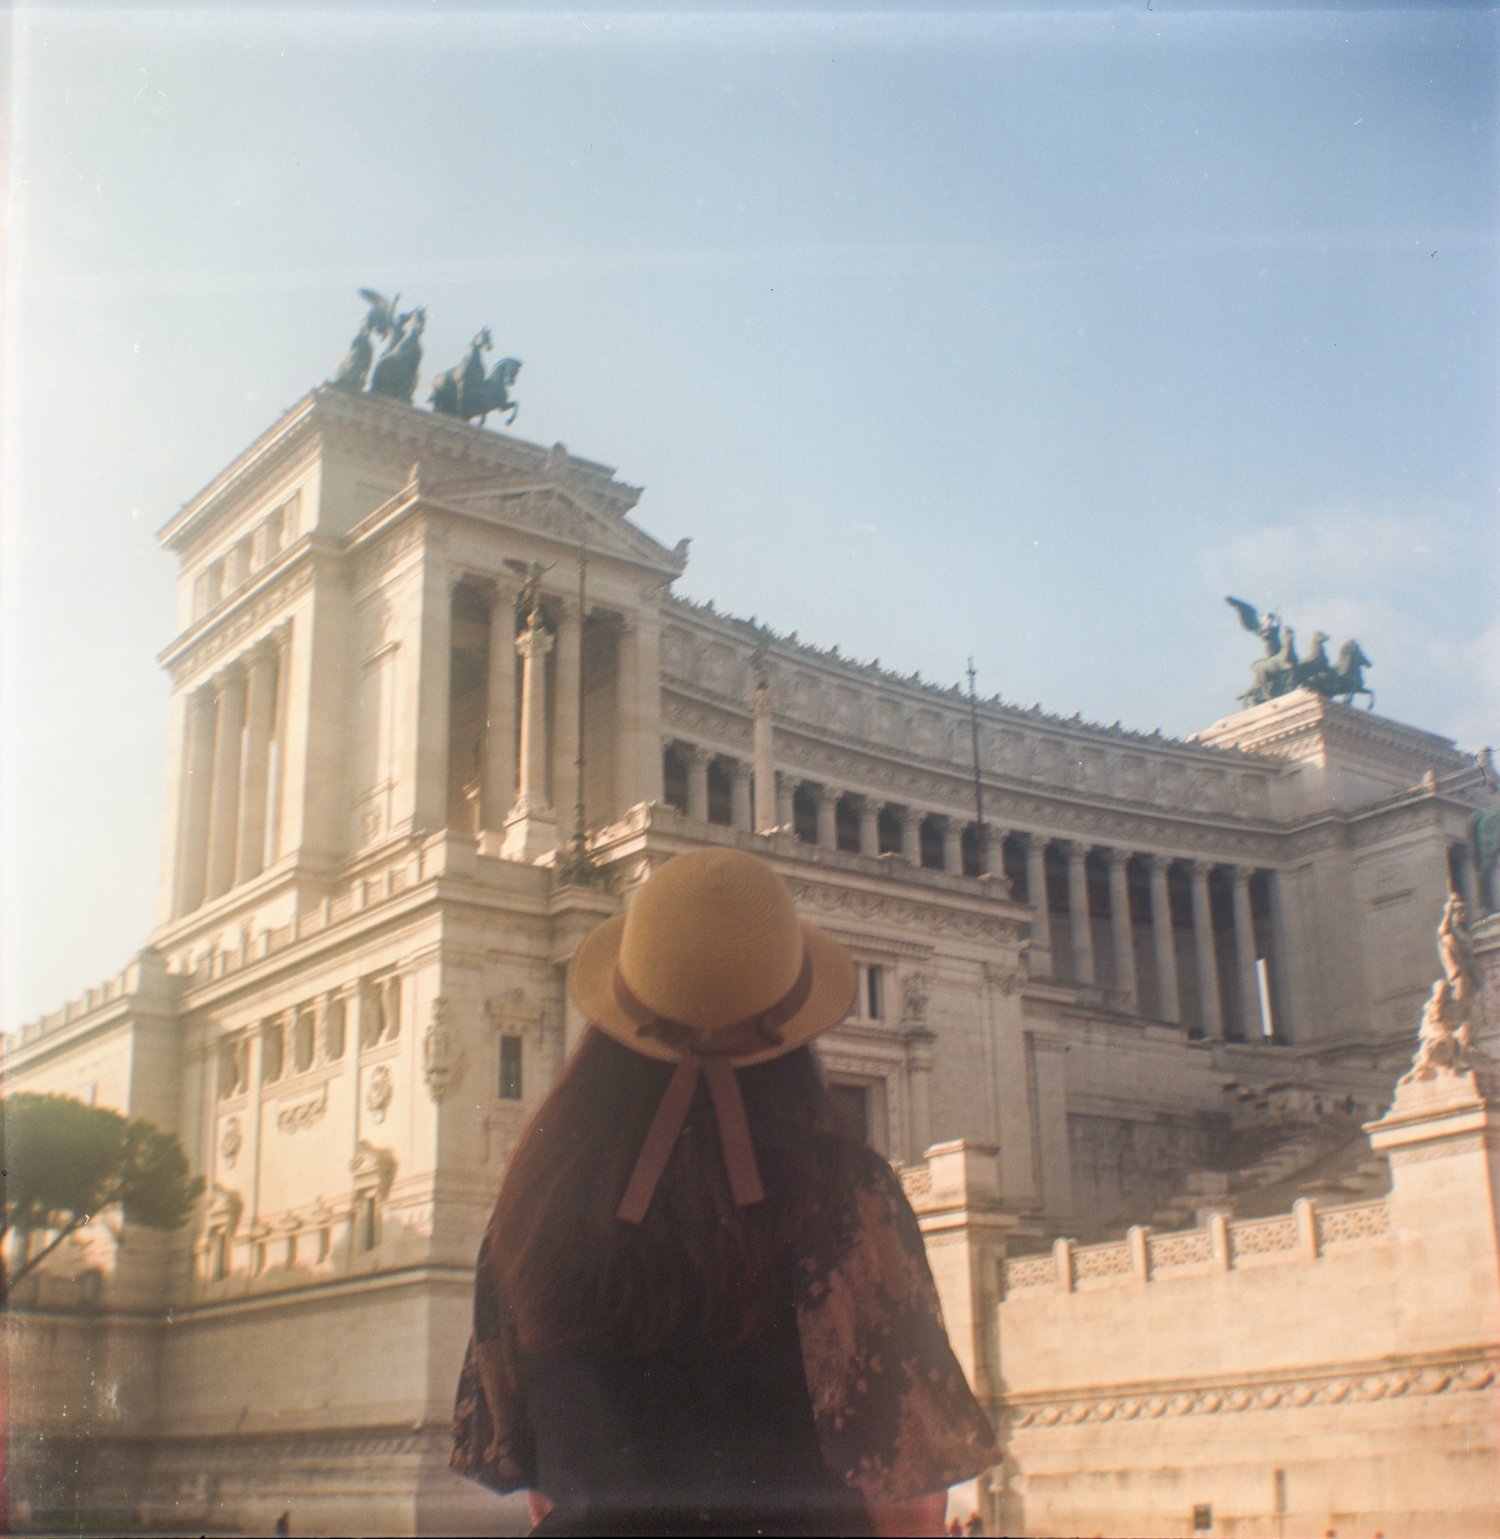
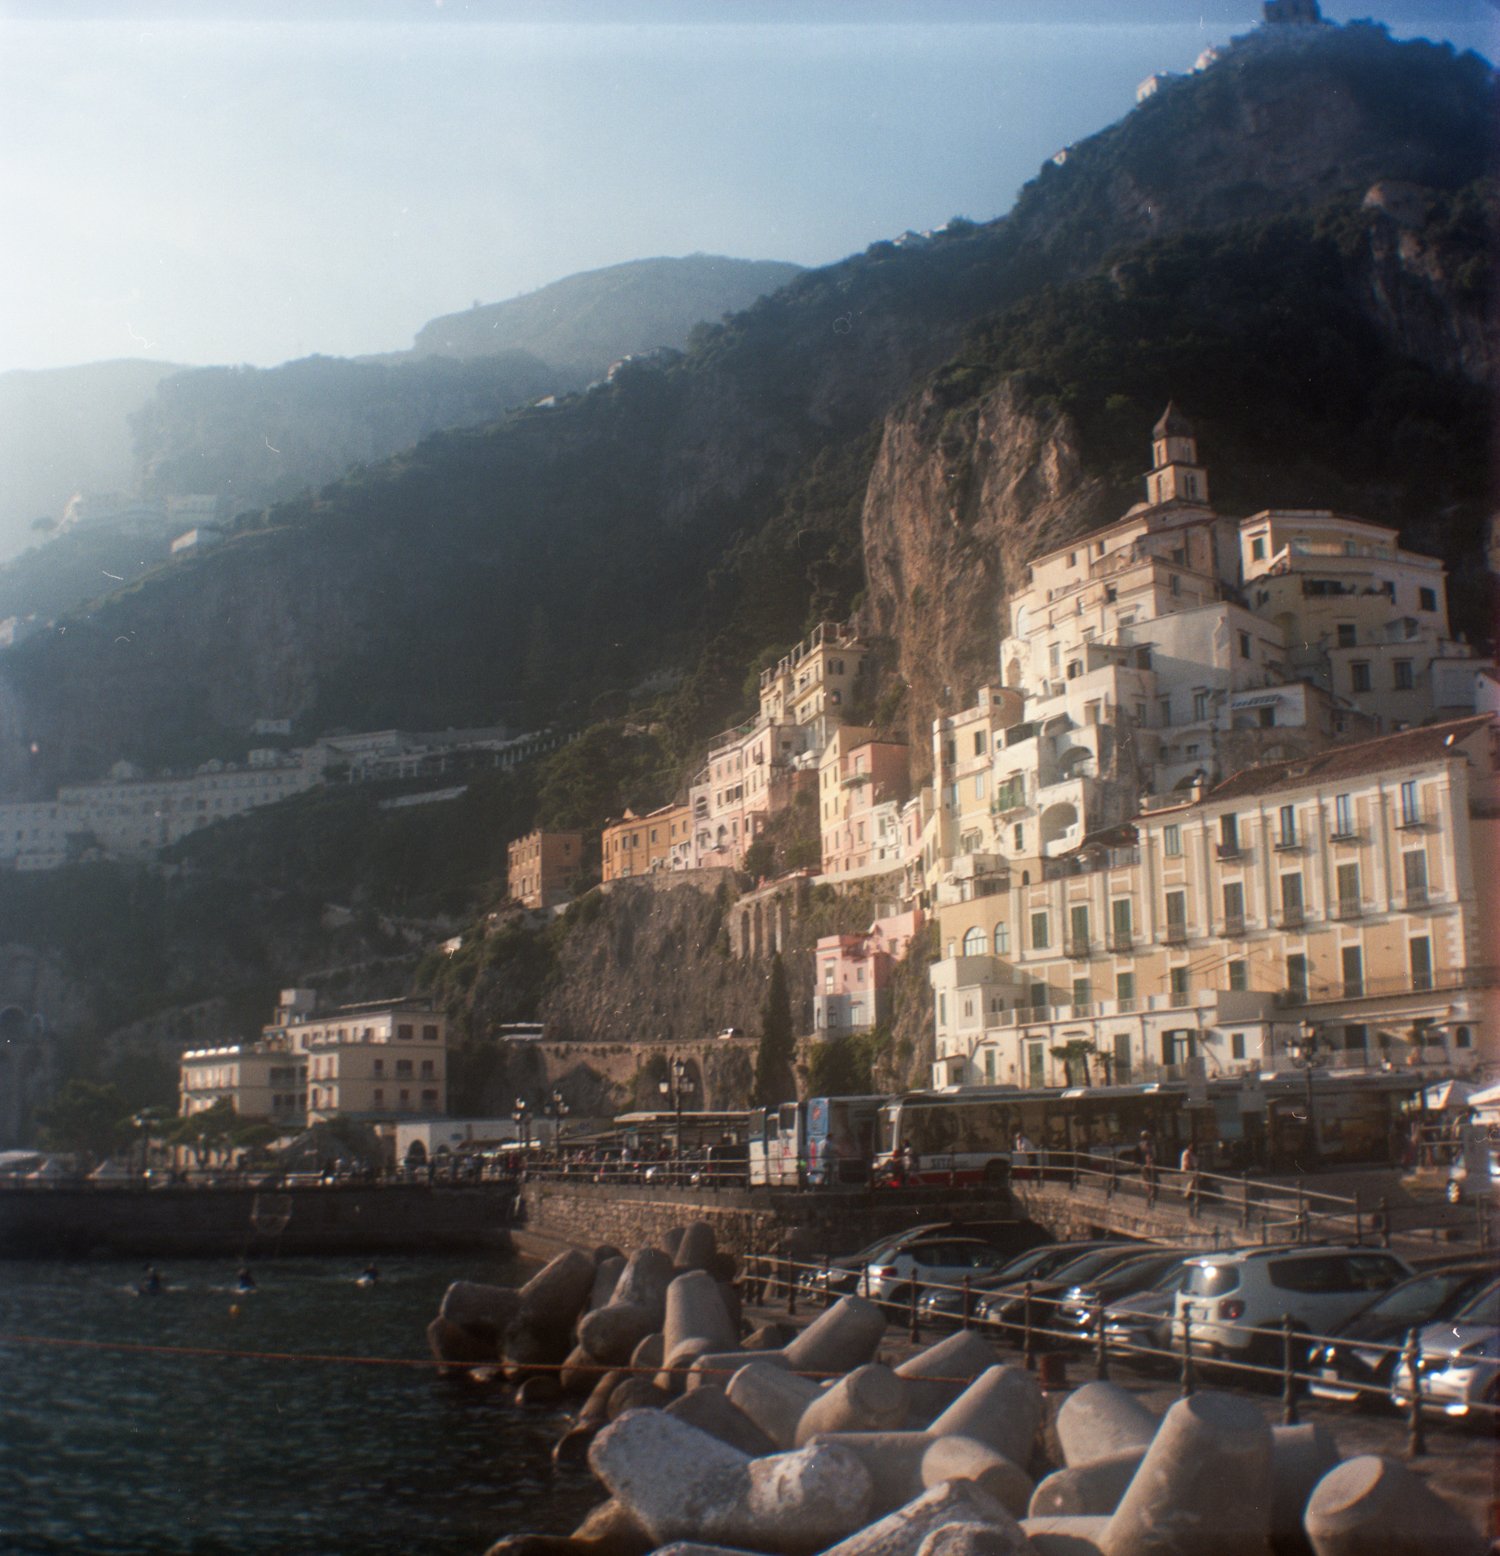
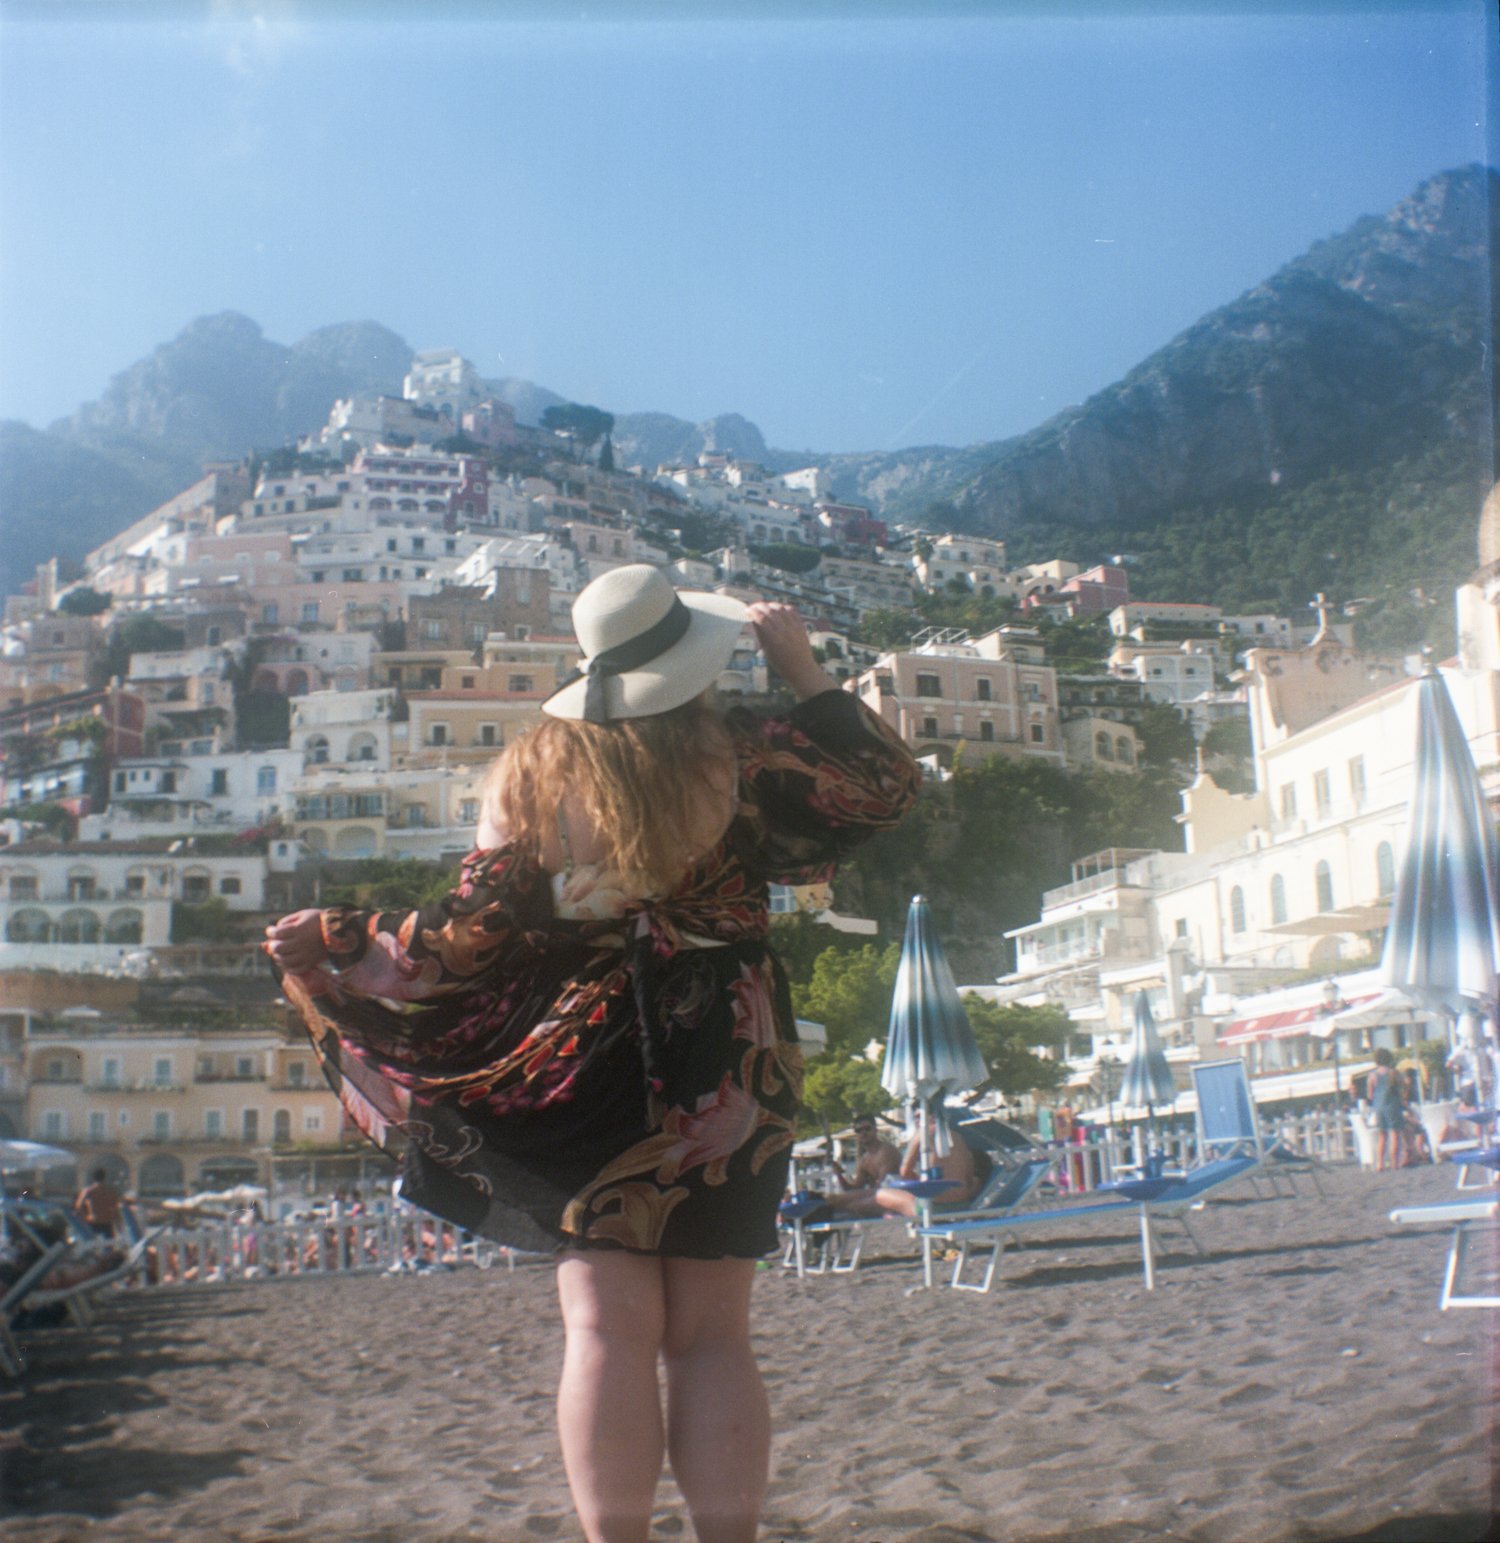
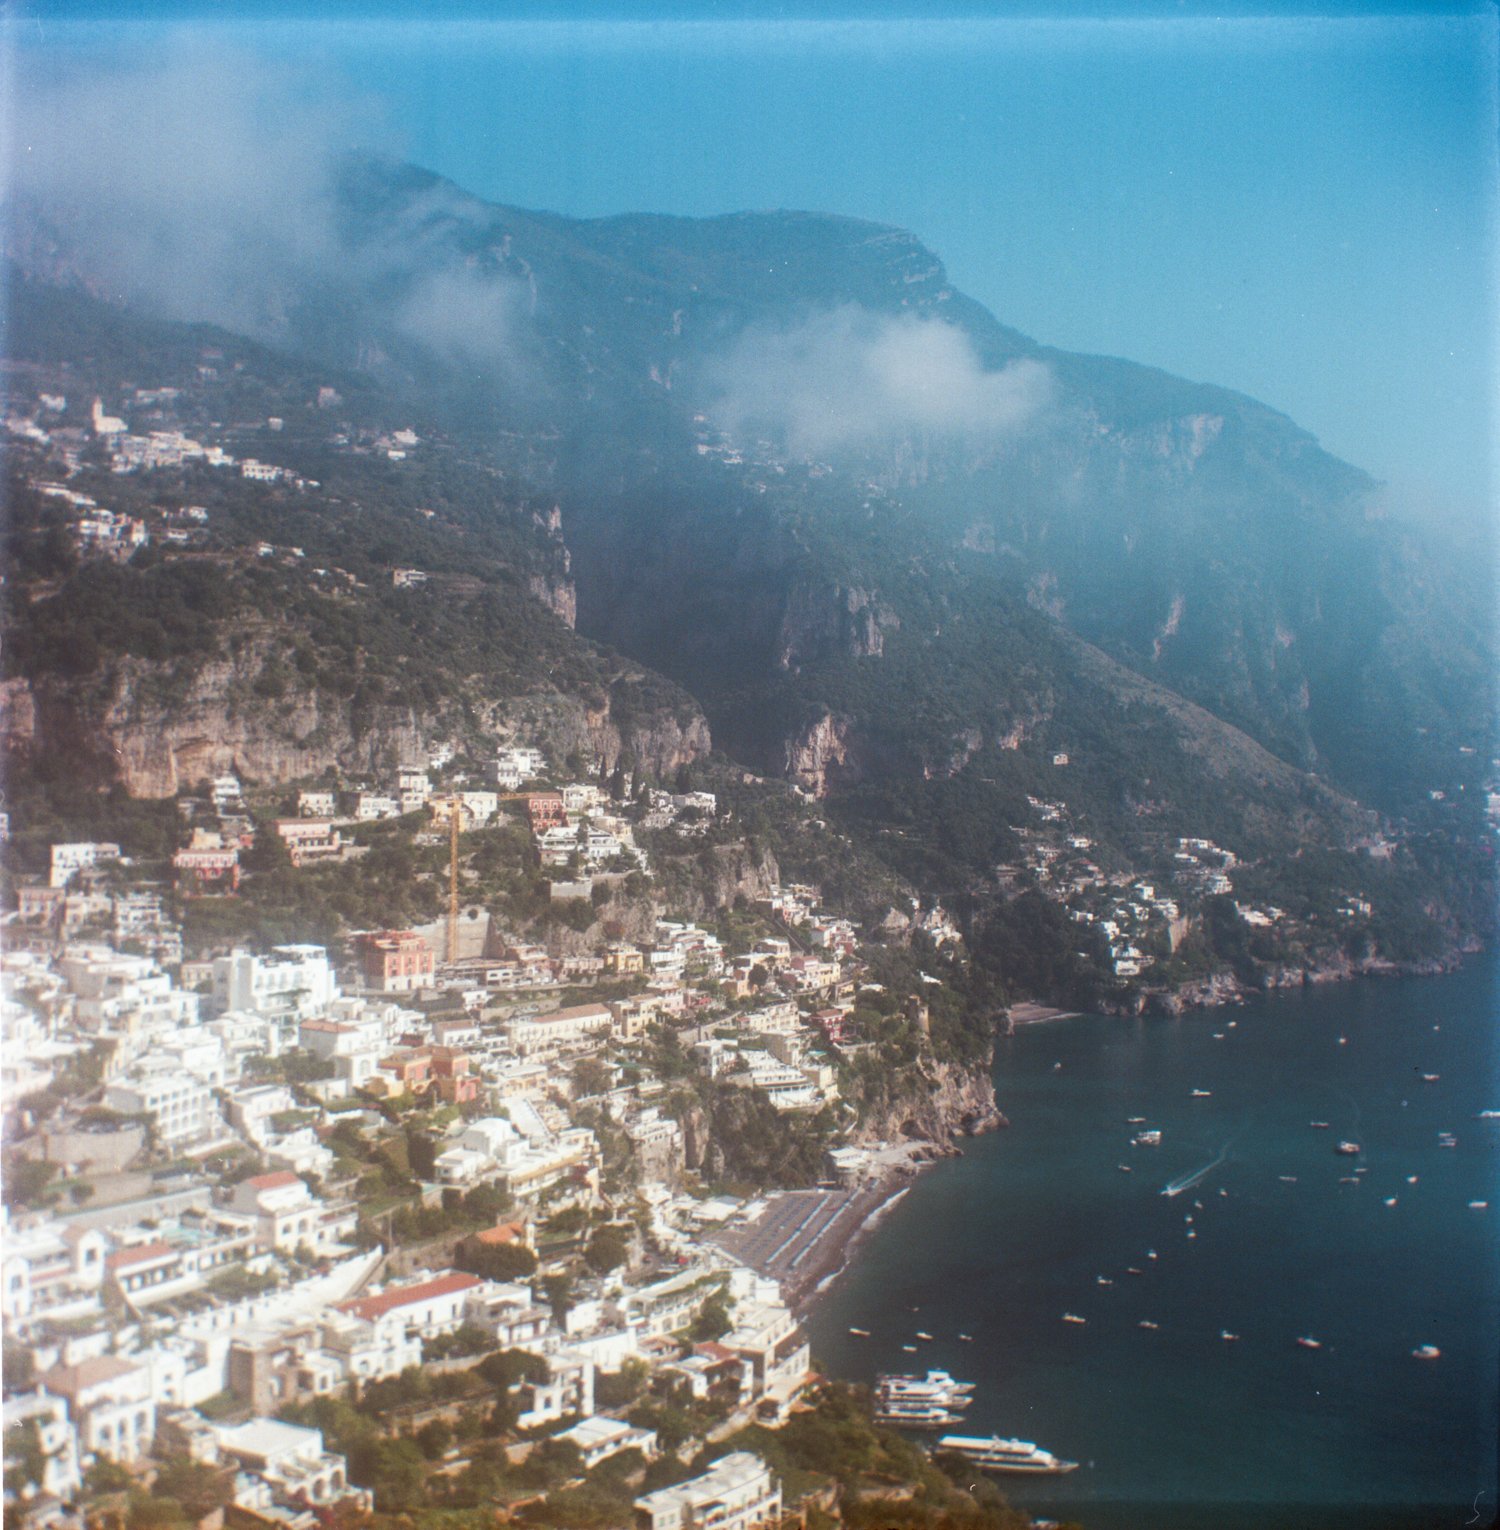
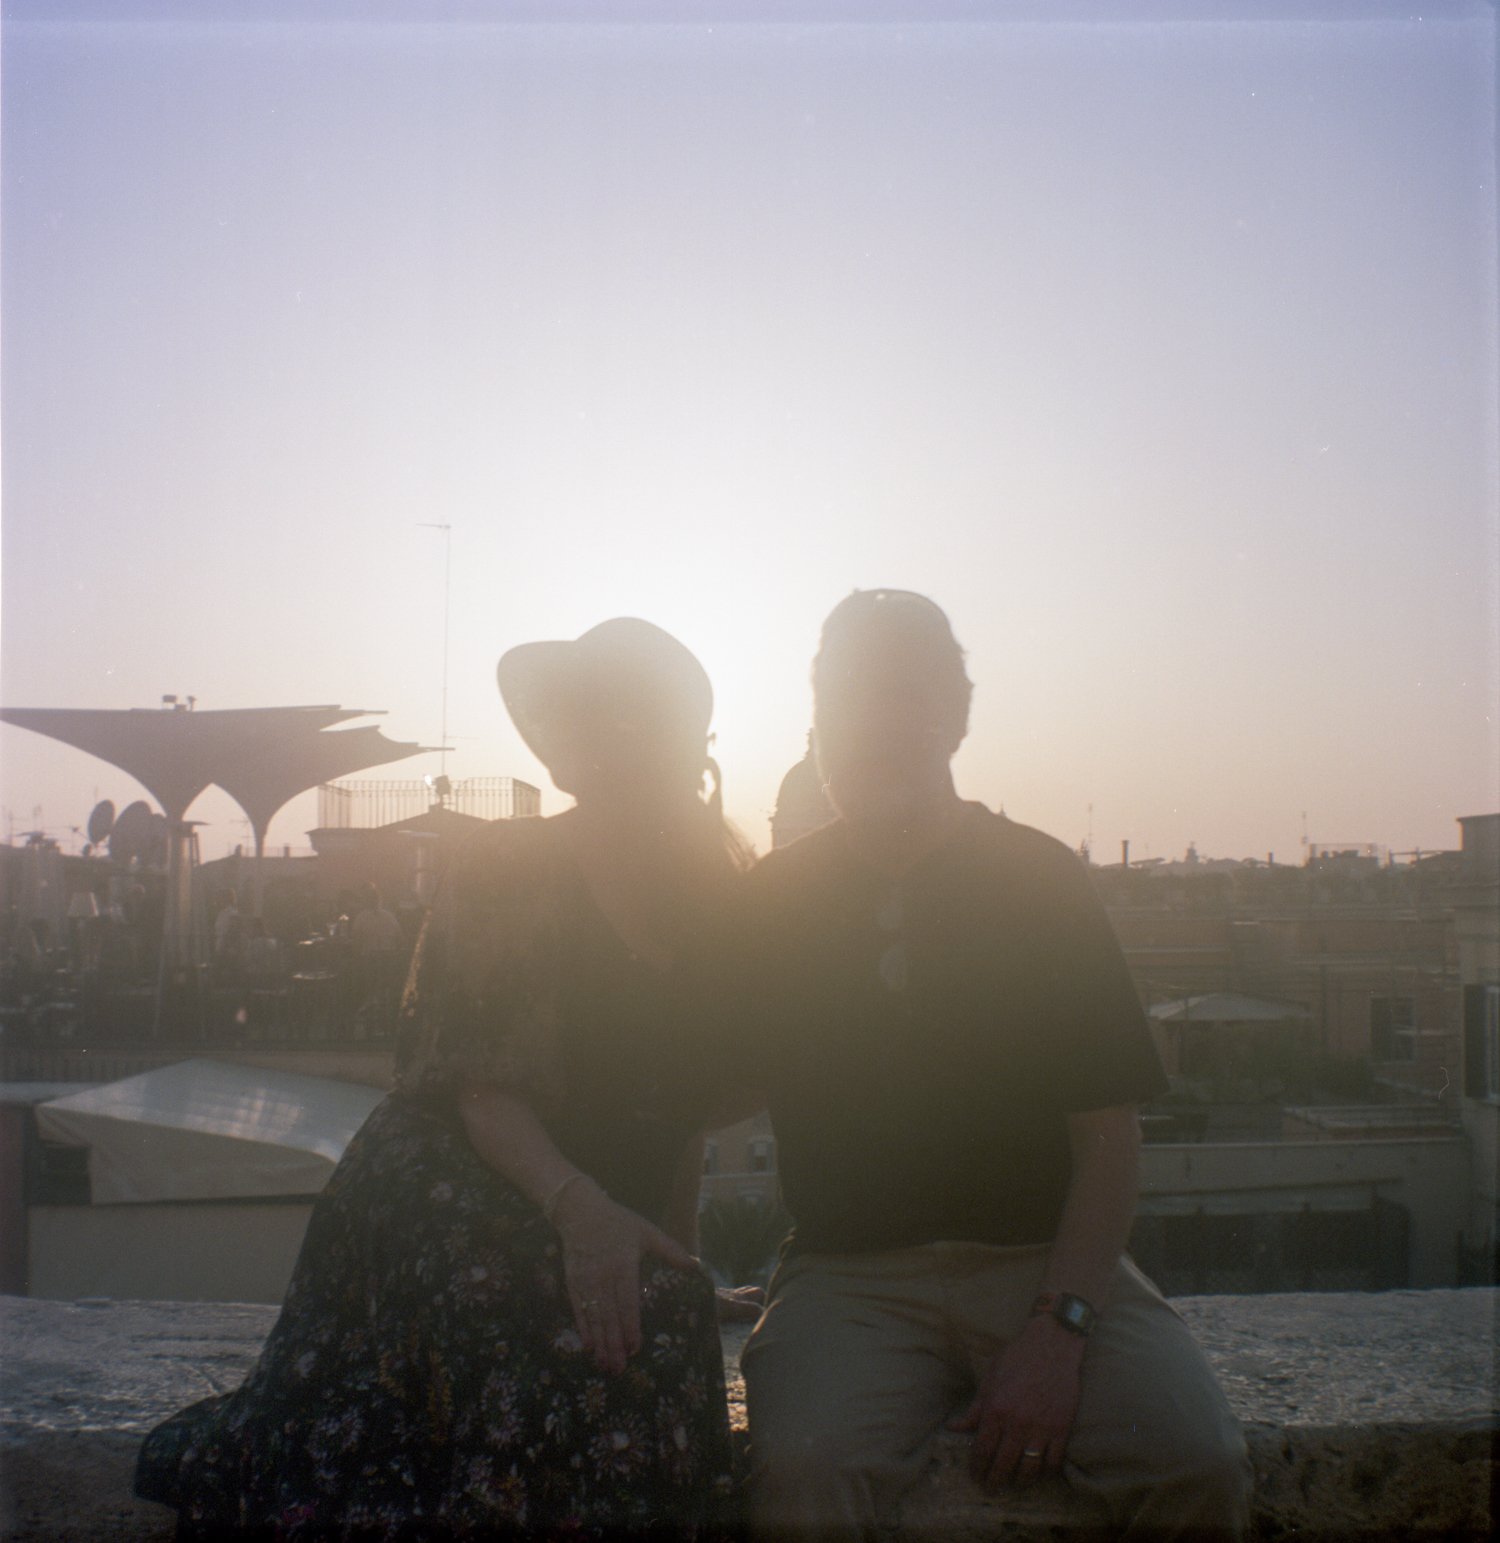
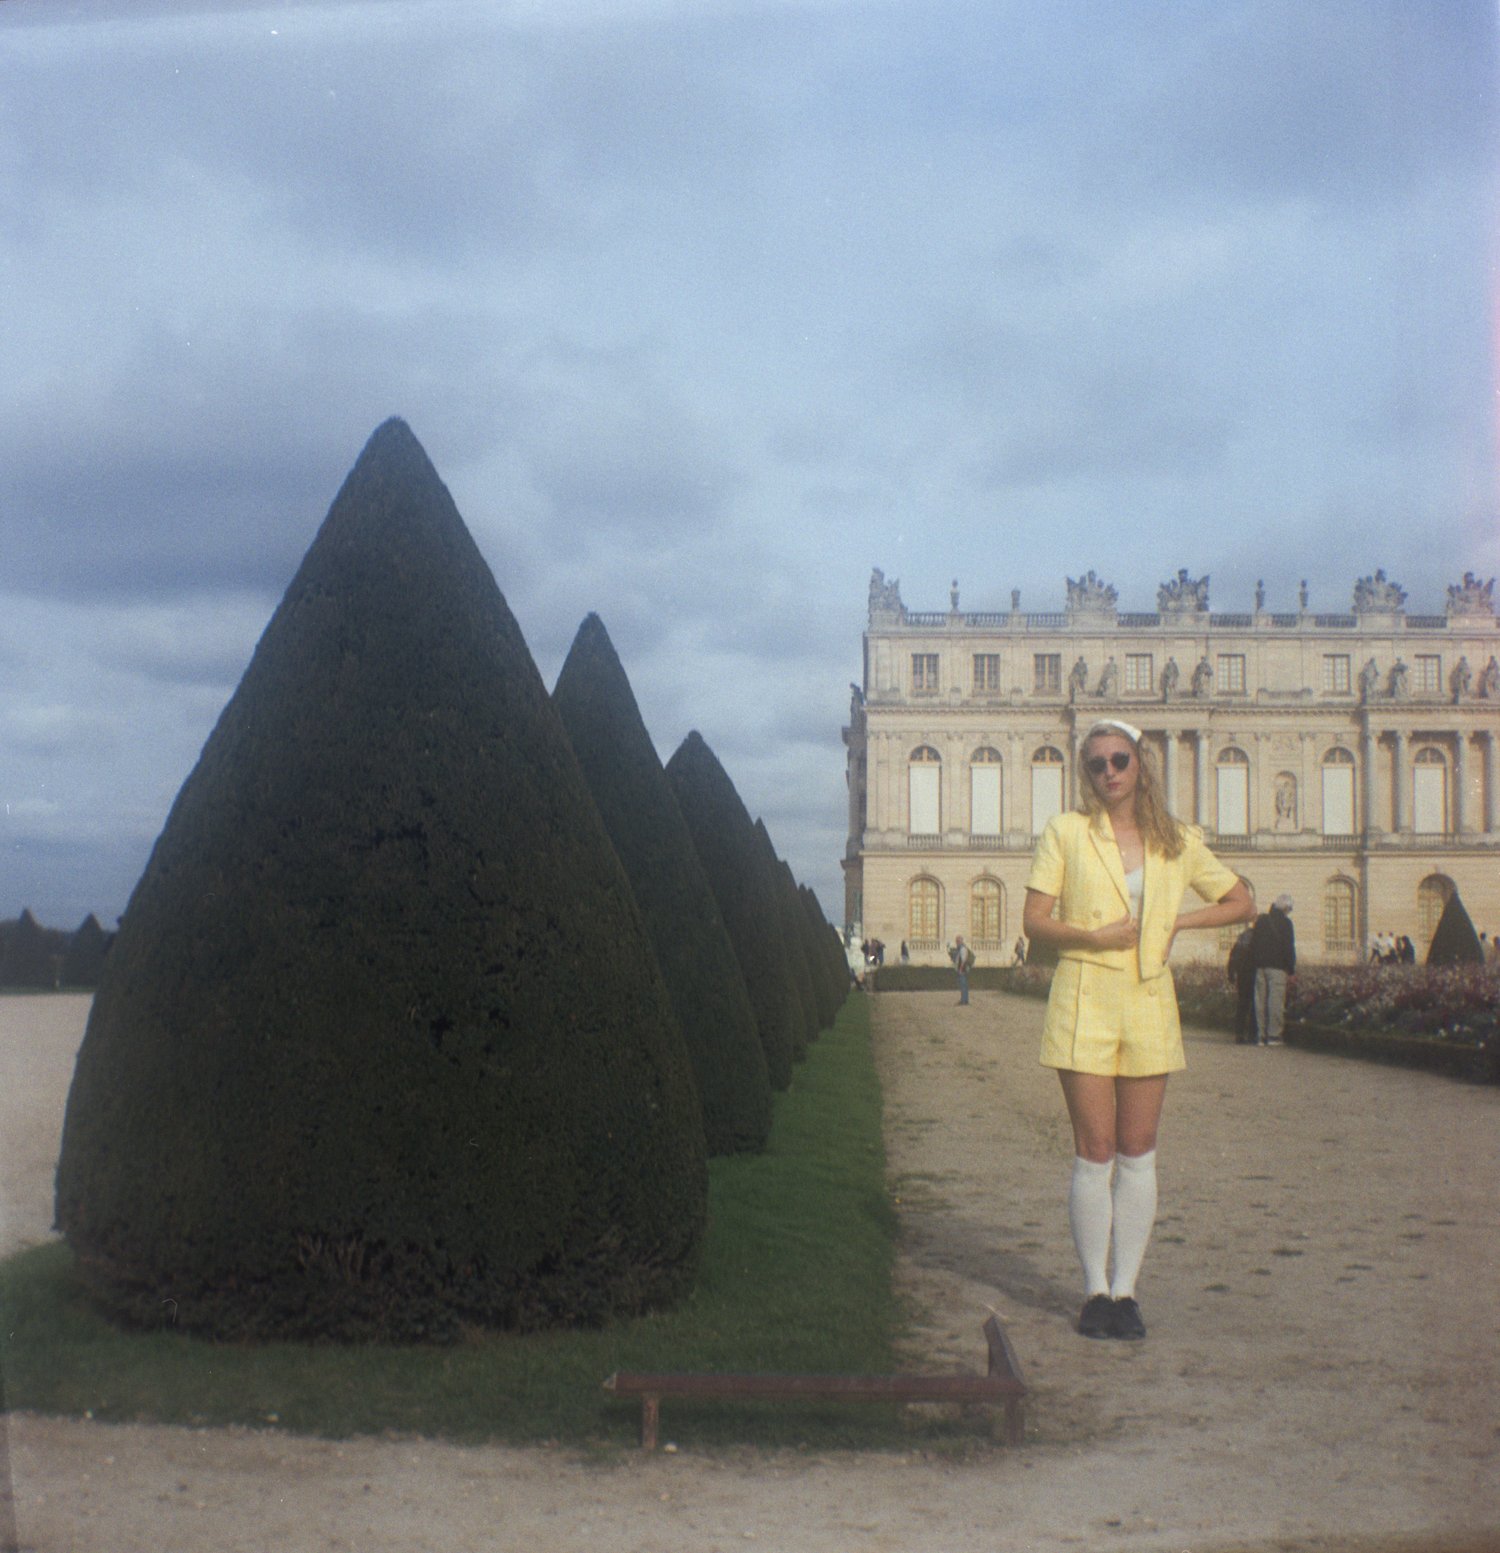
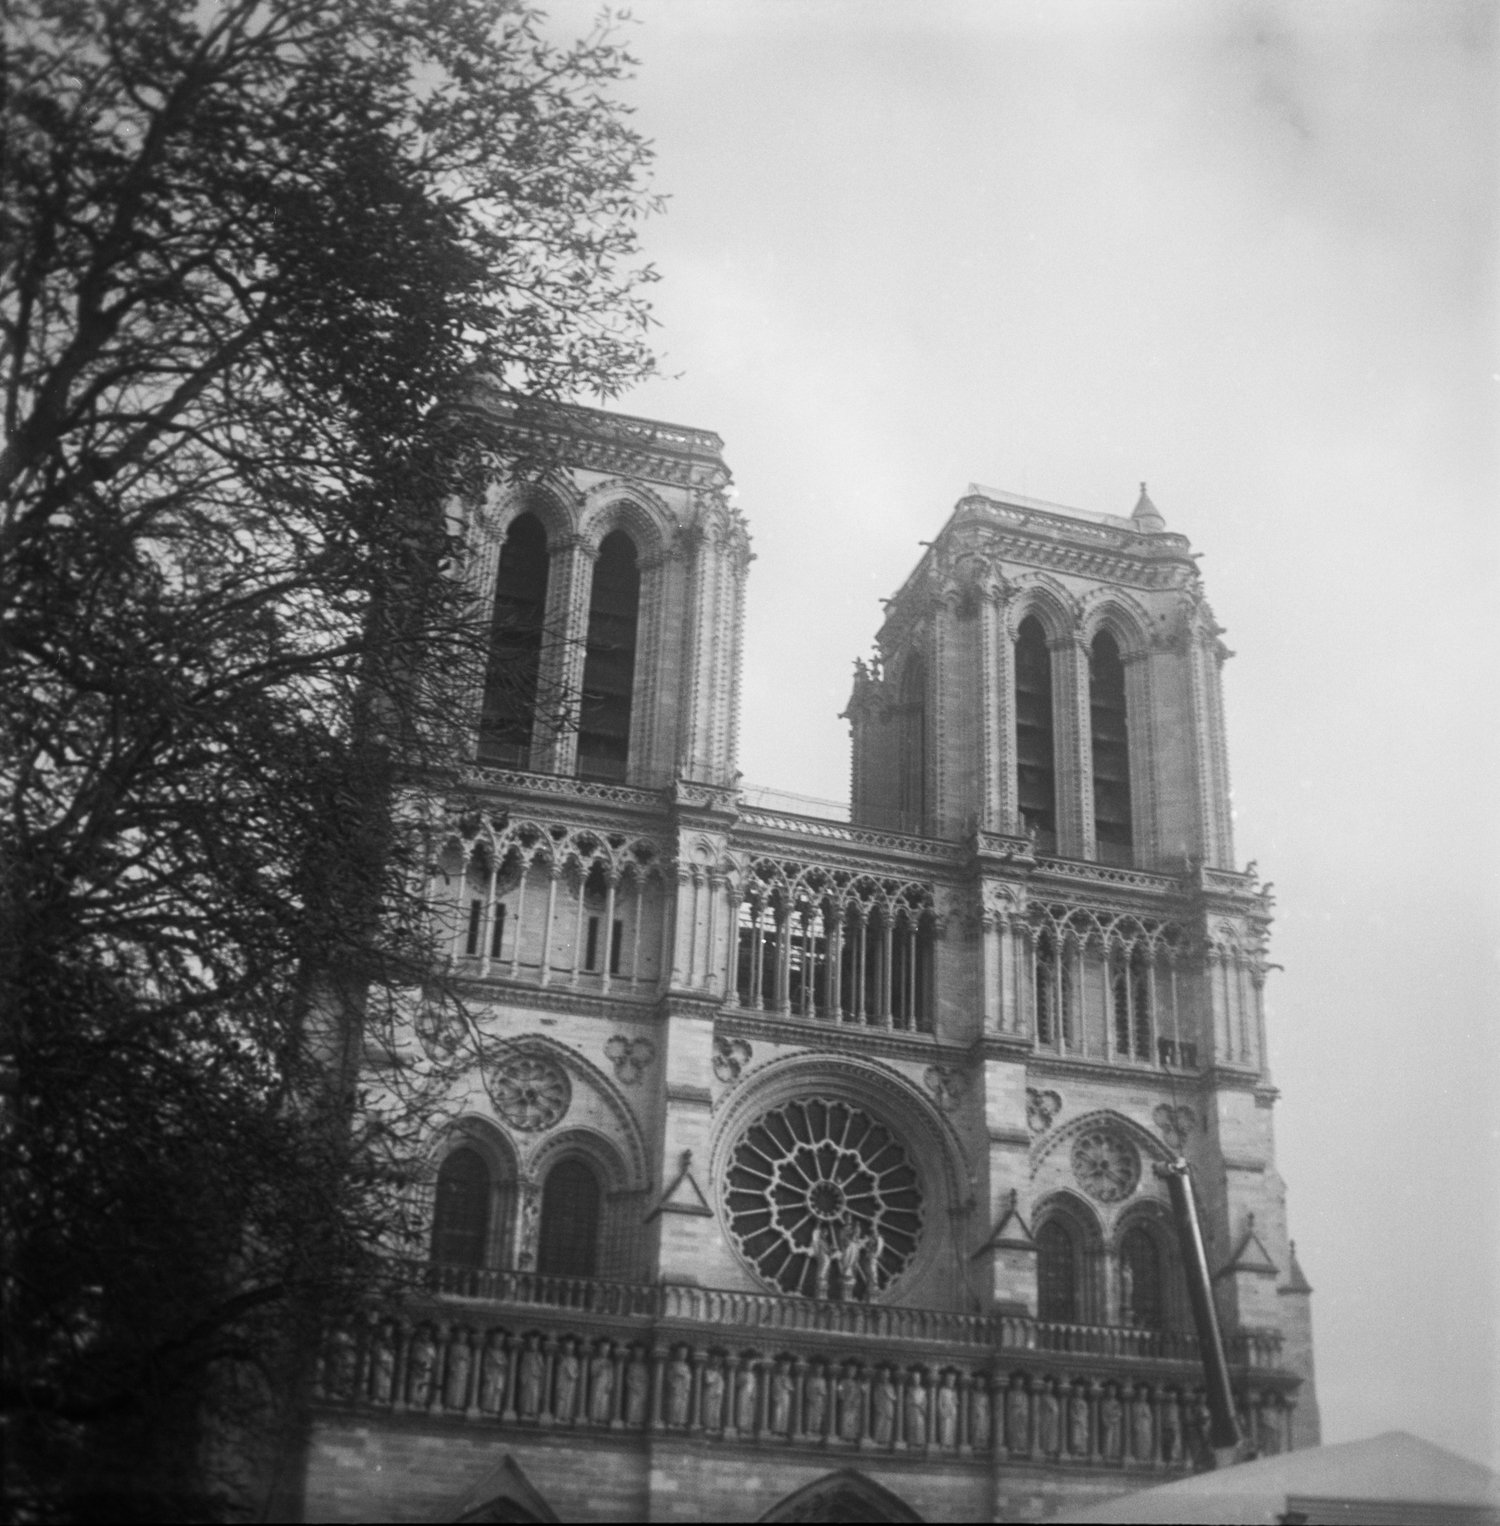
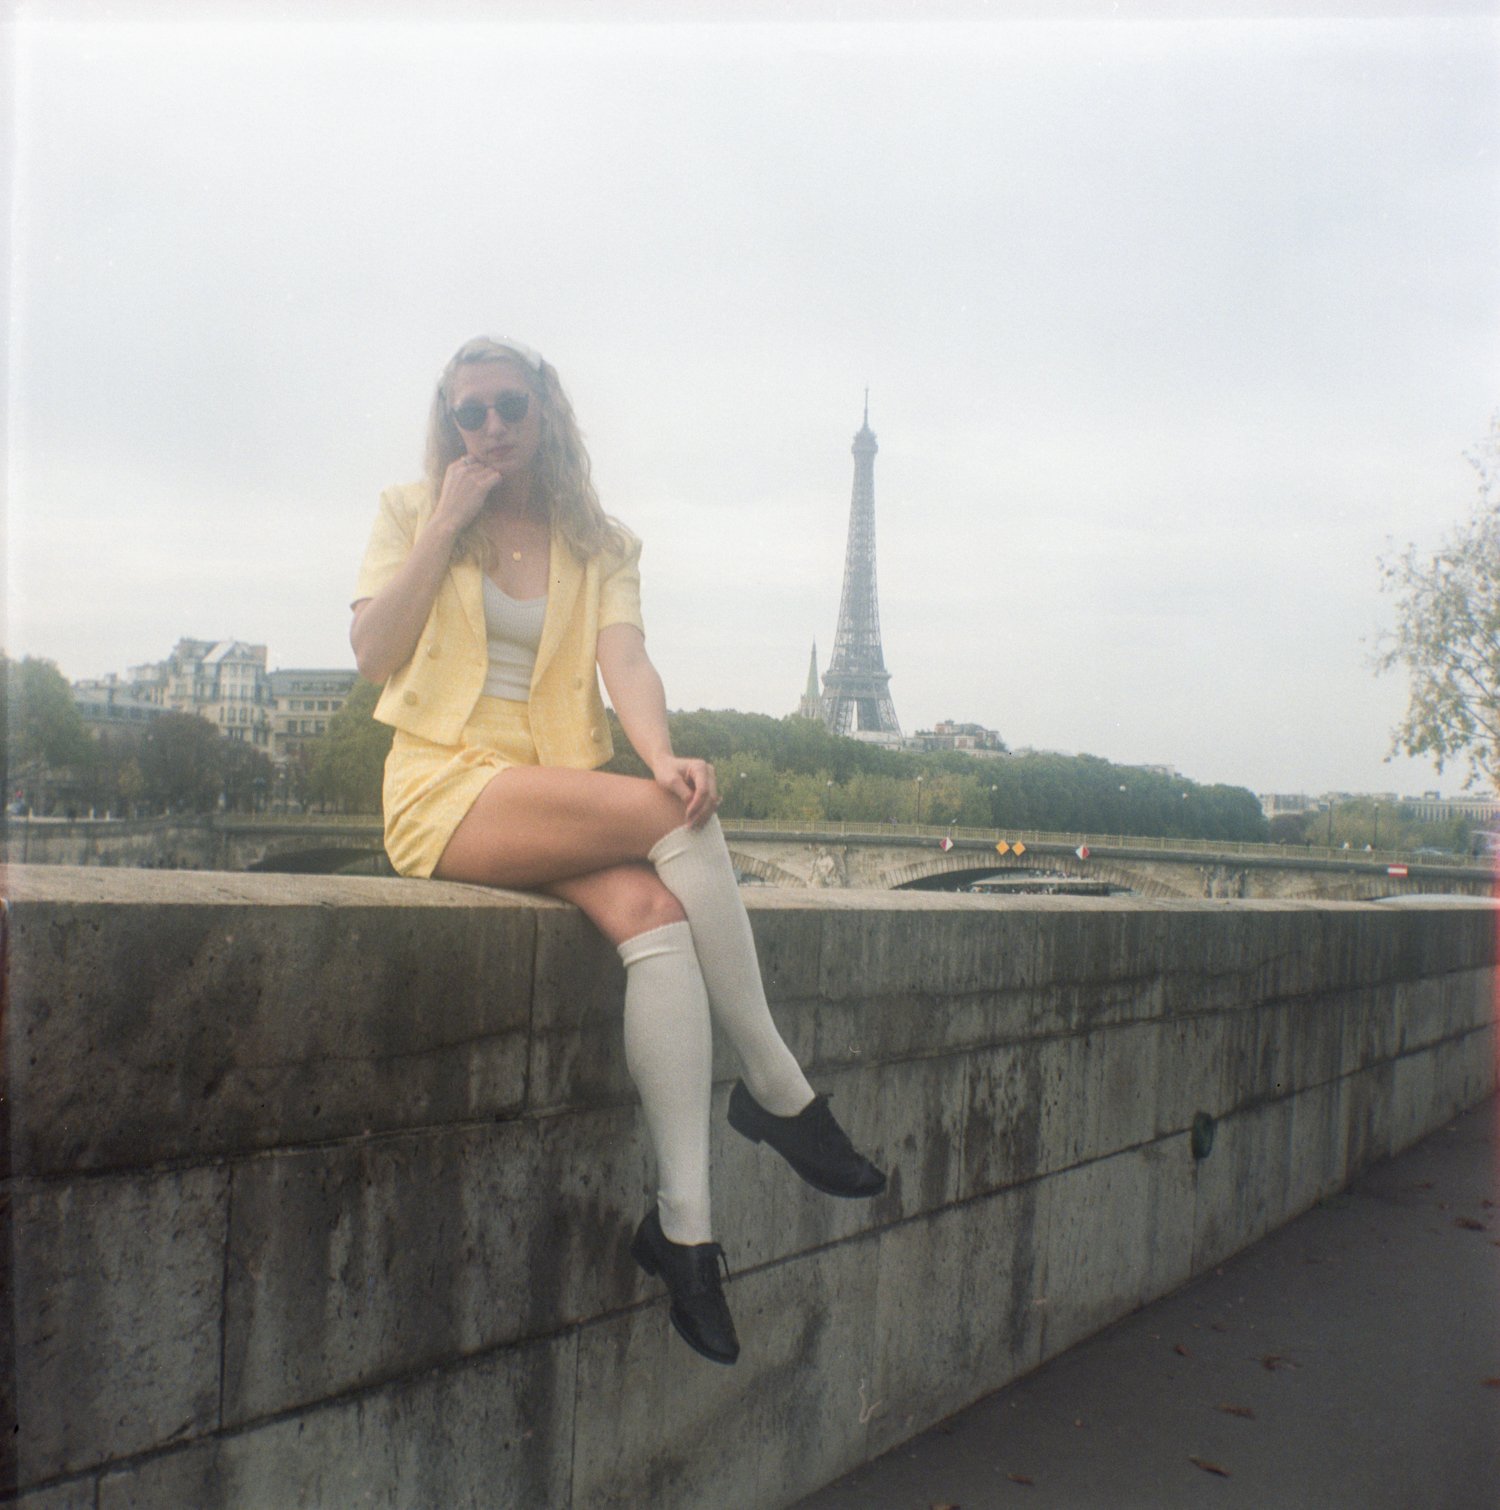
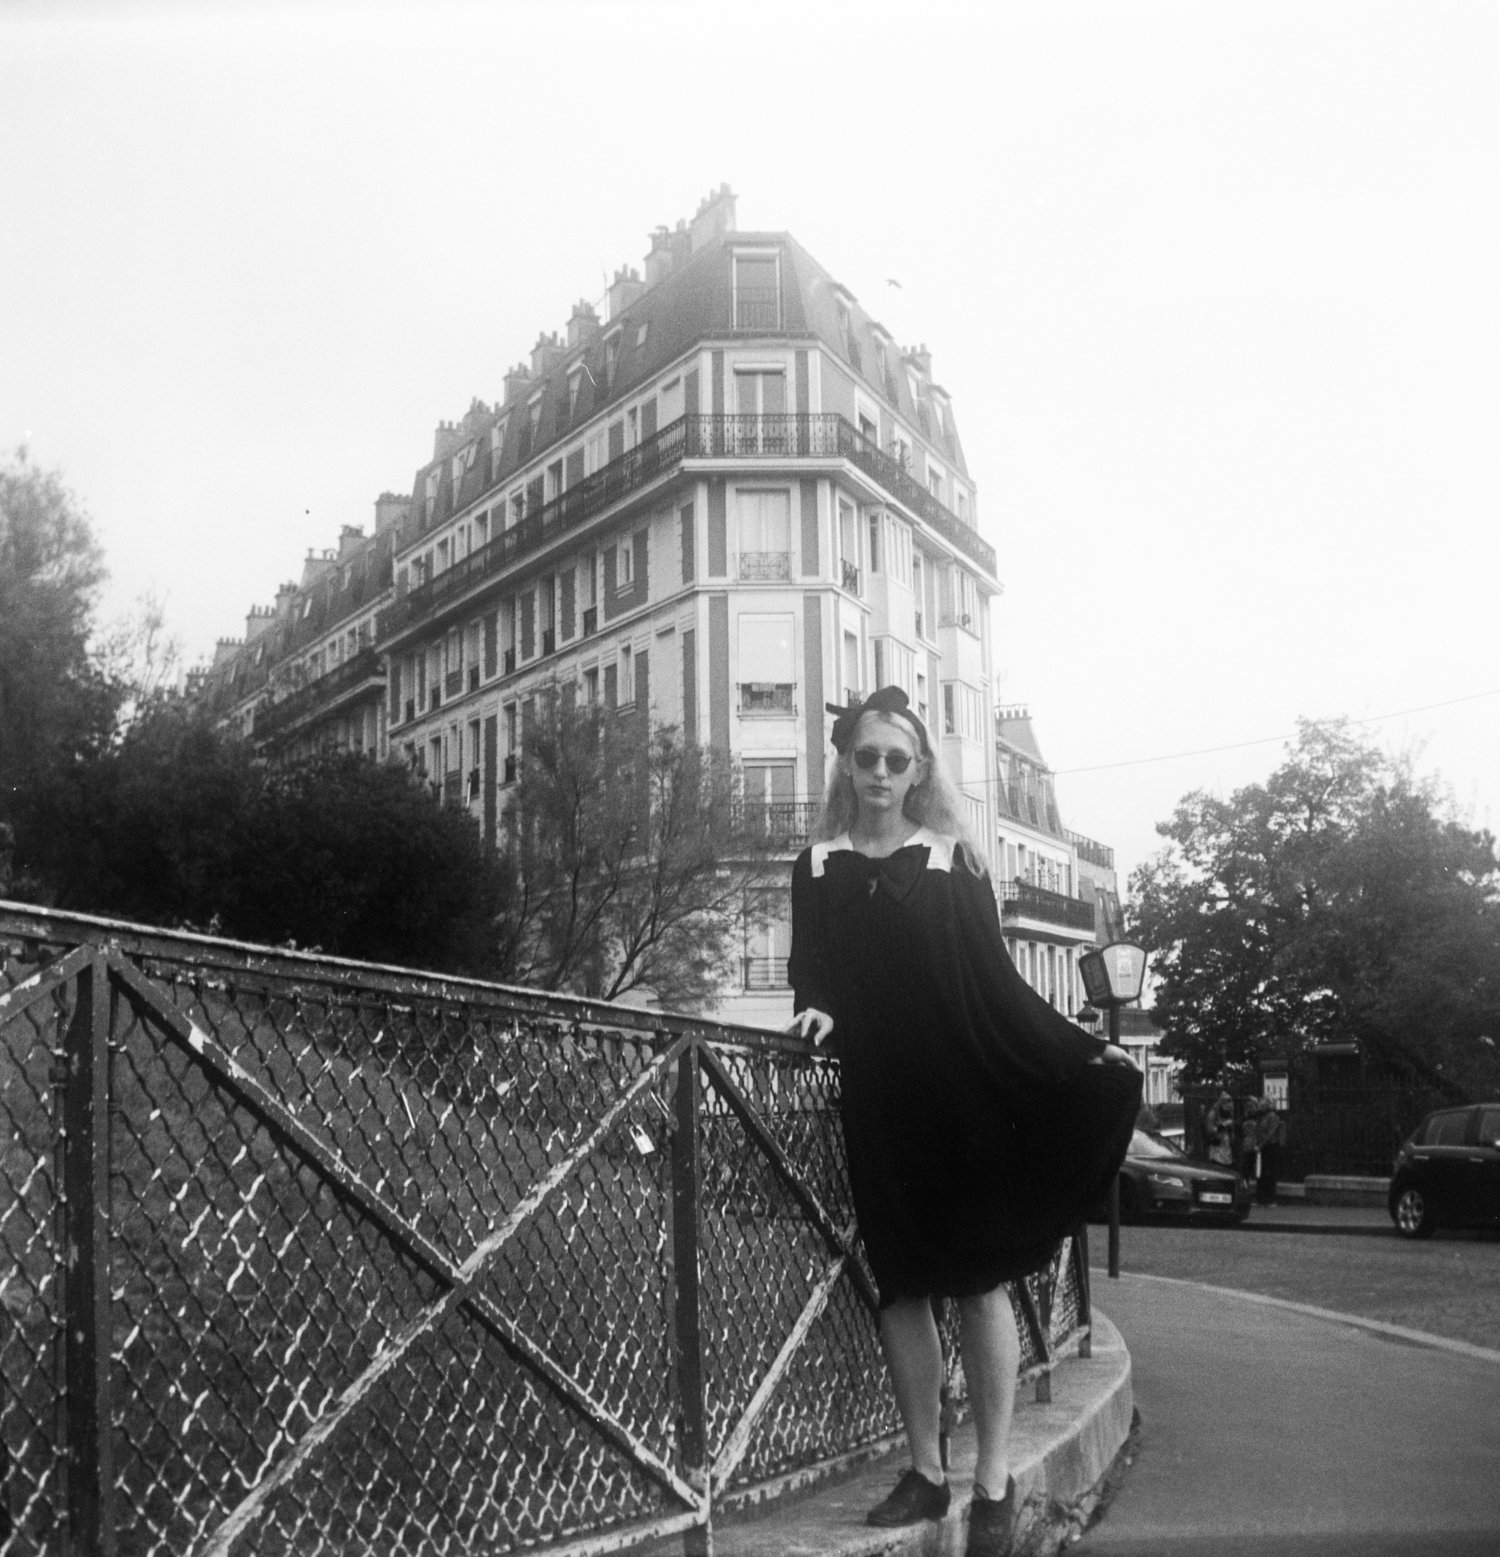
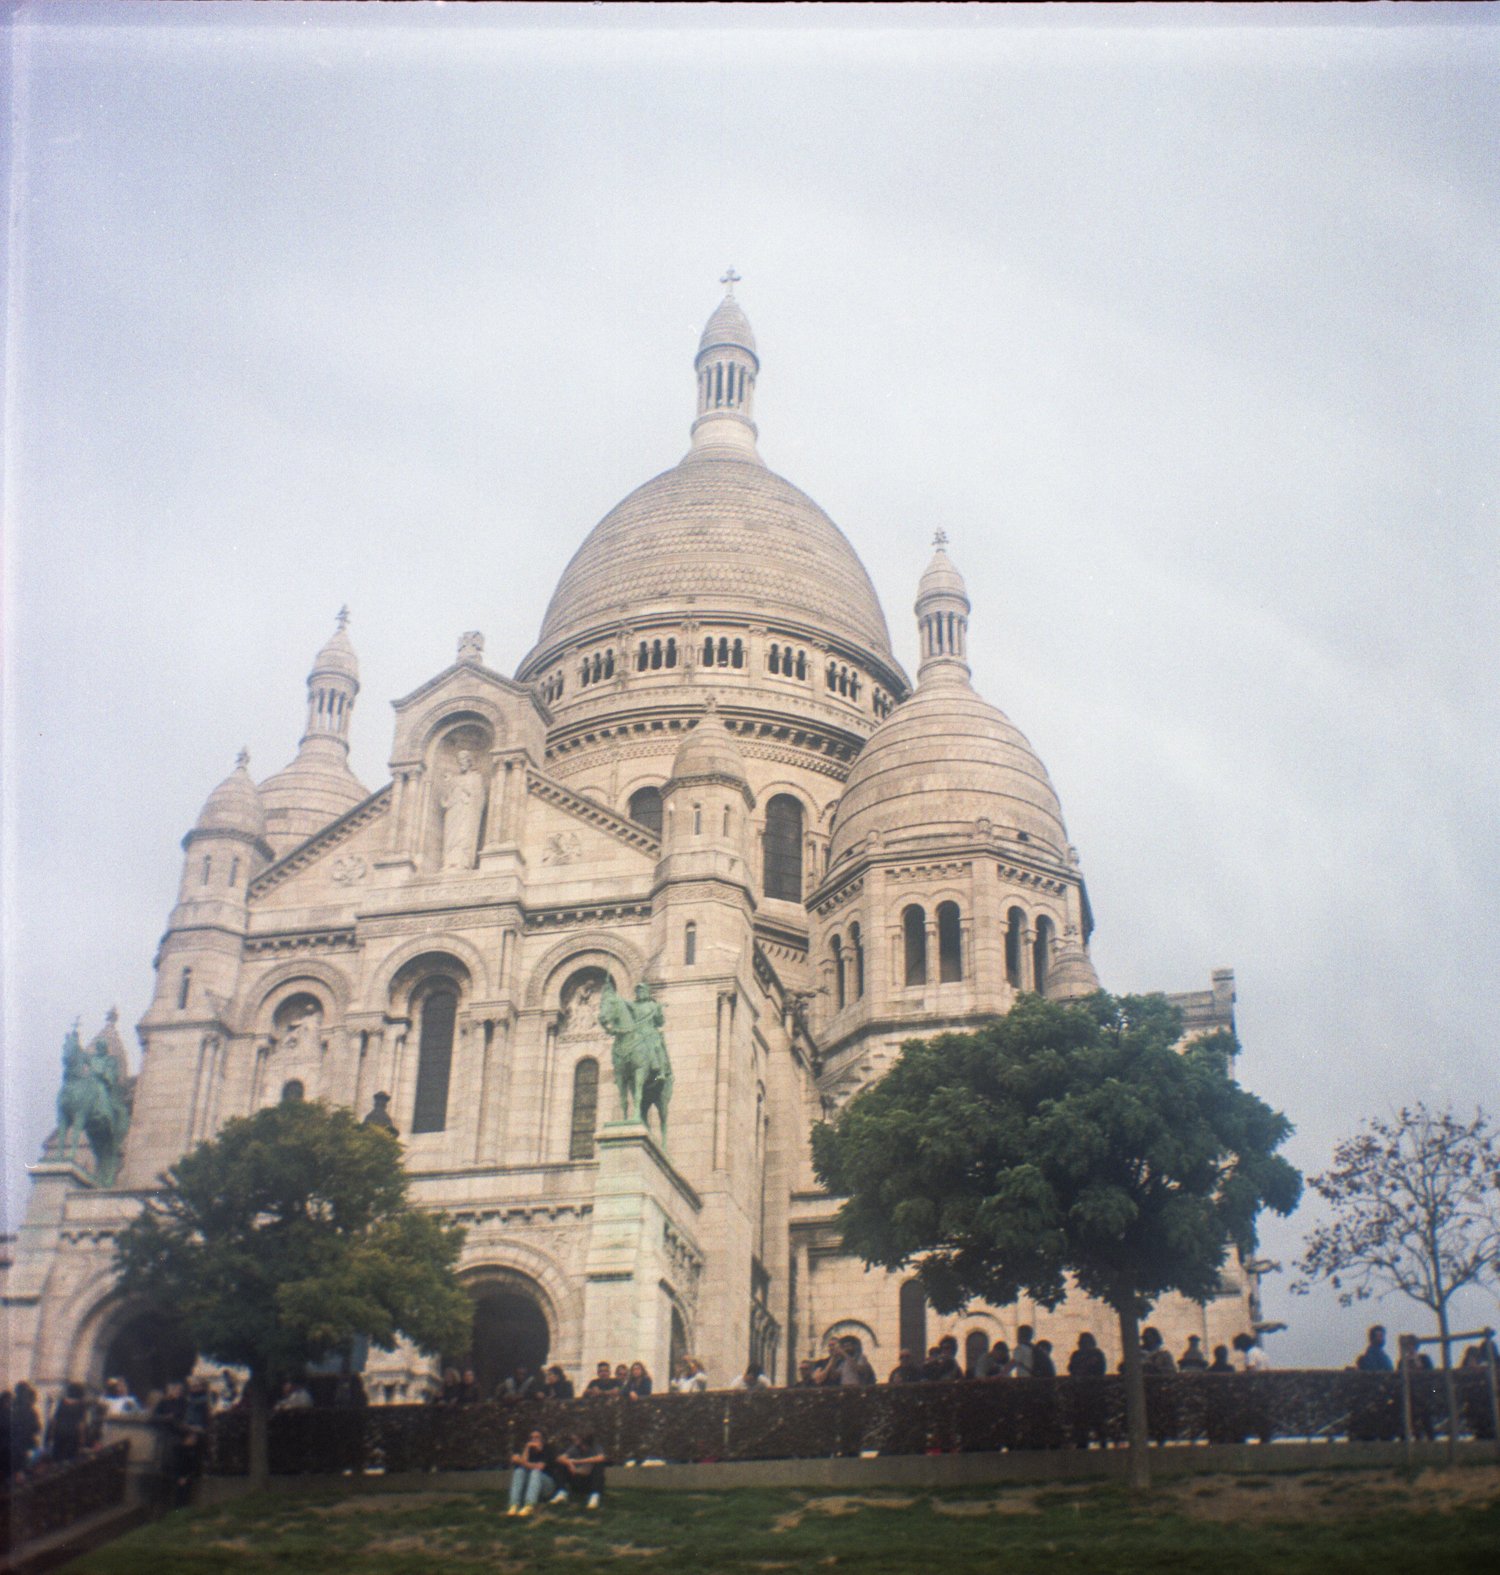
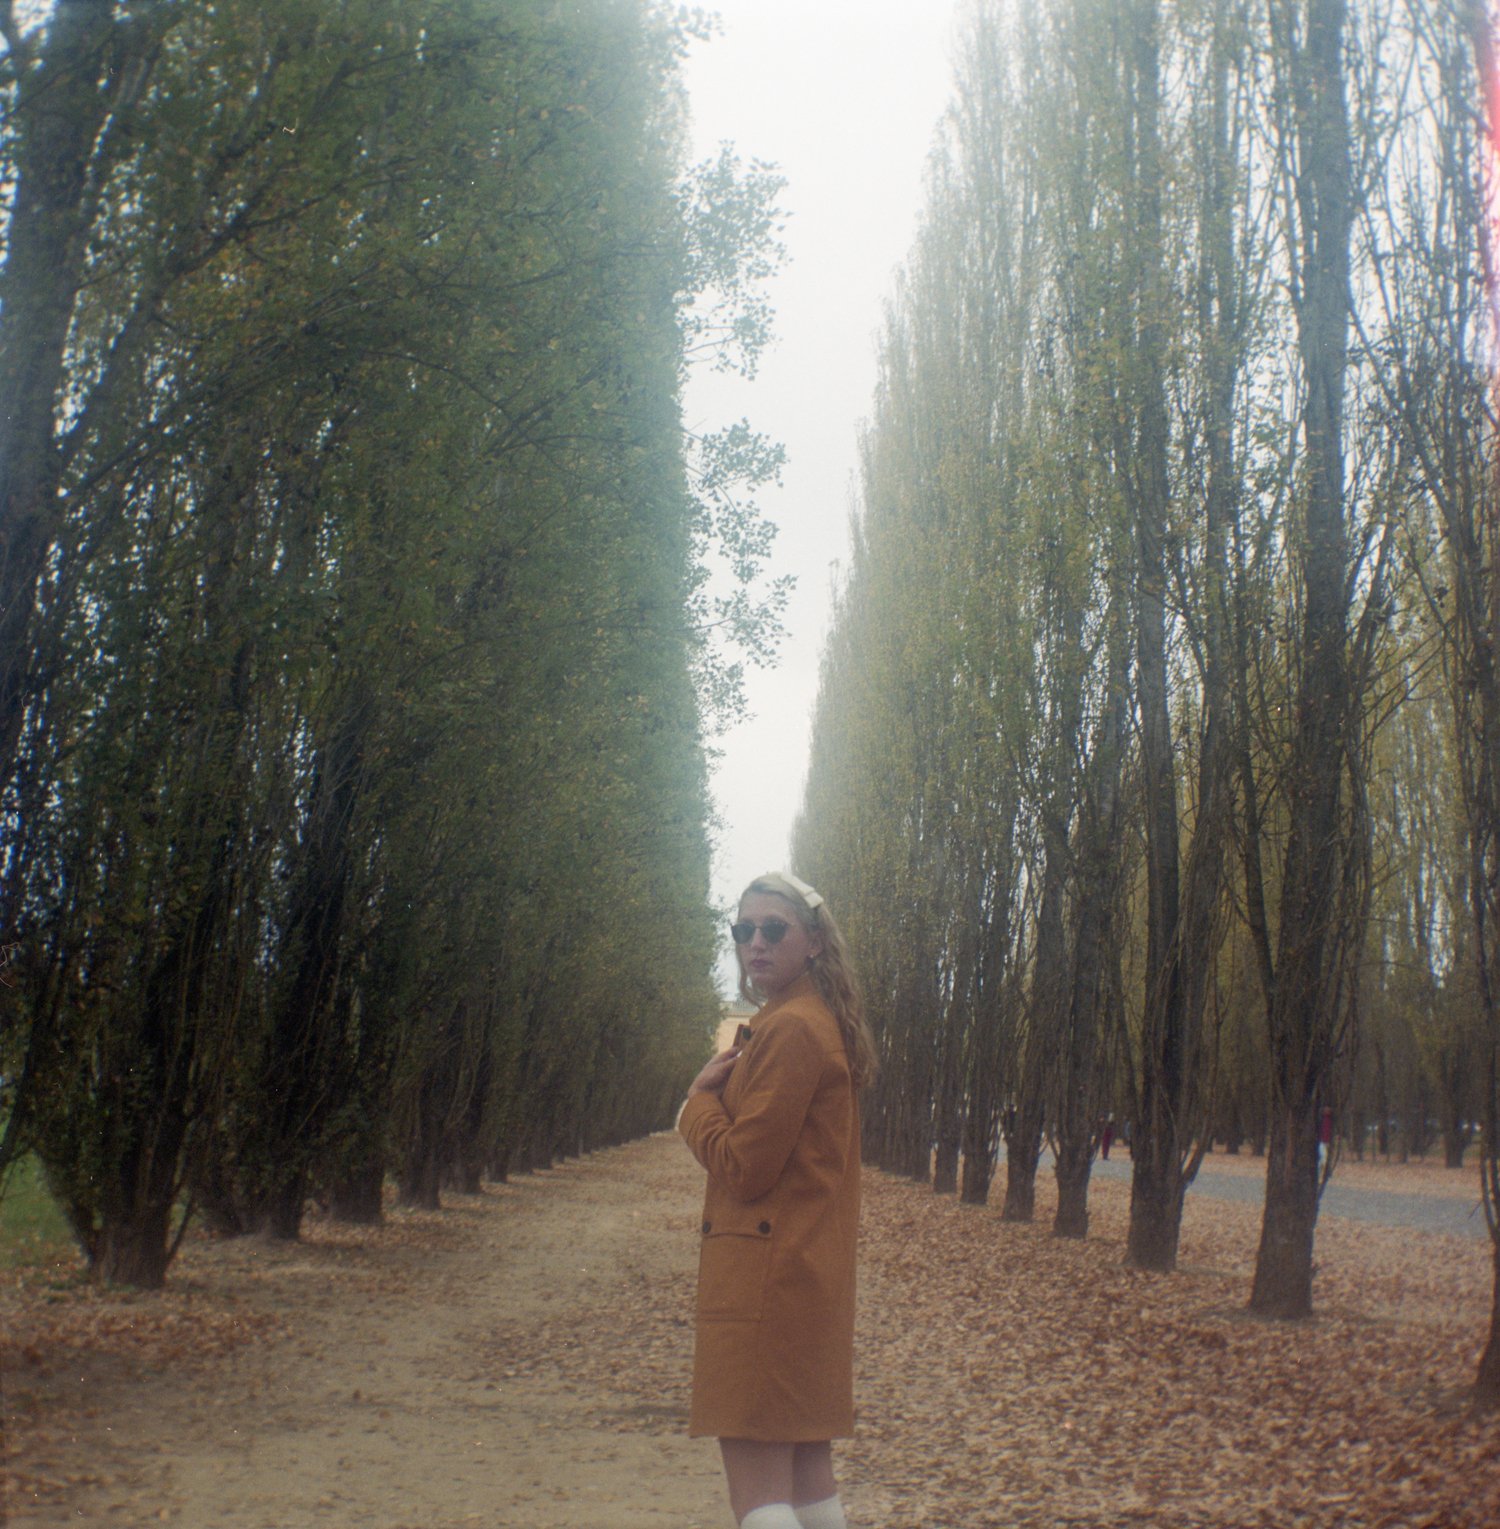
I have a video on my YouTube channel, Cameras & Cats, about the Nikon FE2 too, so make sure to check that out below! I’ve also included some of my favorite images I’ve taken over the years with the Nikon FE2. I hope you love this camera as much as I do!

You can find links to the camera, as well as my personal film recommendations below!

CAMERA:

Purchase a Nikon FE2 on Amazon!

Purchase a Nikon FE2 on eBay!

Purchase a Nikon FE2 on KEH Camera!

LENS:

50mm f/1.4 AF Nikkor

35-70mm f/3.3 AF Nikkor (more affordable zoom lens)

FILM RECOMMENDATIONS:

Kodak Gold 200 35mm film

Kodak Portra 160 35mm

Lomography 100 35mm film

If you found this post helpful or if you’d like to see more of my work, I’d love it if you considered signing up for my Patreon! For as little as $1 a month, you’ll get early access to all of my YouTube videos, plus tons of photos that I don’t post anywhere else. Depending on which tier you choose, you could also receive seasonal prints and/or discounts! I always use all of the proceeds towards cameras, film & processing. Find out more here!

Thanks so much for stopping by!

<3 Myles Katherine


Kodak Brownie Hawkeye Review with Sample Photos in Kauai, Italy and France!

 
kodak brownie hawkeye camera


Over the years, I’ve somehow acquired quite a few Brownie cameras. One of my favorite things about being a photographer is that people just (literally) drop old cameras off at my doorstep because they don’t know what to do with them. My camera collection is so large now that I’m contemplating building shelves in every room in my house just to display them!
Specifically, the Kodak Brownie Hawkeye Flash Model has always stood out to me because the one I received is in great condition. It almost looked like a new camera, even though it’s from the 1950s! So for years, it was calling my name to try it out. I’m not going to lie though, it was intimidating. I thought there was no way I’d be able to figure out how to use it. It turns out, it’s one of the EASIEST cameras to use EVER. It’s essentially a pinhole camera mixed with a Holga. There aren’t any crazy settings or knobs and buttons to deal with. You just look down into the viewfinder, compose your shot, hold as still as possible and click the shutter. It’s that easy. However, there is a lever that you can pull up if you’d like to use the “bulb” setting. Personally, I don’t feel there is a reason to use the bulb setting because the shutter is already quite slow, around 1/30th to 1/60th of a second. That’s why it’s so important to hold the camera as still as possible when taking your photo - to avoid motion blur. If you’re interested in shooting in lower light situations, you could always add the flash, which I haven’t tried yet but plan to!
The first time I used my Kodak Brownie Hawkeye, I was headed to Kauai for vacation and decided to just toss it in my bag and try it out when I got there. I purchased two rolls of 620 on our 2-day stopover in Portland, Oregon from Blue Moon Camera. I watched a quick YouTube video on how to load the film and then just went for it. The film was actually surprisingly easy to load because the inside of the camera has guide-marks for loading. I nervously shot my first roll of film, feeling like there was NO way the images were turning out because of how easy it seemed to just point and shoot. After I returned home, I mailed my film off to Citizens Photo and was SO EXCITED when my film came back, perfectly exposed and beautiful. There is truly no better feeling than getting my film back in the mail.
Recently, I purchased a few more rolls of 620 film from The Film Photography Project and Film For Classics (it’s not cheap, just FYI) and took the film with me to Italy and France! I’m obsessed with the vintage, foggy style of the images. Lately, I’ve been craving images that are less perfect and the Hawkeye helps to quench that thirst. If you have a Hawkeye lying around, try it out! It’s so fun. I definitely plan on trying it out with the flash next. :)


Purchase a Kodak Brownie Hawkeye on eBay!

Purchase a Kodak Brownie Hawkeye on Amazon!

I’ve included some of my favorite images I’ve taken with the Hawkeye so far. You can also check out my YouTube video about the camera!

If you found this post helpful or if you’d like to see more of my work, I’d love it if you considered signing up for my Patreon! For as little as $1 a month, you’ll get early access to all of my YouTube videos, plus tons of photos that I don’t post anywhere else. Depending on which tier you choose, you could also receive seasonal prints and/or discounts! I always use all of the proceeds towards cameras, film & processing. Find out more here!

Thanks so much for stopping by! Feel free to leave any questions or comments below. Have a lovely day!
<3 Myles Katherine