How Do You Create Double Exposures and Multiple Exposures with a Holga Toy Camera?
This HAS to be my most frequently asked question. If you follow my work you know I’m obsessed with the Holga and multiple exposures (specifically, the Holga GCFN). I still remember the very first double exposure I ever took and the excitement I felt when I realized what had happened. I suddenly felt like the opportunities were endless when it came to photography. I realized that photography didn’t necessarily need to mimic real life. I could create a world that didn’t exist, by merging photos taken directly from reality. That juxtaposition blew my mind and really catapulted my interest in photography.
It might seem intimidating at first when it comes to creating multiple exposures. I think there’s an innate and expected fear that they’re going to be TERRIBLE. That they won’t make sense. That no one will know what they’re looking at. But guess what, that’s FINE! In fact, it’s better than taking the same boring photo that everyone else takes. It takes some time to get used to layering images and understanding how the final product is going to turn out. But even now, with a decade of experience under my belt, I still don’t feel like I have complete control over my multiple exposures. I always have an expectation in my mind and it never quite fits with how I envision them. Either they’re not as good as I’d hoped, or they’re even better. And usually the ones that I’m just messing around with end up being the best. It’s really better NOT to plan. To just try out different textures and faces and landscapes and see how they turn out.
In case you’re having some trouble getting started though, here are a few tips for creating multiple exposures with a Holga camera. The Holga is one of the best cameras, in my opinion, to try out multiple exposures. But first, you have to understand HOW to take a multiple exposure. It’s actually SUPER simple. After taking a photograph, you just simply don’t wind the film advance dial at all. You just take another photo right over top of the first one. And you can do this as many times as you want, which is why I love the Holga so much. A lot of film cameras will automatically advance to the next frame, leaving you without the option to shoot over top of the first frame. The Holga is meant for multiple exposures. It’s very easy to accidentally take a multiple exposure with the Holga too, simply because it is a manual advance camera. So oftentimes, you might nor even mean to take a photo over top of another one, it just might happen. Actually, it WILL happen at some point if you use the Holga. It’s just part of the magic of the camera!
5 Simple Tips and Tricks for Creating Incredible Double & Multiple Exposures with the Holga Toy Camera
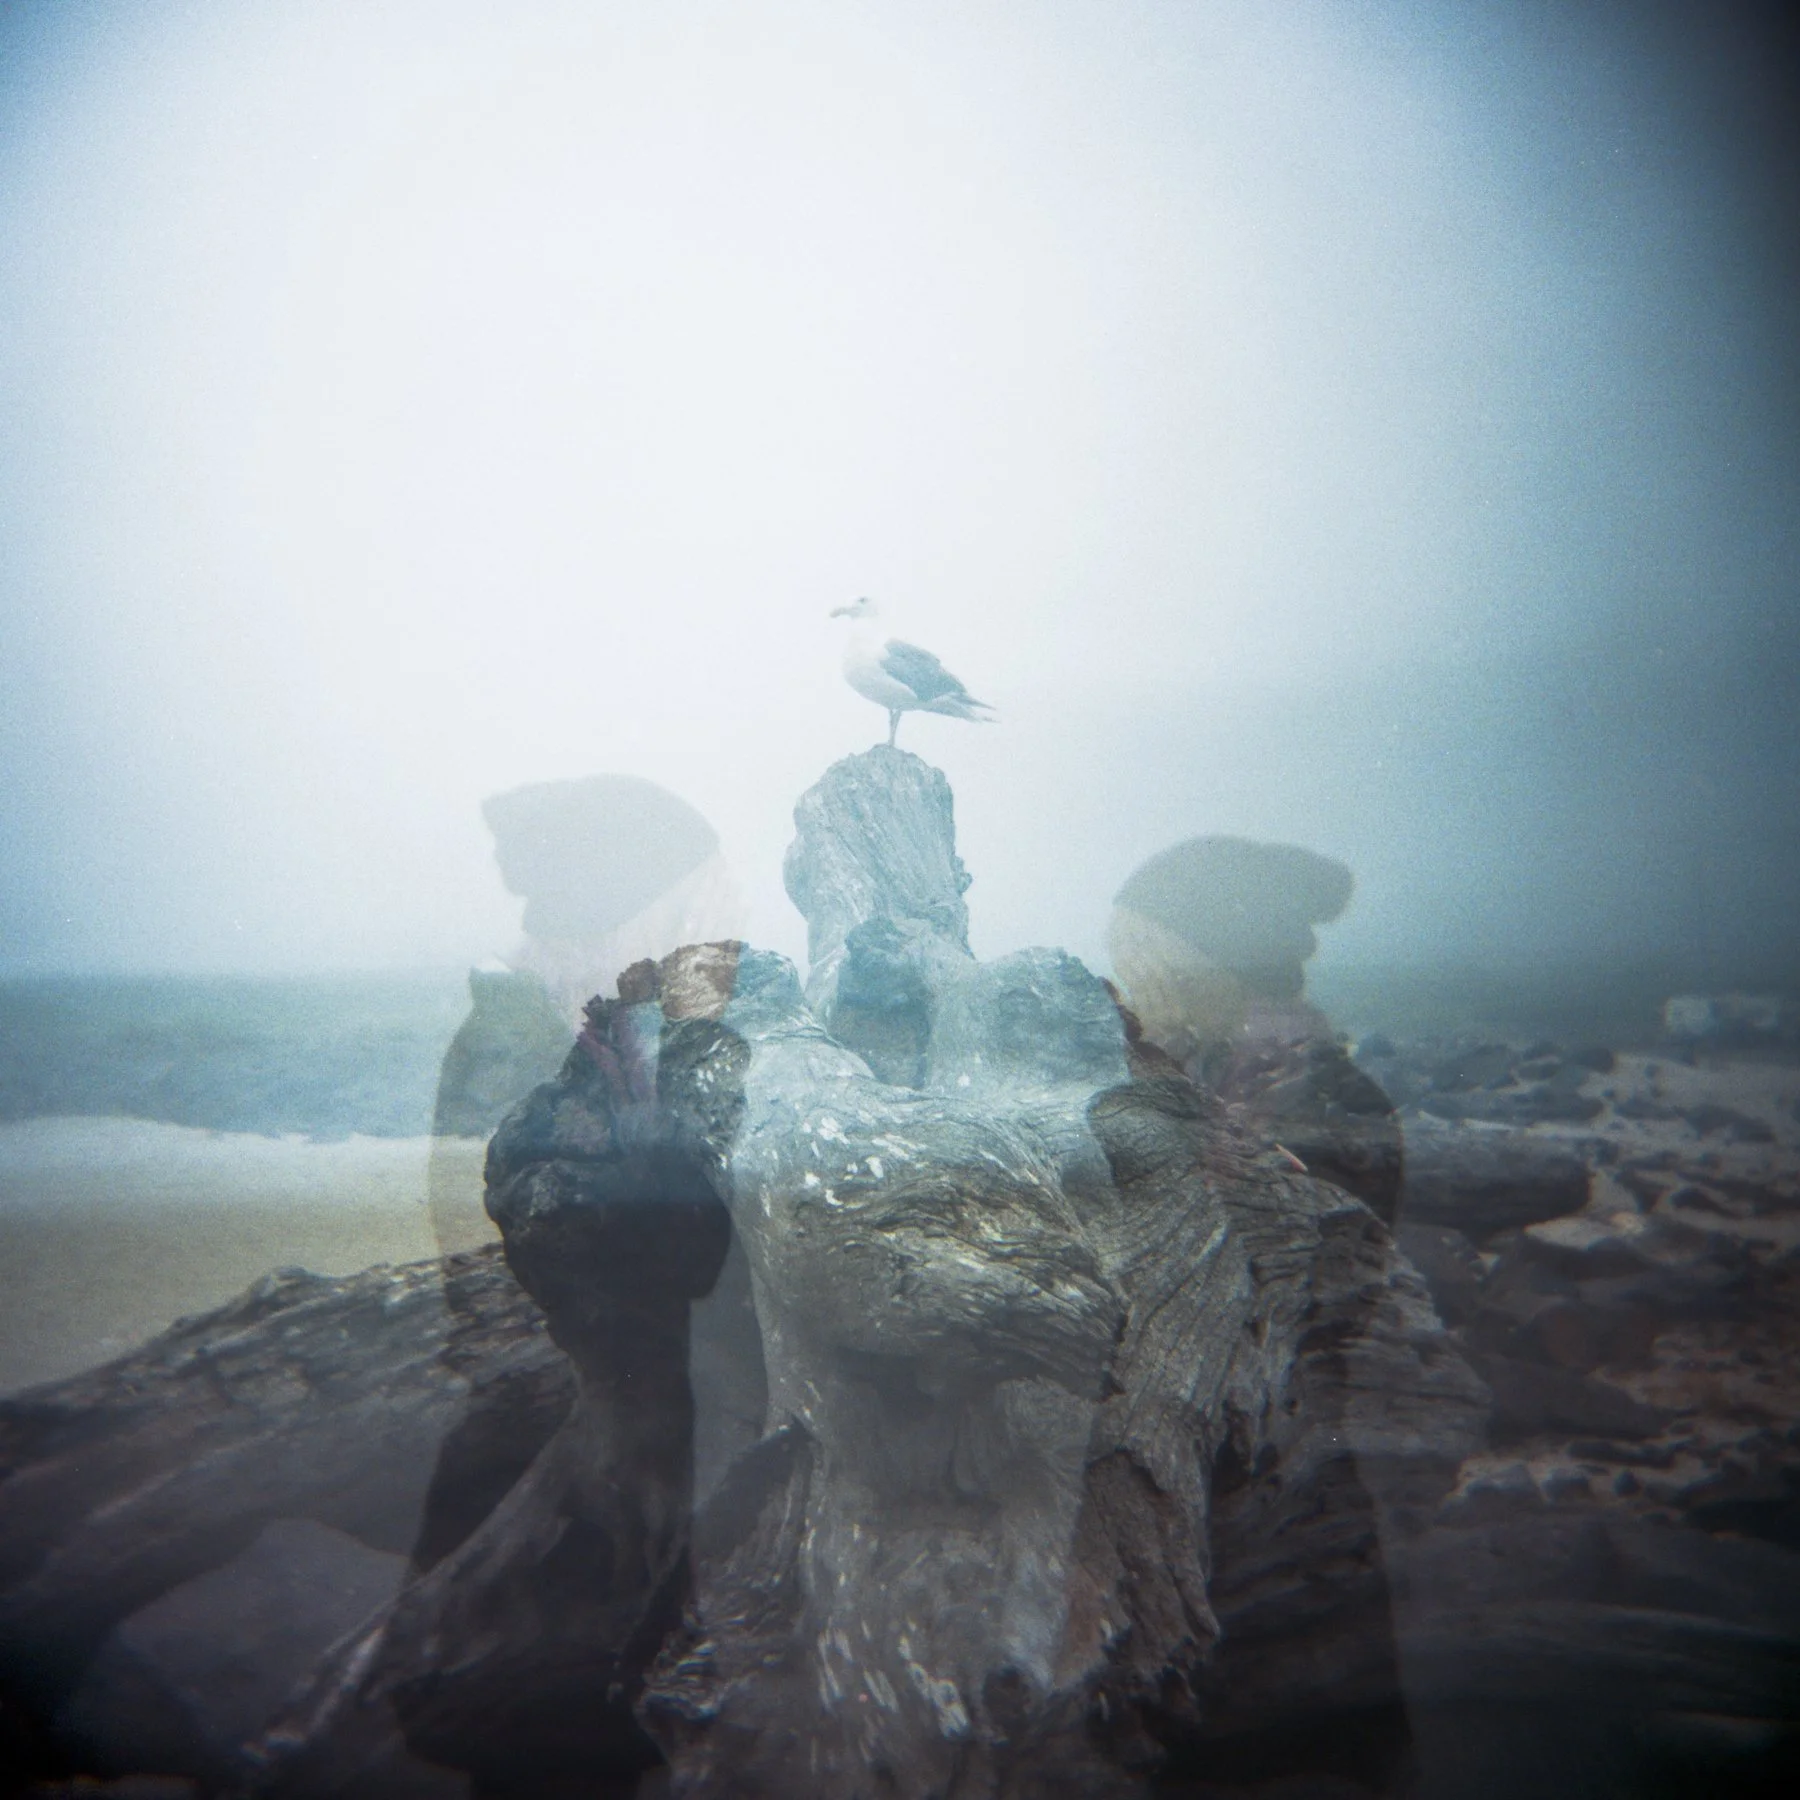
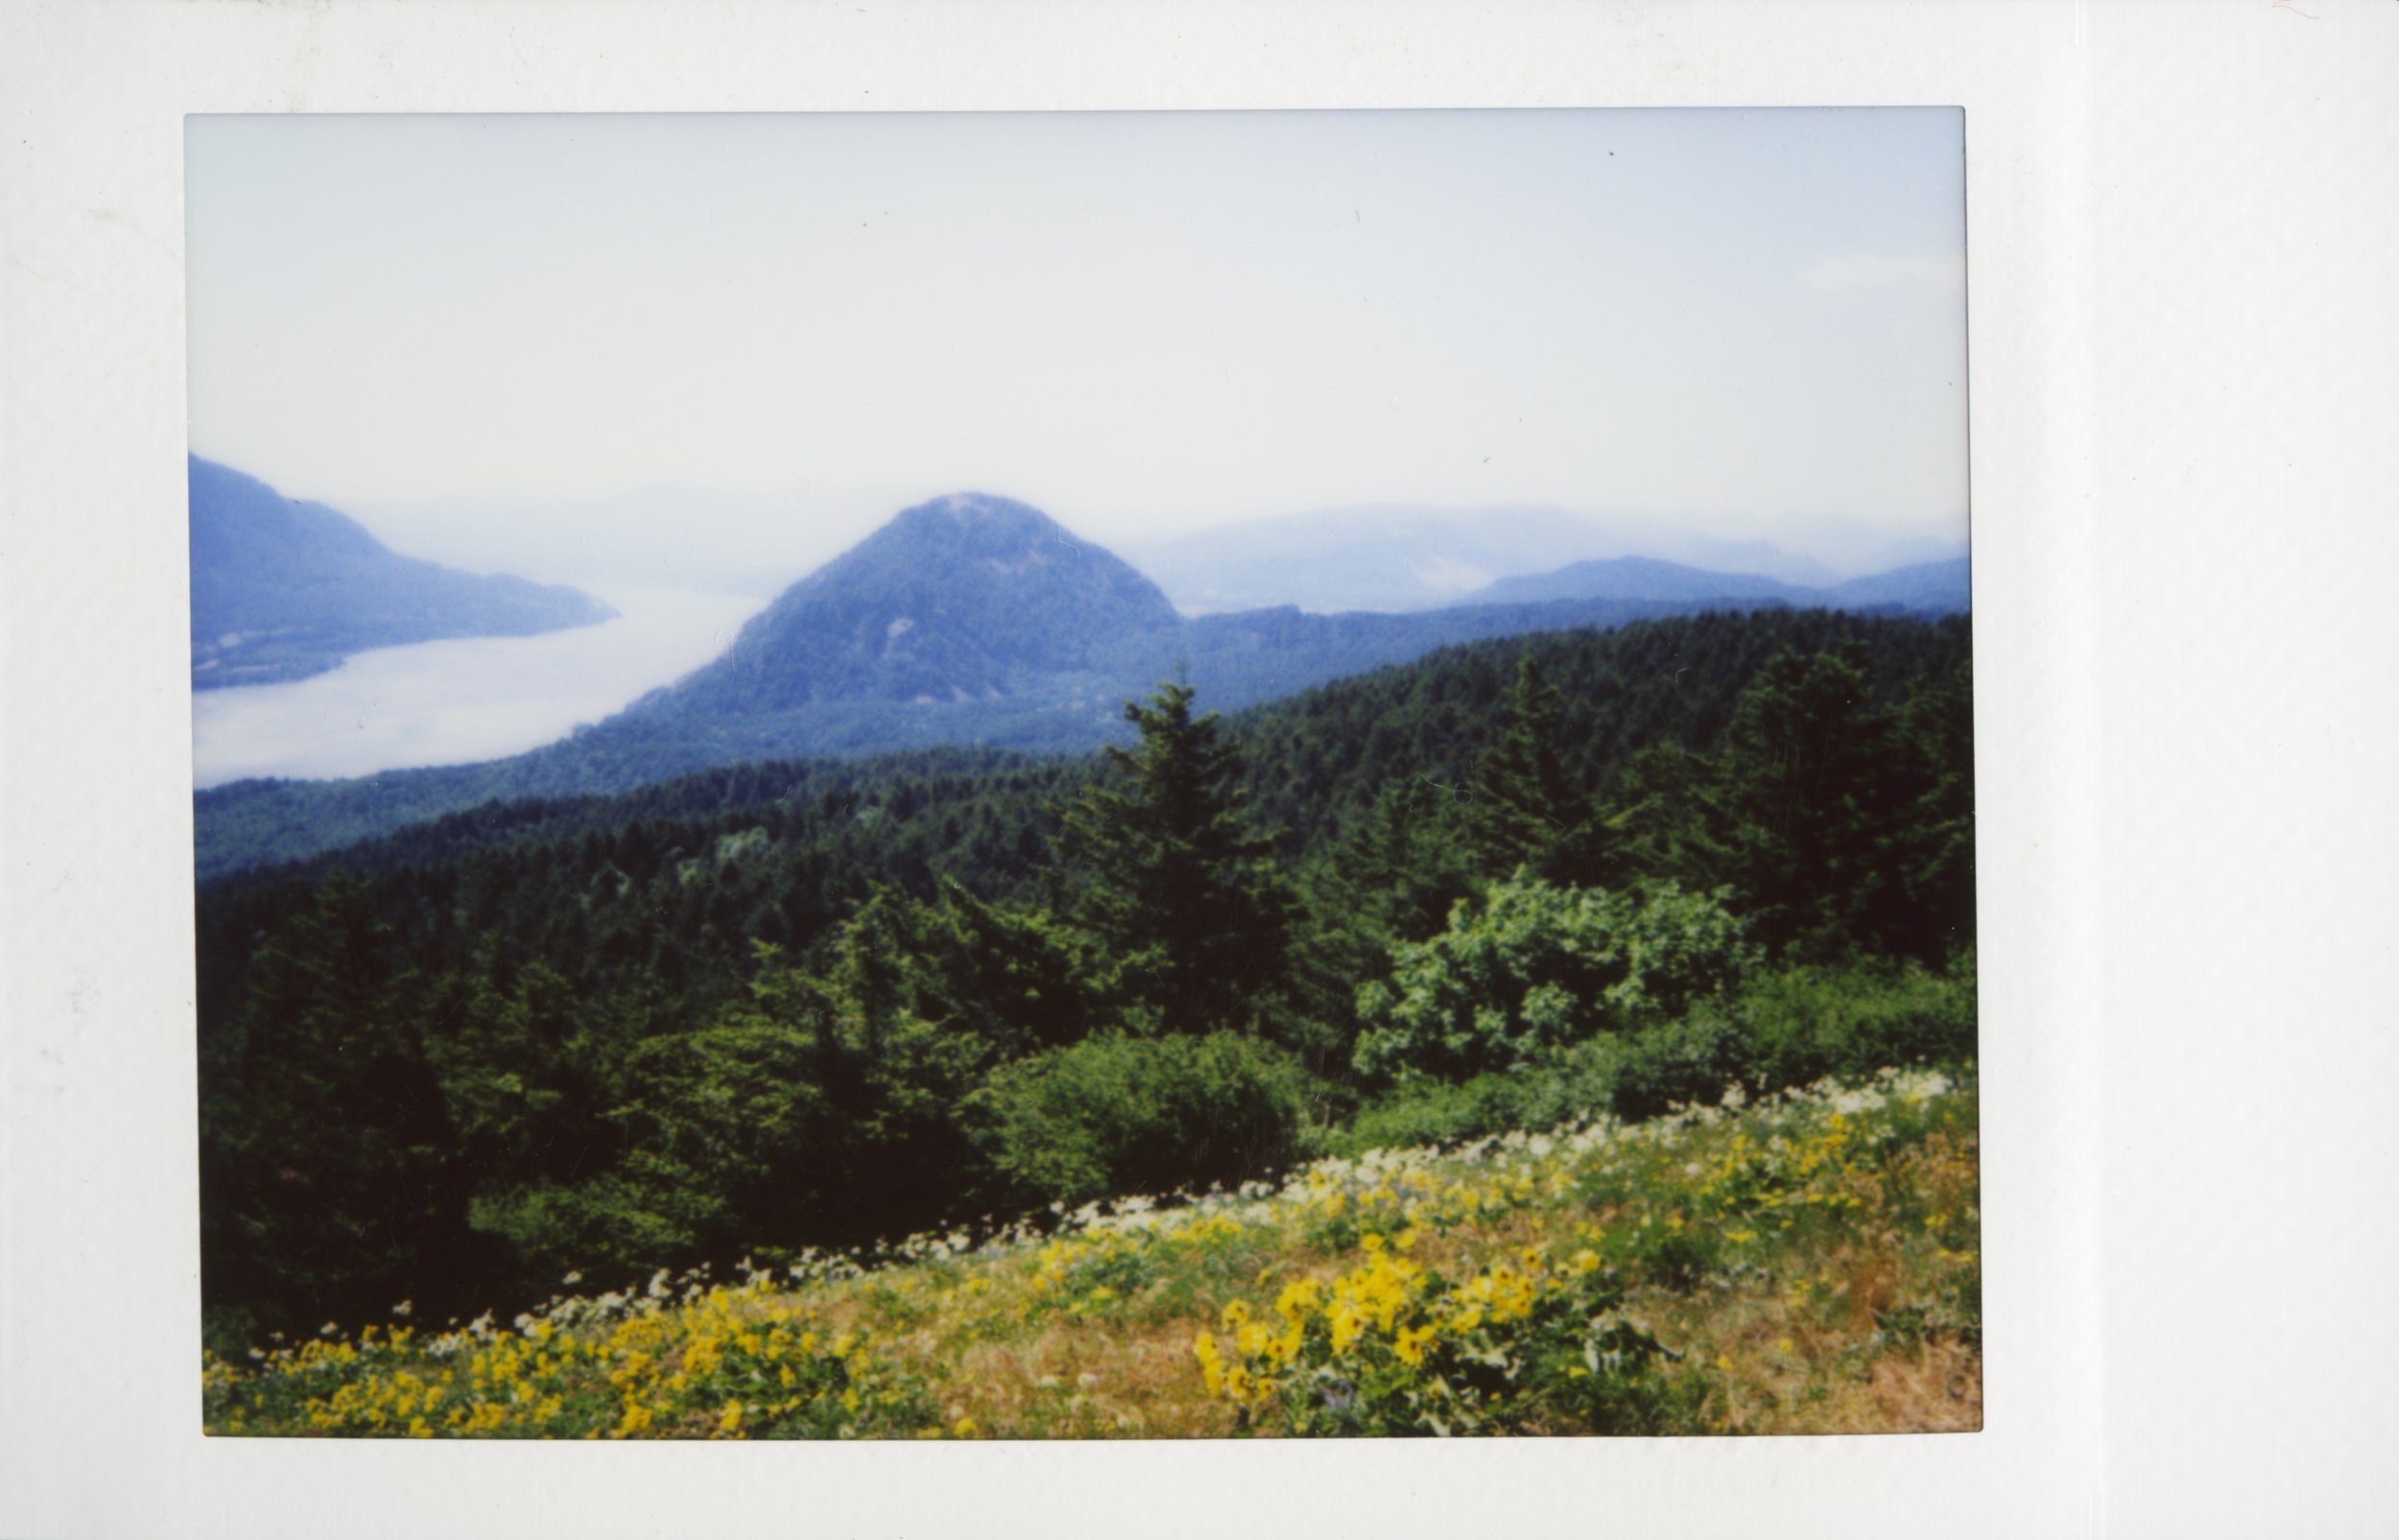
Tip #1 - Try out a portrait over top of a landscape!
This is probably one of my main choices for creating double exposures. It usually ends up quite interesting and beautiful. I’ll shoot the first image on the infinity/mountain setting of the Holga and then shoot the second image as a close-up portrait using the single-person setting on the Holga.


Tip #2 - Try asking your subject to move slightly / try a new pose in-between images
This is another go-to for me when it comes to double exposures. It ends up creating very ghostly, spooky images that are incredibly unique and unpredictable. These are often my favorite photos to get back after a photo shoot.


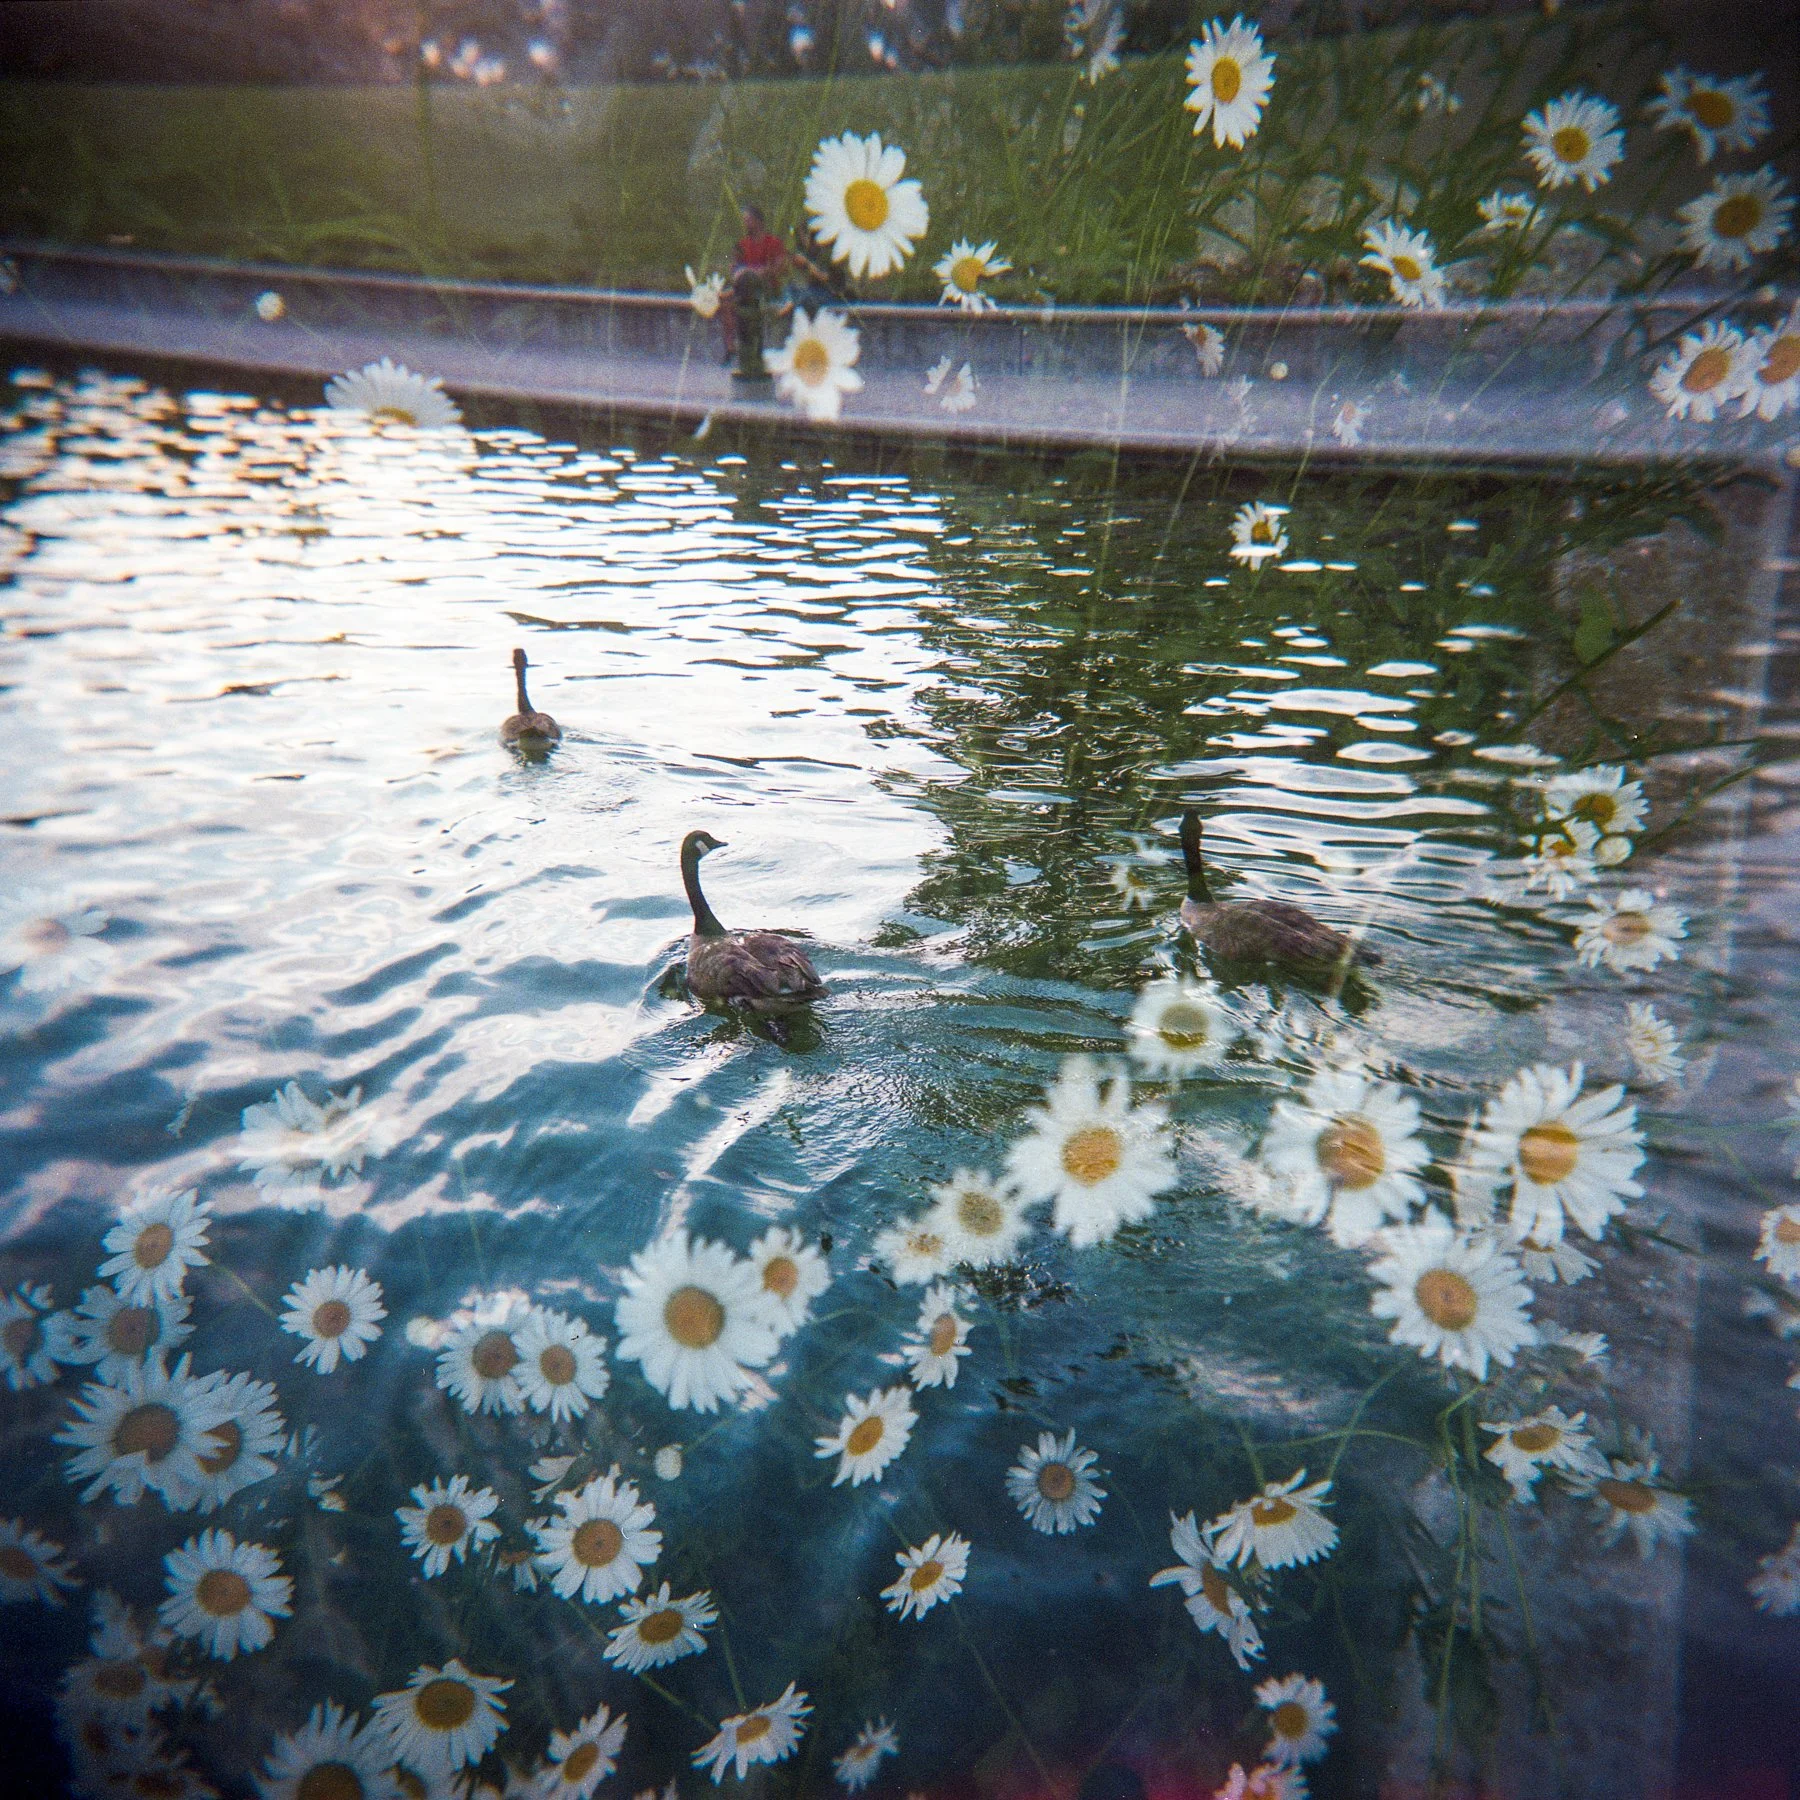
Tip #3 - Try out different close-up textures as your second image
This one is somewhat of a risk, but oftentimes pays off! If the texture is too much, it can sometimes end up being a big indecipherable mess. But other times, it can add a bit of mystery and atmosphere to your photo.


Tip #4 - Try flipping your camera upside down for a second shot of the same subject
This is really fun to try with cityscapes, buildings and landmarks, mostly because they don’t move and you have enough time to plan out your shot.


Tip #5 - Try having your model step out of the second shot, but keep the background the same
This creates a very ghostly vibe, because the model becomes somewhat hazy and somewhat see-through. This is definitely another one of my favorite multiple exposure methods when using the Holga.


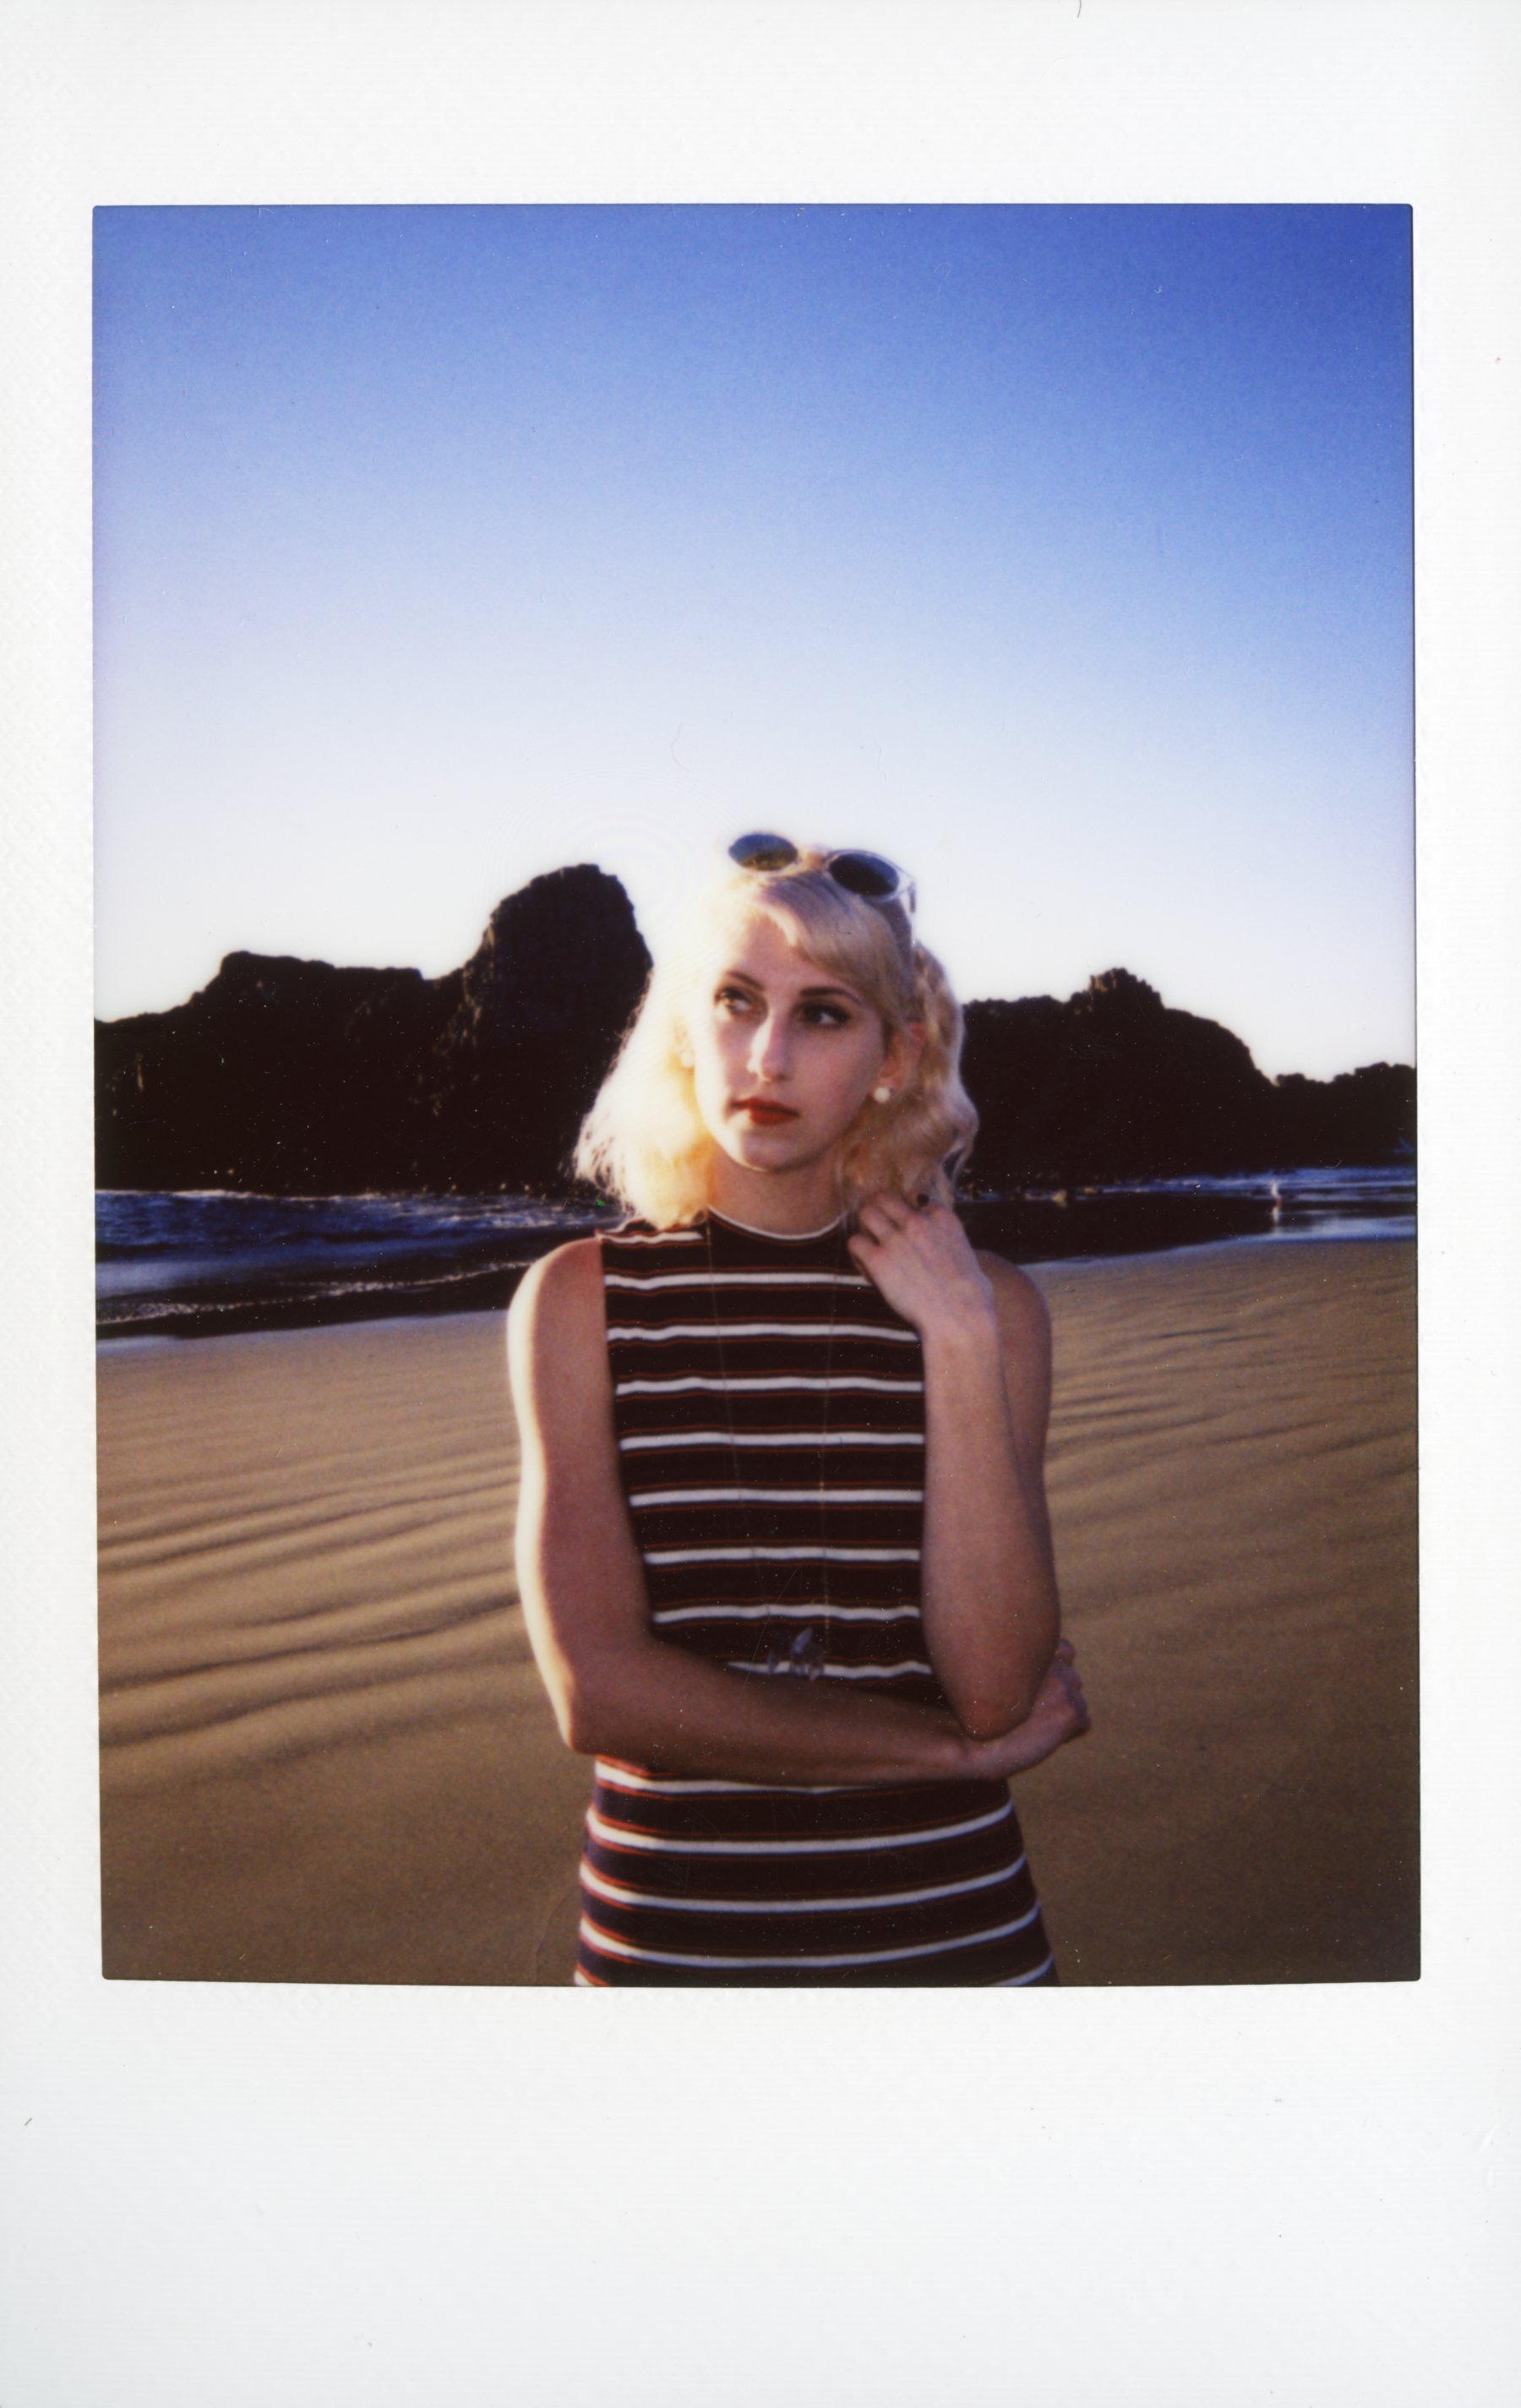
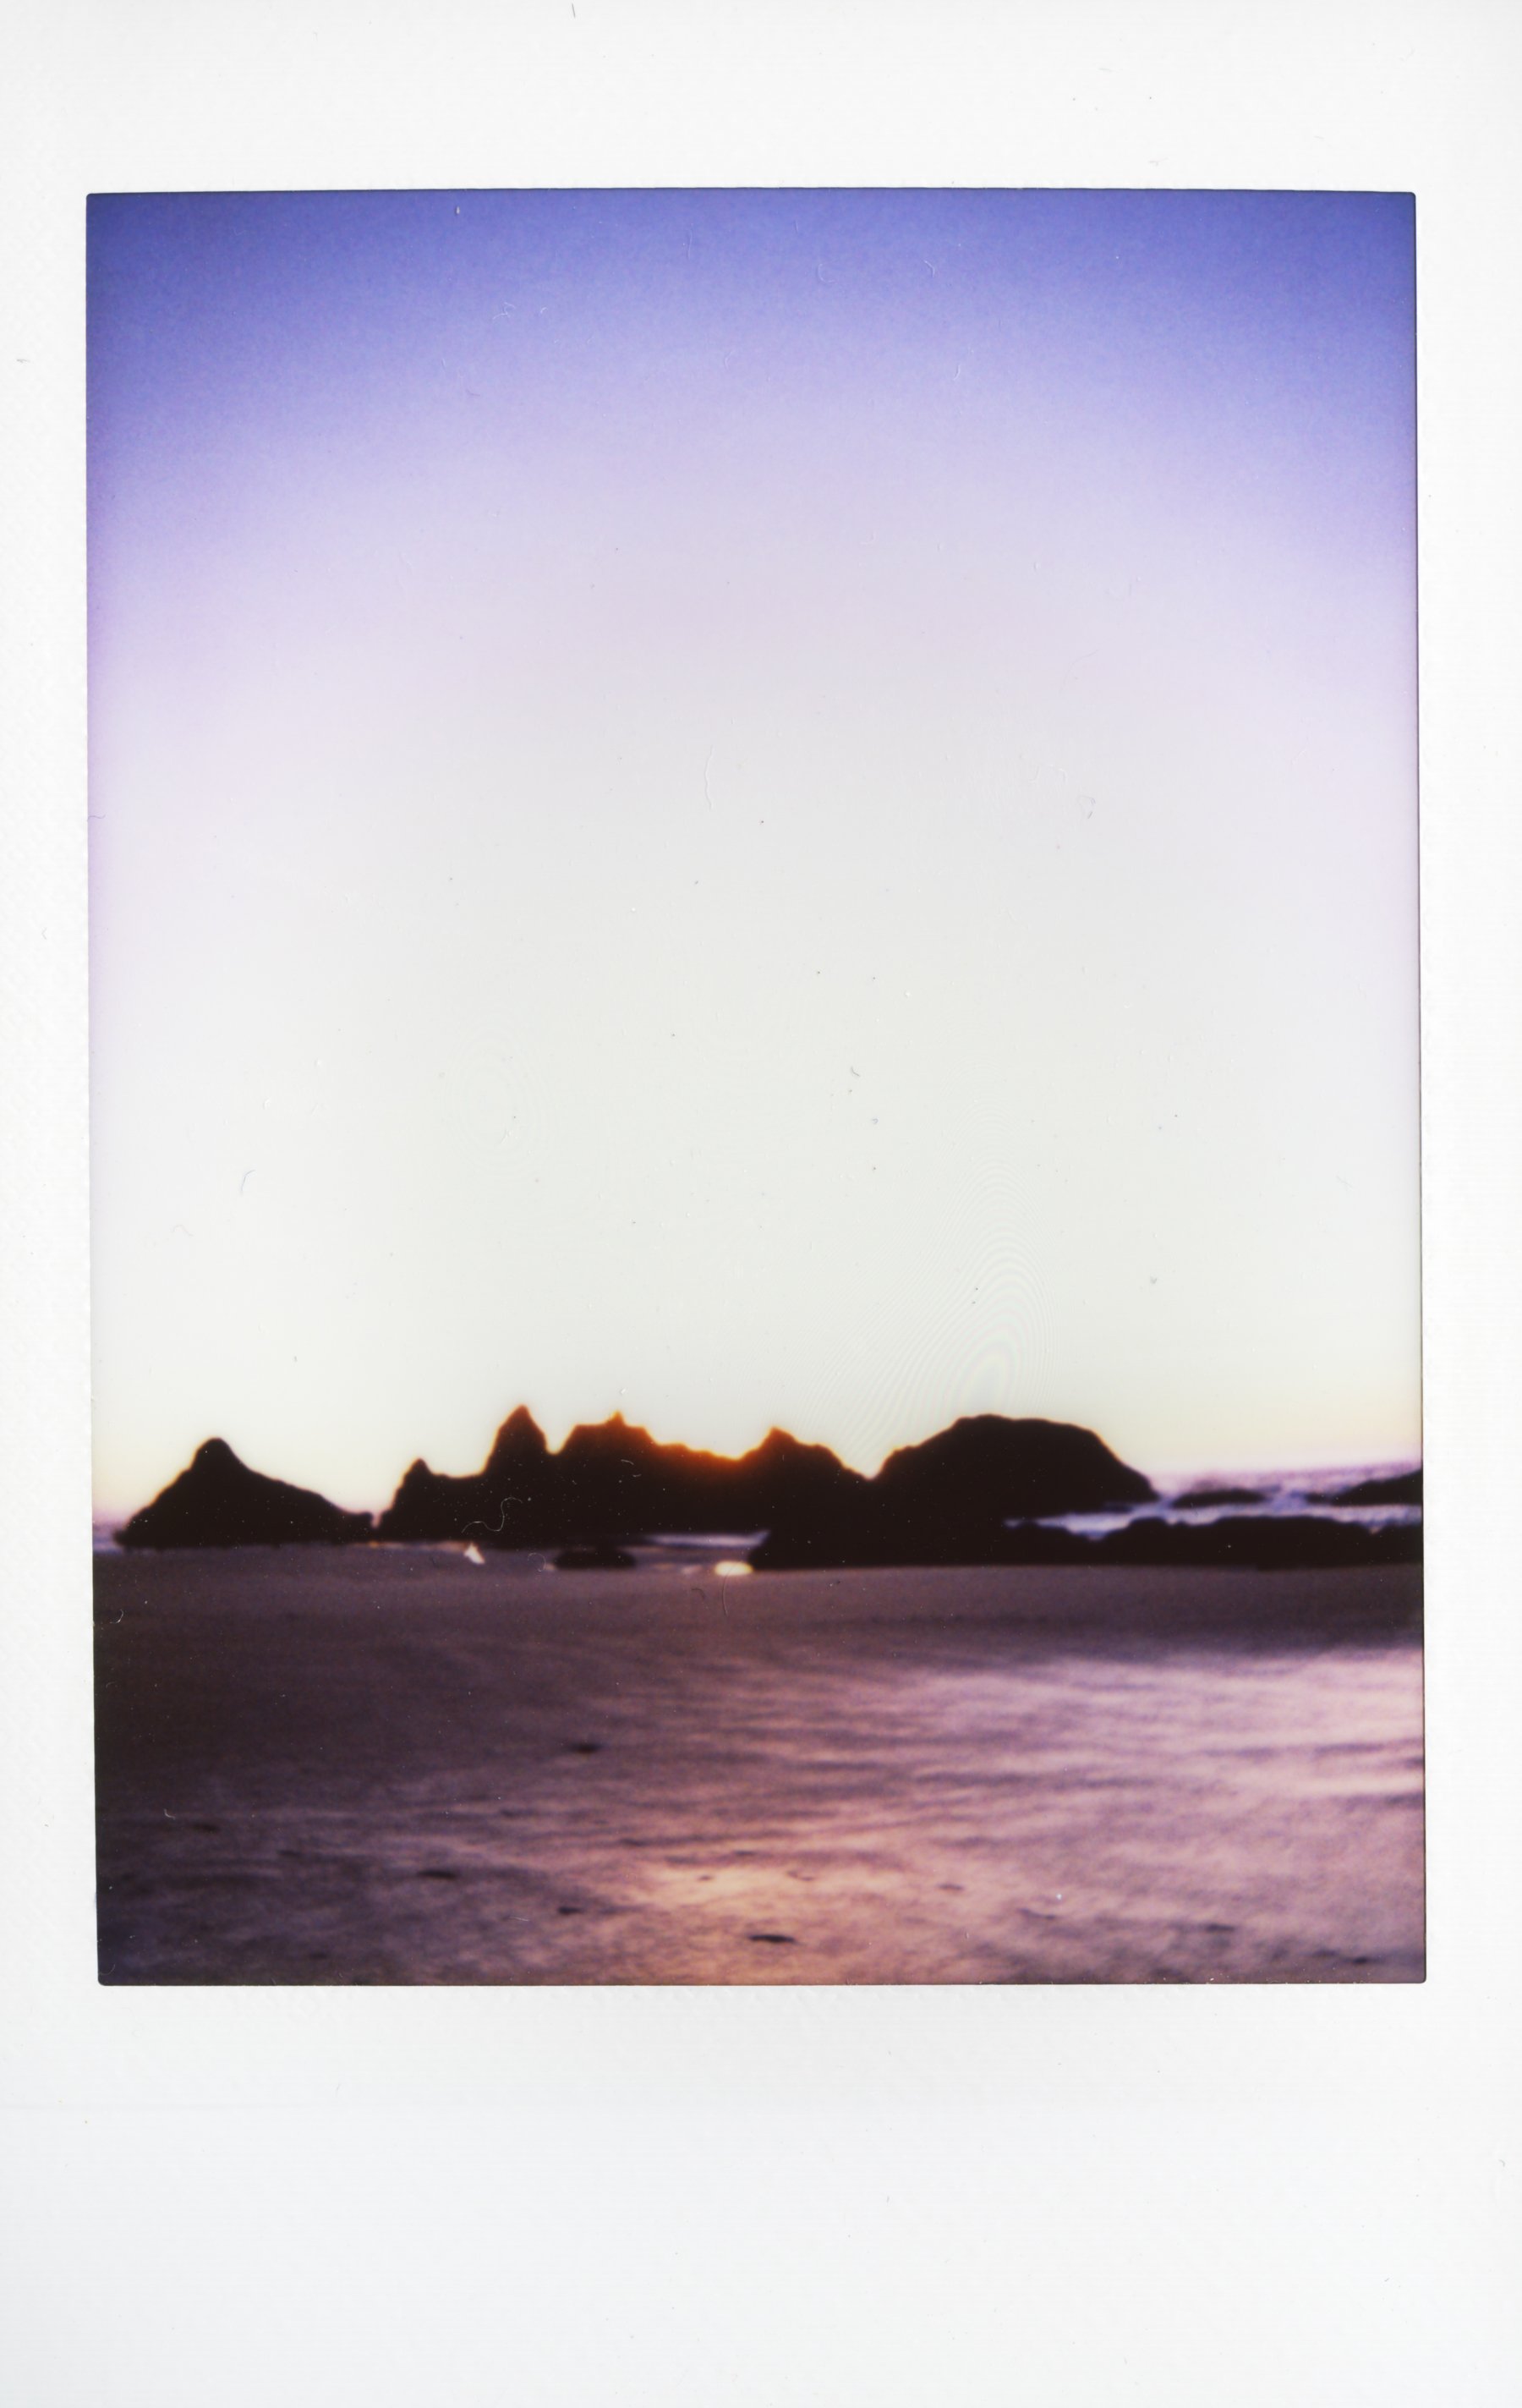
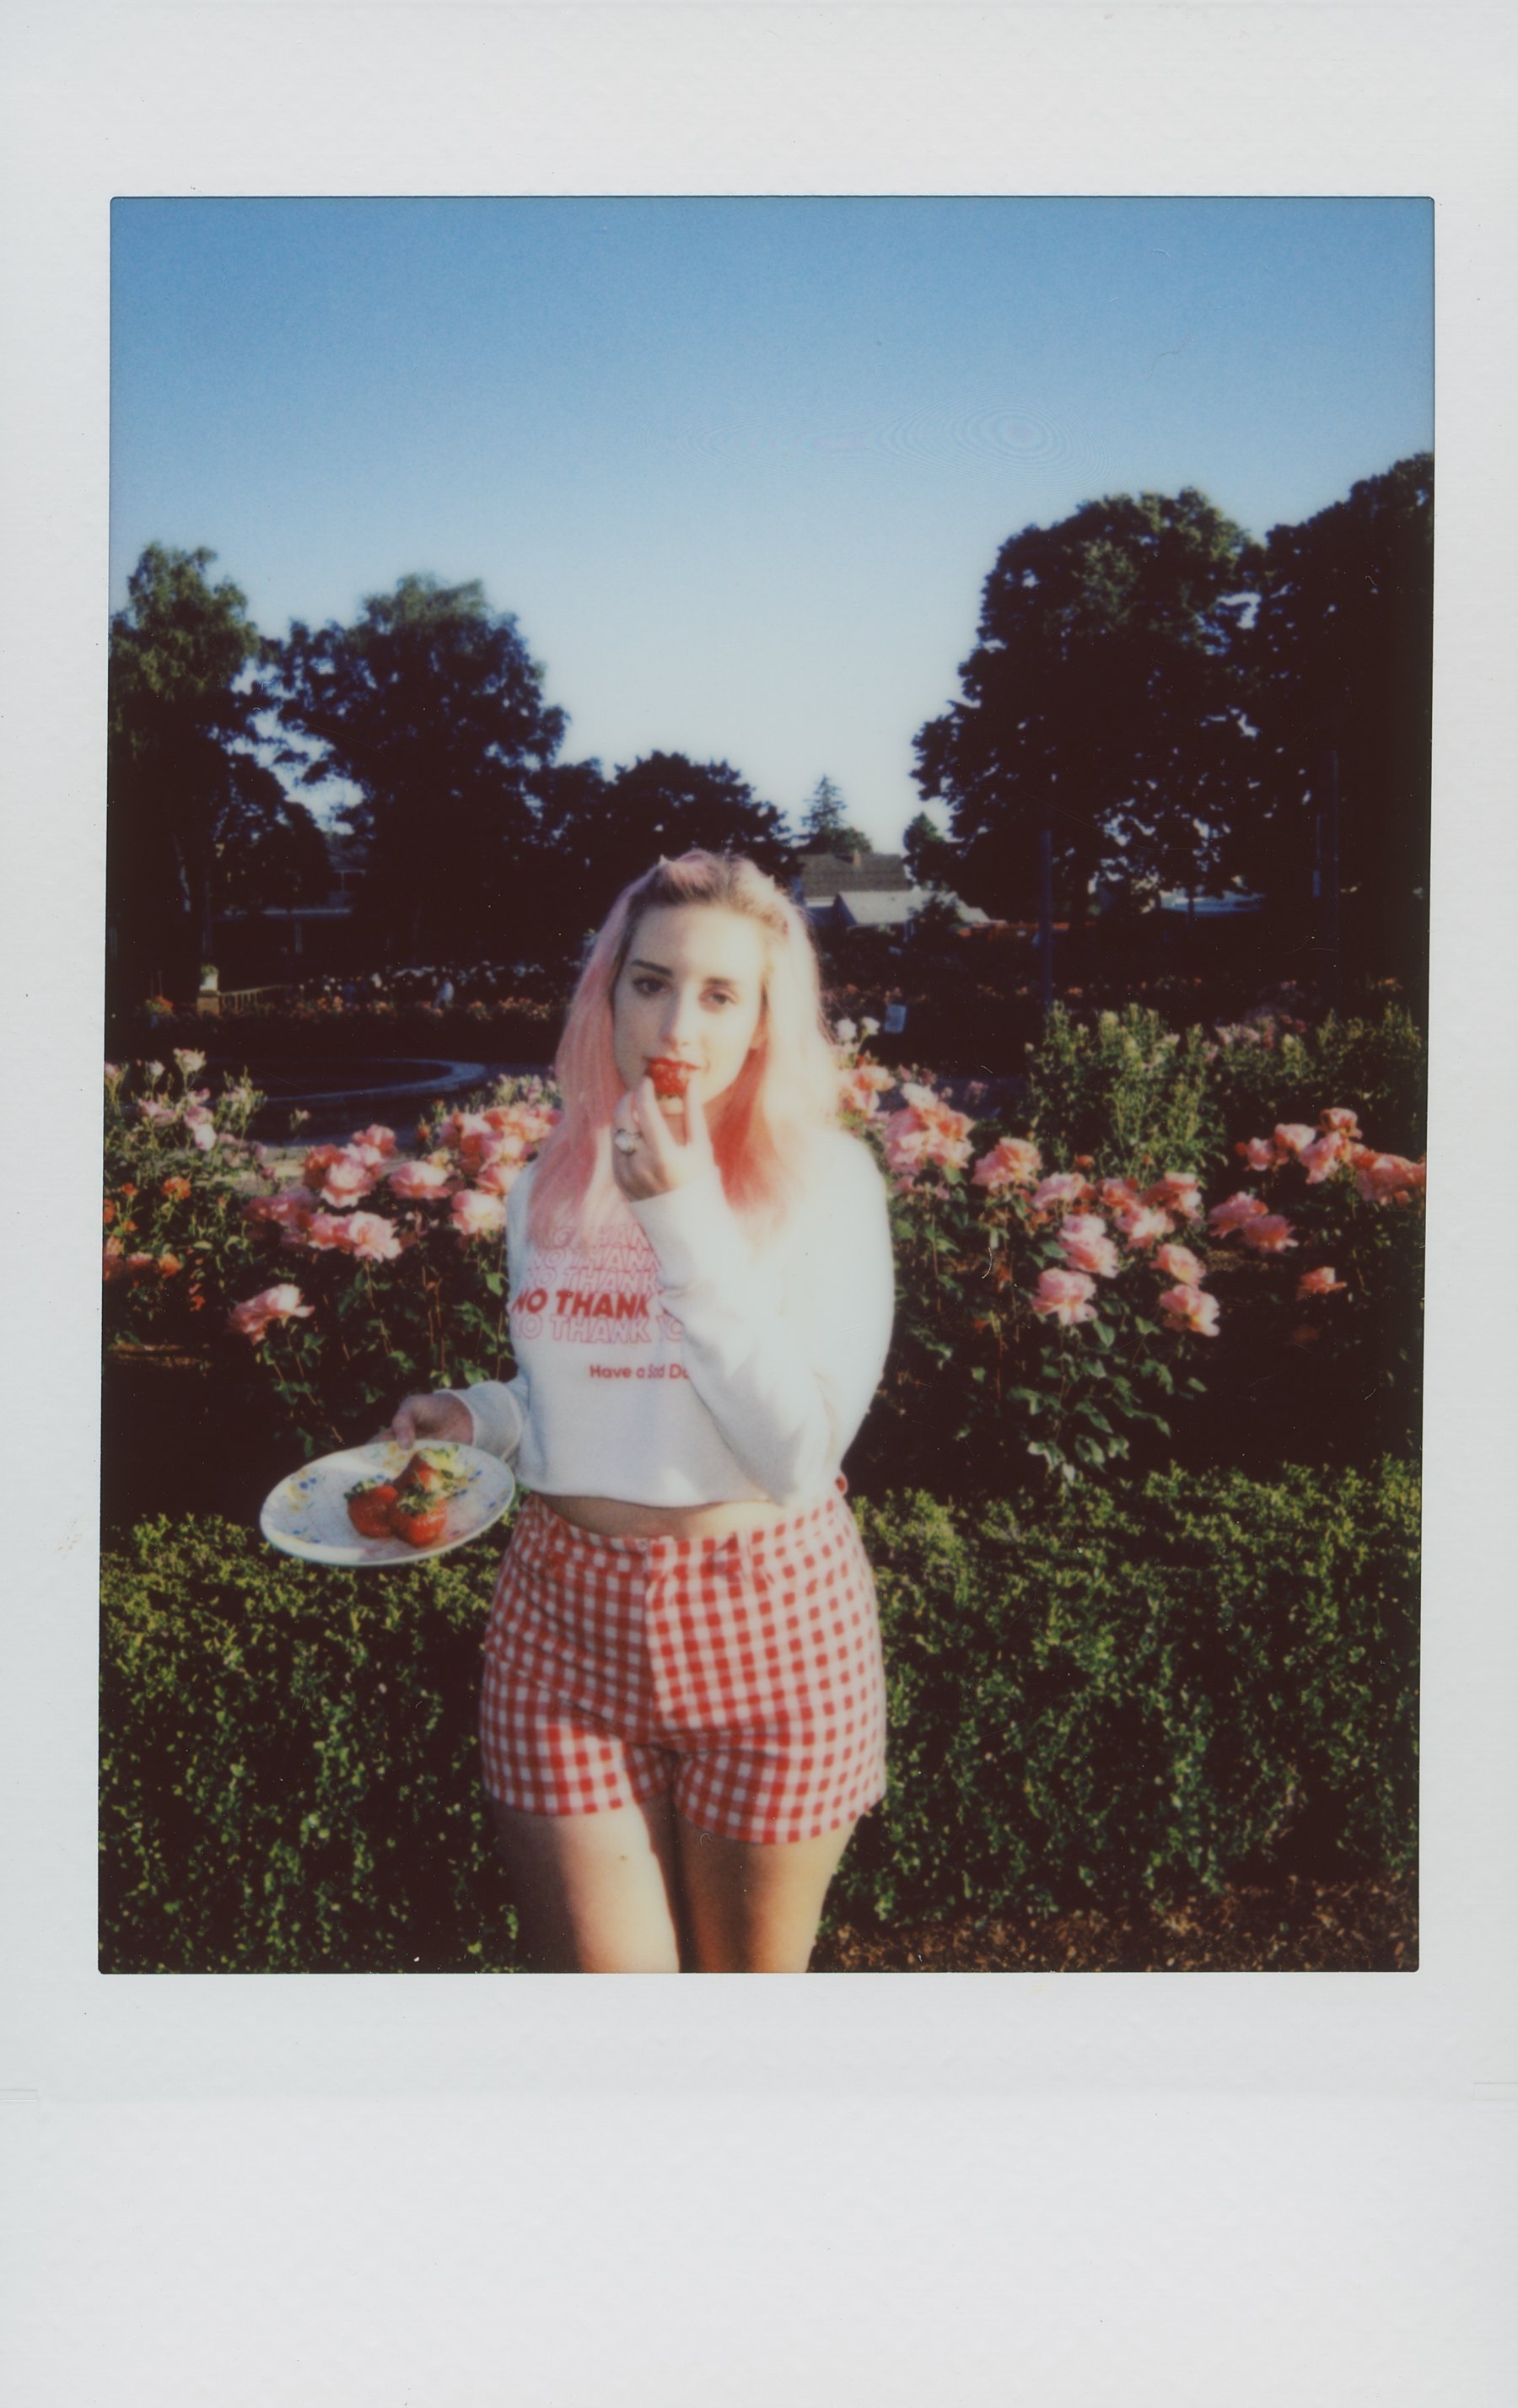
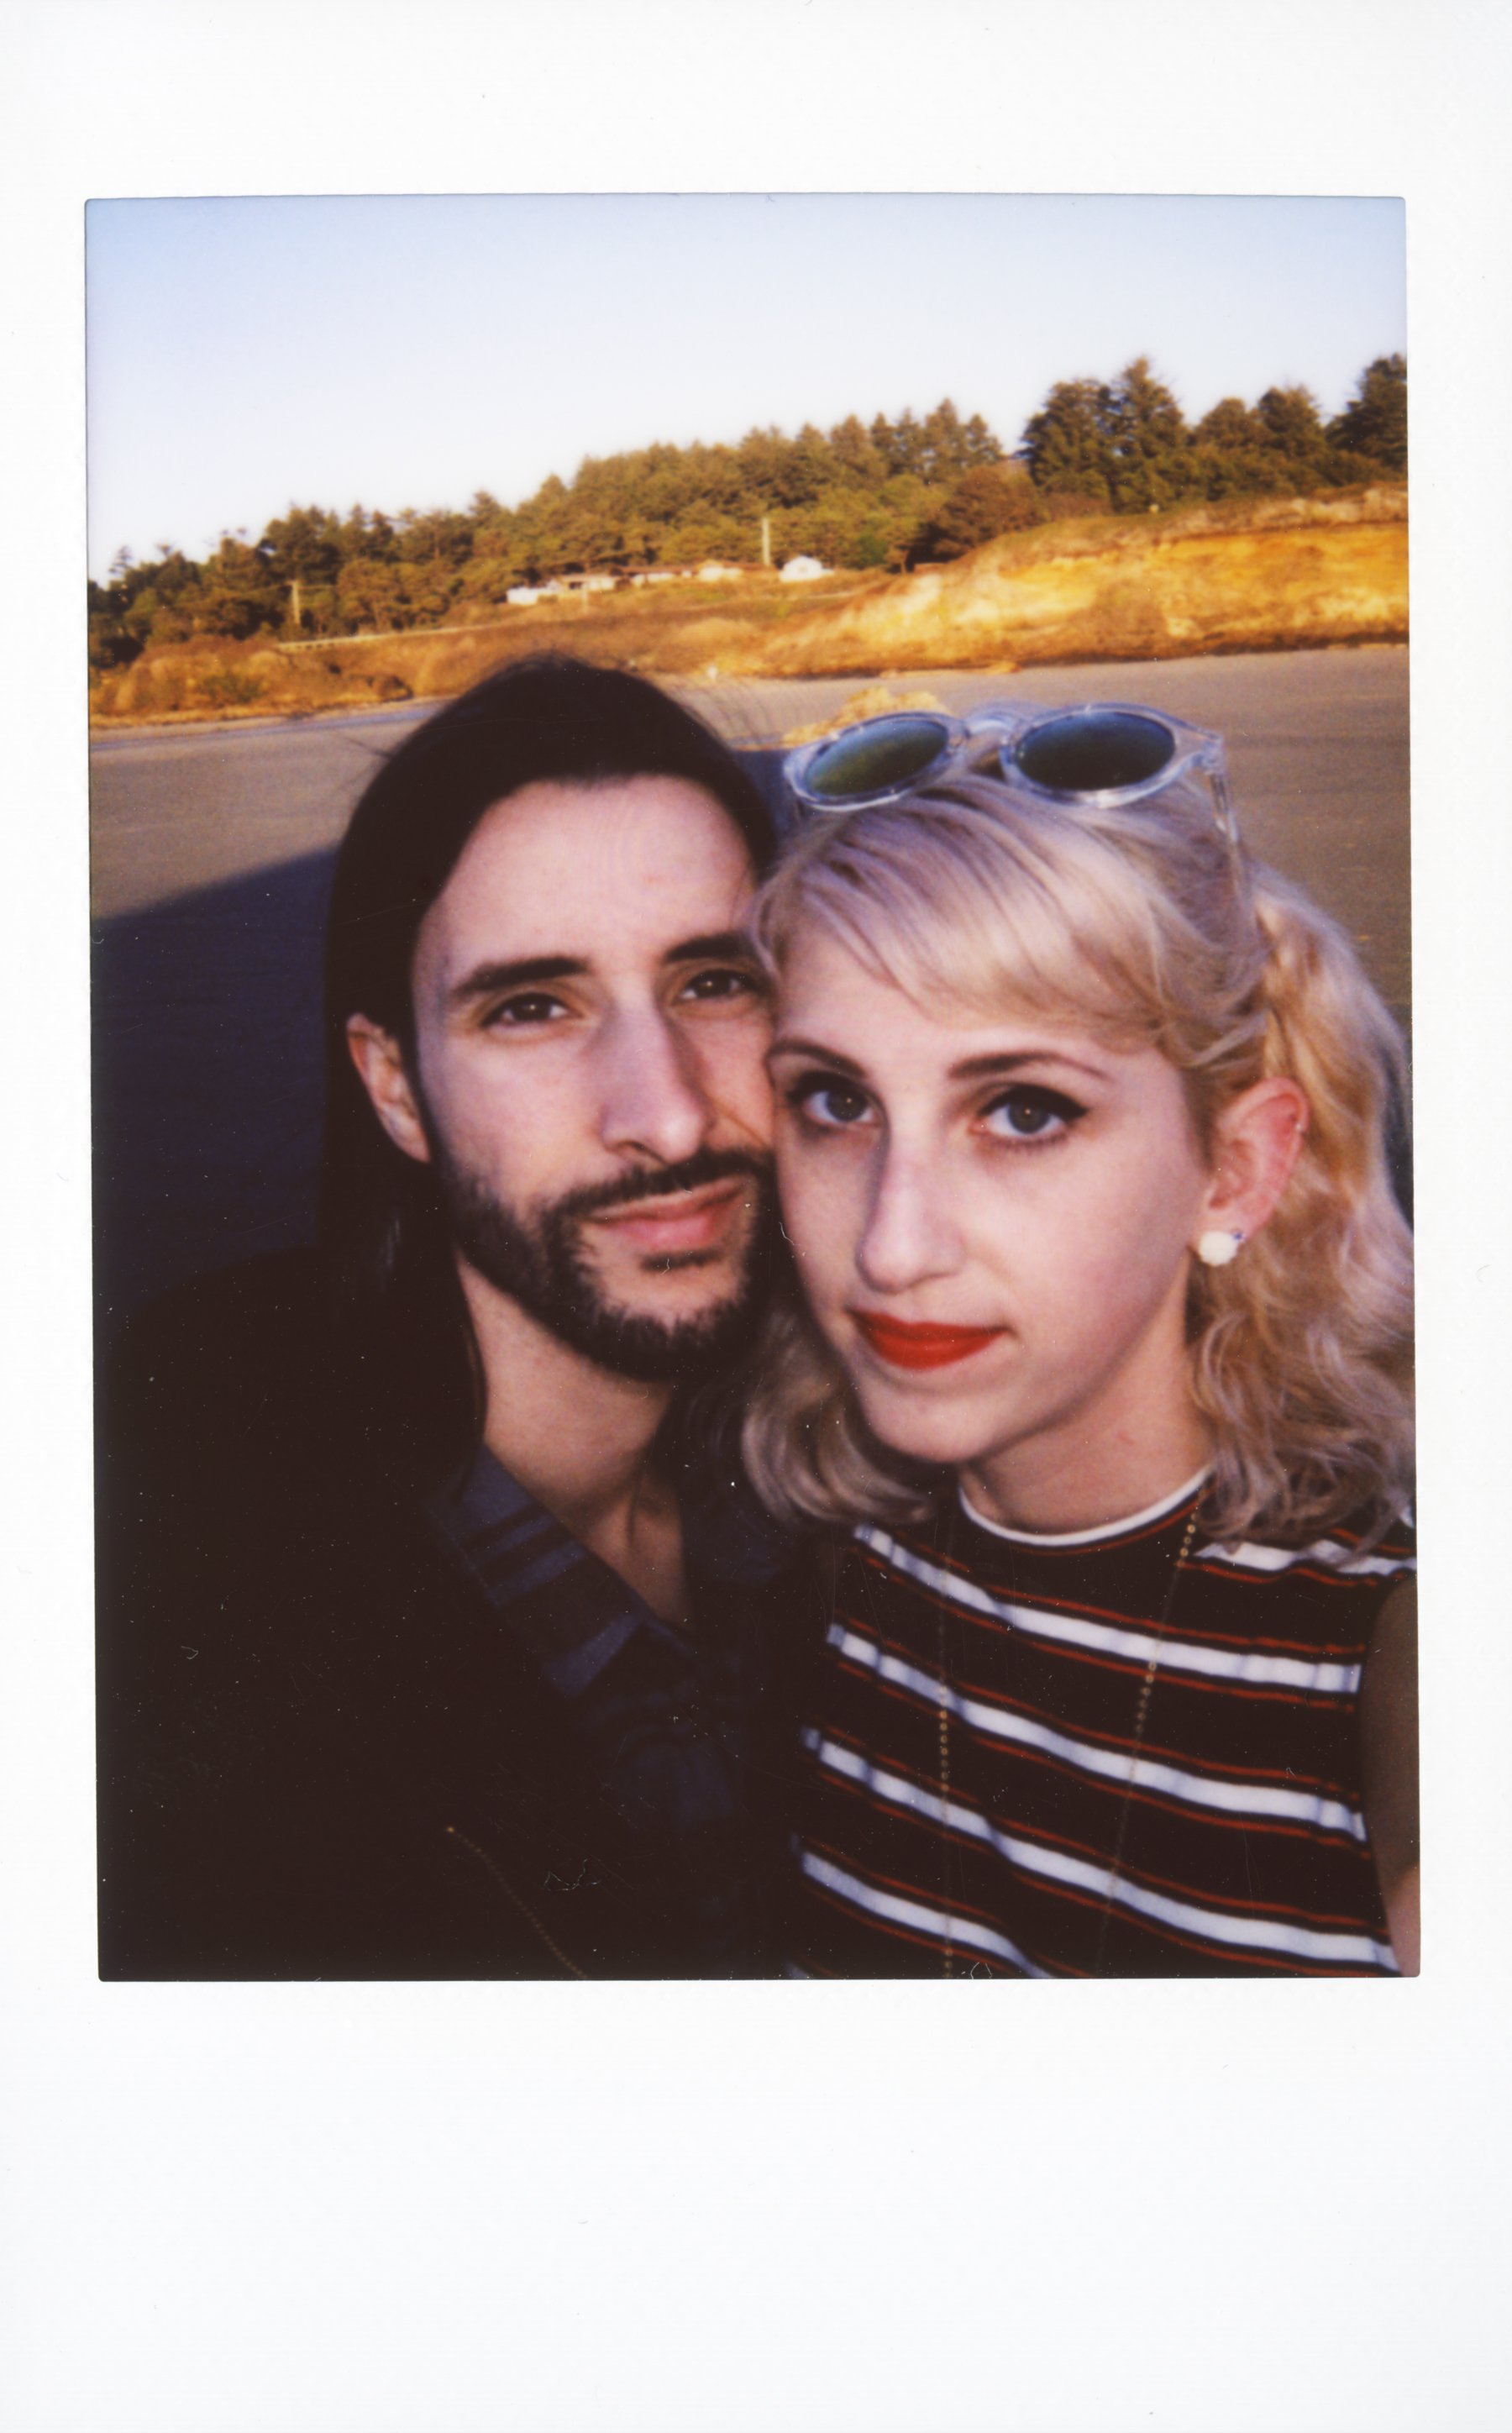
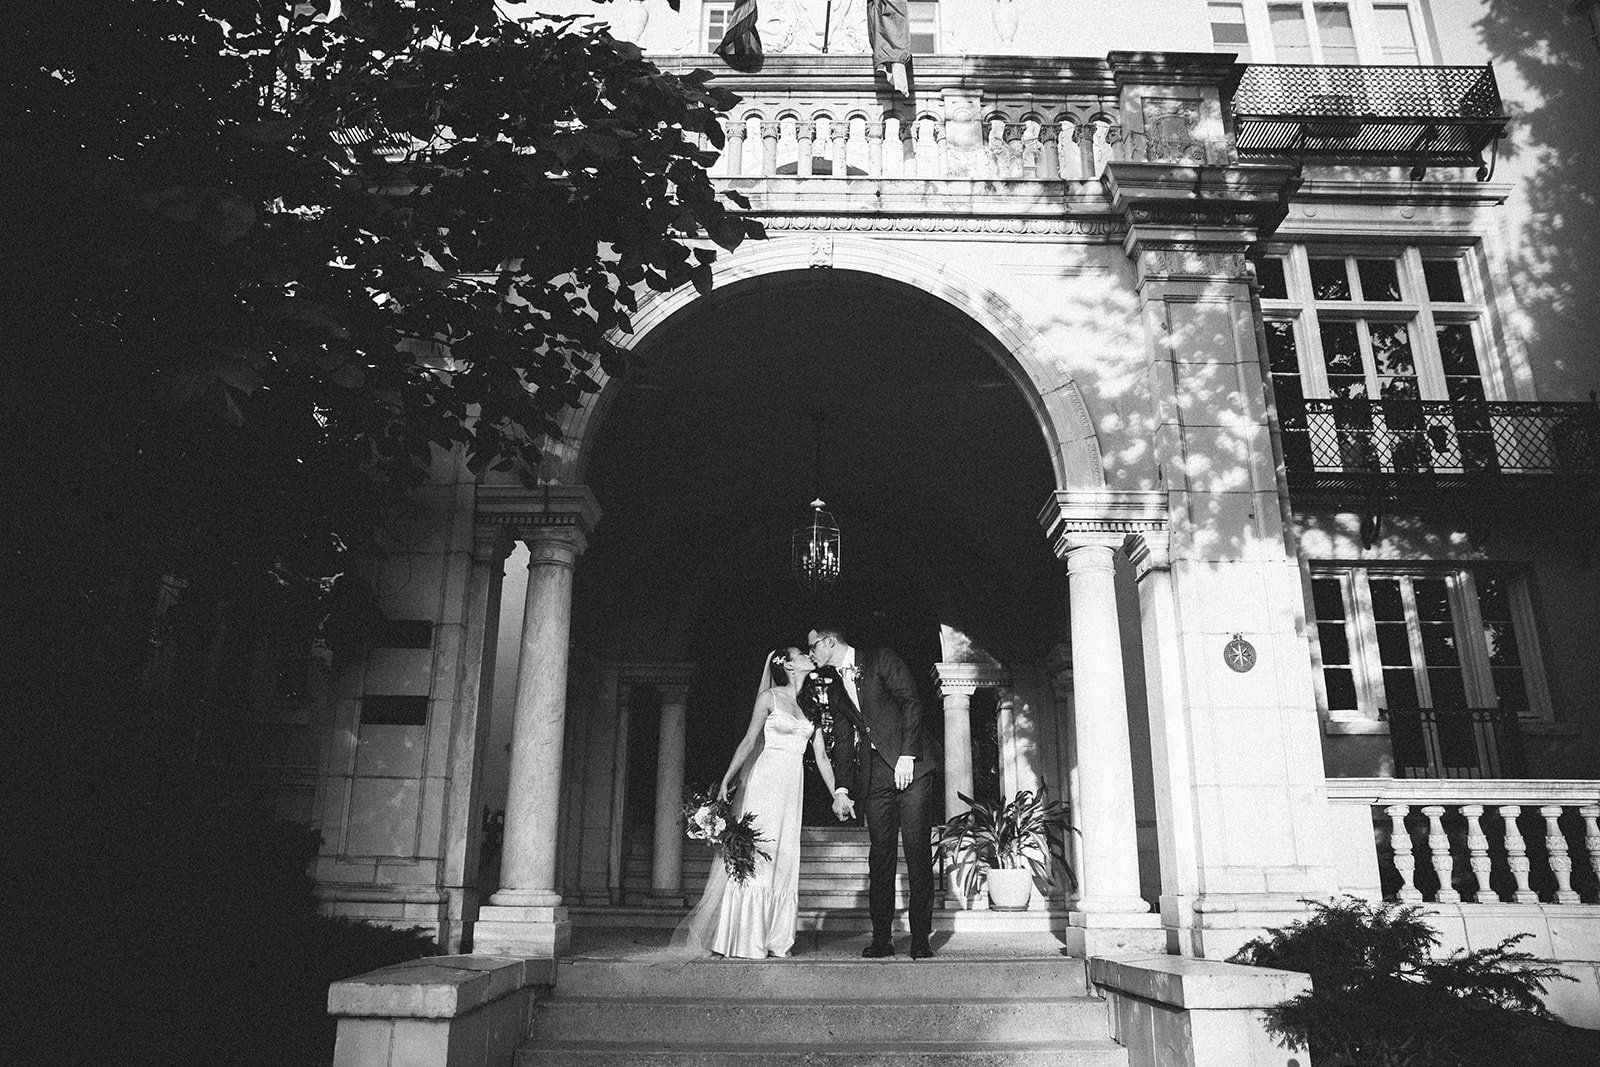
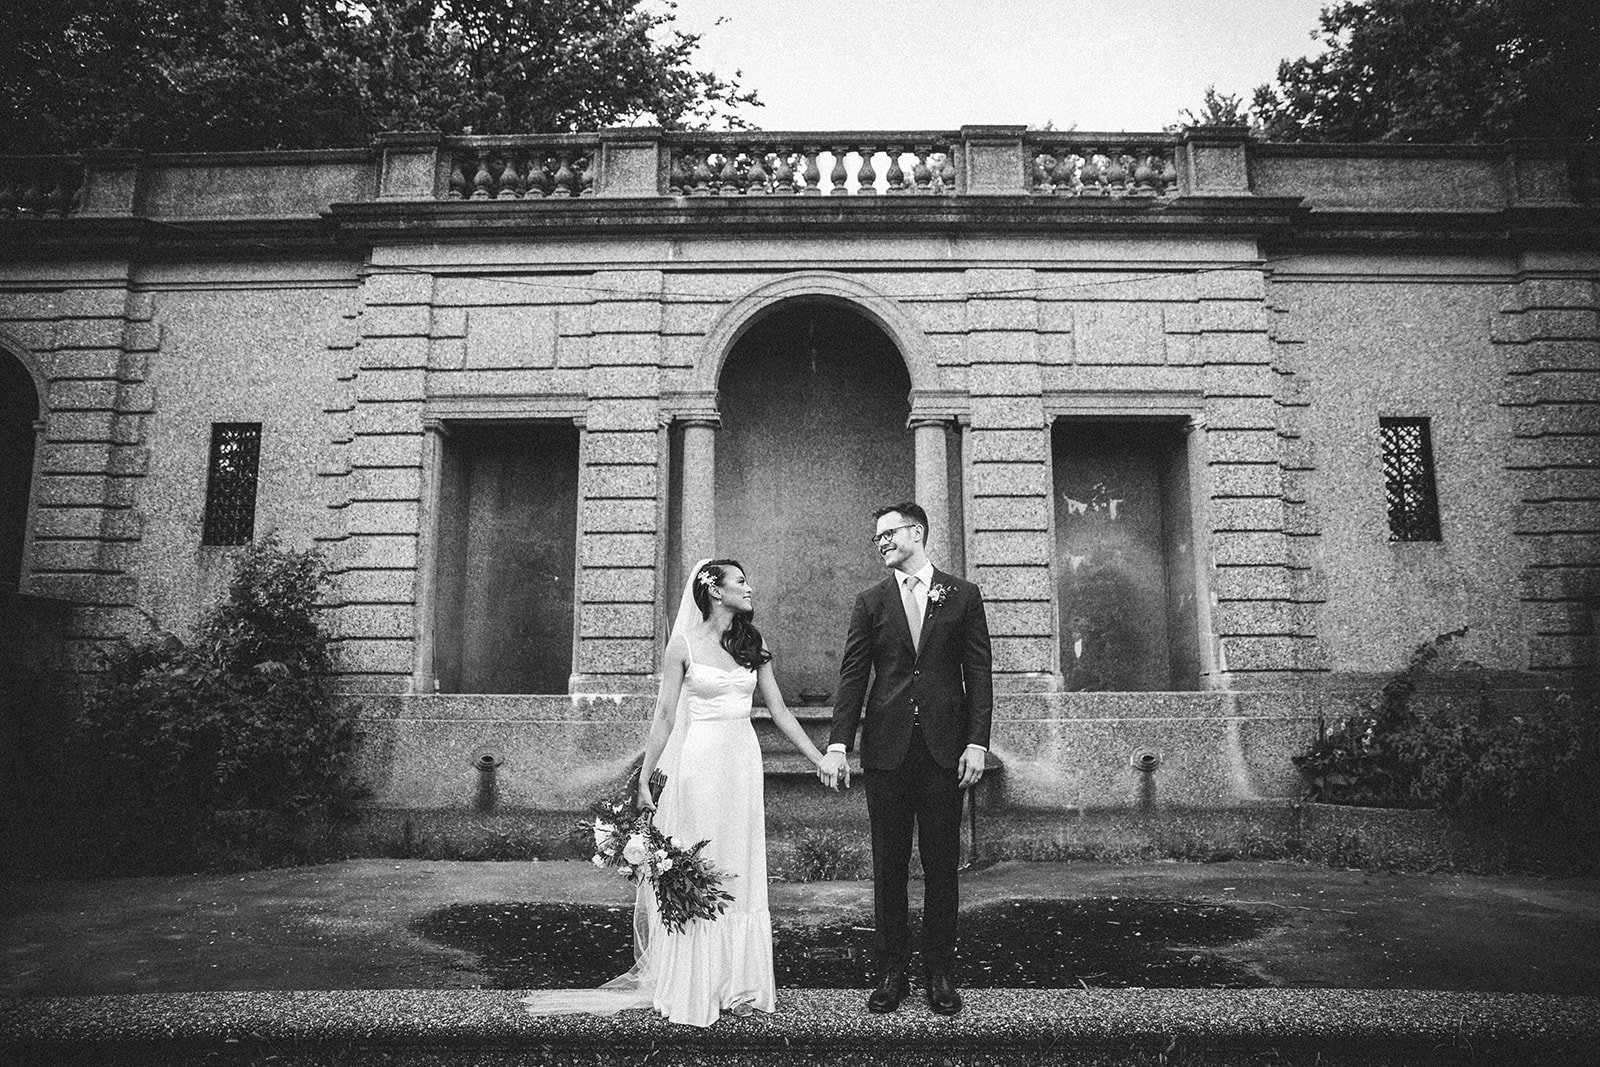
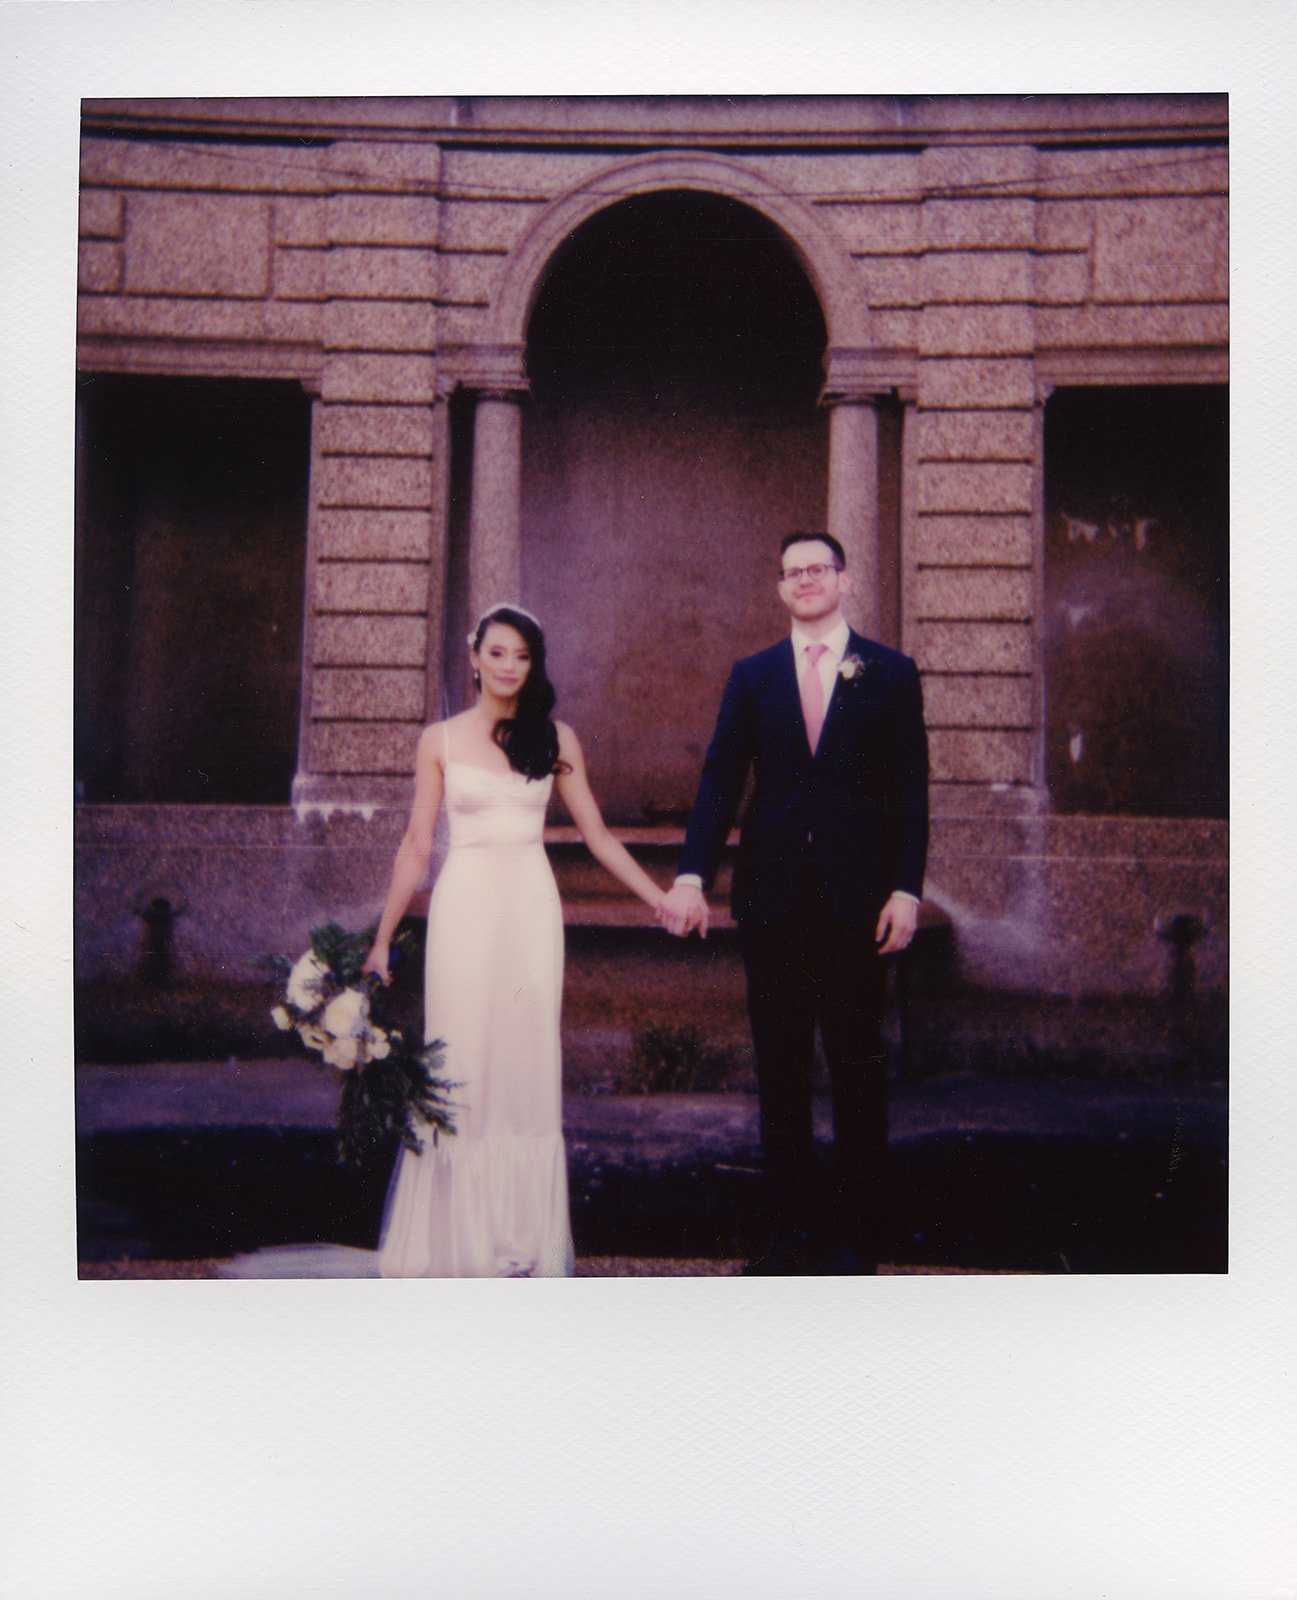
I’ve included a few more samples below of my favorite double/multiple exposures I’ve taken over the years with the Holga. It’s gotten to a point where I won’t even buy a camera anymore if it doesn’t have the option for multiple exposures! It’s become a huge part of my process and I feel extremely limited now when I’m not able to create them. If you’re interested in multiple exposures, you should definitely pick up a Holga and try it out! You can also check out my full review and blog post about the Holga here. Or you can check out my YouTube video! I LOVE the Holga. My main advice though is to be patient when you’re first starting out. You can’t expect perfection when it comes to the Holga. It has a mind of its own. But if you’re willing to learn its eccentricities, it will surprise you.
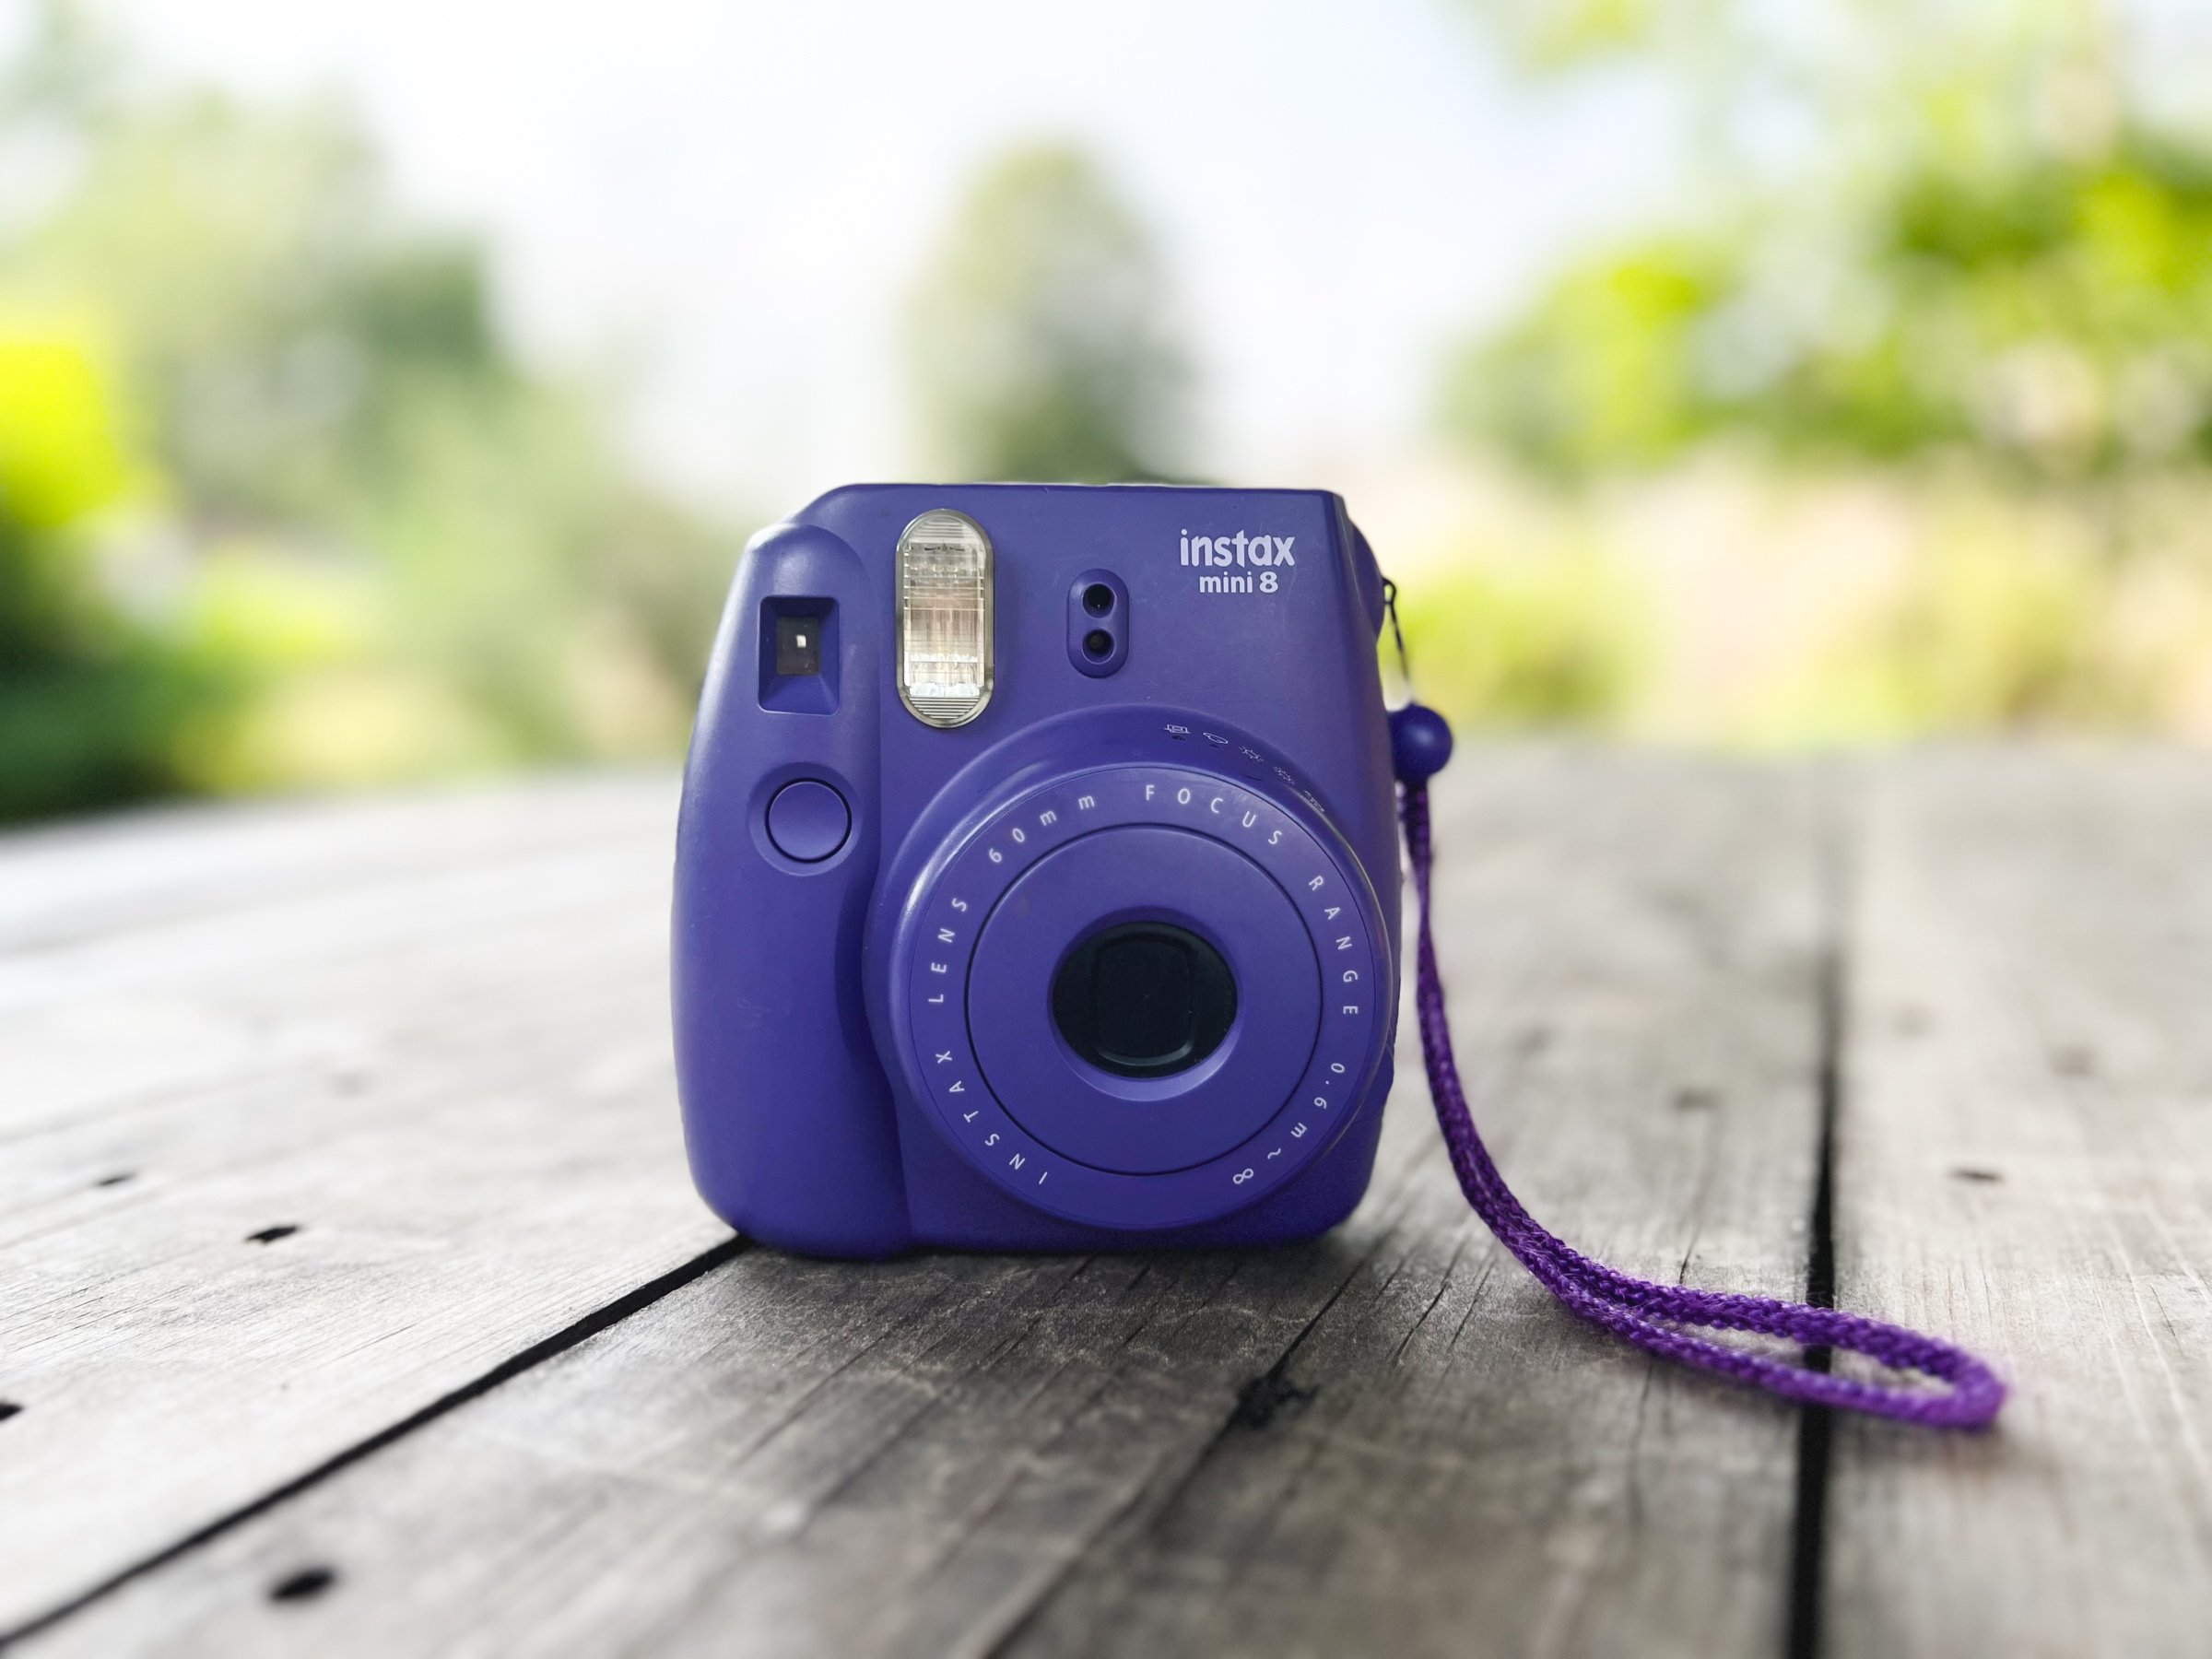
CAMERA:
Purchase a Holga 120 GCFN on Amazon
Purchase a Holga 120 GCFN on eBay!
Purchase a Holga 120 GCFN on KEH Camera
FILM RECOMMENDATIONS:
#ad
If you’re interested in supporting my work and seeing lots more videos in the future, be sure to check out my Patreon! As a patron, you’ll receive early access to my YouTube videos, as well as access to never-before-seen images and seasonal prints, depending on the tier you sign up for.
Feel free to leave any thoughts/comments/questions/concerns below! Thanks so much for stopping by. :)
<3 Myles Katherine