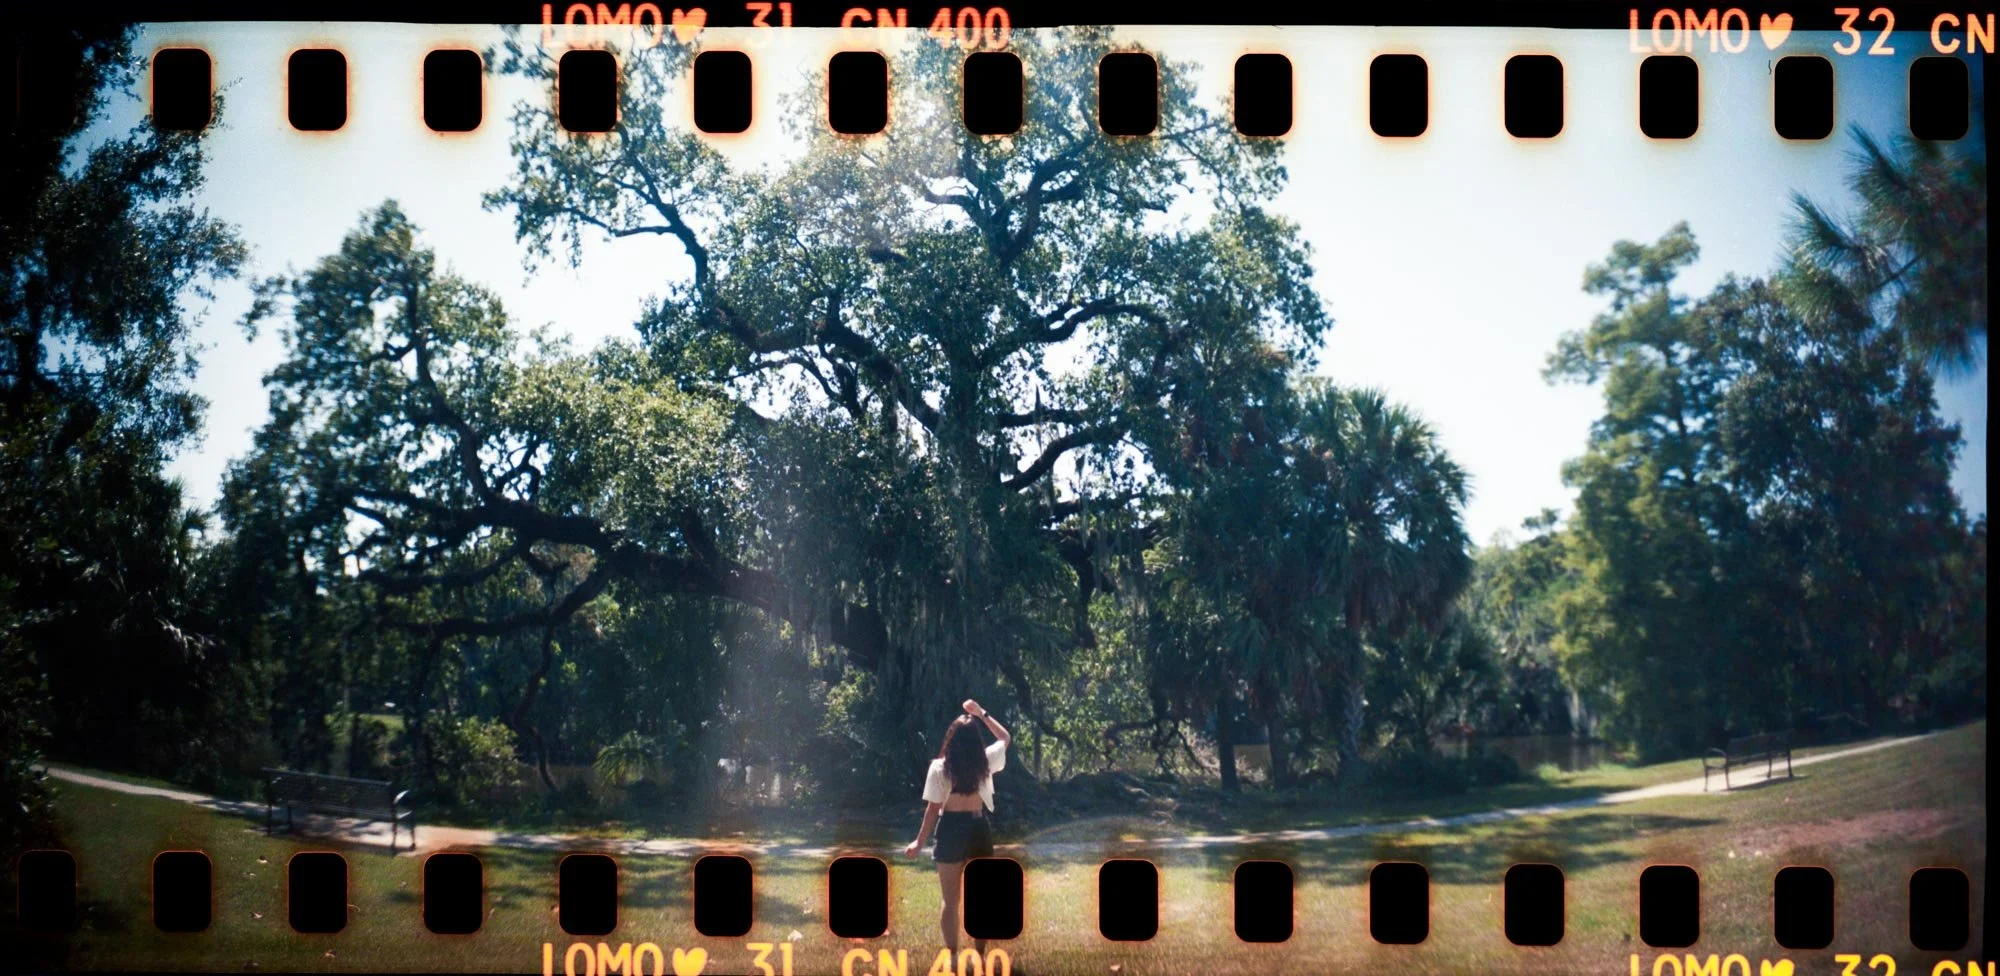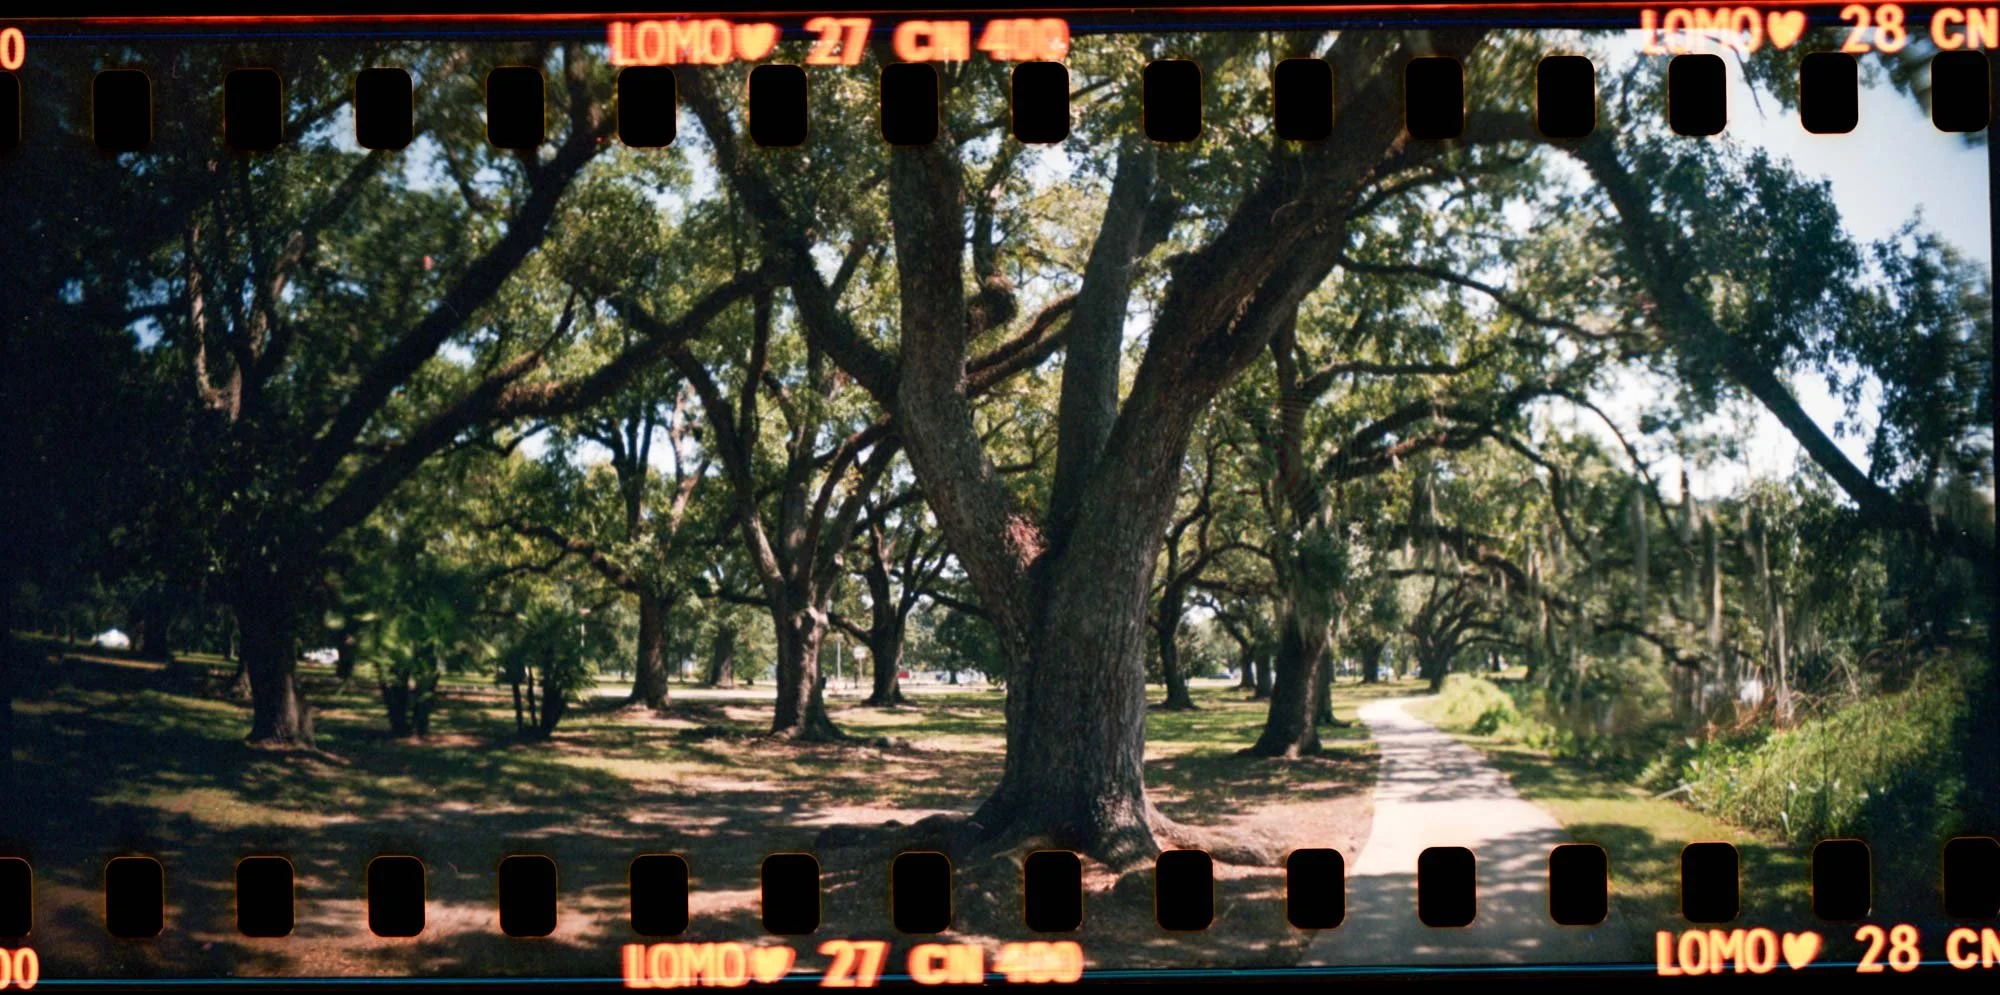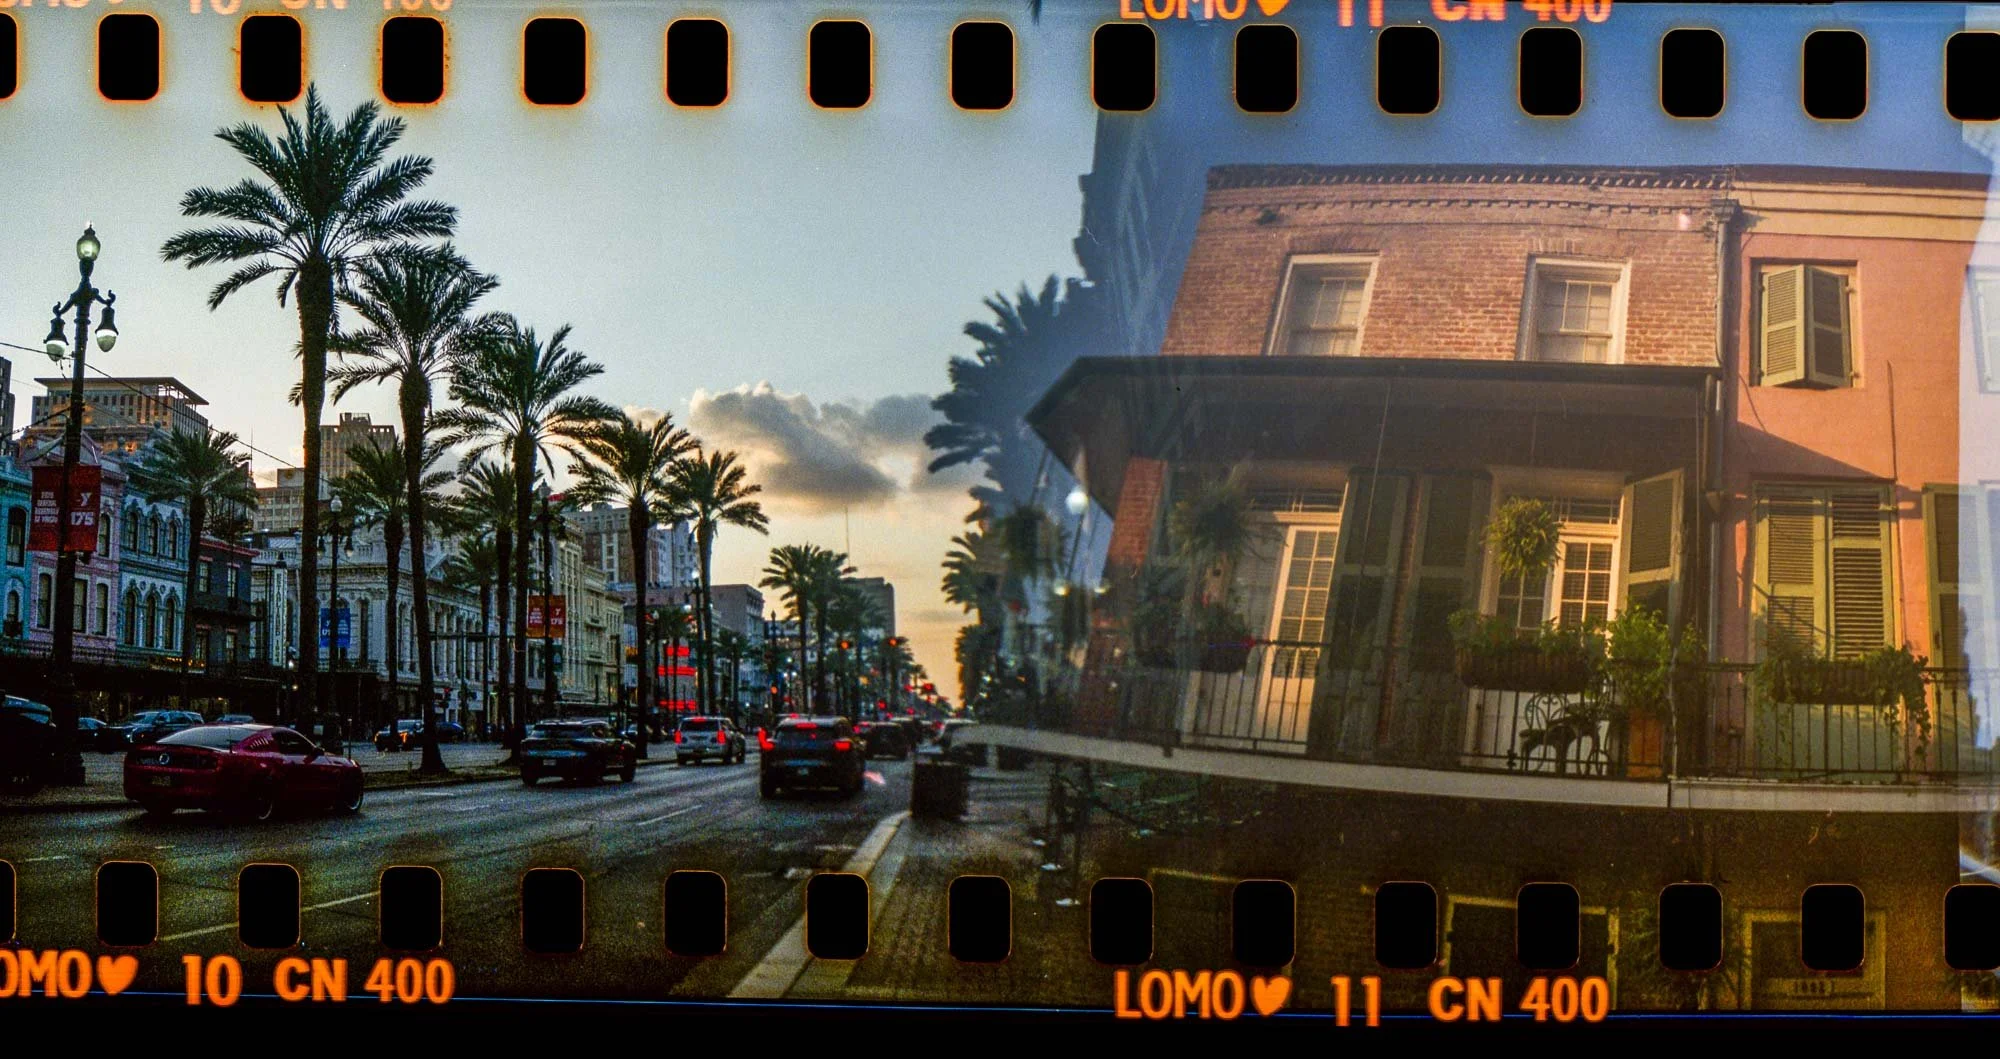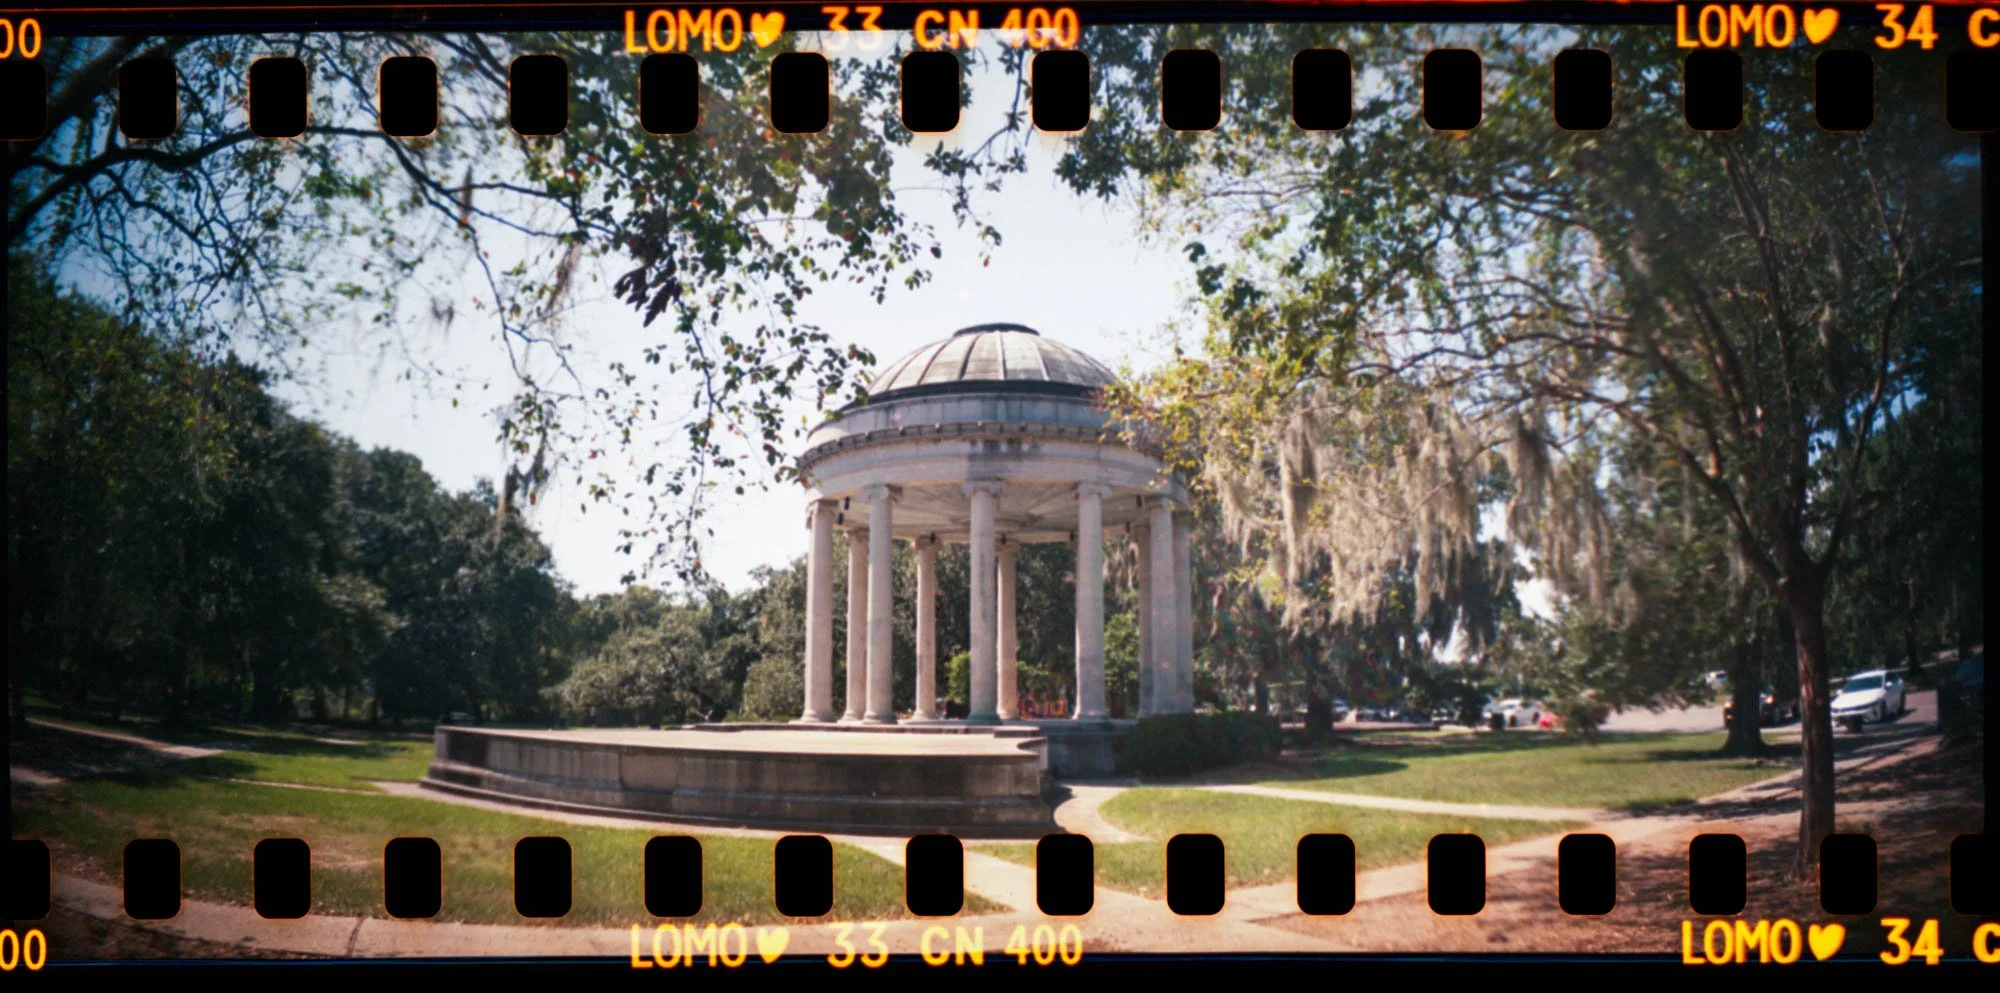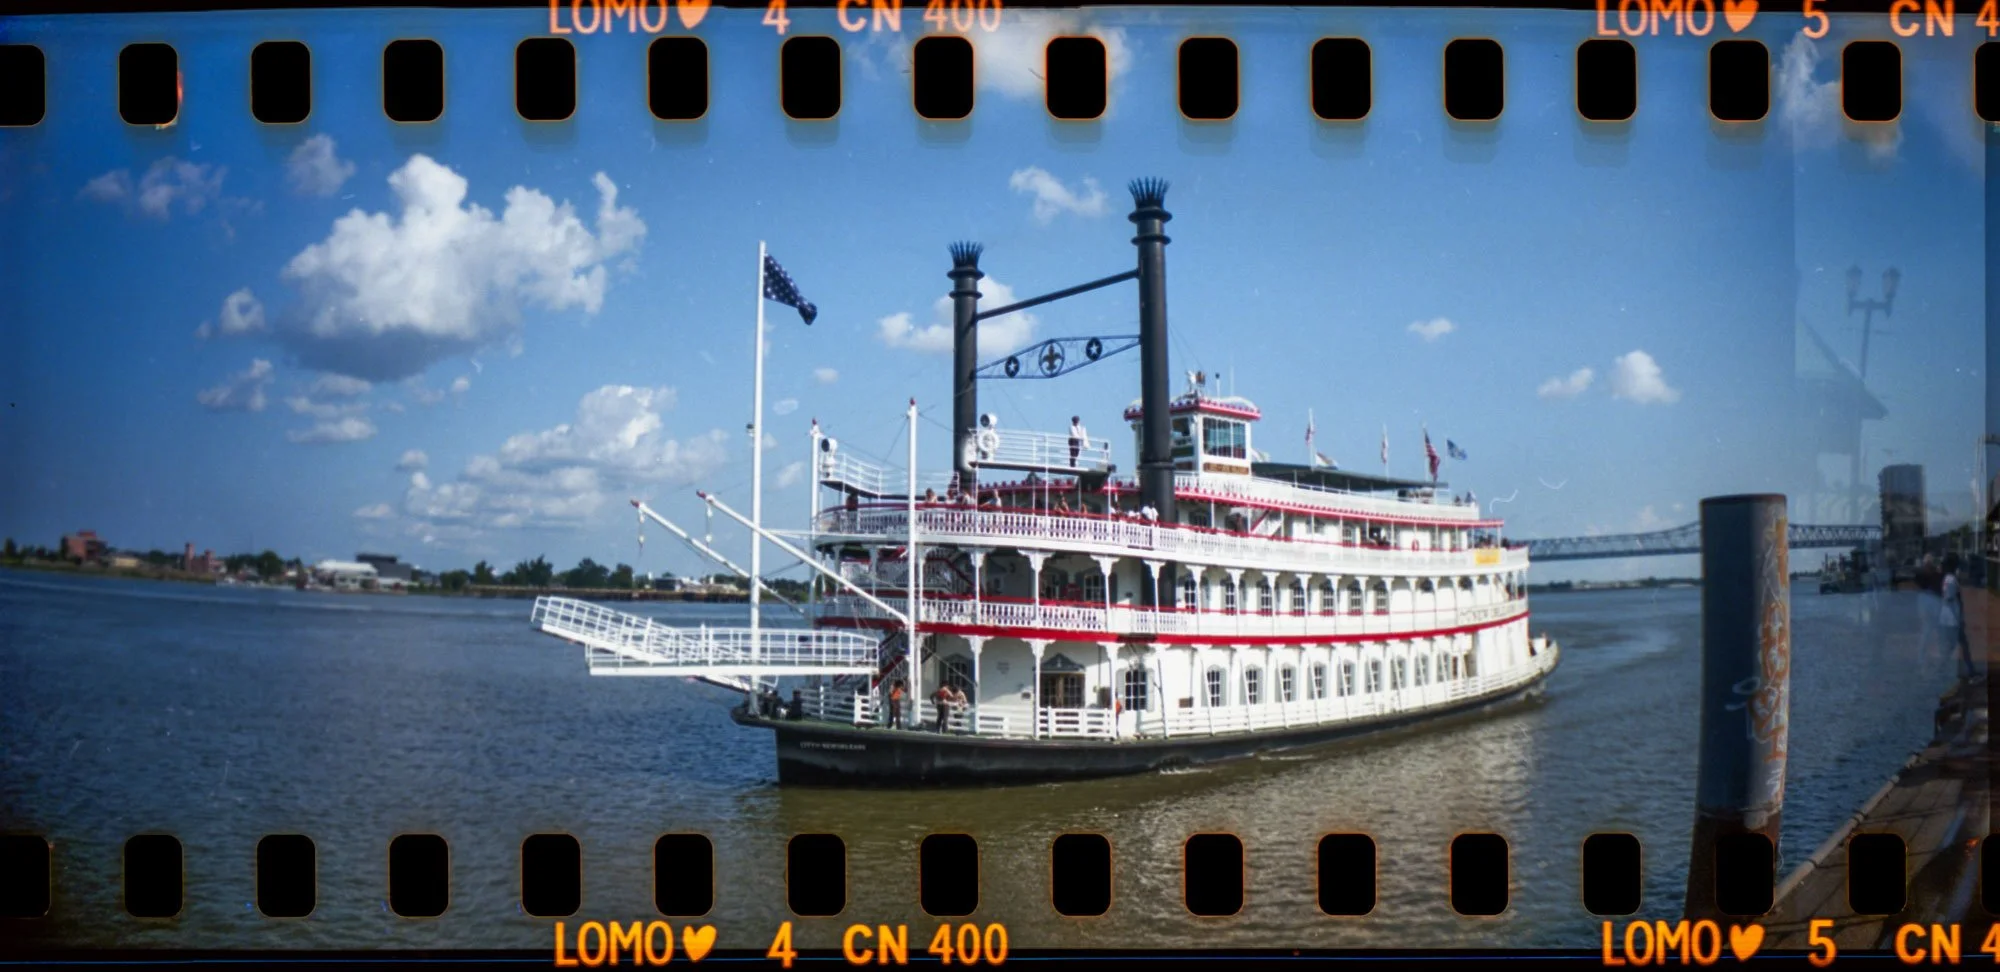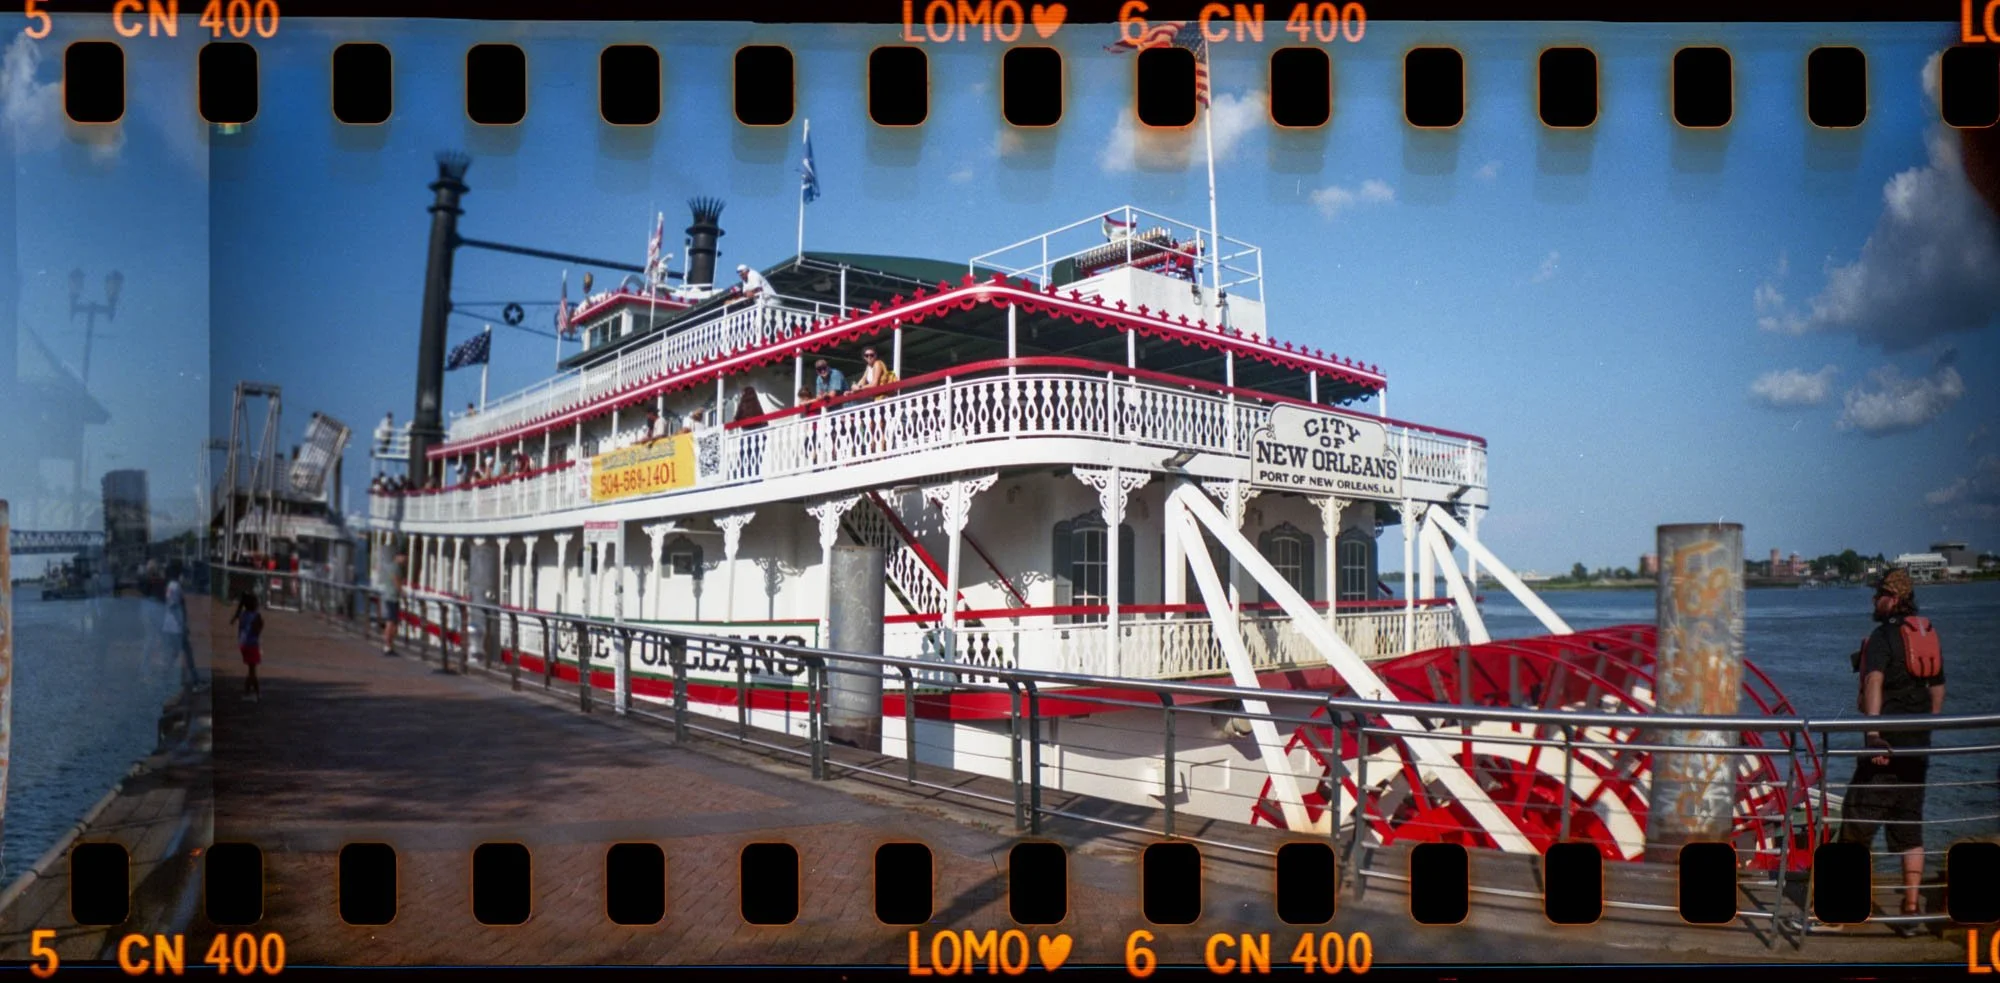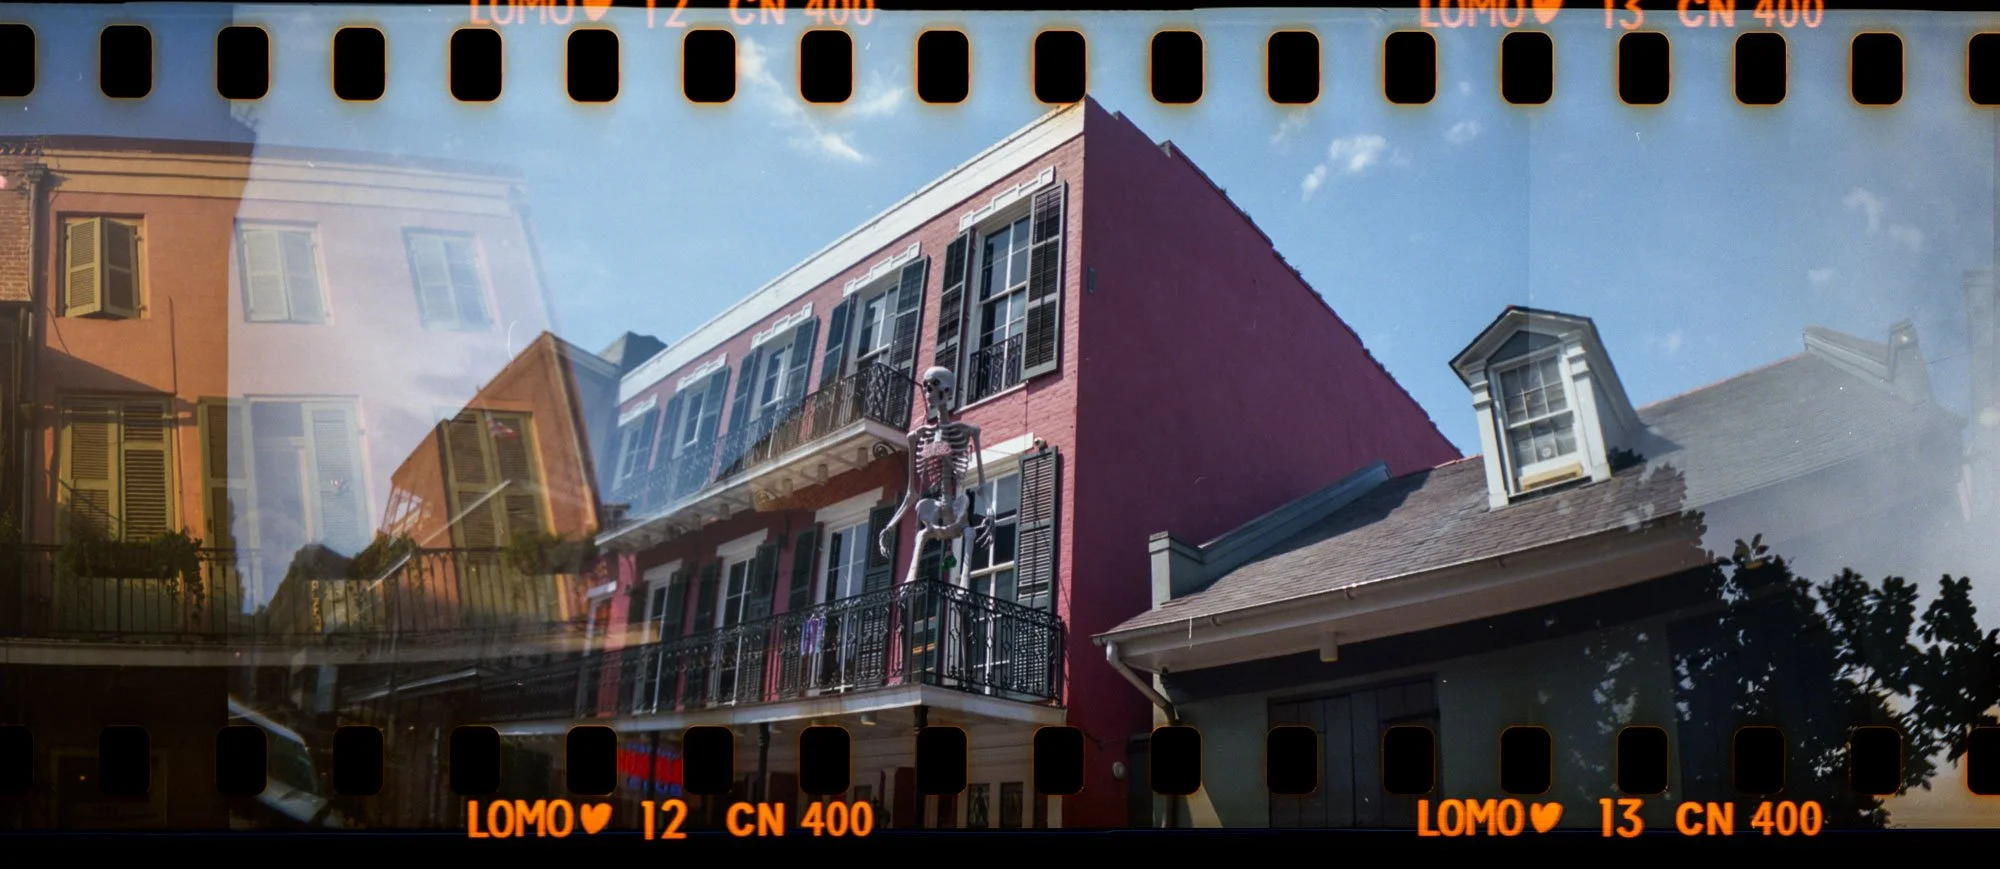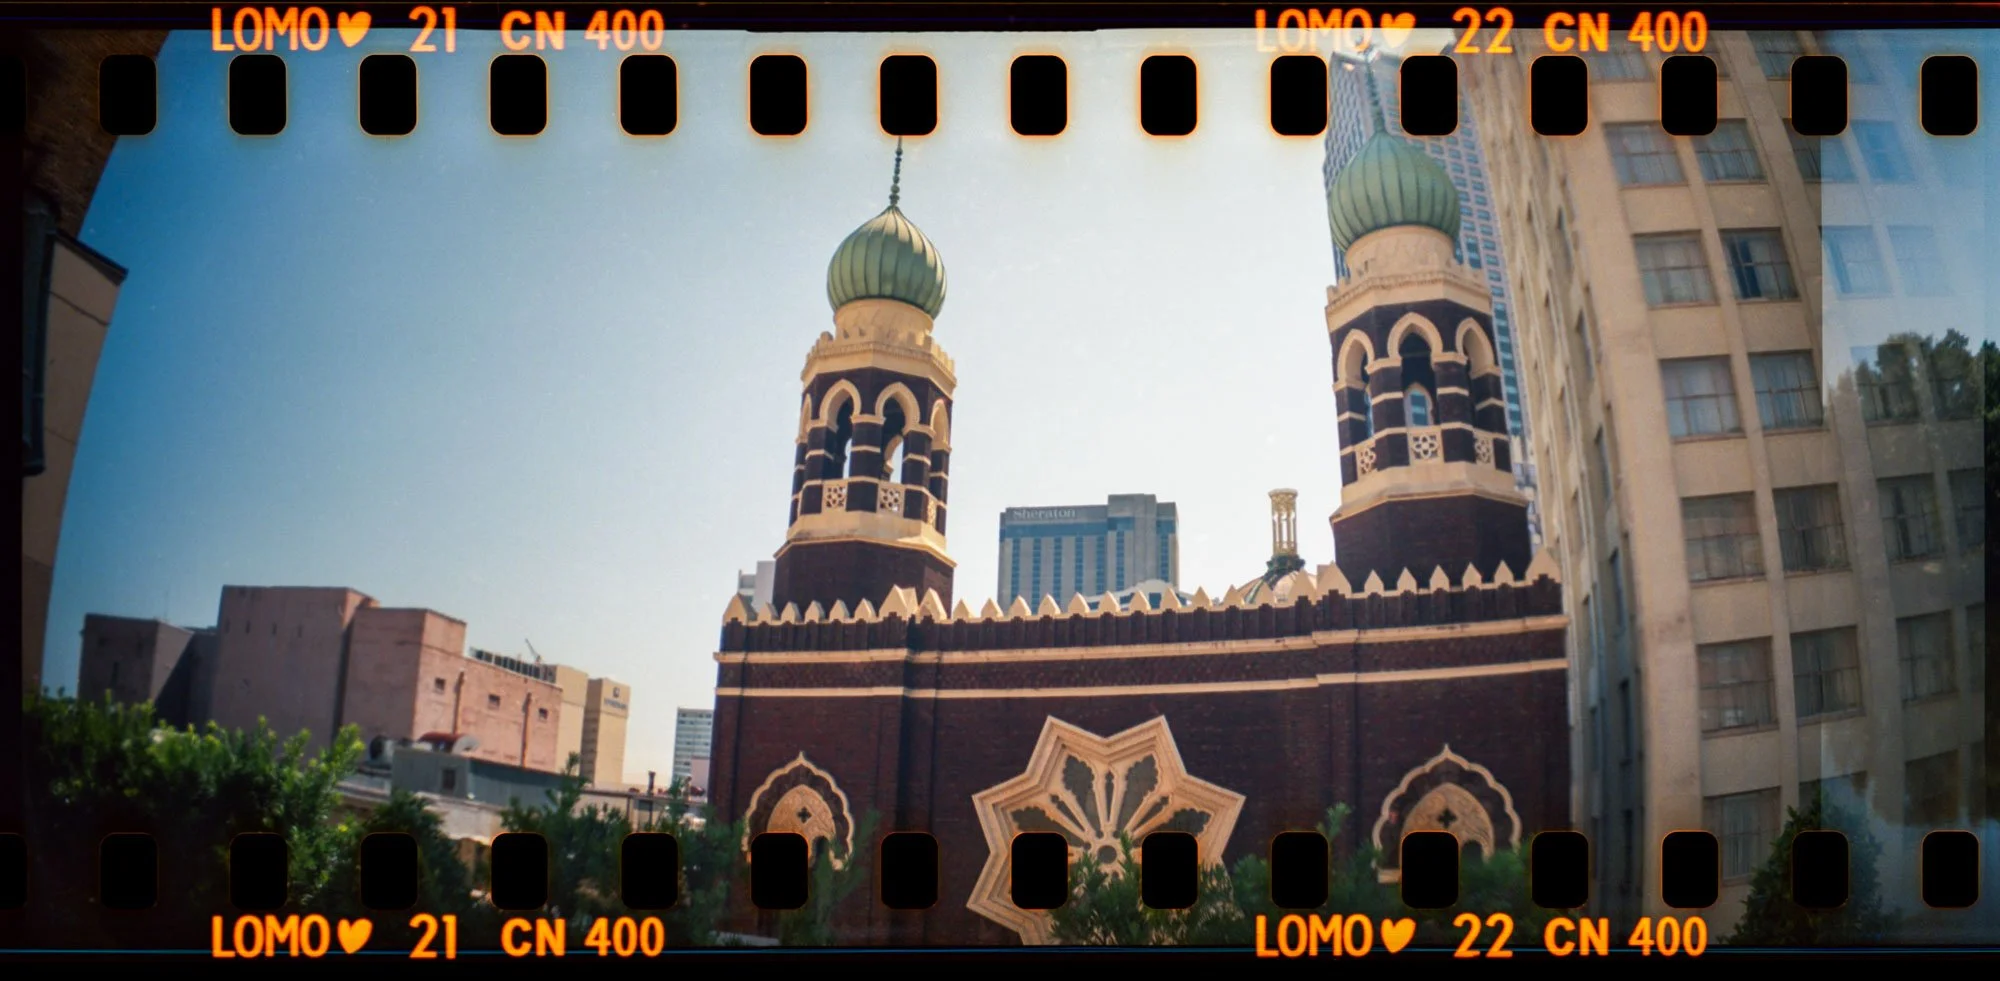
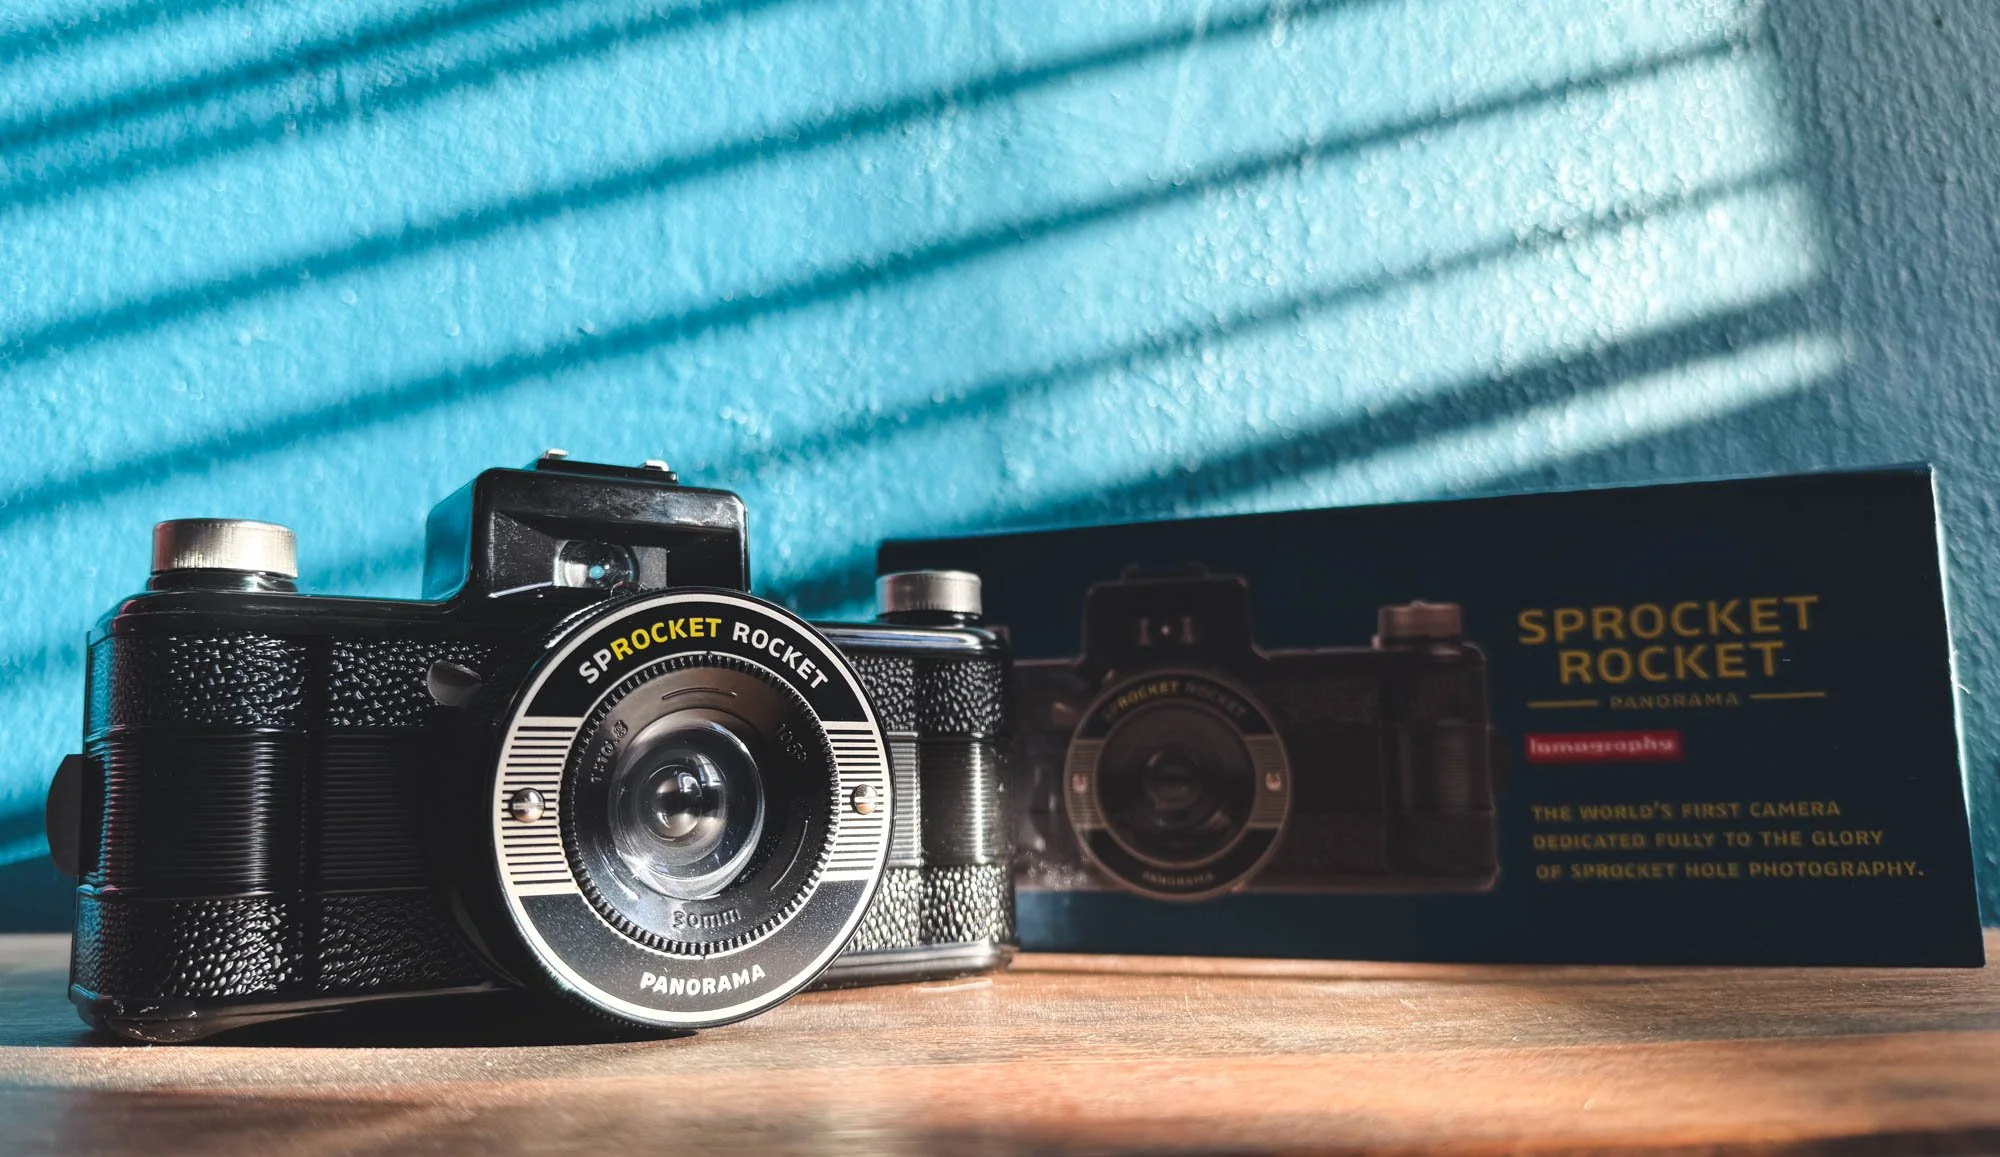
I bought the Lomography Sprocket Rocket completely on a whim. I was placing an order on B&H Photo for some film and was browsing through the cameras for fun. Lomography always has so many interesting cameras available and I’ve been feeling a little uninspired lately, so I decided to spring for the Sprocket Rocket! Luckily, it’s not too expensive, but it’s just weird enough that I felt challenged by it and that’s exactly what I needed. I took it with me on a trip to New Orleans recently and I’m obsessed. I love all film cameras, but I especially love film cameras that allow me to be creative. The sprocket rocket essentially has no limitations, which is exactly what I was looking for.
FEATURES OF THE SPROCKET ROCKET
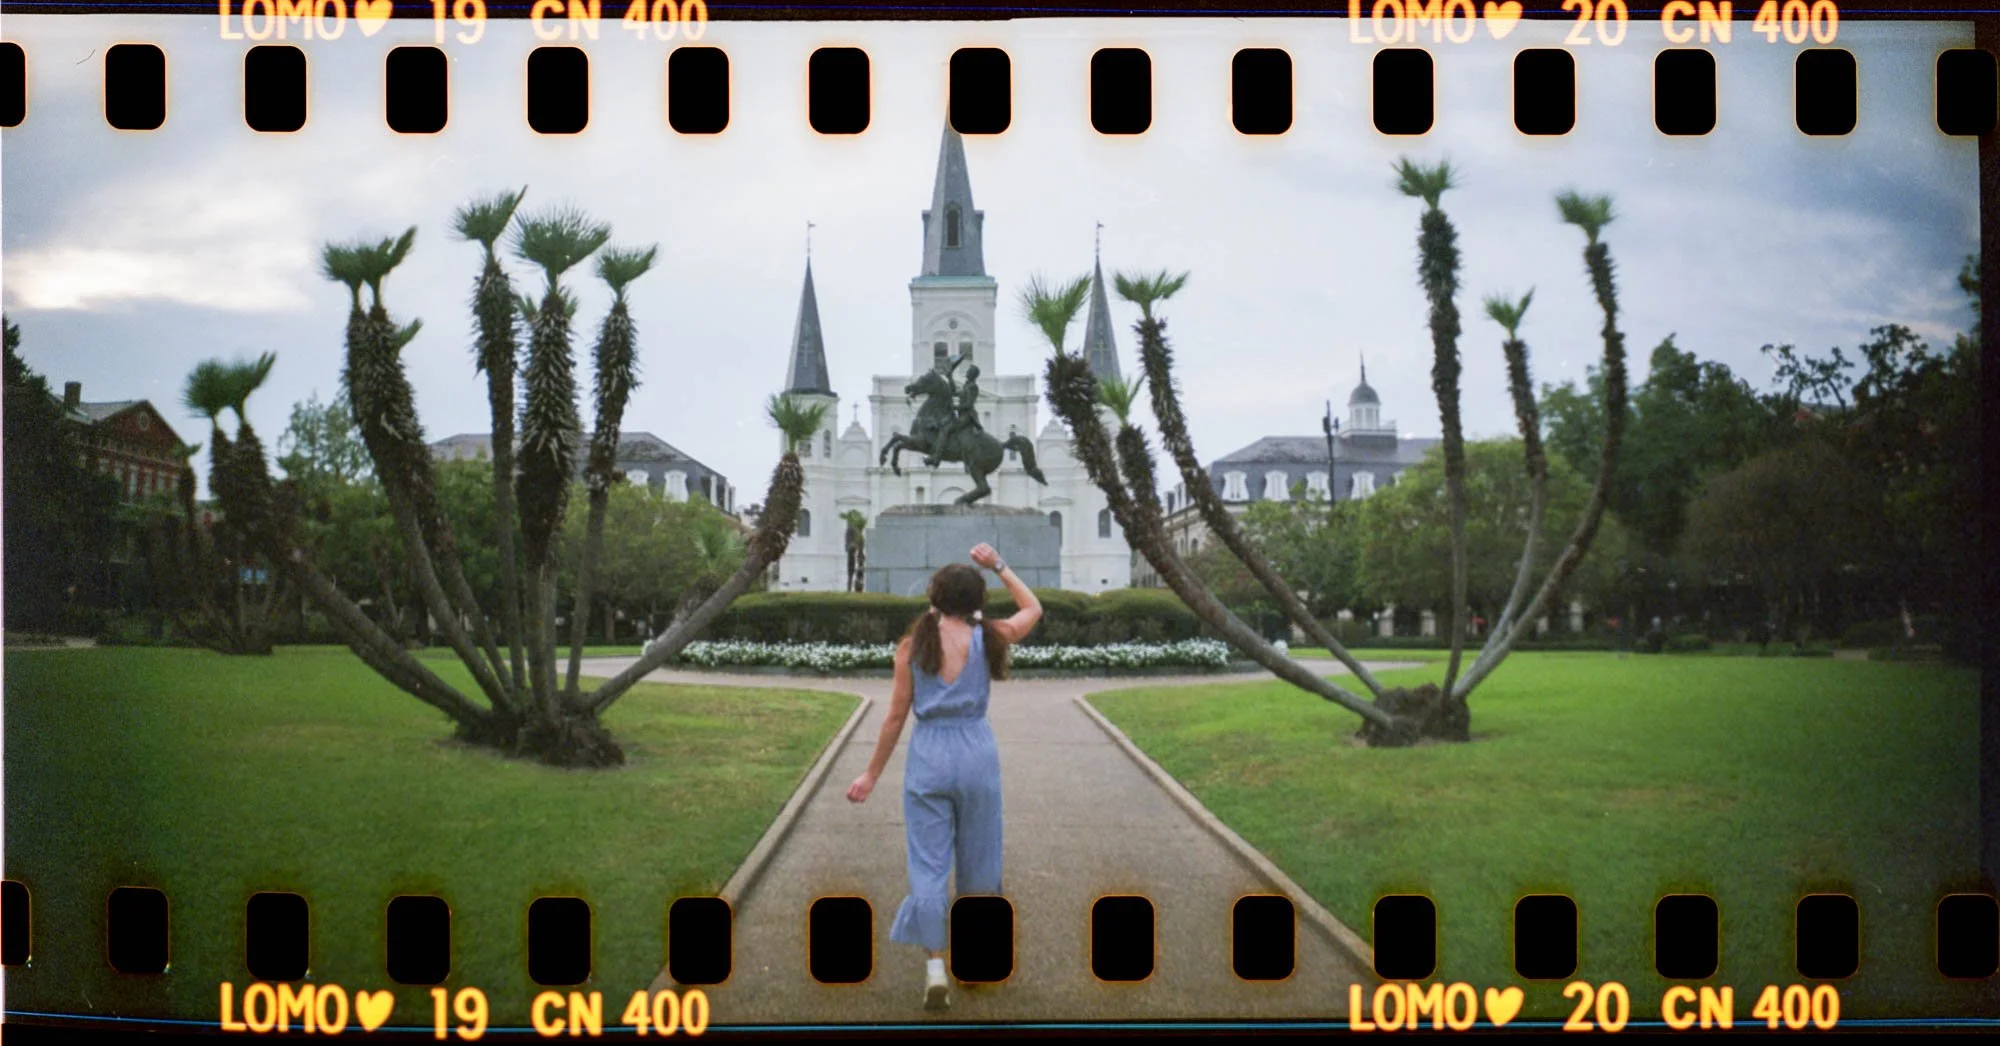
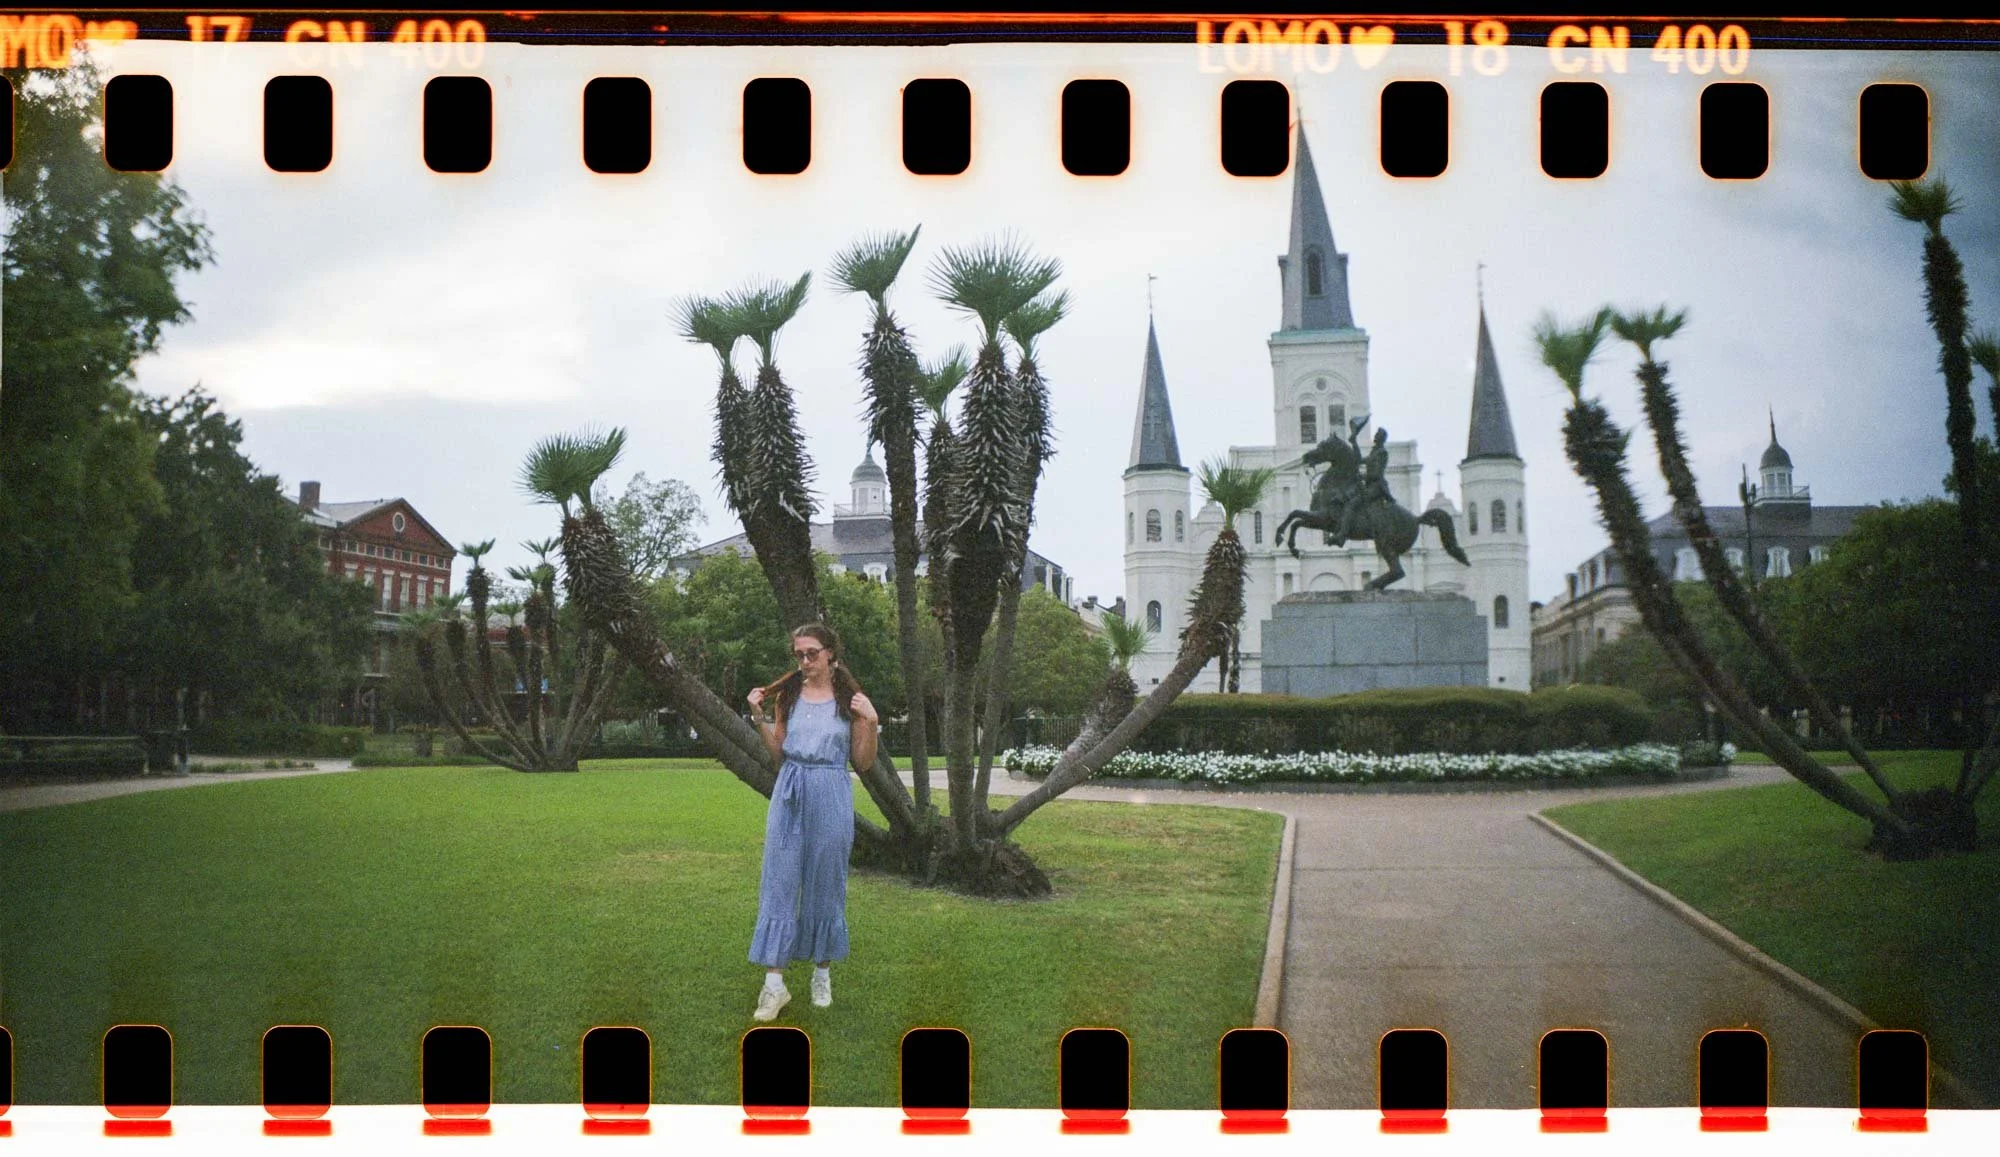
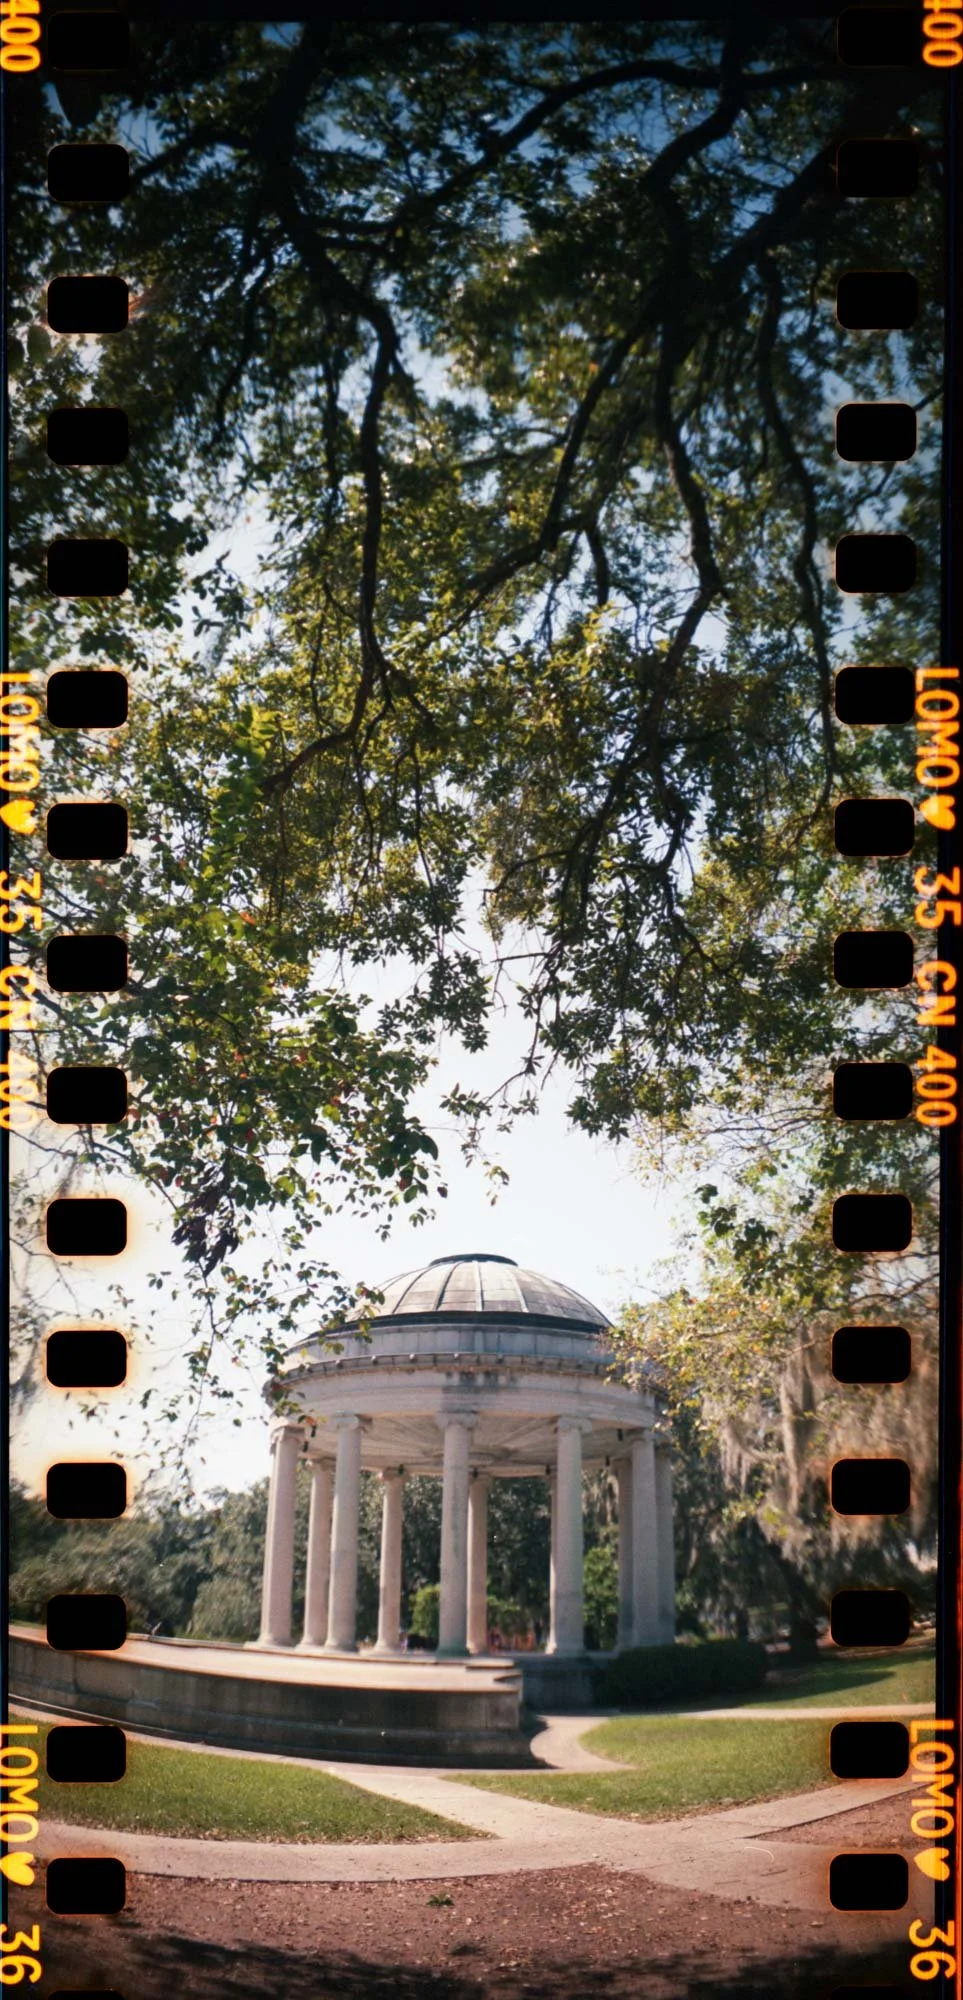
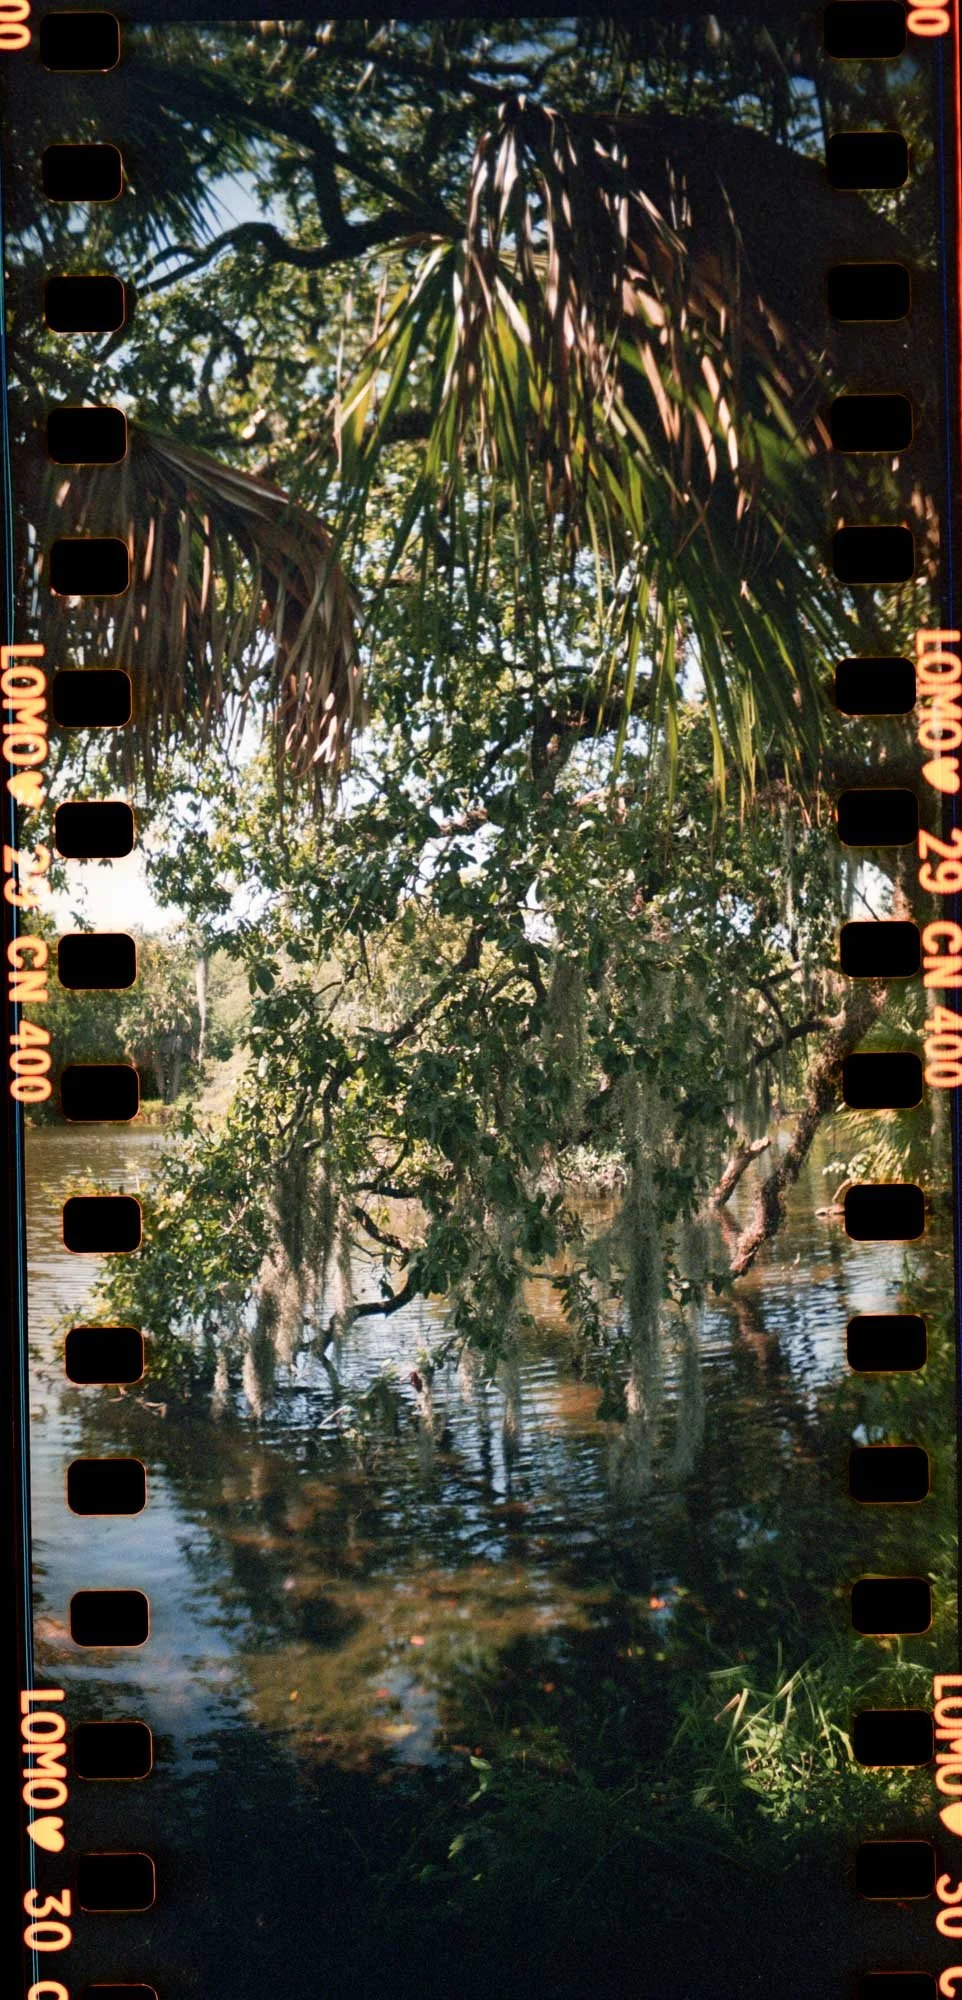
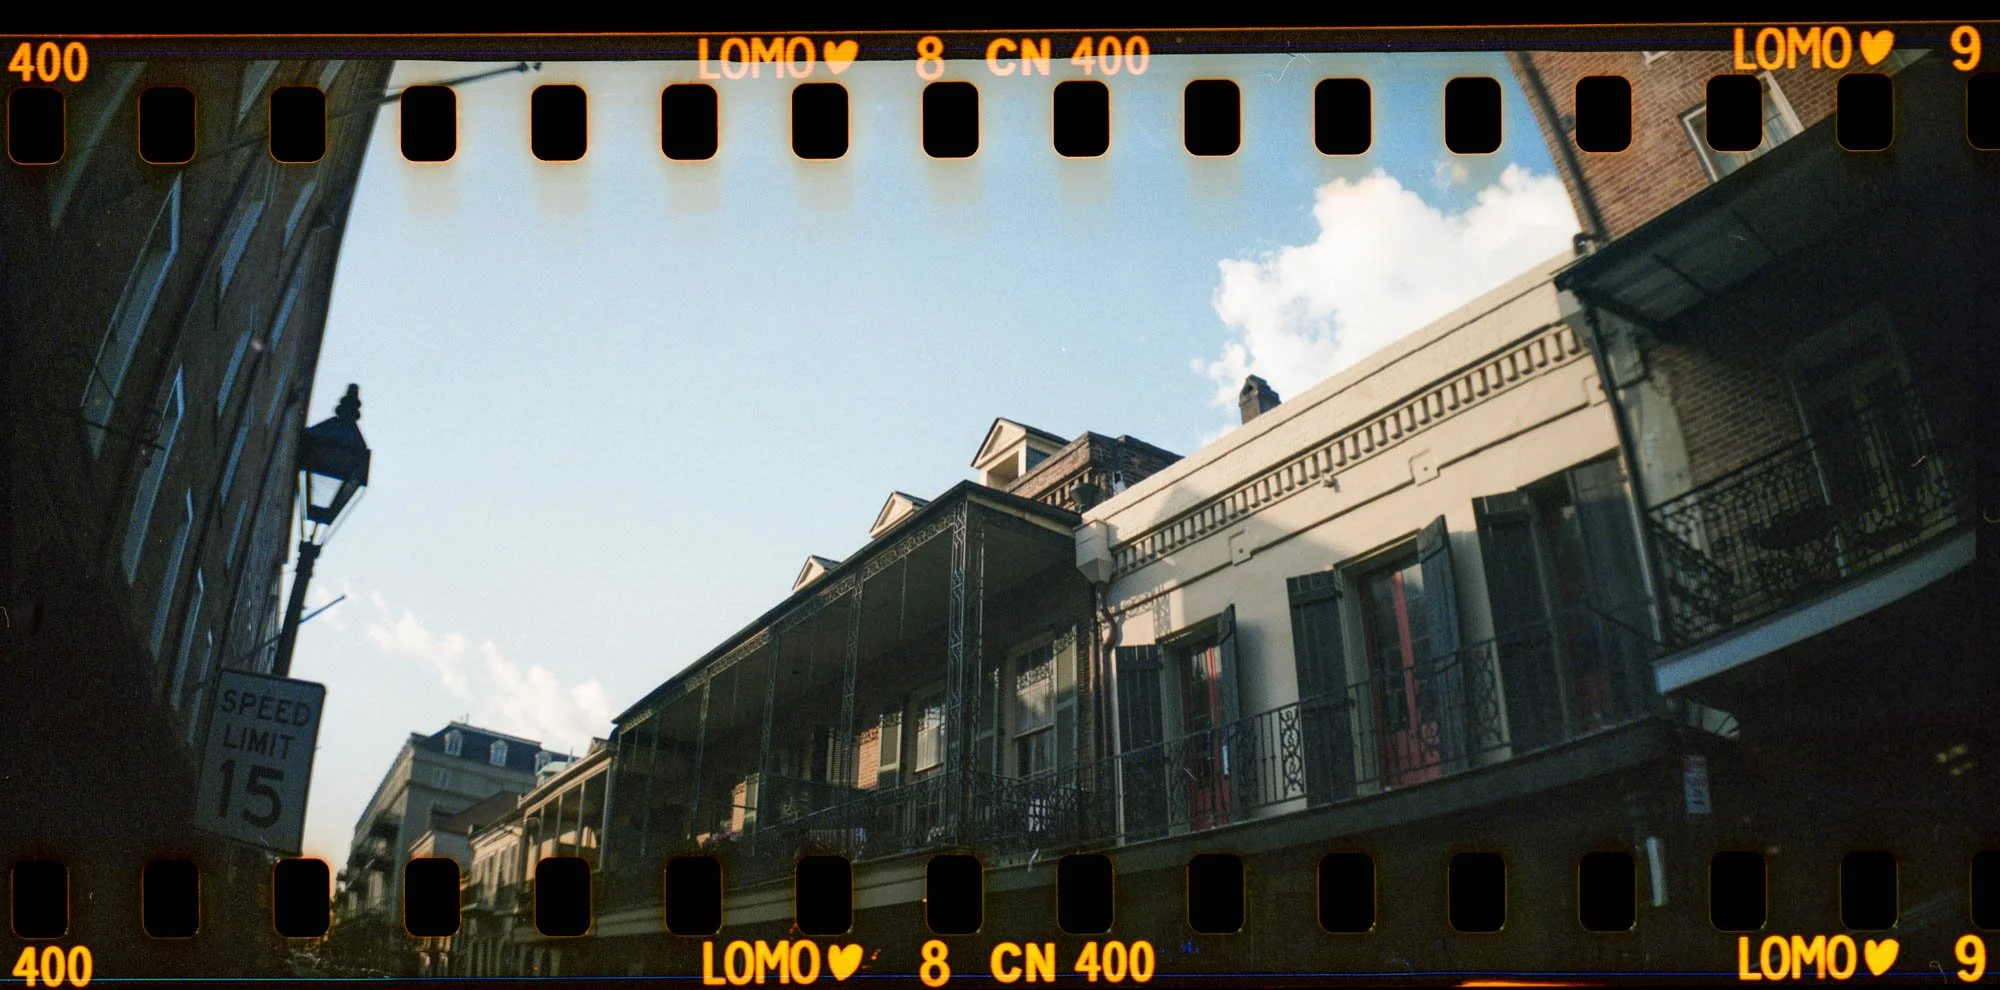
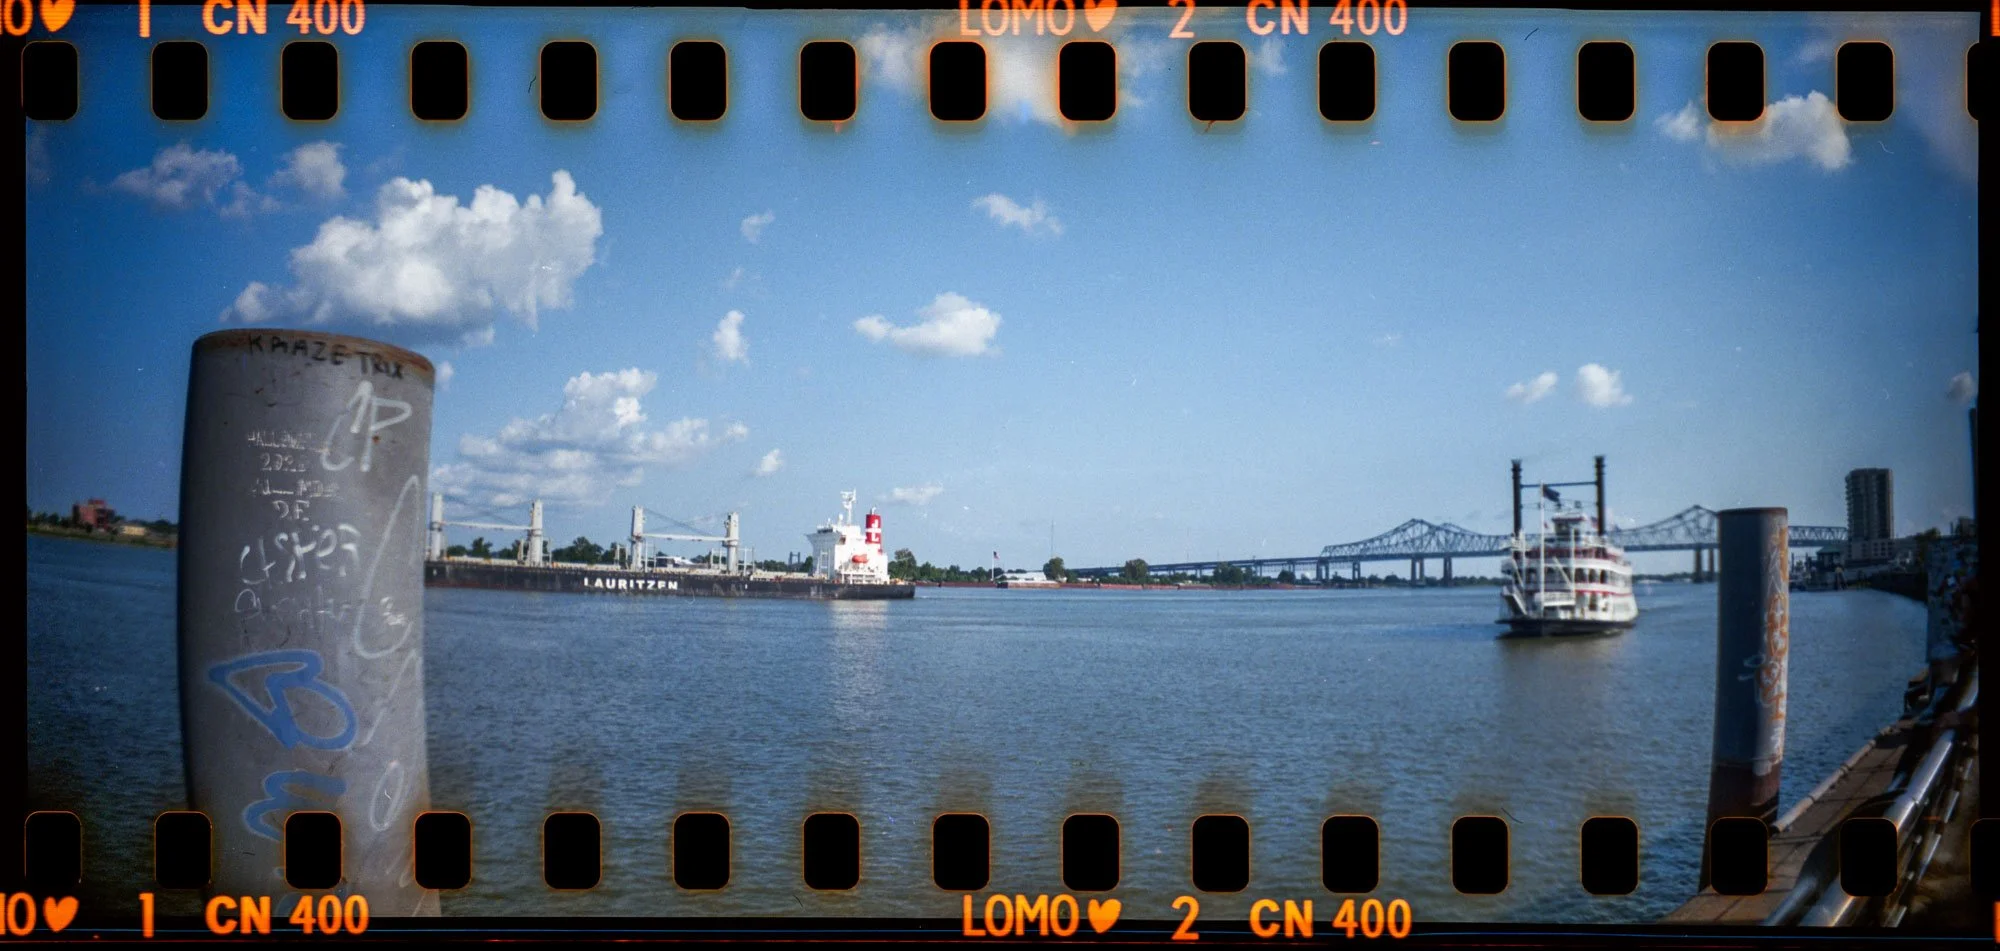
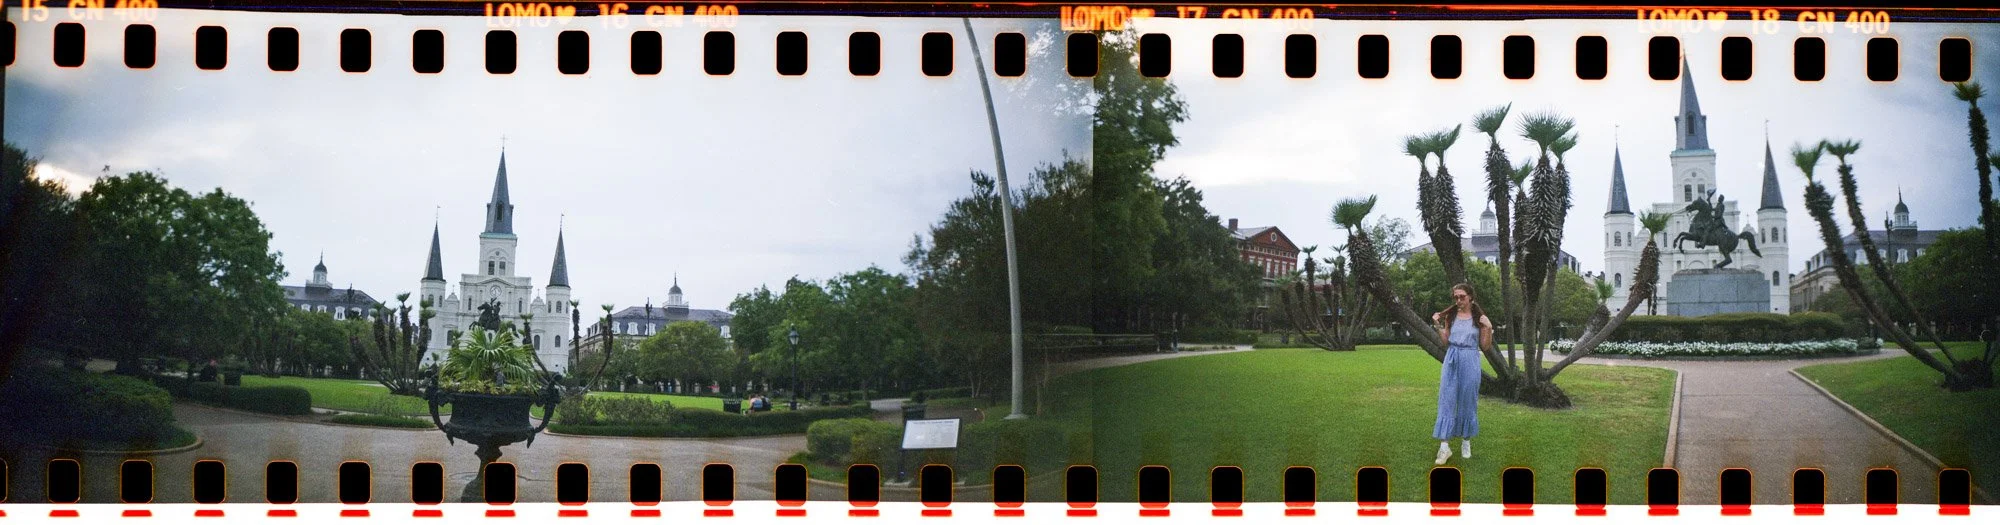
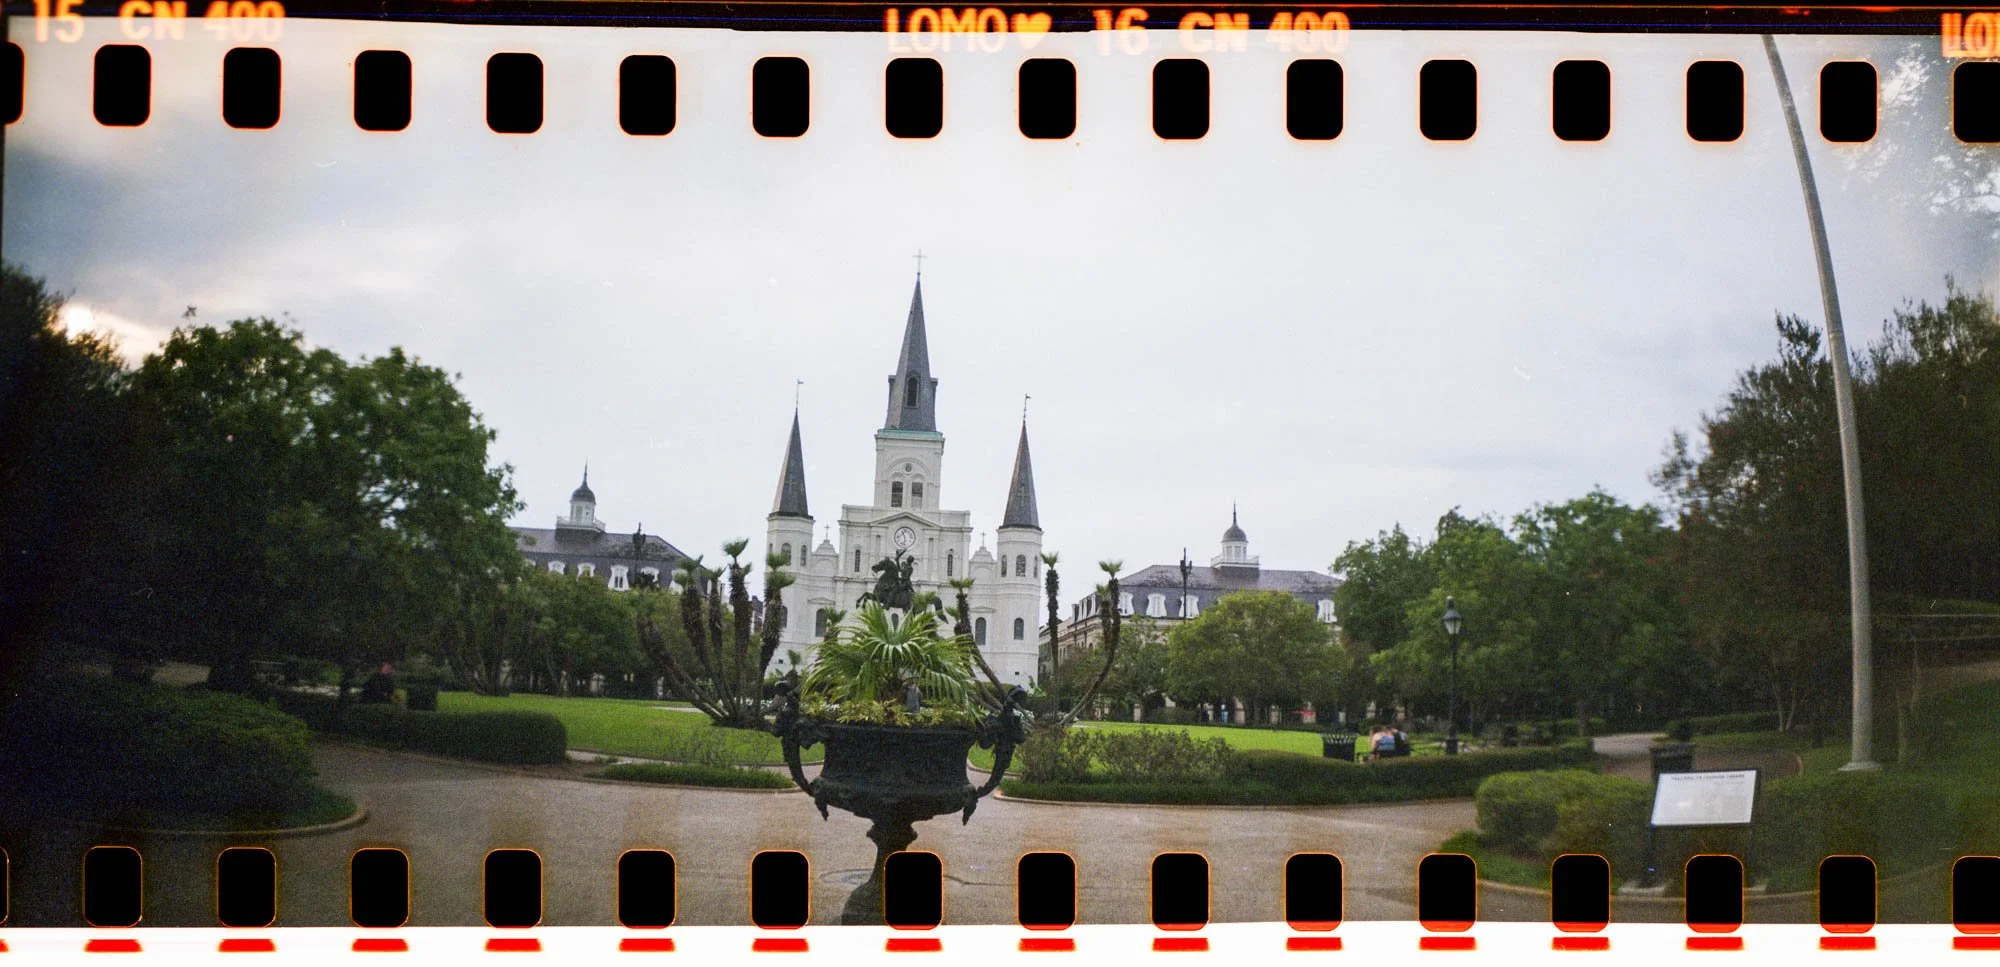
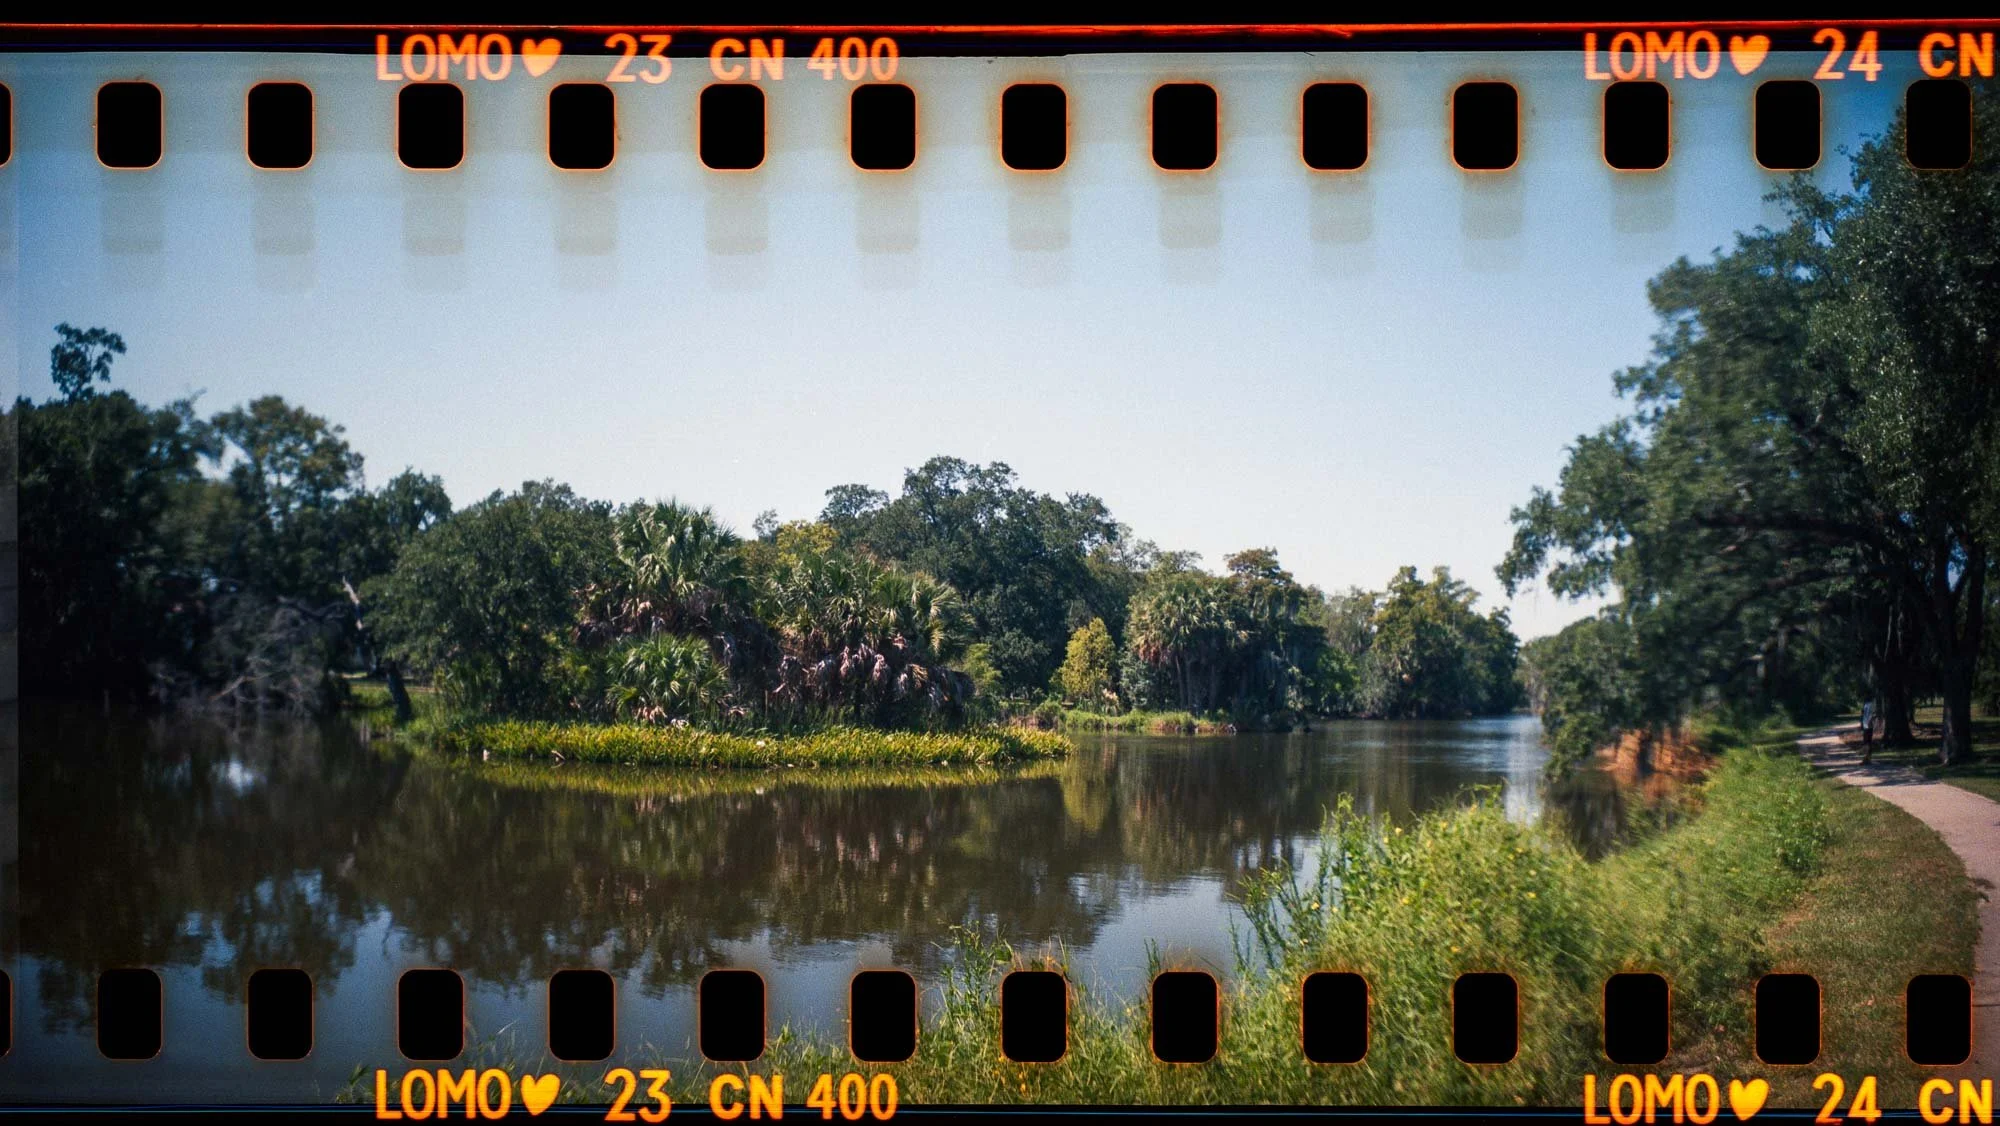
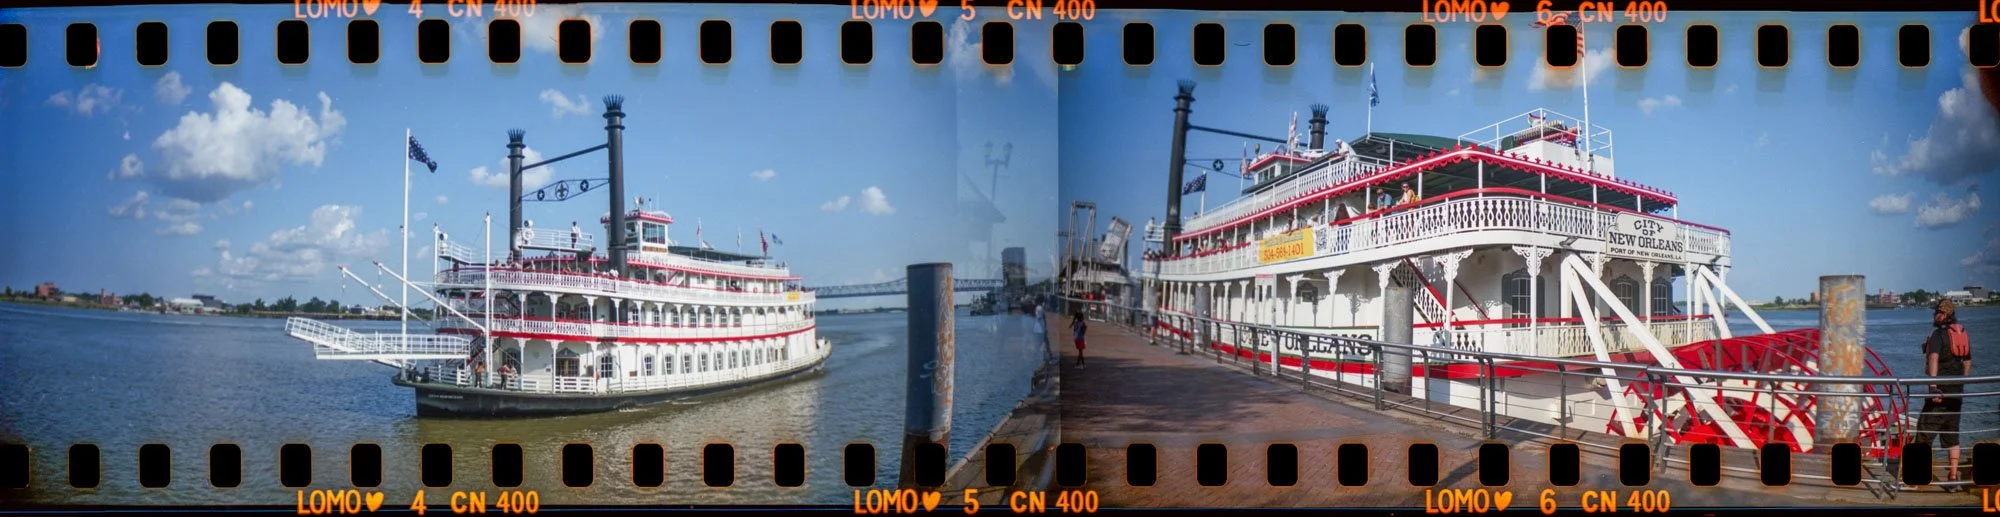
The standout feature of the Sprocket Rocket is that you can expose an entire frame, including the sprockets, which is a unique concept that most cameras are not capable of. I love this idea because it means your photos are undeniably film photos. It is also a panoramic camera, meaning the photos are extra wide so you aren’t limited by the frame shape. It also means your images can overlap easily, which I’m more than ok with too. Anything that makes my photos more unique is fine in my book. :) The only downside to the extra wide images is that you’ll get less images per roll. For example, instead of 36 exposures, you’ll get 18. Or if you’re shooting a 24-exposure roll of film, you’ll get 12 images. Also, The camera does come with a frame mask so if you don’t want the sprockets, you can put that in the camera before shooting.
The lens itself is a super wide 30 mm lens so you can rest assured you’ll get everything in the frame that you see in front of you. Personally, I love wide angle lenses, especially if they have a bit of a fisheye effect to them like this one. It’s just fun and funky and adds a surreal, dreamlike atmosphere to the photos. The photos are actually surprisingly sharp too for a lower priced film camera. I was pleasantly surprised and that aspect definitely entices me to shoot with this camera more often than some of my other panoramic 35 mm film cameras.
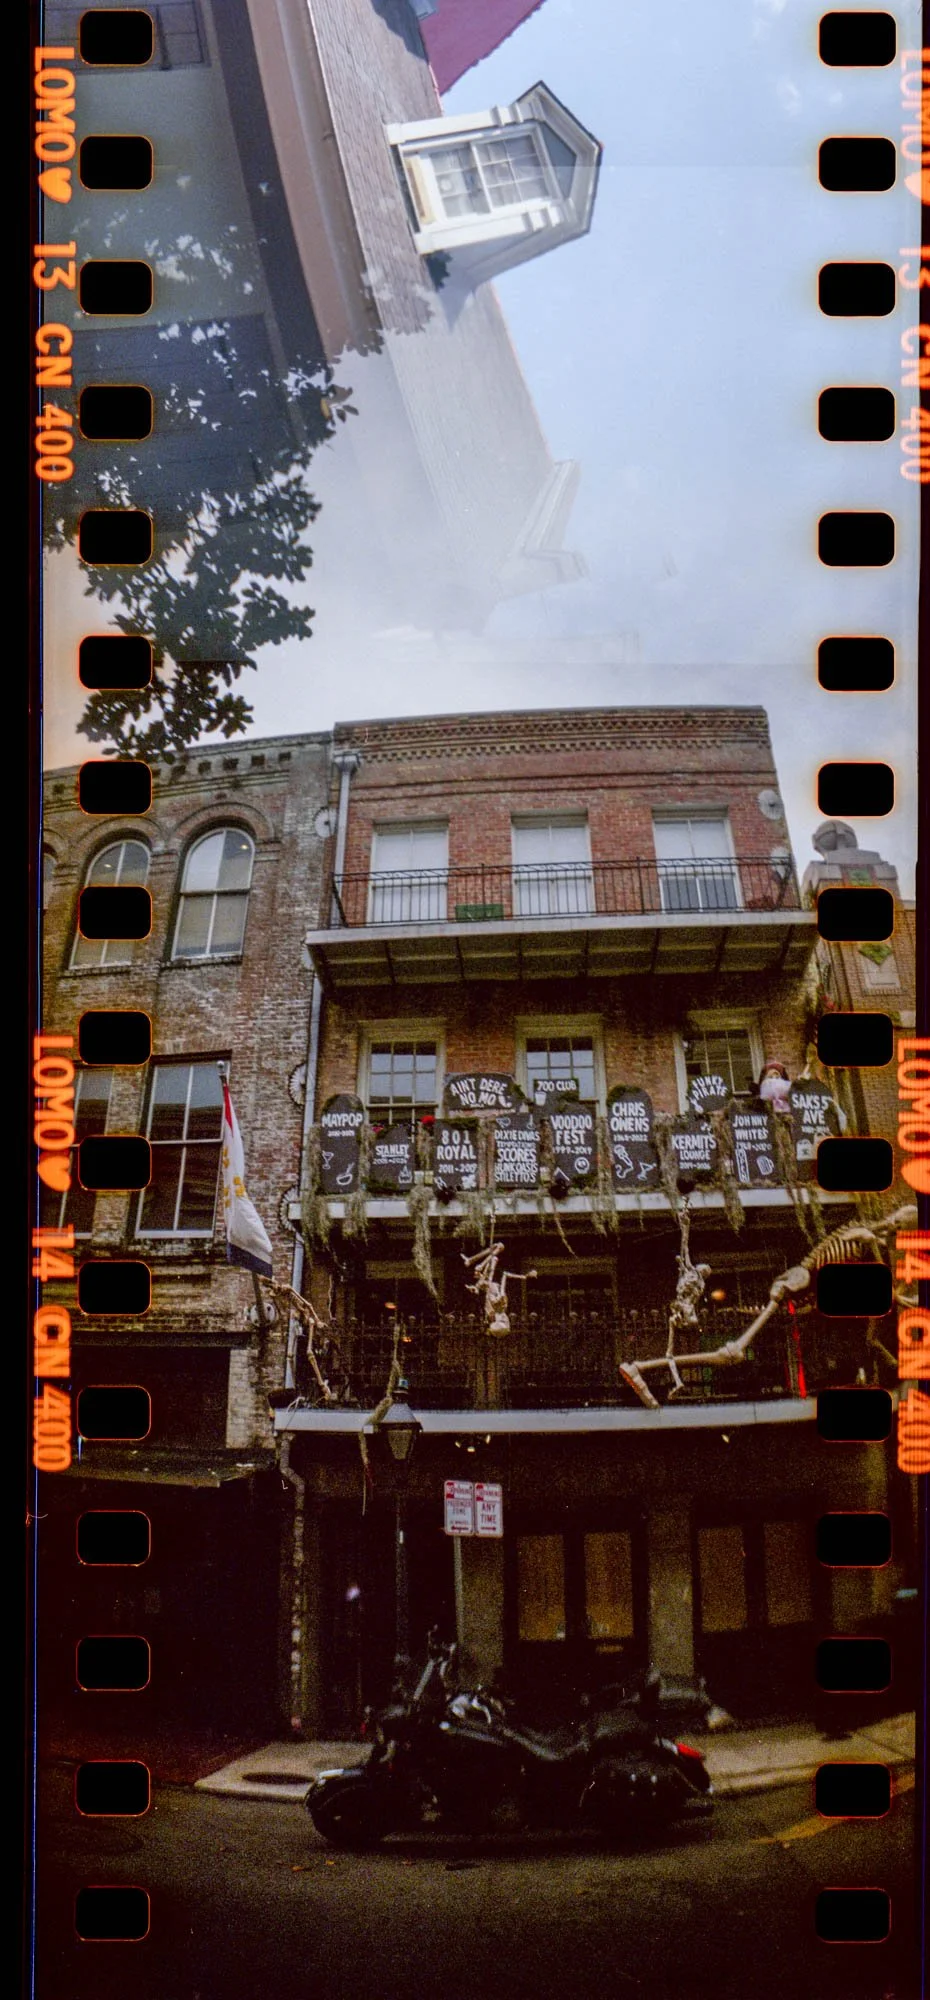
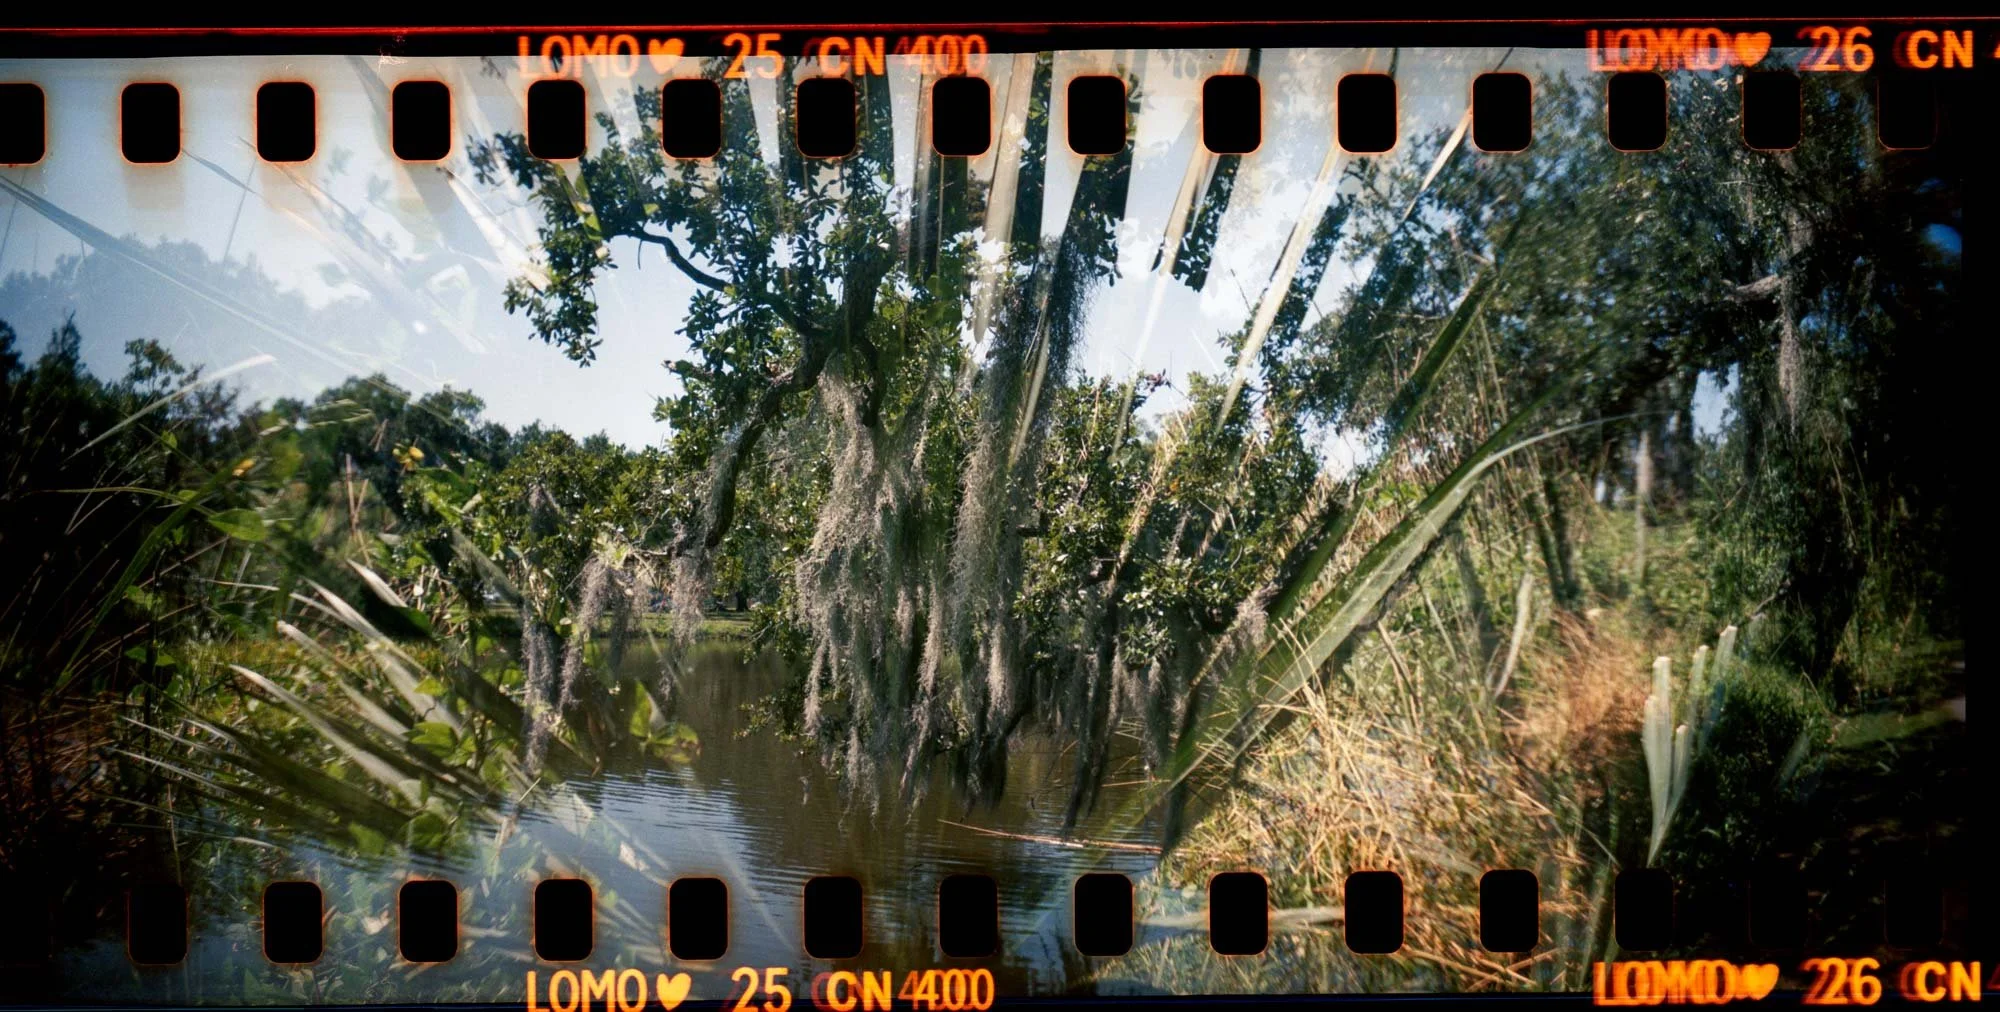
One of my other favorite features is that it’s super easy to create multiple exposures. You just take two photos right over top of each other! With this camera you have to manually advance the film. This means you have full control over your photo which is always a plus for me. It also has an unusual “rewind” knob so if you take a photo and you’ve already forwarded the film, you can actually go backwards and still be able to take a multiple exposure!
HOW TO USE THE SPROCKET ROCKET
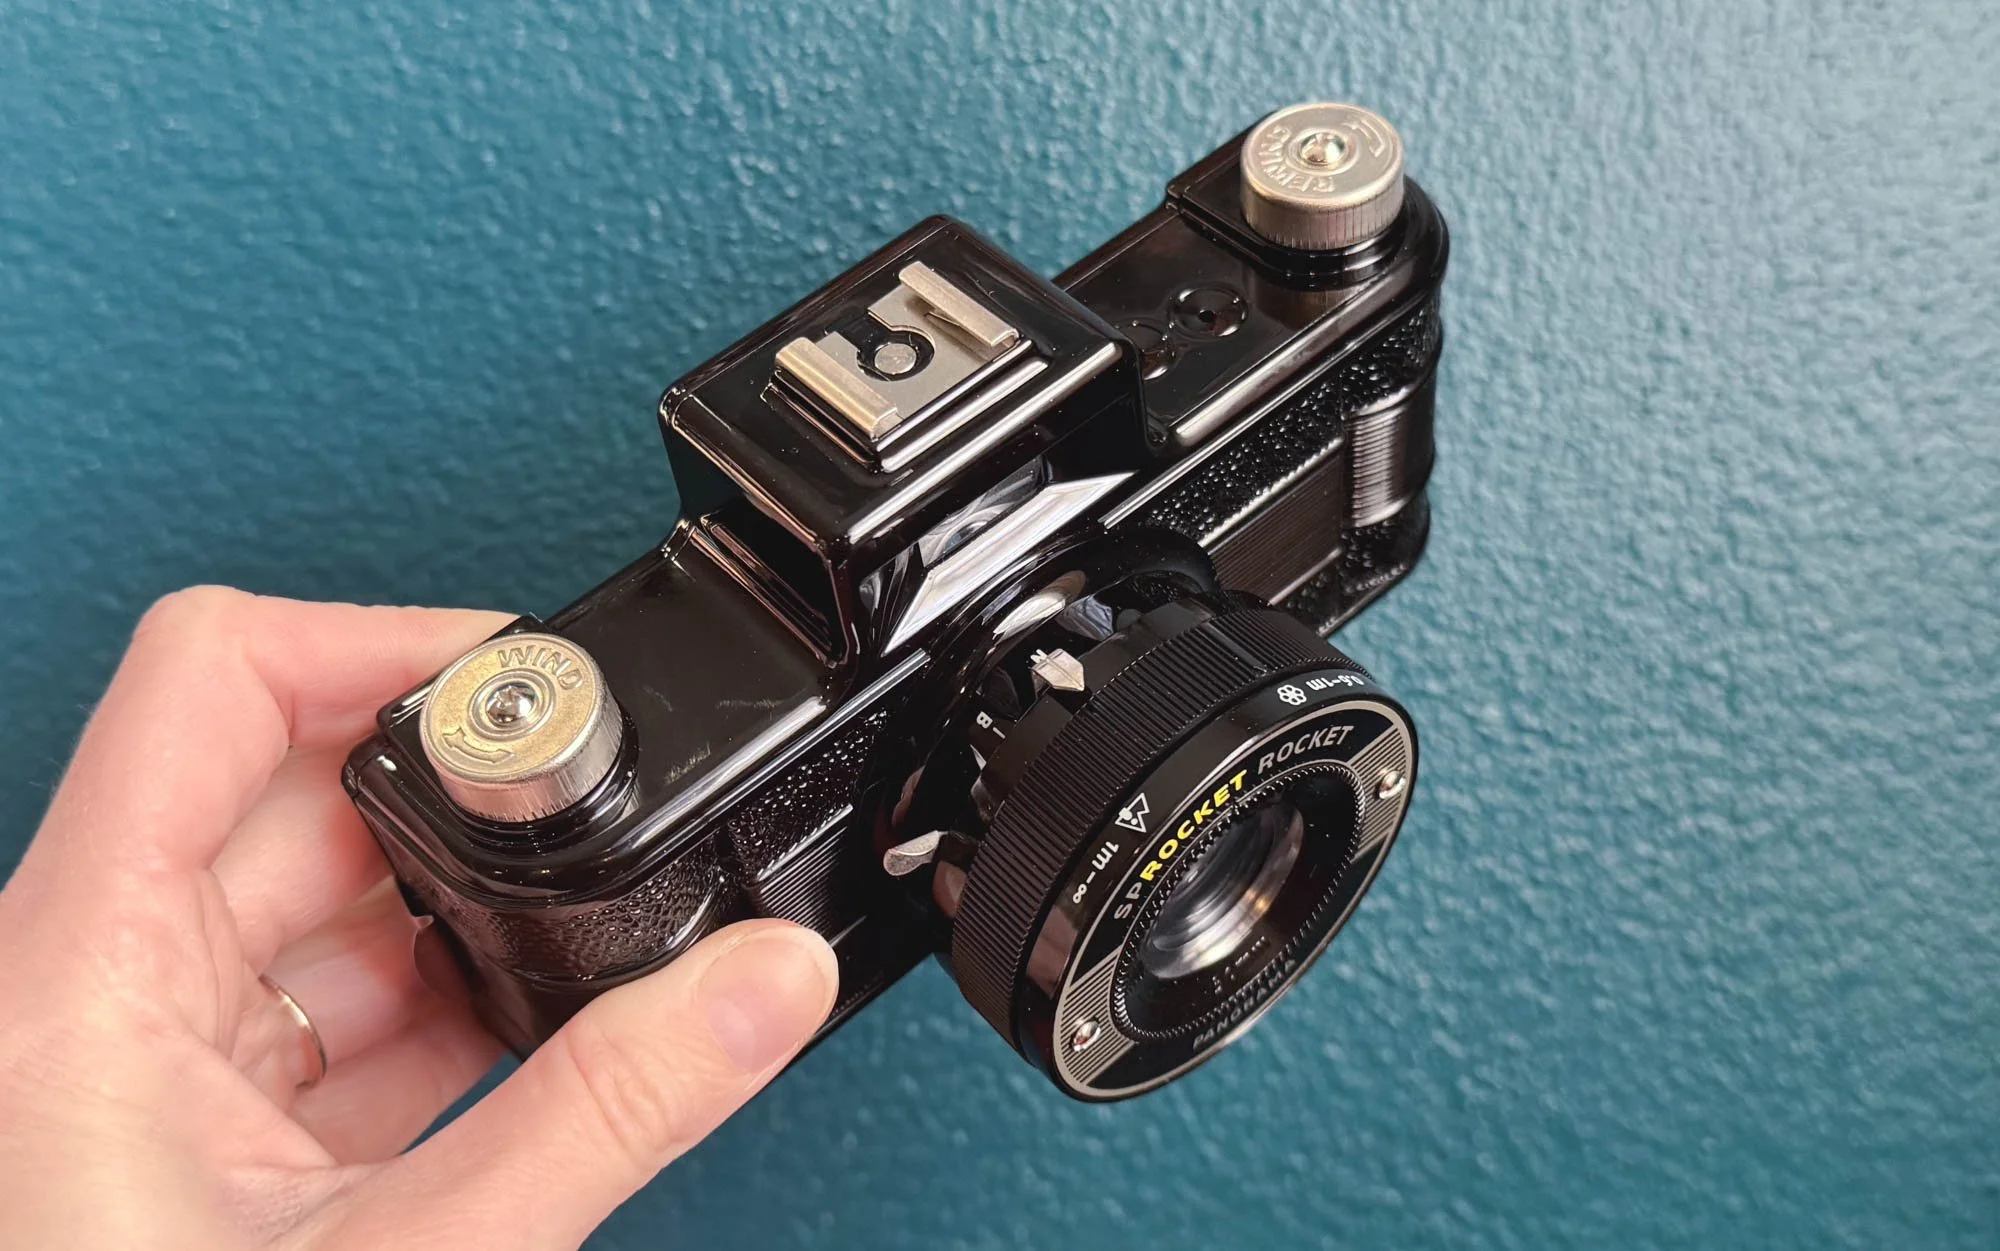
One of my favorite cameras in the world is the Holga GCFN and this camera is almost identical in terms of settings and functionality. The reason I love the Holga so much is because there are very few settings so it’s super simple and straightforward to use. Once you load the film, there are only three settings you really have to worry about, the distance ring, the aperture and the shutter speed.
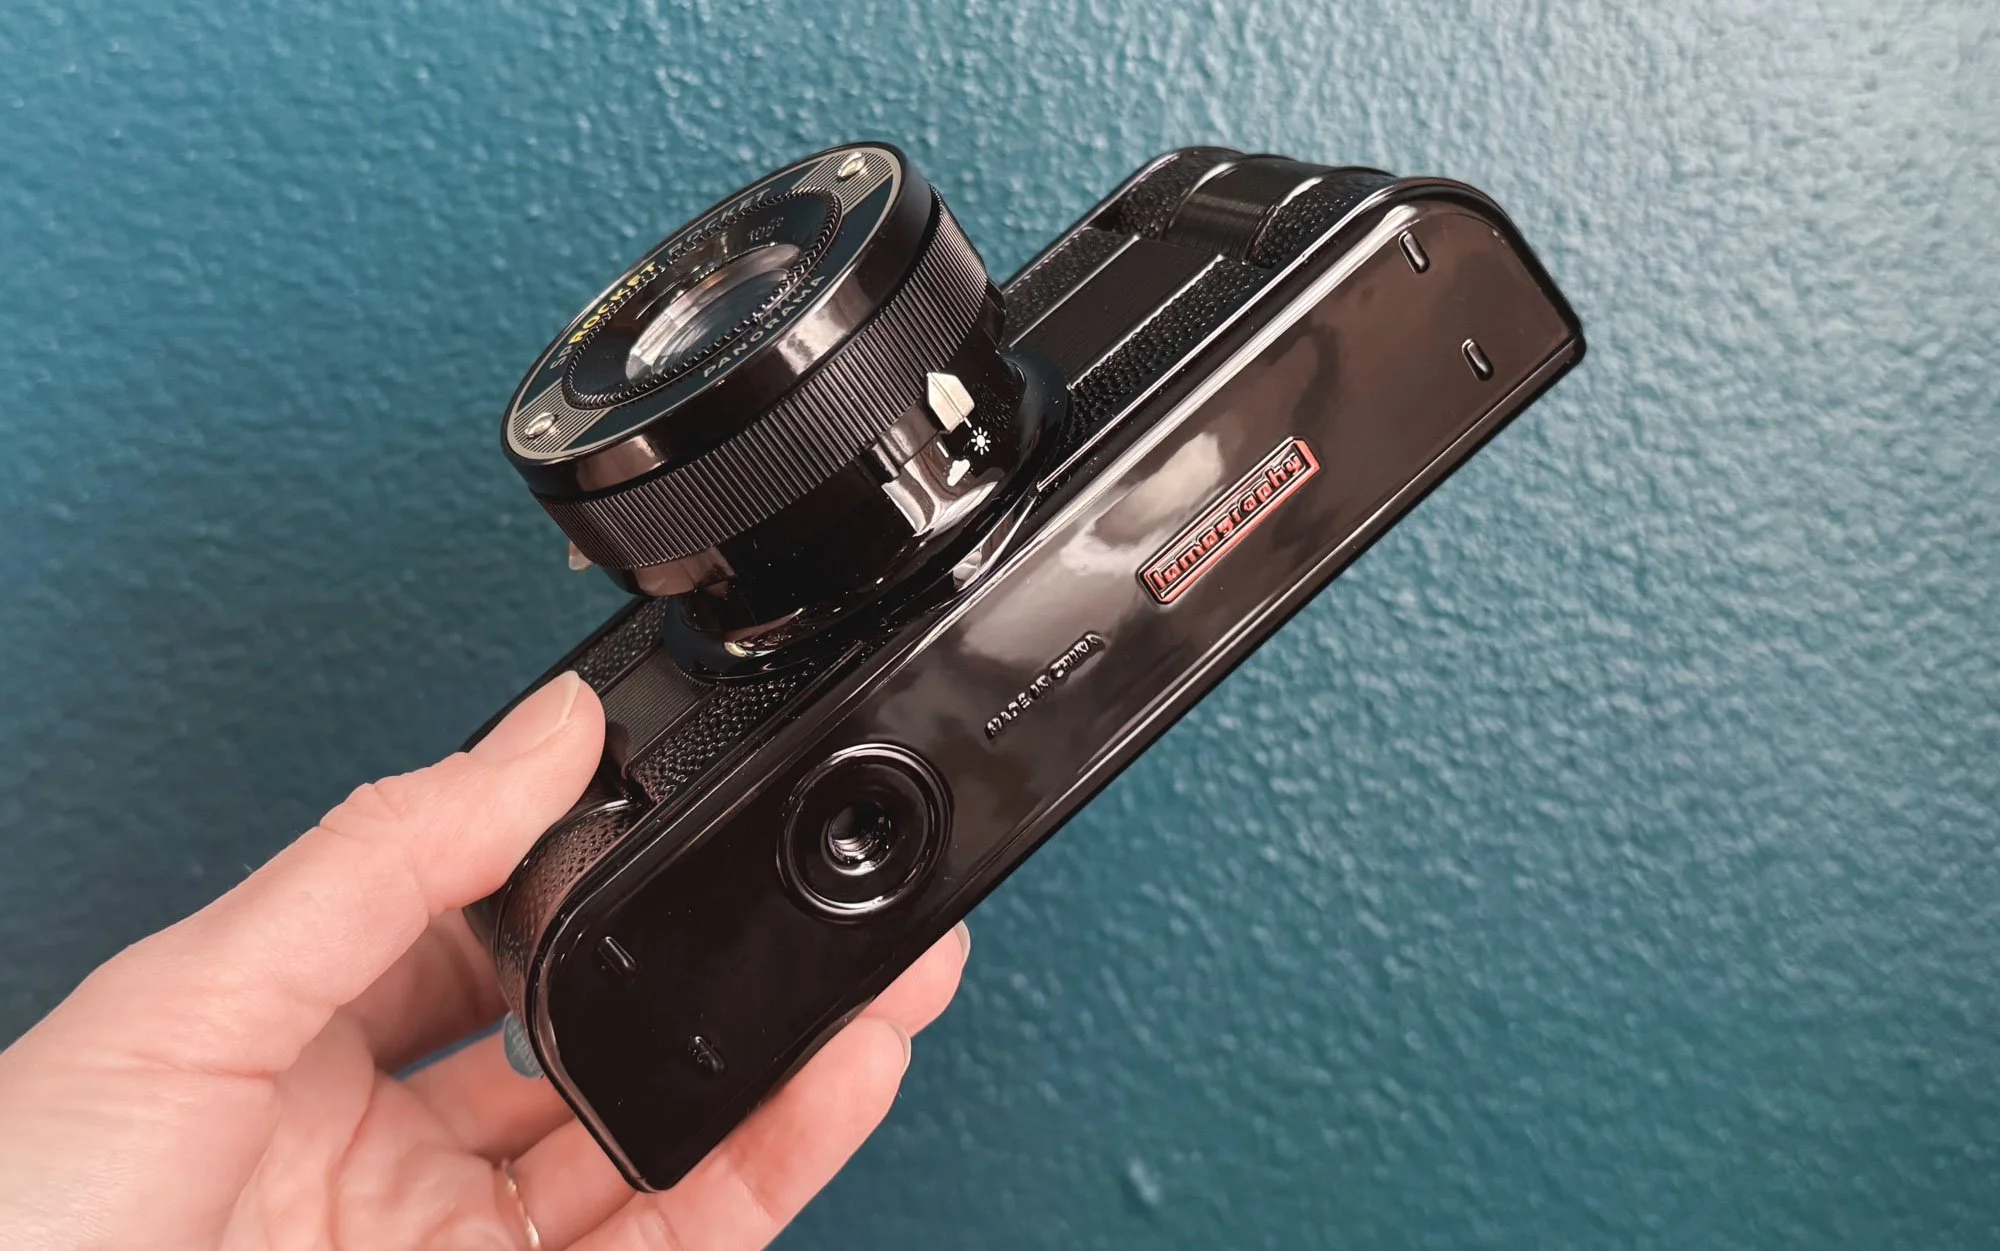
For the distance, you are able to set the focusing distance of the camera by turning the front of the lens. You have the option of 0.6 - 1m or 1m to infinity or somewhere in between. I typically leave it on infinity unless I’m super close up to a flower or something similar.
For the aperture, on the bottom of the lens there is the option of “sunny” or “cloudy”. The sunny option is f/16 and the cloudy option is f/10.8. I always leave it on the cloudy option just because I like to let in as much light as possible.
For the shutter options, you have a setting on the lens that says “B” (bulb) or “N” (normal). You probably mostly want to keep it on N unless you plan on doing long exposures. The N setting is about 1/100th of a second, and the B setting keeps the shutter open as long as you are holding down the shutter button.
The sprocket rocket has a hotshoe if you’d like to attach a flash but that’s it! You’re ready to start shooting right away!
The only thing that bugs me is that there is no shutter lock, so sometimes the camera can go off in your bag. You have to be so careful! The “B” and “N” setting can move around too so just make sure to check it every time you pull it out of your bag! Or just use the strap and carry it around so you don’t have to worry about all of that. :)
FINAL THOUGHTS
I love this camera. Not just because it’s affordable and lighthearted, but because it’s super simple but can create incredibly unique and surprising photos. You can definitely impress your friends and family with these photos because the whole concept seems like it would be difficult to create and that you need a lot of photography knowledge, but it’s really not that complicated when it comes down to it.
Now, I did have a bit of a time trying to figure out how to scan the negatives. I scan all of my own film. I use an Epson Pro V750 and it comes with 35mm film holders, but if you put the film in the holder, it covers the sprockets, which defeats the whole purpose of the camera! It took me some time to figure out how to scan the negatives with the sprockets showing but discovered I could use my 120 film holder for more space around the images and that worked! If you send your film off to a lab for developing and scanning, just make sure you let them know ahead of time that you want the sprockets showing and hopefully they can help you out. Or you can pick up a fancy film scanner like the Epson Pro V850 (the newer version of the one I use) or the Lomography DigitaLIZA+ Scanning Kit which is only $80 and was created by Lomography precisely for scanning film from their cameras.
I hope you have as much fun with your Sprocket Rocket as I did! I’m shooting through my second roll now and can’t wait to see what I end up with. I love film photography so much!
WHERE TO BUY THE LOMOGRAPHY SPROCKET ROCKET
B&H PHOTO - (I always recommend B&H Photo because they have amazing customer service, super fast shipping and a great return policy!)
Thanks so much for stopping by! If you’re interested in finding out about some of my other favorite film cameras, make sure to check out my post, the Top 10 Best 35 mm Film Cameras for Beginners. And if you need some film recommendations, try my post The Best Color Film for 35 mm Cameras | Top 5 Best 35 mm Color Films. Or try out these options to start with!
FILM RECOMMENDATIONS
LOMOGRAPHY COLOR NEGATIVE 400 (the film I used for the images in this post)
Stop by my Amazon storefront or B&H Storefront for more camera & film recommendations. Or sign up for my Patreon for as little as $1/month for early access to YouTube videos and photo sets that I don’t post anywhere else. :)
Have a magical day!
<3 Myles Katherine