What is a Double Exposure / Multiple Exposure in Film Photography and How Do You Create One?

Updated July 5, 2026

This is probably one of my most frequently asked questions. If you follow my work, you know I’m obsessed with double exposures and multiple exposures. At this point, I won’t even buy a camera if it doesn’t have the capability to create them! But what exactly is a “double exposure” or “multiple exposure”? And why would you want to make one?

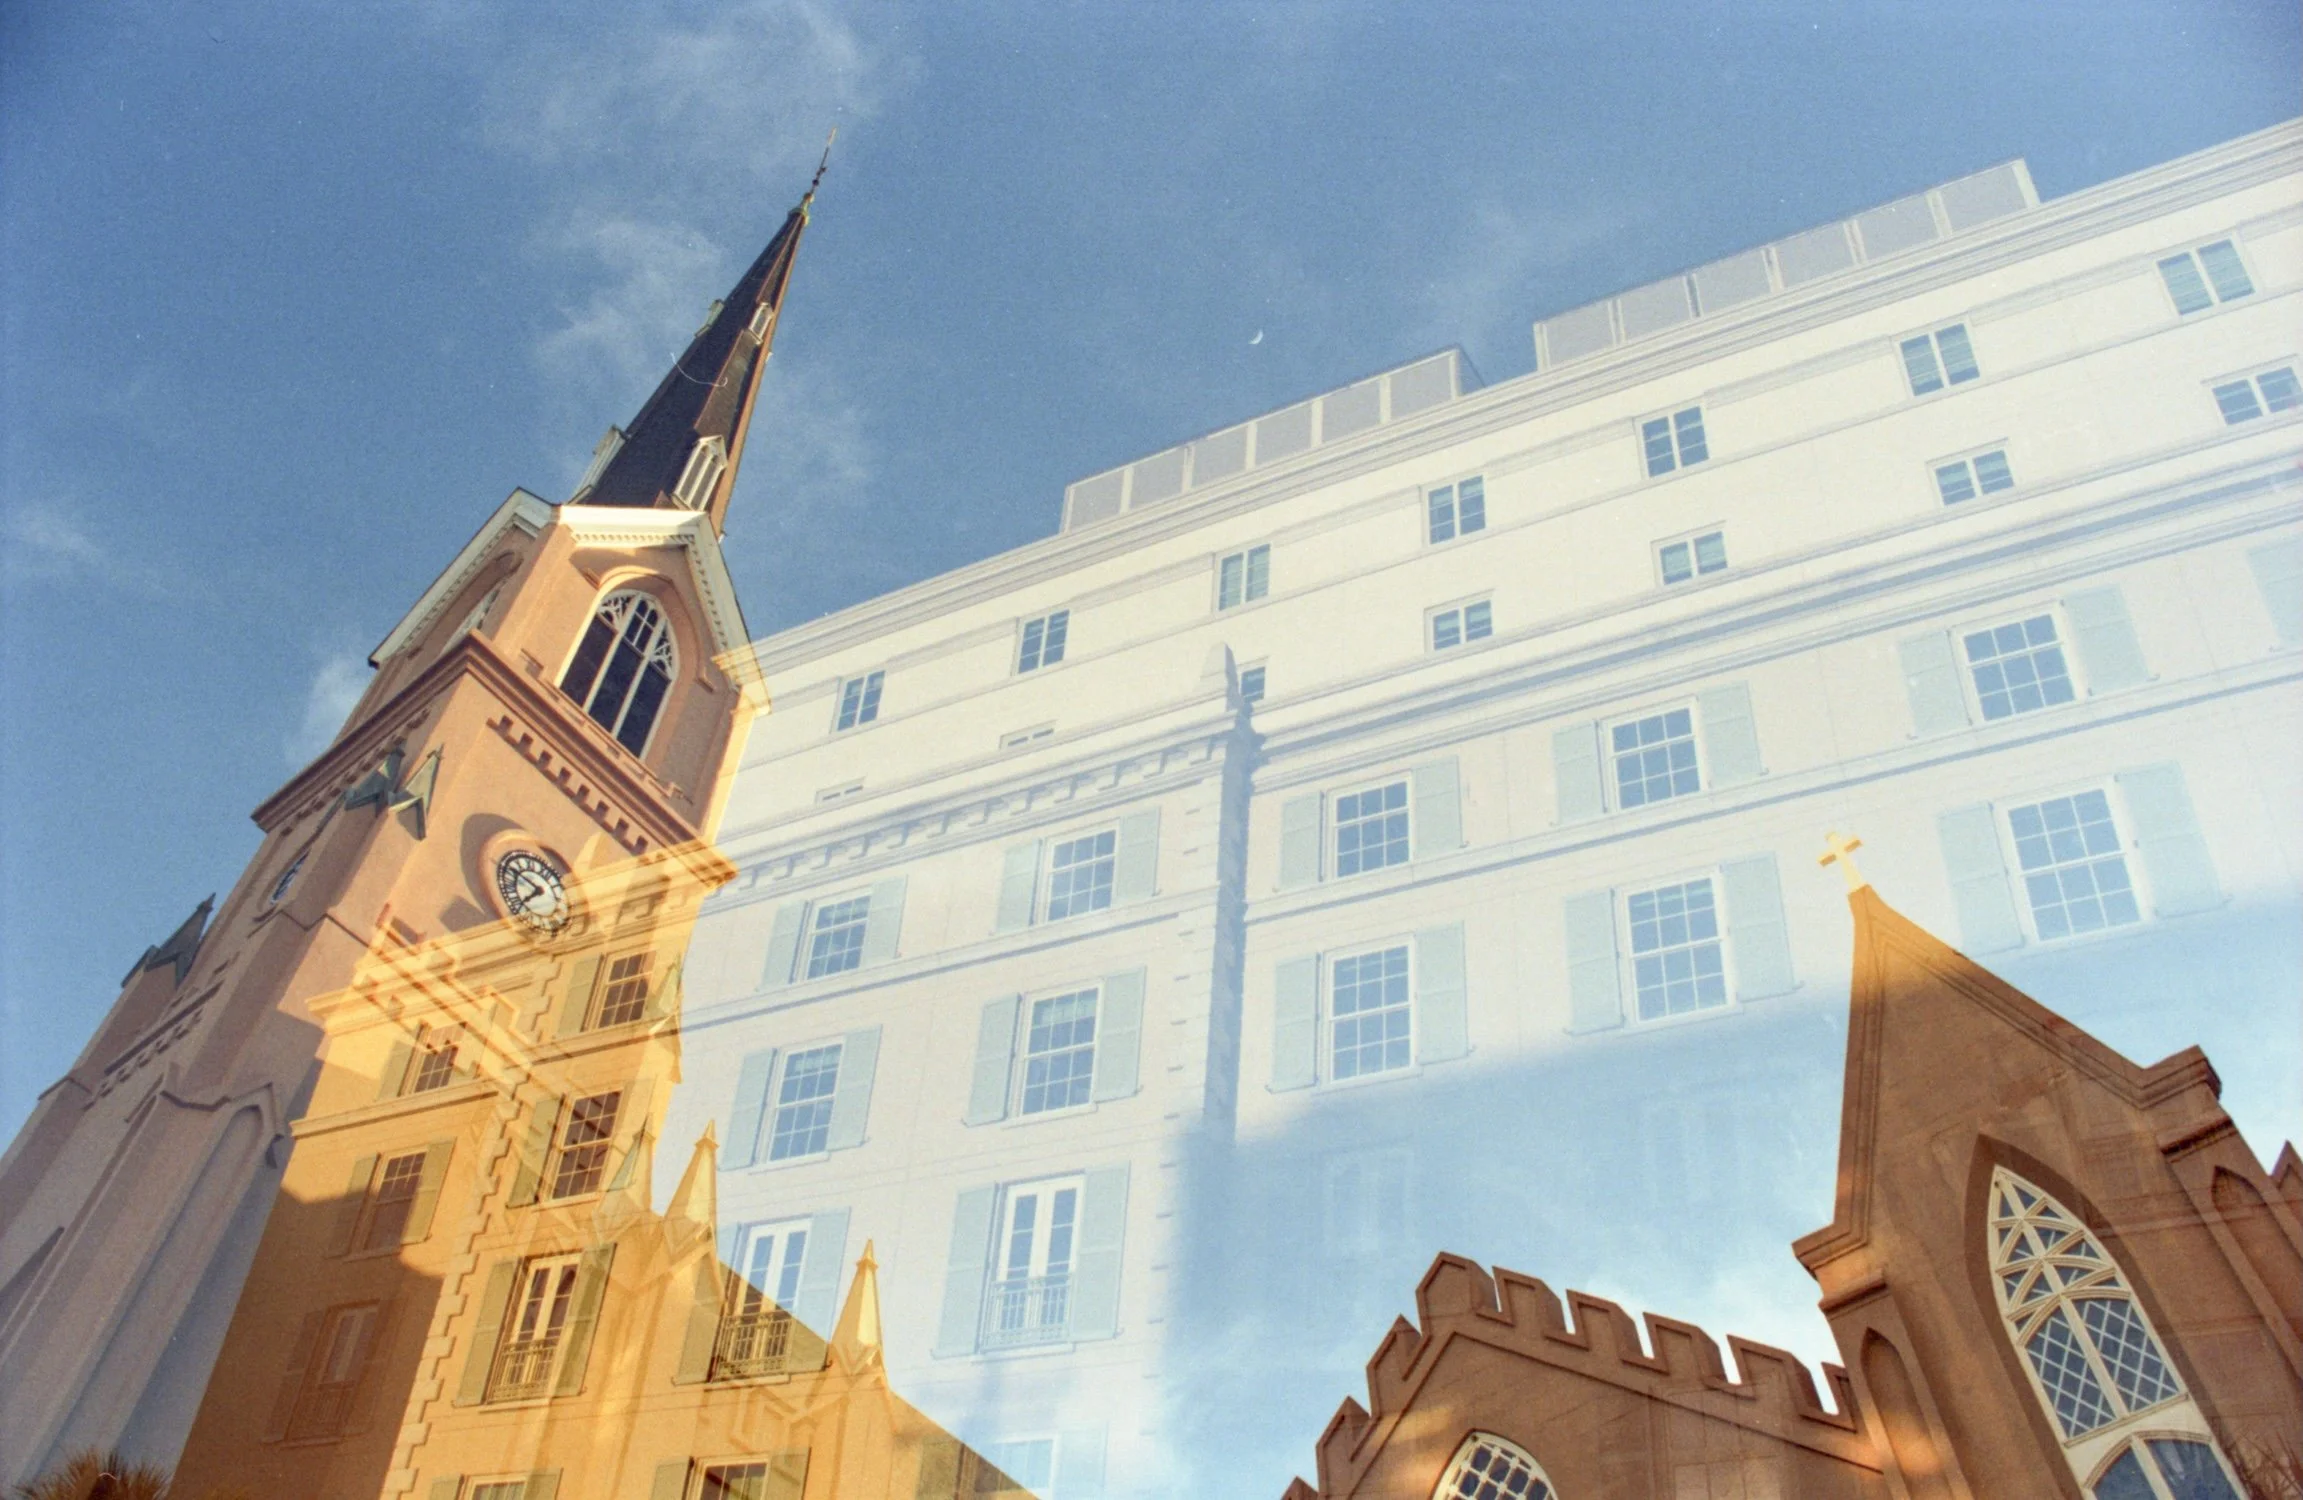
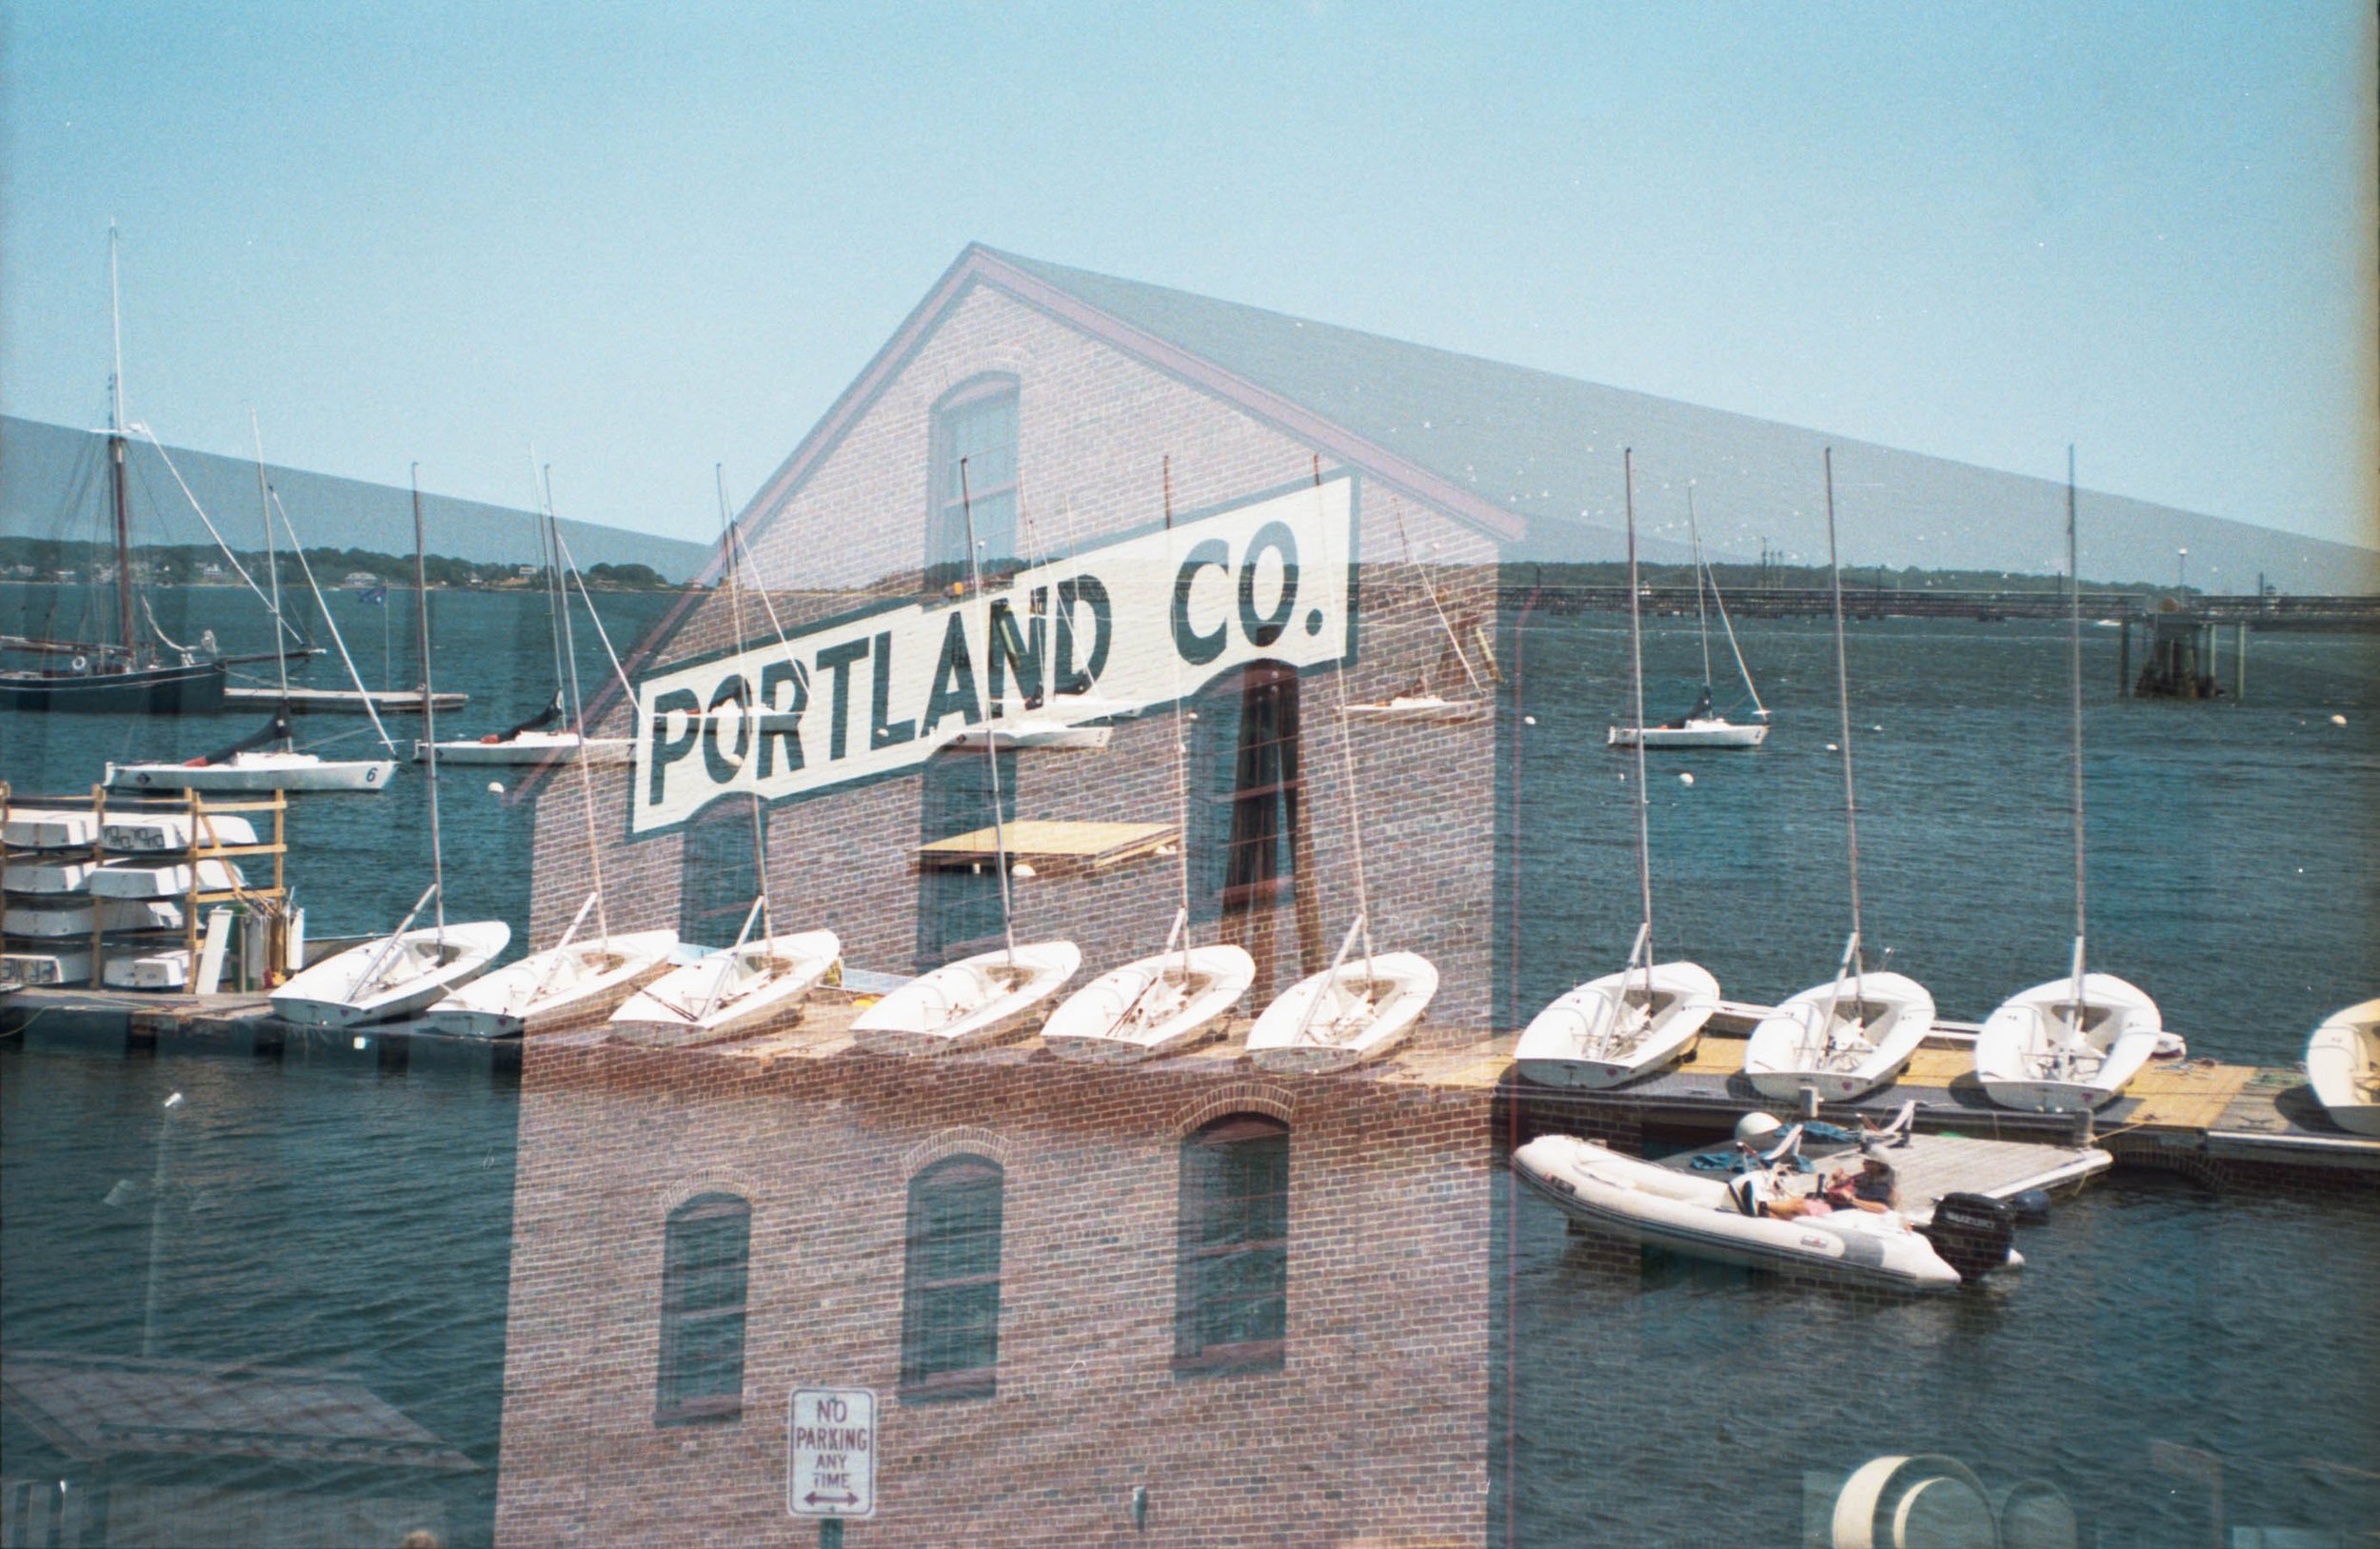
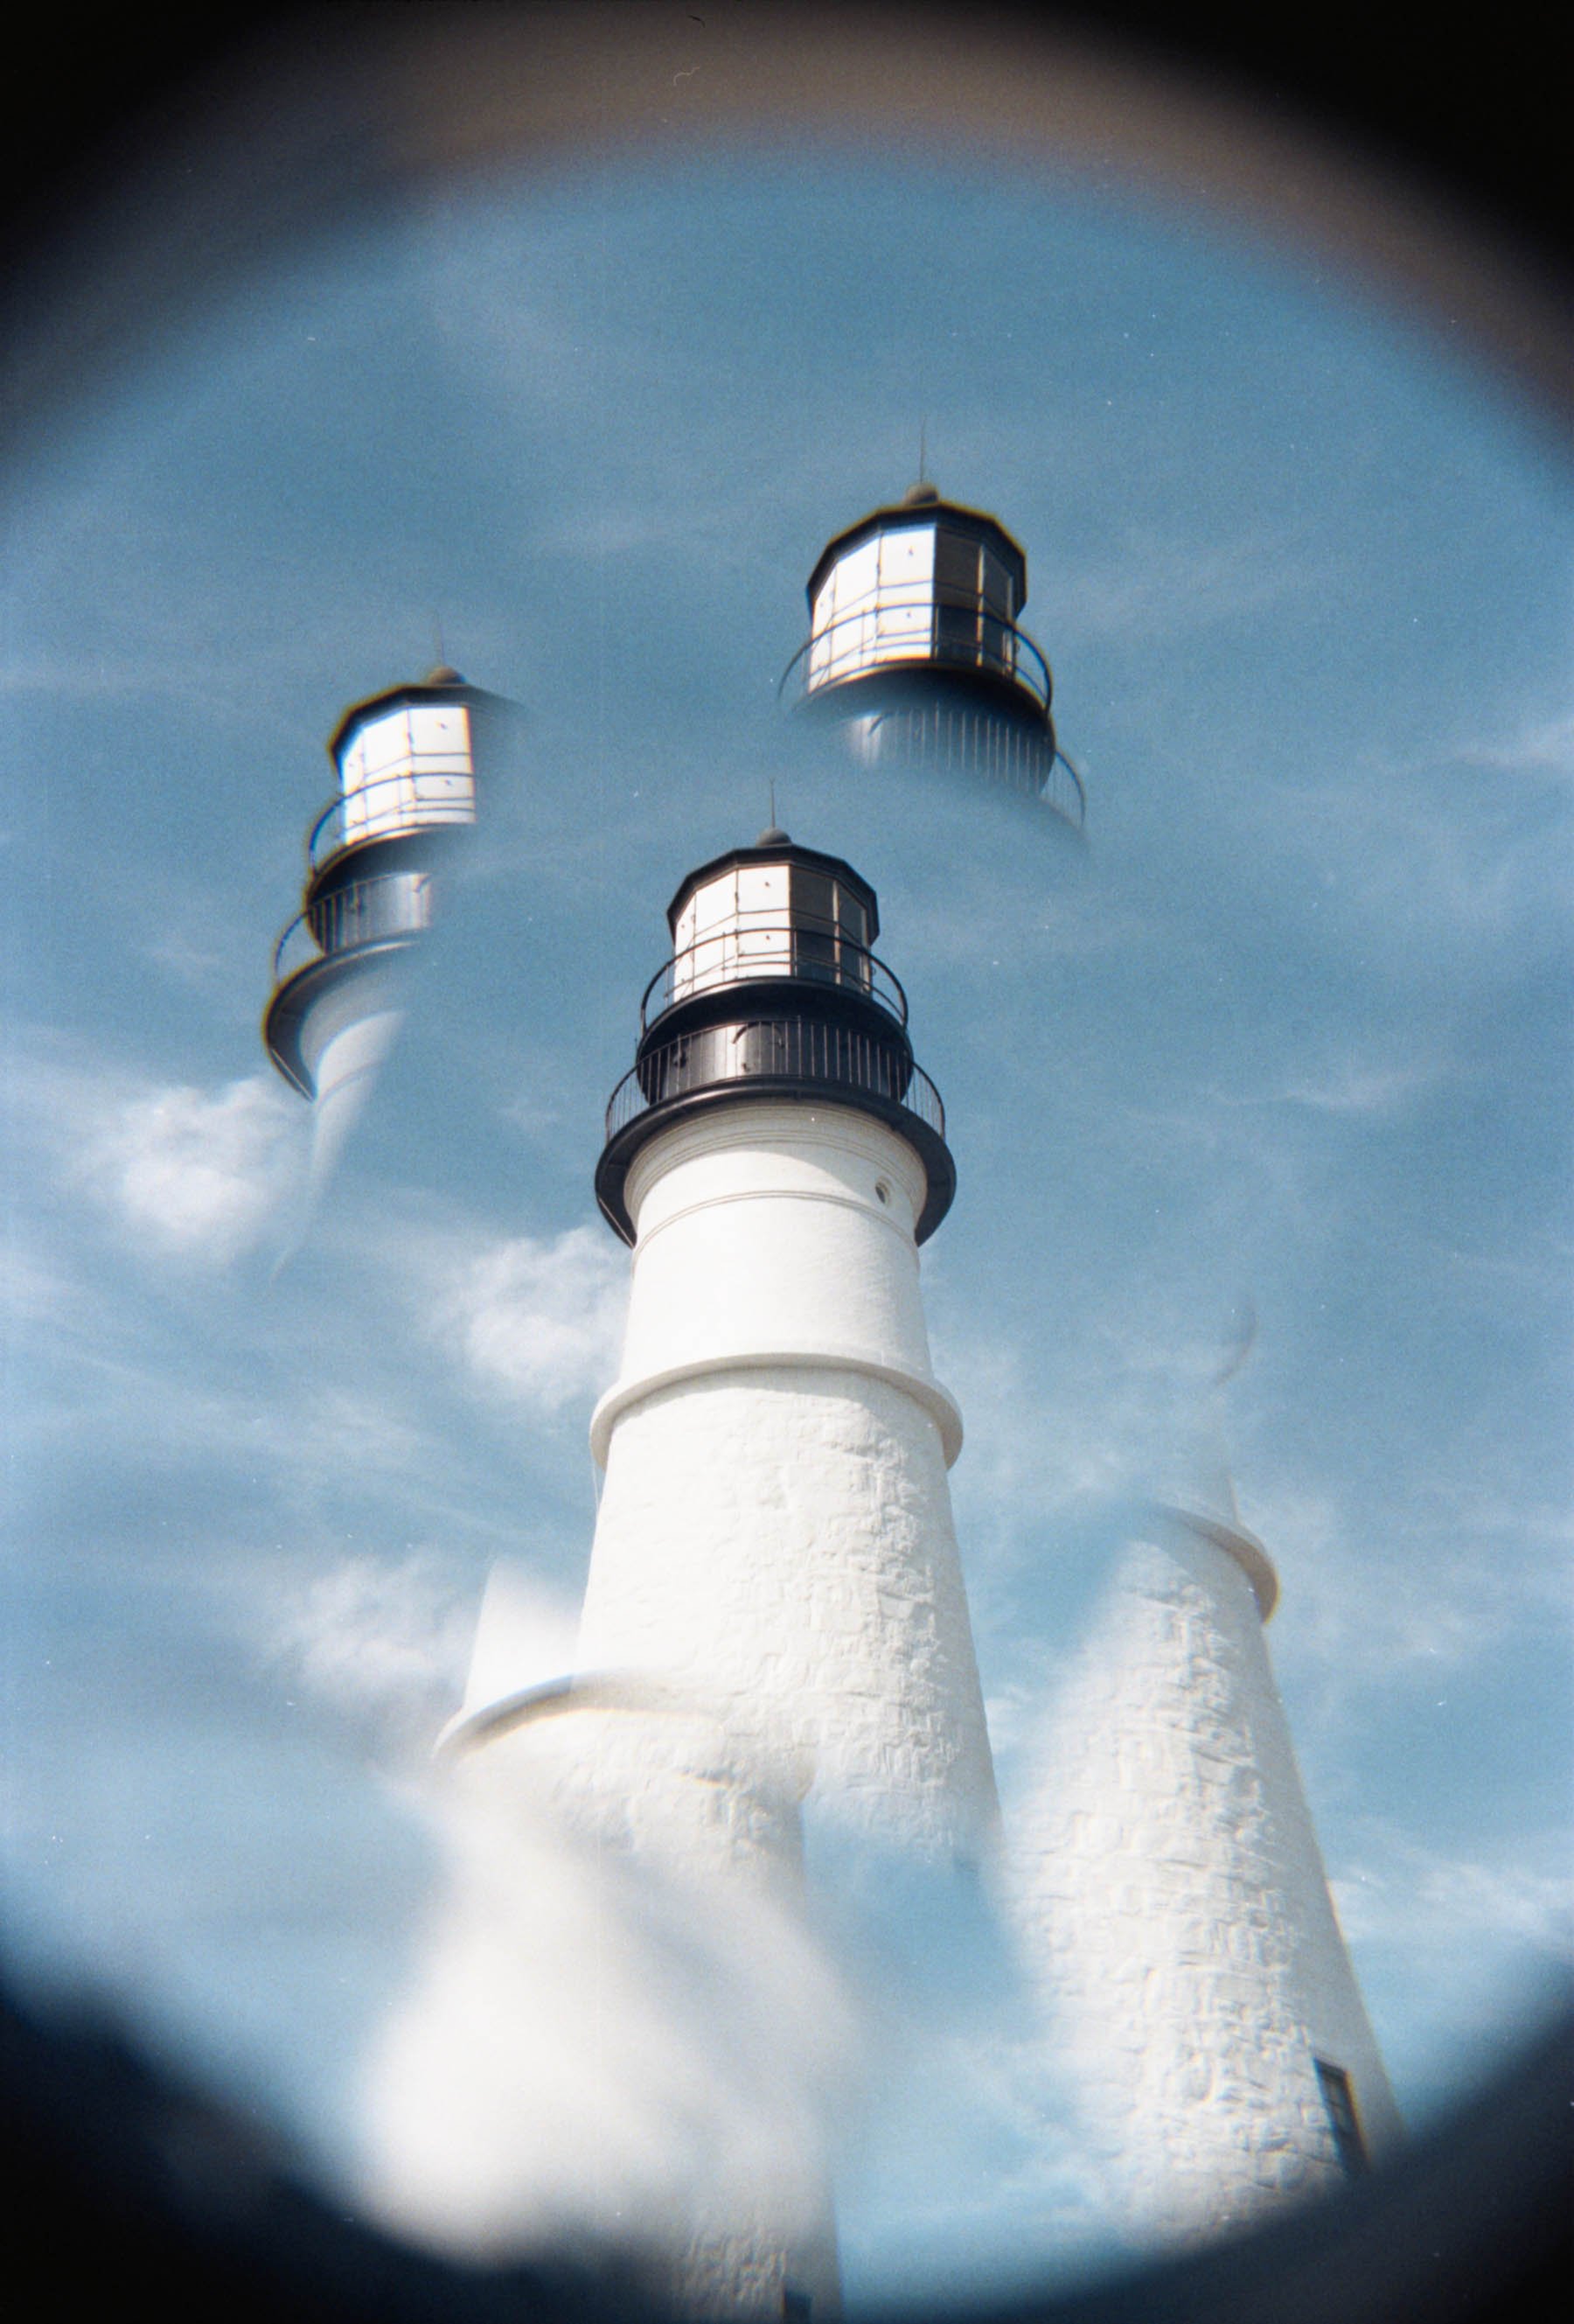
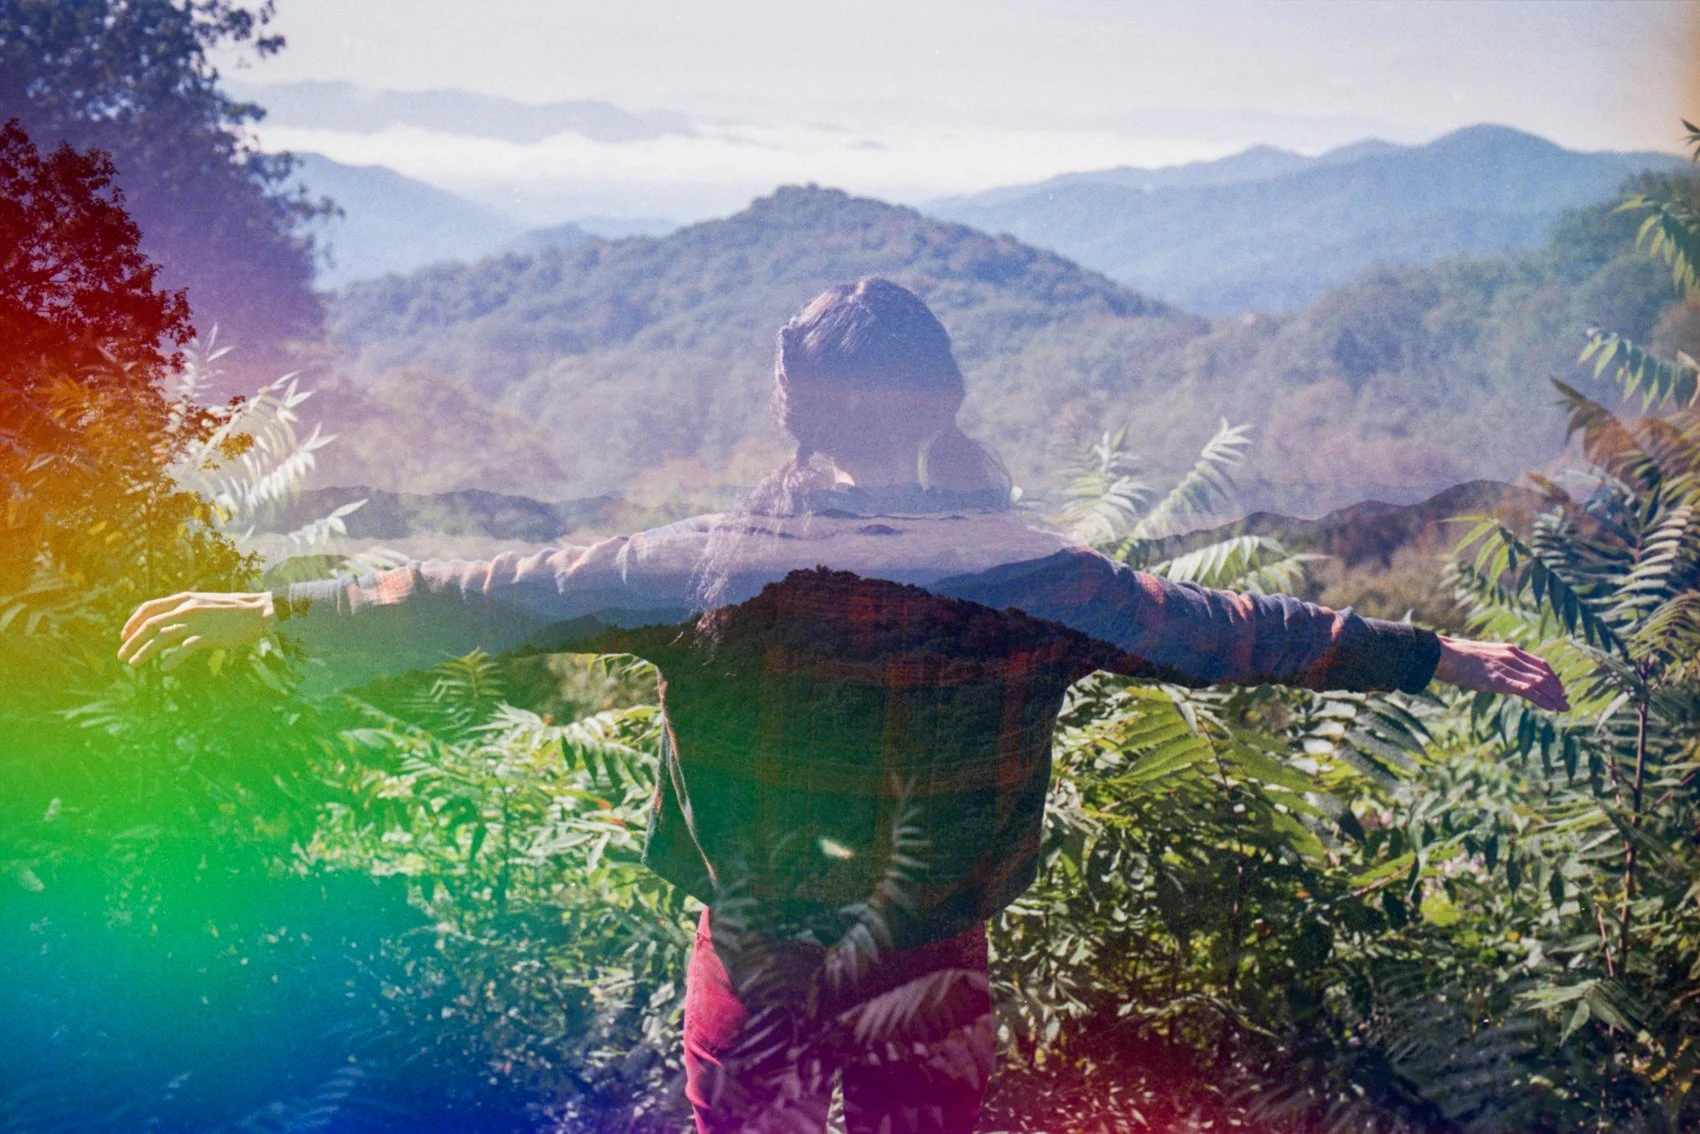
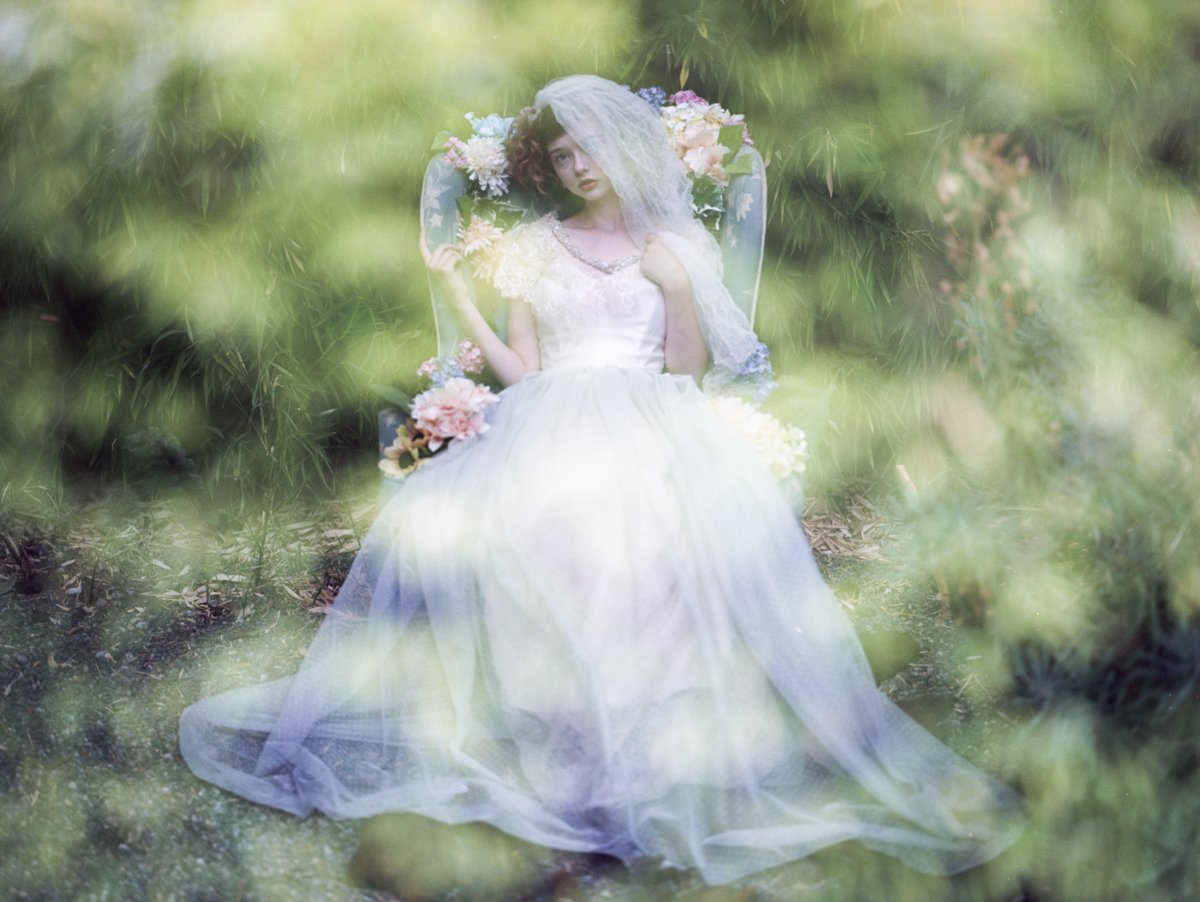
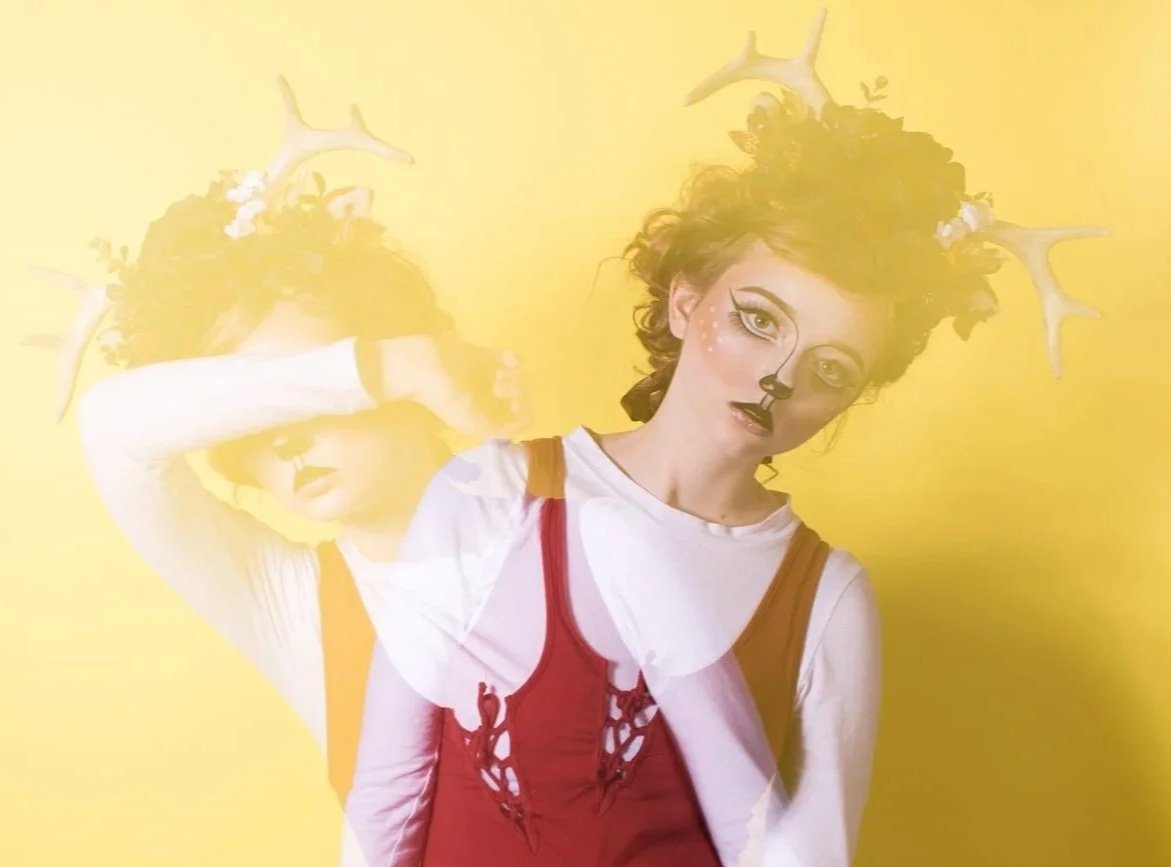
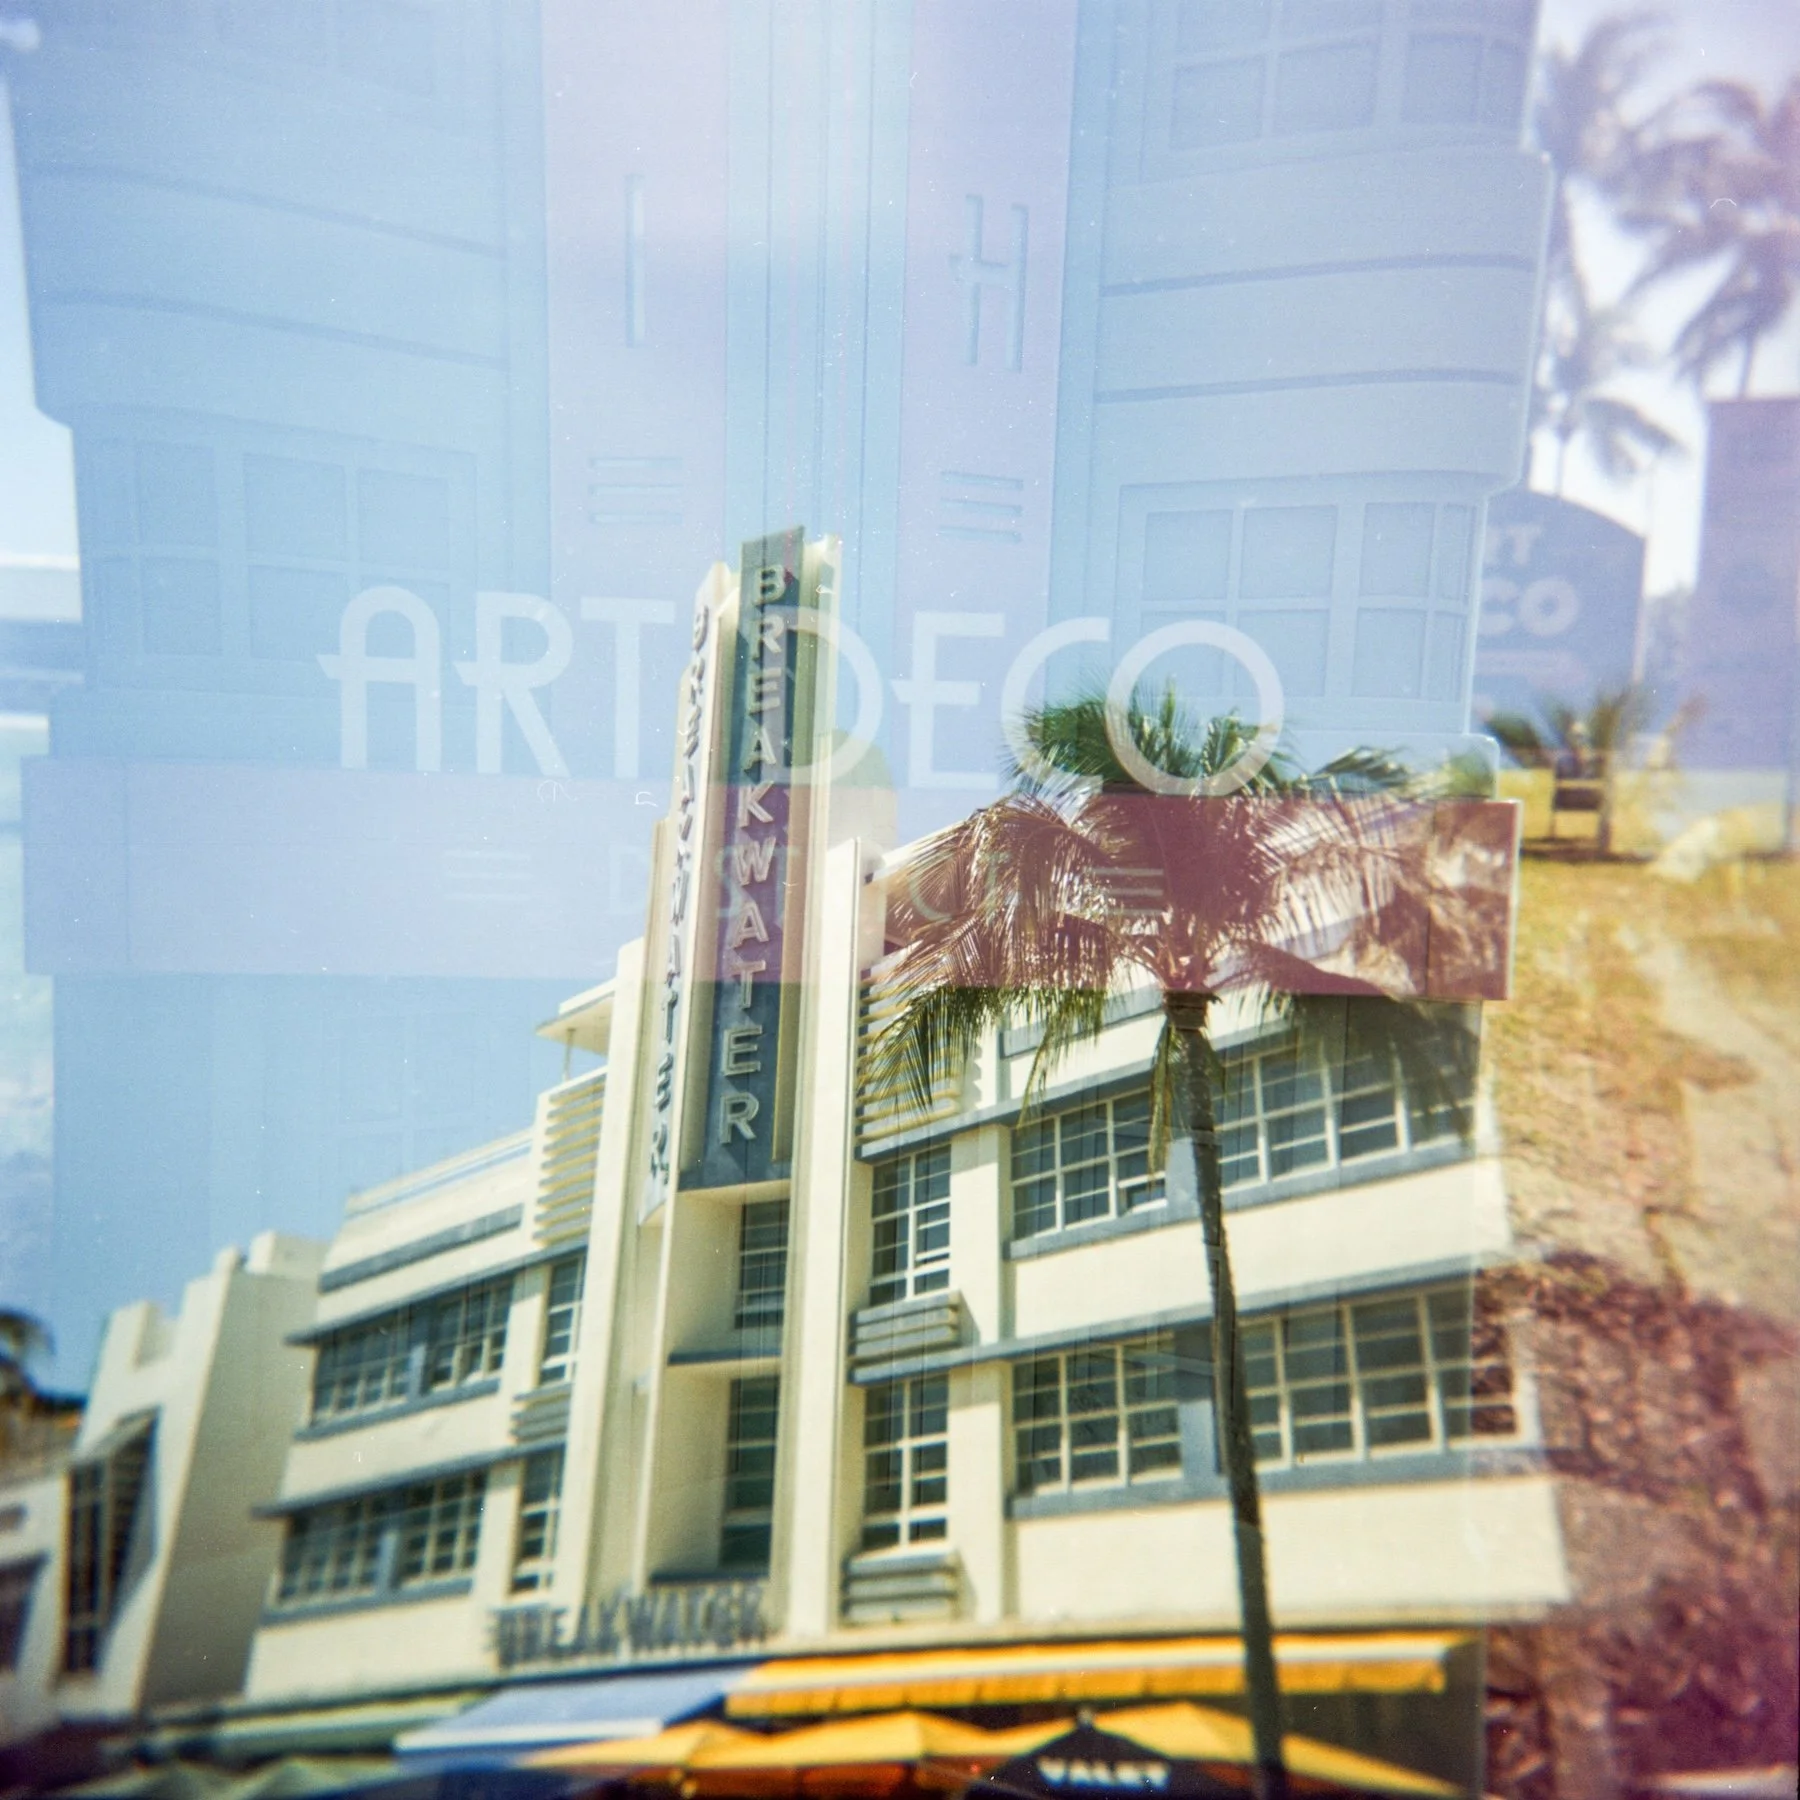
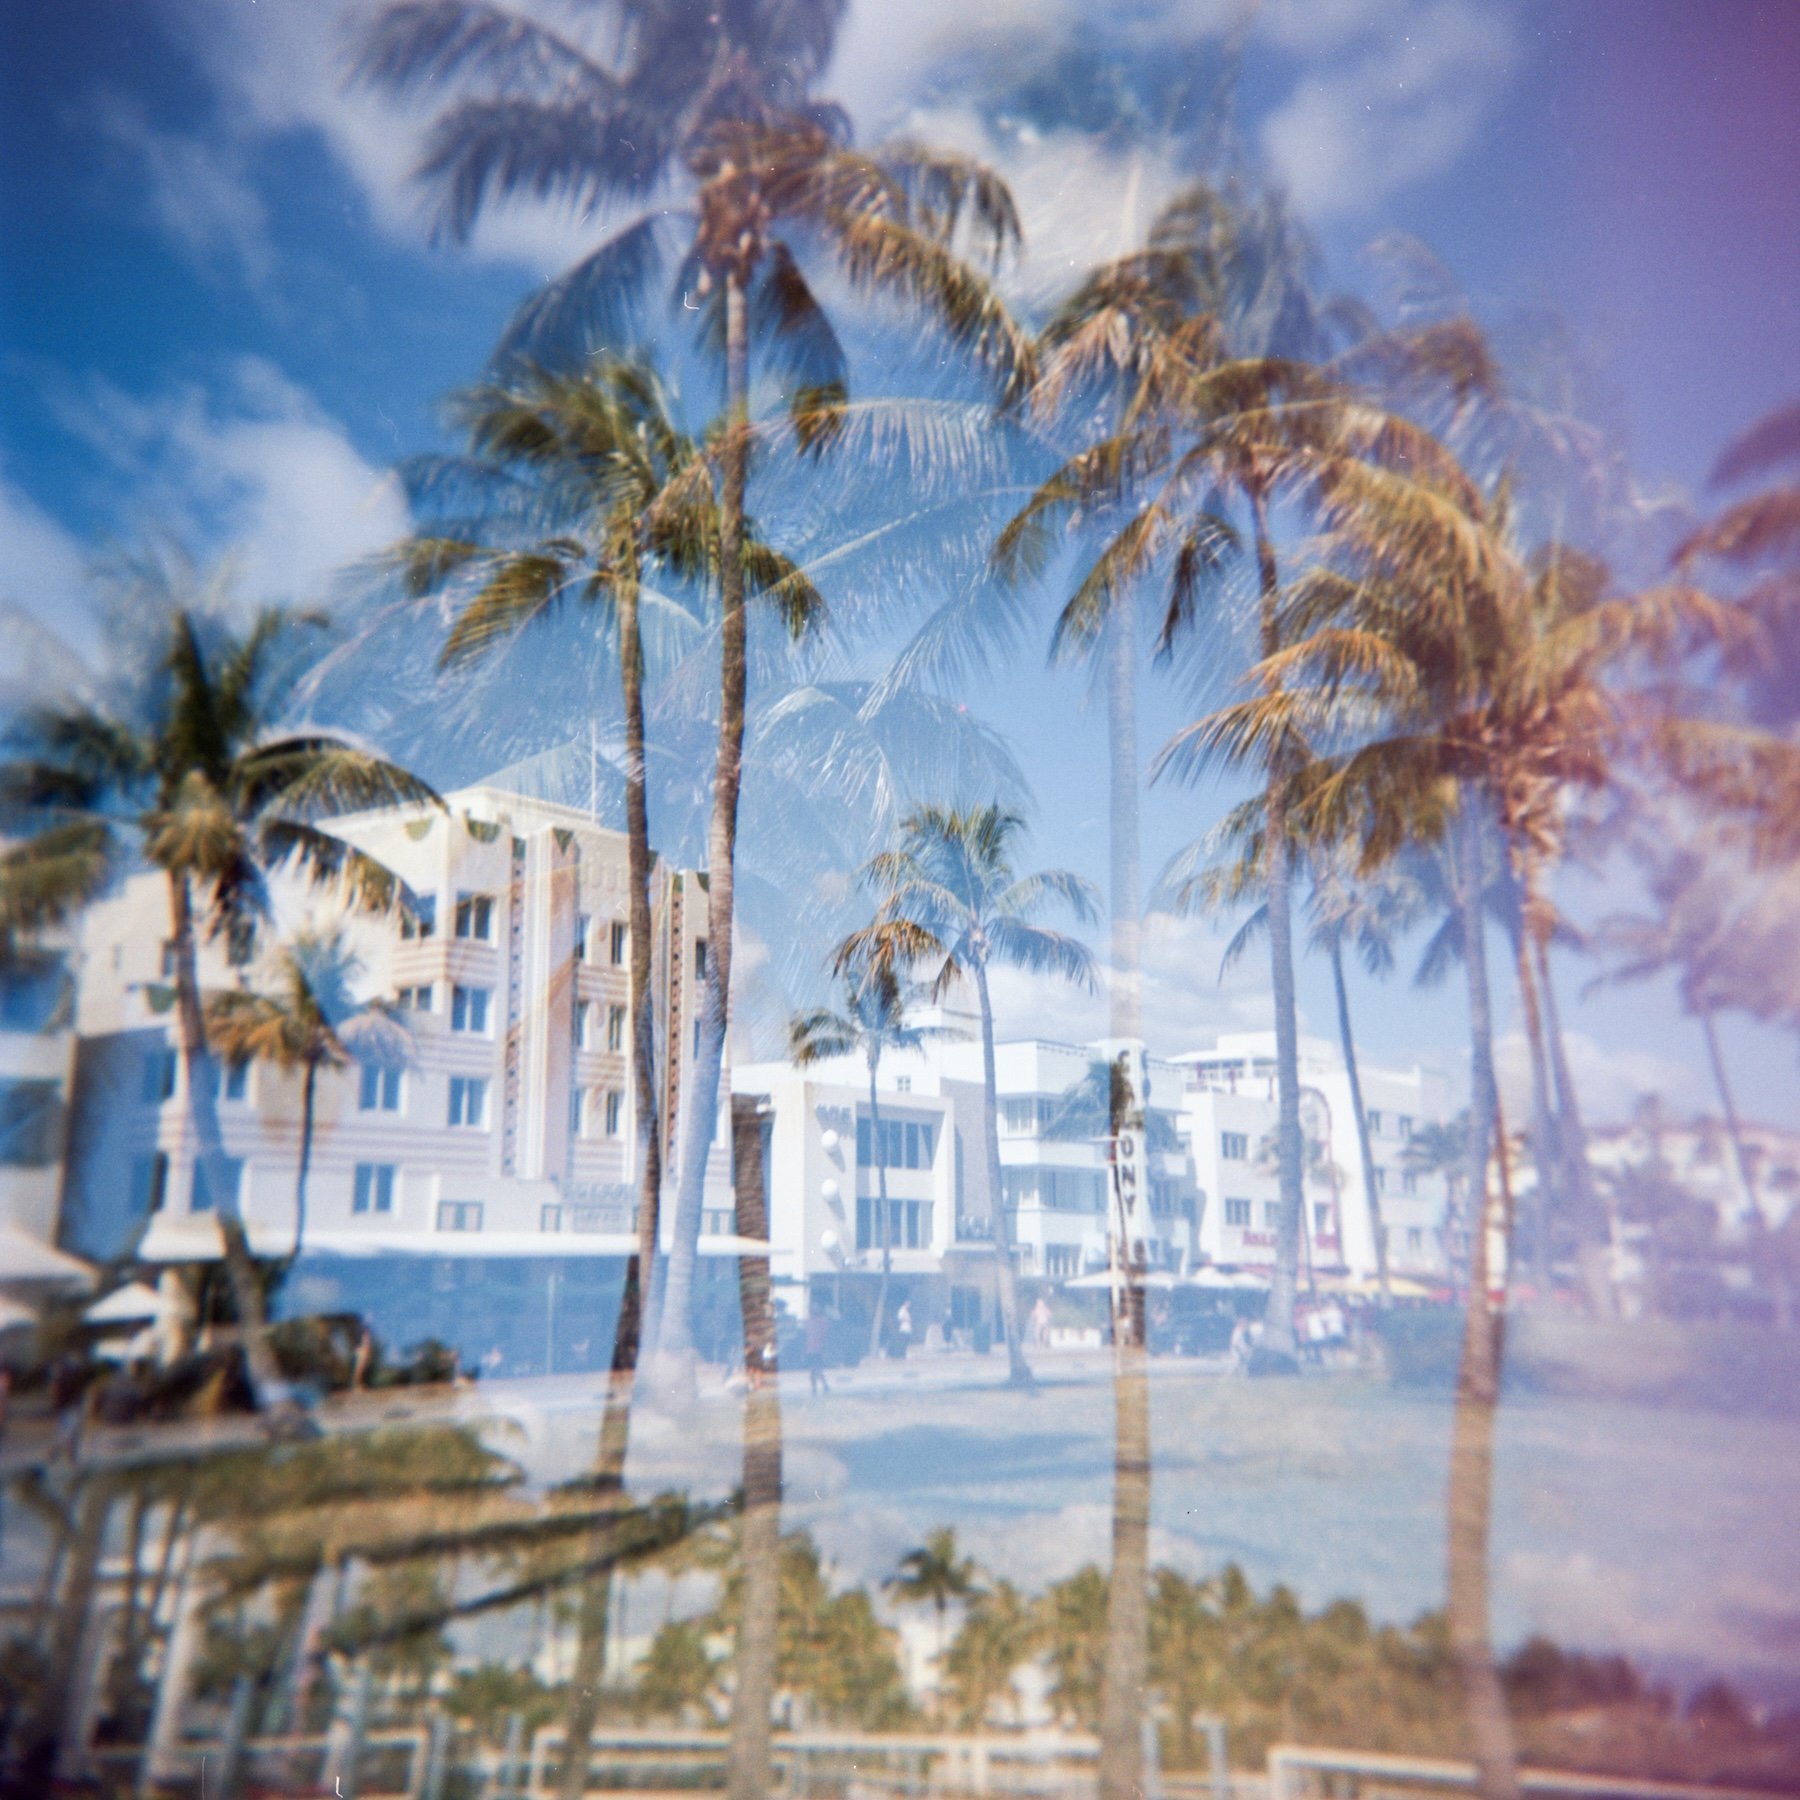
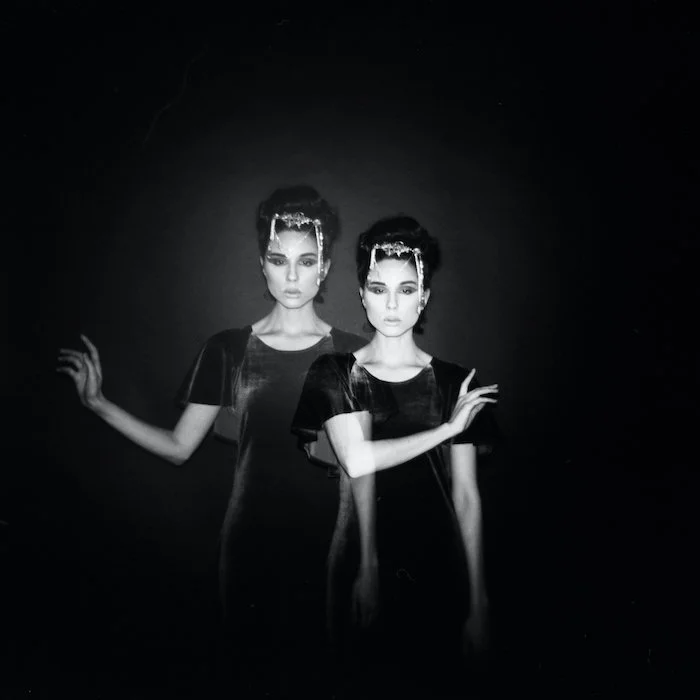
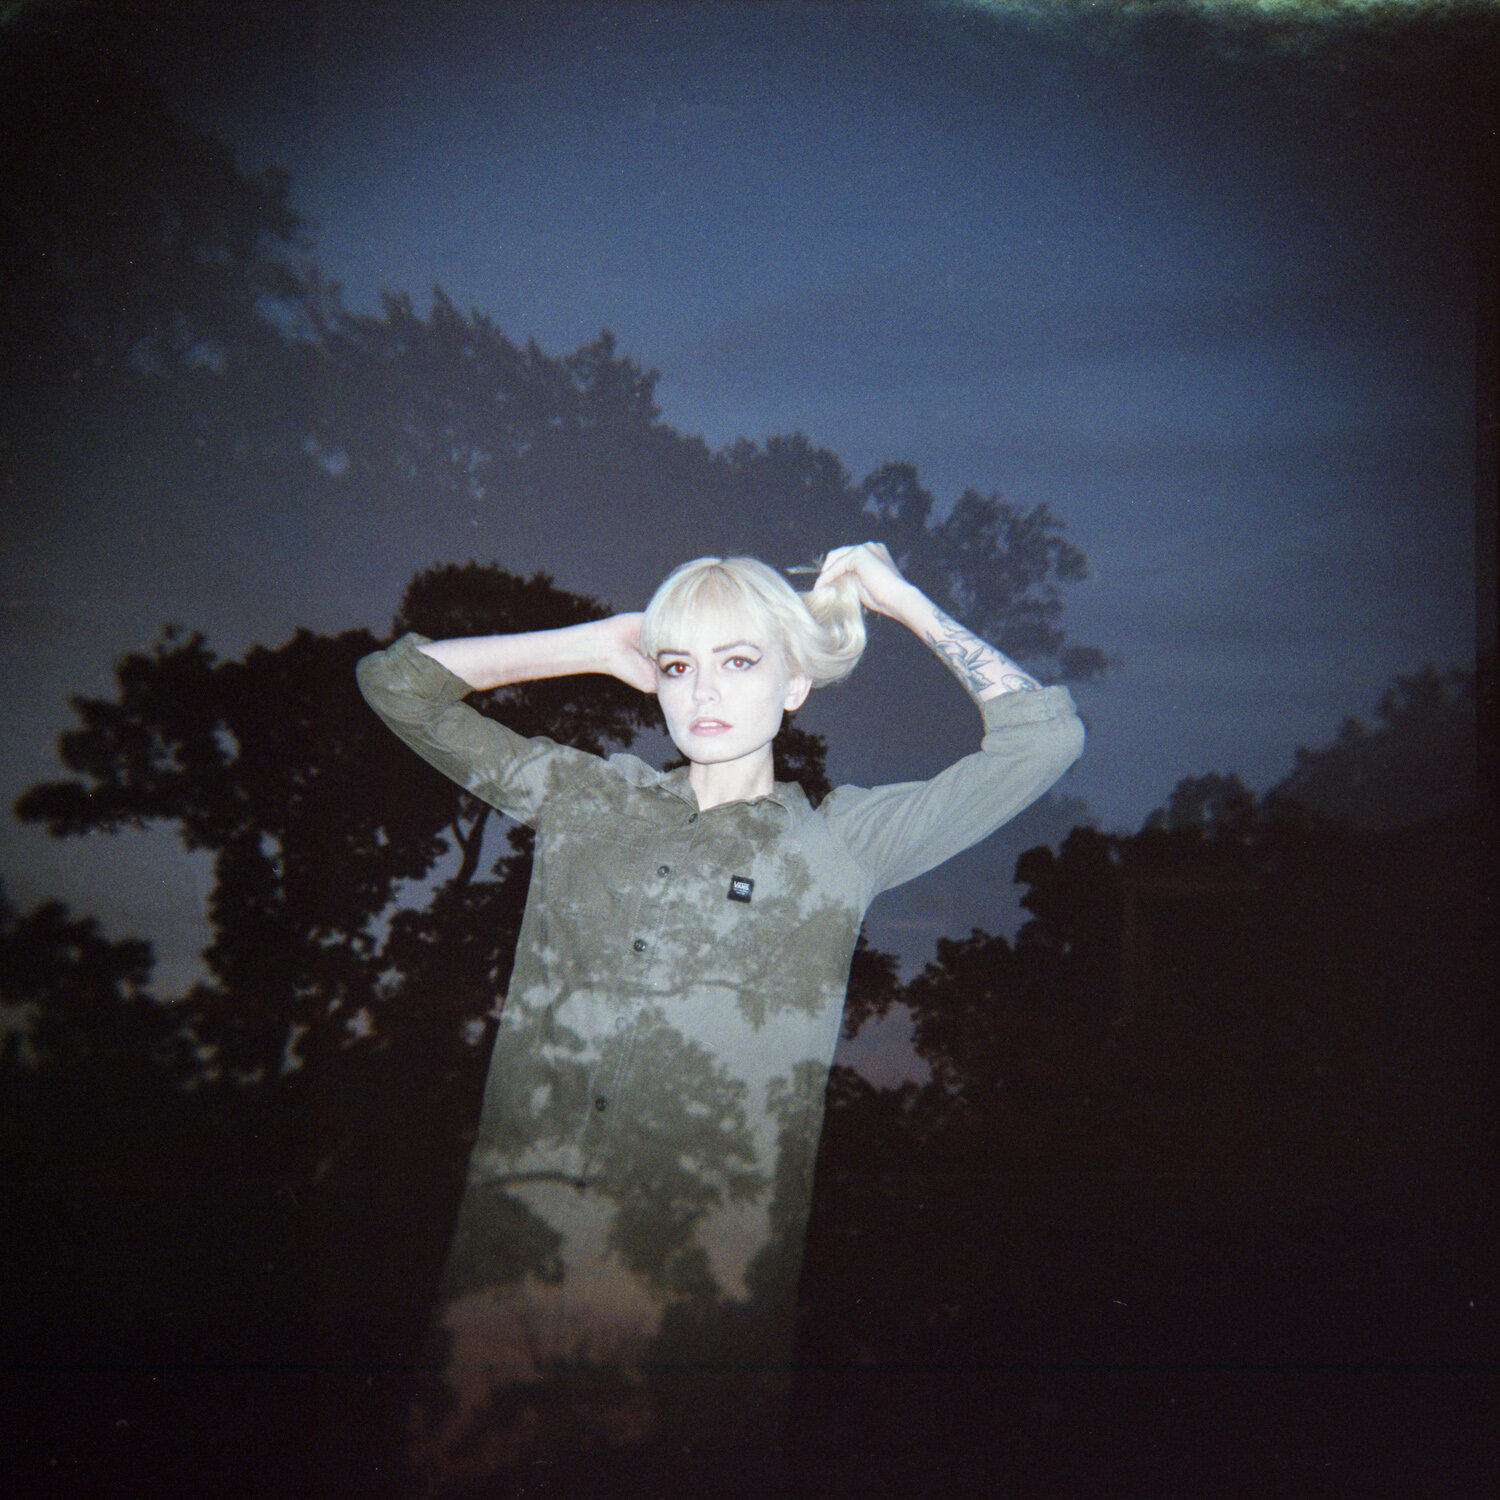
Well, it’s actually much more simple than you’d think. It’s essentially just an image over top of an image. For example, a “double exposure” is just one image with a second image taken over top of it. In film photography, it means the shutter was activated twice over the same film frame. Thus, the film was exposed twice, creating two images, one over top of the other. A “multiple exposure” is typically more than two images over top of each other. You could also refer to them as “triple exposures” or “quadruple exposures”, etc.

And for me, I love creating them because they are entirely unique. Anyone can take a standard photo of a popular landmark, like the Eiffel Tower, but if you create a multiple exposure of it, it suddenly becomes a surreal and unusual way of capturing it. I never want to be just like everyone else, so multiple exposures allow me to be more creative and look at the world a little differently.

Not all film cameras allow you to do multiple exposures (though I prefer cameras that do)! One of my favorite cameras to use for multiple exposures is the Holga GCFN. I’ve made a full video about this camera on my YouTube channel because I love it so much! It’s easy to accidentally create double and multiple exposures with this camera because you have to manually wind the film between each image. If you forgot to wind the film after you took an image, you’ll end up shooting over the same frame and creating an accidental double exposure! Honestly though, that’s the magic of the Holga camera. Many people don’t enjoy cameras without an automatic film advance because it’s way too easy to forget whether you advanced the film or not. Personally, I prefer to have full control over my images and I don’t mind when those magic images happen on their own. :)

(By using the affiliate links and/or codes in this blog post, you help support Myles Katherine Photography. I may earn a small commission at no additional cost to you if you make a purchase through these links. Thank you for your support!)

A few of my other favorite film cameras to use for double exposures are the Nikon FE2 35 mm camera (check out my YouTube video on this camera) and Contax 645 Medium format camera (I have a YouTube video on this one too)! But a Holga GCFN is a great place to start because they are so affordable, ranging from about $40-70 depending on which model you go with (I always recommend the GCFN model). If you’re more interested in a 35 mm camera, I recommend reading my blog post about the Top 10 35 mm Film Cameras for Beginners.

When it comes to digital photography and multiple exposures, not all camera brands allow you to create in-camera double and multiple exposures. This is why I prefer to shoot Canon, preferably with my Canon 5D Mark IV, because they have a feature built into the camera that makes them super easy and fun to create. I also use a Canon EOS R, but I find it to be a bit slower when taking double/multiple exposures.

If you have a film camera that does not have a built in multiple exposure feature, there actually is a workaround. You can shoot through an entire film roll, remove it from the camera after rewinding it, and shoot through the roll again! You typically have to pull the film leader back out of the film canister using a film leader retriever like this one, before inserting the film into the camera again. I find this route to be a bit more complicated and time-consuming, and I feel like I have less control over the images because I can’t remember what the image was from the first roll. But if you want to be surprised and truly trust the process, this is a perfect way to do it! Plus, it’s a great way to collaborate with film photographer friends because you can shoot through a roll first and then pass it along to your friend for them to shoot through! Then you’ll end up with a full roll of unplanned multiple exposures and you just never know what you’re going to get! Things like this are why I love film photography so much!

The secret to creating amazing double exposures and multiple exposures is to EXPERIMENT. Try shooting different textures, landscapes and portraits, and mix and match to see how it all turns out. It’s really just all about having fun and not having expectations. I’ll be sharing a blog post soon with a few tips and tricks on creating unique images, so make sure to check back!

If you found this post helpful in any way, I’d love it if you considered signing up for my Patreon! For as little as $1 a month, you’ll get early access to all of my YouTube videos, plus tons of photos that I don’t post anywhere else. Depending on which tier you choose, you could also receive seasonal prints and/or discounts! I always use all of the proceeds towards cameras, film & processing.

If you have any questions, I’m always happy to help! You can contact me here, or leave a comment below! Thanks so much for stopping by! You can also check out my B&H Photo storefront & Amazon Storefront for more camera/film recommendations. :) Have a magical day!

<3 Myles Katherine
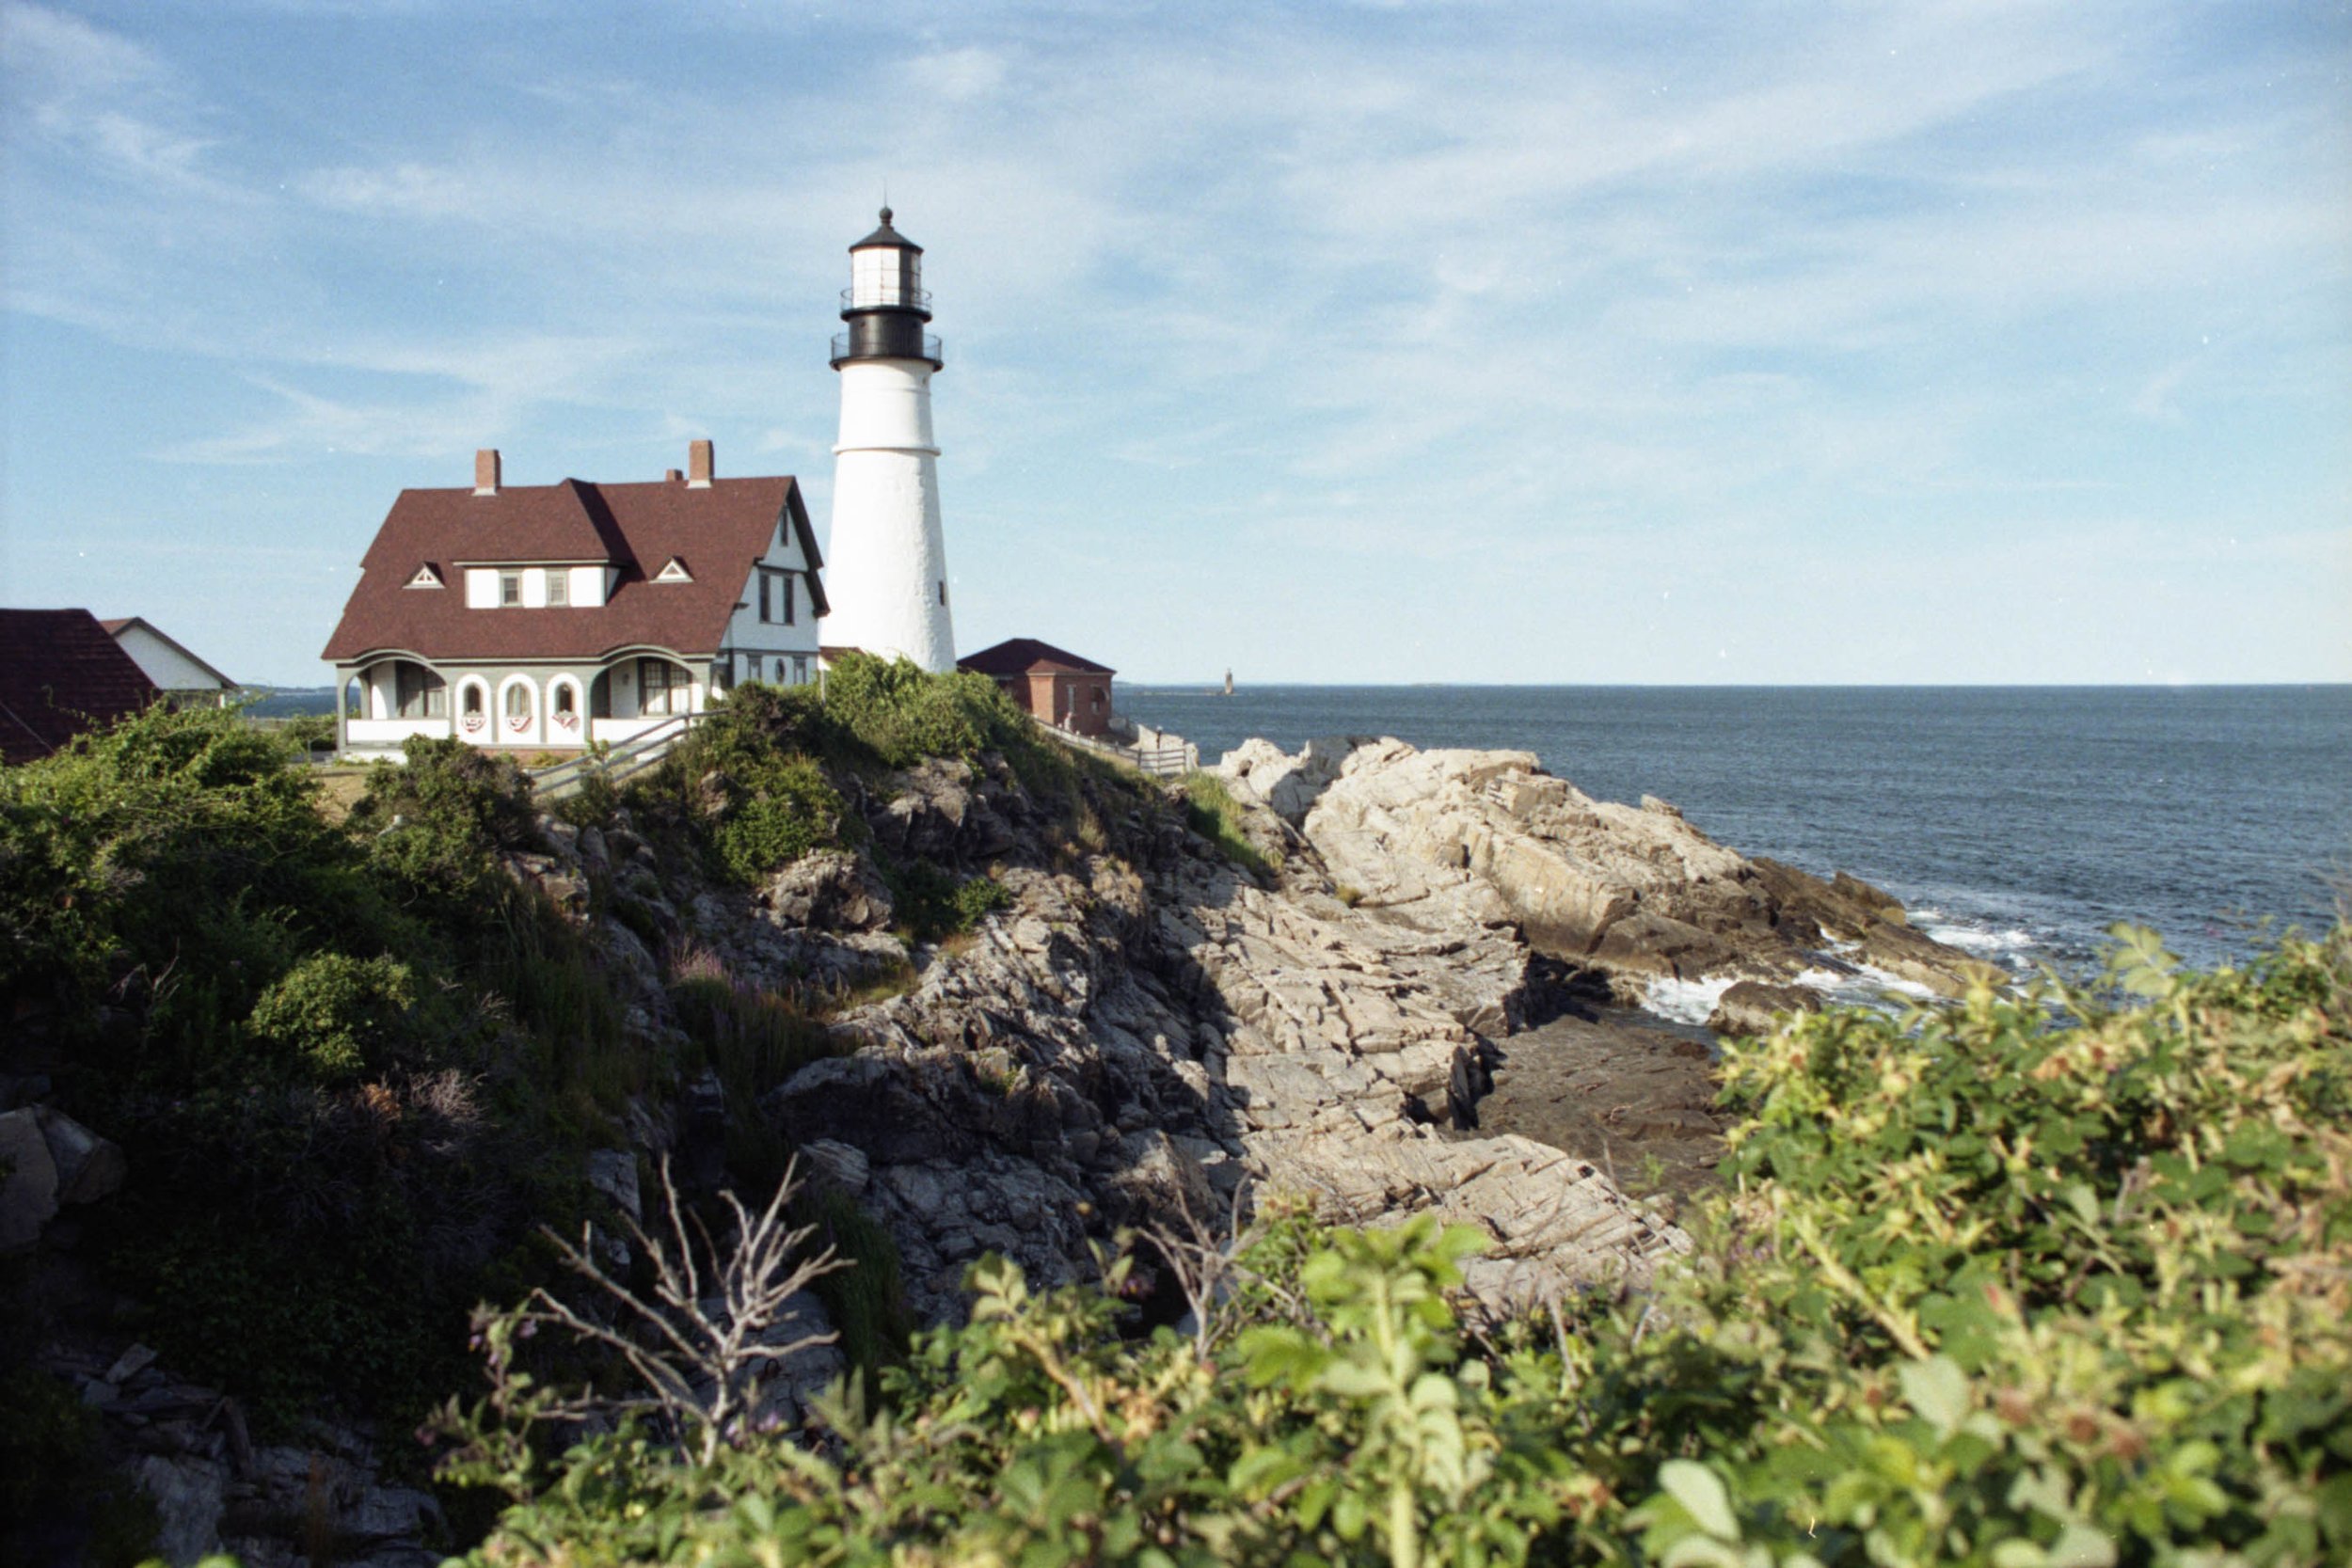

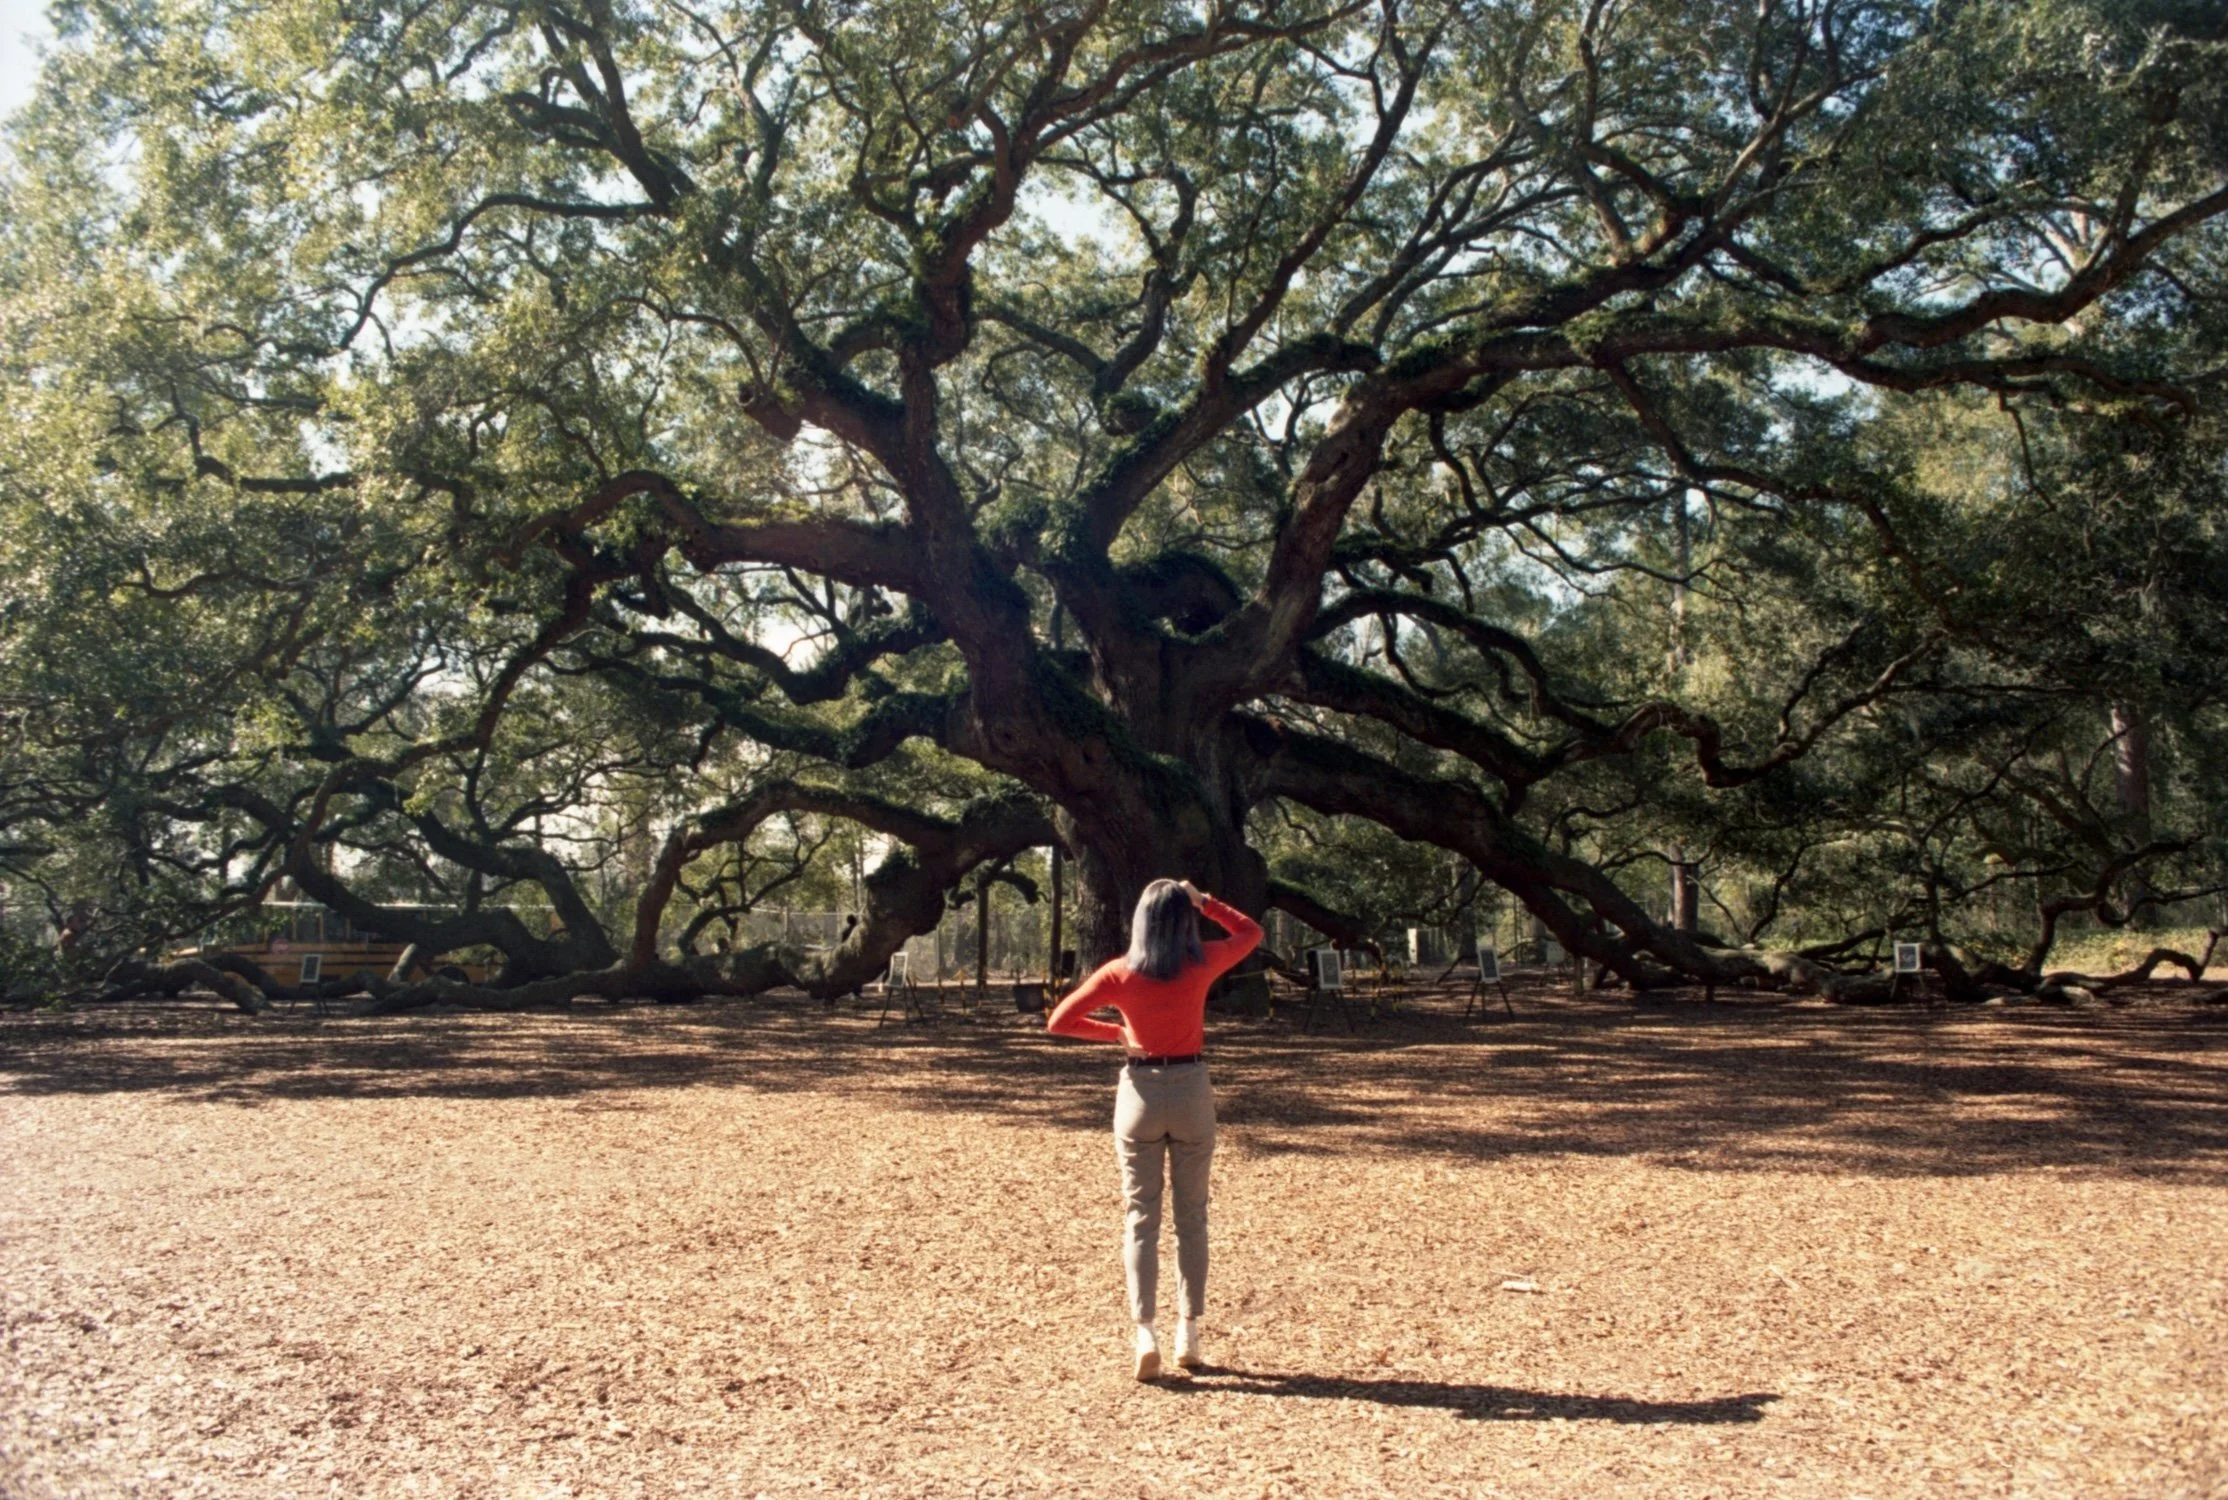
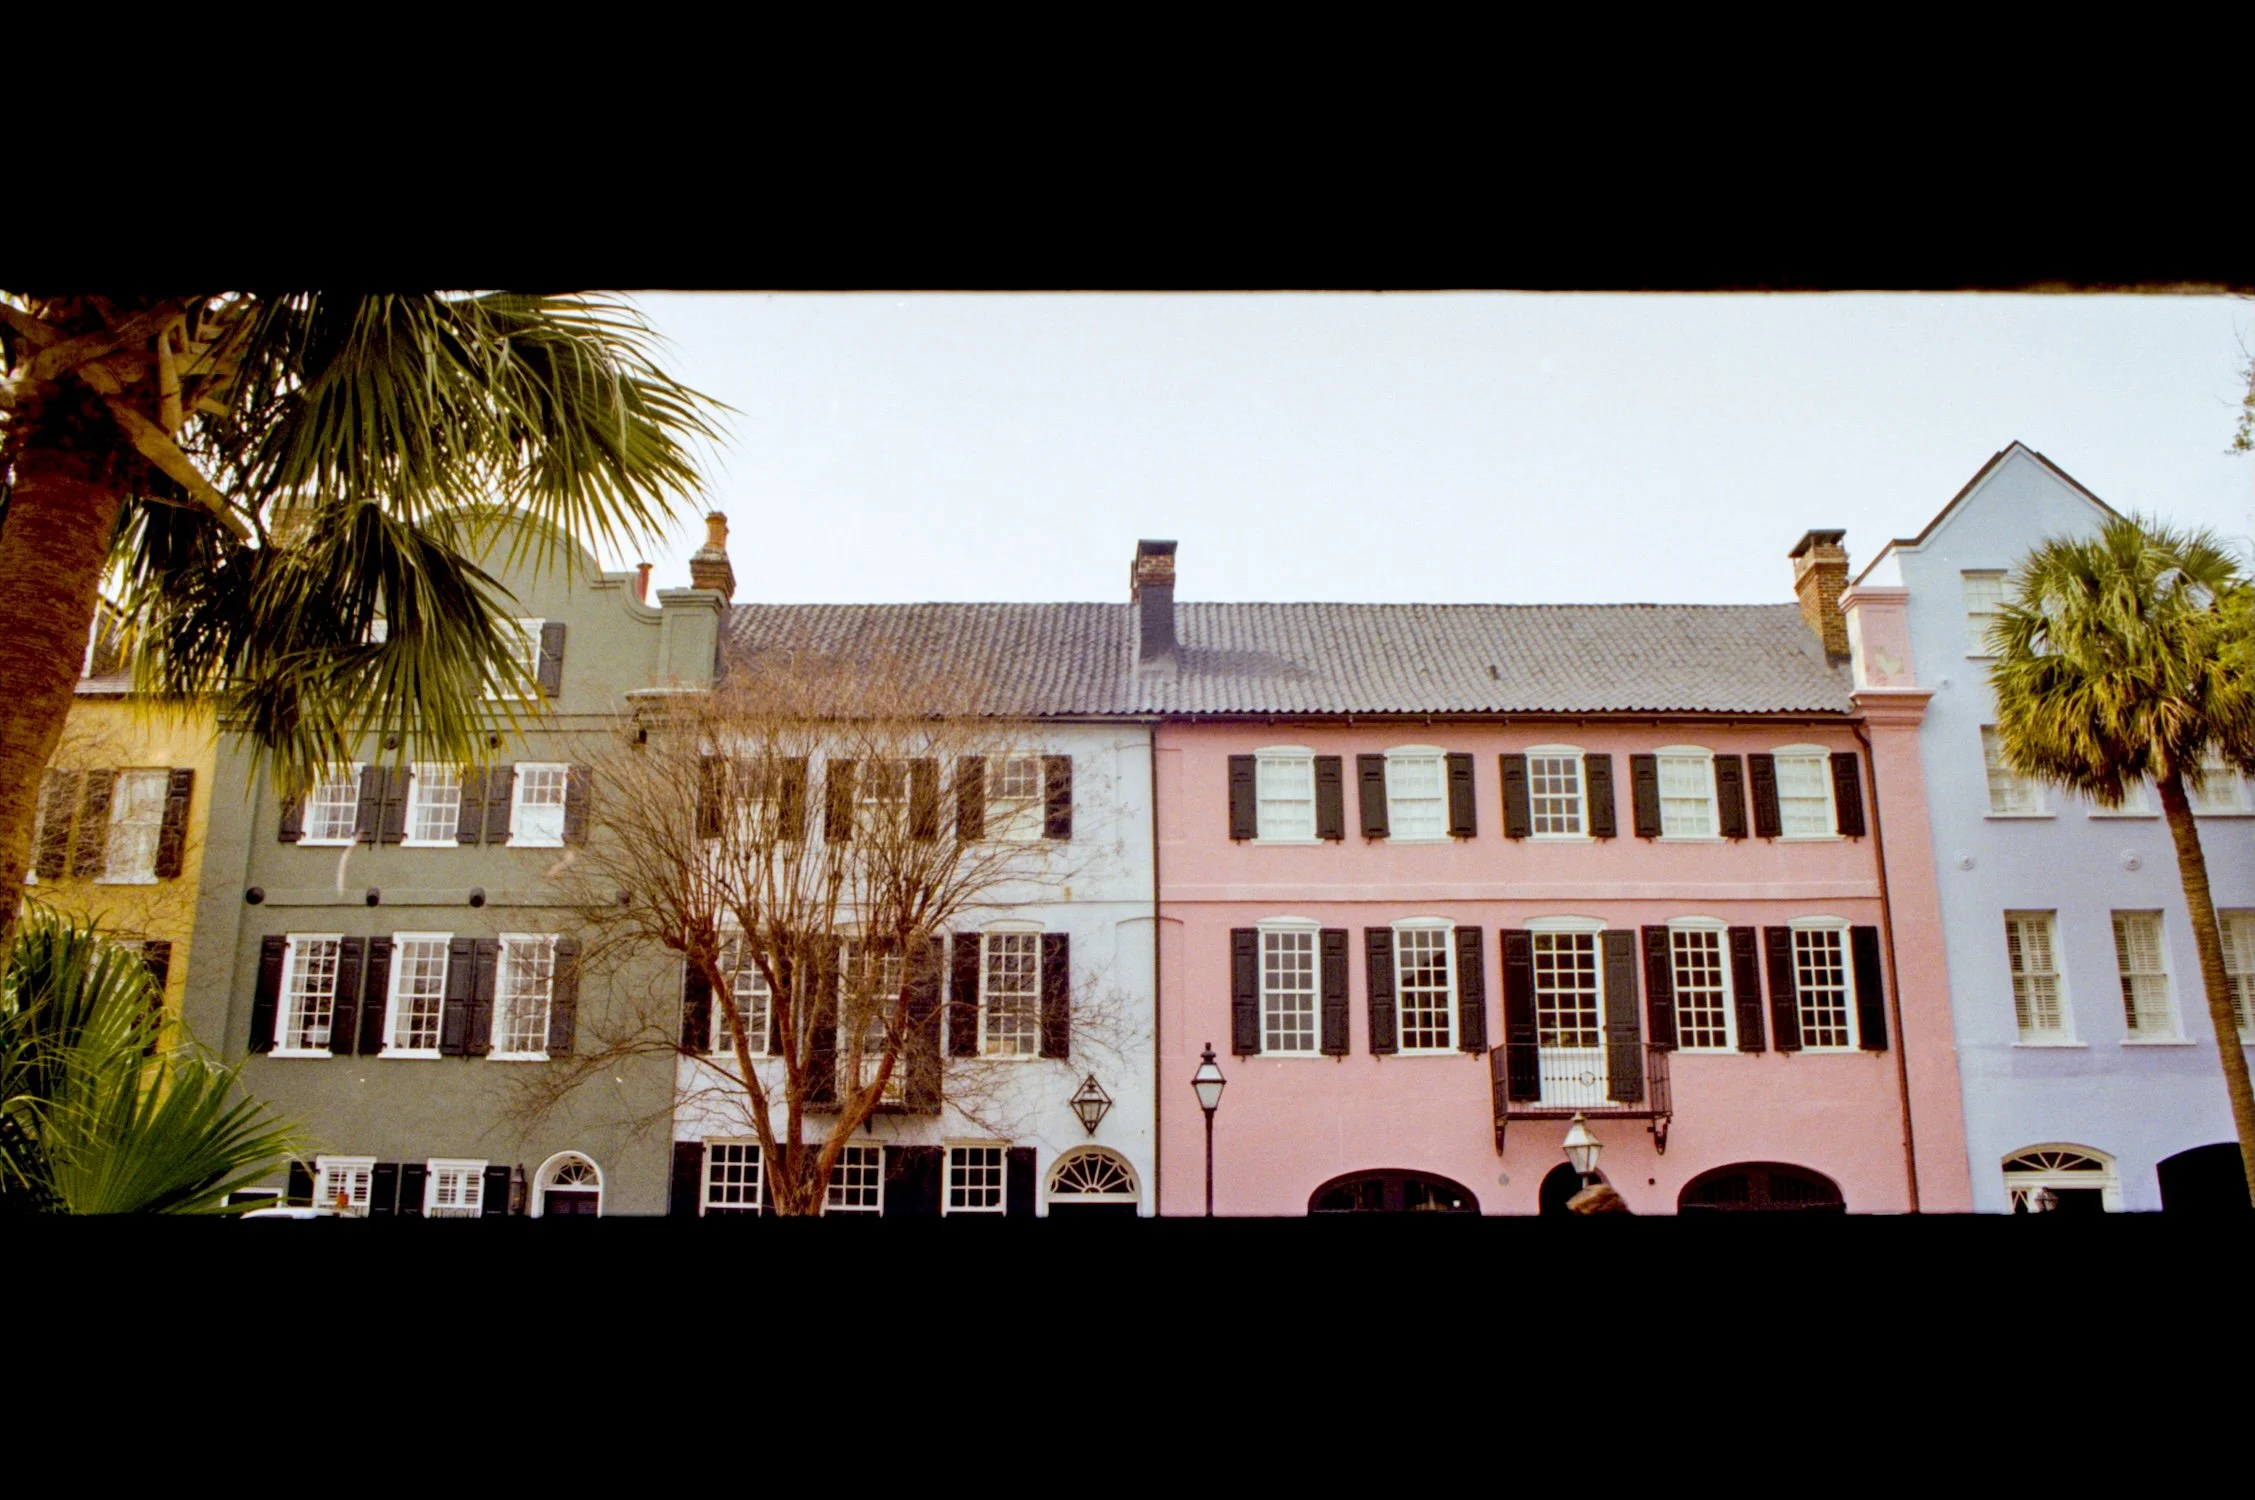
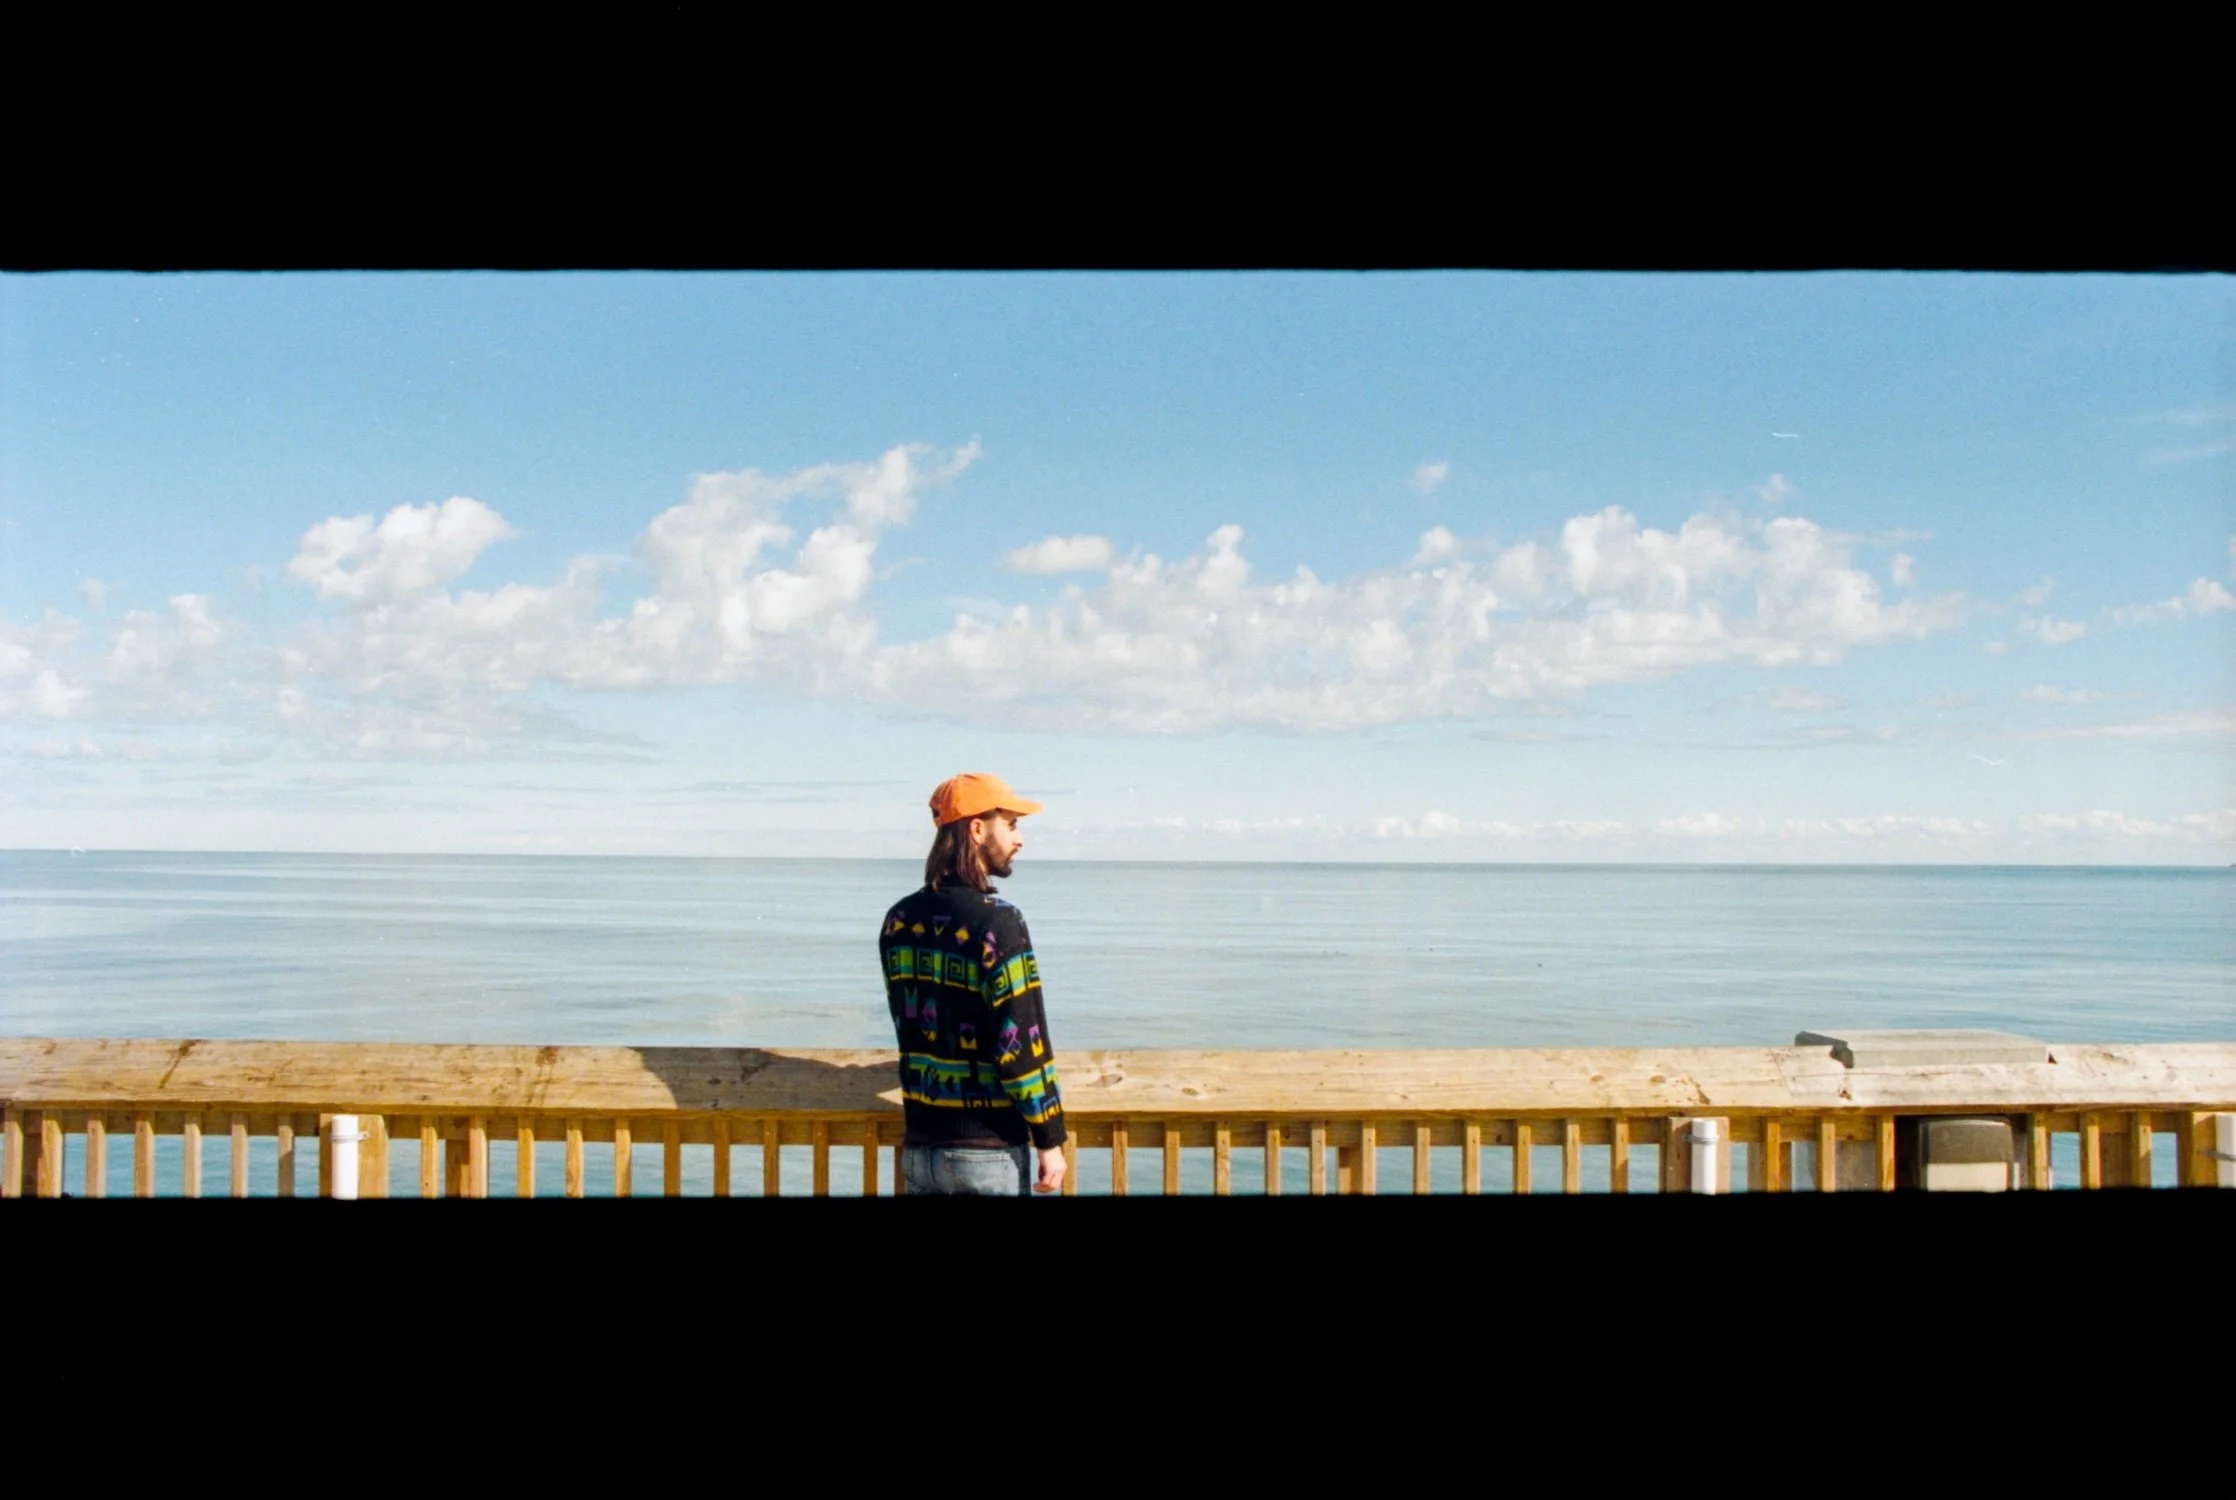
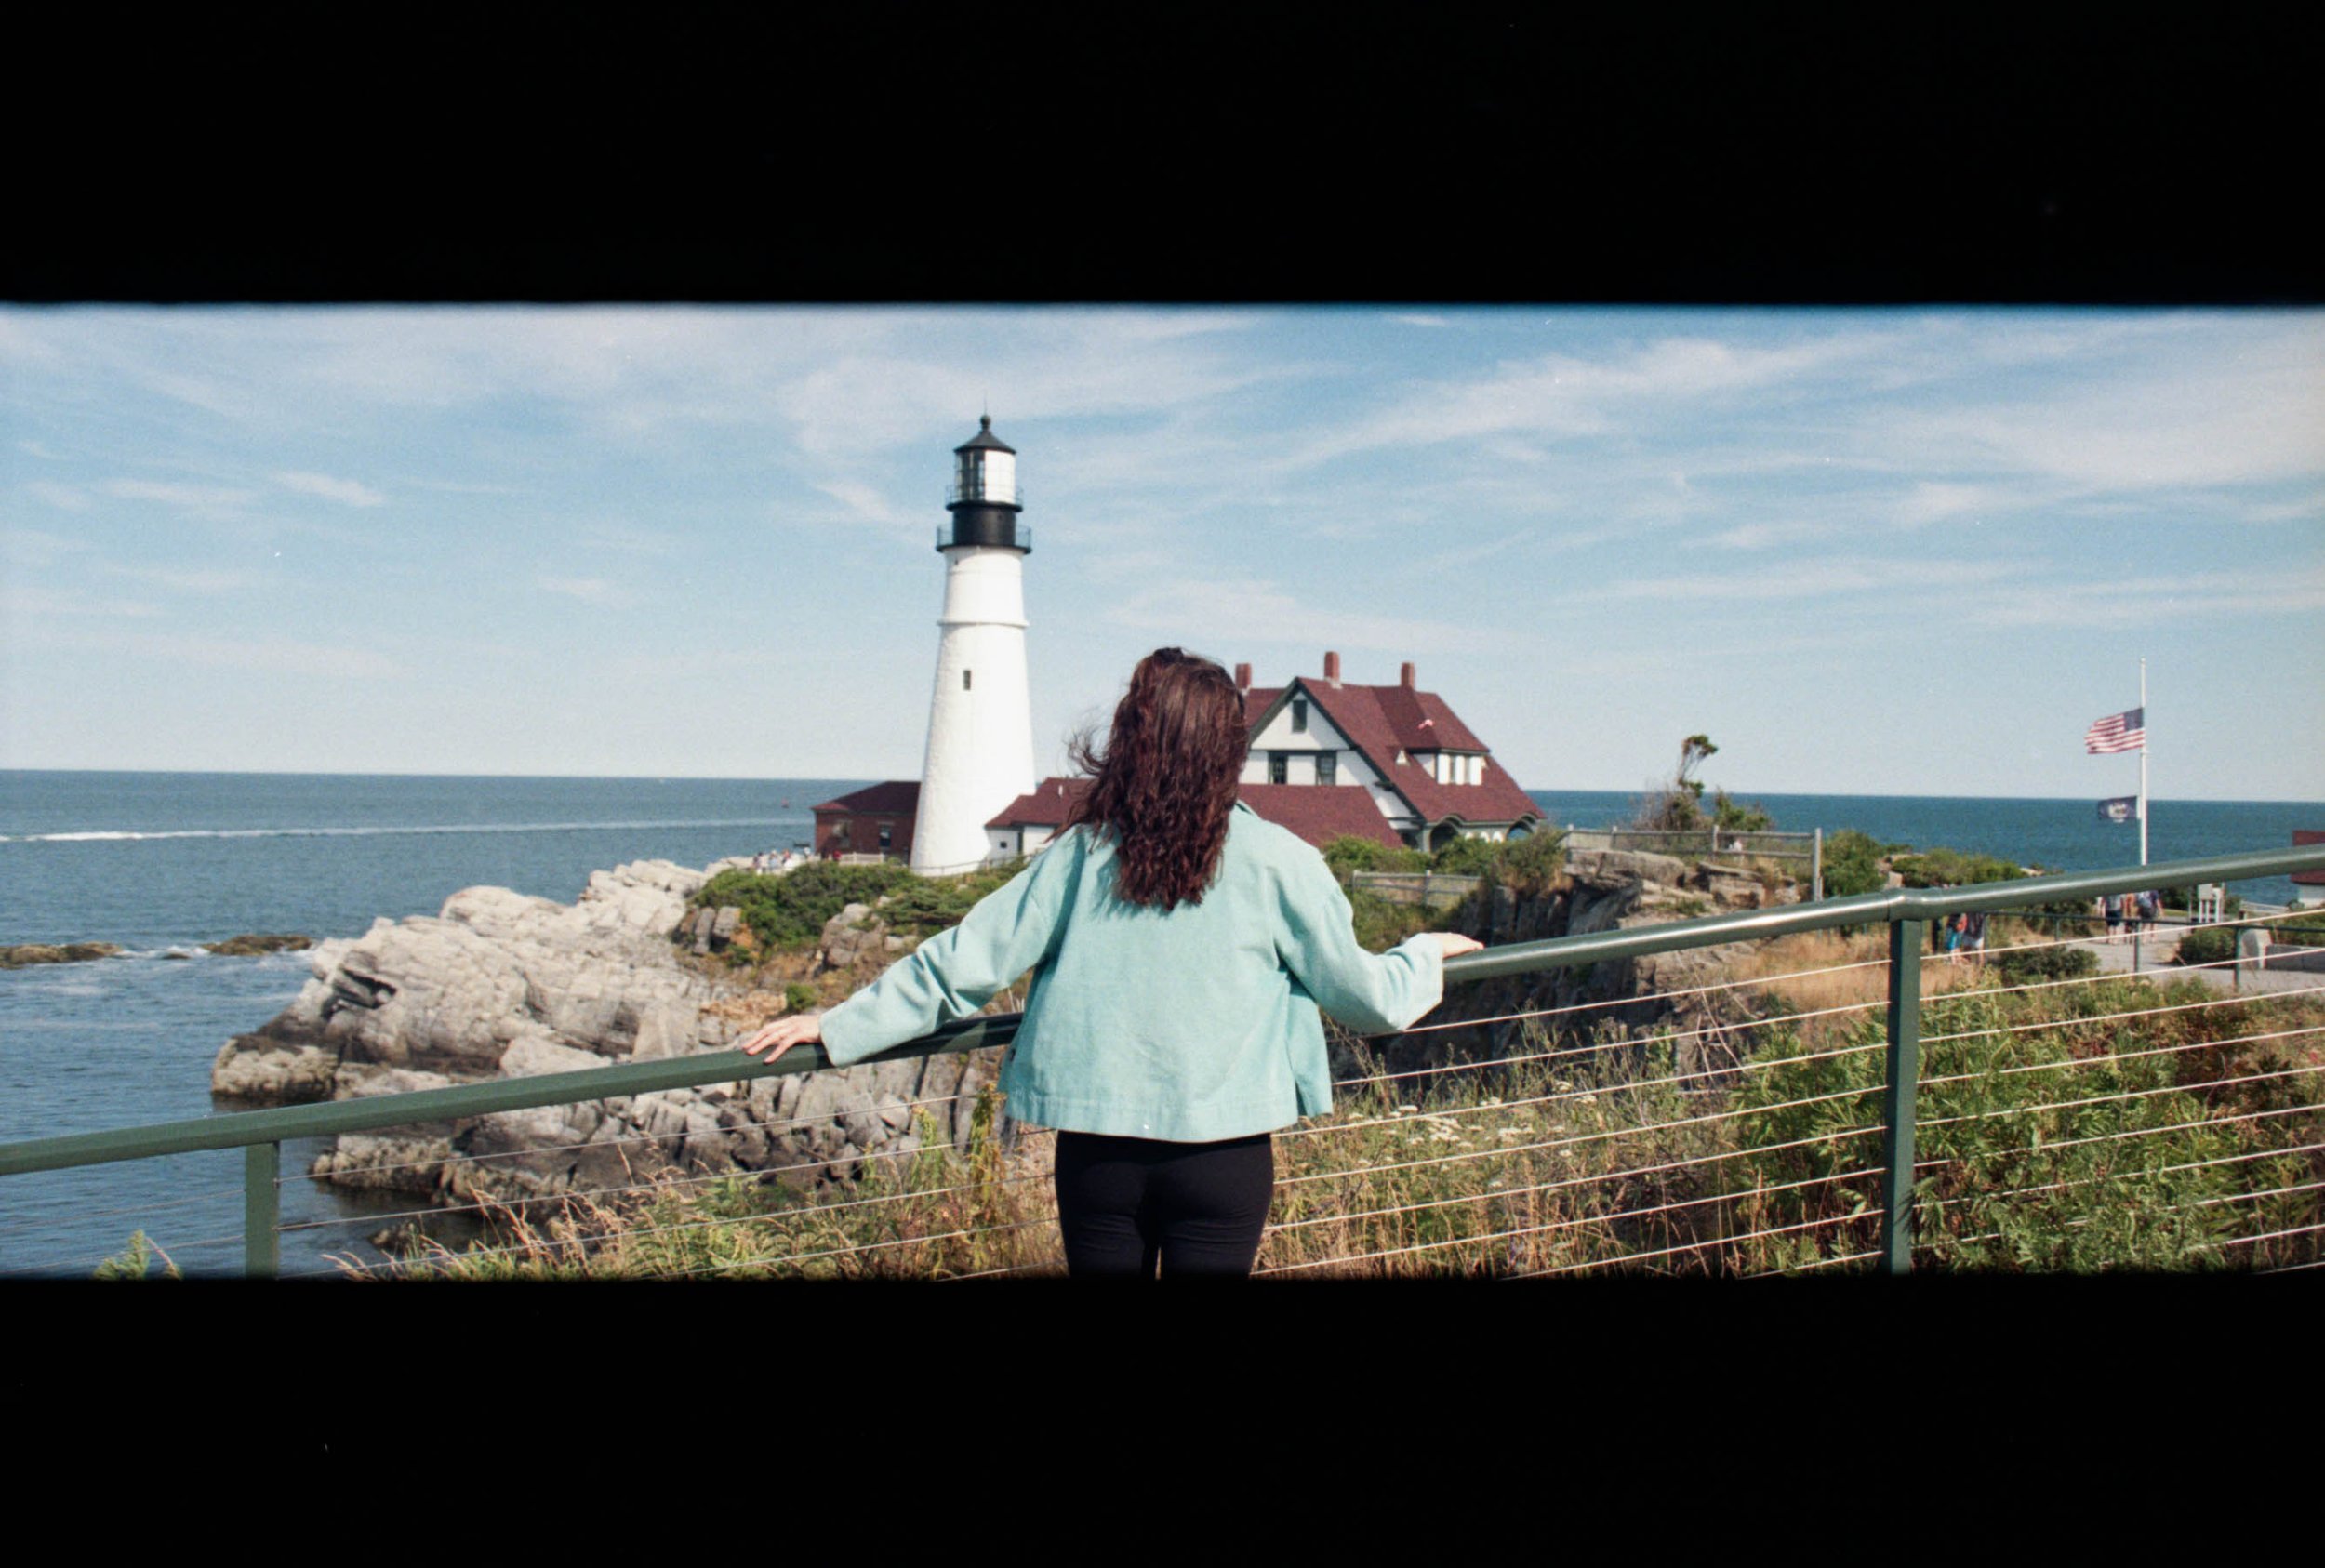
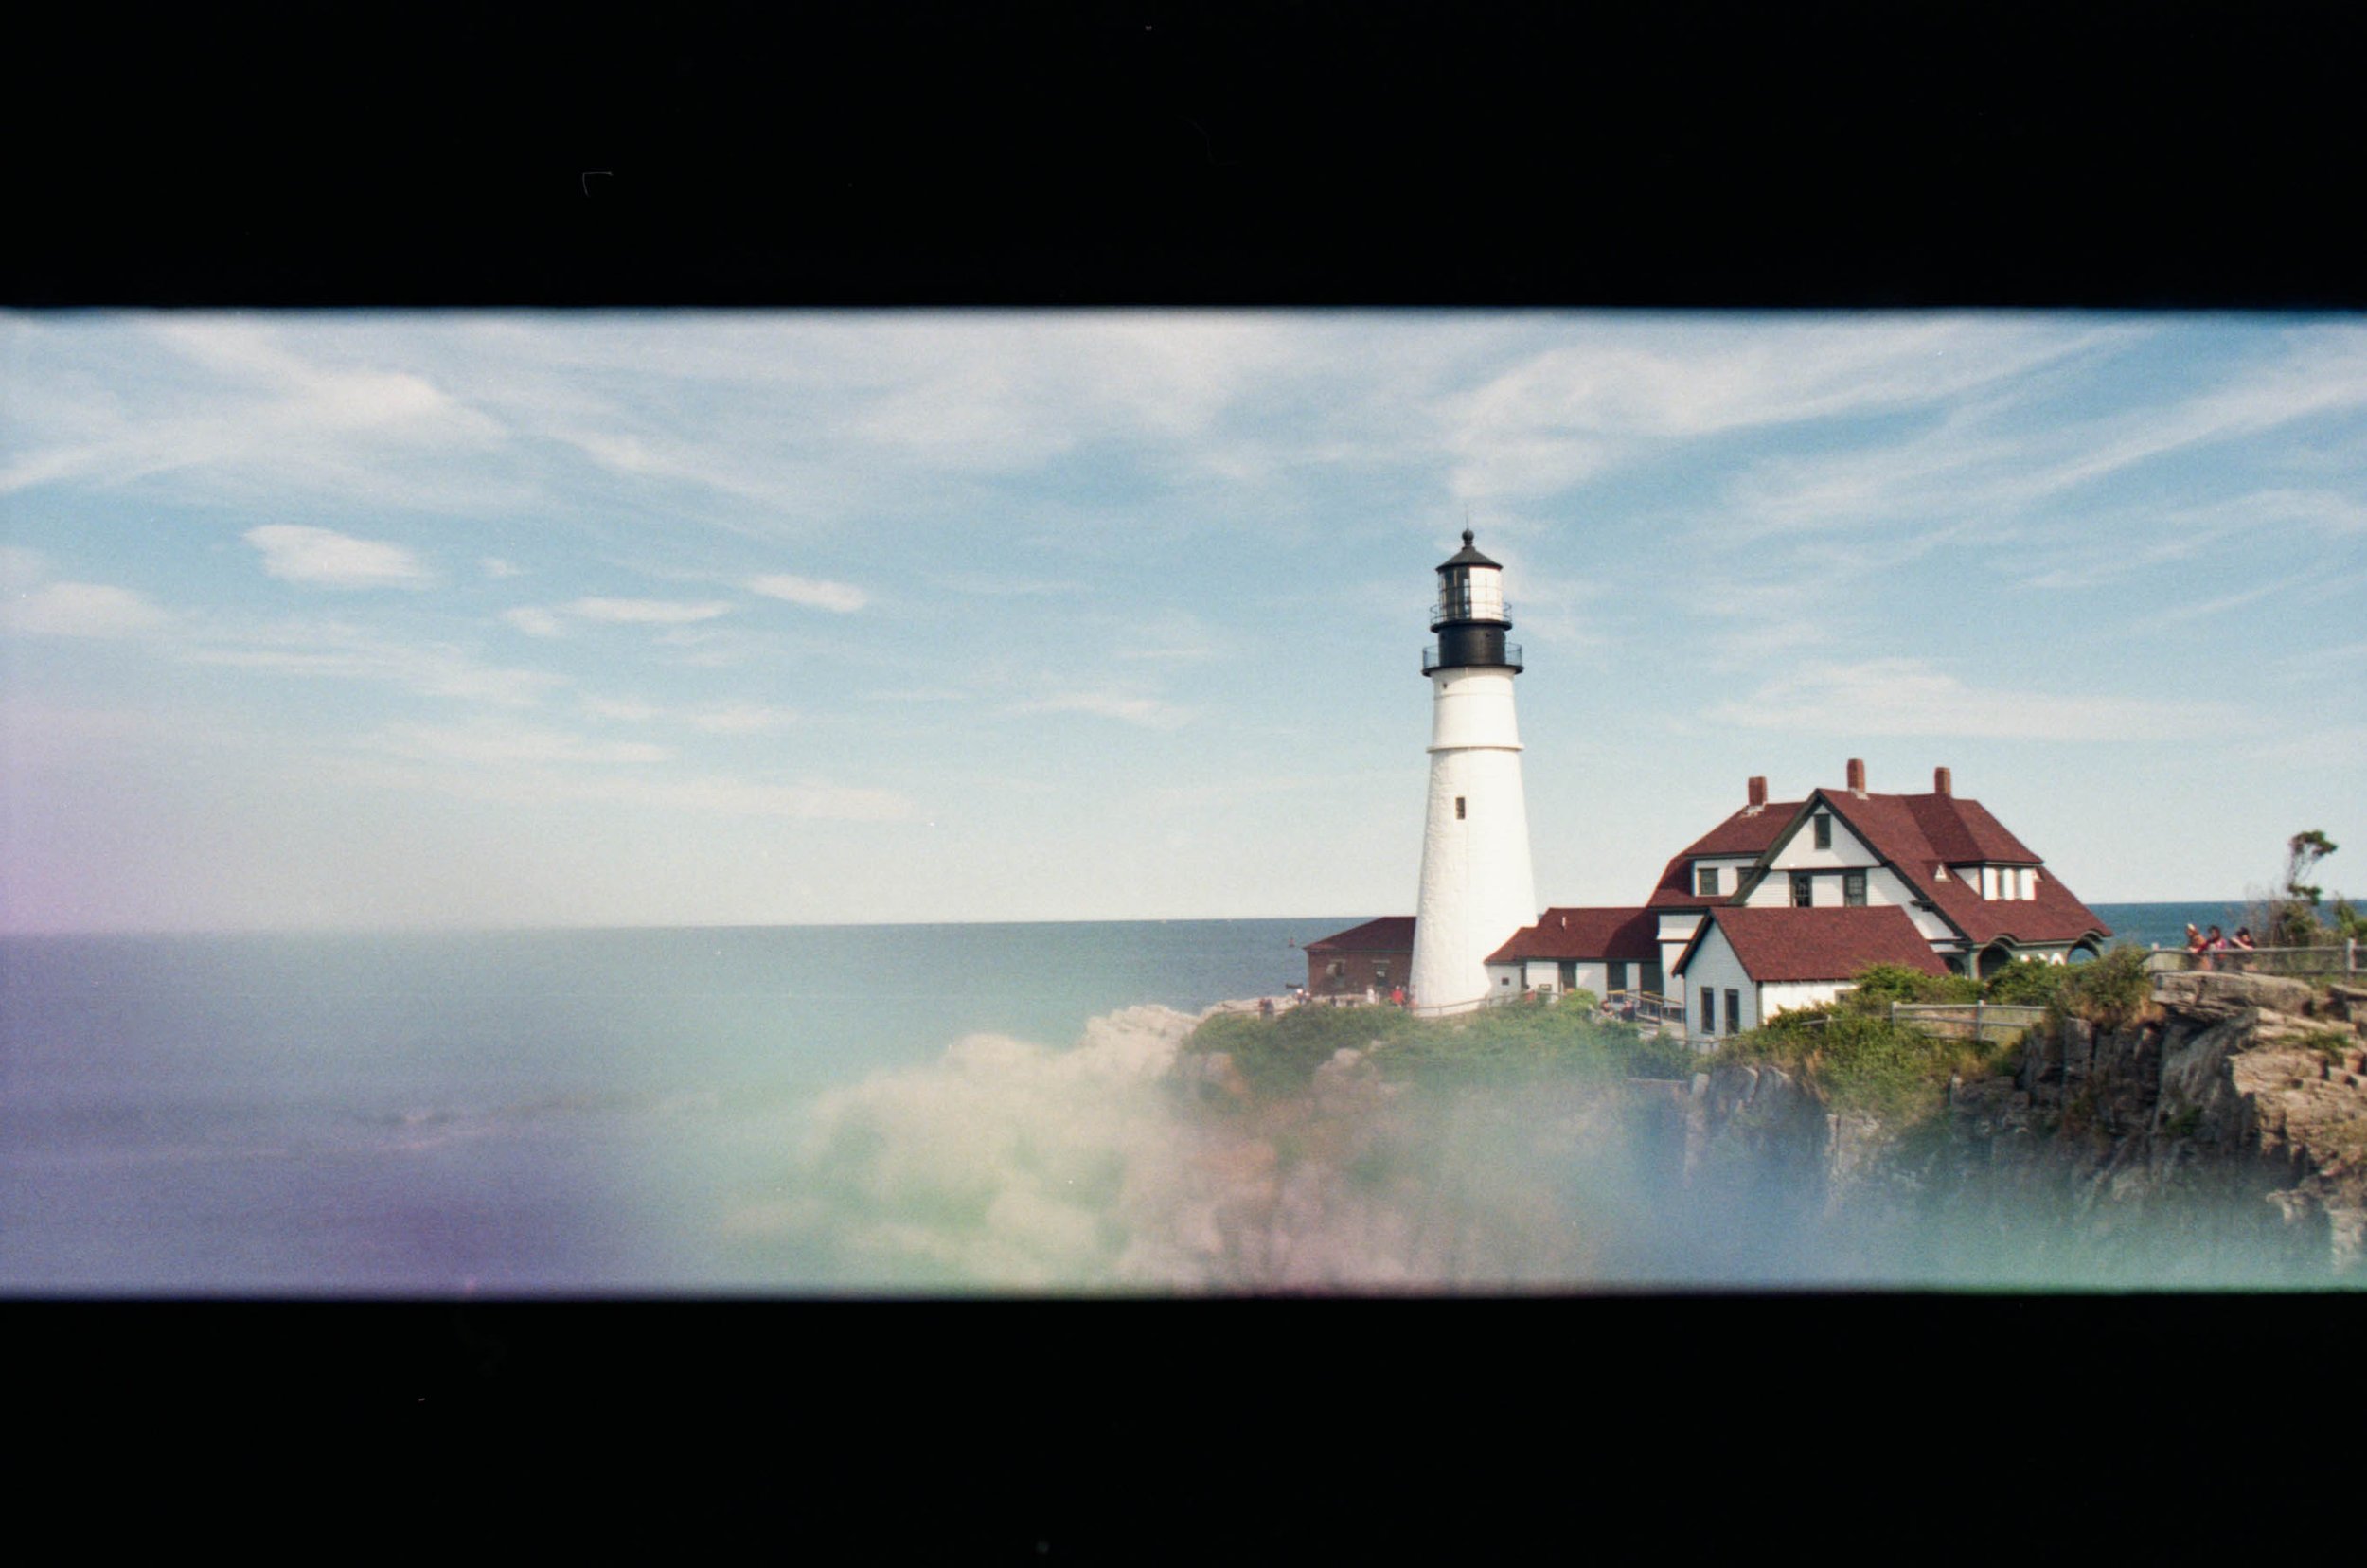
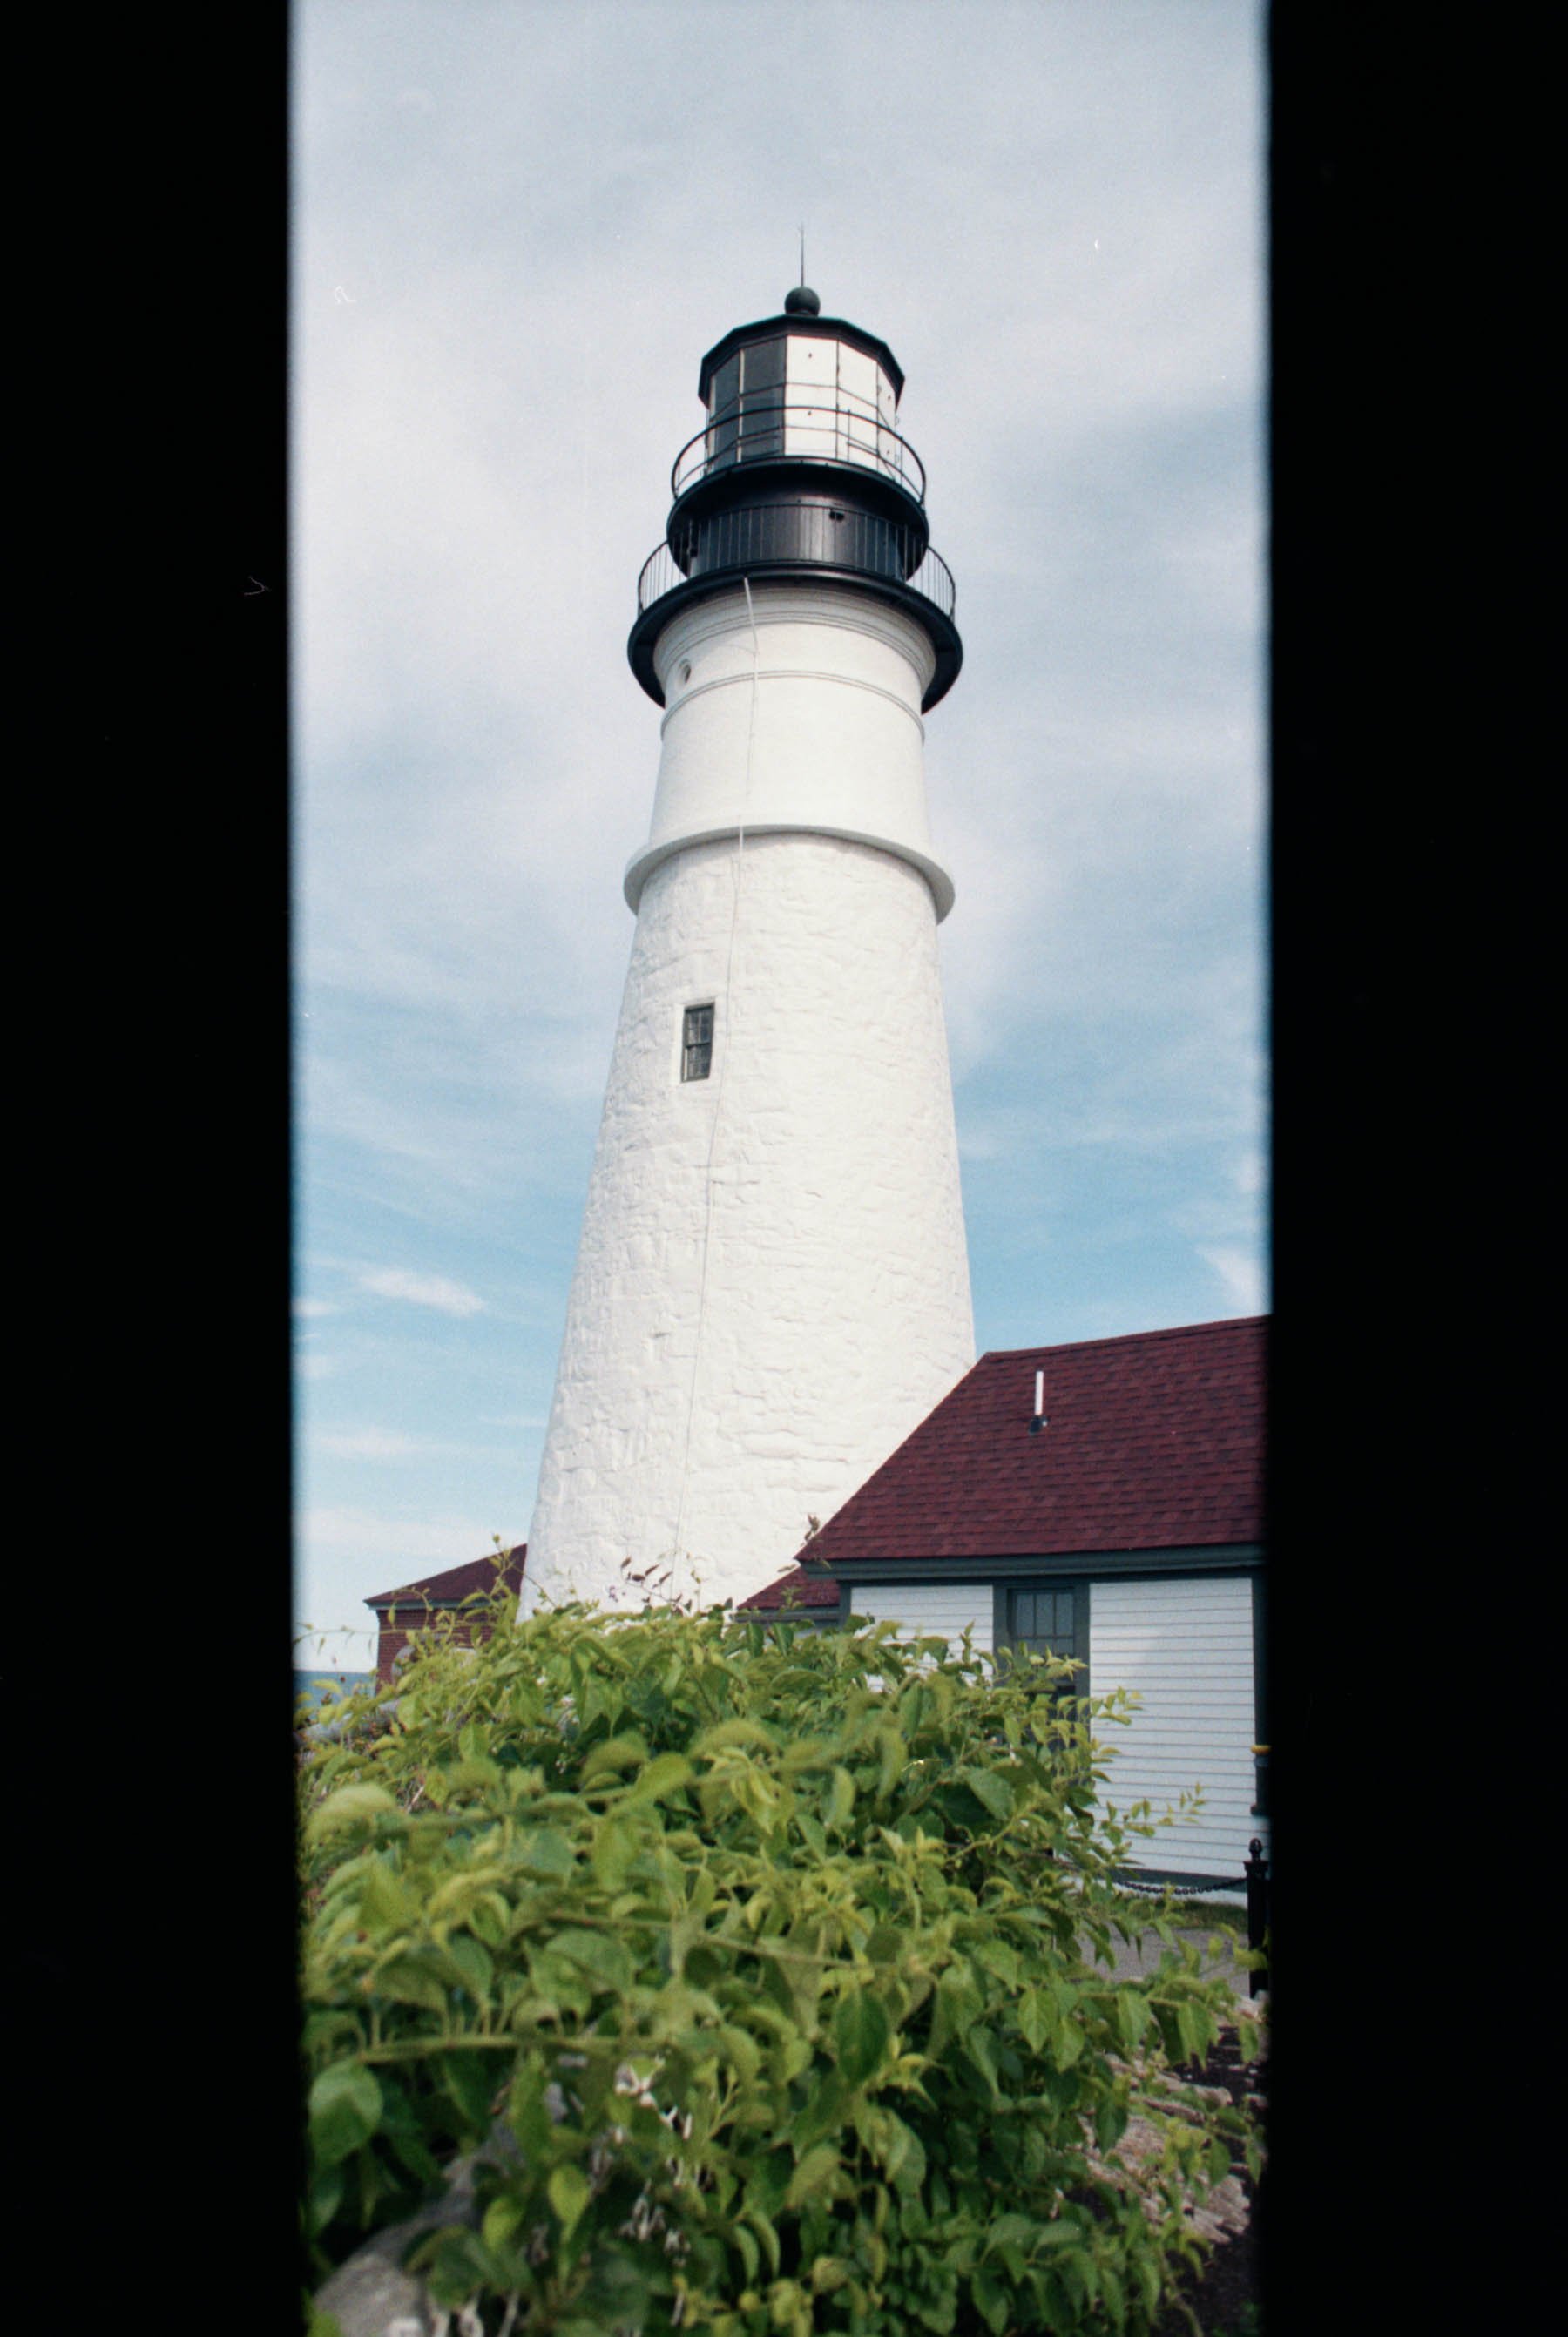
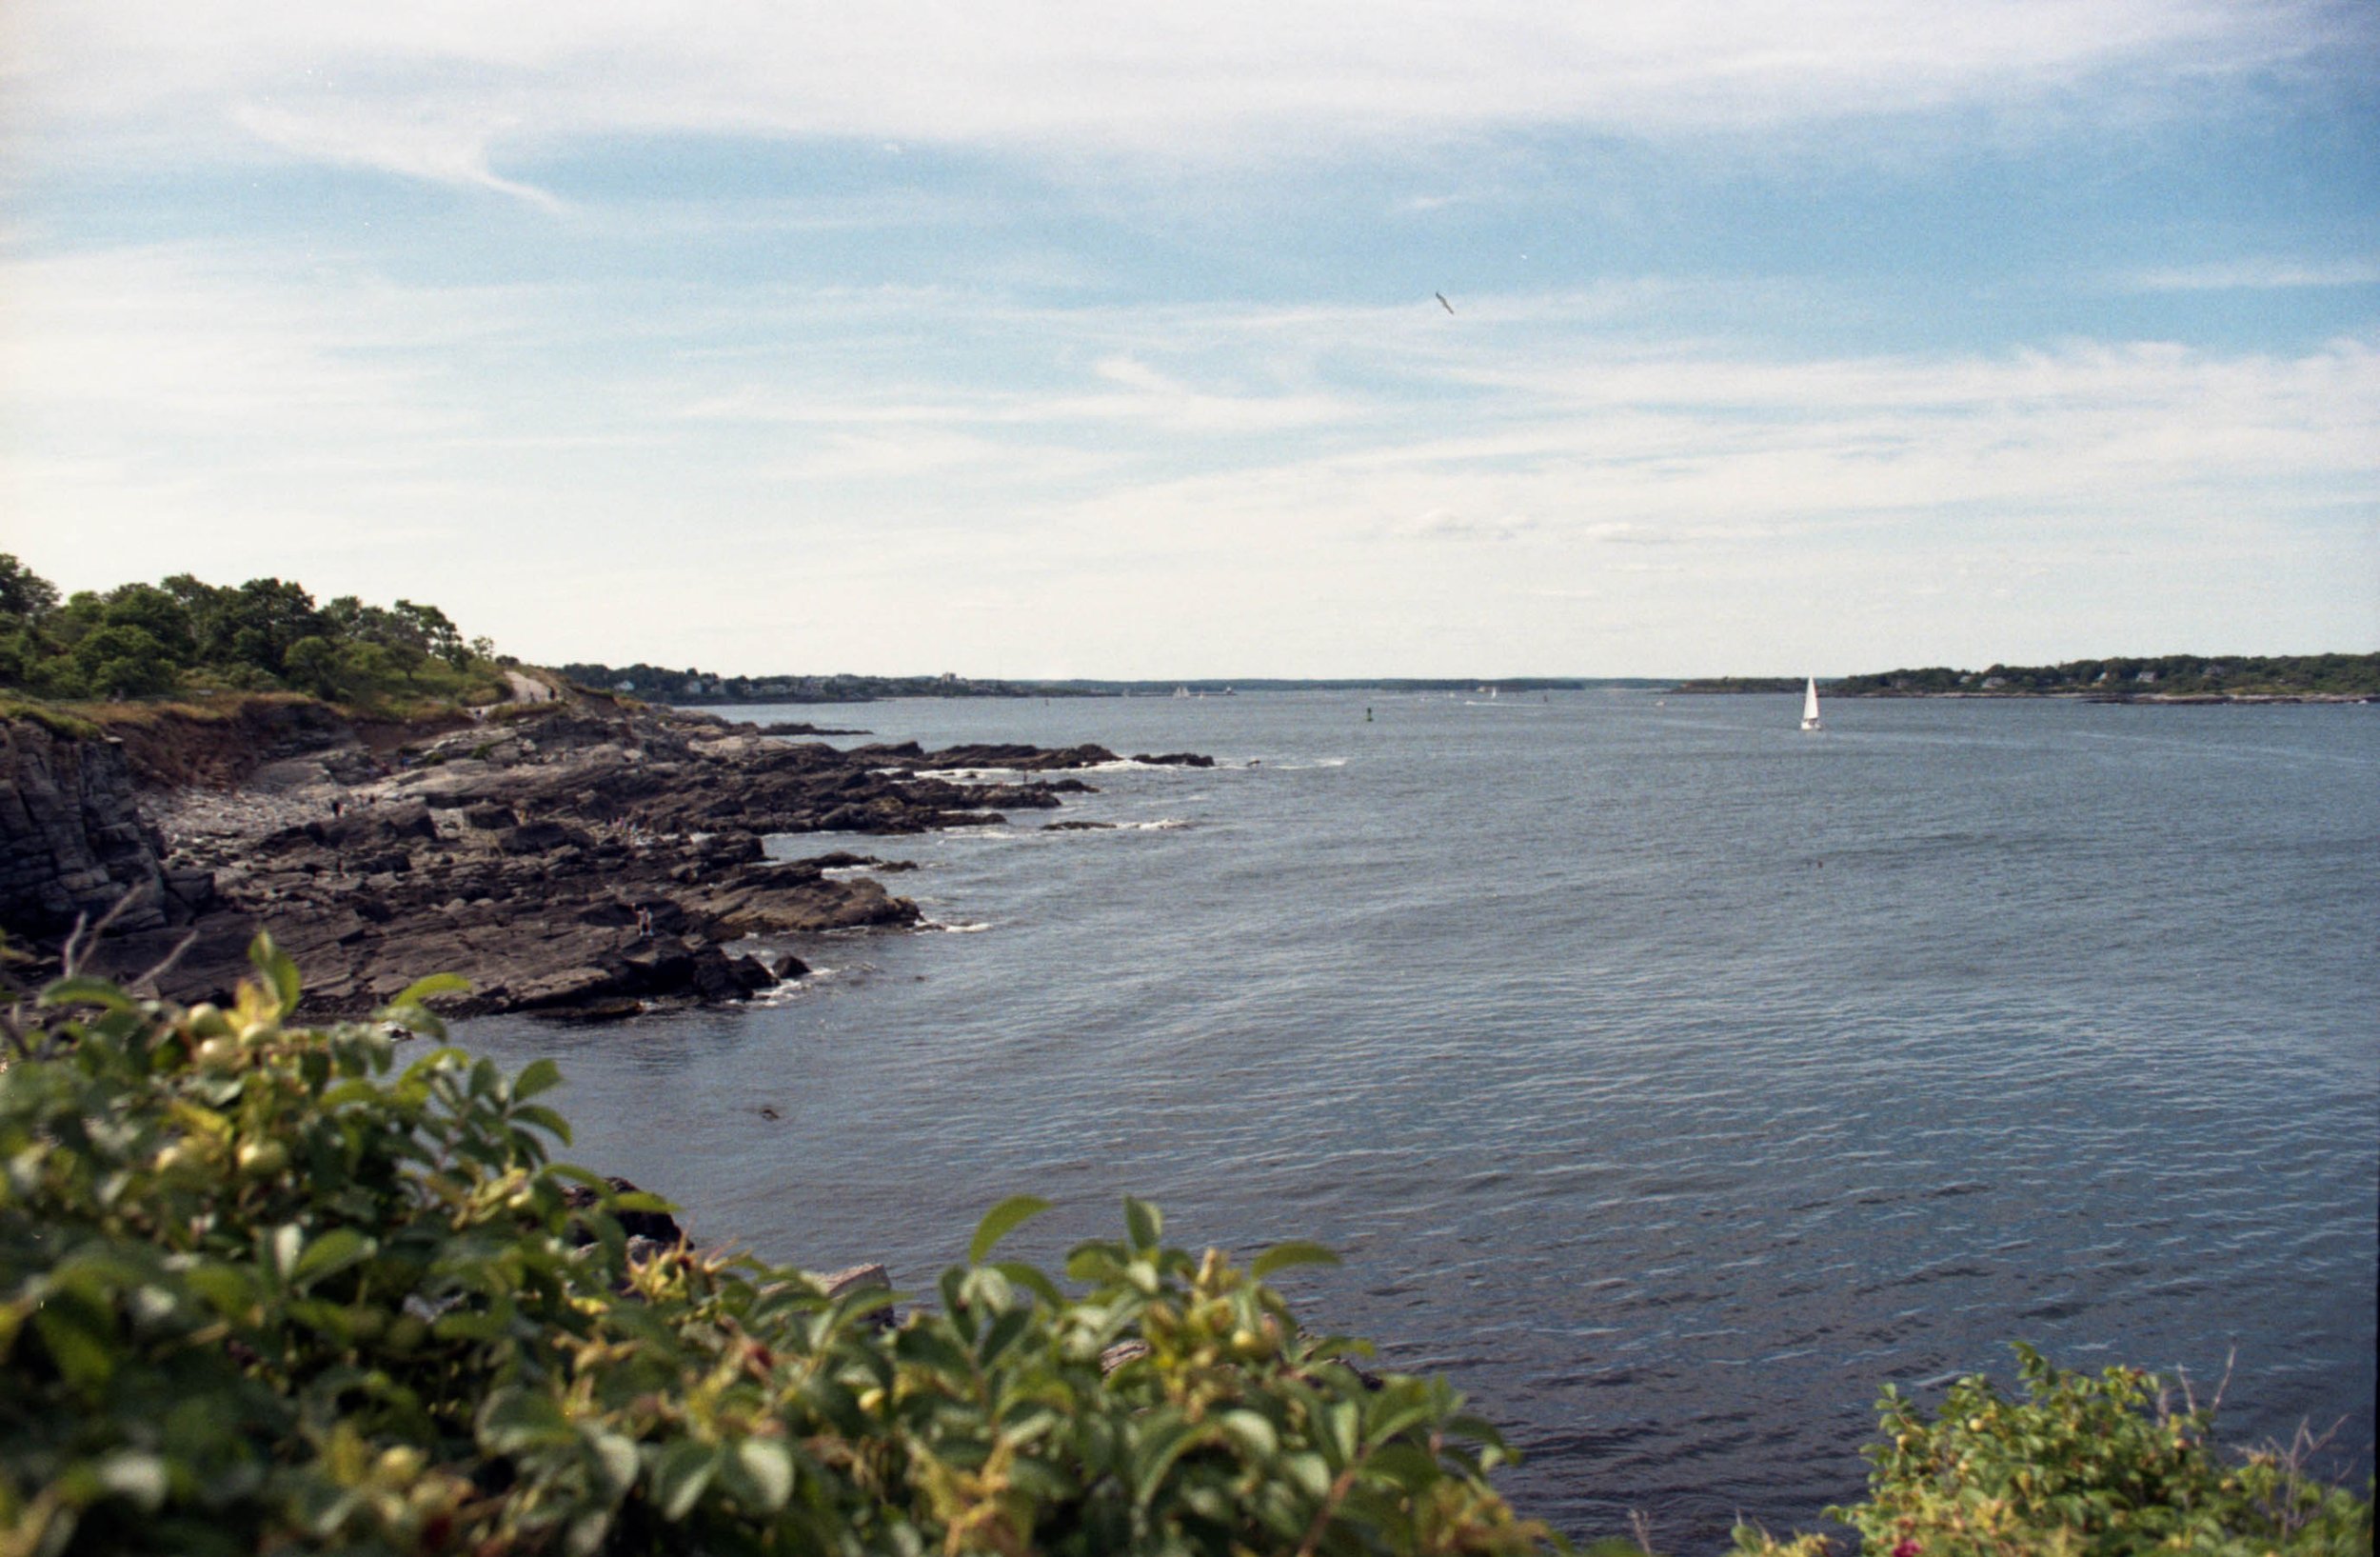
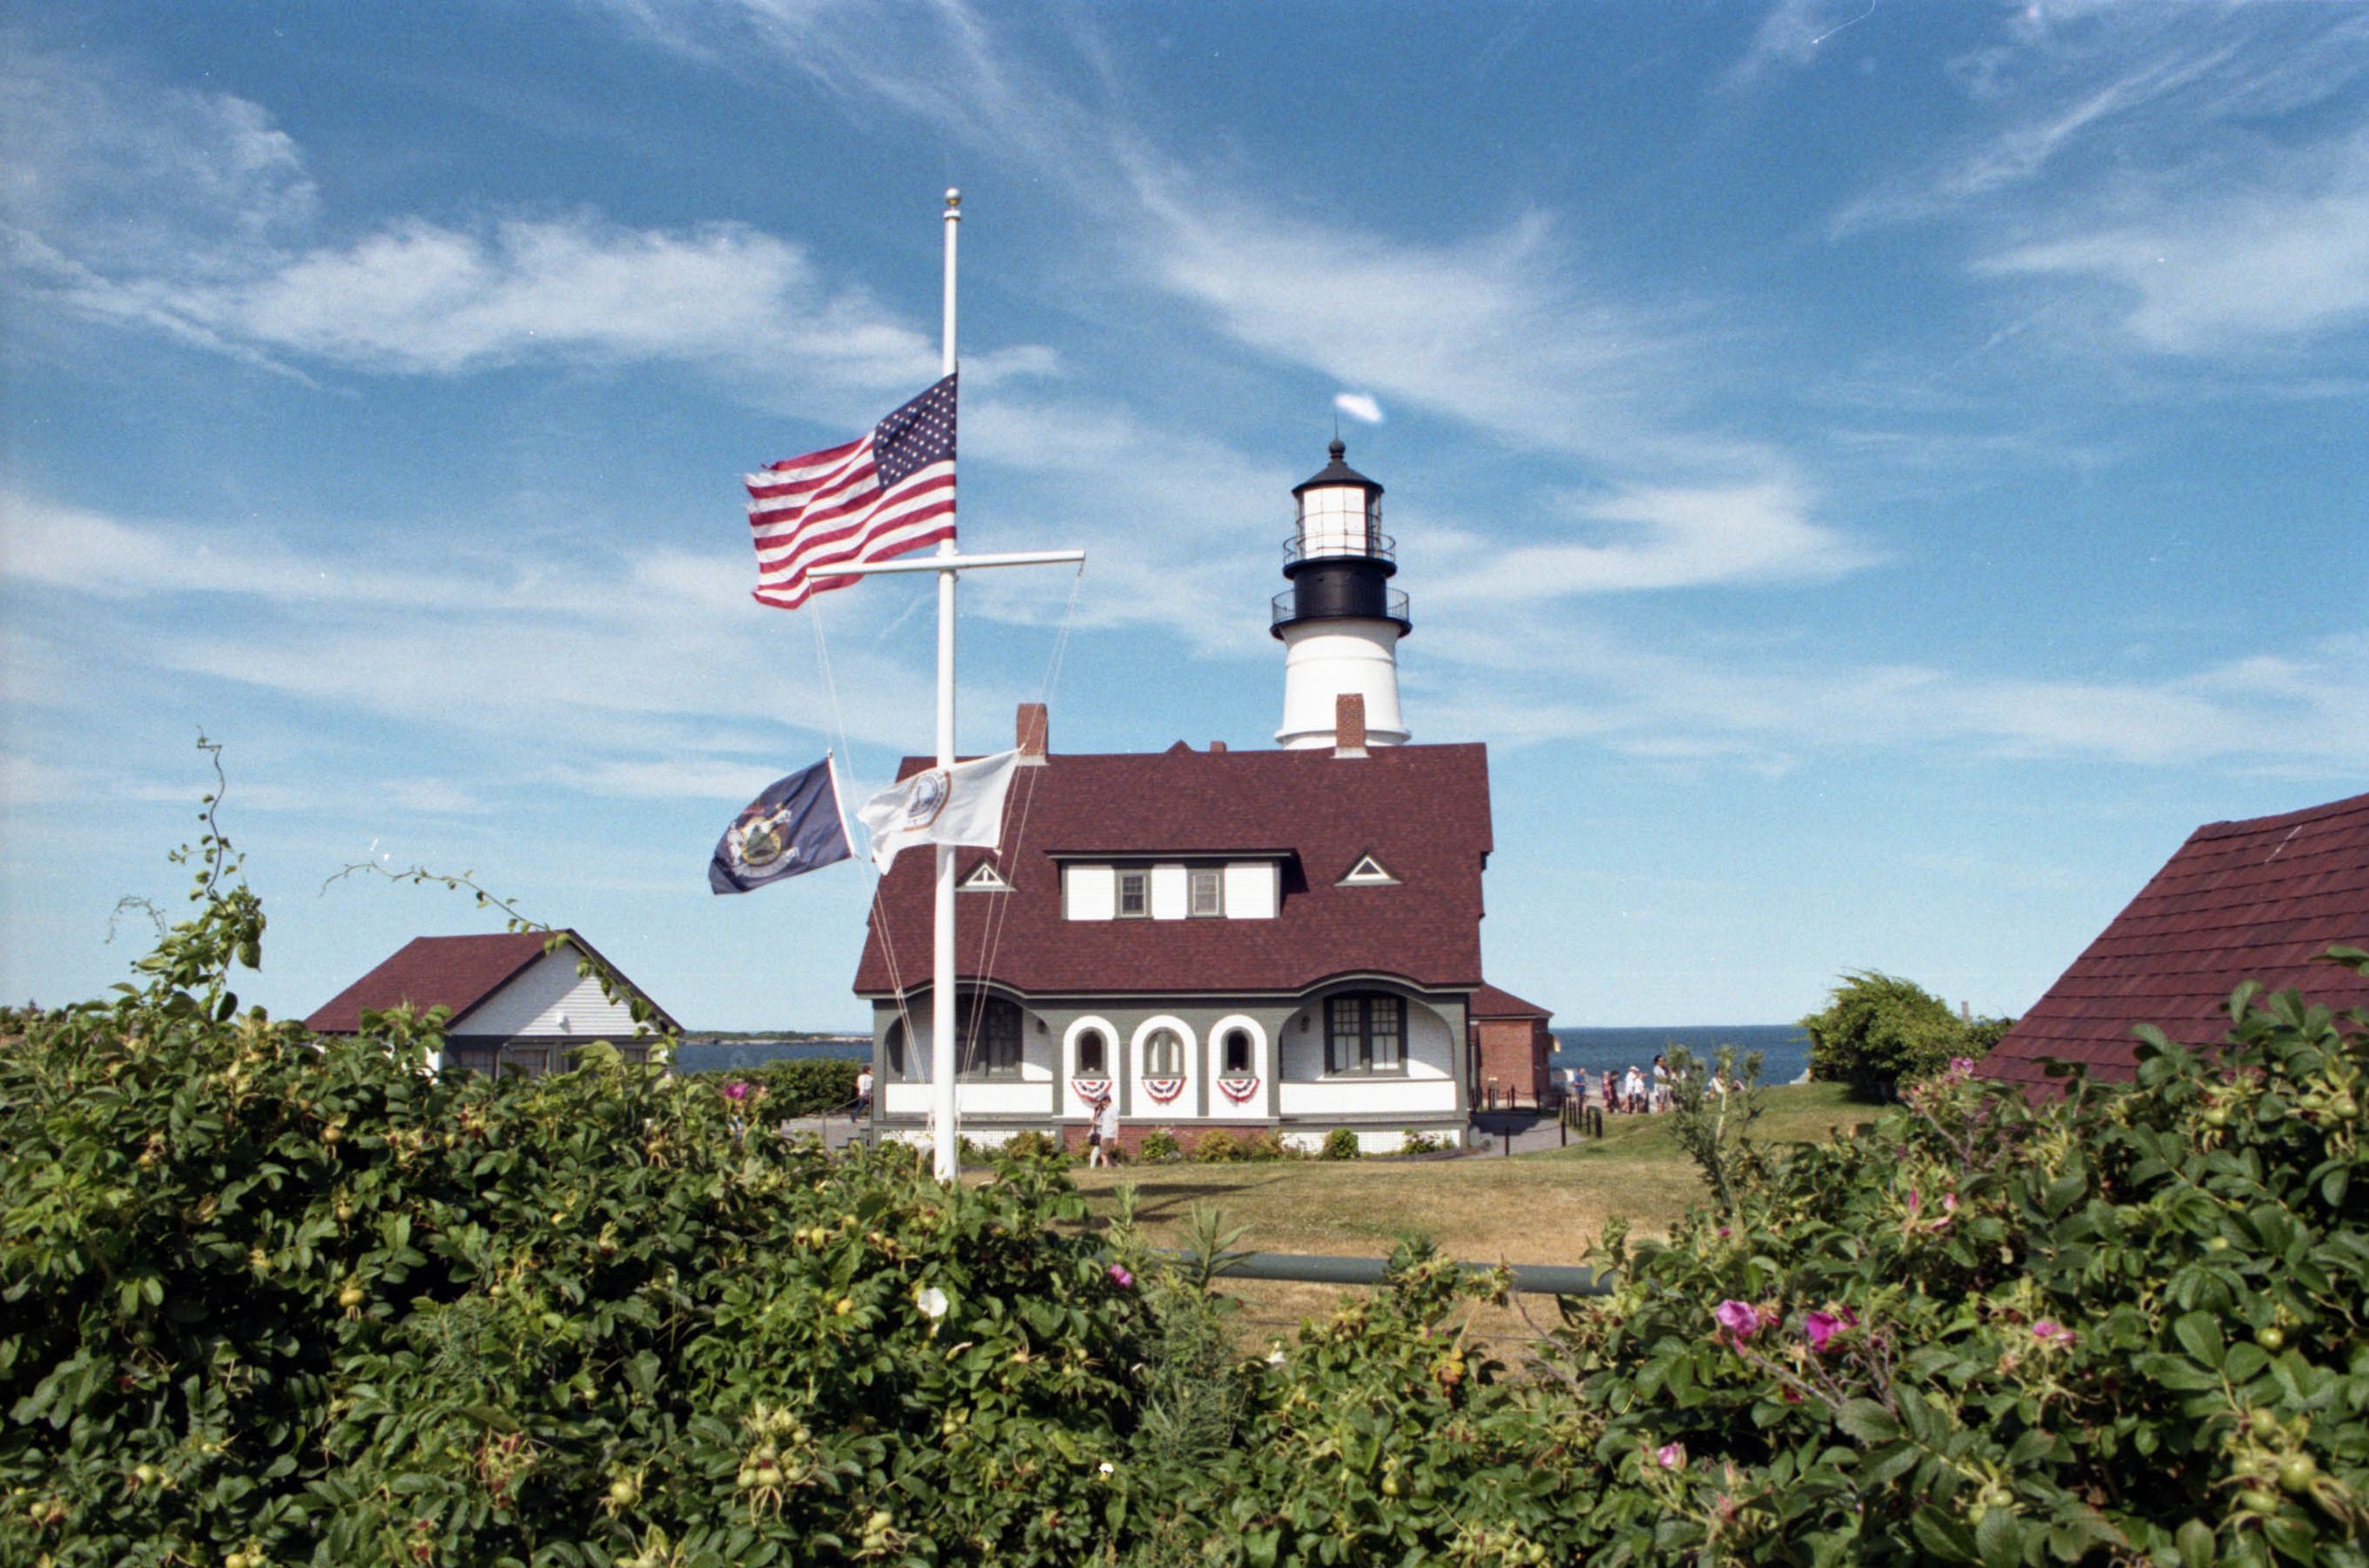
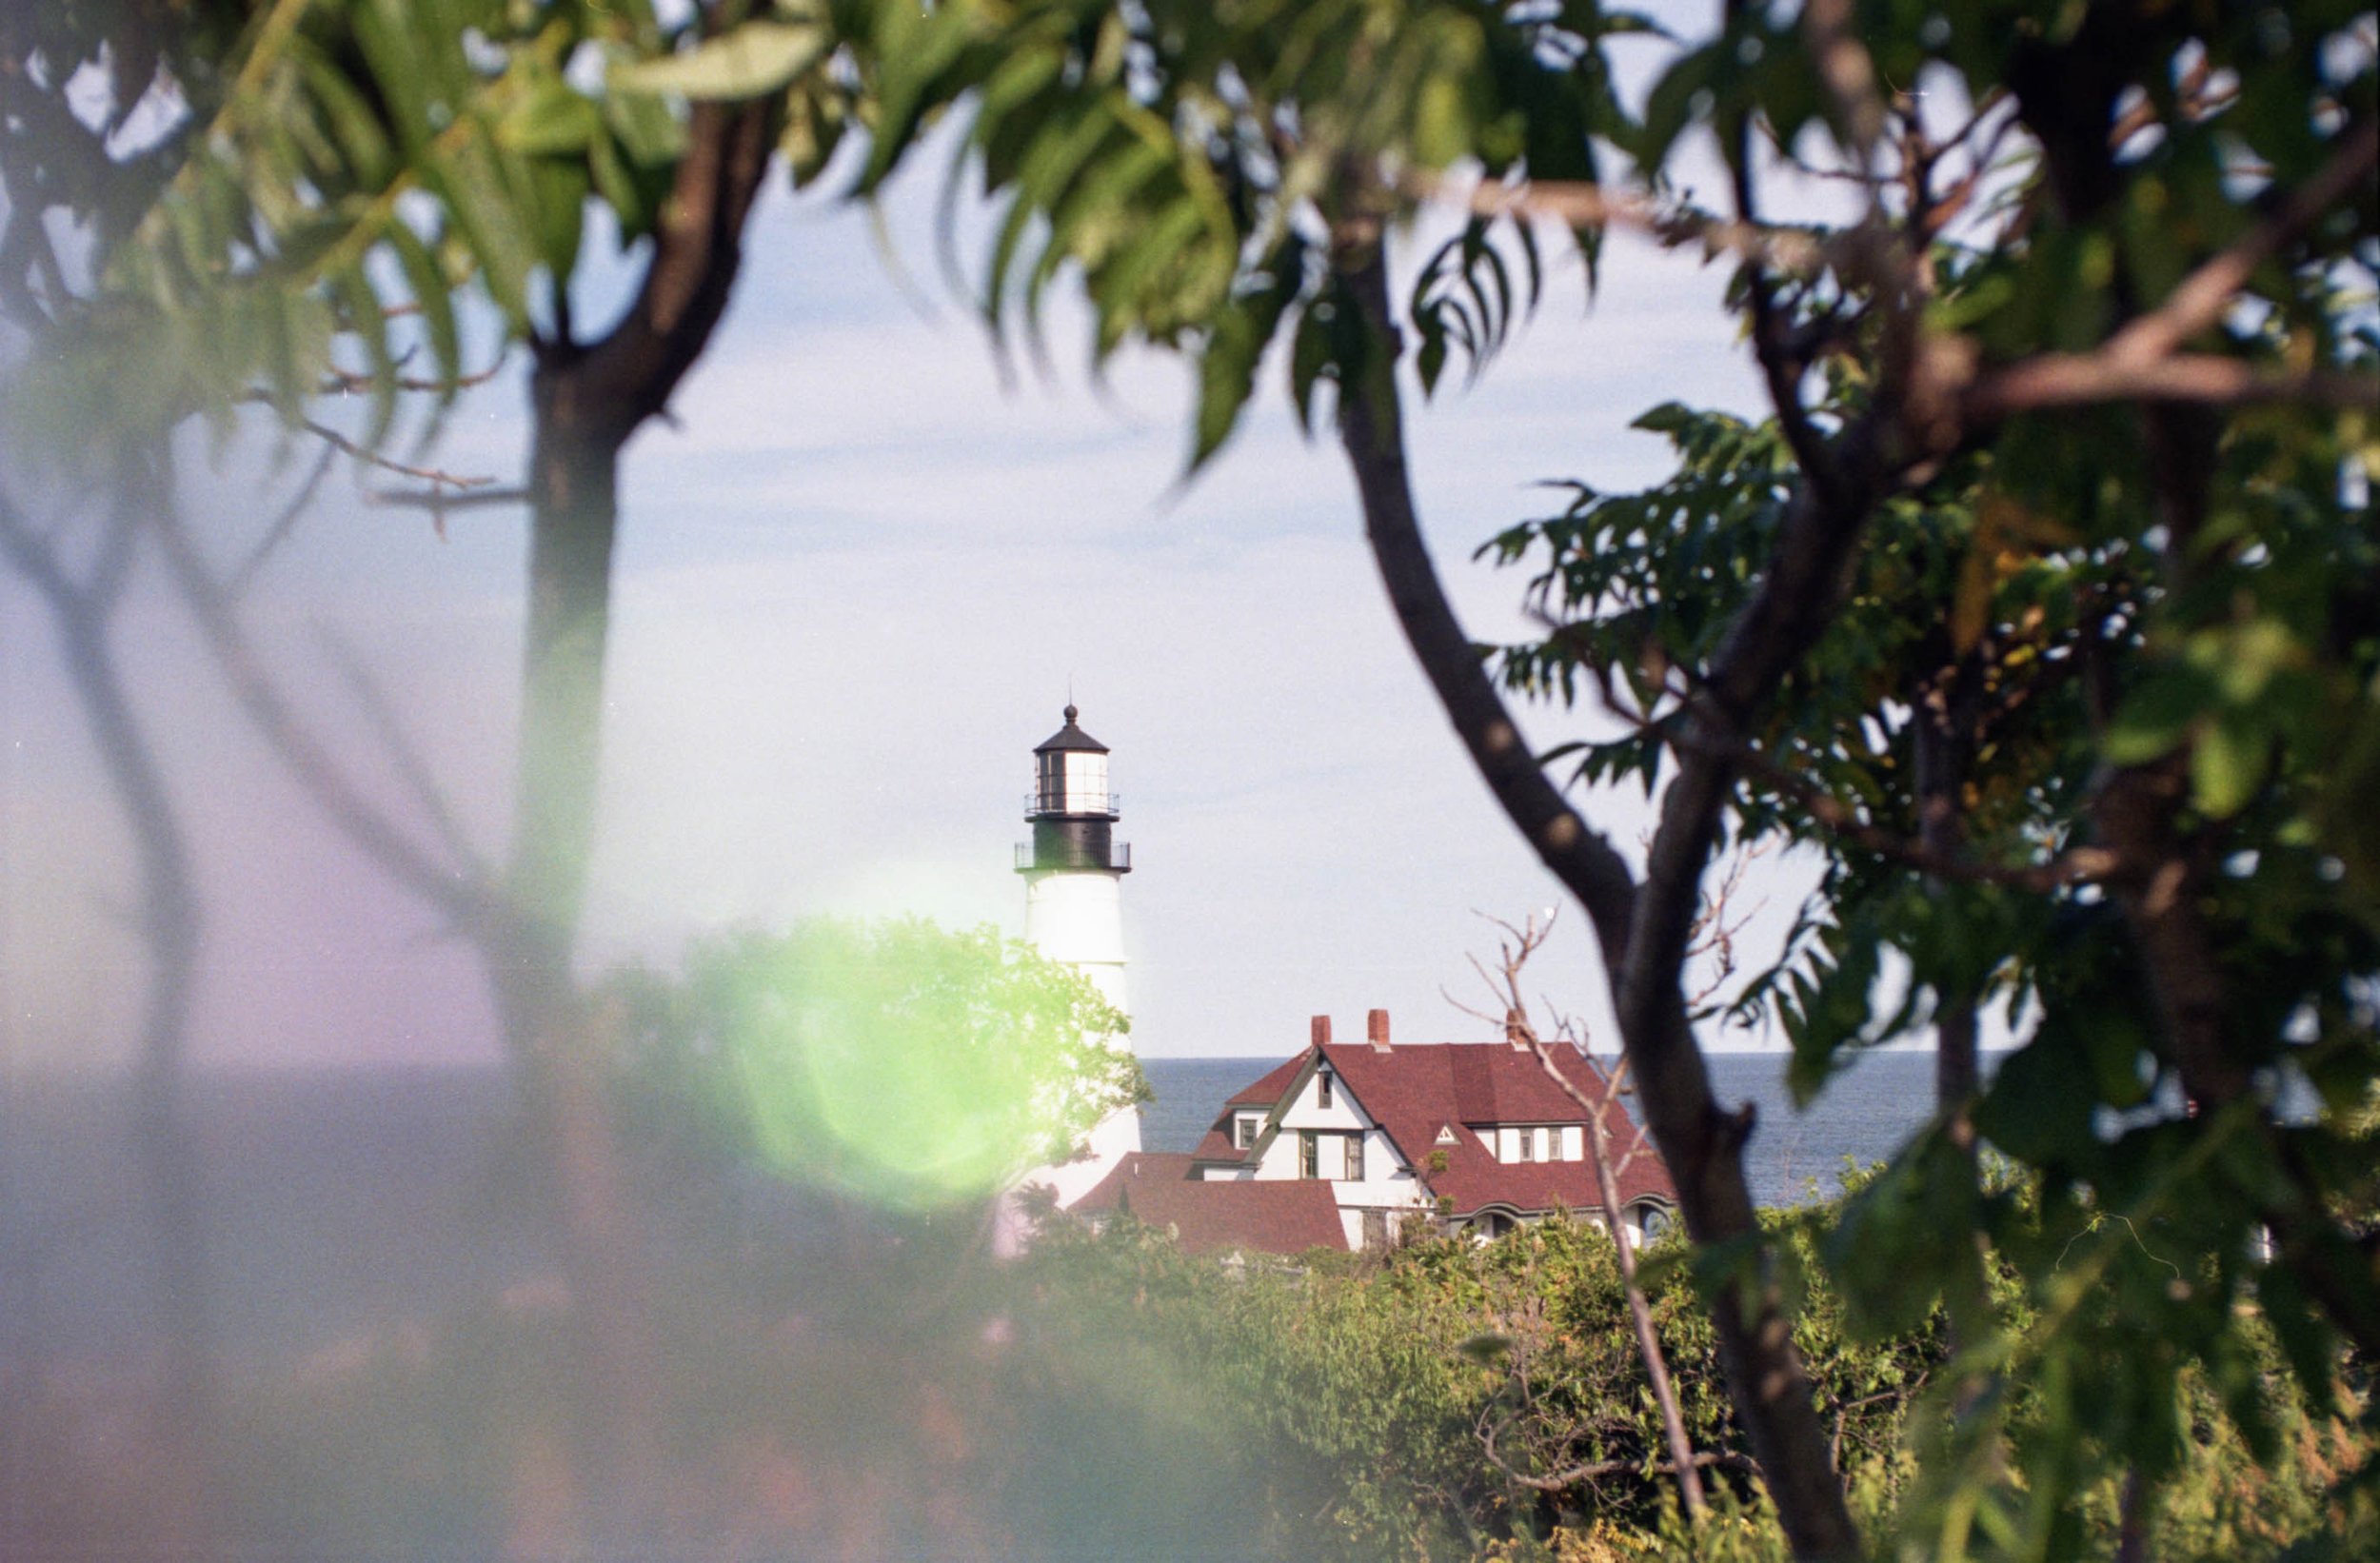
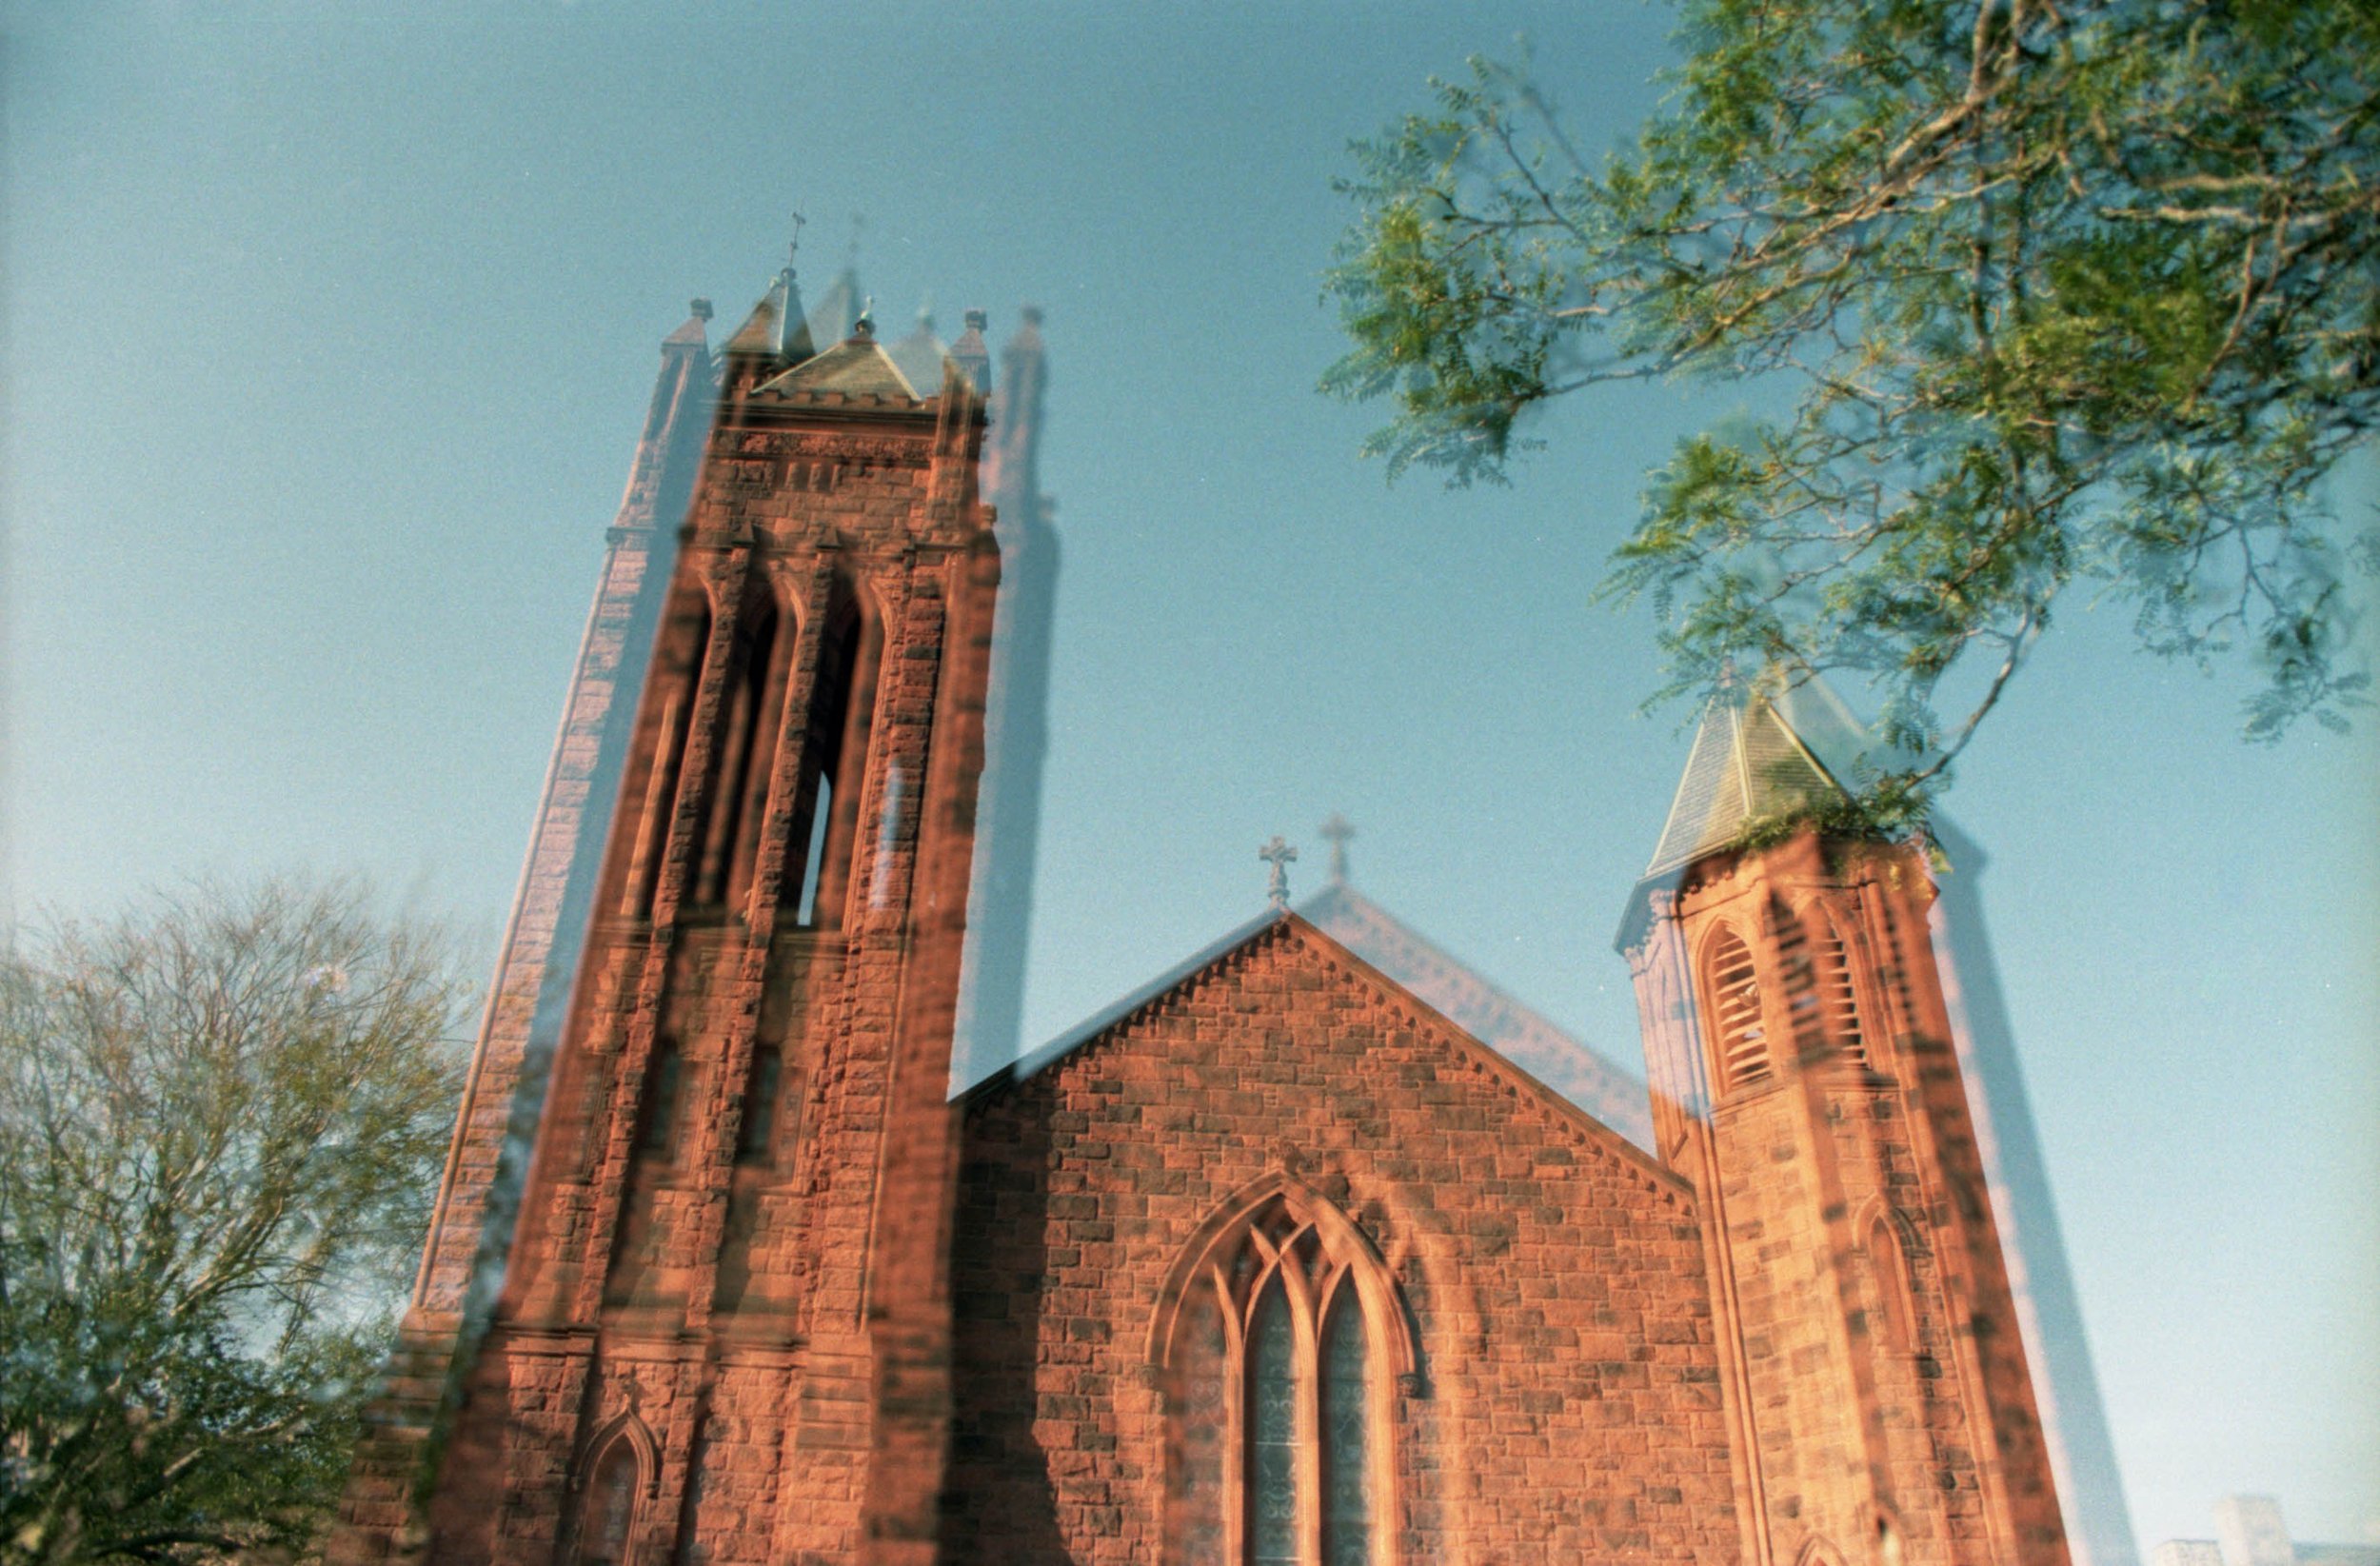
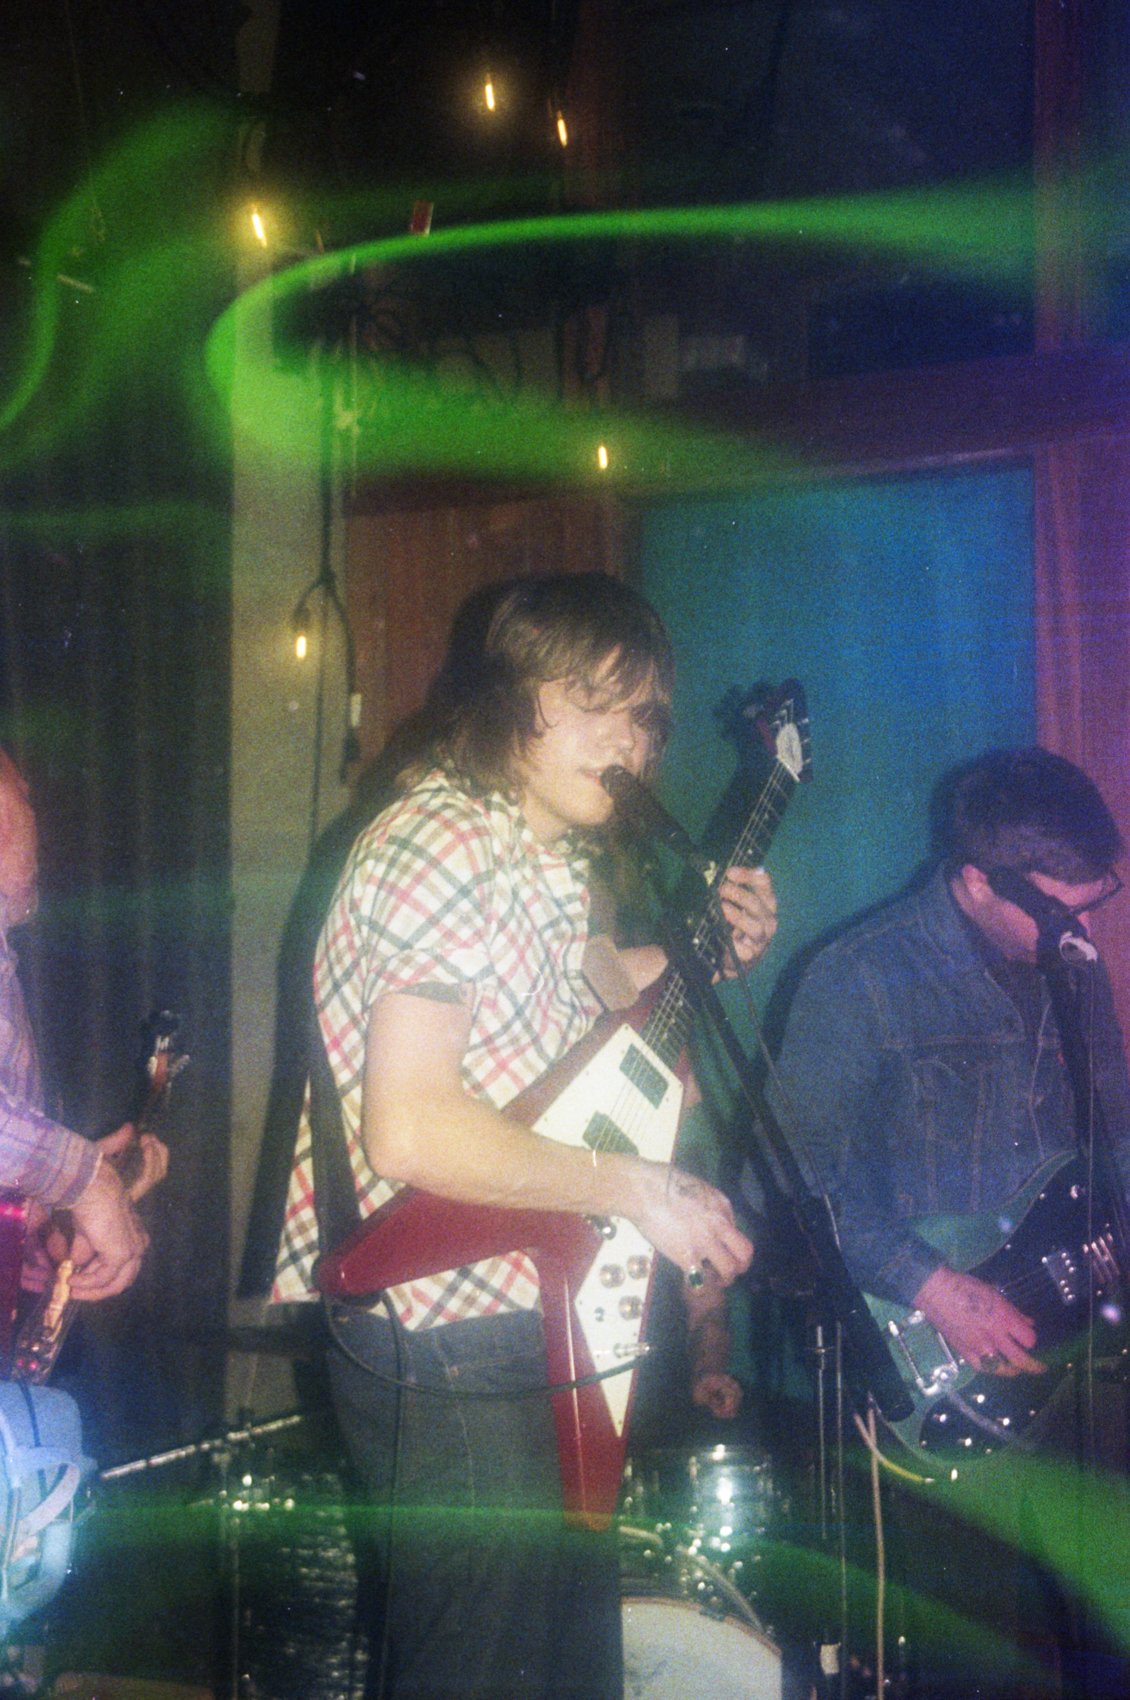
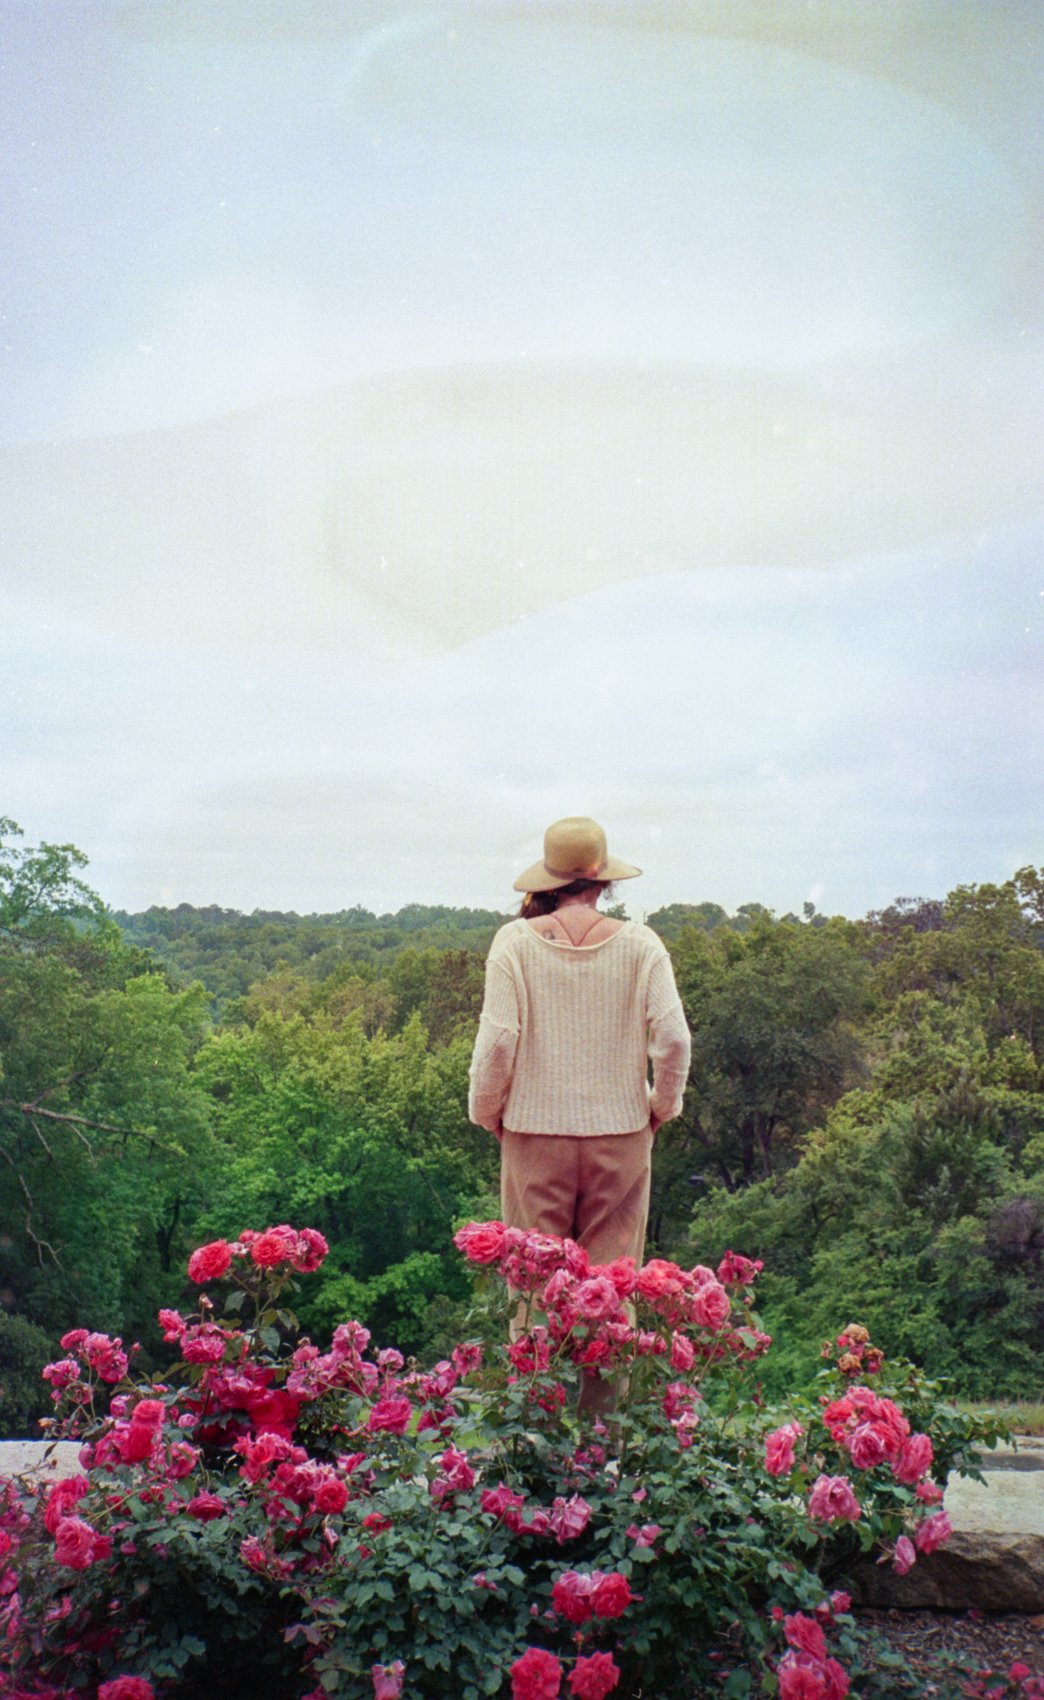
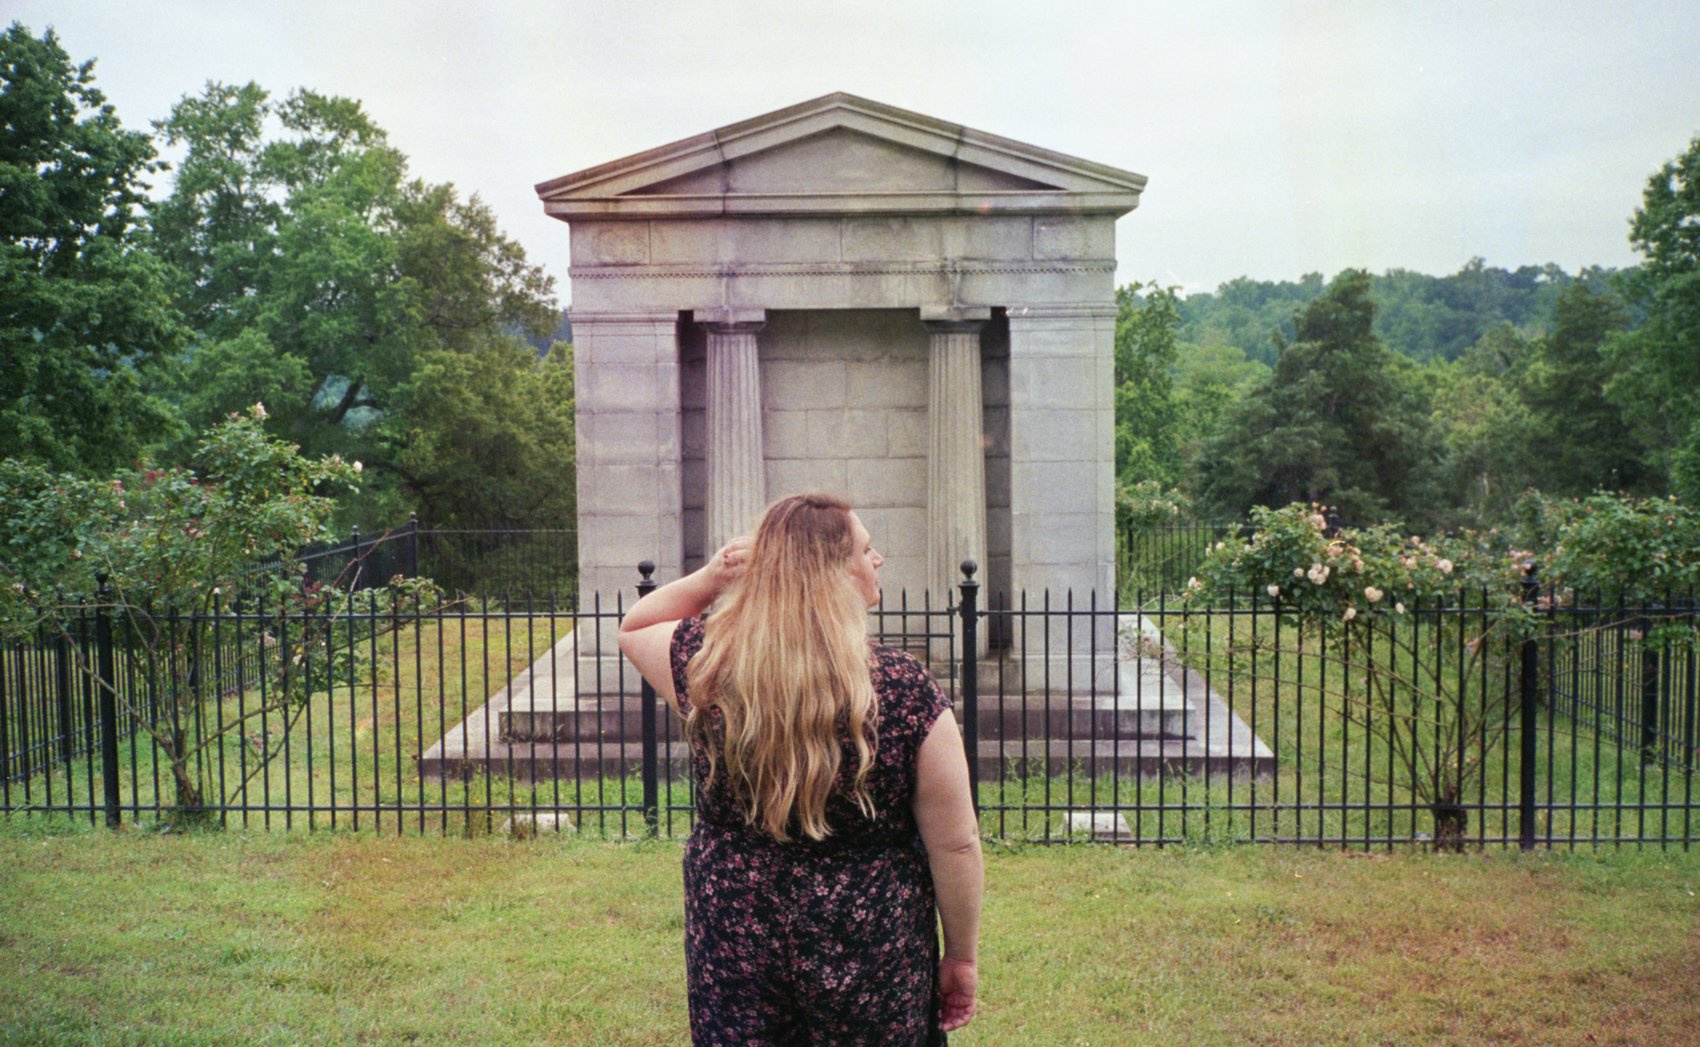
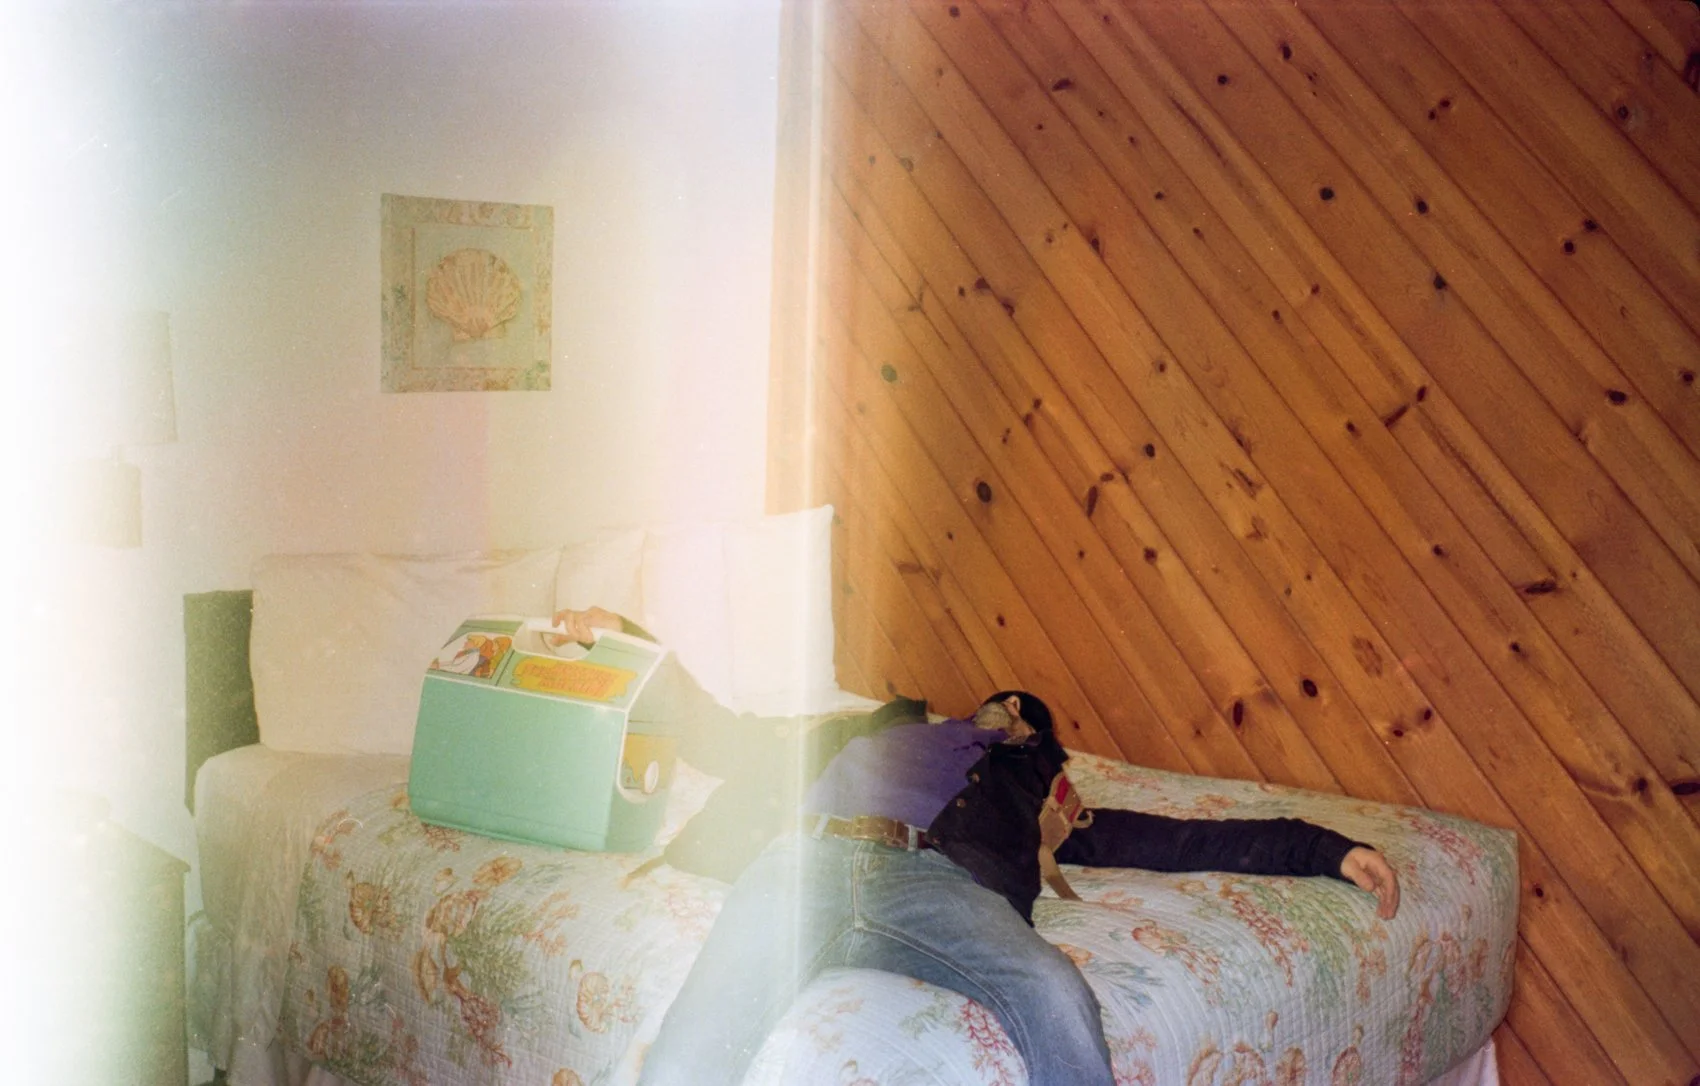
Double/Multiple Exposure Examples:

Canon Digital Full-Frame Double Exposure Examples:

How to Make Film Soup - 8 Easy Steps with Results and Film Soaking Tips

Updated June 29, 2026

I FINALLY made Film Soup! Film Soup is just another way of describing a “film soak” and it really means just that - soaking your film rolls in some sort of liquid to get unique results. I’ve been wanting to try this for years but I somehow never got around to it (and was mostly just terrified that I’d ruin my film)! During COVID-19 though, I was able to find some free time to shoot a few rolls of film for fun and was willing to risk their lives for a film soaking experiment. One of my favorite film photographers, Wendy Laurel, is a film soaking QUEEN and I’ve been paying attention over the years to how she soaks her film. It’s not hard at all, until you get to the point that you have to drop your film into the liquid and hope that it turns out! Luckily, you can’t REALLY mess it up. And in my opinion, the more colorful and strange your photos turn out, the better! It’s a super exciting way to create unique and completely original images, and I’m all about that. I have a full YouTube video about this too, in case you’d rather watch than read!

I soaked both 120 film and 35 mm film, but the whole process really works better for 35 mm. 120 film rolls don’t really have a way for the water to reach into the film if they are wound tightly. If you have a loose roll, it might work a little better, but then you’re also risking the roll having some light leaks. If it’s your first time trying film soup, I’d definitely go with 35 mm.

Step 1: Shoot your Film!

Some people soak their film BEFORE they run it through their camera, but I decided not to do this simply because it made me nervous to risk having any sort of chemical or liquid mess up the inside of my camera. Personally, I think it’s much safer to soak your film after you shoot the roll. Plus, if you shoot the roll and decide you DON’T want to risk soaking it, then you’re good to go!

Step 2: Prepare your concoctions

The opportunities are endless when it comes to choosing the liquids to soak your film in. Some of the classic choices are lemon juice, tea, vinegar and salt water. But you can try any kind of liquid you’d like, though it’s probably going to turn out best if it’s something acidic. For each liquid, you just pour a little bit in the bottom of a bowl. There’s no “correct” measurement here - just trust your intuition! A quick lemon squeeze, a few tablespoons of vinegar, etc. It’s totally up to you! That’s the fun of it. :)

(By using the affiliate links and/or codes in this blog post, you help support Myles Katherine Photography. I may earn a small commission at no additional cost to you if you make a purchase through these links. Thank you for your support!)

Step 3: Pour (almost) boiling water over the liquids

You’ll want to dilute the liquids you chose in Step 2 with hot water. I used boiling water that had cooled down a little bit. Hot water tends to work better than cold water in terms of getting a reaction out of your film. So just pour hot water in each bowl until there’s enough liquid to cover your film roll when you drop it in.

Step 4: Get up the courage to drop your film rolls in the water!

This was the hardest part for me! But it’s also just so thrilling because you have no idea how it’s going to turn out. Drop your film roll into the liquid mixture and let it sit for AT LEAST 15 minutes. My fav photographer I mentioned above, Wendy, usually soaks hers for about an hour. Some people soak their film up to 24 or 48 hours! Again, there are no rules really, but I think 15 minutes at minimum, just to make sure you get some type of result at the end of it all. After going through this experience now, I think I want to try soaking for 24 hours next time and see if I get more of a reaction.

Step 5: Rinse the Film

After your film has soaked, you’ll want to rinse the film rolls as best you can to get off any excess chemicals or acid that might continue to dissolve the film. We don’t want the film to disappear into thin air! I rinsed mine with cold water for a good 30 seconds each and then let them each soak in a bowl of clean, cold water for 15 minutes.

Step 6: Let the Film Dry!

You did it! Now, just set the film somewhere safe to fully dry for at least a week before sending it off to the lab to get developed.

Step 7: Send the film off to get processed (or process it yourself if you’re lucky enough to have a darkroom in your home)!

After a week of drying, you can send off your film to get processed so that you can finally witness your masterpieces! IMPORTANT TIP: Check with your film lab BEFORE you send your film in, to make sure they are able to process soaked film. Some labs aren’t willing to do it, as the chemicals that might still be lingering on the film can alter their chemicals and ruin other people’s film. We DEFINITELY don’t want this to happen. The film lab I usually use actually wasn’t able to do it, so I ended up sending my film to Blue Moon Camera in Portland, Oregon. I made sure to individually label each film roll with what kind of solution I soaked it in so that they could determine the best way to process it in their lab. I also recommend to call them beforehand so they can be prepared and process your film separately.

Step 8: Obsess over your images!

You did it! I scan my film myself so I had the film sent back to me and then I used my Epson V750 scanner to finally view my images. It was a long wait but TOTALLY worth it. I can’t wait to do it again! And next time, I think I will try a 24 hour soak. :)

Let me know how your Film Soup turned out! And if you’re looking for recommendations for 120 or 35 mm stocks, you can check out my blog post about my favorite 120 films here, or 35 mm here! Feel free to leave any thoughts, comments or questions below! And don’t forget to check out my full youtube video showing my first Film Soup experience! Or scroll down to see how my images turned out!

If you found this post helpful in any way, I’d love it if you considered signing up for my Patreon! For as little as $1 a month, you’ll get early access to all of my YouTube videos, plus tons of photos that I don’t post anywhere else. Depending on which tier you choose, you could also receive seasonal prints and/or discounts! I always use all of the proceeds towards cameras, film & processing.

If you have any questions, I’m always happy to help! You can contact me here, or leave a comment below! Thanks so much for stopping by! You can also check out my B&H Photo storefront & Amazon Storefront for more camera/film recommendations. :) Have a magical day!

<3 Myles Katherine