Now Booking Weddings for 2023! Richmond, Virginia & Northern Virginia Wedding & Engagement Photography


I CAN’T believe that 2023 is sneaking up on us already. I have no idea what happened to the last three years of my life! Wasn’t it just 2020?! Though I guess we can all agree that it’s a good thing that 2020 is in the past. Personally, I’m so excited for 2023. I see it as a fresh start for the world and for small businesses. I like to think that 2023 will be filled with only beautiful, positive, hopeful things (and lots of amazing photo shoots). :)

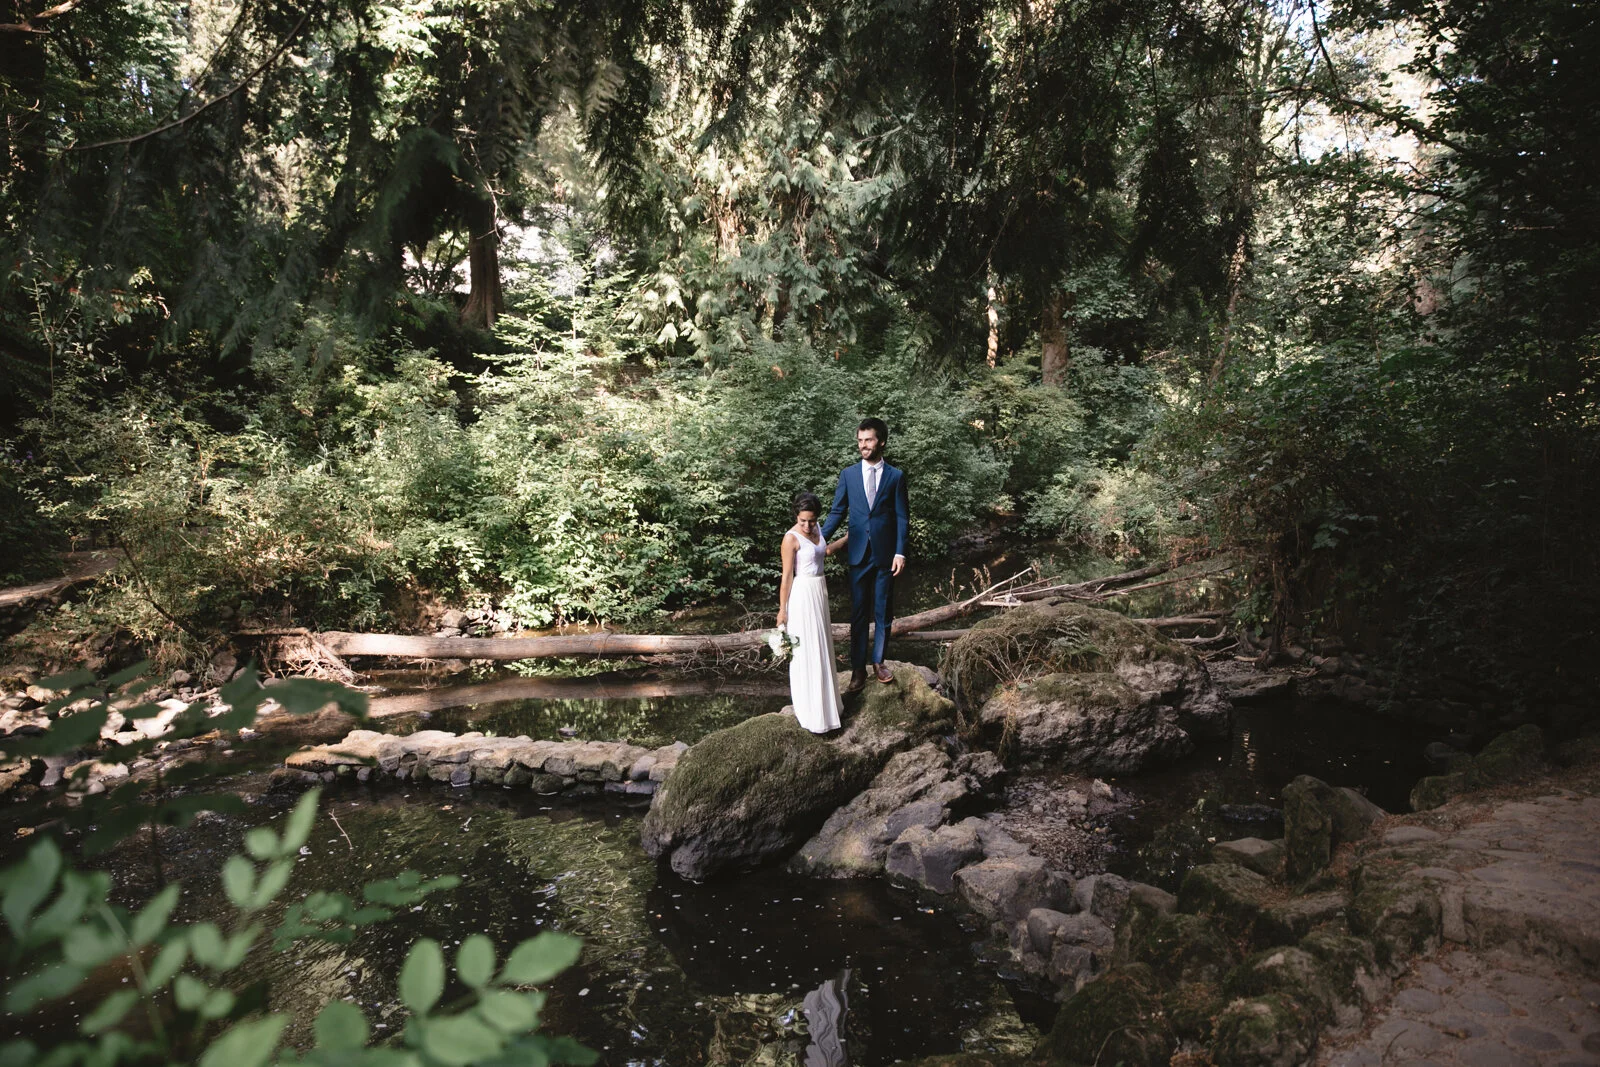
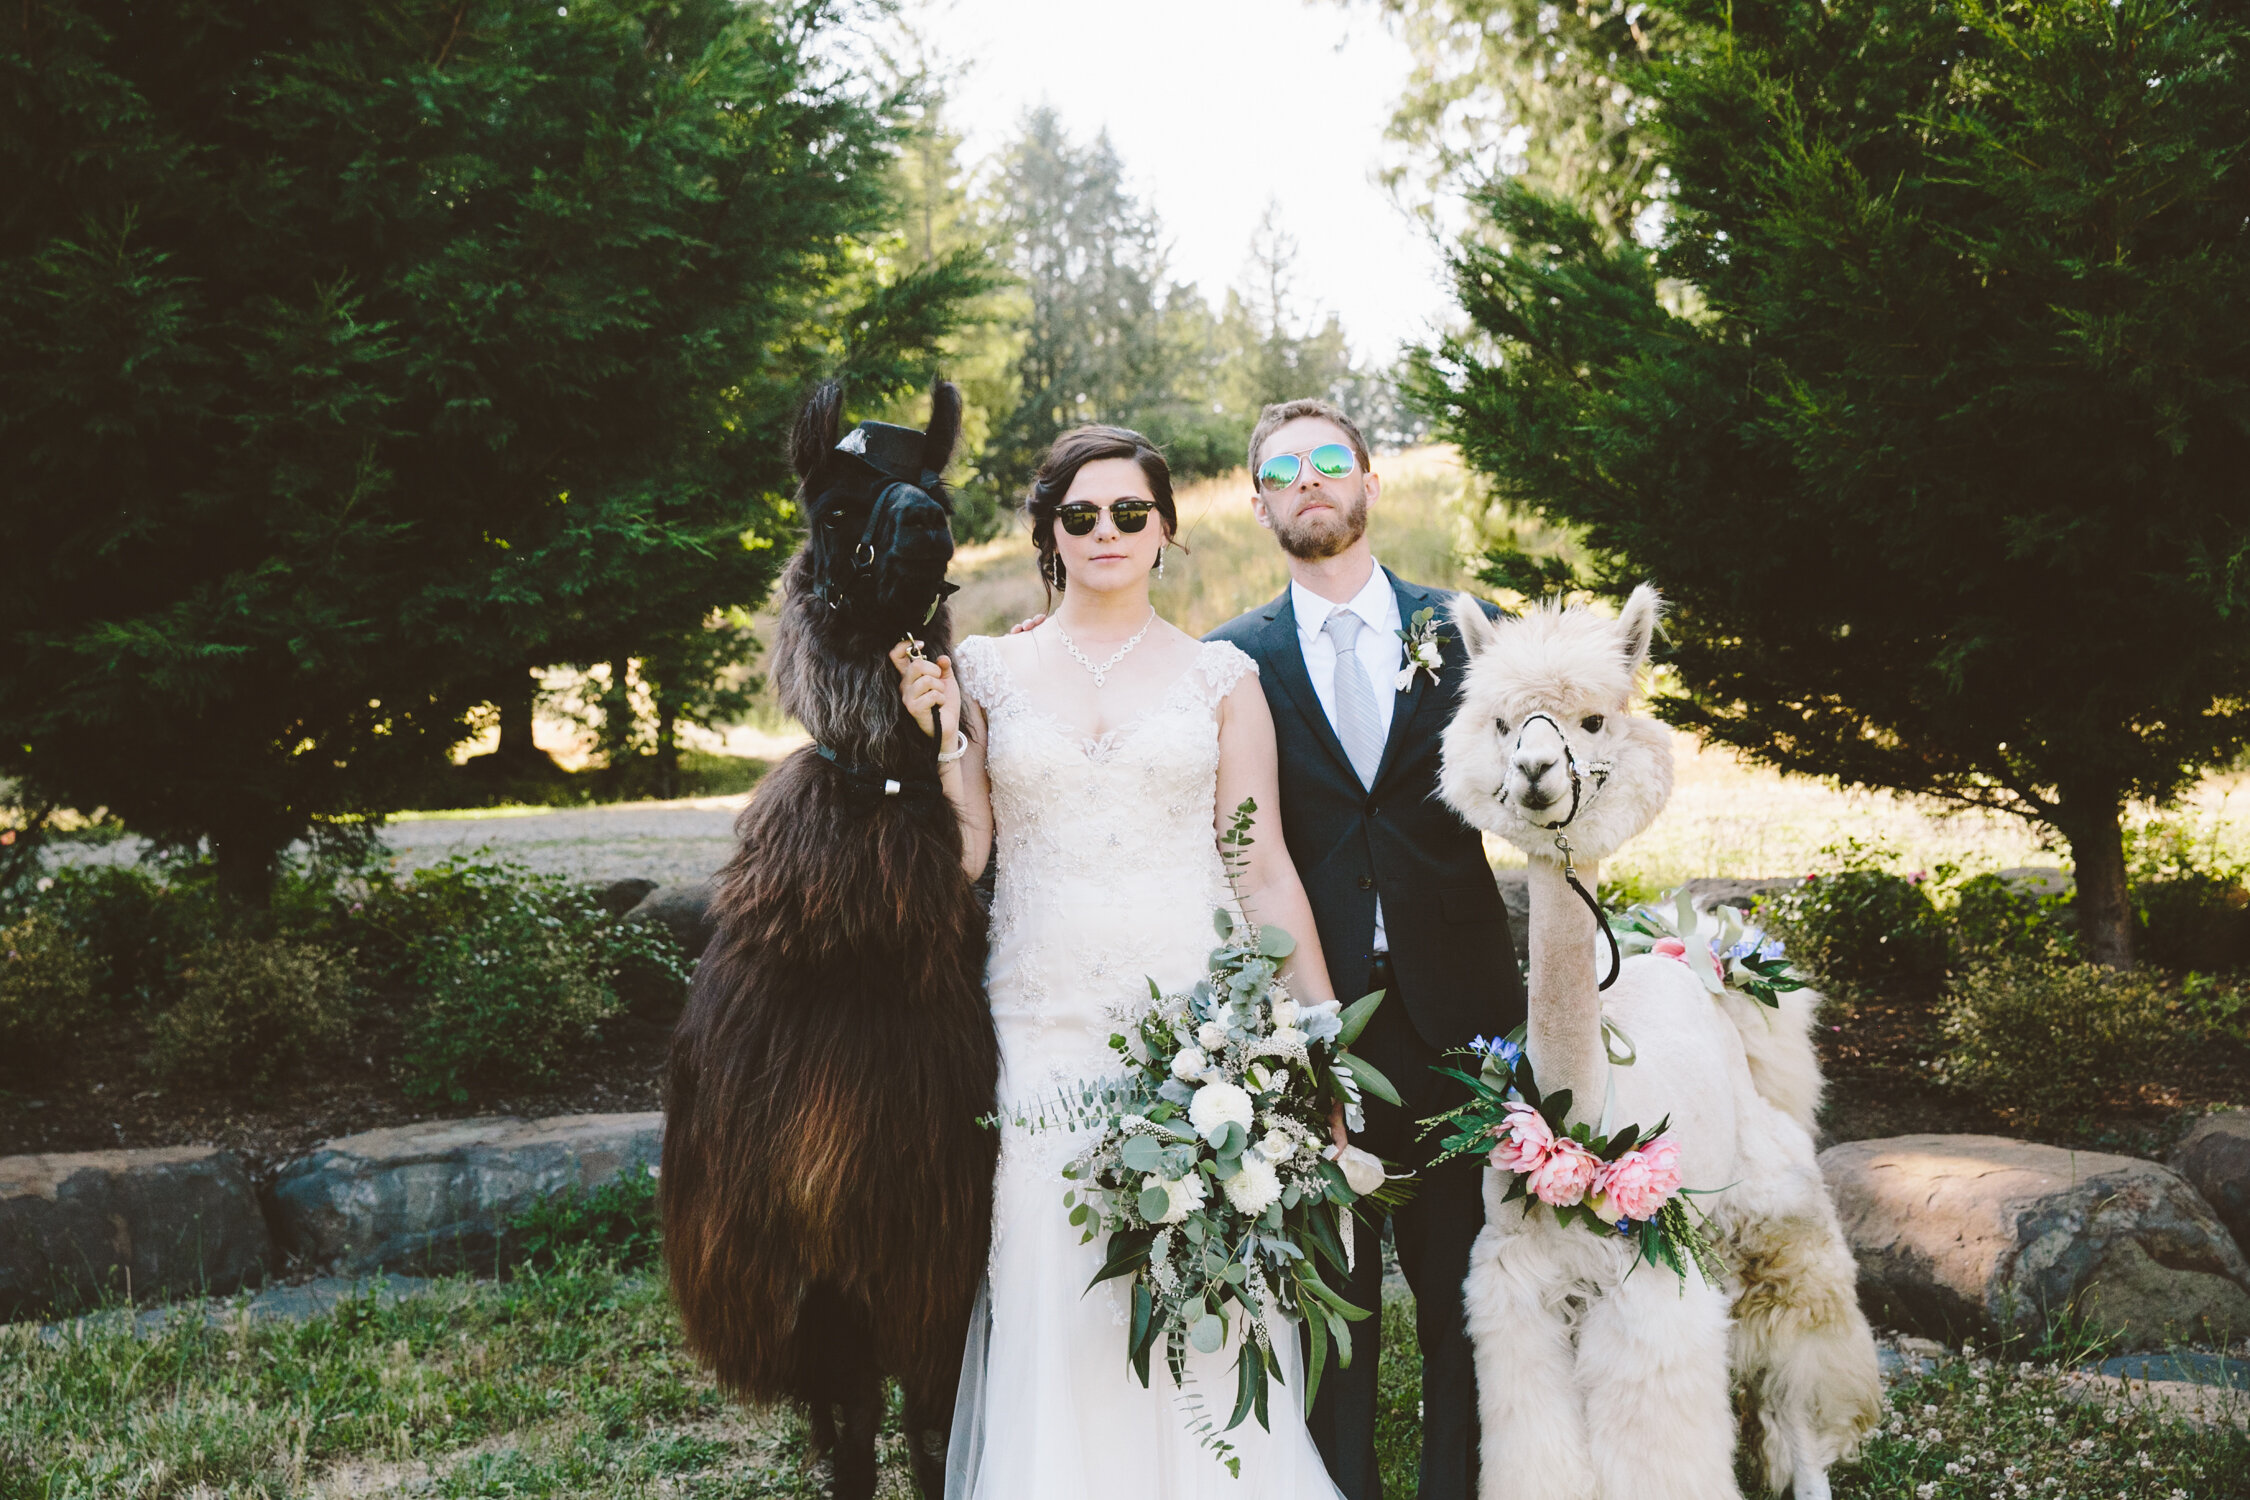
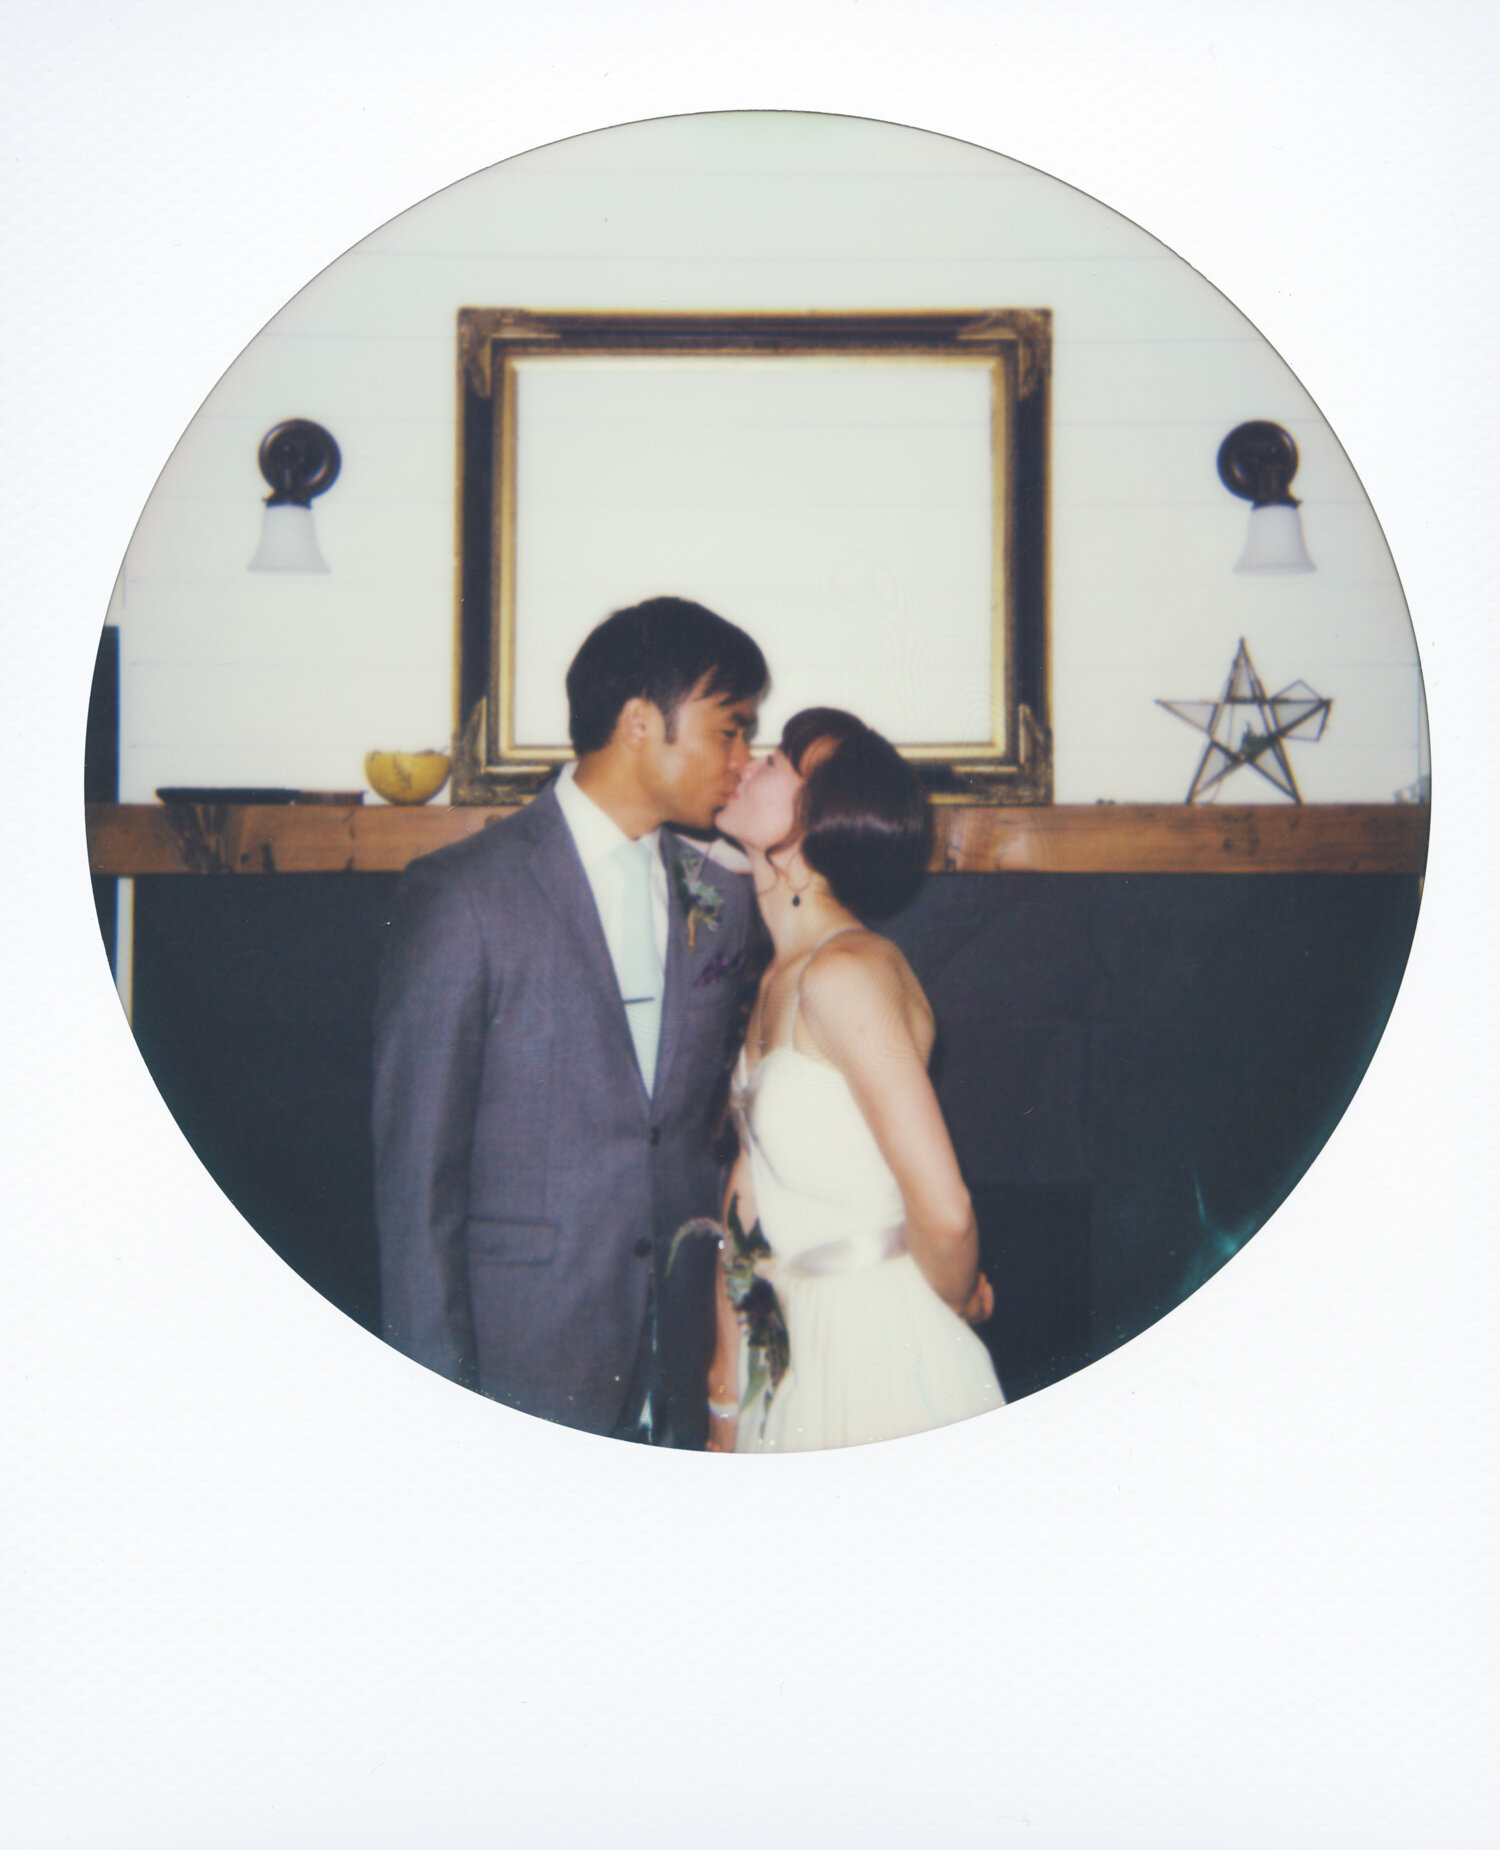
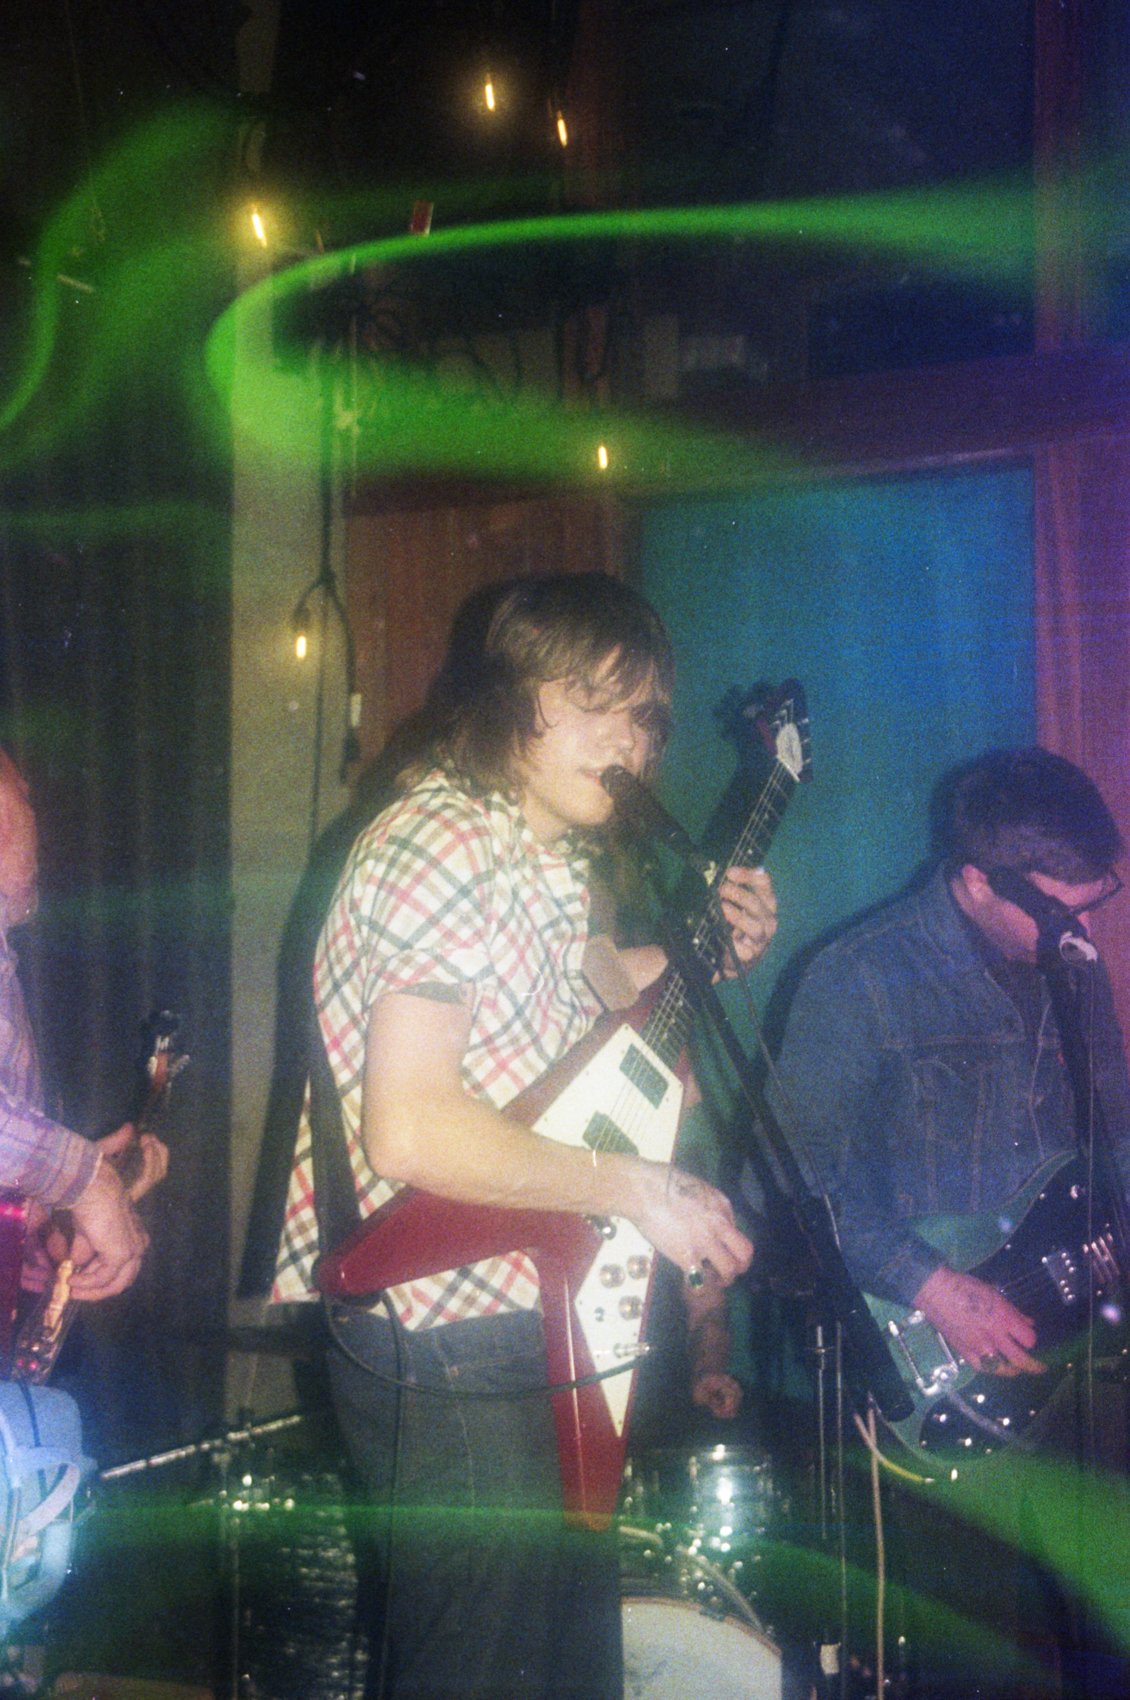
I’m only booking a handful of weddings for 2023 so be sure to reach out! You can browse through a few wedding albums here. I have a deep obsession with film photography, so I love using a variety of cameras to capture a wedding. I usually bring at least 7 cameras with me on a wedding day. Some may say it’s overkill, but it’s just another day for me! My husband, Chris, is a wedding DJ / Audio Visual Technician and we offer a discounted Photography & DJ package if you book us together. Contact me here to find out more! Here’s what you would get with the Photography & DJ package:

Myles Katherine Photography
6 hours of wedding photography
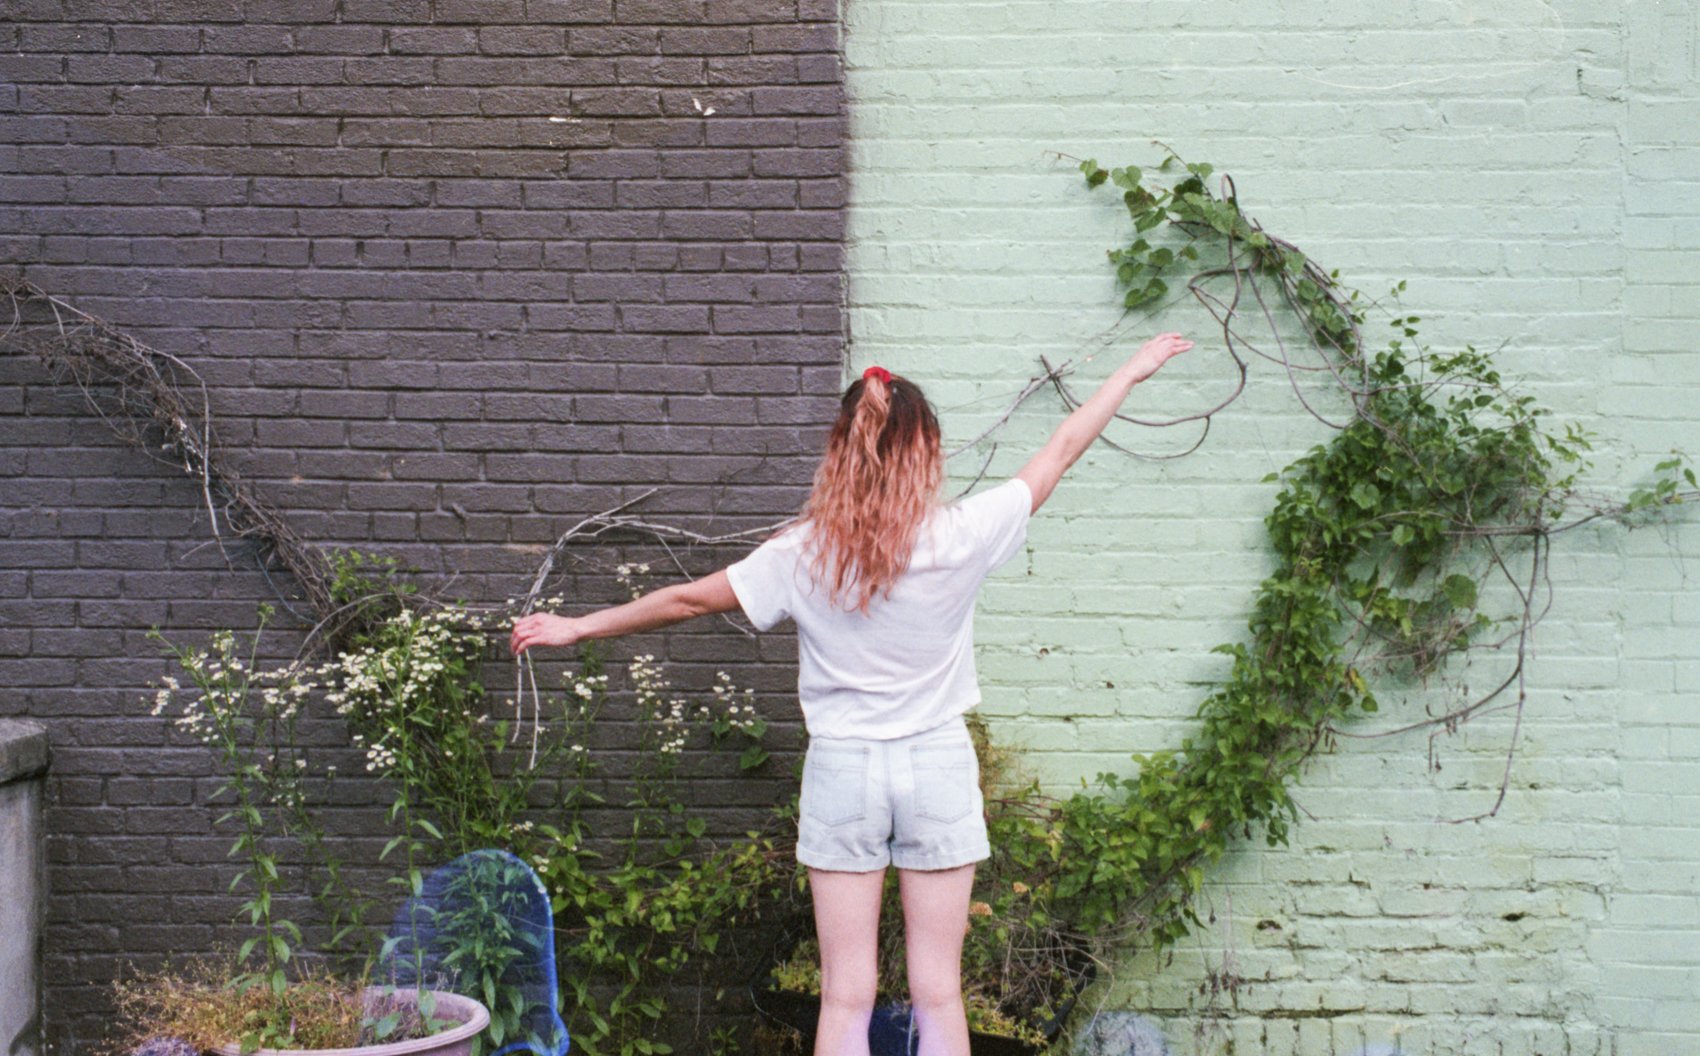
Fine art film & digital Photography
Online password-protected photo album
High-resolution download
1000+ images
Color and black & white
Printing rights
Wooden presentation box with USB and 8 polaroids
One pre-wedding consultation

In Debut Music
5 hours of DJ-ing
Wireless microphone
Basic MC-ing
Full PA system
Vinyl and digital spinning

Contact us soon to reserve your wedding day!


How to Make Film Soup - 8 Easy Steps with Results and Film Soaking Tips


I FINALLY made Film Soup! Film Soup is just another way of describing a “film soak” and it really means just that - soaking your film rolls in some sort of liquid to get unique results. I’ve been wanting to try this for years but I somehow never got around to it (and was mostly just terrified that I’d ruin my film)! During COVID-19 though, I was able to find some free time to shoot a few rolls of film for fun and was willing to risk their lives for a film soaking experiment. One of my favorite film photographers, Wendy Laurel, is a film soaking QUEEN and I’ve been paying attention over the years to how she soaks her film. It’s not hard at all, until you get to the point that you have to drop your film into the liquid and hope that it turns out! Luckily, you can’t REALLY mess it up. And in my opinion, the more colorful and strange your photos turn out, the better! It’s a super exciting way to create unique and completely original images, and I’m all about that.

Step 1: Shoot your Film!

Some people soak their film BEFORE they run it through their camera, but I decided not to do this simply because it made me nervous to risk having any sort of chemical or liquid mess up the inside of my camera. Personally, I think it’s much safer to soak your film after you shoot the roll. Plus, if you shoot the roll and decide you DON’T want to risk soaking it, then you’re good to go!

Step 2: Prepare your concoctions

The opportunities are endless when it comes to choosing the liquids to soak your film in. Some of the classic choices are lemon juice, tea, vinegar and salt water. But you can try any kind of liquid you’d like, though it’s probably going to turn out best if it’s something acidic. For each liquid, you just pour a little bit in the bottom of a bowl. There’s no “correct” measurement here - just trust your intuition! A quick lemon squeeze, a few tablespoons of vinegar, etc. It’s totally up to you! That’s the fun of it. :)

Step 3: Pour (almost) boiling water over the liquids

You’ll want to dilute the liquids you chose in Step 2 with hot water. I used boiling water that had cooled down a little bit. Hot water tends to work better than cold water in terms of getting a reaction out of your film. So just pour hot water in each bowl until there’s enough liquid to cover your film roll when you drop it in.

Step 4: Get up the courage to drop your film rolls in the water!

This was the hardest part for me! But it’s also just so thrilling because you have no idea how it’s going to turn out. Drop your film roll into the liquid mixture and let it sit for AT LEAST 15 minutes. My fav photographer I mentioned above, Wendy, usually soaks hers for about an hour. Some people soak their film up to 24 or 48 hours! Again, there are no rules really, but I think 15 minutes at minimum, just to make sure you get some type of result at the end of it all.

Step 5: Rinse the Film

After your film has soaked, you’ll want to rinse the film rolls as best you can to get off any excess chemicals or acid that might continue to dissolve the film. We don’t want the film to disappear into thin air! I rinsed mine with cold water for a good 30 seconds each and then let them each soak in a bowl of clean, cold water for 15 minutes.

Step 6: Let the Film Dry!

You did it! Now, just set the film somewhere safe to dry for at least a week before sending it off to the lab to get developed.

Step 7: Send the film off to get processed (or process it yourself if you’re lucky enough to have a darkroom in your home)!

After a week of drying, you can send off your film to get processed so that you can finally witness your masterpieces! IMPORTANT TIP: Check with your film lab BEFORE you send your film in, to make sure they are able to process soaked film. Some labs aren’t willing to do it, as the chemicals that might still be lingering on the film can alter their chemicals and ruin other people’s film. We DEFINITELY don’t want this to happen. The film lab I usually use actually wasn’t able to do it, so I ended up sending my film to Blue Moon Camera in Portland, Oregon. I made sure to individually label each film roll with what kind of solution I soaked it in so that they could determine the best way to process it in their lab.

Step 8: Obsess over your images!

You did it! I scan my film myself so I had the film sent back to me and then I used my Epson V750 scanner to finally view my images. It was a long wait but TOTALLY worth it. I can’t wait to do it again! And next time, I think I’ll try a 24 hour soak. :)

Let me know how your Film Soup turned out! Feel free to leave any thoughts, comments or questions below! You can also check out my full youtube video showing my first Film Soup experience! Or scroll down to see how my images turned out!

If you found this post helpful or if you’d like to see more of my work, I’d love it if you considered signing up for my Patreon! For as little as $1 a month, you’ll get early access to all of my YouTube videos, plus tons of photos that I don’t post anywhere else. Depending on which tier you choose, you could also receive seasonal prints and/or discounts! I always use all of the proceeds towards cameras, film & processing. Find out more here!

Thanks so much for stopping by! Have a lovely day!

<3 Myles Katherine


3 Best 120 Films to use with a Holga Toy Camera - Film Photography Tips


(This post contains affiliate links and I will be compensated if you make a purchase after clicking through my links.)

BEST BLACK & WHITE AND COLOR FILMS TO USE WITH A HOLGA

If you’ve been following me for a while, you probably know that the Holga (particularly the Holga 120 GCFN) is my favorite camera of all time. It’s a cheap, plastic camera but is capable of taking some truly unique photographs. It’s the one camera I never leave home without! I’ve been shooting with the Holga for almost 15 years now and I’ve tried quite a few different film brands with it at this point. I wanted to share my 3 favorite films I’ve used over the years and why I keep going back to them. Make sure to check out my blog post and YouTube video about the Holga here!

1. Lomography Color Negative 120 ISO 400 - My absolute favorite film to use with the Holga. Lomography‘s color 120 films are actually some of the more affordable ones out there, especially if you buy in bulk to save on shipping costs. The best part about this film is the bright, vibrant colors. I’ve noticed that films like Kodak Portra (which I love using for some of my other cameras) just tend to turn out flat and unexciting when using the Holga. Because the images taken with the Holga aren’t the sharpest or most detailed, having a vibrant and bold color film REALLY makes a difference. Plus, the 400 film speed works in both bright light and lower light situations. It’s the most versatile film speed for the Holga, in my opinion. The 100 speed color negative film by Lomography is also great!

2. FUJIFILM Neopan 100 Acros II Black & White Negative Film - While I’ll forever miss the original Neopan Acros 100 film, this one is still amazing. The first film I ever used with a Holga was Neopan Acros 100 and I’m still obsessed with the fine grain and moodiness of the film. It’s super sharp, has beautiful tones and creates interesting images when used in low light BECAUSE of the slow film speed. I used to use black and white film a lot more than I do now, but I’ll always cherish the magic and nostalgia of black and white film. I prefer to shoot in color now to allow myself the option of converting to black and white.

3. Lomography LomoChrome Purple XR 100-400 Color Negative Film - I know this isn’t a popular opinion, but I LOVE this film. It’s unique, dreamy and interesting. I think the combination of the Holga and Purple Lomochrome film works really well together. I know I’m a weird person anyway, so if people want to think I’m weird for liking this film, that’s just another day for me. Photographers have a LOT of opinions on this film, but personally, I think if someone hates this film, it's because they’ve never taken a good photo with it. ;)


WHERE TO PURCHASE:

Lomography Color Negative 120 ISO 400

B&H Photo

Adorama

eBay

FUJIFILM Neopan 100 Acros II Black & White Negative Film

Adorama

eBay

Lomography LomoChrome Purple XR 100-400 Color Negative Film

B&H Photo

eBay

Amazon

If you found this post helpful or if you’d like to see more of my work, I’d love it if you considered signing up for my Patreon! For as little as $1 a month, you’ll get early access to all of my YouTube videos, plus tons of photos that I don’t post anywhere else. Depending on which tier you choose, you could also receive seasonal prints and/or discounts! I always use all of the proceeds towards cameras, film & processing. Find out more here!

Thanks so much for stopping by! Have a lovely day!

<3 Myles Katherine

Take your photography to the next level with unlimited storage, a portfolio site & the ability to sell prints worldwide. Try SmugMug free and save 15% if you click my link. #ad https://shareasale.com/u.cfm?d=498808&m=49765&u=1135228&afftrack=

#CommissionsEarned