The Best Backup Services and Cloud Storage for Photographers | Tips for Keeping Your Files Safe and Organized


As a photographer, I can’t imagine anything scarier than losing all of my files. My clients would lose their precious memories and I would definitely never be hired again! It’s taken me years to figure out the best way to keep my files safe and organized, and I want to help you do the same! It takes some getting used to, and I still spend entire days going through old files (from before I had this system down) and putting them into folders. It’s taken some trial and error in terms of the best way to name folders and the easiest way to find the files later. But now, my files are exactly where I need them to be and I know they are safely backed up.

Backblaze and Smugmug are the two main services I use for backup and storage and they are game-changers. I use Backblaze as an online backup system that continuously backs up my external hard drives (all 5 of them and over 23 TB!) and it only costs $99/year for UNLIMITED STORAGE (!!!!!!). The best part is that you can access your files from anywhere and download them directly to your computer. I can’t tell you how many times I’ve been traveling and realized I forgot to move some files onto my computer to edit. So I just log in to my Backblaze account, download the folder, and I can get straight to work. If one of your hard drives crashes, Backblaze can send you a new one with all of your files on it. When you log into your account, it’s basically a mirror image of your finder window, with all of your hard drives and folders exactly the way they look on your computer (see screenshot below). It’s actually the greatest service ever invented. Use this link to get a month of service from Backblaze for free!

backblazefolder.jpg

I use Smugmug for all of my client galleries. I upload my edited images straight from Lightroom (using a lightroom plugin) into a gallery and then send the link to my clients. My favorite part about Smugmug is the app, which I use to download images from any of my galleries and upload to instagram, facebook, etc. I have the Portfolio plan which is $246/year and includes UNLIMITED storage. I have wedding galleries up there from 10 years ago that my clients can still access. They can also order prints and other gifts directly from the gallery. Use this link to sign up and get a free 14-day trial! I’m telling you, it’s so worth it. I keep all of my folders on smugmug super organized too, which makes the app even easier to navigate and find files when I’m traveling. See the screenshot below to get an idea of how you can organize your different types of photos!

Honestly, I’m always looking for the most affordable way to run my business (I’m a bit of a cheapskate) and these two services are life-changing to me as a photographer. I’ve spent a lot of hours researching backup services and gallery services, but these two take the cake for me. I’ve been using them both for YEARS and I haven’t had any issues.

After a photo shoot, I come home and upload the files to my hard drives, which are then safely backed up to Backblaze (so if my house burns down with my memory cards AND my hard drives, they are still safe). Then, after I’ve finished editing a shoot, I upload the final images to a Smugmug gallery. My files are then safely in 3 places, 2 of which are online, accessible from anywhere, and safe from a house fire.

In terms of organizing my hard drives, I wanted to share a screenshot sample of my folders. This has proven to be the best way to not lose files and it’s pleasing to look at with my OCD brain. I also scan my film negatives at home, so I keep those files separate from my digital files. Essentially, the format is YEAR>MONTH>PHOTOSHOOT. I also have video files and other things that I make sure to keep separate from my photography.

fileorganization.jpg

I hope this helps you find an easy and affordable way to keep your files safe. It can be overwhelming when you first start organizing everything, but it’s so worth it when it’s done. It’s also important to name your files something that you’ll remember, in case you need to find them later. When I export my final images, I make sure to use keywords that I won’t forget. For example, if you took a trip to Florida with your family, you could name the files FloridaFamilyTrip2020. Then, ten years from now you won’t have a hard time finding the images.

If you found this post helpful or if you’d like to see more of my work, I’d love it if you considered signing up for my Patreon! For as little as $1 a month, you’ll get early access to all of my YouTube videos, plus tons of photos that I don’t post anywhere else. Depending on which tier you choose, you could also receive seasonal prints and/or discounts! I always use all of the proceeds towards cameras, film & processing. Find out more here!

Please feel free to leave any questions or comments below, I’m happy to help! I hope everyone is staying safe and healthy during this crazy time!

<3 Myles Katherine

This post contains affiliate links and I will be compensated if you make a purchase after clicking through my links. 


First roll of film with the Lomography LomoApparat 35 mm camera using Kodak Gold 200 | Review and sample photos from our trip to St. Augustine, Florida


This post contains affiliate links and I will be compensated if you make a purchase after clicking through my links. 
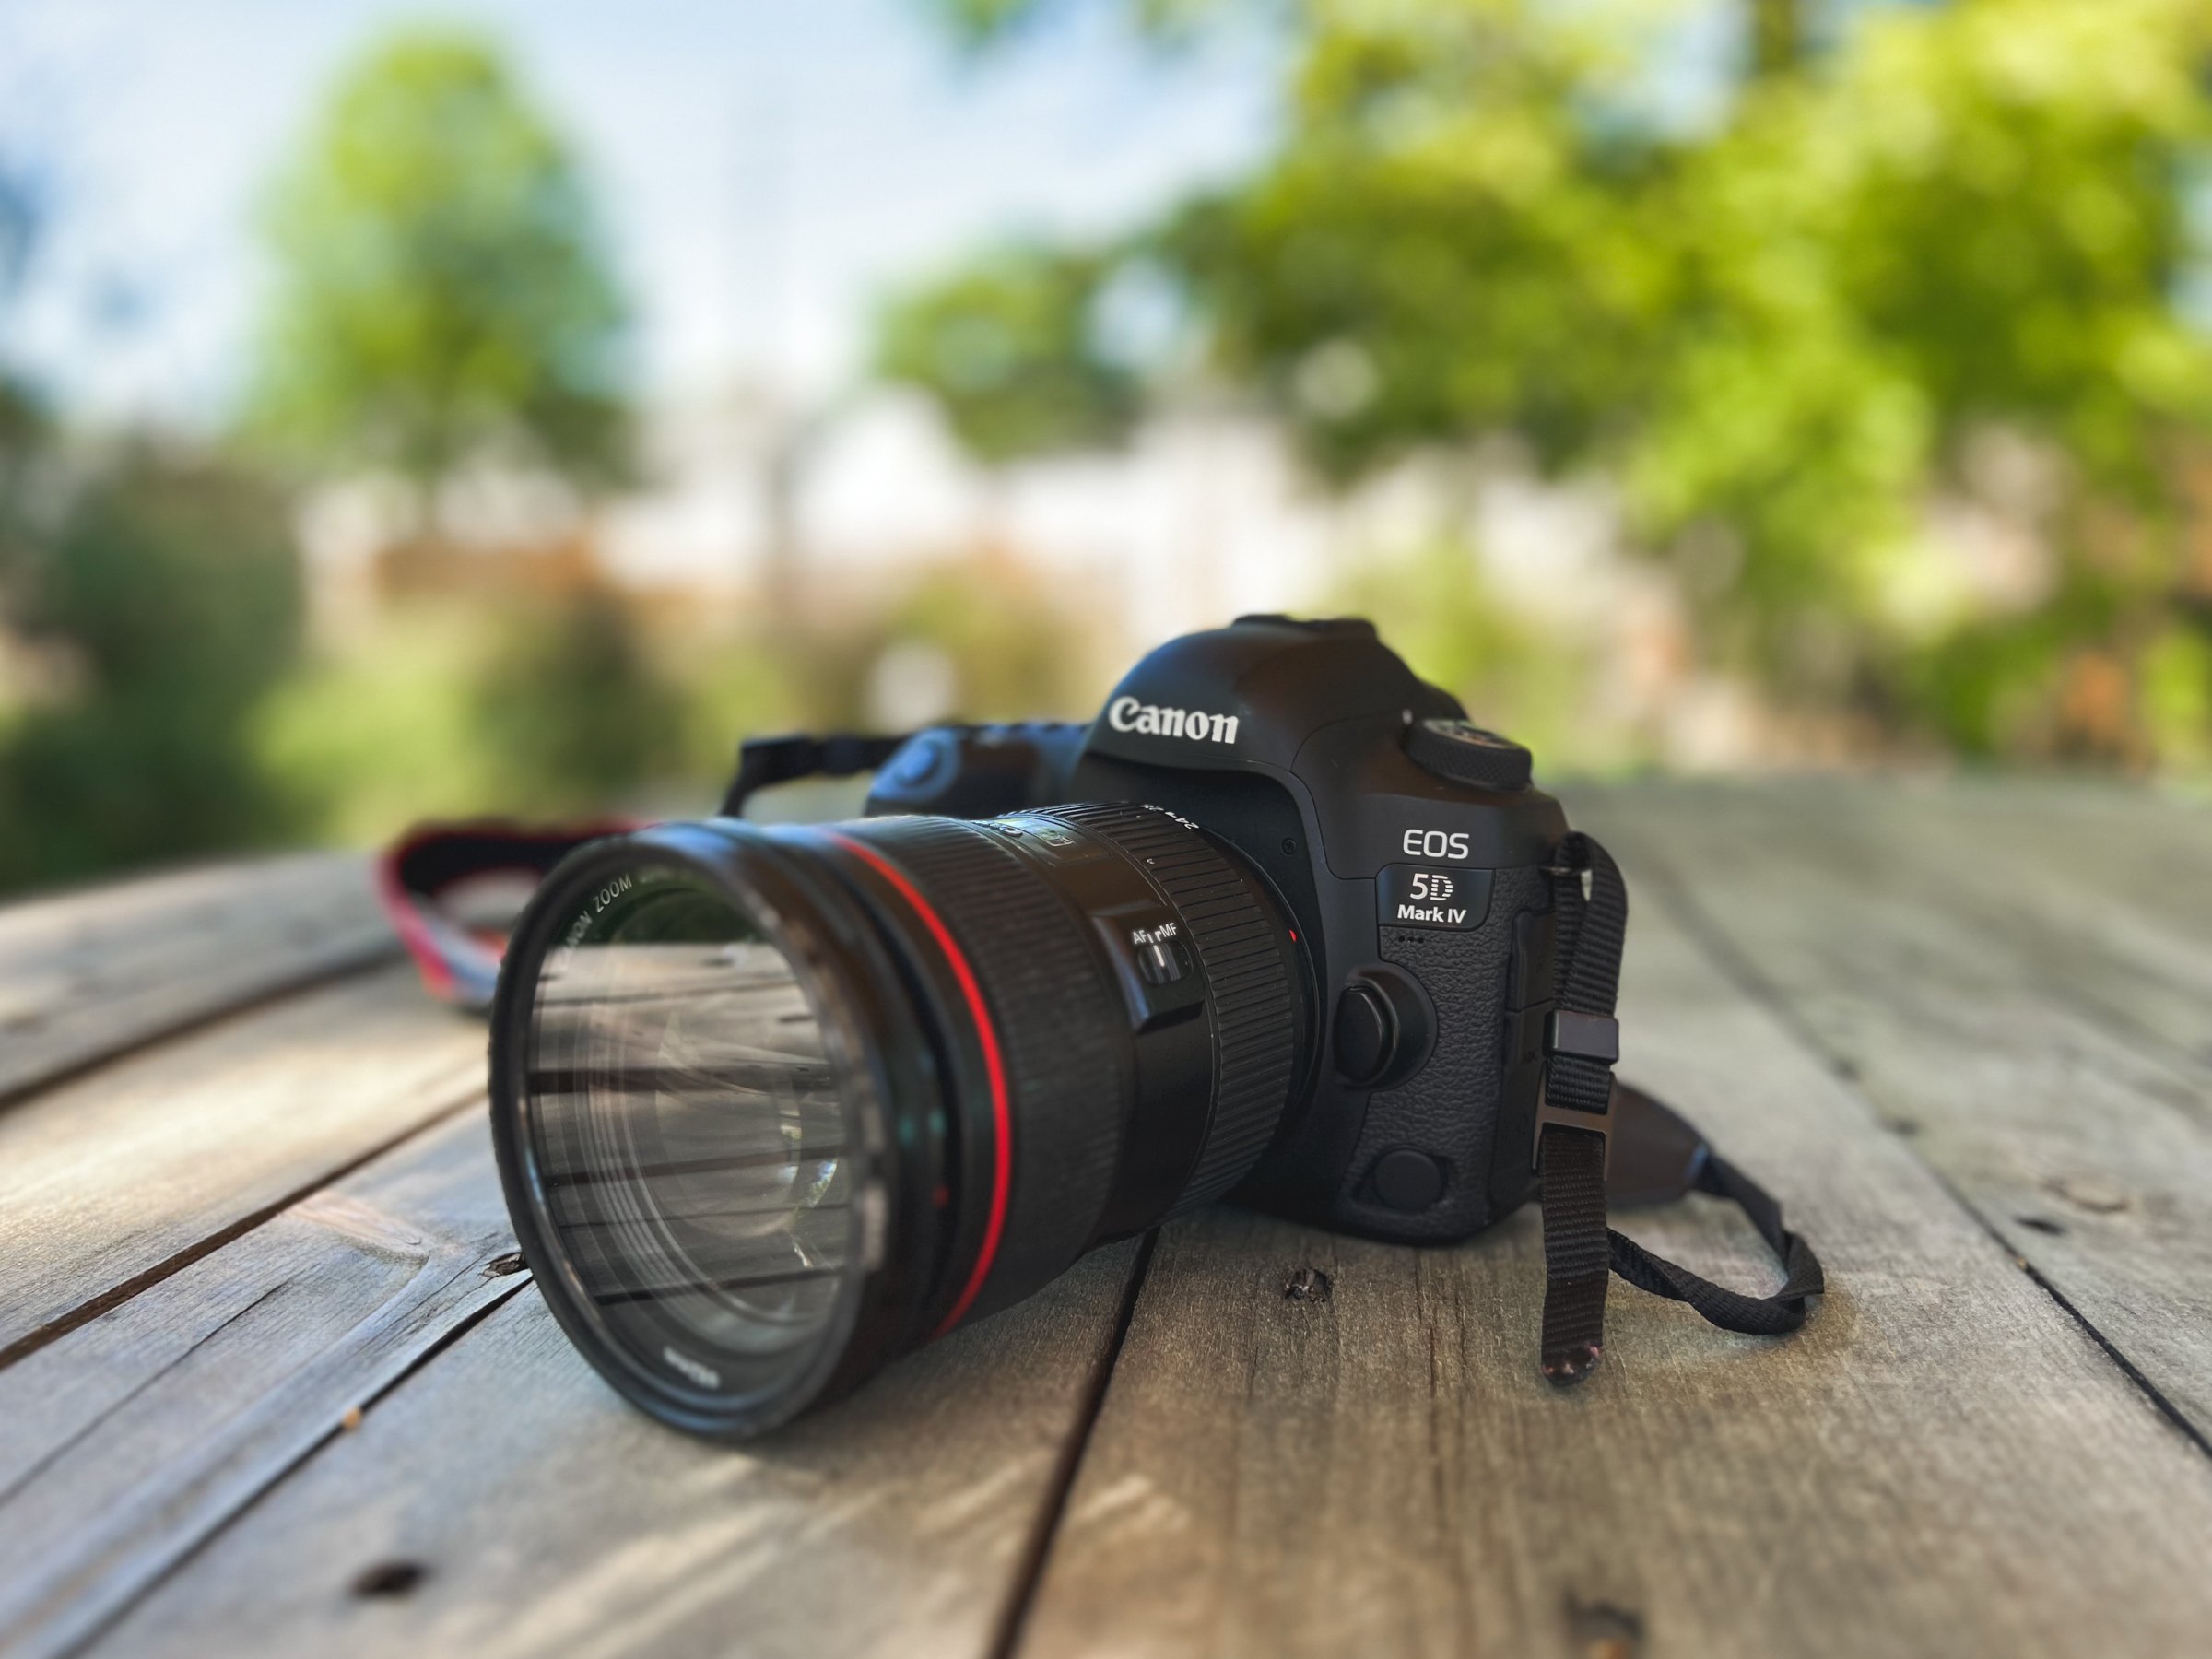
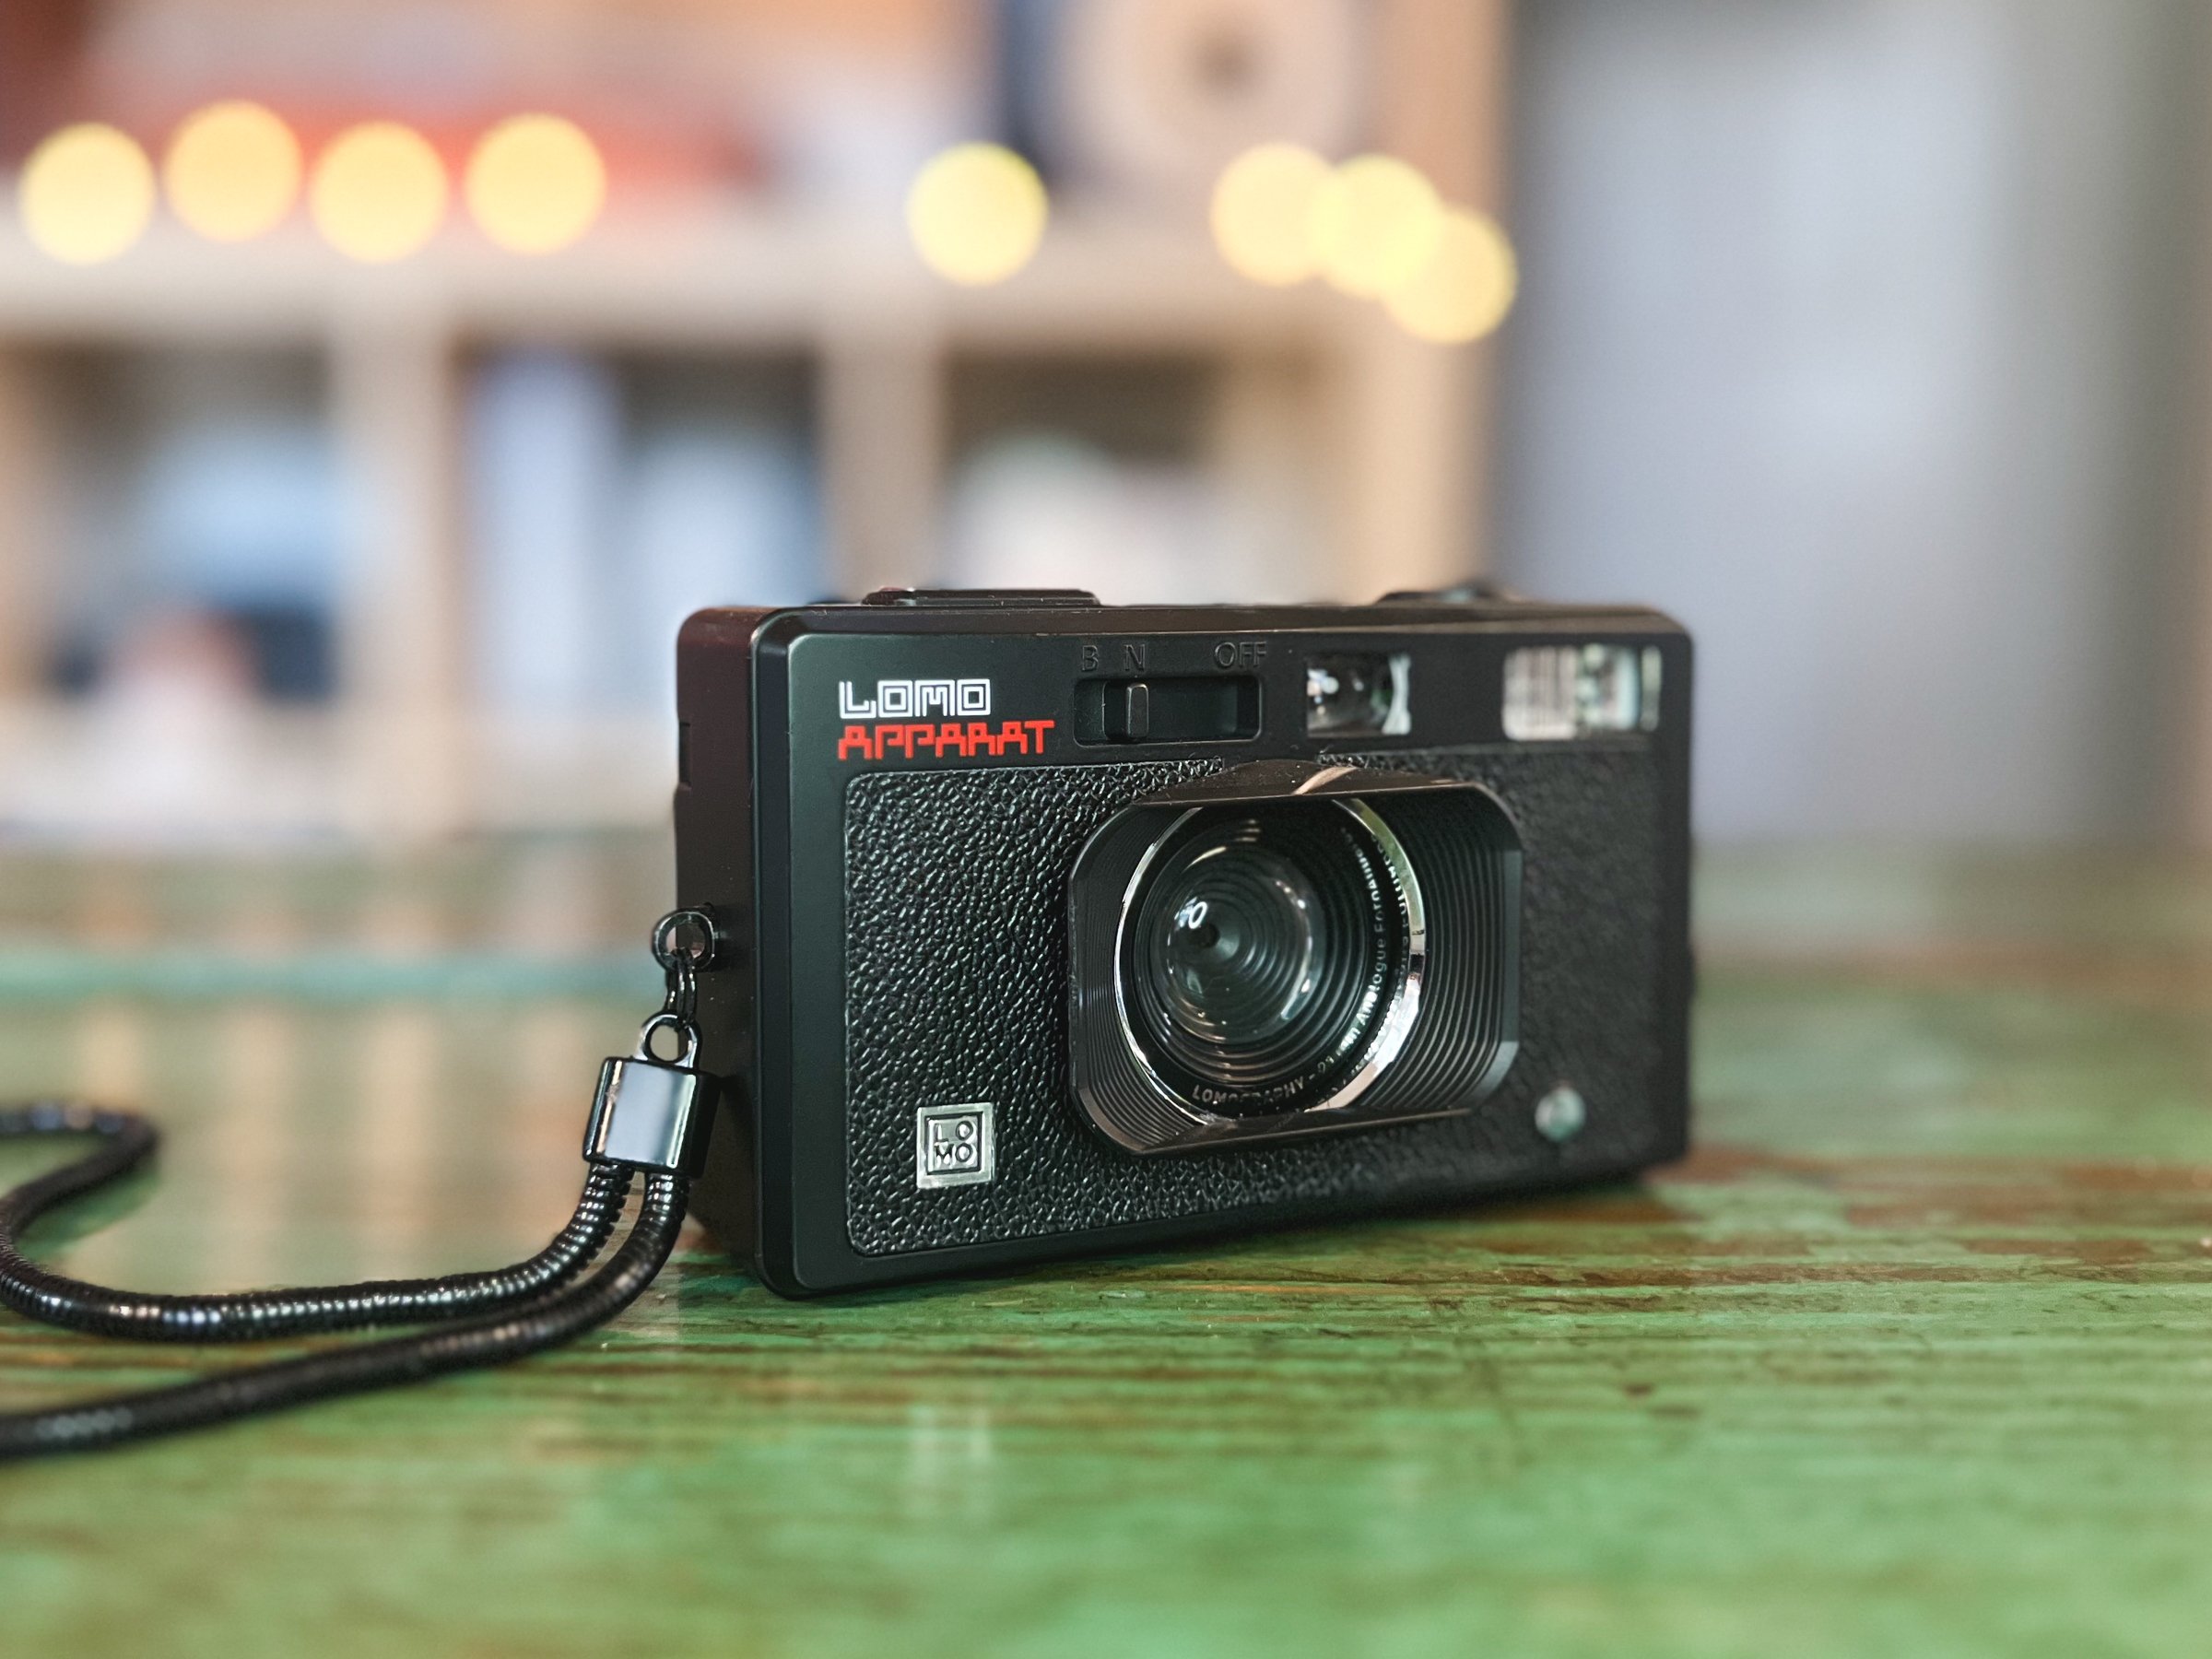
I was SO excited when I found out I was one of the winners of the “Human Stories” Lomography TEN AND ONE 2021 Photography Competition. But I was even more excited when I discovered that my prize was the LomoApparat 35 mm film camera. It’s Lomography’s newest camera and is an experimental, ultra wide 35 mm film camera with a vintage, retro look and tons of features for creating unique, original photographs.

I received the camera right before my birthday and decided to try it out for the first time on my birthday trip to St. Augustine, Florida. I used a roll of Kodak Gold 200 to really give a golden beach glow to the photos. I LOVE taking Kodak Gold on any tropical or beach trip I go on because it adds such a nice, warm atmosphere. In a typical photo shoot situation, I actually prefer NOT to use Kodak Gold because I tend to favor cooler tones. But for the beach, ALWAYS Kodak Gold.

The camera itself was a lot less sturdy than I was expecting. It’s extremely light, made of plastic and feels more like a disposable point and shoot camera than anything else. But when it comes down to it, I don’t really mind. Mostly because I drop my cameras constantly. I throw them in my bag and drag them all over the world. I’m not the best camera mom, if we’re being honest. So I actually prefer that it’s not super fancy because I would destroy it. I still think the camera has a super cool, unique look to it. But ultimately what makes this camera special is all of the creative control it allows for. The various lens attachments, the colorful flash filters, the multiple exposure function and the wide angle lens. It’s just a fun camera to use, all around. The lens is much sharper than I thought it would be, however I did notice that when I used the kaleidoscope filter, the very center of the image would be out of focus. I was pretty bummed about this because I love using kaleidoscope filters. Though it does seem to be a bit sharper if you use the kaleidoscope filter for close-up portraits, rather than landscapes or distant shots. I love how all of the double exposures turned out and I LOVE the wide angle lens. I’ve always been more about composition than anything else, especially when I’m traveling, and the ultra wide lens allows me to capture everything I want and need in a photo.

The only thing I really had trouble with was loading the film. It took a few tries to figure it out and to be sure the film was grabbing as I was winding the film advance dial. Once it was loading correctly, there was much more tension and the film dial almost wanted to spring backwards. So, you’ll notice when the film is actually caught and is advancing through the camera. I’m planning on doing a more in-depth video about the film loading for this camera very soon, so stay tuned!

I just posted a video on my YouTube channel about the LomoApparat and our trip to St. Augustine, so make sure to check that out! Or you can scroll down to check out all of the photos from my first roll of film with the LomoApparat. Overall, I think the camera is super fun and versatile. I honestly can’t wait to take it on another trip and try out a few of the other features. If you love point and shoot cameras and you love having ultimate creative control, then the LomoApparat won’t let you down. I’ll be sure to share more full film rolls from this camera in the future, but for now, I’ve included all of the photos from my very first roll of film with the LomoApparat below. :)

PURCHASE THE LOMO APPARAT ON B&H PHOTO!

PURCHASE THE LOMO APPARAT ON EBAY!

PURCHASE KODAK GOLD 200 35MM FILM ON AMAZON!

#CommissionsEarned

If you found this post helpful or if you’d like to see more of my work, I’d love it if you considered signing up for my Patreon! For as little as $1 a month, you’ll get early access to all of my YouTube videos, plus tons of photos that I don’t post anywhere else. Depending on which tier you choose, you could also receive seasonal prints and/or discounts! I always use all of the proceeds towards film & processing. Find out more here!

Feel free to leave any questions/comments/thoughts below! And don’t forget to stop by my Amazon storefront for more camera/film recommendations. :)

Have a lovely day!

<3 Myles Katherine


Review of the Lomo'Instant Wide Camera with Sample Photos | Instax Wide Film vs. Instax Mini Film


(By using the links and/or codes below it supports Myles Katherine Photography. We may get a small kick back by you doing so.)

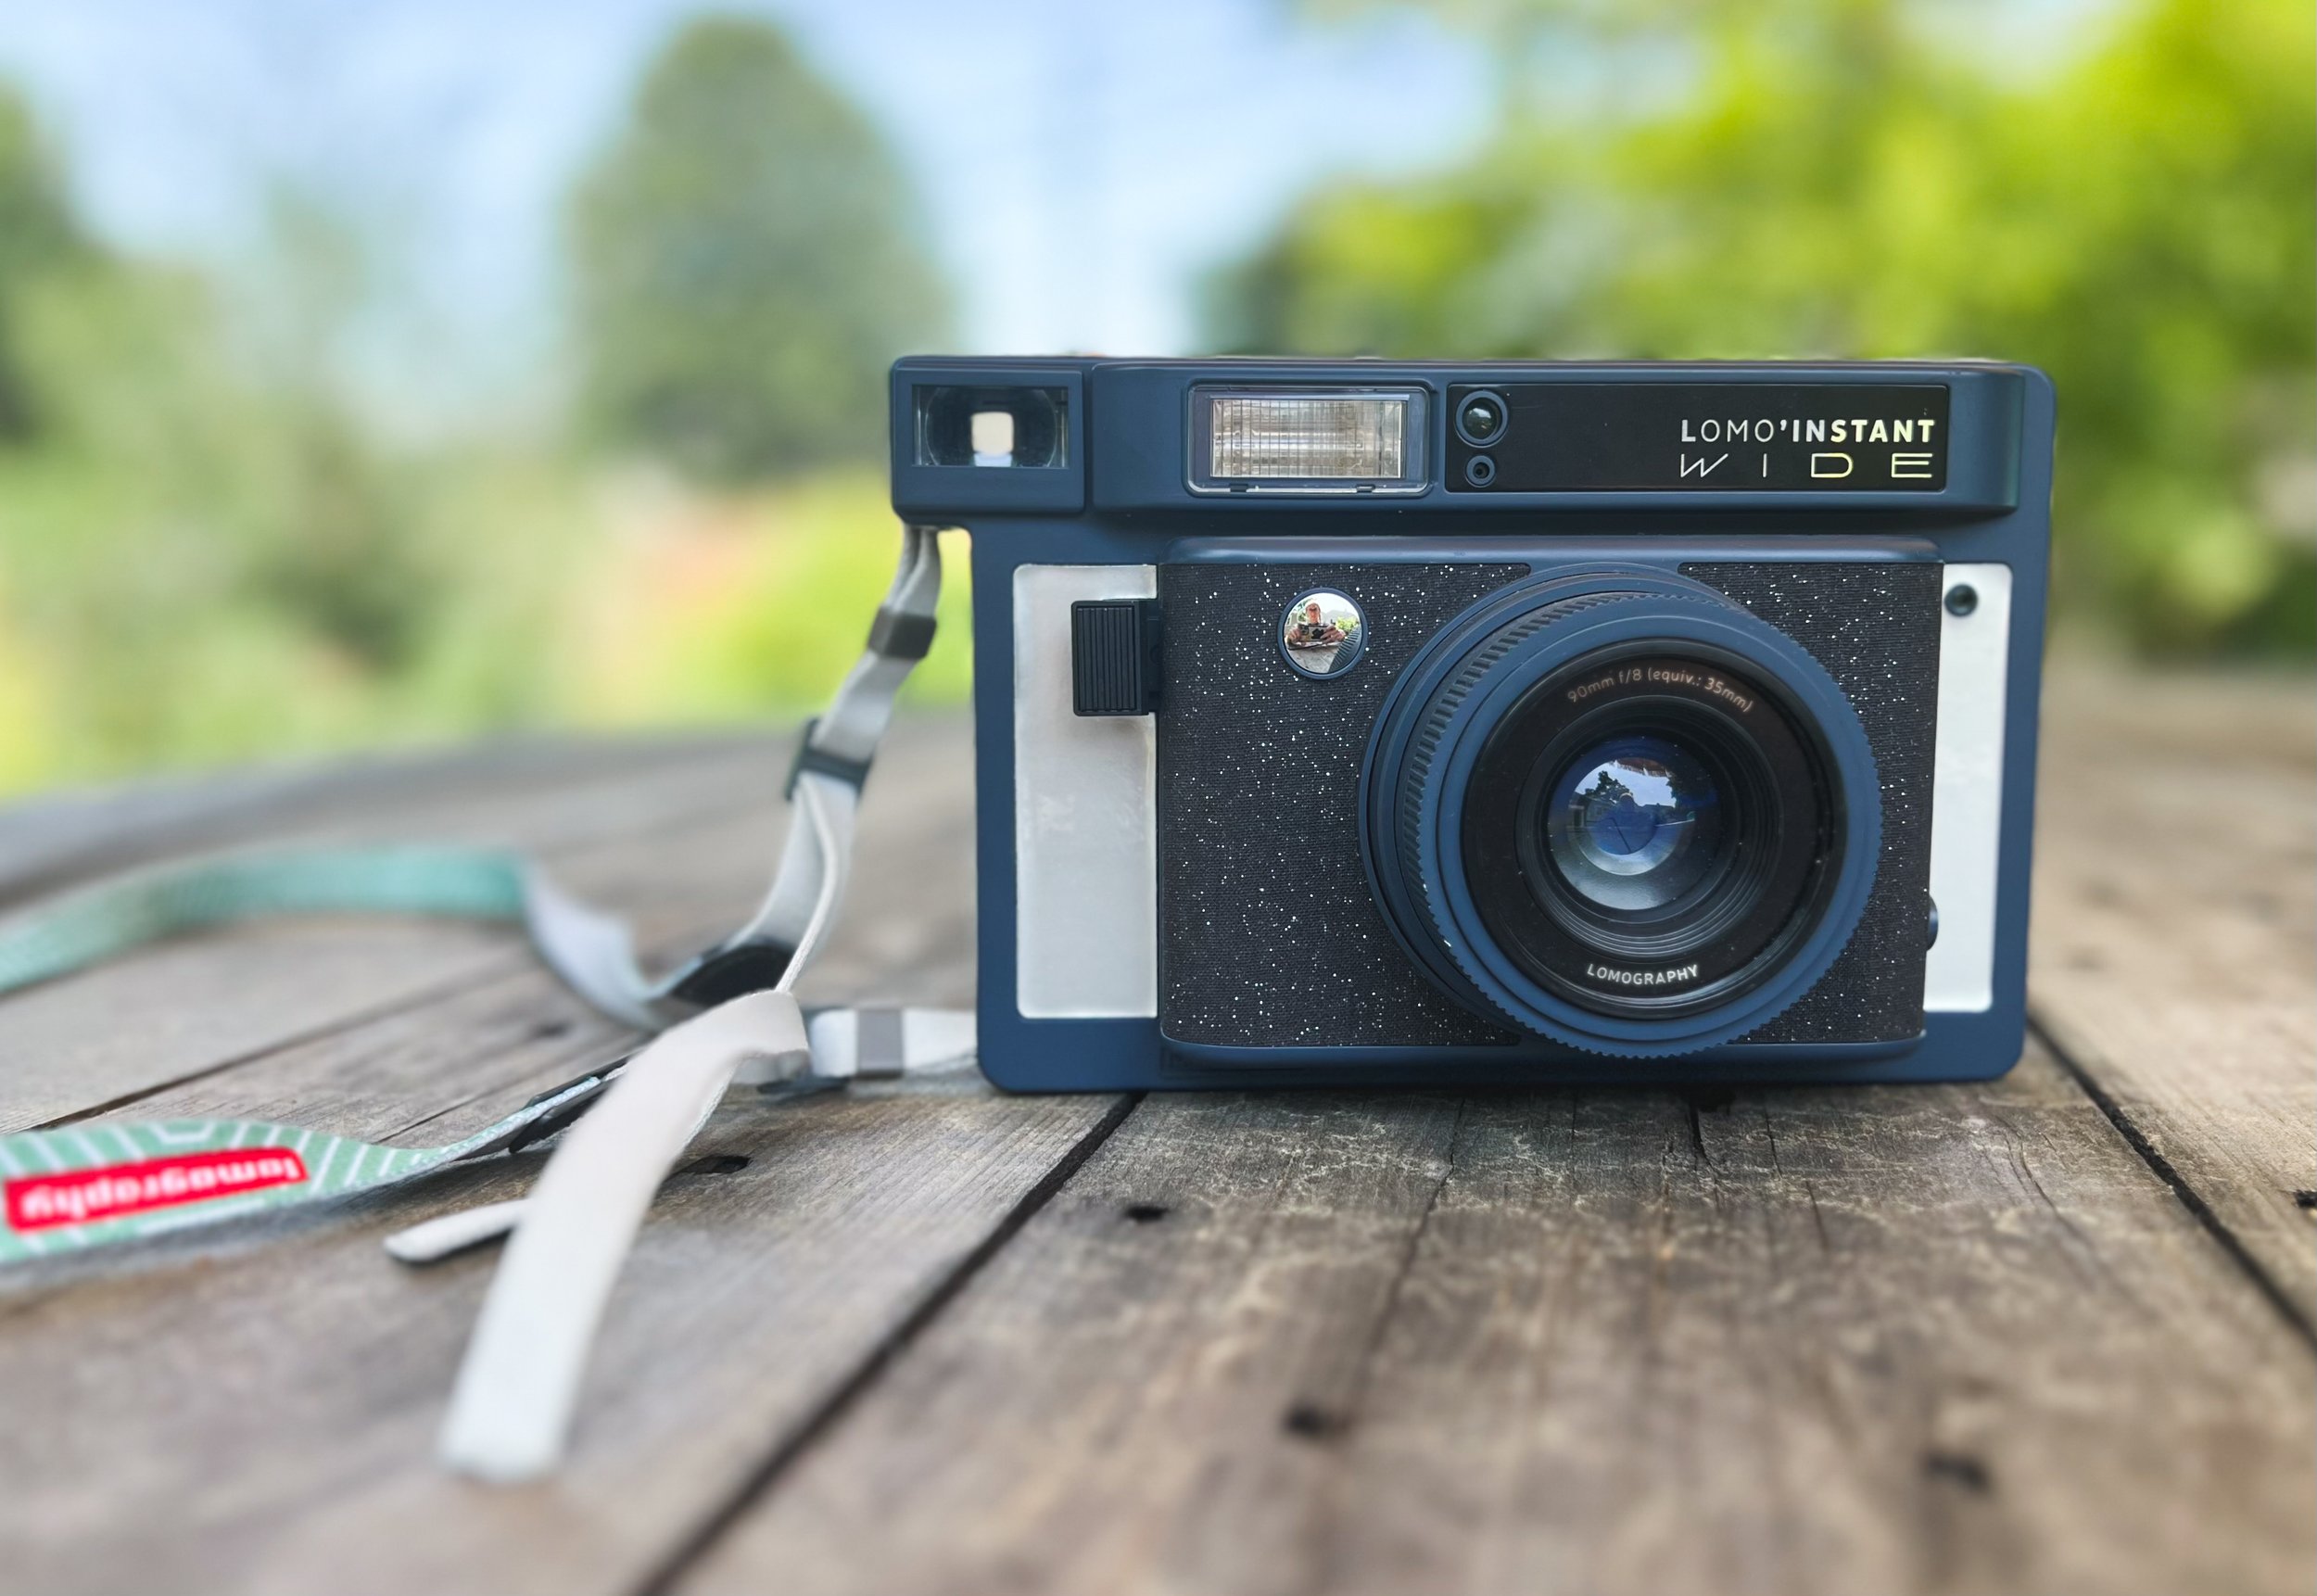
Lomo’Instant Wide “Victoria Peak” Edition

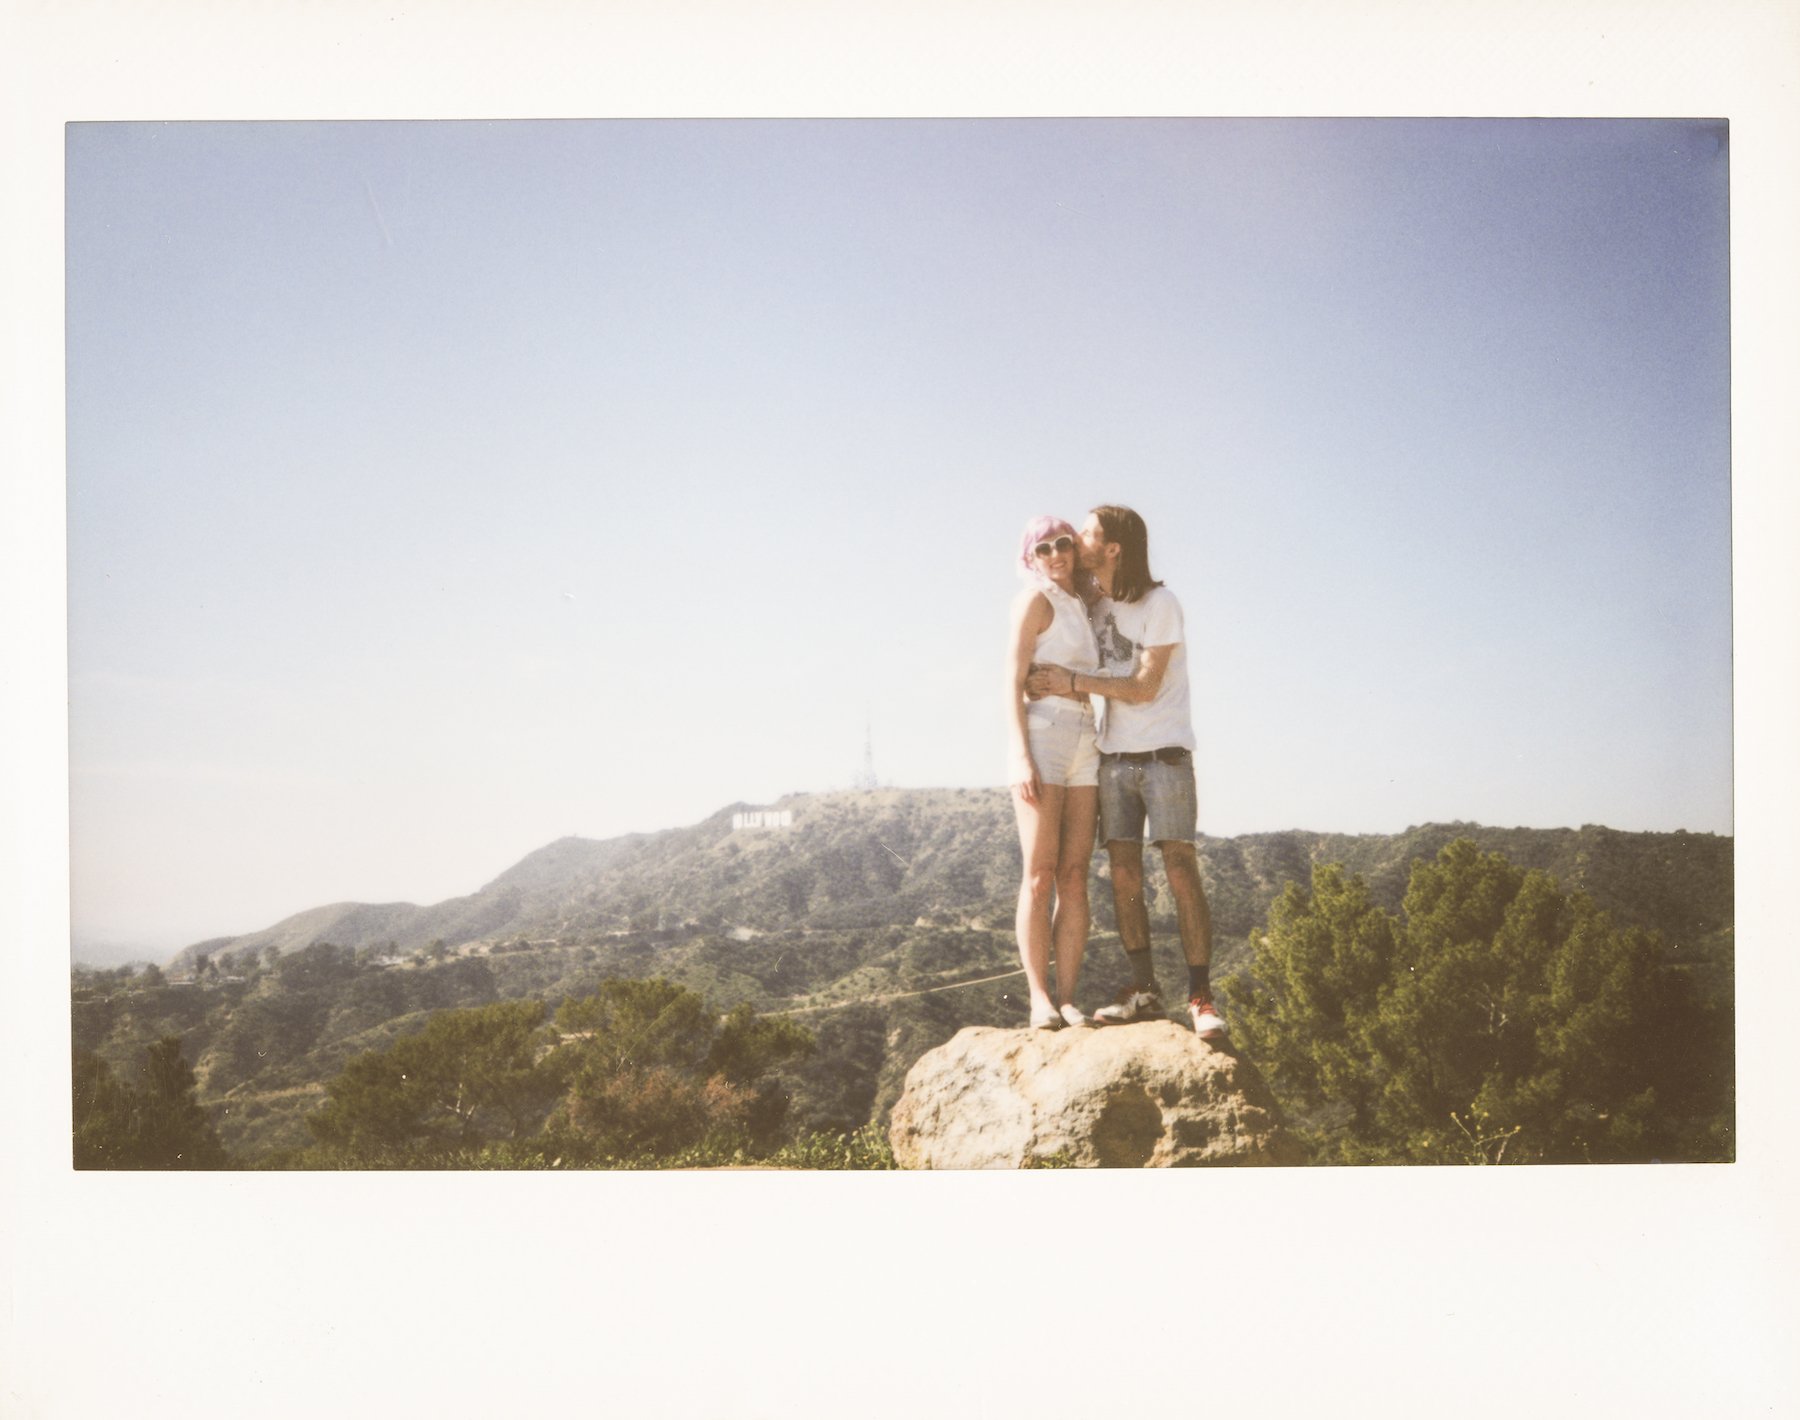
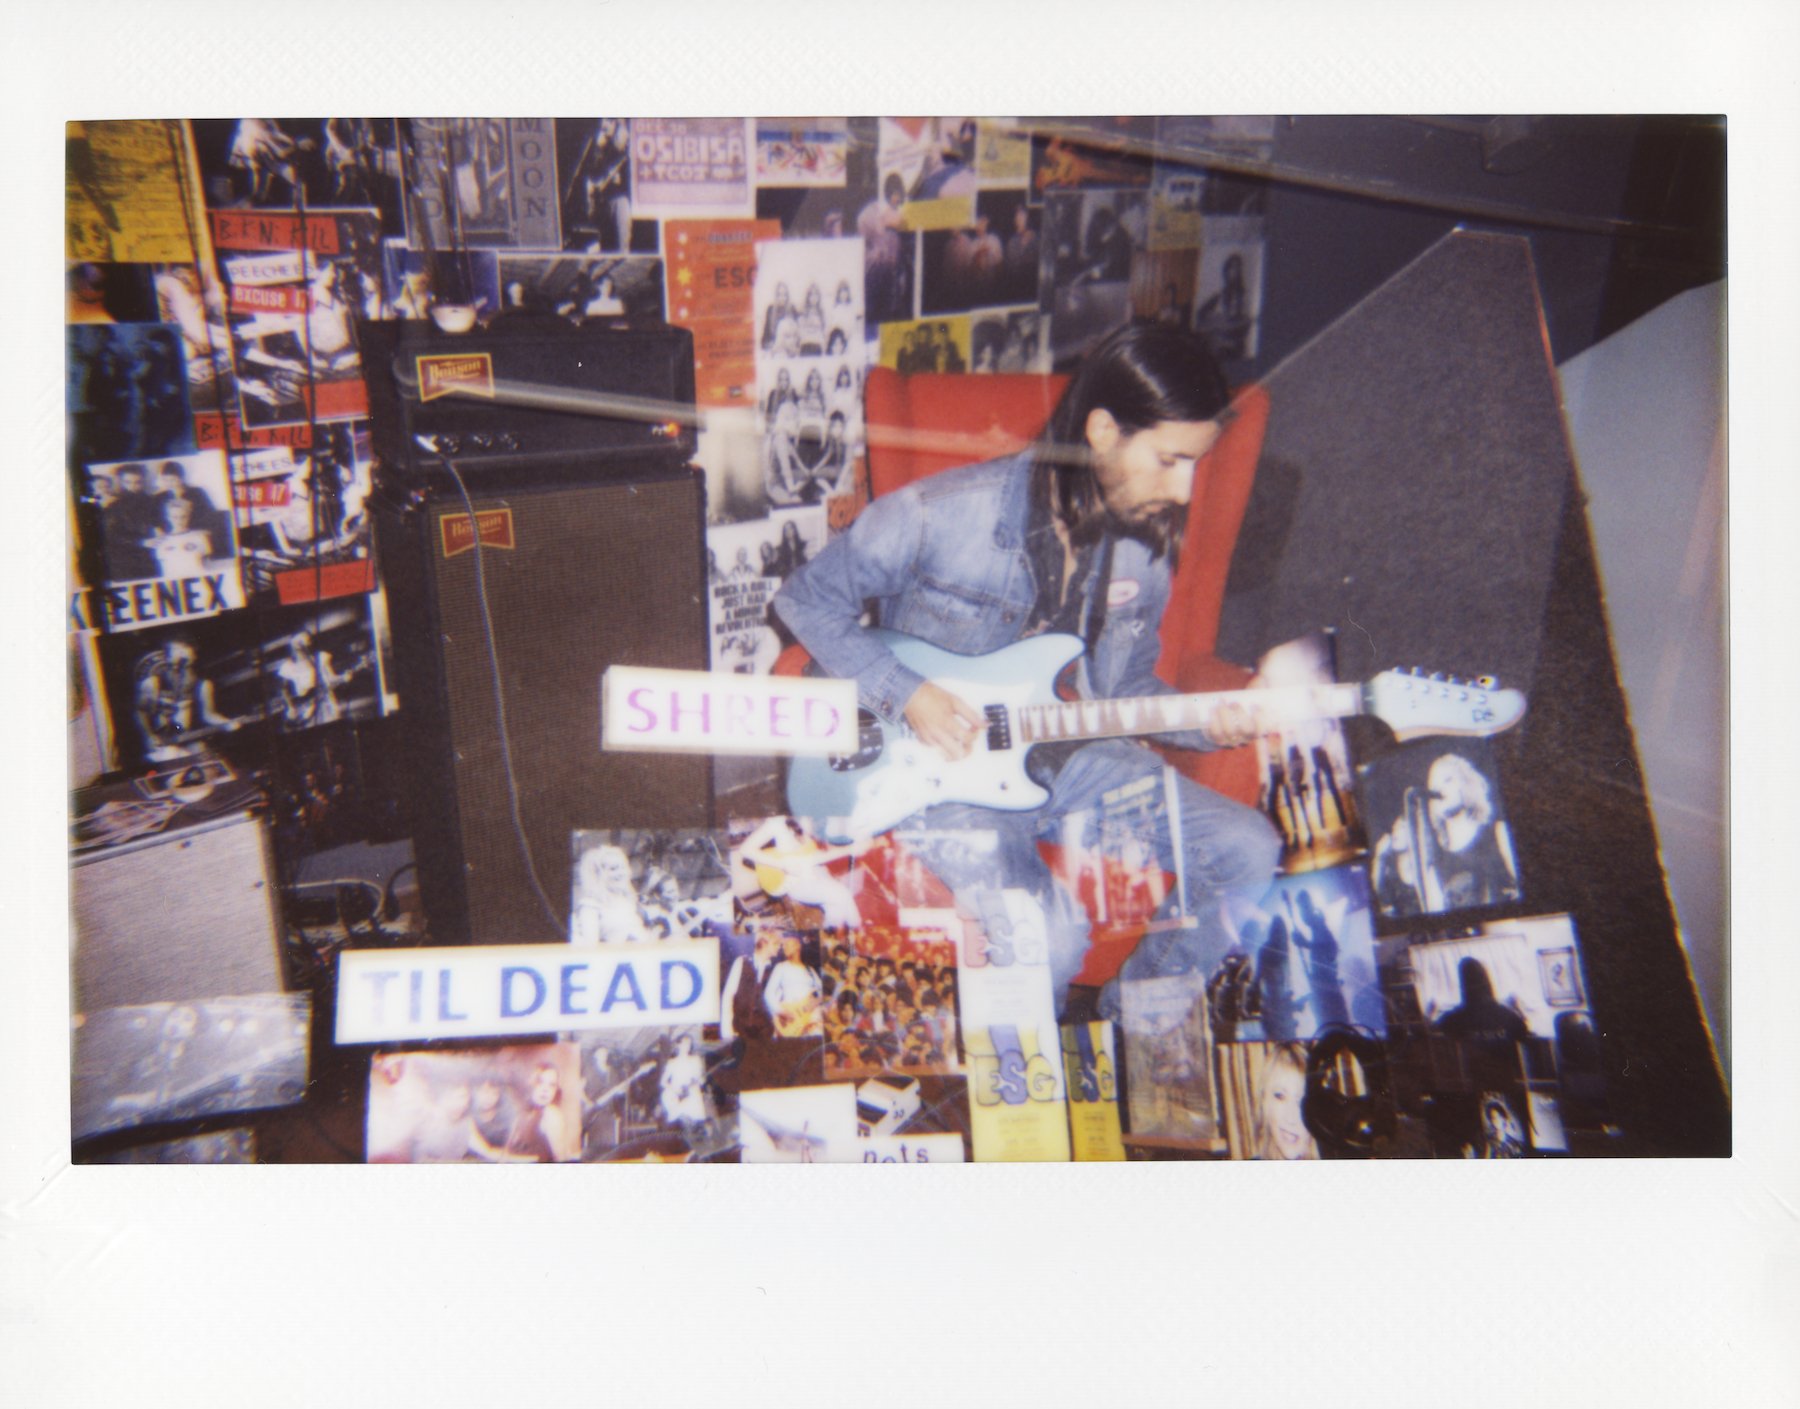
In my opinion, the Lomo’Instant Wide Camera doesn’t get enough attention. Many of the Lomography instant cameras, like the Lomo’Instant Automat, take Instax Mini Film, while the Lomo’Instant Wide takes Instax Wide film. Personally, I find the Instax Wide photos to be much more satisfying, better quality and more along the lines of traditional, old-school polaroids. The frame size is nearly twice the size of the Instax Mini’s and have an overall classic vibe to them that I can never seem to accomplish with the Mini film.

I don’t use my Lomo’Instant Wide as much as I’d like, because it is quite a large camera. You can watch my YouTube video about the Lomo’ Instant Wide to get a better idea of it’s size, but if this is the only camera you plan to carry around with you, then you’re good to go. My problem is I tend to bring 10 cameras with me every time I leave the house, so this one doesn’t end up making the cut most of the time, sadly. Not because I don’t love the photos, but because the camera simply doesn’t fit in my bag!

When I have photo shoots inside my studio at my house though, this camera always makes an appearance. I have the “Victoria Peak” edition of the camera and I love the black sparkles it has on the front. There are a variety of styles to choose from, which is part of the fun of Lomography cameras.

5 of my favorite features of the Lomo’Instant Wide

  1. You can do multiple exposures!

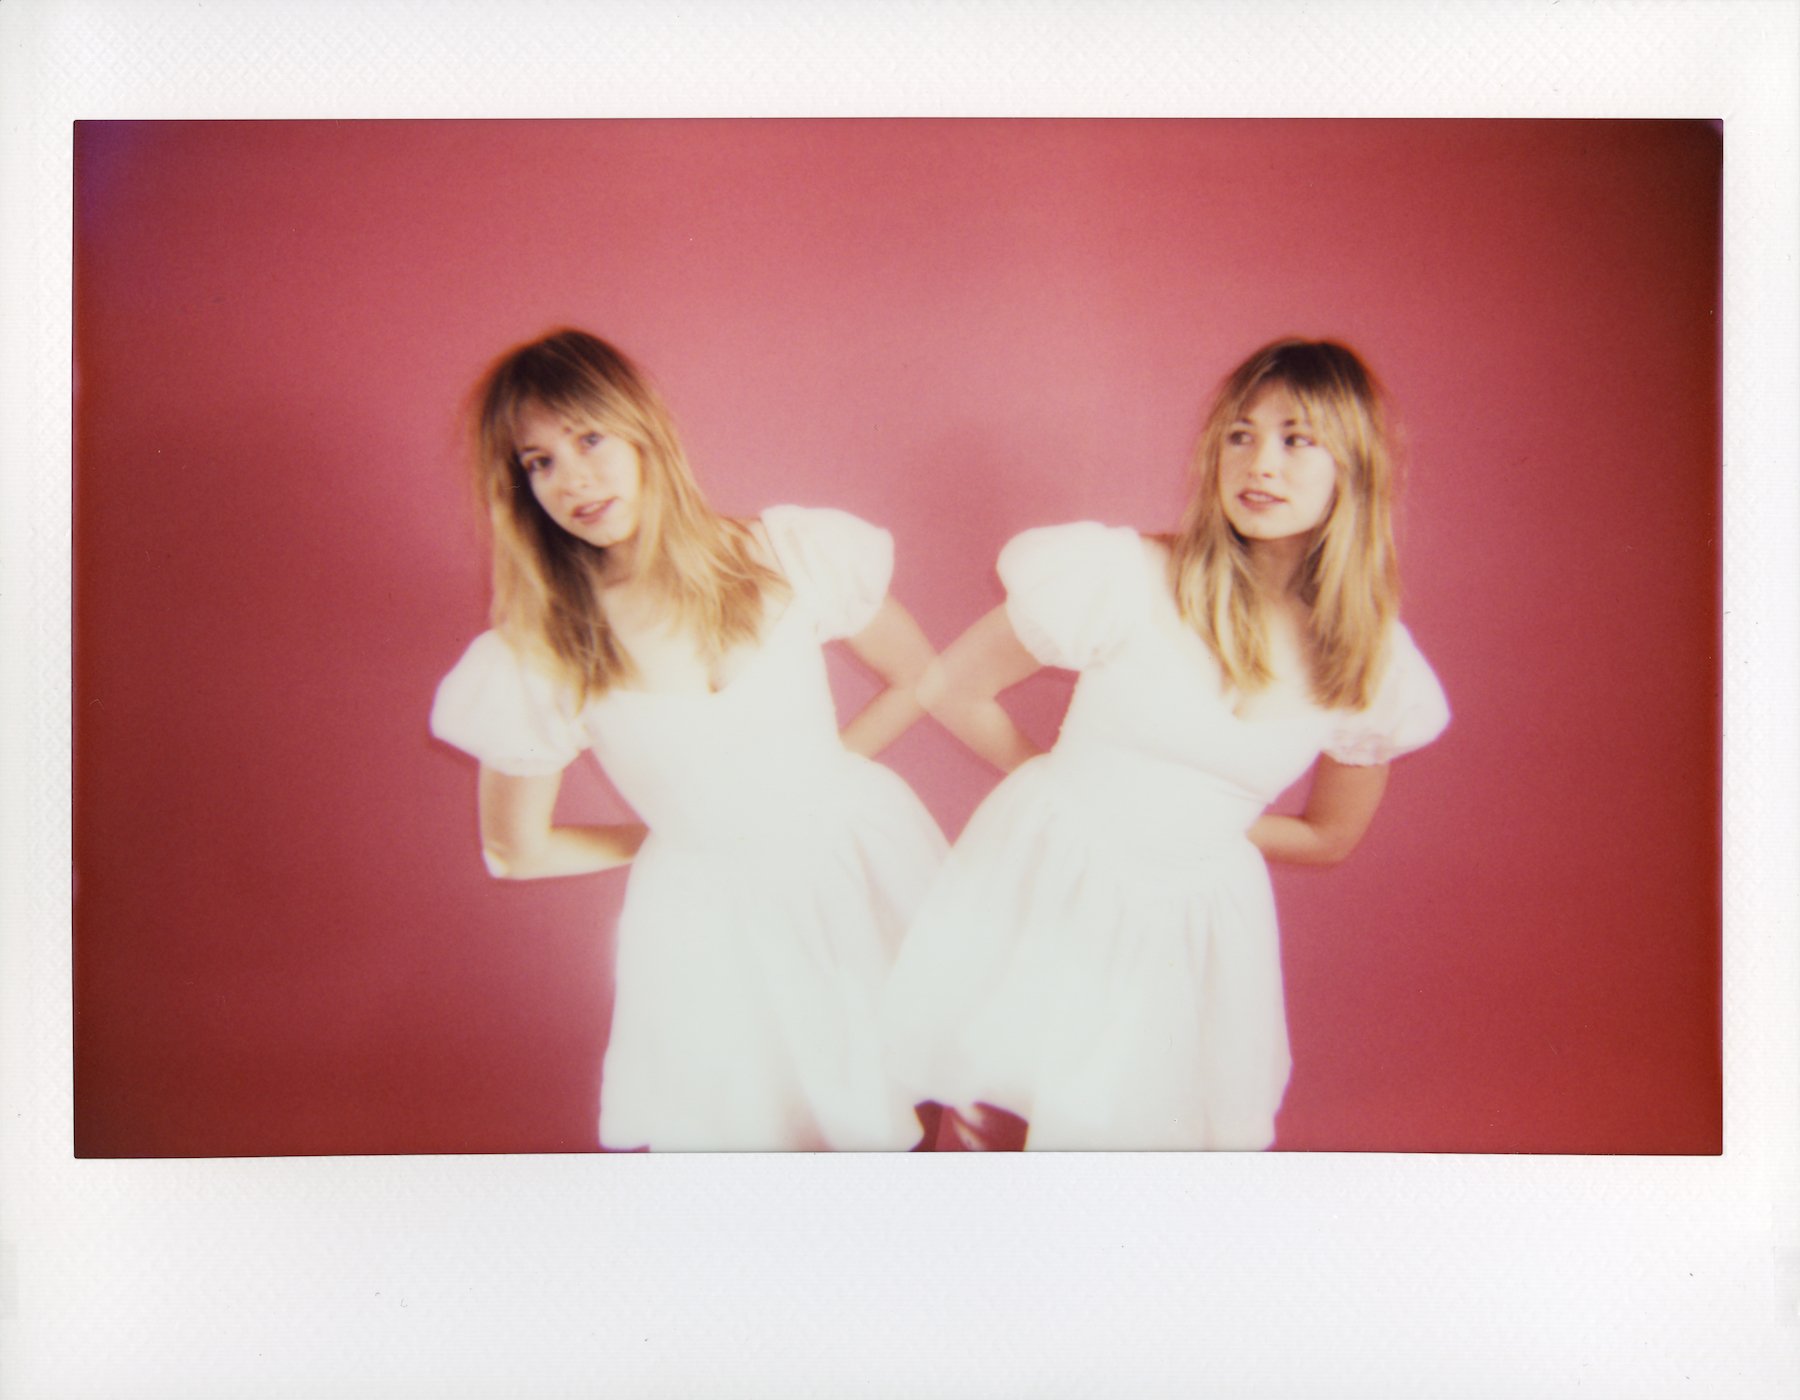
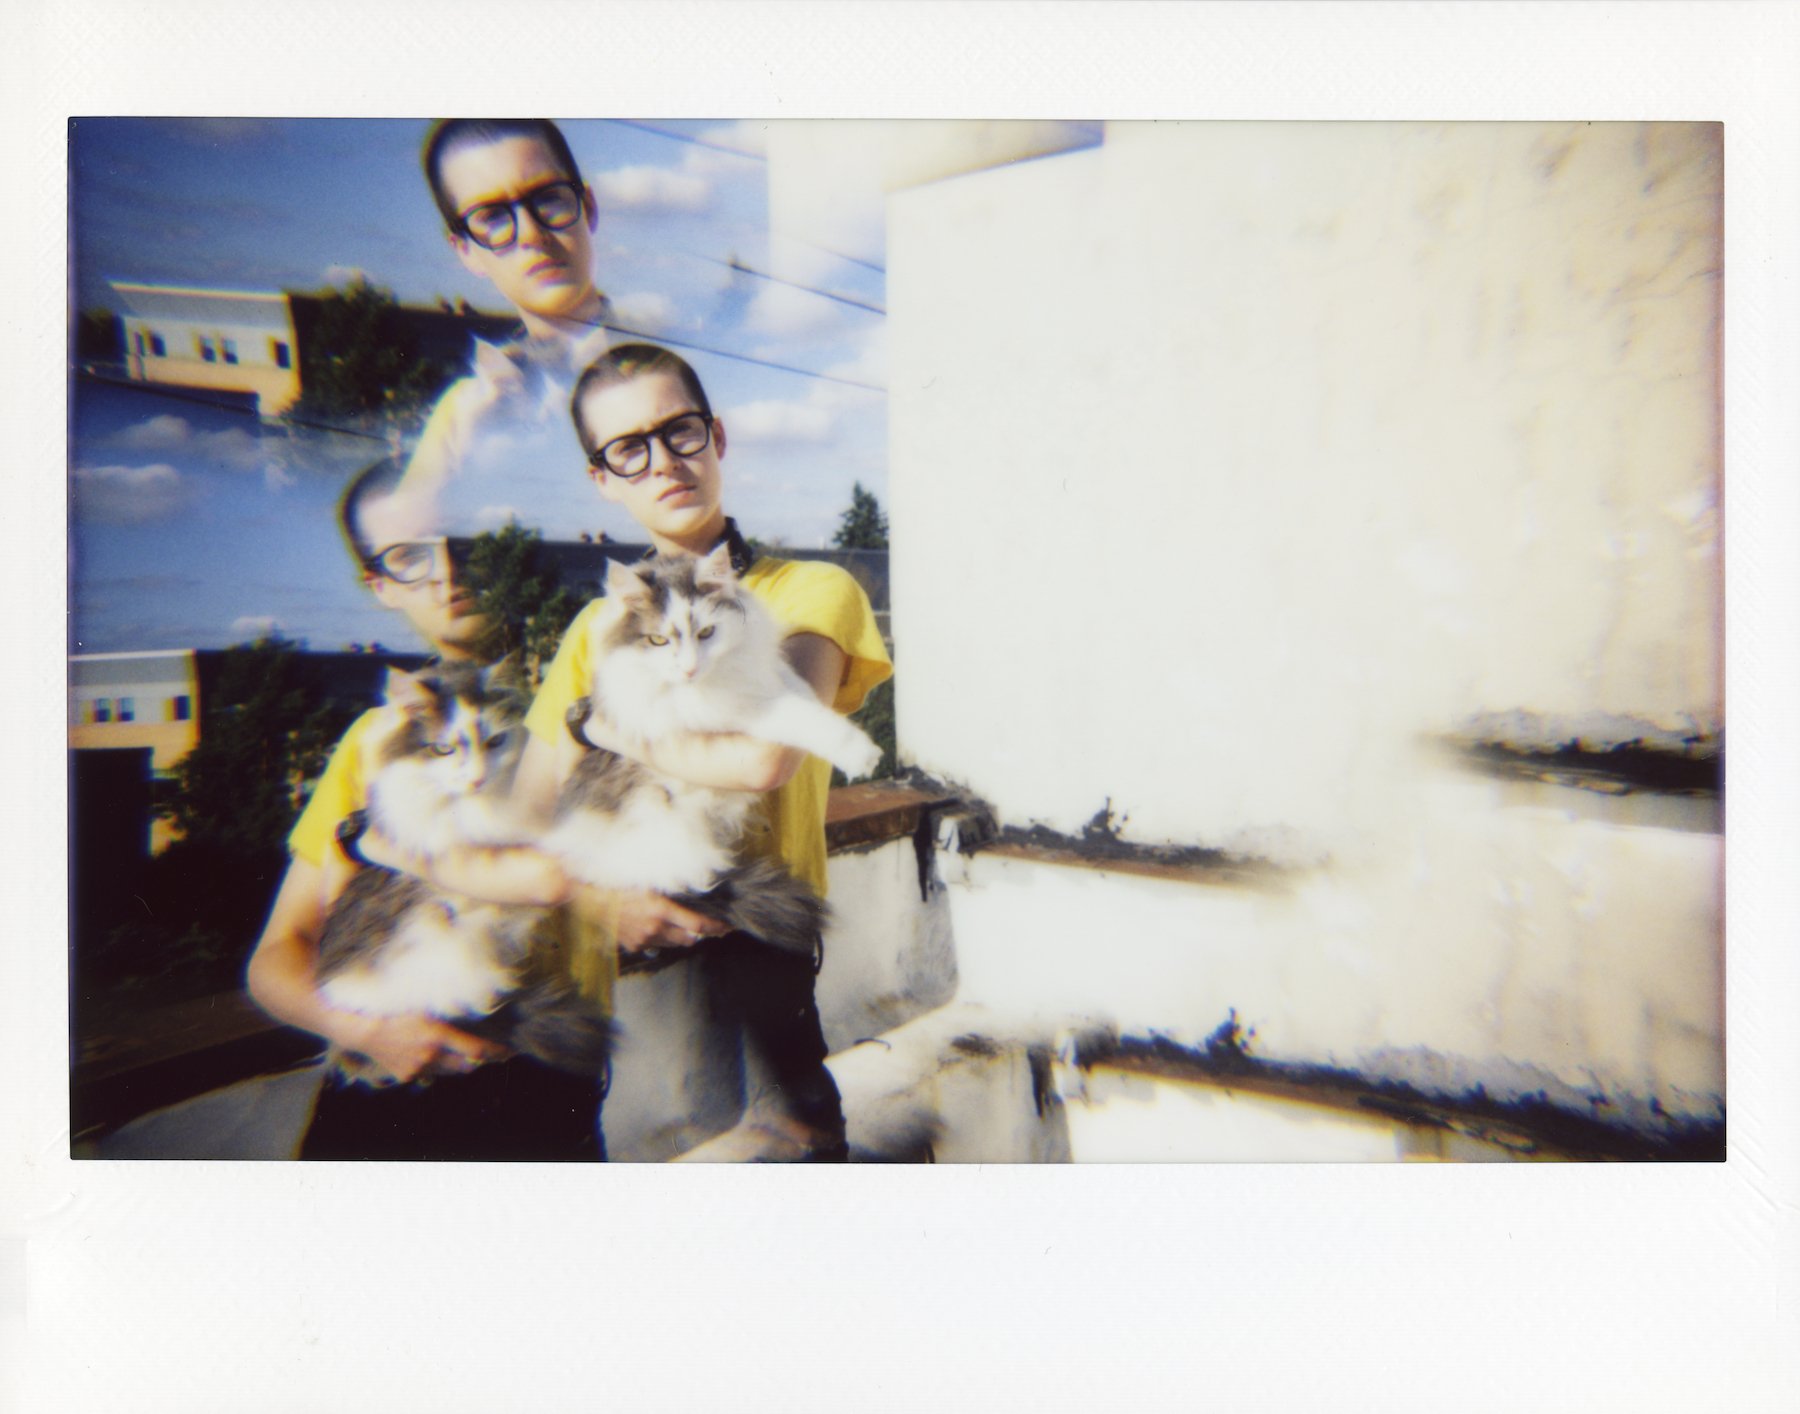
If you follow my work, you know that multiple exposures are a necessity for me when it comes to buying a camera. The Lomo’Instant Wide is actually SUPER easy to do multiple exposures, and even comes with a fun splitzer lens to experiment with.

Kate Bollinger

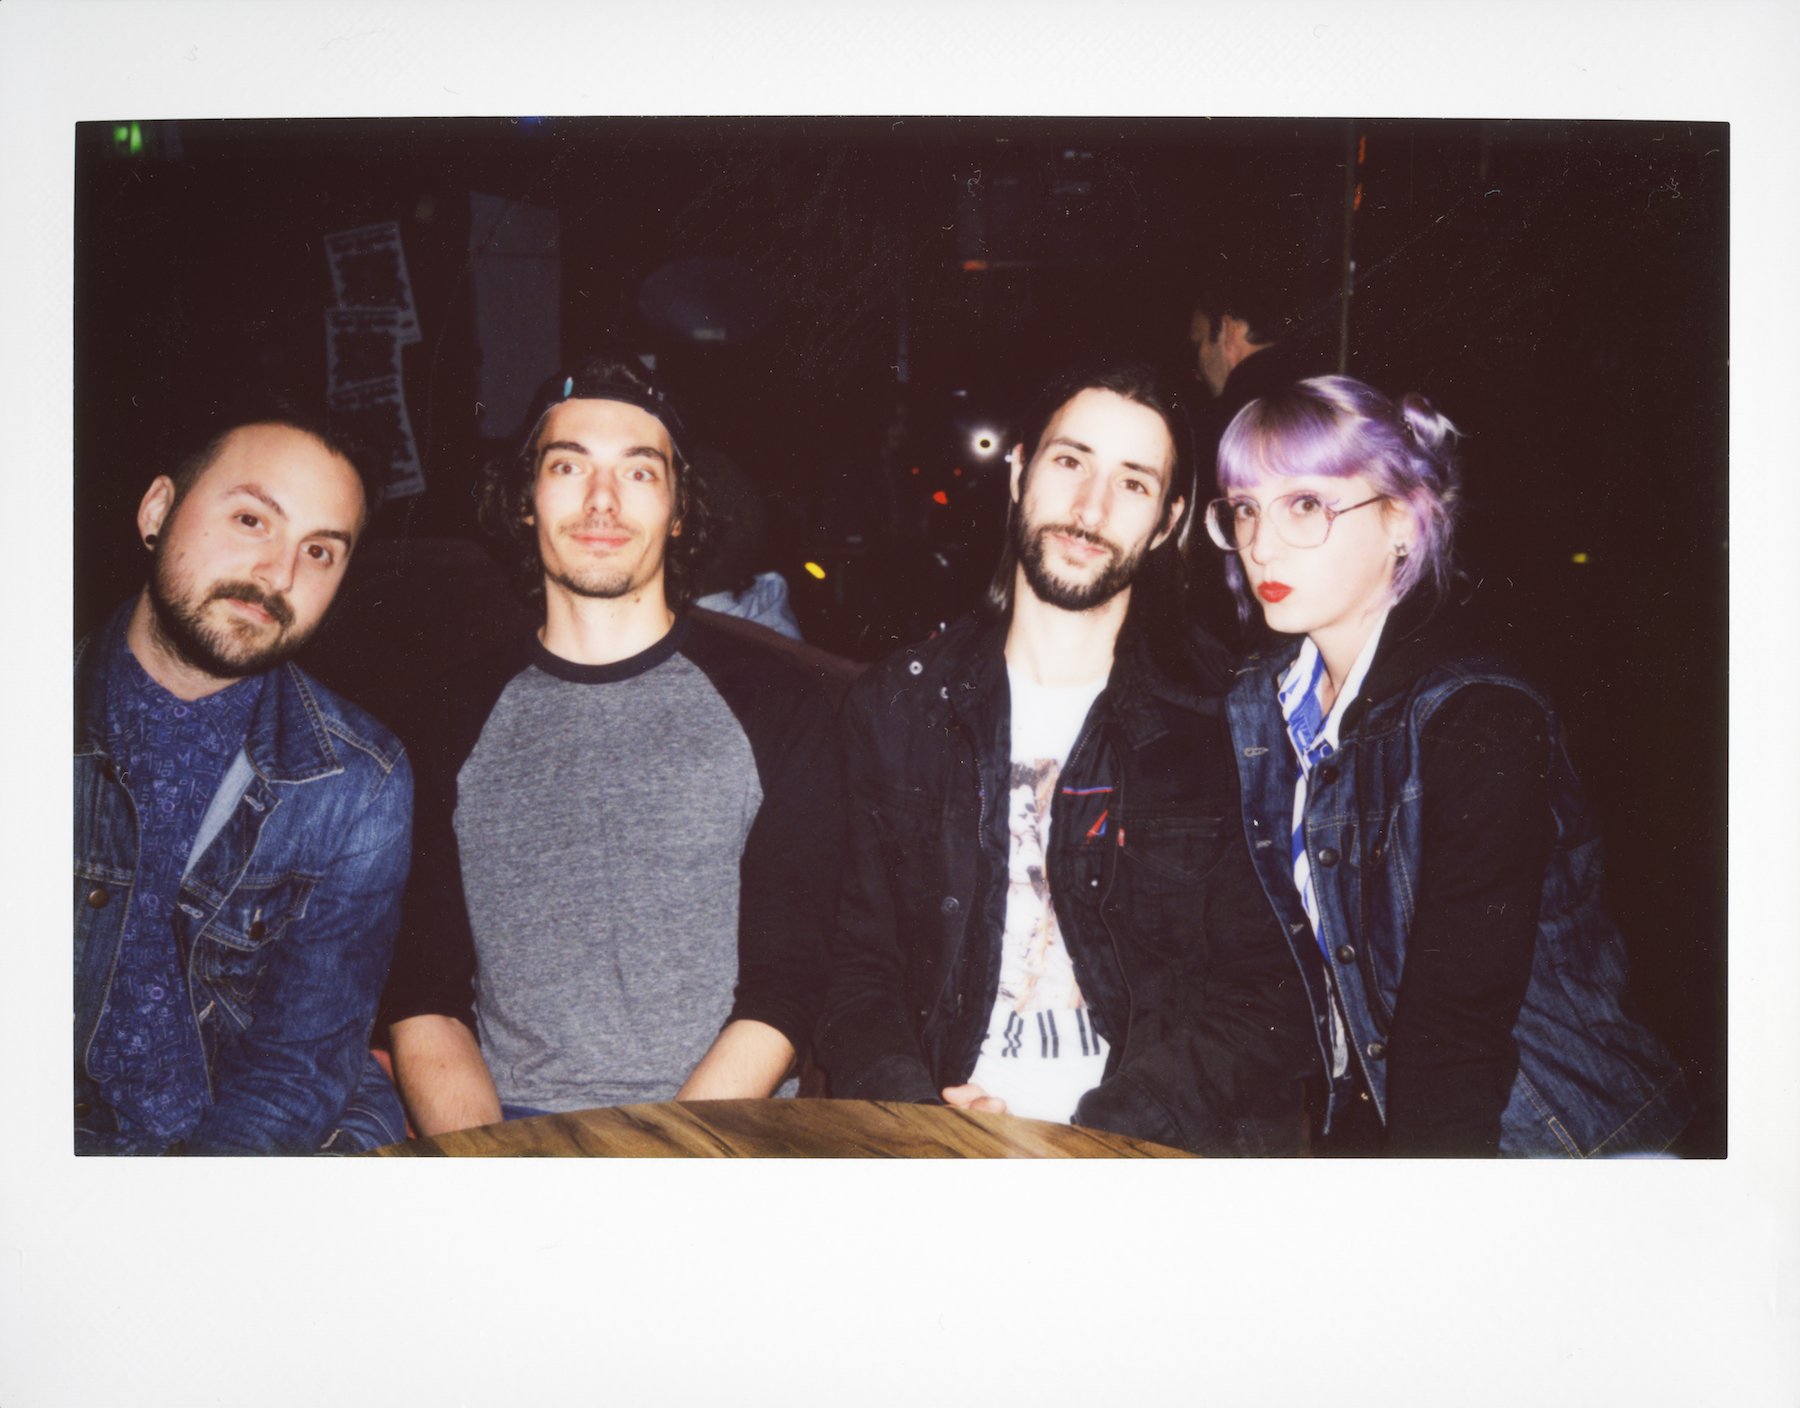
Santi Castro

2. The flash is optional!

With some of my older, vintage polaroid cameras, you don’t have control over whether the flash goes off or not. If I’m photographing outside, I don’t always want to use a flash because it can easily wash out or overexposure your subject. I love that the Lomo’Instant Wide has a button that easily turns off the flash for ultimate creative control.

With Flash

Without Flash

Without Flash

3. The images are more detailed than the Instax Mini Film

I scan all of my own film at home and I find that the Instax Wide Film looks much sharper and more detailed than the Instax Mini film. This makes the images themselves more usable for prints, social media, etc. There is a lack of clarity that the Instax Mini film has, probably because the images are just so small to start off with.

INSTAX WIDE FILM:

INSTAX MINI FILM:

4. The Color Tones of the film are better than the Instax Mini Film

This may just be a personal preference, but I find the overall color tones of the Instax Wide film to be more pleasing to look at. The tones are natural and warm, more reminiscent of the polaroid film from the 70s and 80s.

5. The Camera Itself Offers a Ton of Creative Control

In comparison to the original vintage Polaroid cameras, the Lomo’Instant Wide offers a LOT more creative control. Vintage Polaroid cameras are more or less point and shoot cameras, with very few features other than adjusting for lightness/darkness. The Lomo’Instant Wide is great because it comes with a selection of tools to help make your photos more unique such as a close-up lens, a splitzer, a self-timer remote, auto/bulb/slow shutter options, ultra-wide attachment and colored gel flash filters.

FINAL THOUGHTS

This camera is super fun and really offers a lot for the price point. I’ve had mine for years and have never had a problem with it. As with all instant cameras, it takes some patience when learning the controls and the best distance for photographing your subjects. But personally, sometimes I like the images that end up a bit blurry because they are completely unique and memorable and have that classic “Polaroid” vibe. If you’re looking for more creative control than the standard Instax Mini cameras, then this is a perfect upgrade. The images themselves are larger and sharper and you have more control over the outcome of the photo.

Where to buy the Lomo’Instant Wide Camera and Film:

Camera:

Amazon

B&H Photo

Adorama

Ebay (Victoria Peak Edition)

Film:

Amazon

B&H Photo

Adorama

#CommissionsEarned

You can watch my unboxing and initial thoughts about the Lomo’Instant Wide on my YouTube Channel, and get to see some of the first images I ever took with it!

If you found this post helpful or if you’d like to see more of my work, I’d love it if you considered signing up for my Patreon! For as little as $1 a month, you’ll get early access to all of my YouTube videos, plus tons of photos that I don’t post anywhere else. Depending on which tier you choose, you could also receive seasonal prints and/or discounts! I always use all of the proceeds towards film & processing. Find out more here!

Thanks so much for stopping by! Feel free to leave any questions or comments below. Have a great day!

<3 Myles Katherine