The Best Backup Services and Cloud Storage for Photographers | Tips for Keeping Your Files Safe and Organized


As a photographer, I can’t imagine anything scarier than losing all of my files. My clients would lose their precious memories and I would definitely never be hired again! It’s taken me years to figure out the best way to keep my files safe and organized, and I want to help you do the same! It takes some getting used to, and I still spend entire days going through old files (from before I had this system down) and putting them into folders. It’s taken some trial and error in terms of the best way to name folders and the easiest way to find the files later. But now, my files are exactly where I need them to be and I know they are safely backed up.

Backblaze and Smugmug are the two main services I use for backup and storage and they are game-changers. I use Backblaze as an online backup system that continuously backs up my external hard drives (all 5 of them and over 23 TB!) and it only costs $99/year for UNLIMITED STORAGE (!!!!!!). The best part is that you can access your files from anywhere and download them directly to your computer. I can’t tell you how many times I’ve been traveling and realized I forgot to move some files onto my computer to edit. So I just log in to my Backblaze account, download the folder, and I can get straight to work. If one of your hard drives crashes, Backblaze can send you a new one with all of your files on it. When you log into your account, it’s basically a mirror image of your finder window, with all of your hard drives and folders exactly the way they look on your computer (see screenshot below). It’s actually the greatest service ever invented. Use this link to get a month of service from Backblaze for free!

backblazefolder.jpg

I use Smugmug for all of my client galleries. I upload my edited images straight from Lightroom (using a lightroom plugin) into a gallery and then send the link to my clients. My favorite part about Smugmug is the app, which I use to download images from any of my galleries and upload to instagram, facebook, etc. I have the Portfolio plan which is $246/year and includes UNLIMITED storage. I have wedding galleries up there from 10 years ago that my clients can still access. They can also order prints and other gifts directly from the gallery. Use this link to sign up and get a free 14-day trial! I’m telling you, it’s so worth it. I keep all of my folders on smugmug super organized too, which makes the app even easier to navigate and find files when I’m traveling. See the screenshot below to get an idea of how you can organize your different types of photos!

Honestly, I’m always looking for the most affordable way to run my business (I’m a bit of a cheapskate) and these two services are life-changing to me as a photographer. I’ve spent a lot of hours researching backup services and gallery services, but these two take the cake for me. I’ve been using them both for YEARS and I haven’t had any issues.

After a photo shoot, I come home and upload the files to my hard drives, which are then safely backed up to Backblaze (so if my house burns down with my memory cards AND my hard drives, they are still safe). Then, after I’ve finished editing a shoot, I upload the final images to a Smugmug gallery. My files are then safely in 3 places, 2 of which are online, accessible from anywhere, and safe from a house fire.

In terms of organizing my hard drives, I wanted to share a screenshot sample of my folders. This has proven to be the best way to not lose files and it’s pleasing to look at with my OCD brain. I also scan my film negatives at home, so I keep those files separate from my digital files. Essentially, the format is YEAR>MONTH>PHOTOSHOOT. I also have video files and other things that I make sure to keep separate from my photography.

fileorganization.jpg

I hope this helps you find an easy and affordable way to keep your files safe. It can be overwhelming when you first start organizing everything, but it’s so worth it when it’s done. It’s also important to name your files something that you’ll remember, in case you need to find them later. When I export my final images, I make sure to use keywords that I won’t forget. For example, if you took a trip to Florida with your family, you could name the files FloridaFamilyTrip2020. Then, ten years from now you won’t have a hard time finding the images.

If you found this post helpful or if you’d like to see more of my work, I’d love it if you considered signing up for my Patreon! For as little as $1 a month, you’ll get early access to all of my YouTube videos, plus tons of photos that I don’t post anywhere else. Depending on which tier you choose, you could also receive seasonal prints and/or discounts! I always use all of the proceeds towards cameras, film & processing. Find out more here!

Please feel free to leave any questions or comments below, I’m happy to help! I hope everyone is staying safe and healthy during this crazy time!

<3 Myles Katherine

This post contains affiliate links and I will be compensated if you make a purchase after clicking through my links. 


Review of the Diana F+ with Sample Photos using Lomography LomoChrome Purple and LomoChrome Turquoise in St. Lucia! | Teaming Up with Lomography to Save 120 film!


(By using the links and/or codes below it supports Myles Katherine Photography. We may get a small kick back by you doing so.)

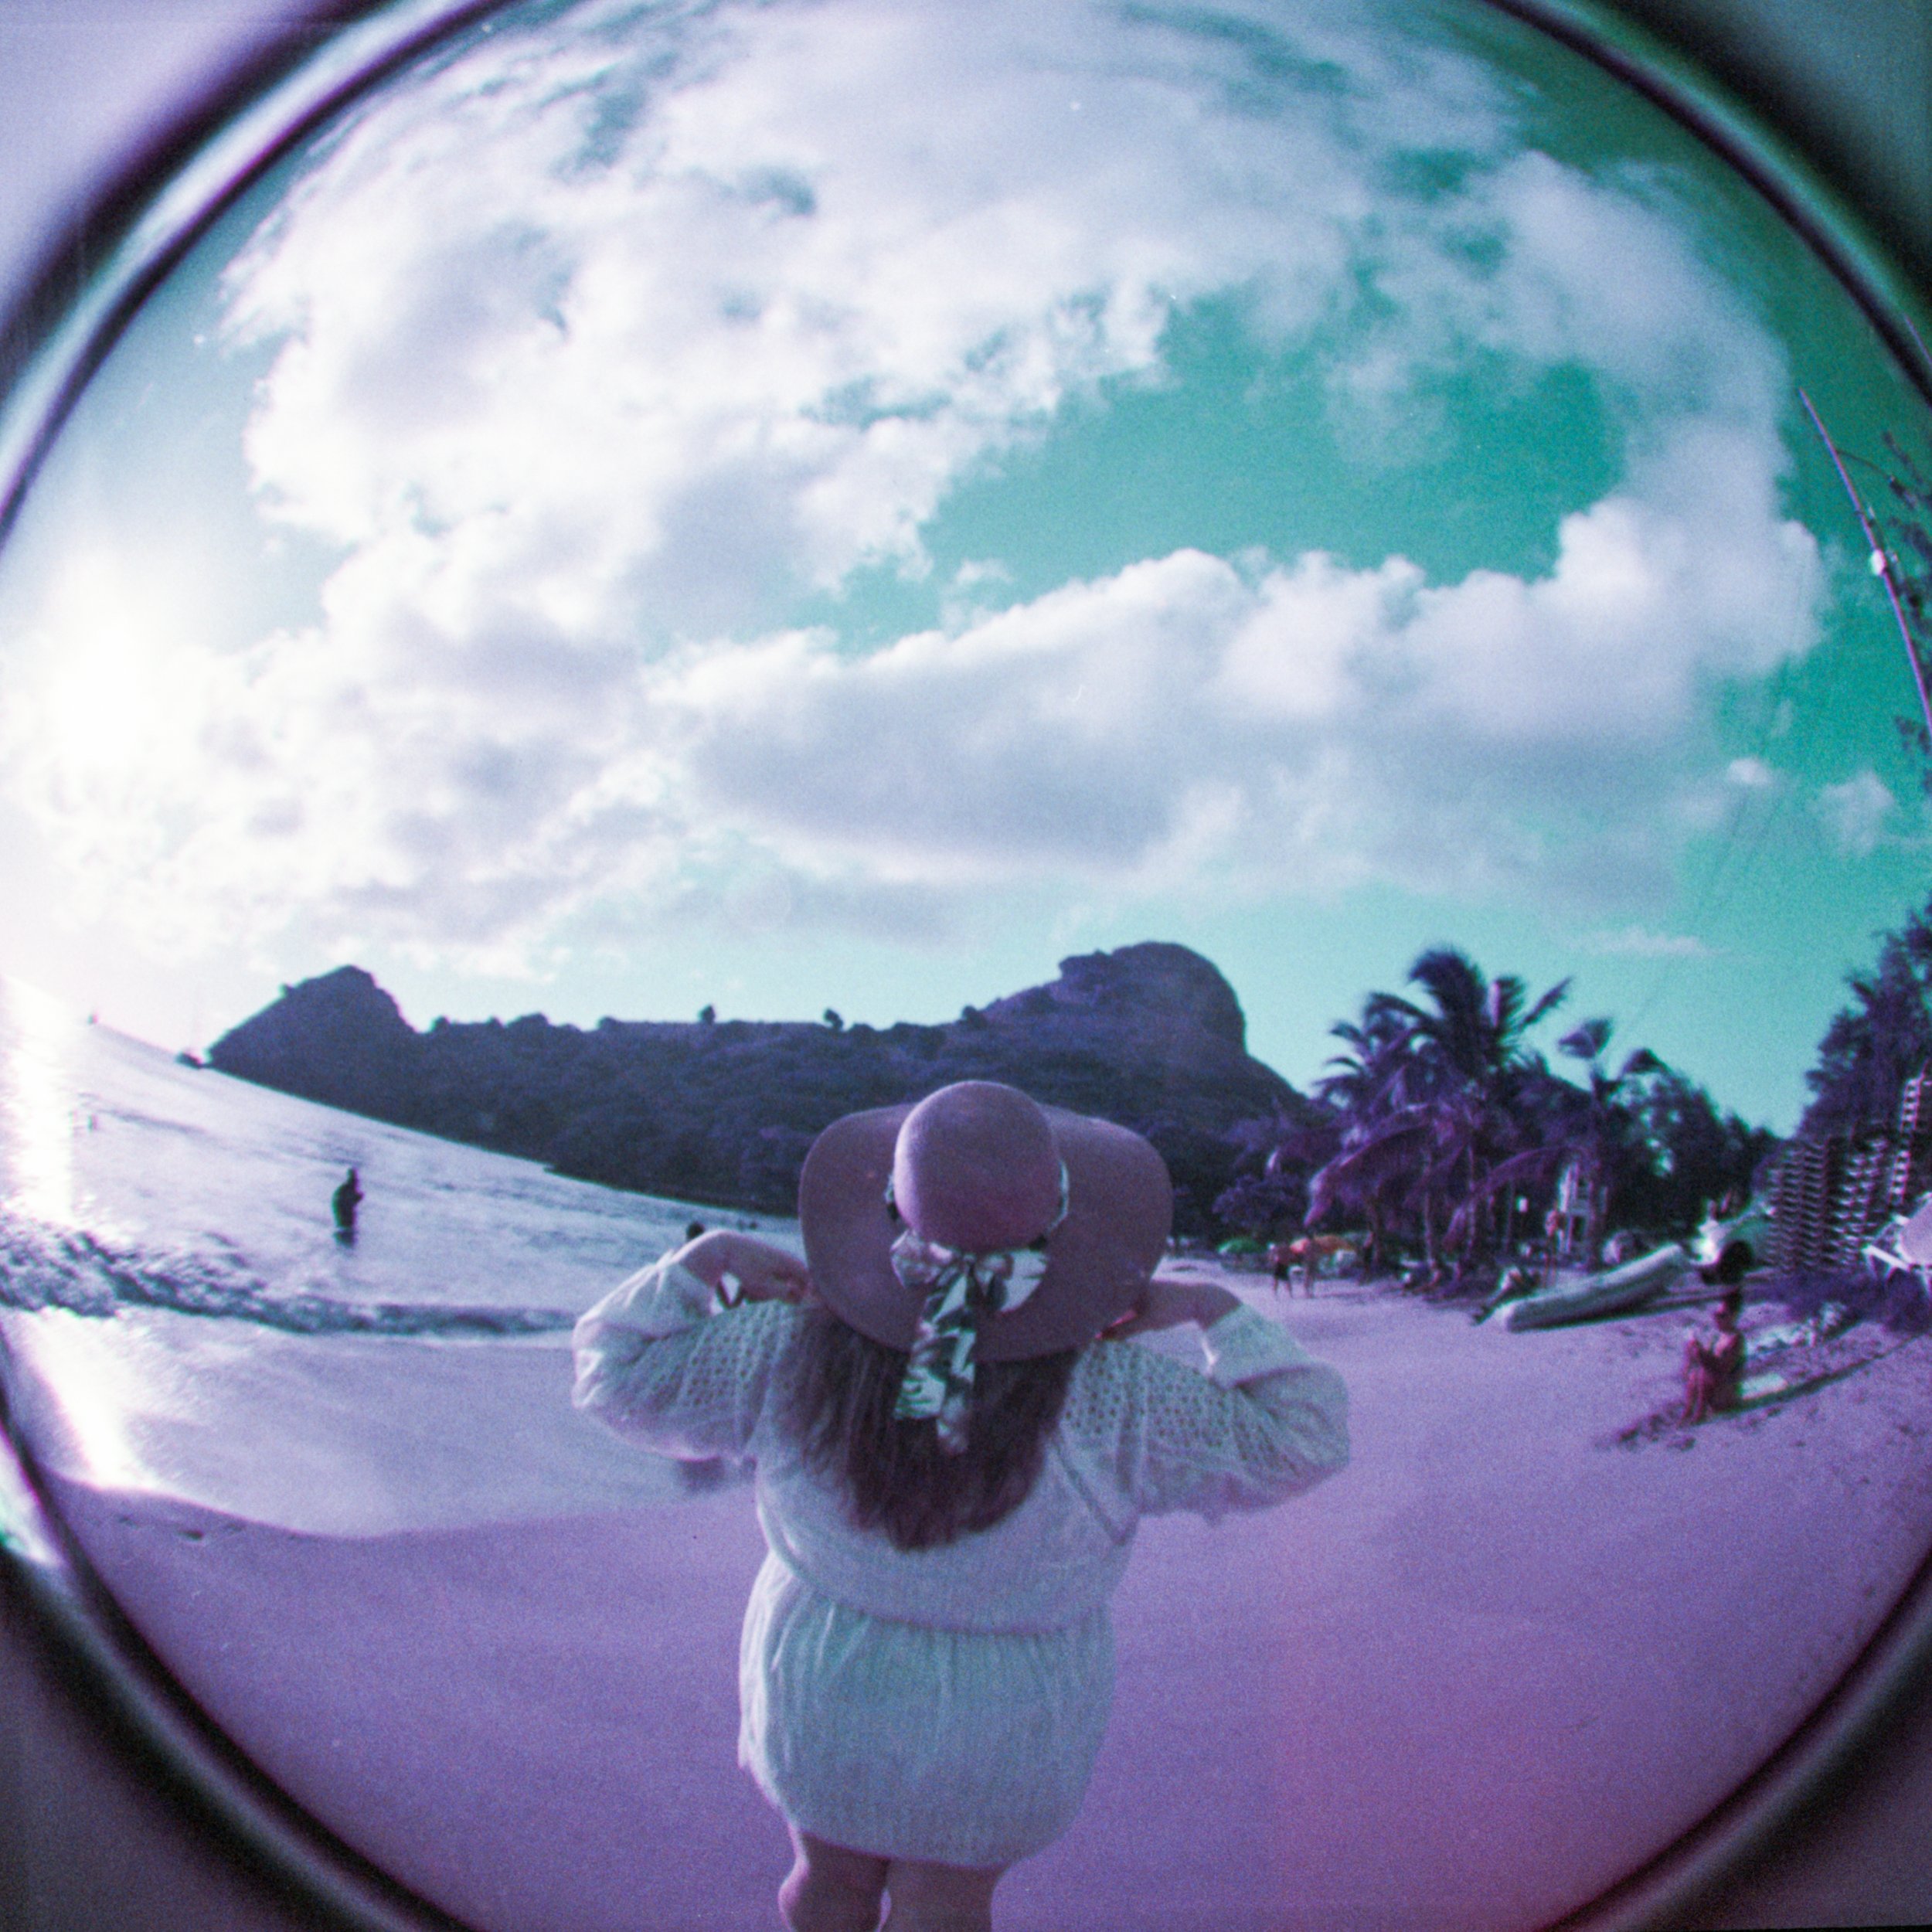
When Lomography contacted me about a collaboration with them to help save 120 film, I was more than happy to contribute in any way that I could! I didn’t realize 120 film was endangered, so it was definitely a bummer to hear that. 120 film is a huge part of my life as a photographer and I can’t imagine a world without it, to be honest! You all know that I’m obsessed with the Holga camera and that I specifically like shooting square format 120 film. Well, Lomography has the Diana F+, which I would consider a sort of sister camera to the Holga. Most photographers are either Team Holga or Team Diana. I’ve actually had my Diana F+ for a least a decade, but I had a 35mm back on it for years, to sort of differentiate it from my Holga. But it ended up sitting on a shelf for the last handful of years (which I will say, it’s very cute up on a shelf)! Lomography was wondering if I’d be willing to shoot their 120 LomoChrome Purple and LomoChrome Turquoise film with the Diana F+, and I was so excited! As much as I love the Holga, I’ve been interested in trying out some other 120 cameras lately just for something new and fresh. I switched the 35mm back on the Diana F+ to the 120 back and took it with me on a recent trip to St. Lucia with my family! You can also check out my YouTube video about the Diana F+ in St. Lucia here!

A BRIEF HISTORY OF THE DIANA F+

The original Diana camera was produced in the 1960s but only lasted until about the 1970s due to newer cameras coming into the market. It was an affordable box camera with limited controls and was really more of a novelty or gift item. But it became a bit of a cult classic when photographers like Mark Sink began using it to capture images of celebrities like Andy Warhol in the 1980s! Lomography decided to bring it back and created their own version, the Diana F+, in 2007. The Diana F+ is known for it’s lo-fi artistic, soft focus and vignetted corners that add a dreamy, surreal quality to the images.

MAIN FEATURES

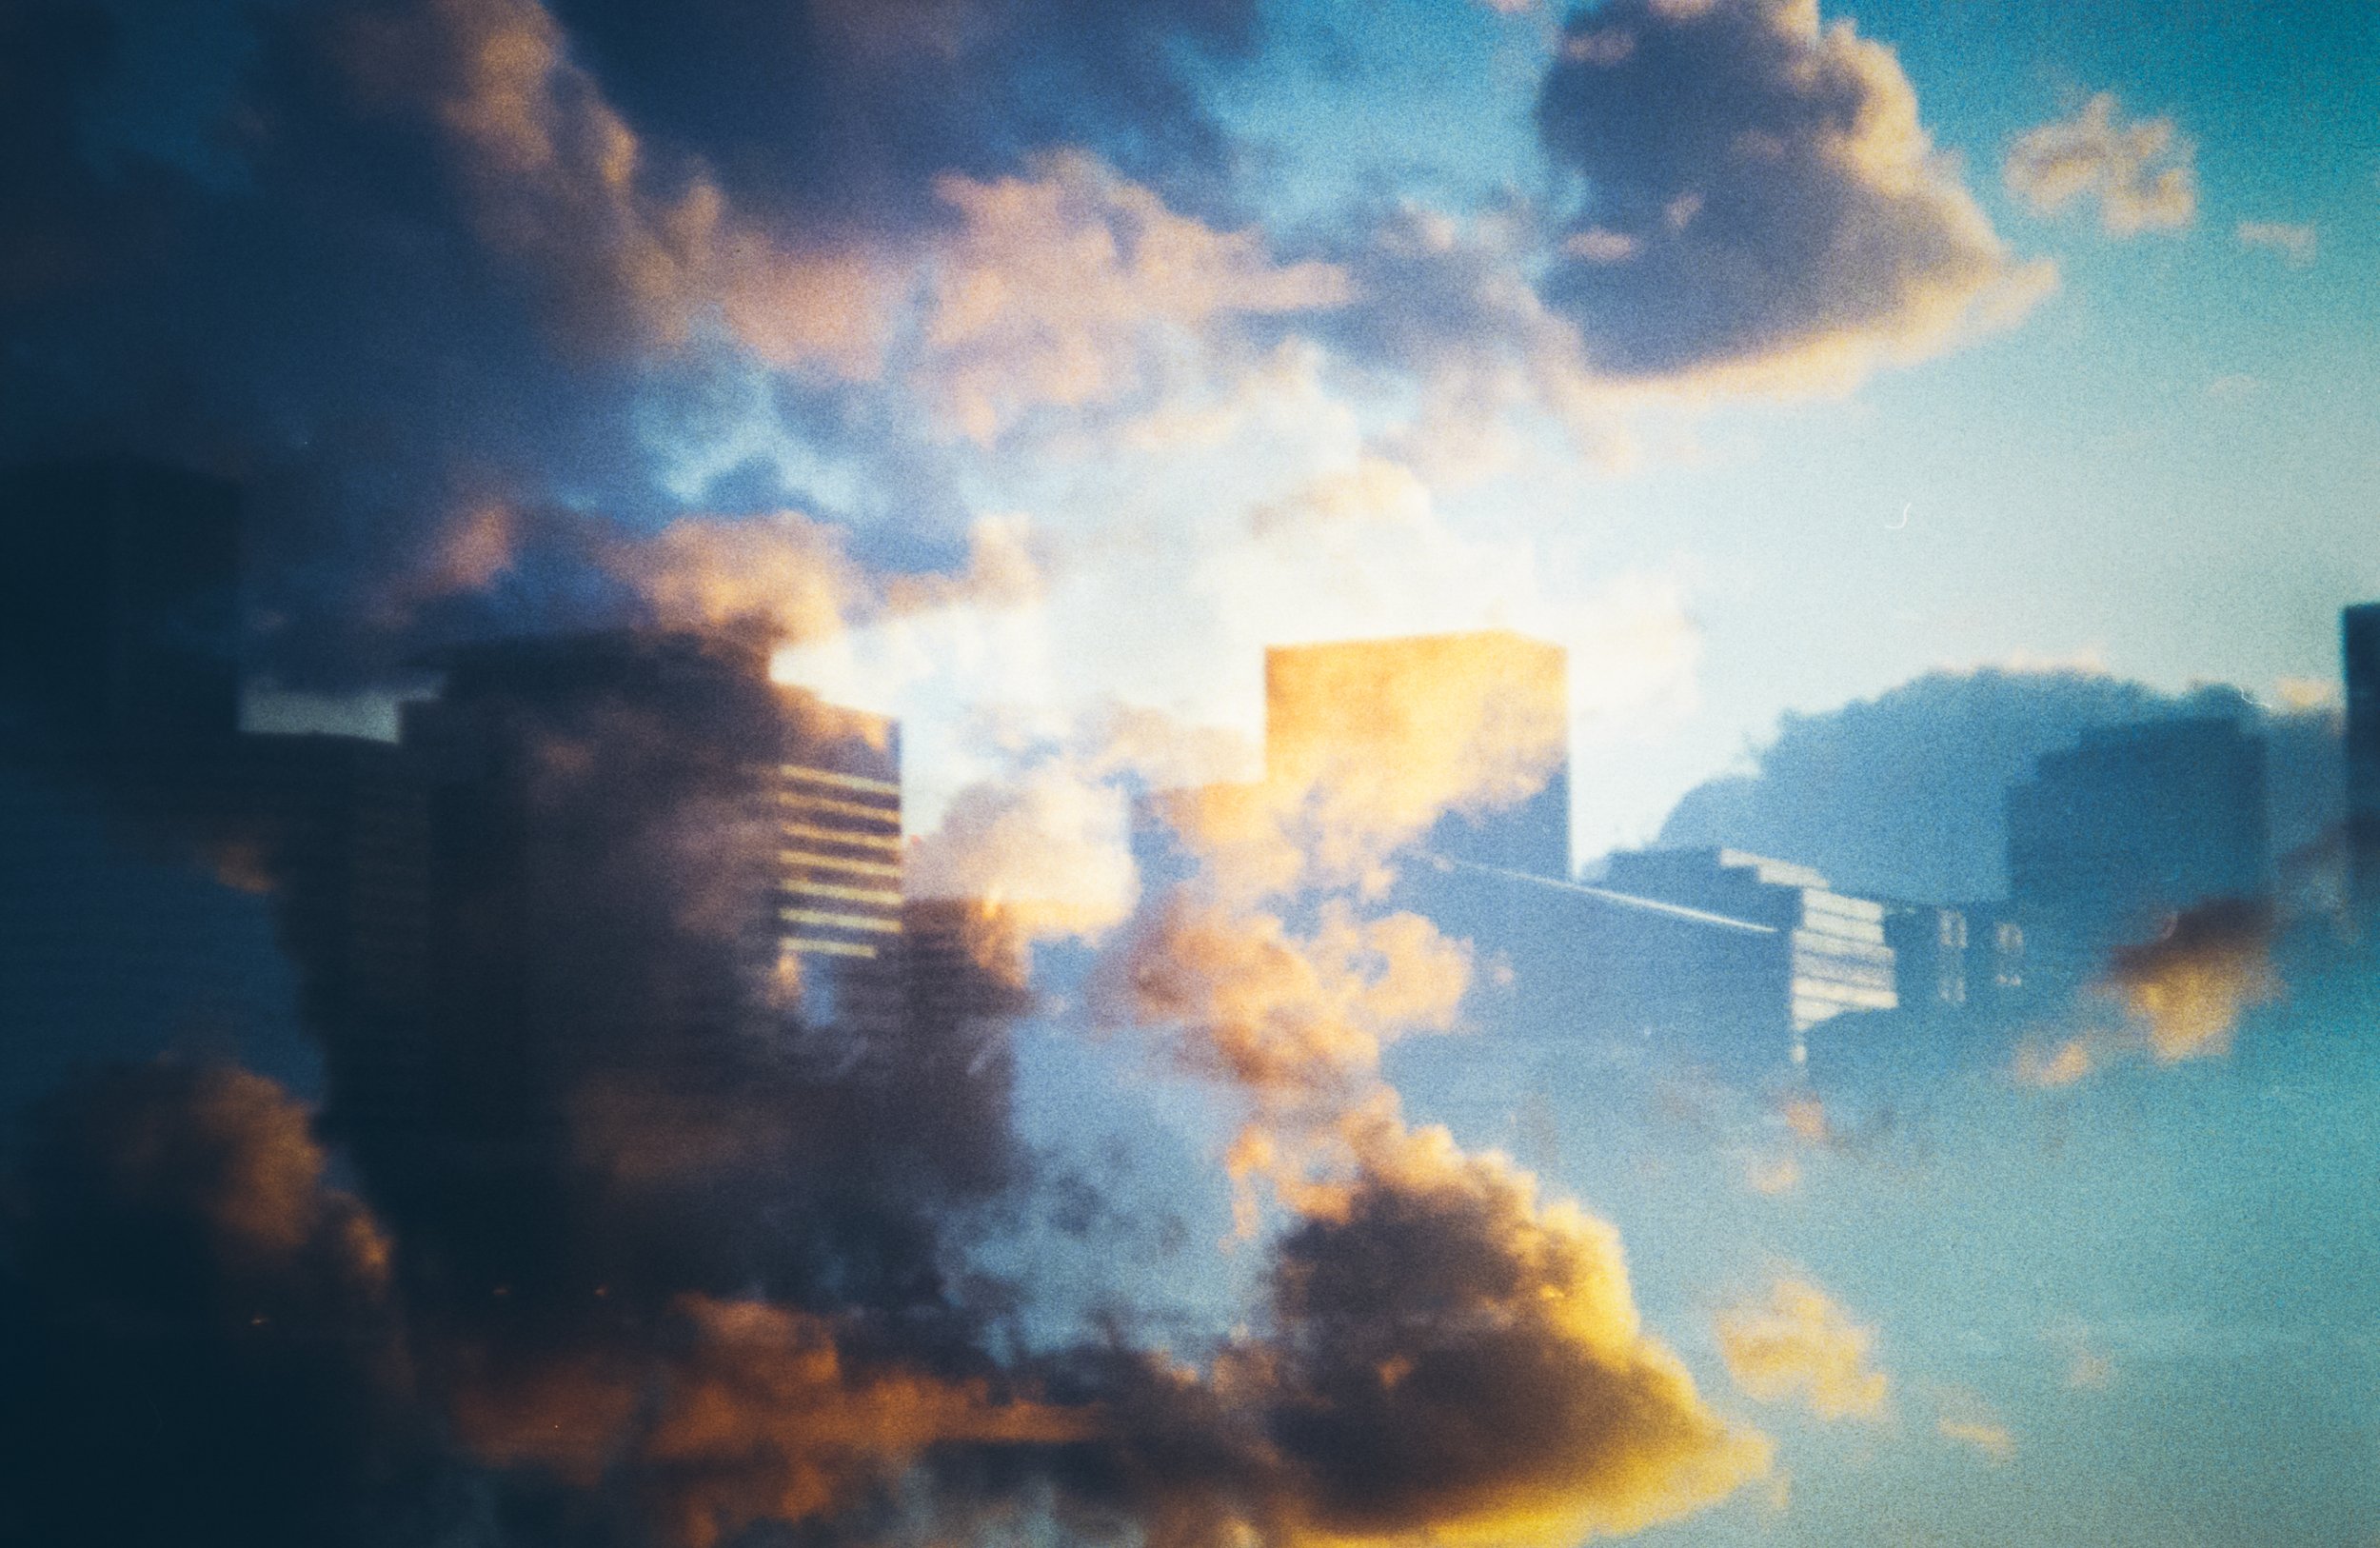
The Diana F+ is super simple and easy to use once you get the hang of it. As with all toy cameras, they are very lightweight, often have a plastic lens and body and aren’t particularly sturdy. Toy cameras are typically known for their light leaks, loose-winding film rolls and blurred images. However, all you need is a bit of patience and you’ll discover the magic of the camera! The Diana F+ has four aperture settings (f8, f11, f16, pinhole), two shutter speed options (1/60, Bulb) an optional flash and a tripod mount. My favorite feature, of course, is that it can do multiple exposures! Since it requires manual film-advance, you can take as many photos over top of each other as you’d like before advancing to the next frame. Part of the fun of toy cameras though, is that you often forget whether you’ve advanced the film or not. This can end up with unexpected double exposures, which personally I’m always here for.

Diana F+ // Double Exposure // Lomography LomoChrome Purple Film

PROS

Considering the Holga is my favorite camera in the world, the Diana F+ is essentially right up there with it. The only problem is that I haven’t given the Diana F+ a fair shot! I sort of attached myself to the Holga and didn’t look back. But after trying out a few film rolls for this collaboration with Lomography, I have a newfound love for it and can’t wait to bring it with me on my next trip! I’ll be heading to Portugal in May and I’m hoping I can squeeze it in my bag!

I consider the fact that it is lightweight a huge pro for me. I travel a lot and I’m always looking for cameras that are light and easy to carry around. The Diana F+ fits easily into my bag and doesn’t weight it down. I also love that it has an interchangeable back so that I can switch to 35mm whenever I get tired of 120. Or if I have my Holga set up with 120 film, I can go with 35mm in the Diana F+ to keep things interesting. The 35mm back might be hard to find these days, though you may be able to find them on eBay here if they’re available. But the Diana Mini takes 35mm film and is super fun and cute! There’s also a Diana Instant (Fujifilm Instant Square film) and a Diana Baby 110 if you prefer those film formats instead! You can also try out the Diana Instant Deluxe Kit which comes with all sorts of fun lenses and filters to get experimental with. I bought one of their older deluxe kits that featured the 120 version of the camera with a 35mm back when I purchased my Diana F+ years ago and it was totally worth it. I personally love the Fisheye lens! You can try to find one of those older deluxe kits on eBay here.

Diana F+ Fisheye Lens // Lomography LomoChrome Purple Film

In my opinion, it’s everything about this camera that makes it great. The soft, dreamy focus and blurry vignetting. The cute, shiny, colorful housing and fun lens options. The multiple exposure and pinhole features. The adorable flash and gel filters. The lightweight body and various options for film format (35 mm, 120, 110 and instant film). Ugh, it’s just everything all at once and I love it.

Diana F+ with 35mm back // Double Exposure

Diana F+ with 35mm back

Diana F+ with 35mm back // Double Exposure


CONS

For some people, toy cameras in general just might not be their thing. They aren’t super reliable because they’re unpredictable and finicky. But that’s kind of the fun of the whole thing! Some of the main issues of these cameras include light leaks, loose film rolls and blurry images. To avoid light leaks, always make sure to load and unload your film in a dark place and definitely not in direct sunlight (unless you’re like me and enjoy taking that risk to see what happens)!

Diana F+ Pinhole Setting // Light Leaked // Lomography LomoChrome Turquoise Film

For the loose film rolls, that’s sort of part of the game. If you load your film to be quite tight in the first place, it tends to help. And when you’re advancing to the next frame, it’s best to wind somewhat slowly so that it winds tightly. With the Holga, I’ve learned to insert a small piece of thick paper underneath the take-up spool to help. I haven’t quite figured out how to manage it with the Diana F+ yet, but I’ll let you know when I do!

To prevent blurry images, make sure you’re shooting in bright sunlight and that you hold the camera as still as possible. You can also use a 400 ISO film to bring a little more light into your images. However, just know that the higher ISO you go, the more grainy your film will be. I always take a 100 ISO film if I’m headed to the beach or a bright location, and a 400 ISO film if it’s a cloudy day or if I’ll be shooting indoors at all. You can also use the flash to help prevent image blur and to brighten your images if you’re in a dark environment.

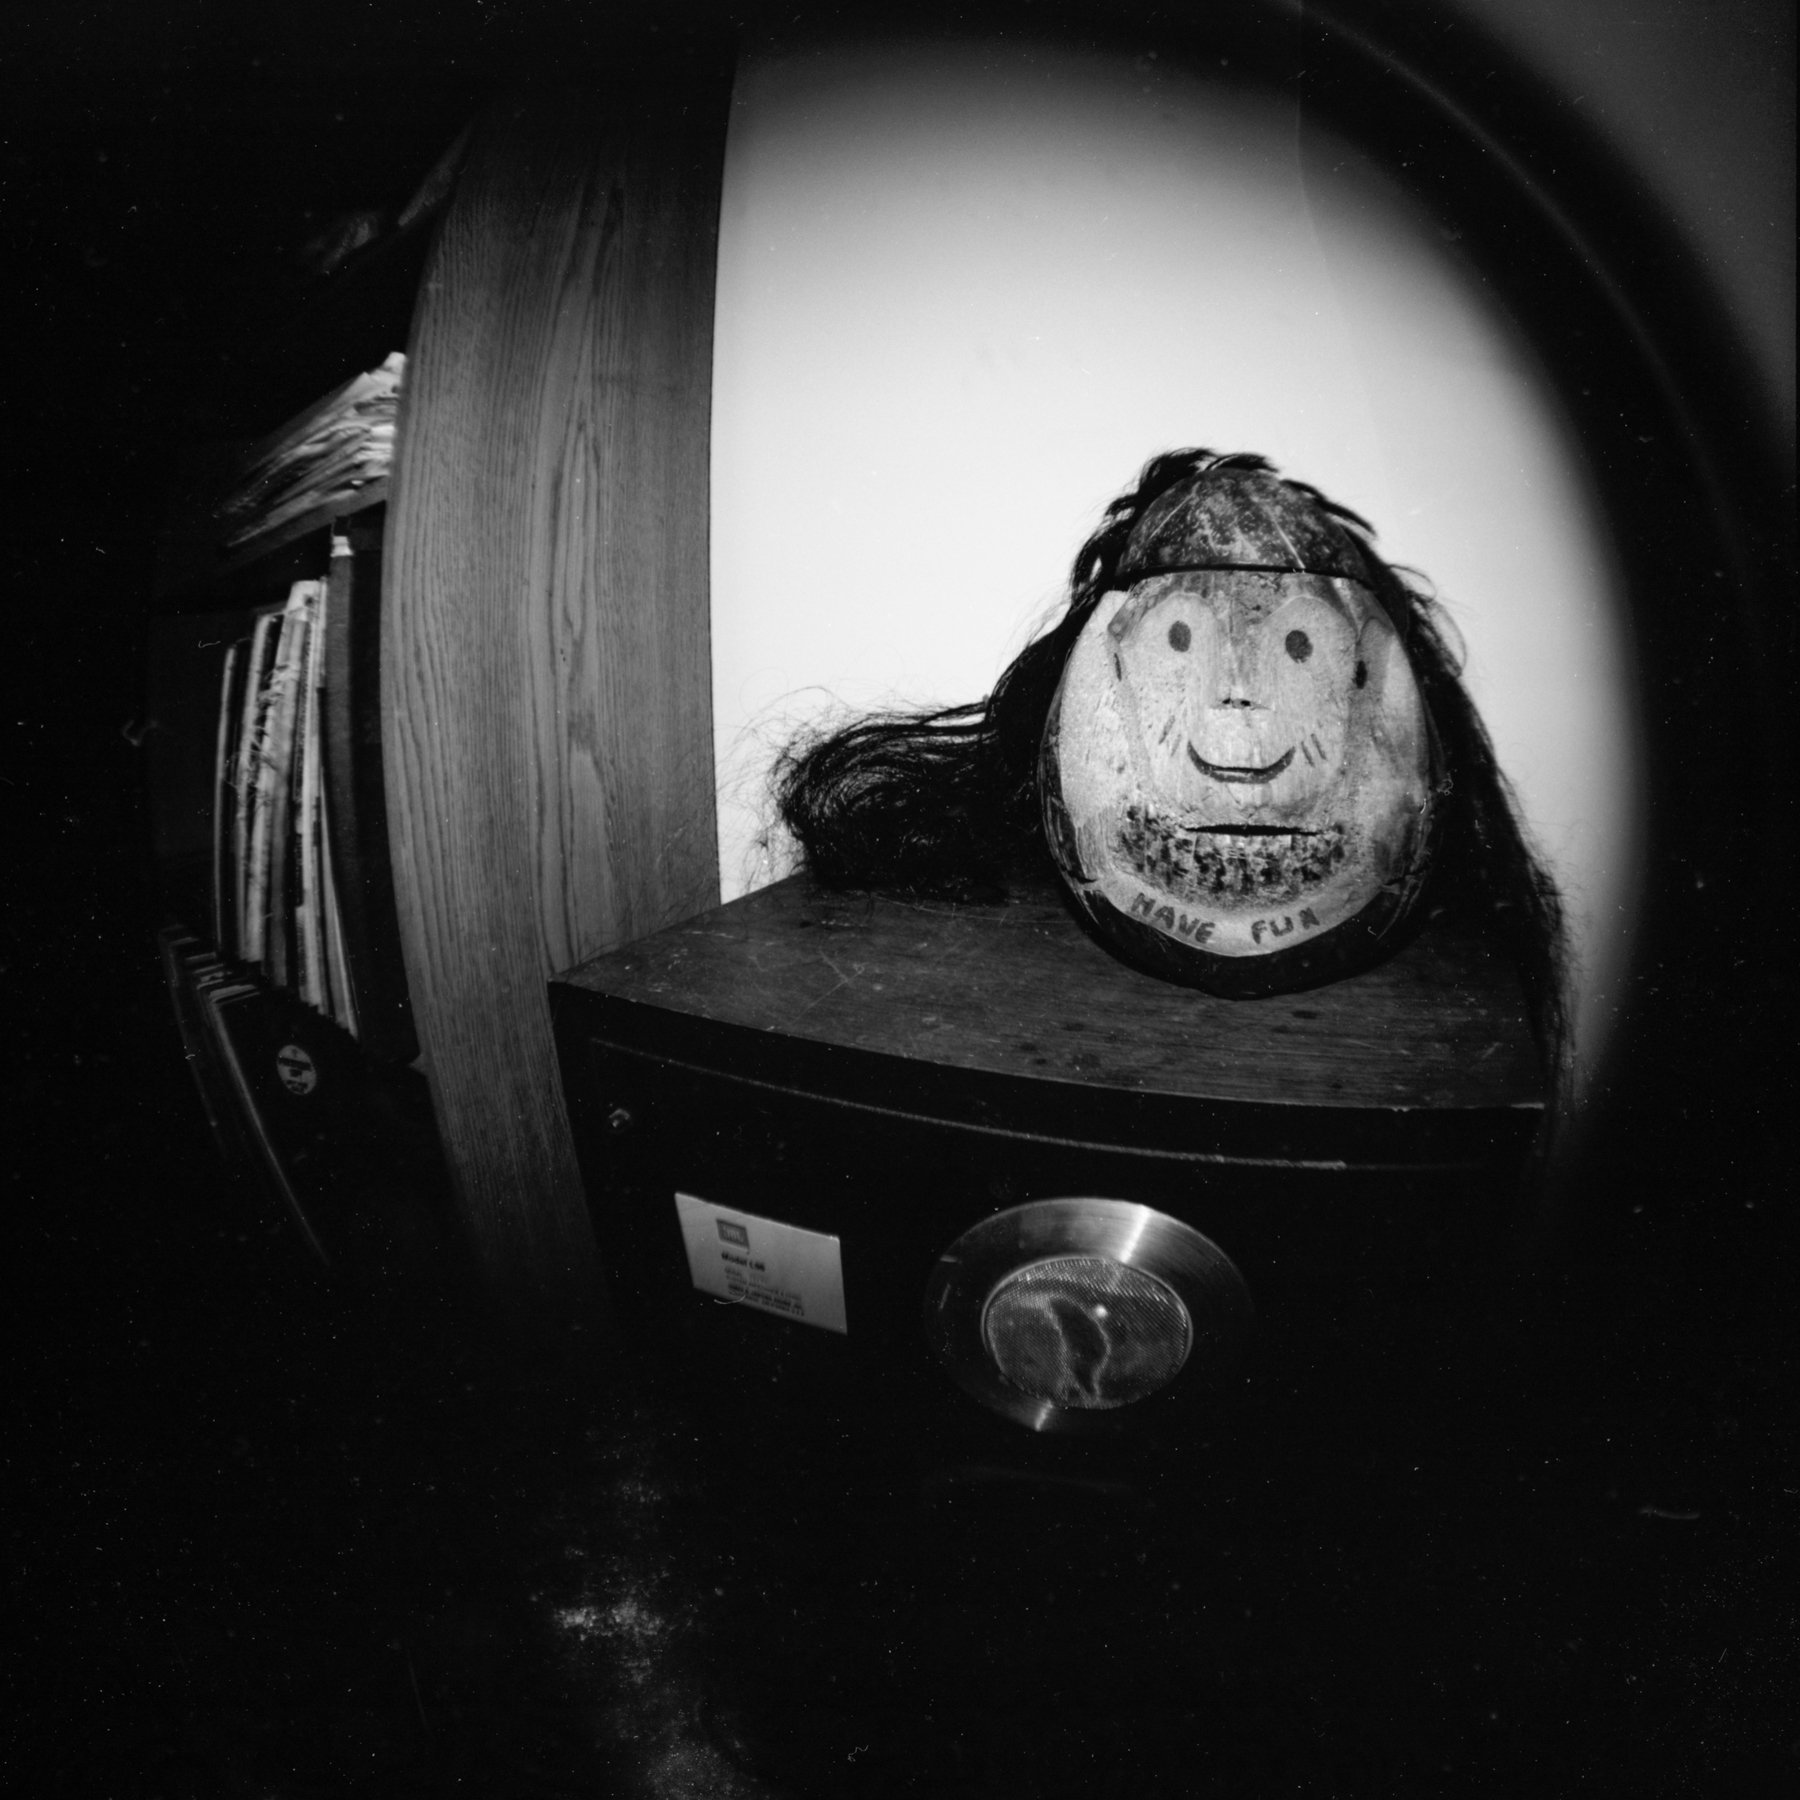
Diana F+ 120 // Neopan Acros 100 // Flash // Fisheye Lens

Diana F+ 120 // Neopan Acros 100 // Flash // Fisheye Lens

FINAL THOUGHTS

One of the best things about the Diana F+ is that you can be a beginner, amateur or professional photographer and the camera is still just as much of a mystery to use. It takes patience, creativity and an open mind to experience it’s magic. But believe me, it’s worth it. My favorite moment is life is when I’ve created an incredible multiple exposure with the Diana F+ or Holga camera. It’s an experience that I believe every photographer at every level should have. It forces you to be creative and try new things.

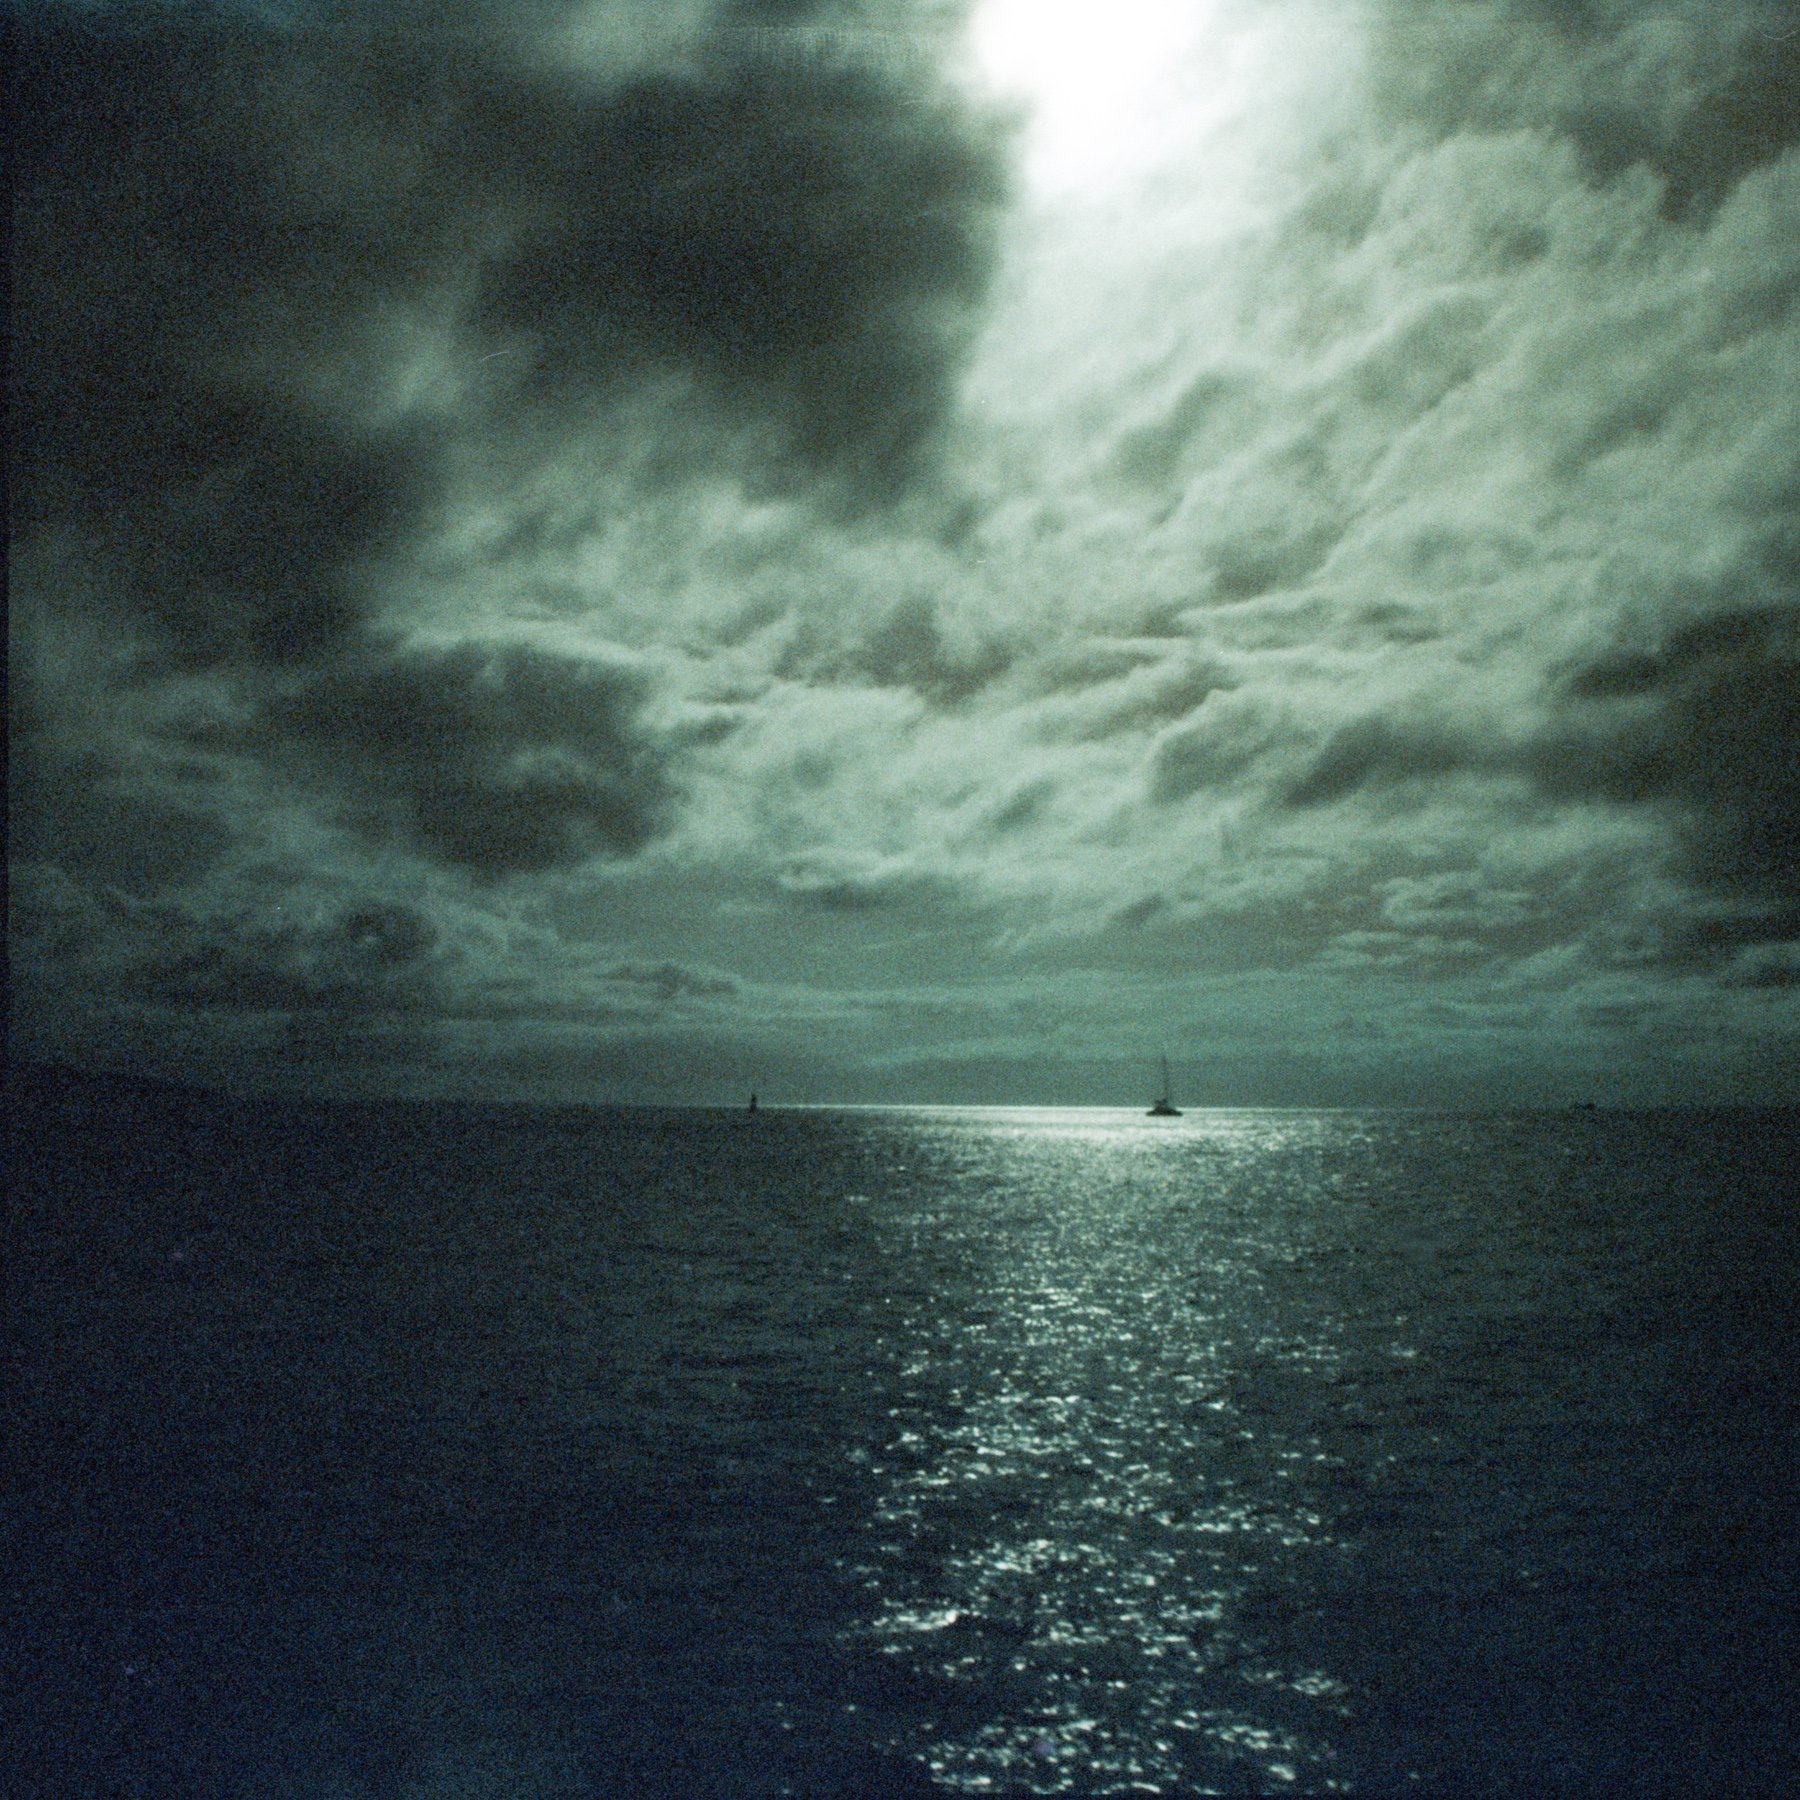
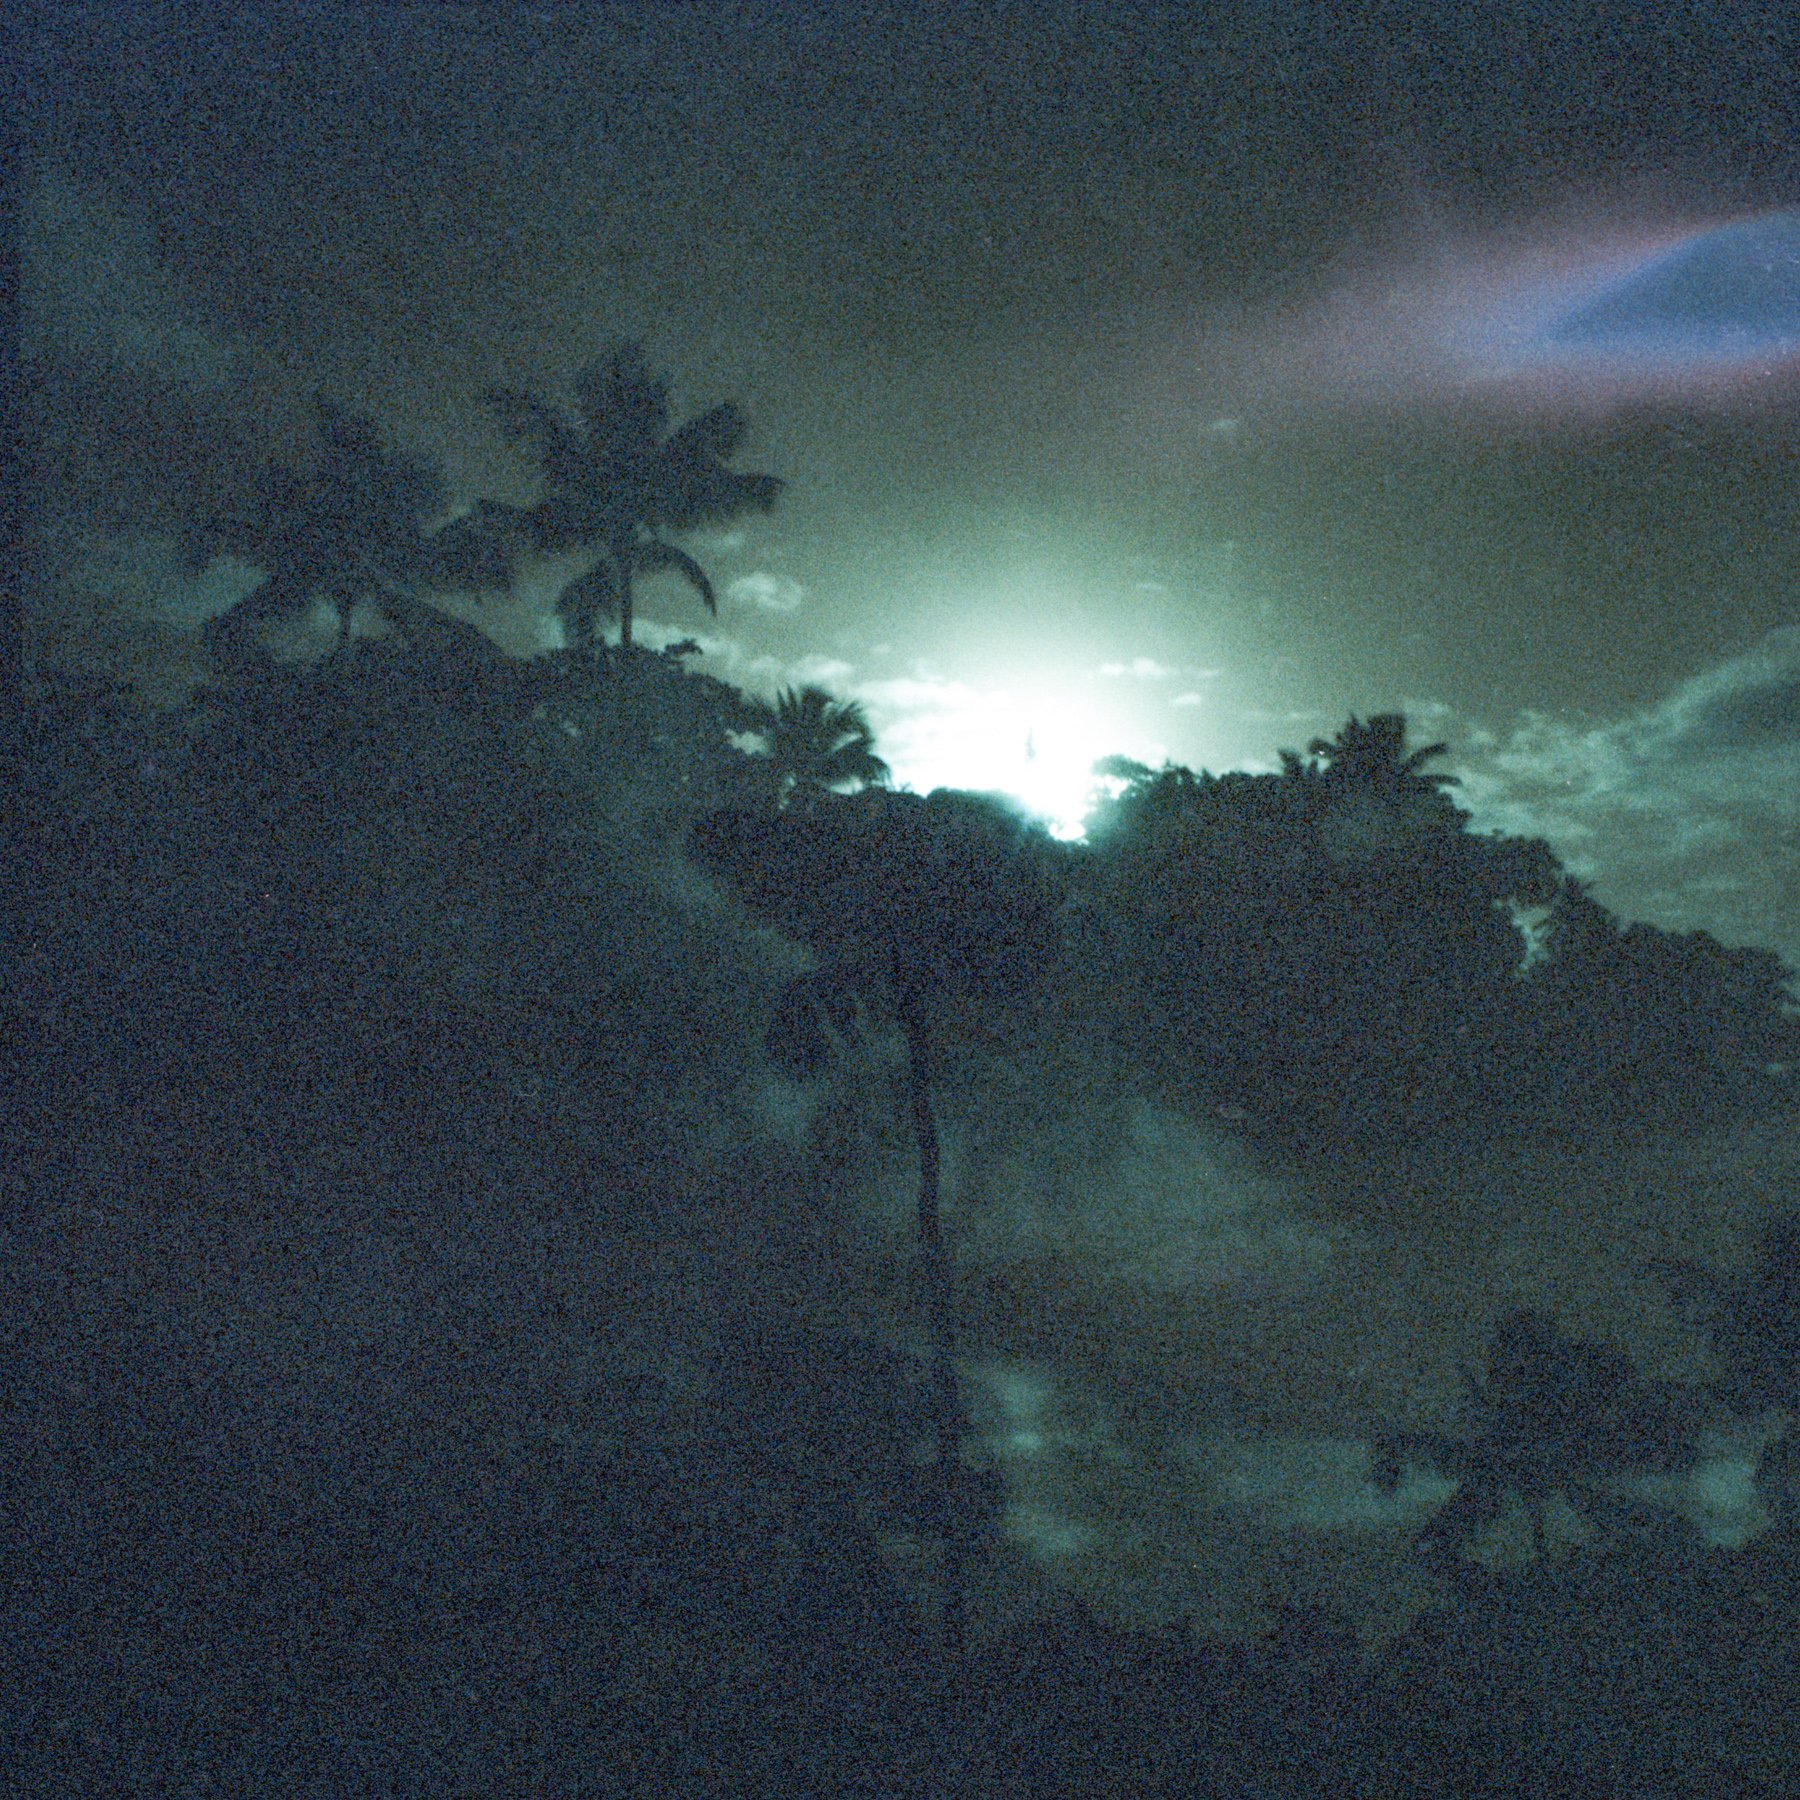
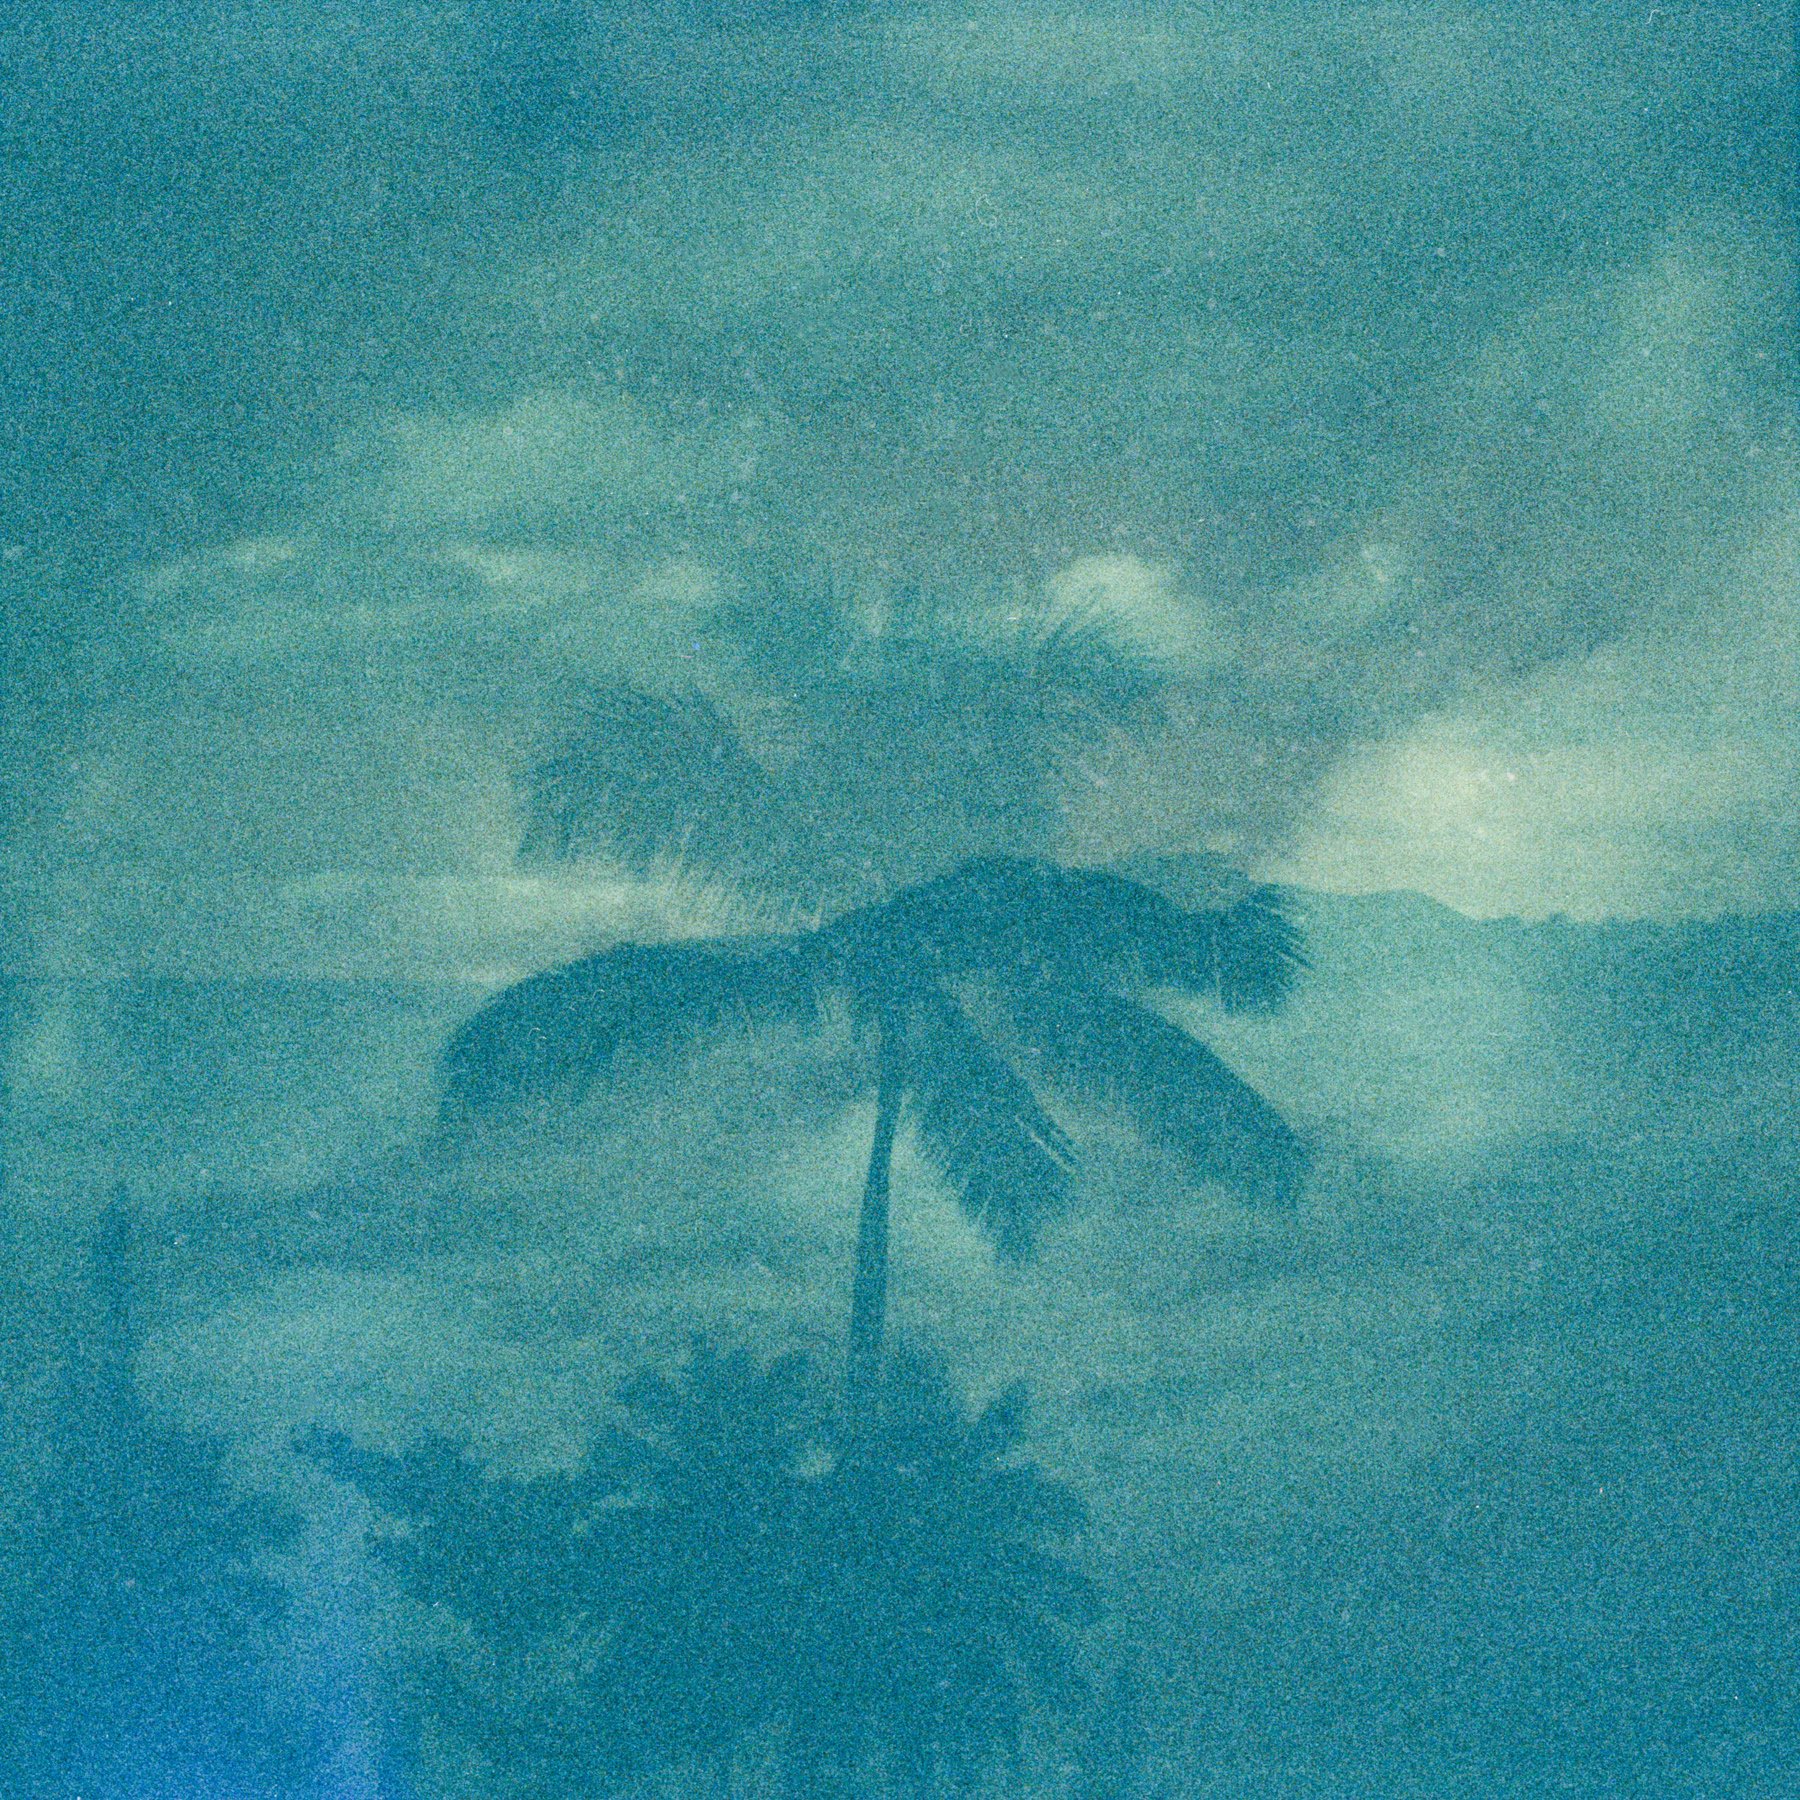
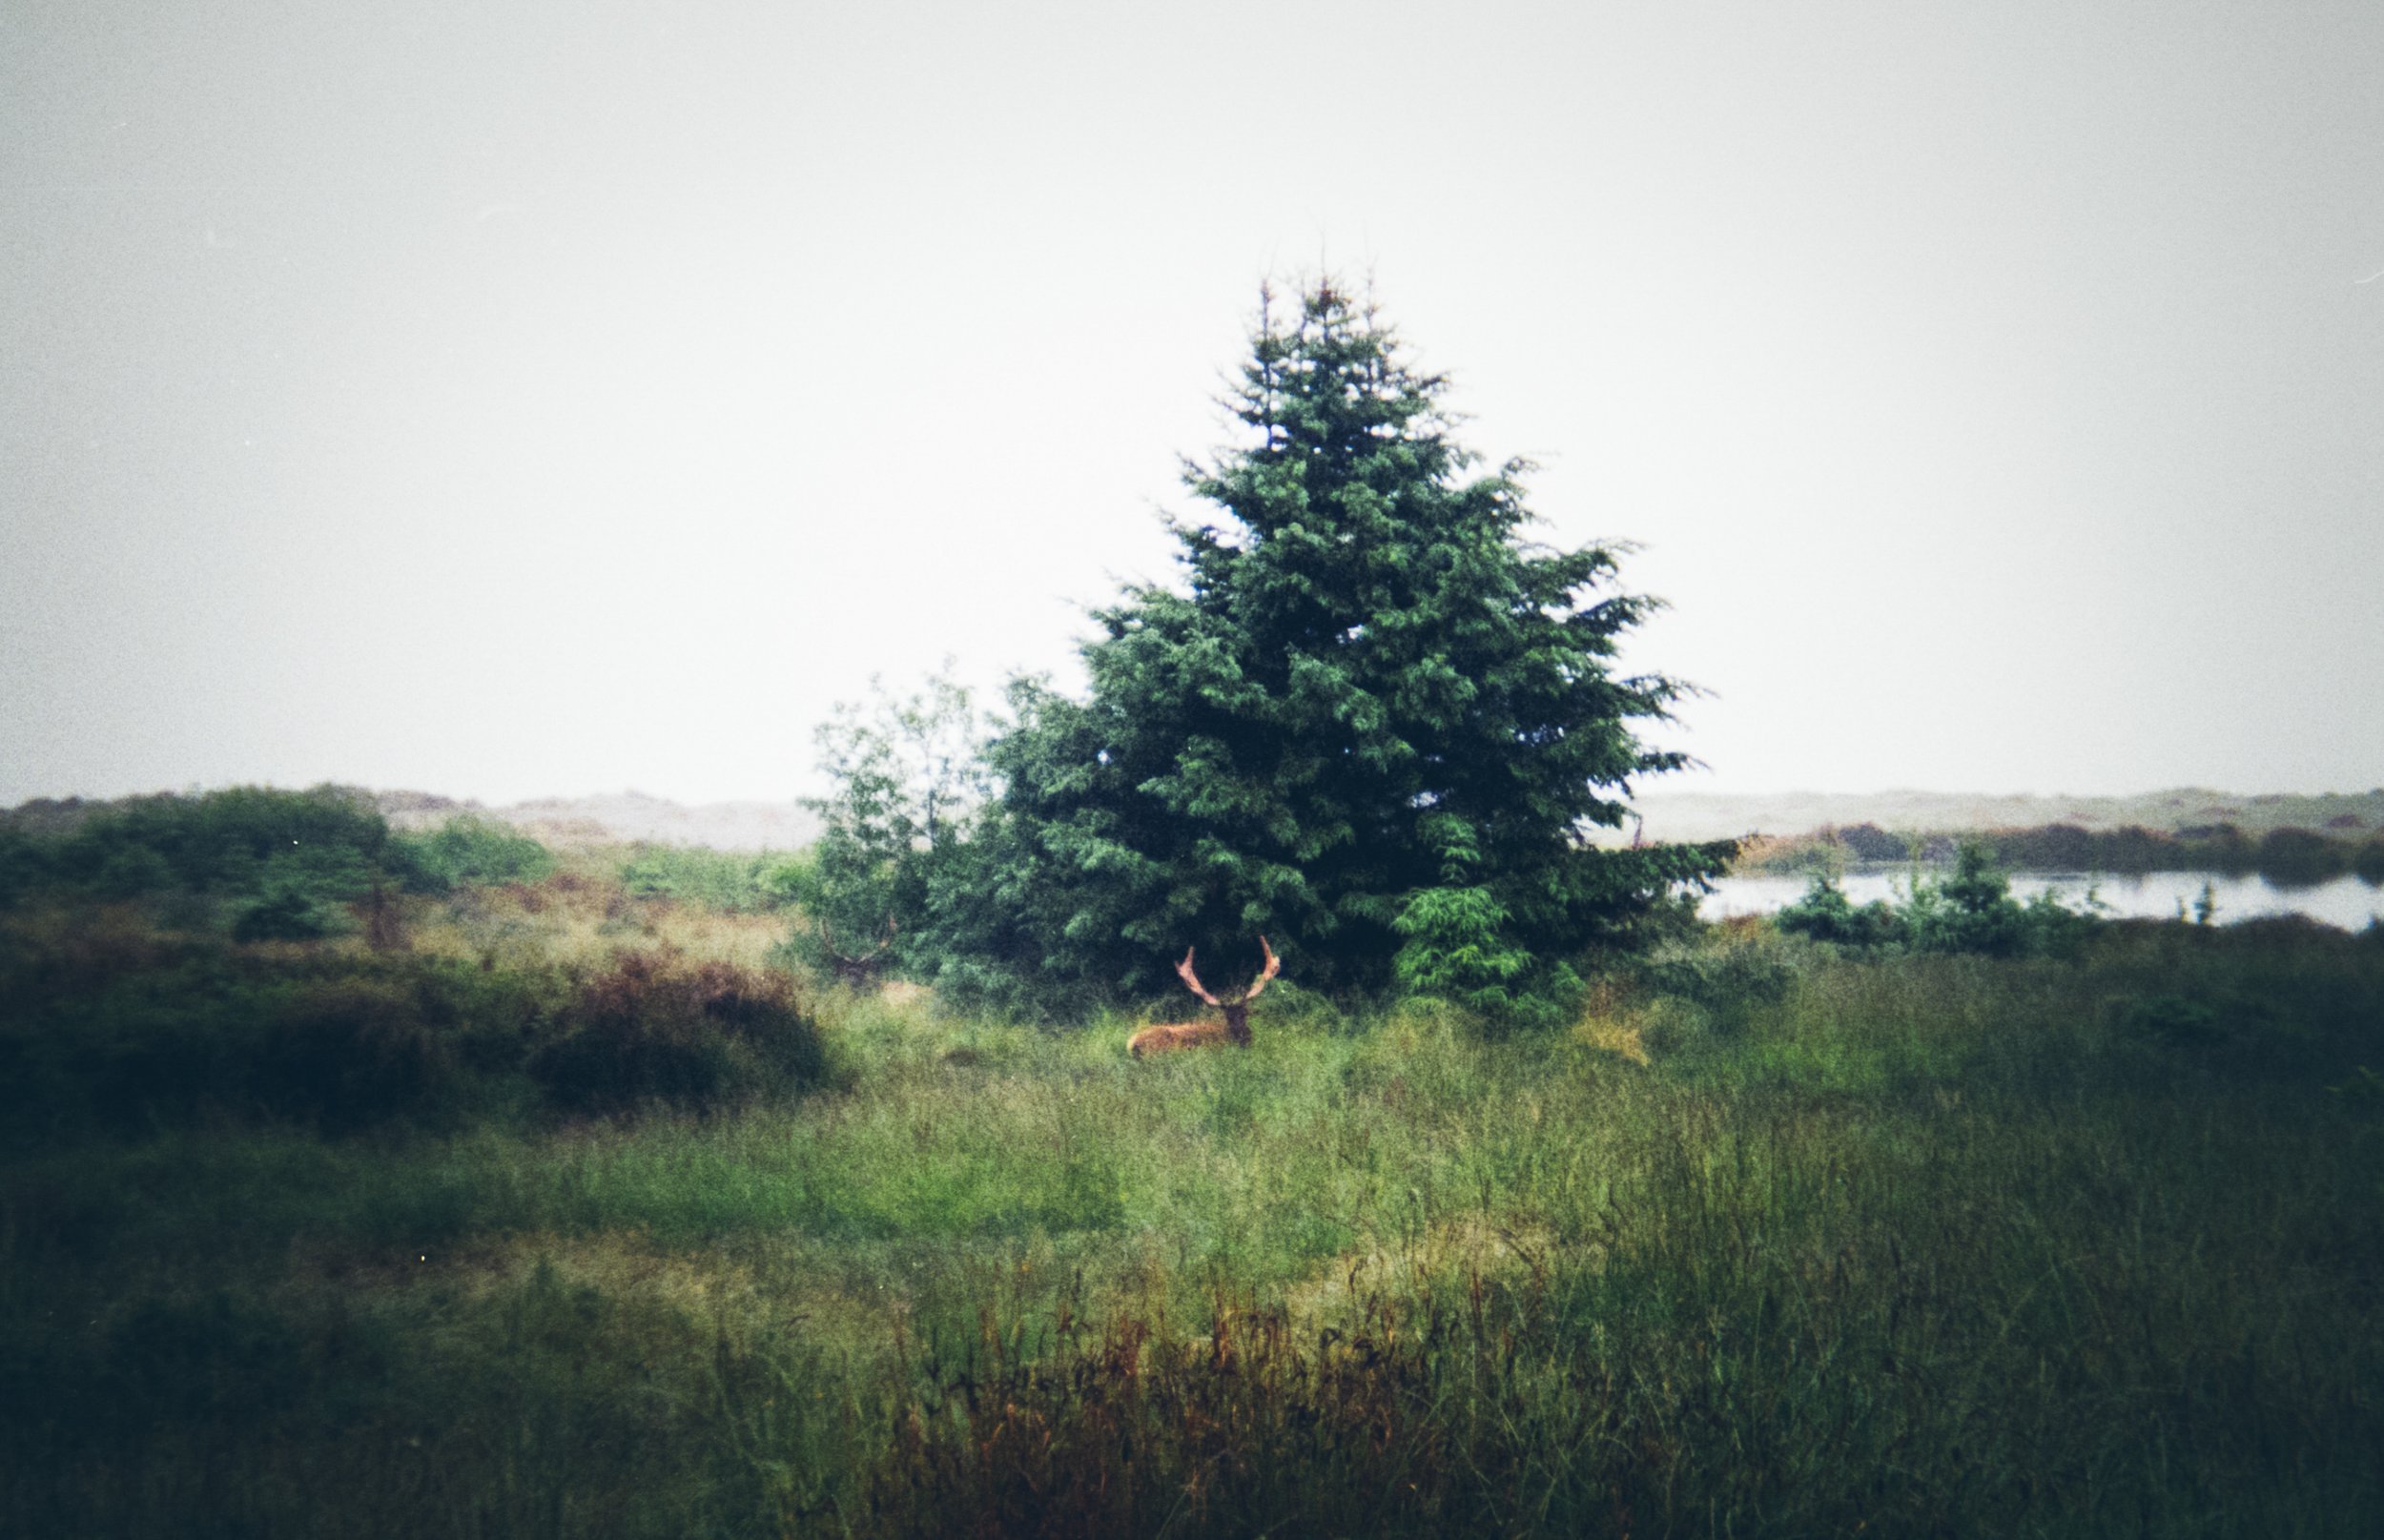
For my collaboration with Lomography, they sent me a roll of LomoChrome Purple and LomoChrome Turquoise to try out with the Diana F+. I’ve included all of my favorite photos from my trip below using these films, as well as a handful of my fav images I’ve taken in the past with the Diana F+.

WHERE TO BUY

Diana F+ 120 camera on Amazon

Diana Mini 35 mm camera with flash on eBay

Diana F+ Instant Square Deluxe Kit on Amazon

Diana Baby 110 on B&H Photo

FILM RECOMMENDATIONS

Lomography LomoChrome Purple Film (35mm & 120)

Lomography LomoChrome Turquoise Film (35mm & 120)

Lomography Color 400 120 film on B&H Photo

Kodak Gold 200 120 film on B&H Photo

Thanks so much for stopping by! And don’t forget to stop by my Amazon storefront for more camera/film recommendations. :) Have a lovely day!

<3 Myles Katherine