The Best Backup Services and Cloud Storage for Photographers | Tips for Keeping Your Files Safe and Organized


As a photographer, I can’t imagine anything scarier than losing all of my files. My clients would lose their precious memories and I would definitely never be hired again! It’s taken me years to figure out the best way to keep my files safe and organized, and I want to help you do the same! It takes some getting used to, and I still spend entire days going through old files (from before I had this system down) and putting them into folders. It’s taken some trial and error in terms of the best way to name folders and the easiest way to find the files later. But now, my files are exactly where I need them to be and I know they are safely backed up.

Backblaze and Smugmug are the two main services I use for backup and storage and they are game-changers. I use Backblaze as an online backup system that continuously backs up my external hard drives (all 5 of them and over 23 TB!) and it only costs $99/year for UNLIMITED STORAGE (!!!!!!). The best part is that you can access your files from anywhere and download them directly to your computer. I can’t tell you how many times I’ve been traveling and realized I forgot to move some files onto my computer to edit. So I just log in to my Backblaze account, download the folder, and I can get straight to work. If one of your hard drives crashes, Backblaze can send you a new one with all of your files on it. When you log into your account, it’s basically a mirror image of your finder window, with all of your hard drives and folders exactly the way they look on your computer (see screenshot below). It’s actually the greatest service ever invented. Use this link to get a month of service from Backblaze for free!

backblazefolder.jpg

I use Smugmug for all of my client galleries. I upload my edited images straight from Lightroom (using a lightroom plugin) into a gallery and then send the link to my clients. My favorite part about Smugmug is the app, which I use to download images from any of my galleries and upload to instagram, facebook, etc. I have the Portfolio plan which is $246/year and includes UNLIMITED storage. I have wedding galleries up there from 10 years ago that my clients can still access. They can also order prints and other gifts directly from the gallery. Use this link to sign up and get a free 14-day trial! I’m telling you, it’s so worth it. I keep all of my folders on smugmug super organized too, which makes the app even easier to navigate and find files when I’m traveling. See the screenshot below to get an idea of how you can organize your different types of photos!

Honestly, I’m always looking for the most affordable way to run my business (I’m a bit of a cheapskate) and these two services are life-changing to me as a photographer. I’ve spent a lot of hours researching backup services and gallery services, but these two take the cake for me. I’ve been using them both for YEARS and I haven’t had any issues.

After a photo shoot, I come home and upload the files to my hard drives, which are then safely backed up to Backblaze (so if my house burns down with my memory cards AND my hard drives, they are still safe). Then, after I’ve finished editing a shoot, I upload the final images to a Smugmug gallery. My files are then safely in 3 places, 2 of which are online, accessible from anywhere, and safe from a house fire.

In terms of organizing my hard drives, I wanted to share a screenshot sample of my folders. This has proven to be the best way to not lose files and it’s pleasing to look at with my OCD brain. I also scan my film negatives at home, so I keep those files separate from my digital files. Essentially, the format is YEAR>MONTH>PHOTOSHOOT. I also have video files and other things that I make sure to keep separate from my photography.

fileorganization.jpg

I hope this helps you find an easy and affordable way to keep your files safe. It can be overwhelming when you first start organizing everything, but it’s so worth it when it’s done. It’s also important to name your files something that you’ll remember, in case you need to find them later. When I export my final images, I make sure to use keywords that I won’t forget. For example, if you took a trip to Florida with your family, you could name the files FloridaFamilyTrip2020. Then, ten years from now you won’t have a hard time finding the images.

If you found this post helpful or if you’d like to see more of my work, I’d love it if you considered signing up for my Patreon! For as little as $1 a month, you’ll get early access to all of my YouTube videos, plus tons of photos that I don’t post anywhere else. Depending on which tier you choose, you could also receive seasonal prints and/or discounts! I always use all of the proceeds towards cameras, film & processing. Find out more here!

Please feel free to leave any questions or comments below, I’m happy to help! I hope everyone is staying safe and healthy during this crazy time!

<3 Myles Katherine

This post contains affiliate links and I will be compensated if you make a purchase after clicking through my links. 


The Best Color Film for 35 mm Cameras | Top 5 Best 35 mm Color Films

(This post contains affiliate links and I will be compensated if you make a purchase after clicking through my links.)

My TOP 5 favorite 35 mm Color Films

At this point, I’ve tried out a LOT of different brands of 35 mm film. While it’s fun to experiment and try out different ones, there are definitely a few that I tend to re-order over and over again. Mainly because of price-point, but also because of quality and sharpness. I have a LOT of cheap, somewhat “crappy” 35 mm film cameras so I like to use film that is super sharp and has a lower film speed. It takes some adjusting to figure out the perfect film for every camera, but there are my top 5 favorite 35 mm films that tend to work well with cheap 35 mm cameras, as well as more expensive ones.

  1. Kodak Portra 160

While this tends to be the priciest of the bunch, it is the most worth-the-money film out there. It has BEAUTIFUL, ACCURATE skin tones, sharp detail and beautiful coloring overall. I don’t buy this film as often as I’d like to, simply because of the price. But when I do use it, I’m always reminded of what an incredible film this is, especially for portraits and landscapes.

WHERE TO FIND IT

Amazon

B&H Photo

2. KODAK gold 200

This is a very specific kind of film - meaning, if you’re looking for that classic, LA/Hollywood golden sunshine film vibe, this is what you want. I don’t always like using this film because it does have such a golden/warm tone to it, and I personally tend to like cooler tones overall in my images. However, if I’m going to Hawaii or Italy or somewhere known for it’s stunning sunsets and golden hues, I ALWAYS grab a few rolls of Kodak Gold 200. The price for this film tends to vary depending on demand, so if you ever see it at a discounted price, GET IT.

WHERE TO FIND IT

Amazon

B&H Photo

3. Lomography color 100 or 400 film

This tends to be my go-to color 35 mm film. It’s affordable (especially if you buy in bulk), it’s bright and saturated and it’s sharp. Depending on where I’m traveling, I’ll go for either the 100 speed or the 400 speed film. If it’s going to be cloudy, overcast or a dark environment overall, I’d opt for the 400. If you’re going to a sunny location like the beach, then definitely go for the 100 speed to get that extra sharpness in the detail of your photos. Sometimes it can be difficult working with the colors of this film in post-processing, just because it is so saturated. But if you like bright color, this is the one to go for.

WHERE TO FIND IT

Lomography Color 100 35 mm Film

B&H Photo

Adorama

Lomography Color 400 35 mm Film

B&H Photo

Adorama

4. KODAK PRO IMAGE 100

Another affordable option - Kodak Pro Image 100 film has a natural overall color to it, without that golden tone you get from Kodak Gold 200. Just know that using 100 speed films with cheap 35 mm cameras only really works if you’re in a fairly bright environment. If it’s overcast or dark, your shutter speed may be too slow to capture super sharp images, and your photos may be too dark overall. Stick to the outdoors in a sunny location and you’ll be good! This is a good basic option to go for - it’s affordable with normal color tones and easy to work with. It’s not necessarily the sharpest 100 speed film I’ve ever worked with, but it’s still fairly sharp overall.

WHERE TO FIND IT

Amazon

B&H Photo

5. Fujifilm fujicolor 200

This film isn’t anything super exciting, but it has a classic, film vibe to it with greenish undertones in the shadows - reminiscent of disposable cameras and photos from my childhood. I do love the nostalgic mood to it, but if you’re taking photos in a very green landscape, sometimes the images just turn out too green. Green can be a difficult color to adjust in post-processing but if that’s the look you’re going for, then go for it! Again, not the sharpest film overall but it does have a different, unique vibe to it.

WHERE TO FIND IT

Amazon

B&H Photo

Feel free to leave questions/comments/opinions below! Thanks so much for stopping by!

If you found this post helpful or if you’d like to see more of my work, I’d love it if you considered signing up for my Patreon! For as little as $1 a month, you’ll get early access to all of my YouTube videos, plus tons of photos that I don’t post anywhere else. Depending on which tier you choose, you could also receive seasonal prints and/or discounts! I always use all of the proceeds towards cameras, film & processing. Find out more here!

<3 Myles Katherine

#CommissionsEarned

(By using the links and/or codes above it supports Myles Katherine Photography. We may get a small kick back by you doing so.)

Why the Canon Rebel K2 will always be one of my favorite cameras | The Best 35 mm Travel Camera


This post contains affiliate links and I will be compensated if you make a purchase after clicking through my links. 
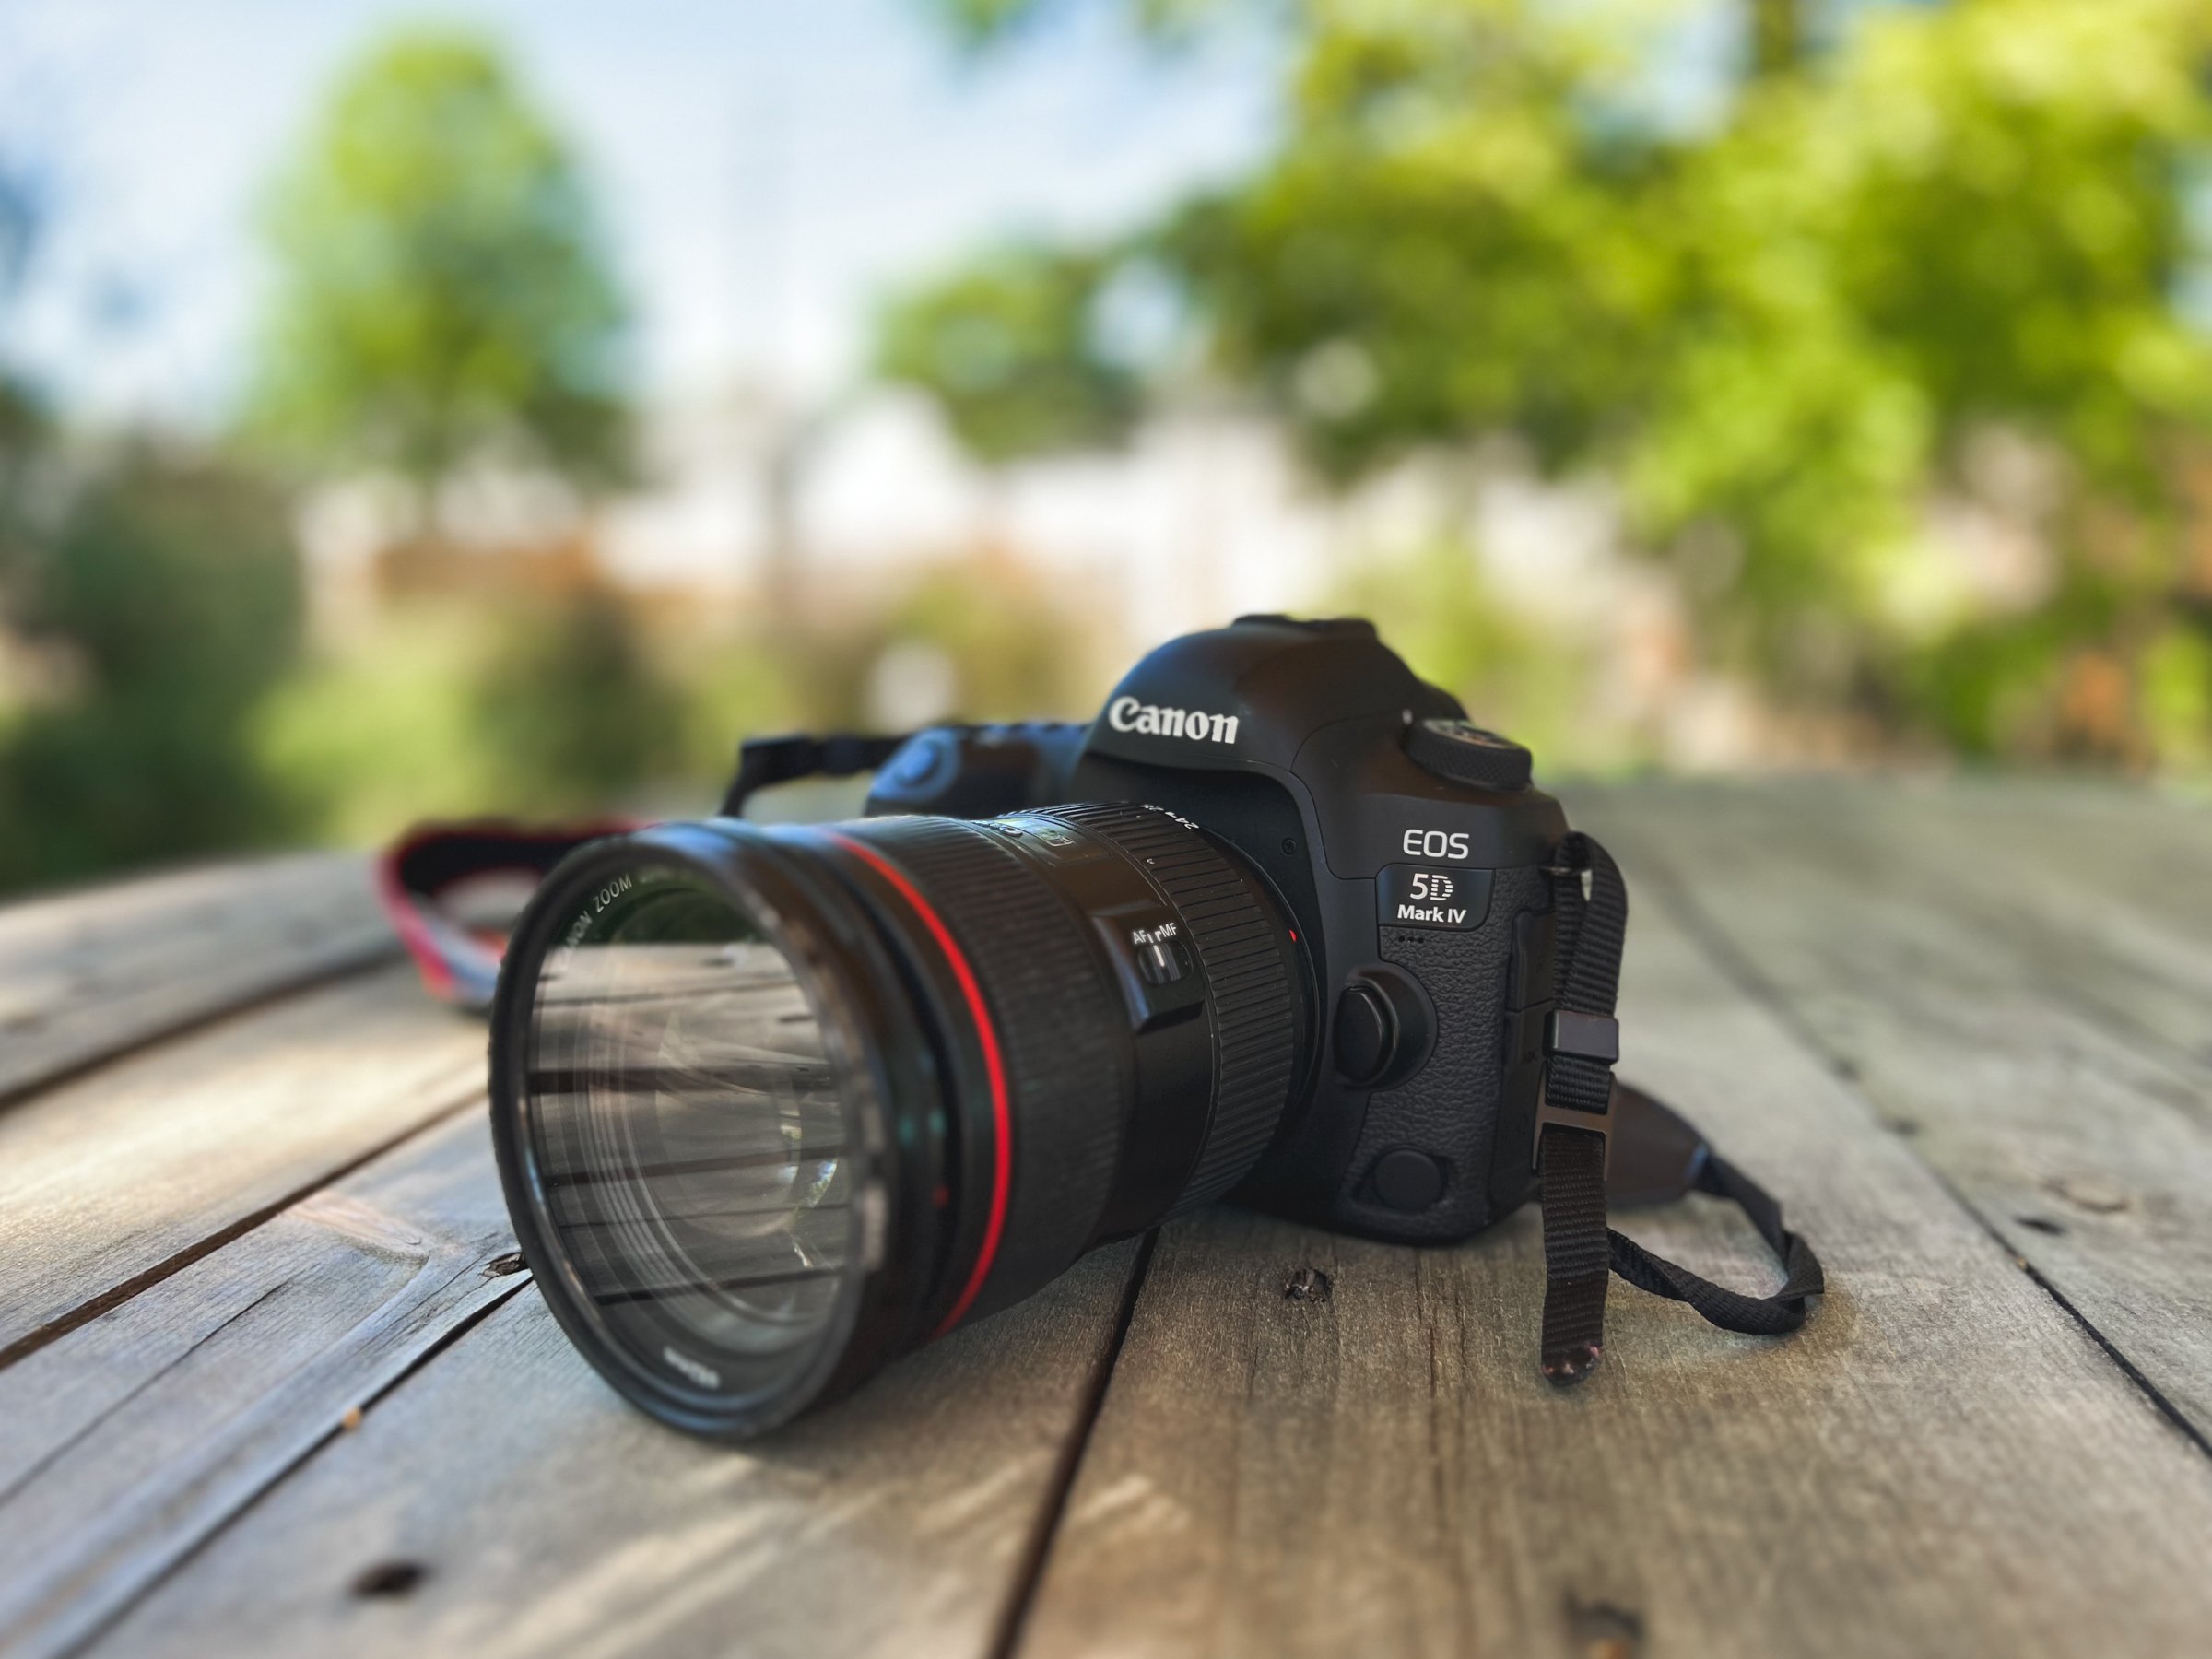


I feel like I say this a lot, but I’m obsessed with the Canon Rebel K2. So much so that when my sister asked if she could borrow mine for our family trip to Italy, I had a brief freak out and then somehow convinced her to buy her own instead! It’s only $30-60 so it didn’t really make sense that I was stressing out so much about something happening to mine, except for the fact that it was my very first film camera and changed the whole trajectory of my life (no big deal). The first photographs I ever developed in the darkroom were taken with my Canon Rebel K2 and I’ve been a photographer ever since! I suppose I have quite the sentimental attachment to it that I wasn’t fully aware of until my sister’s inquiry.

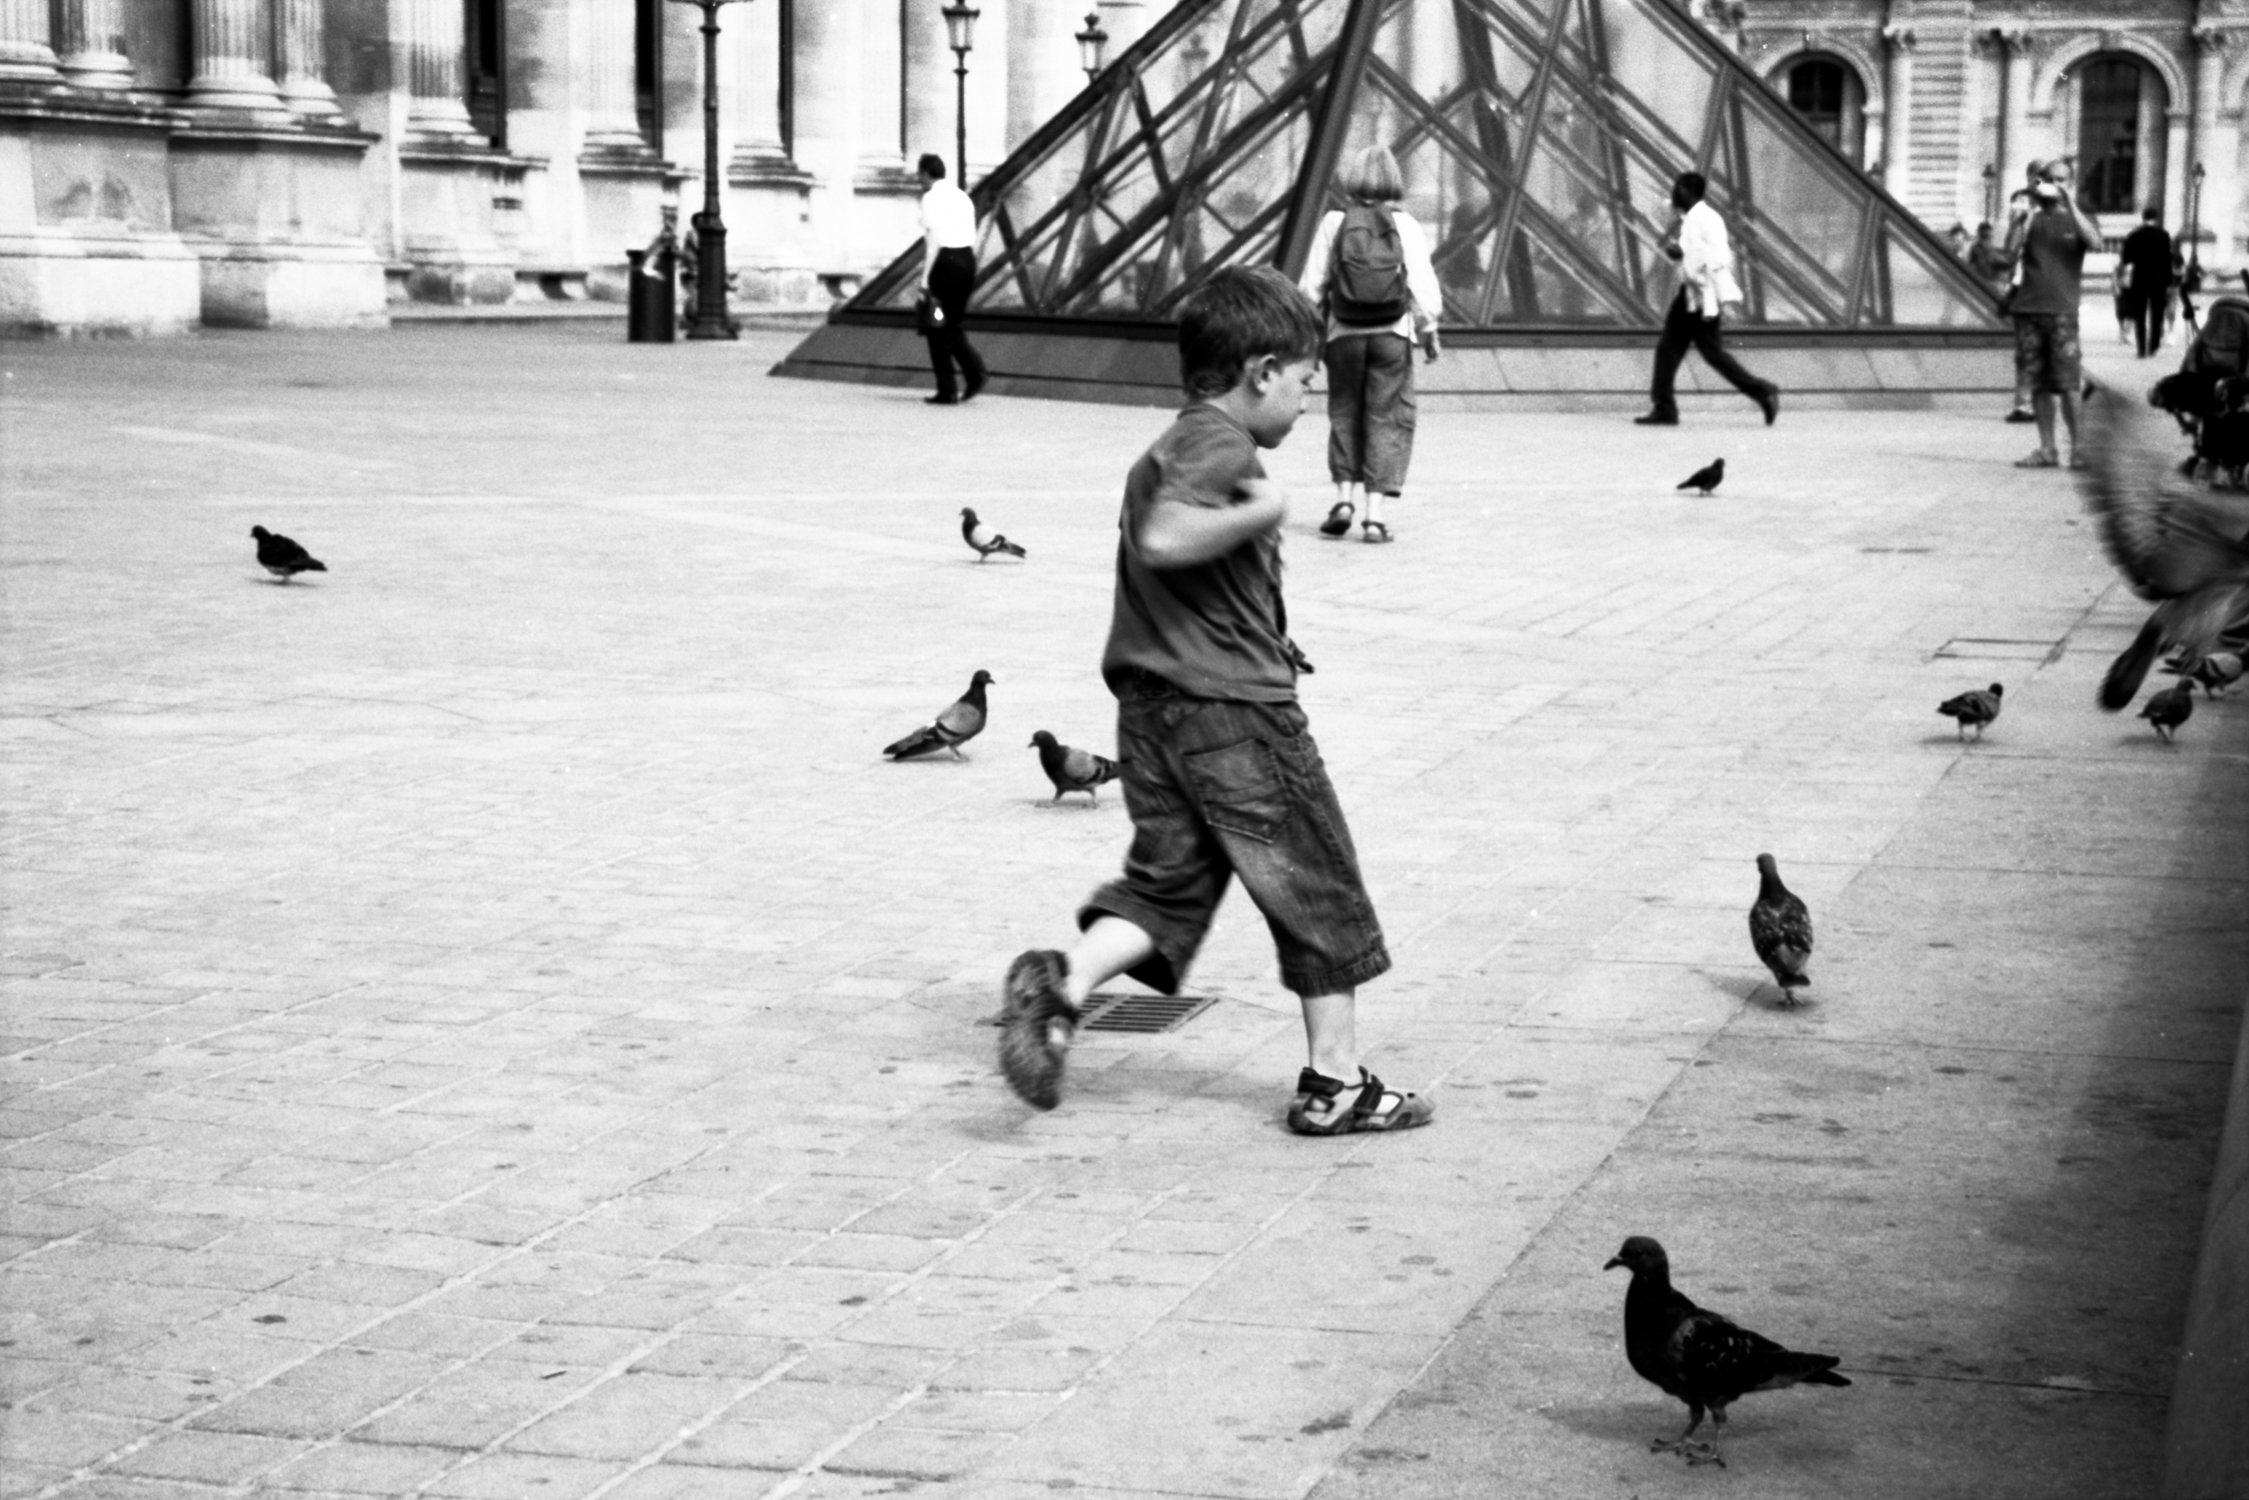
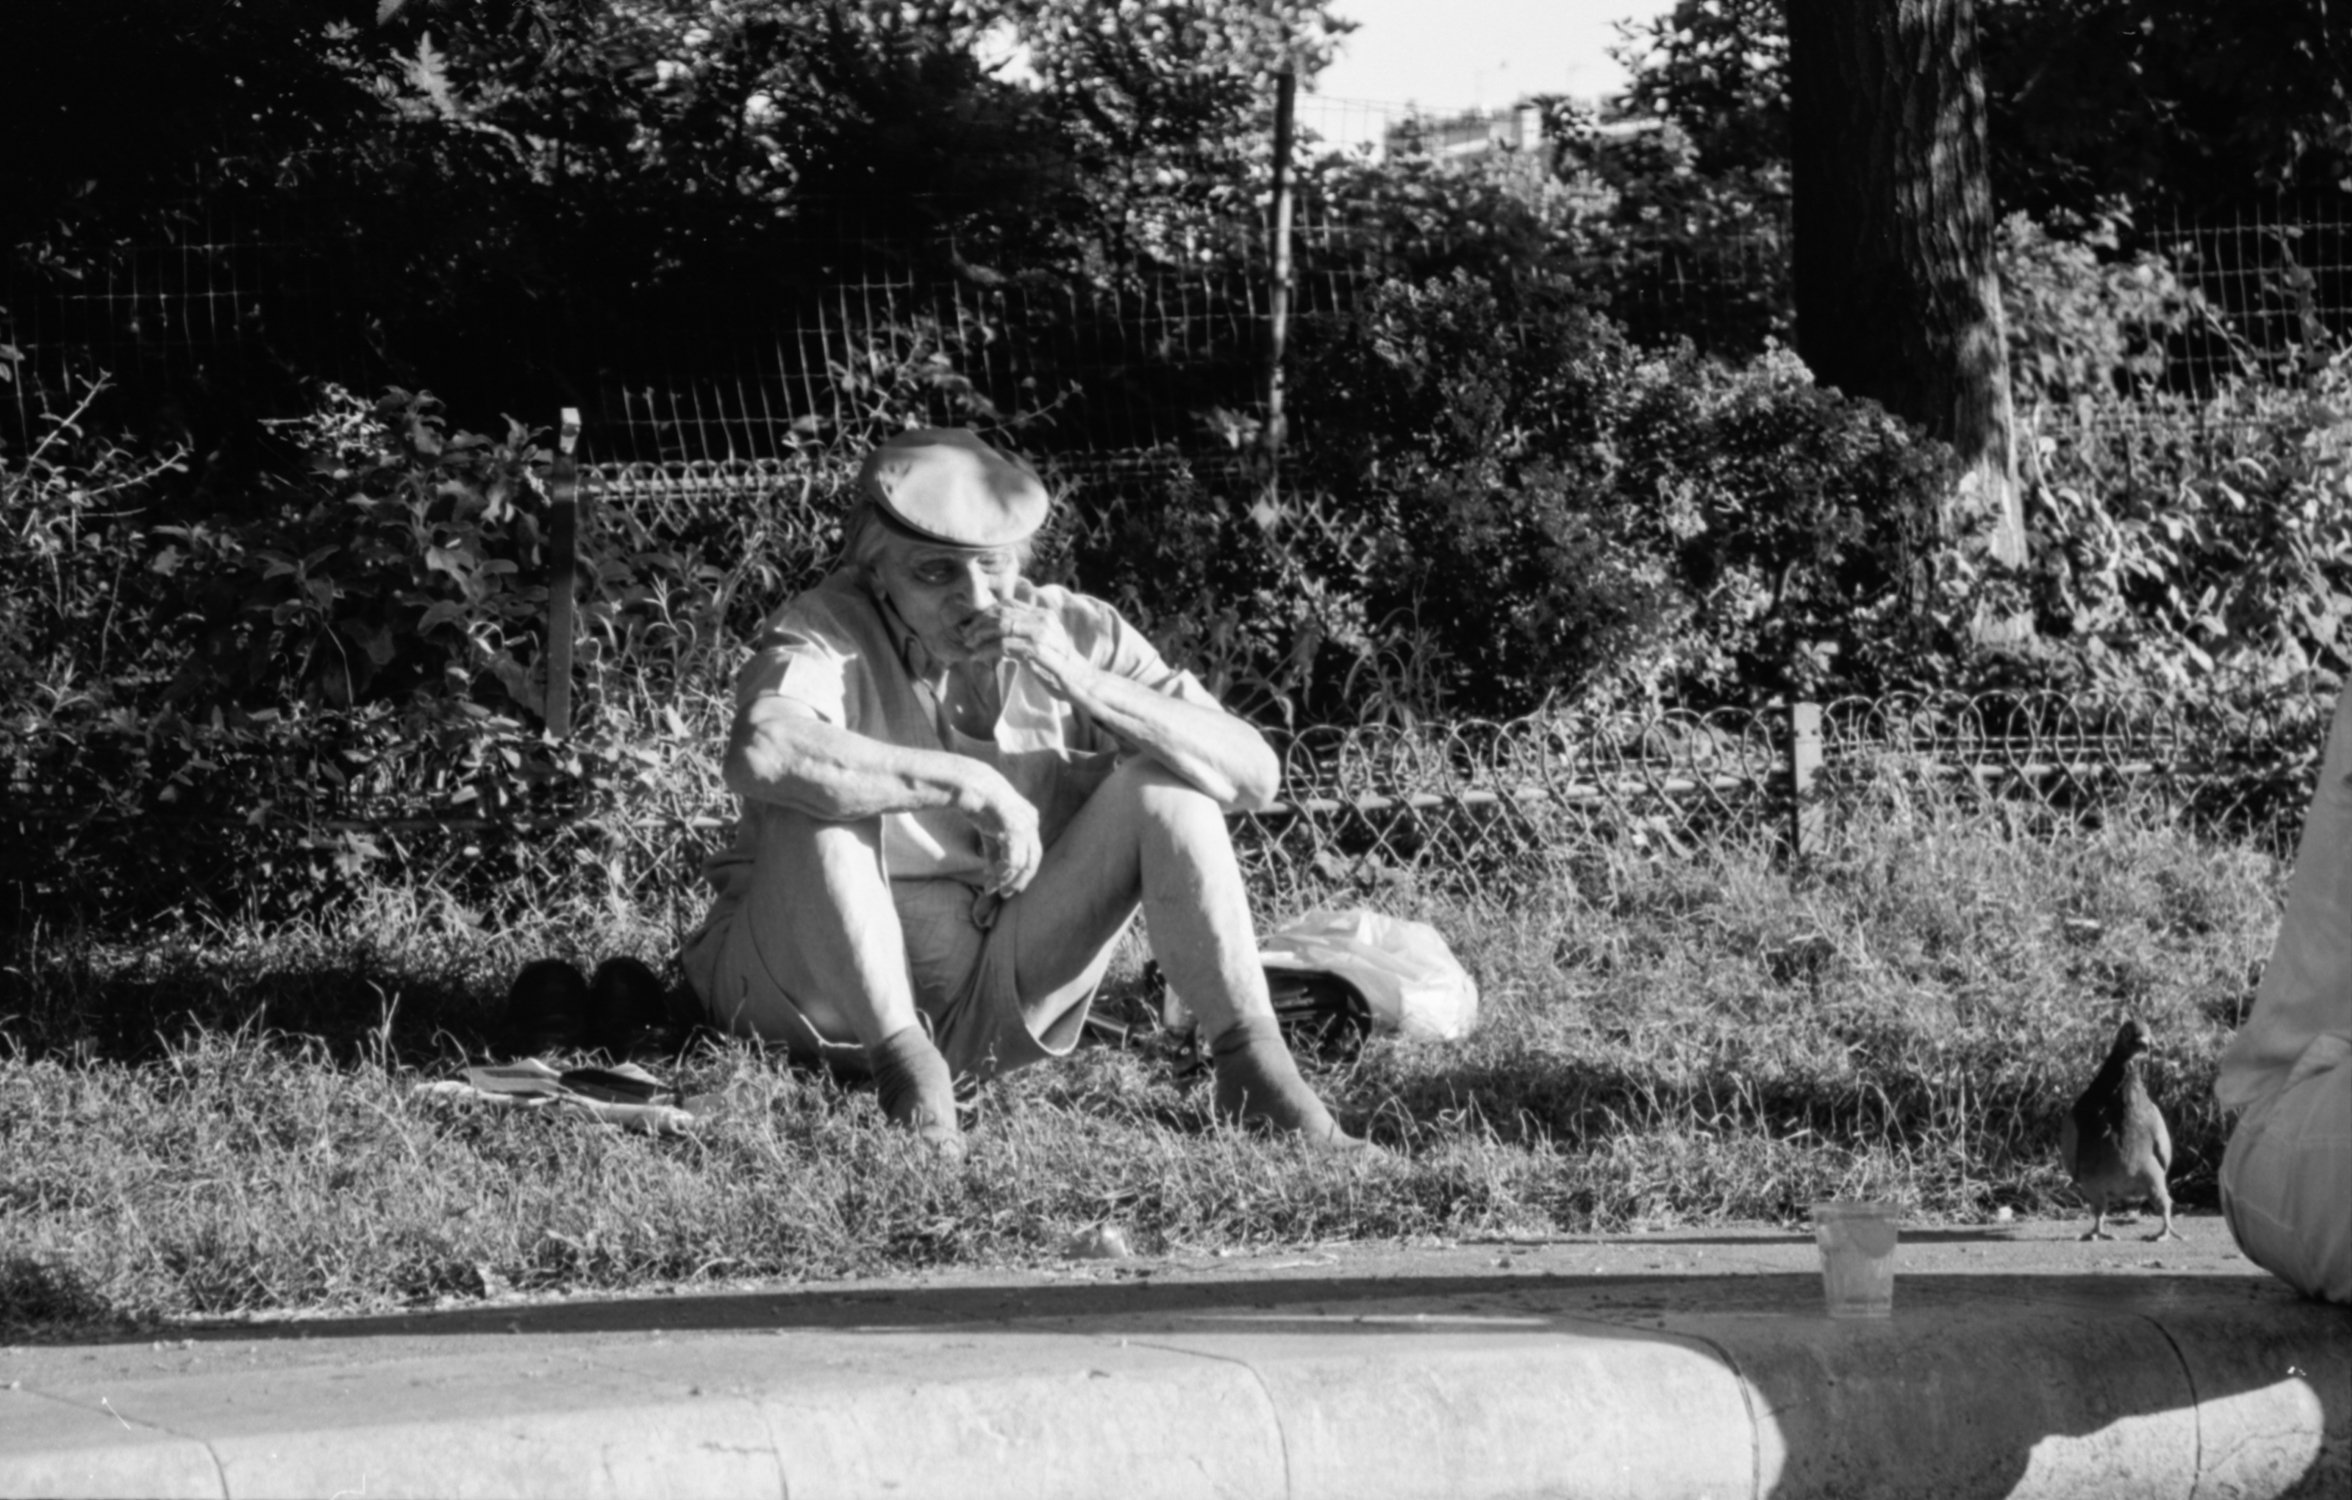
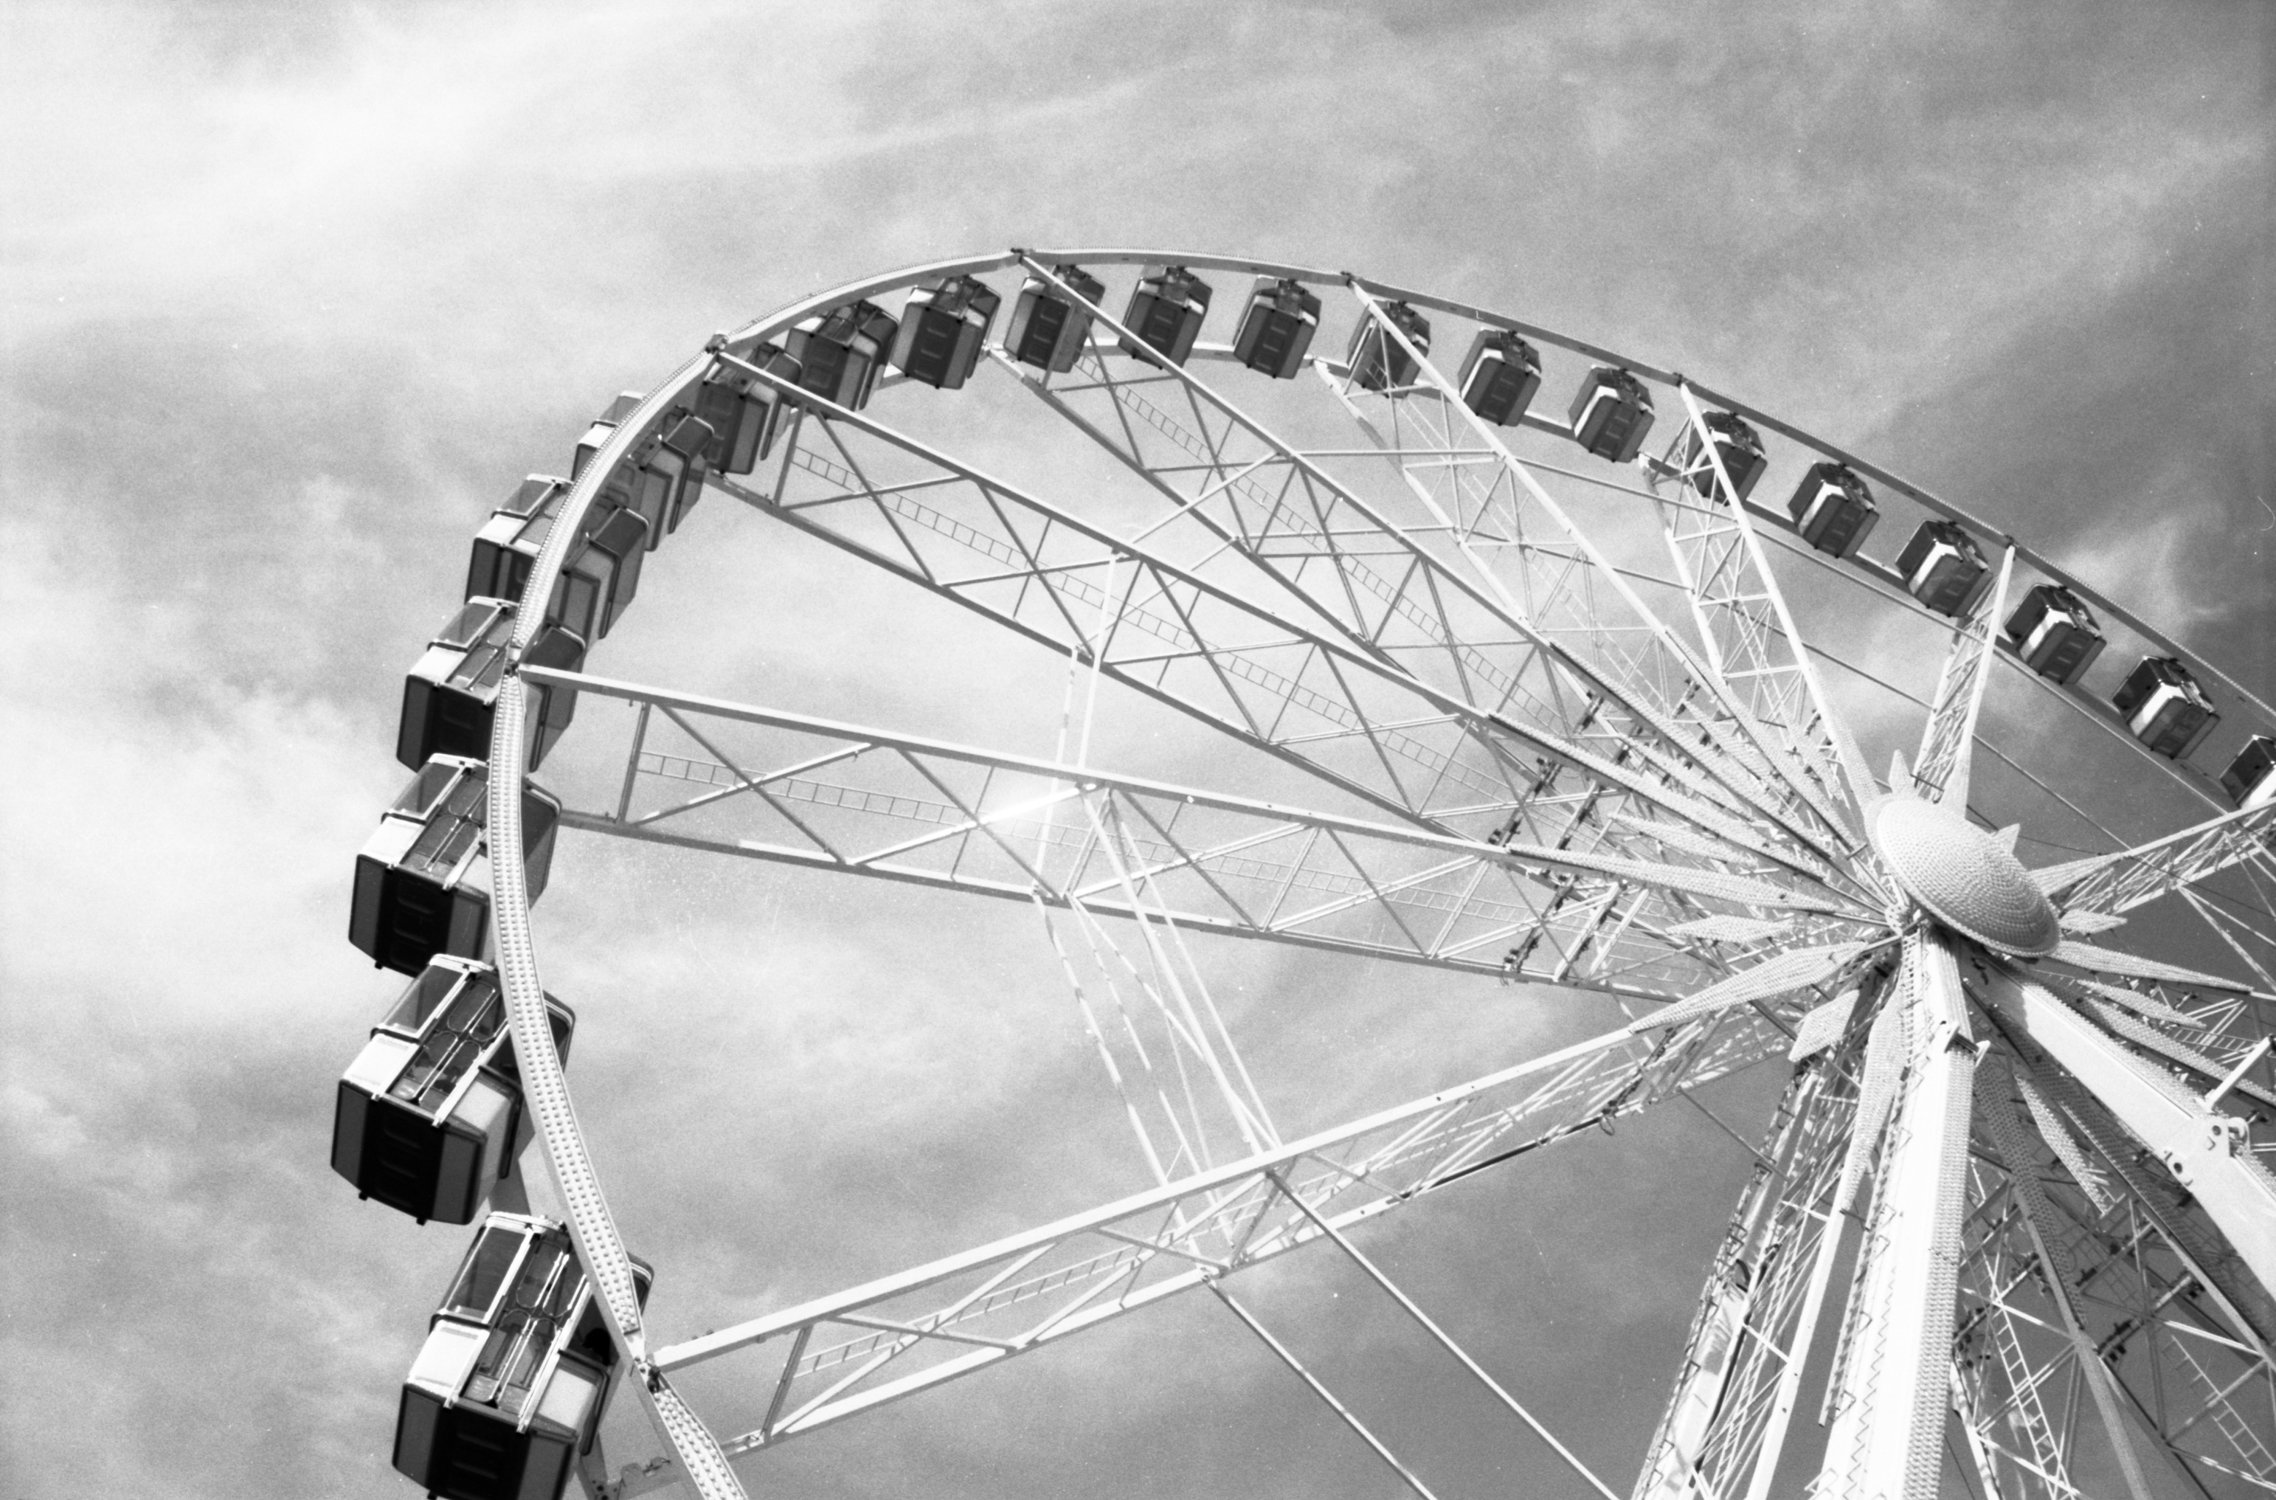
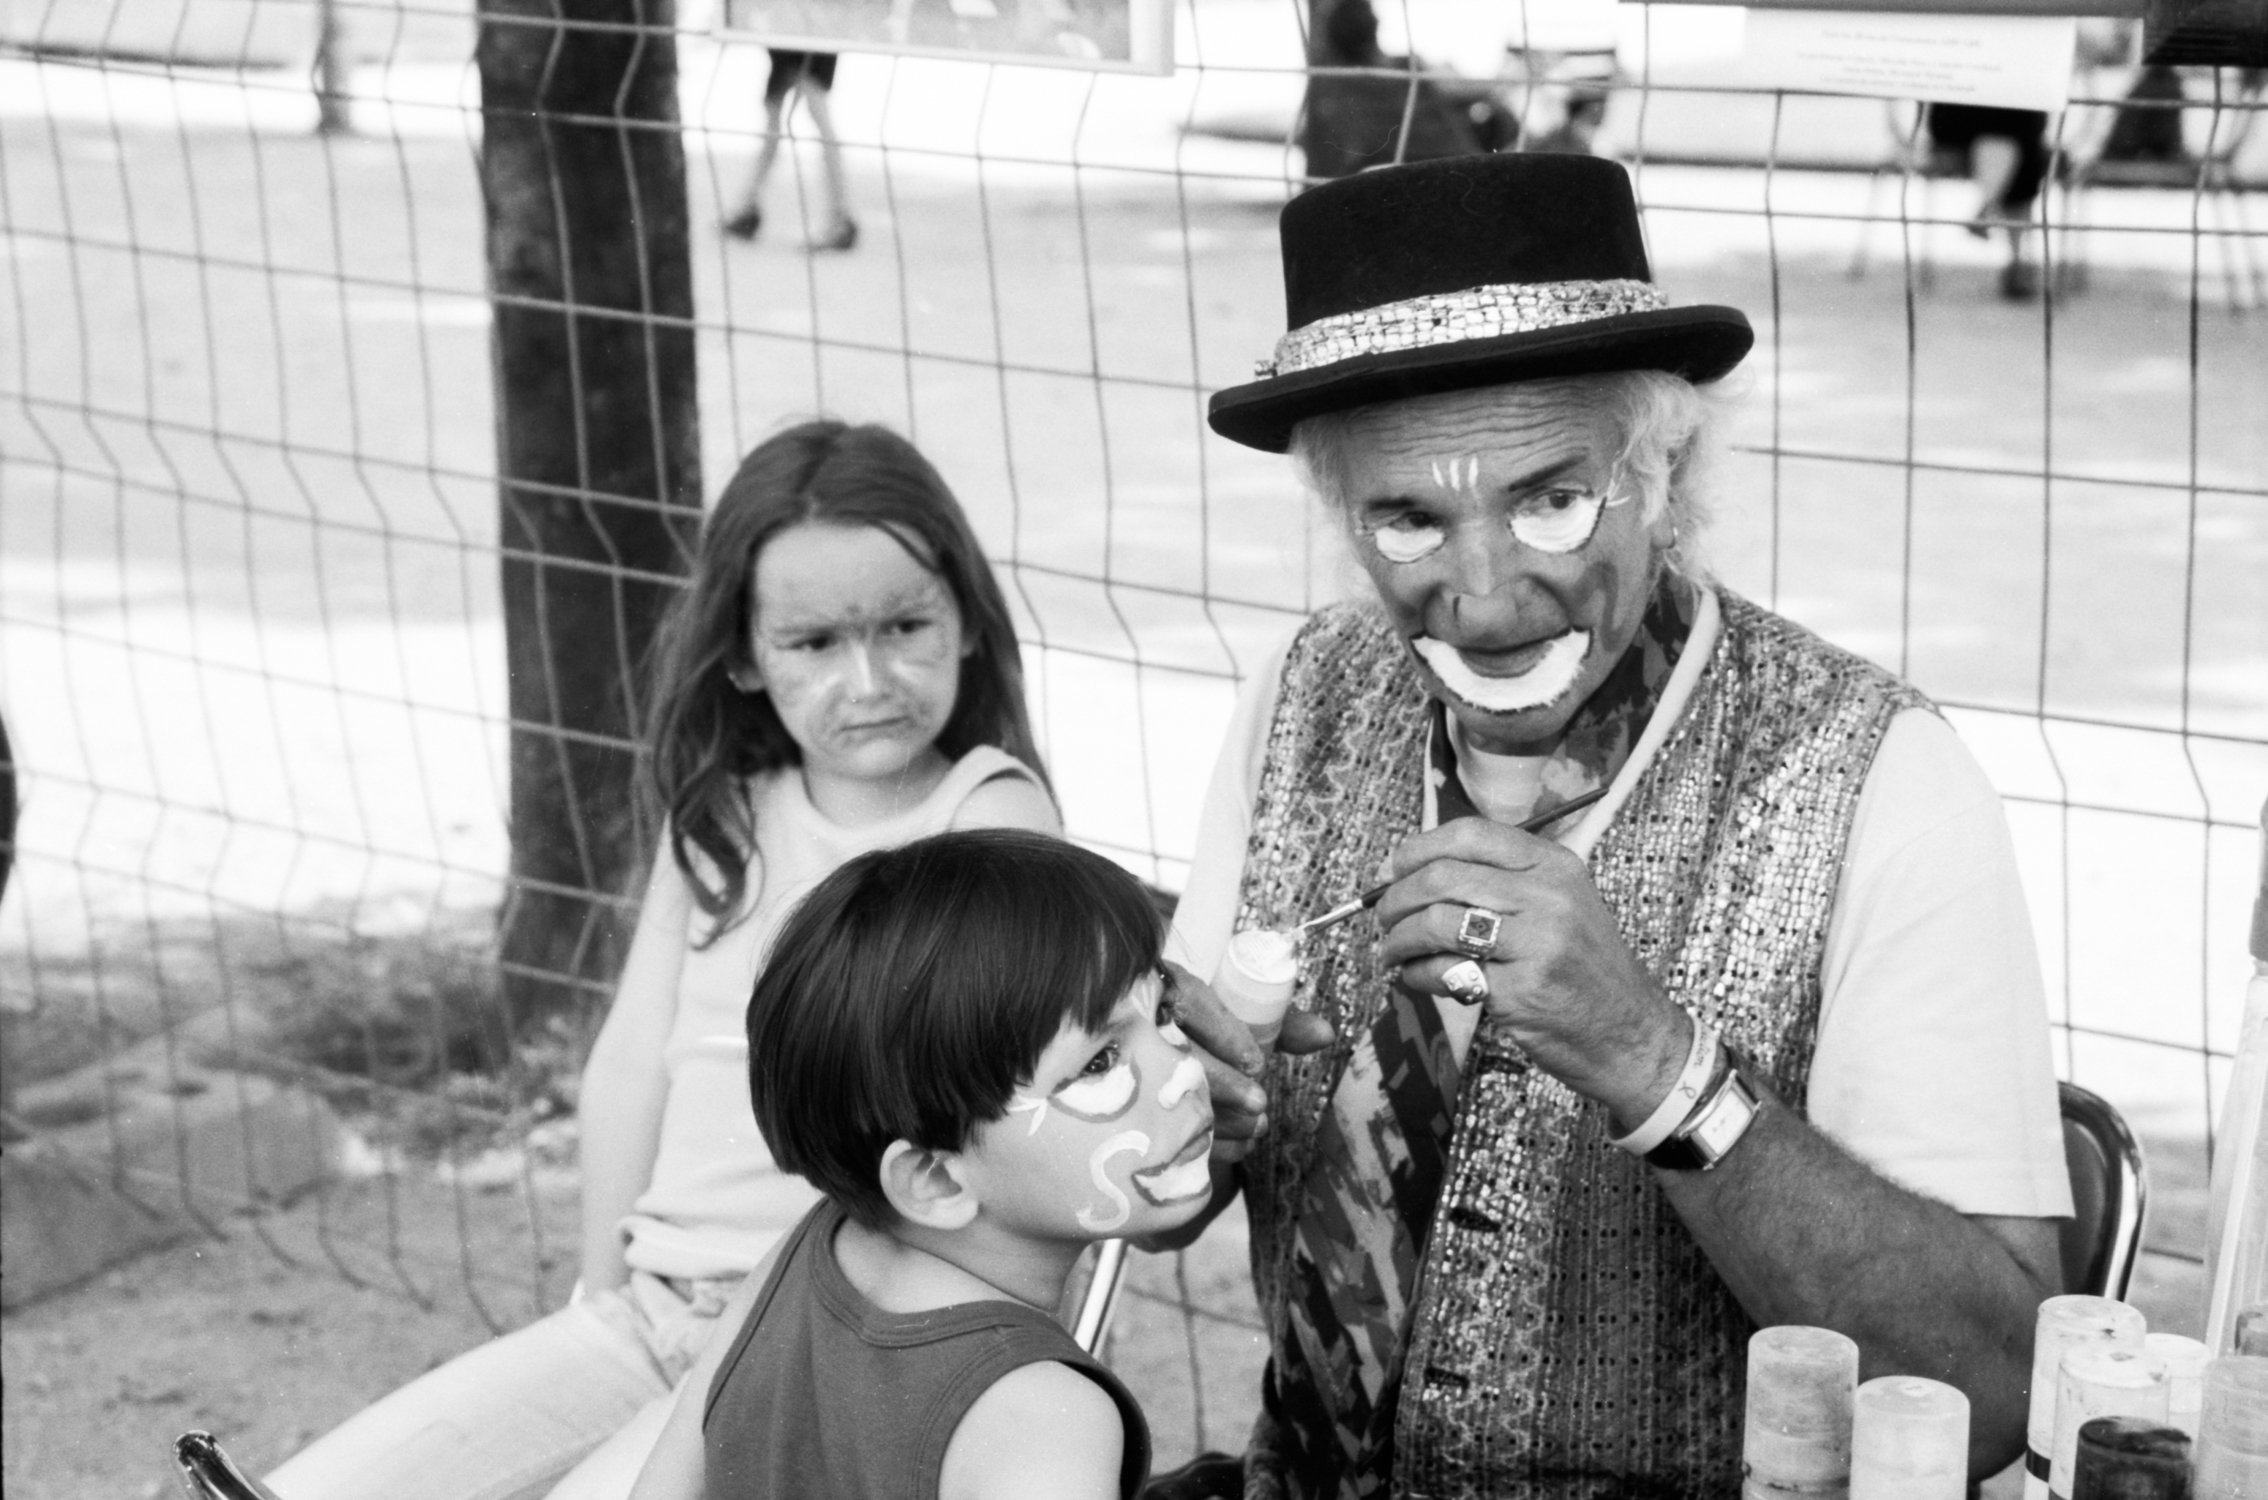
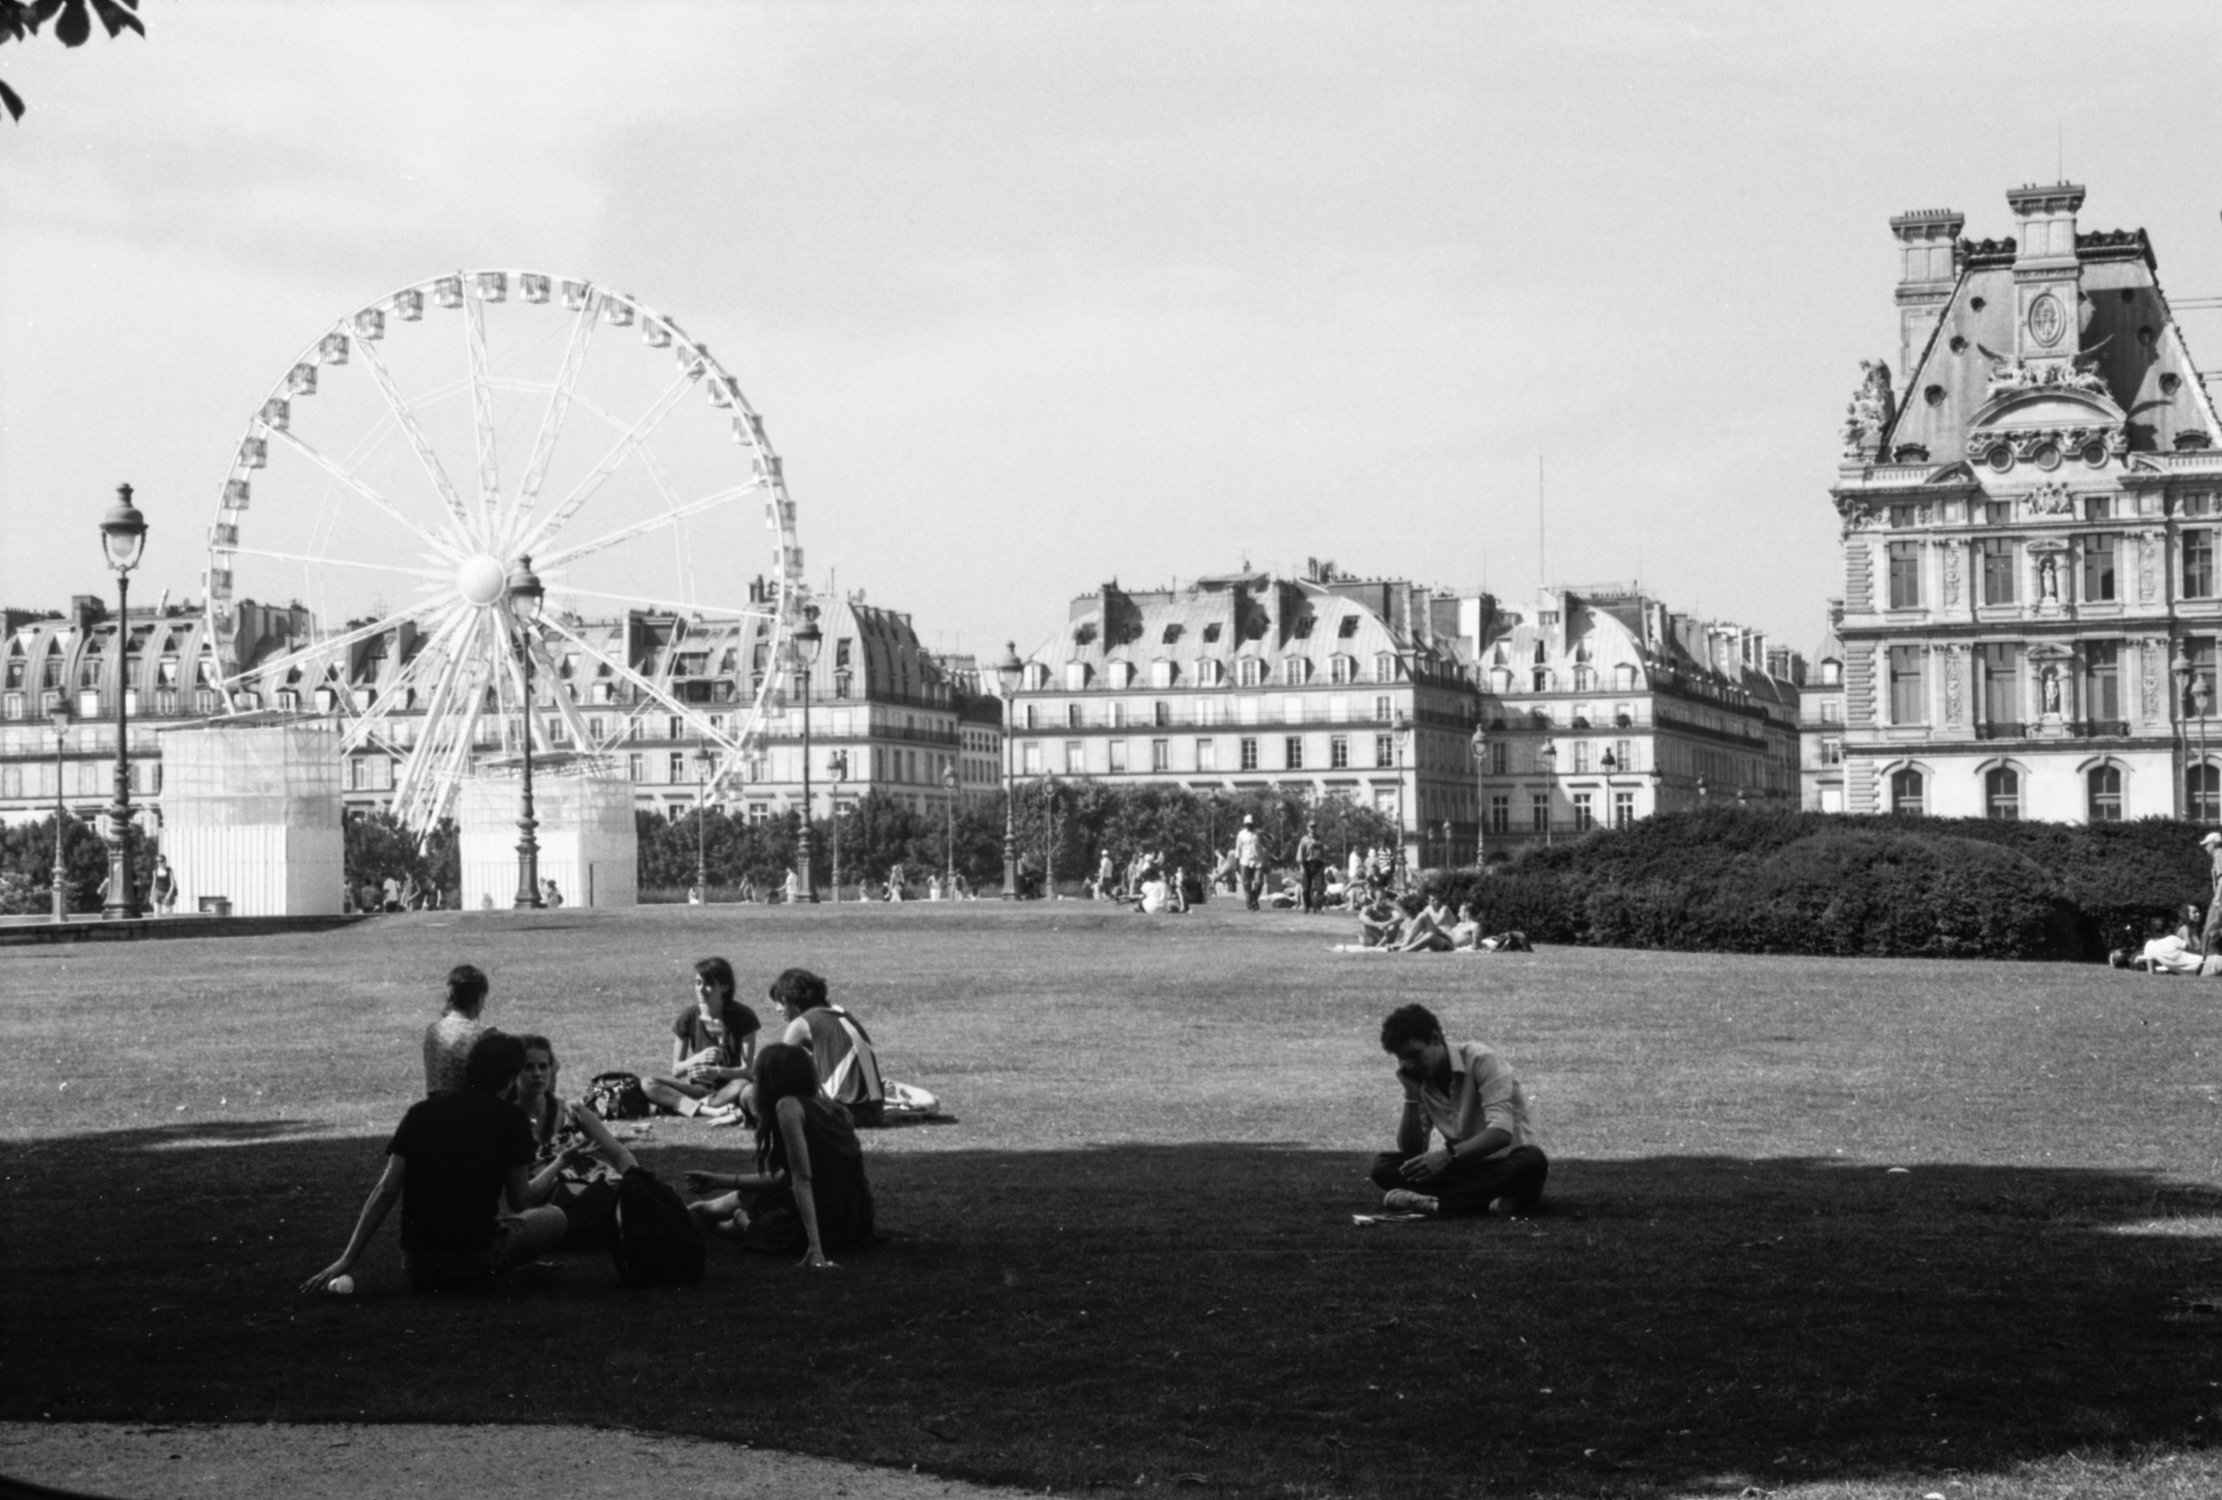
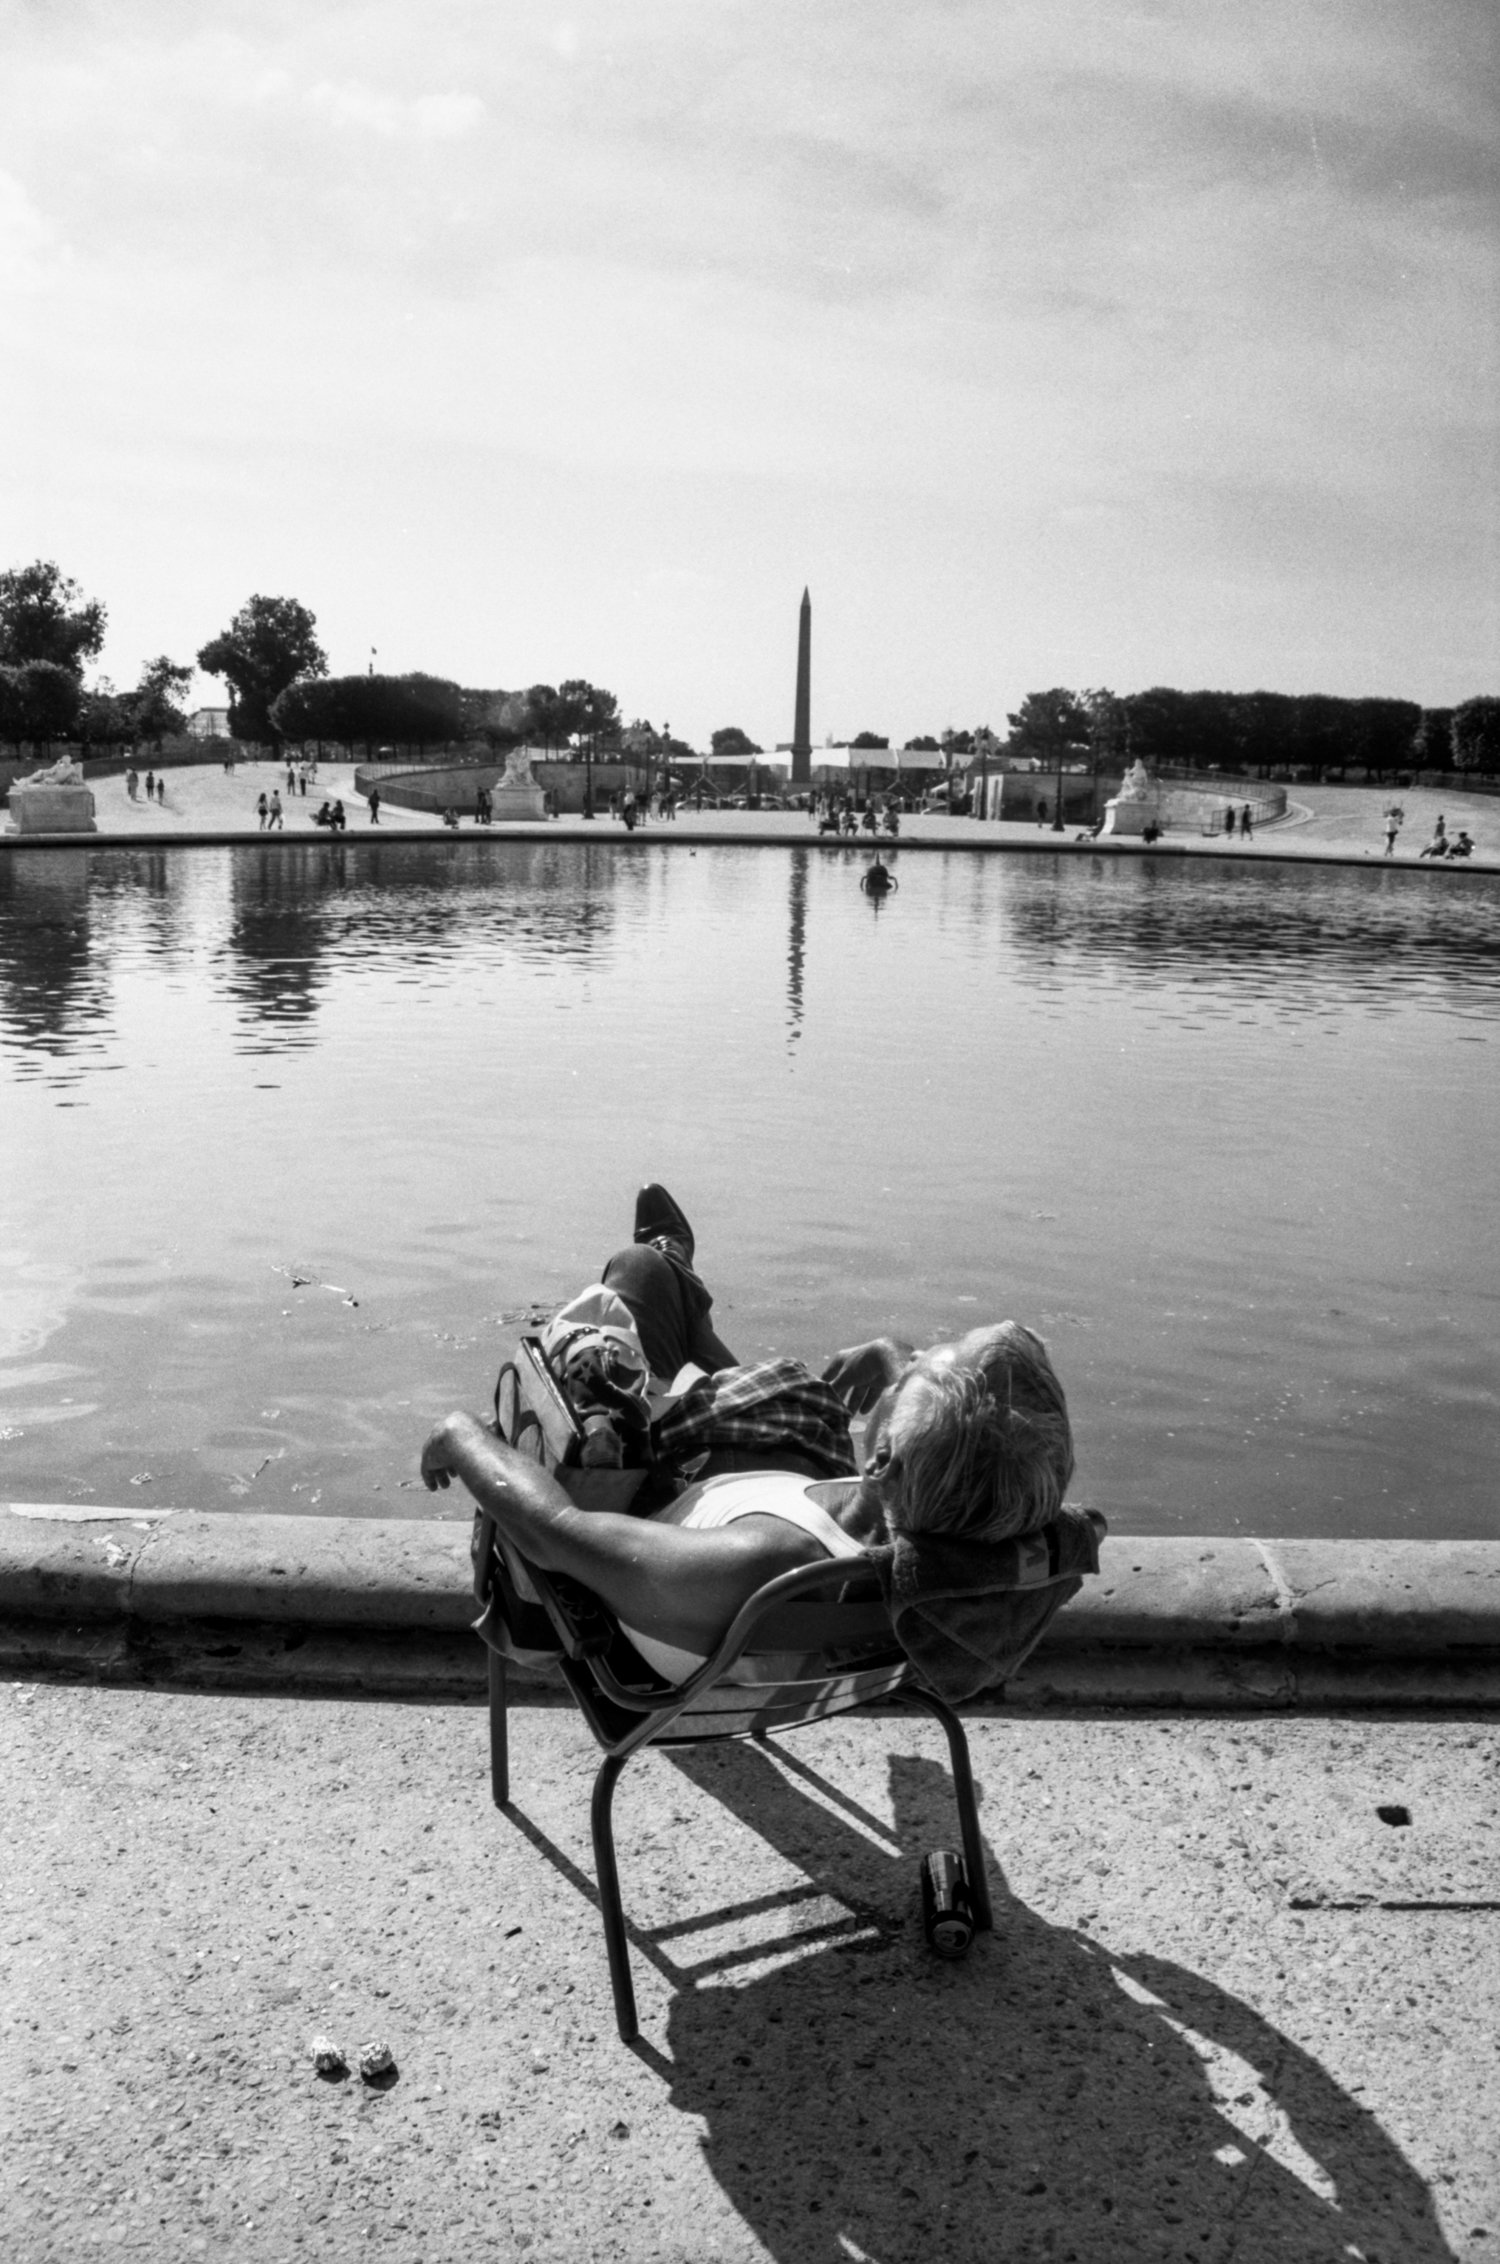
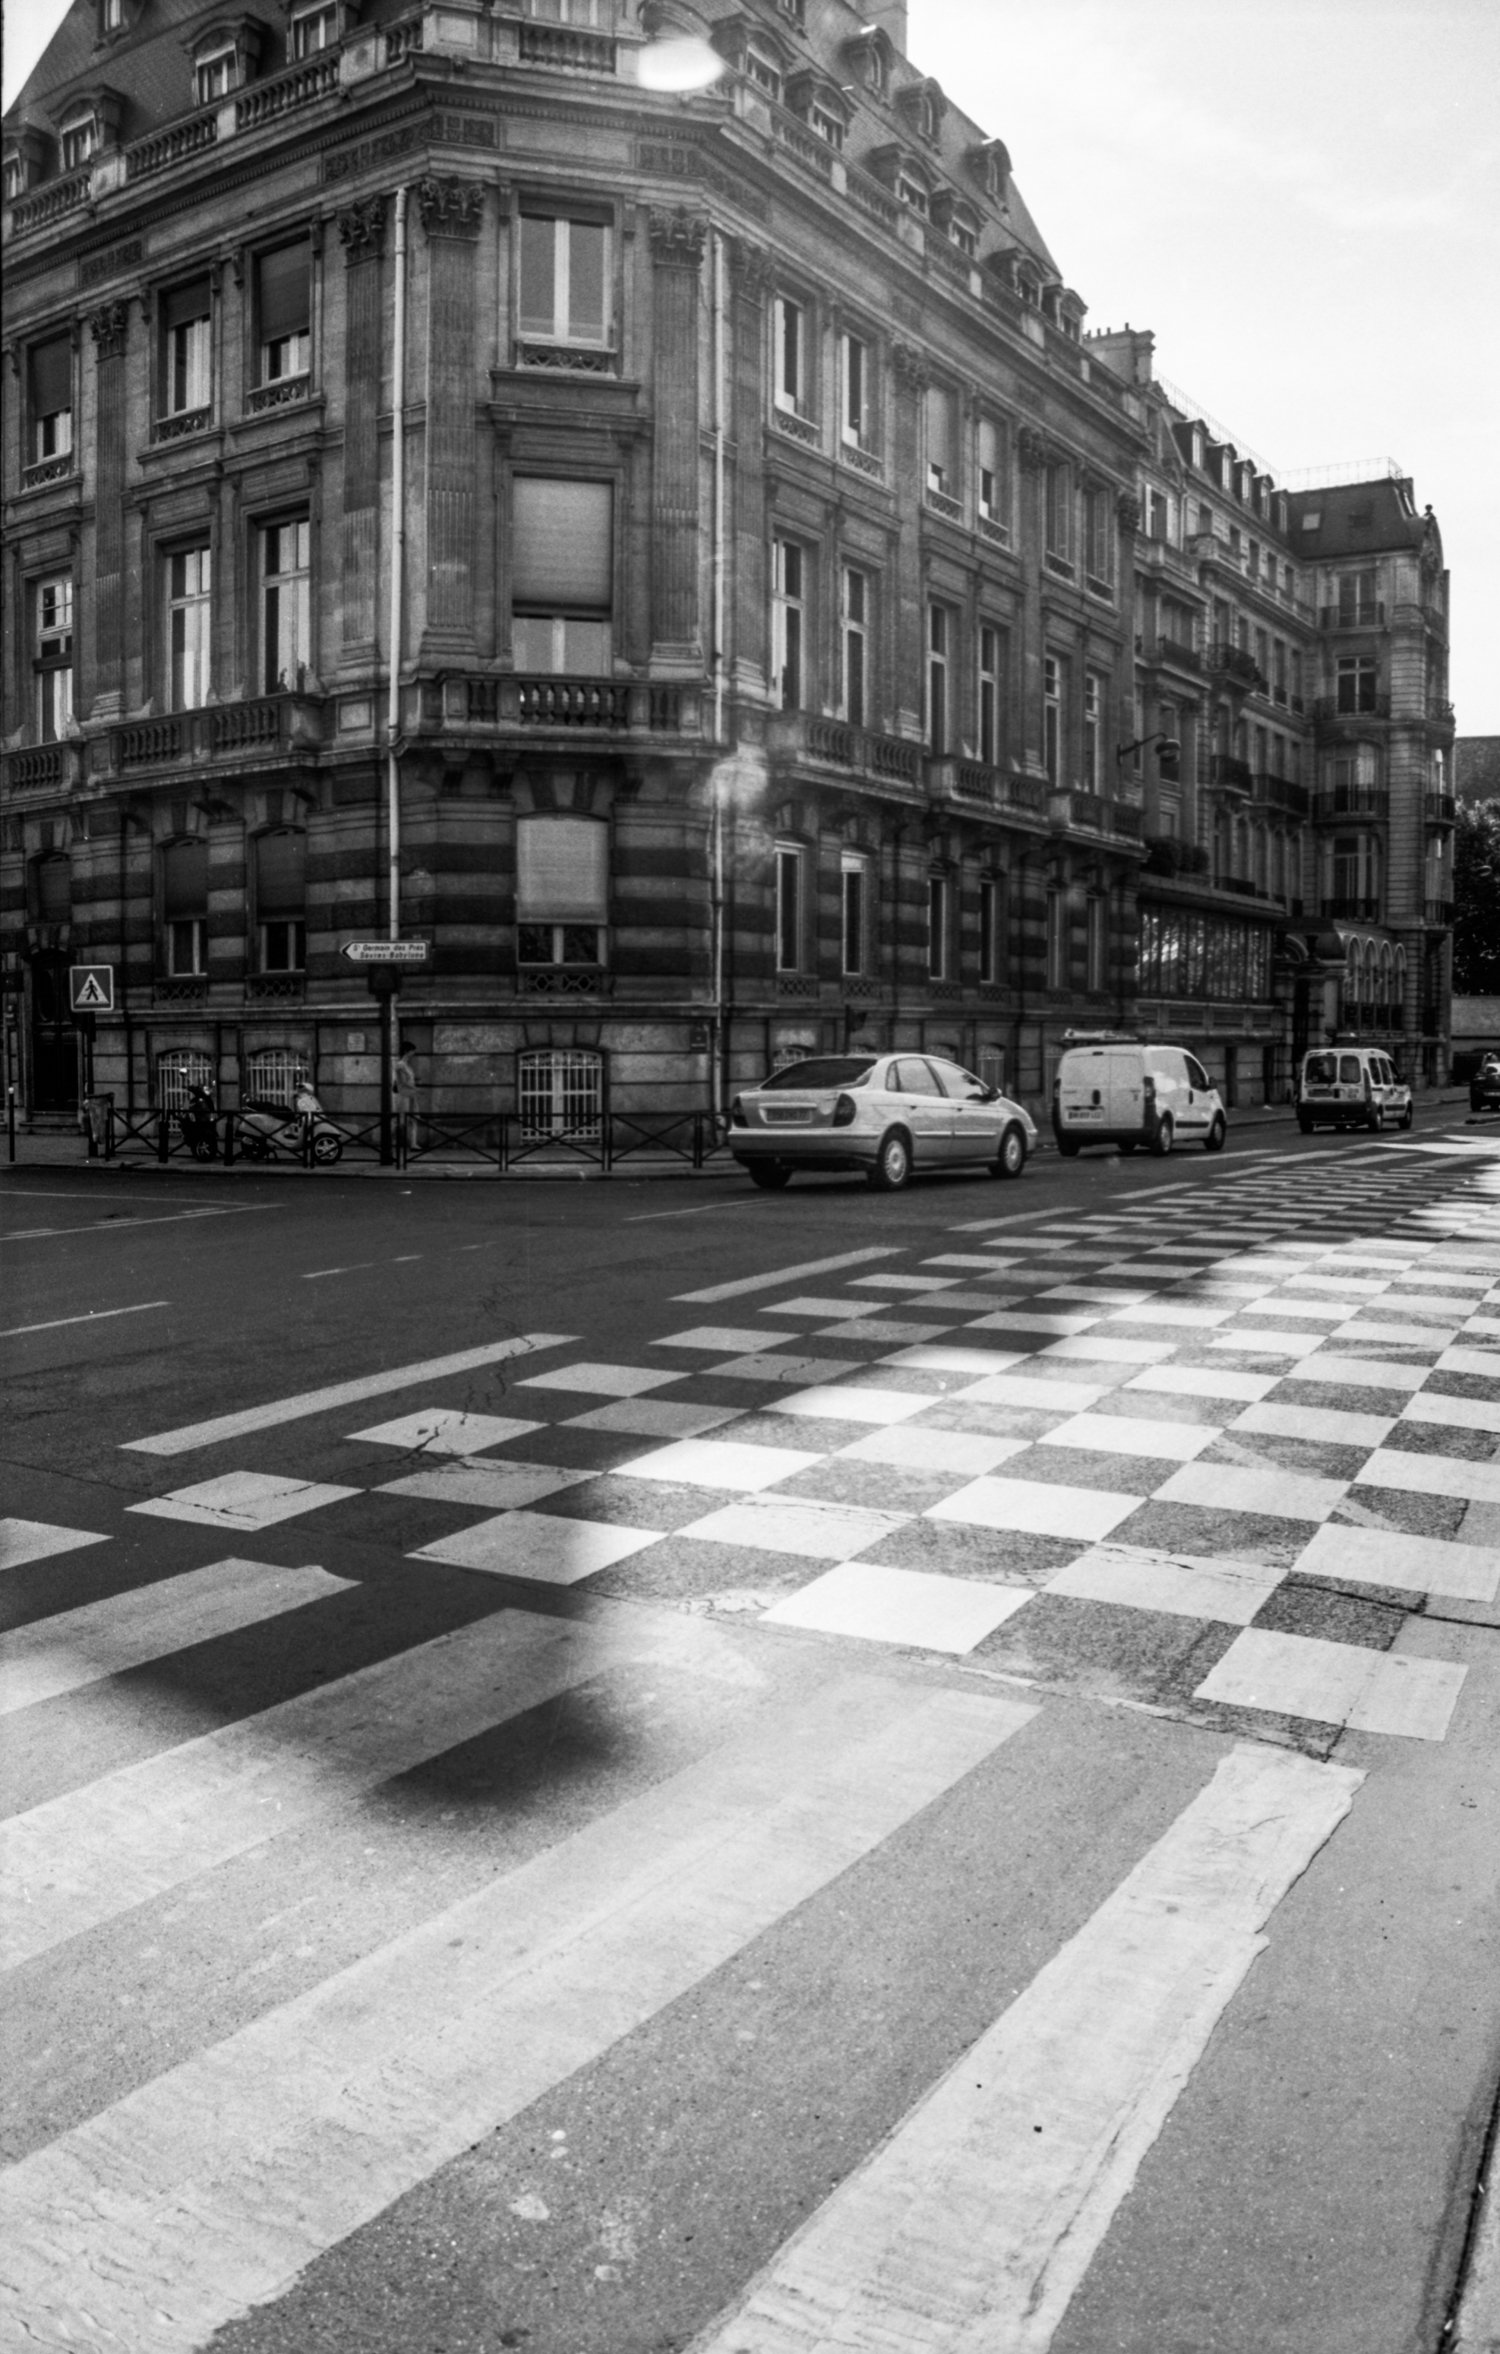
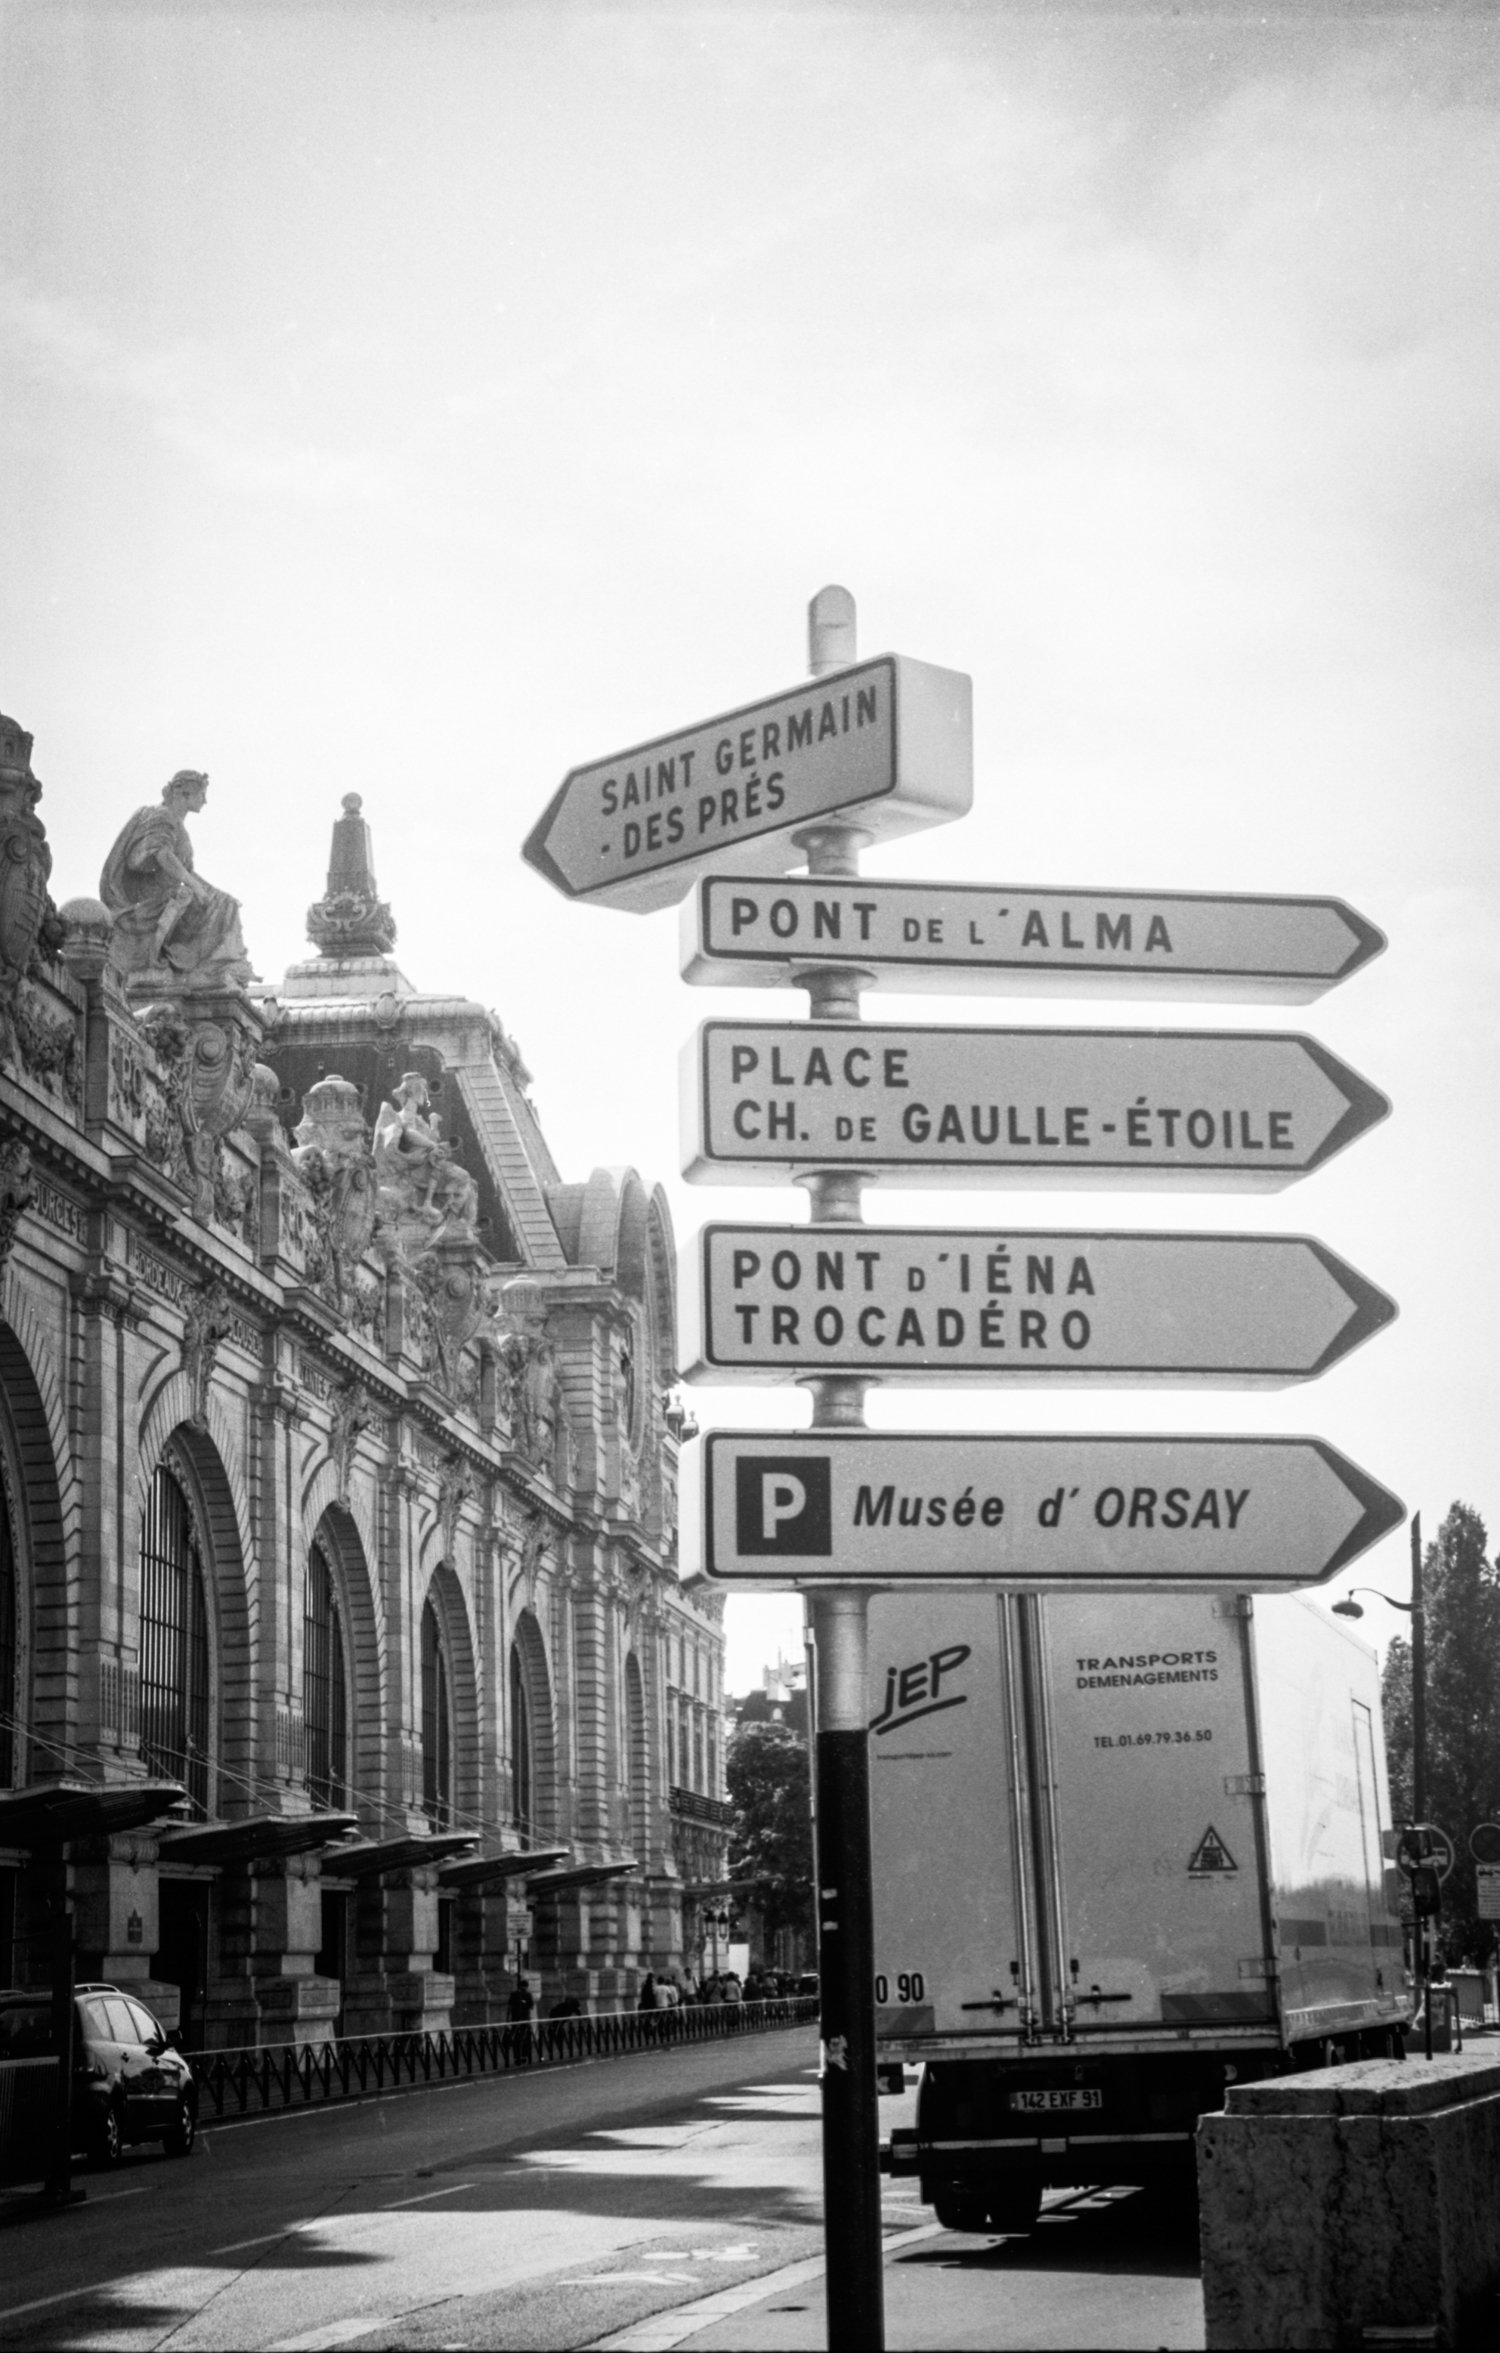
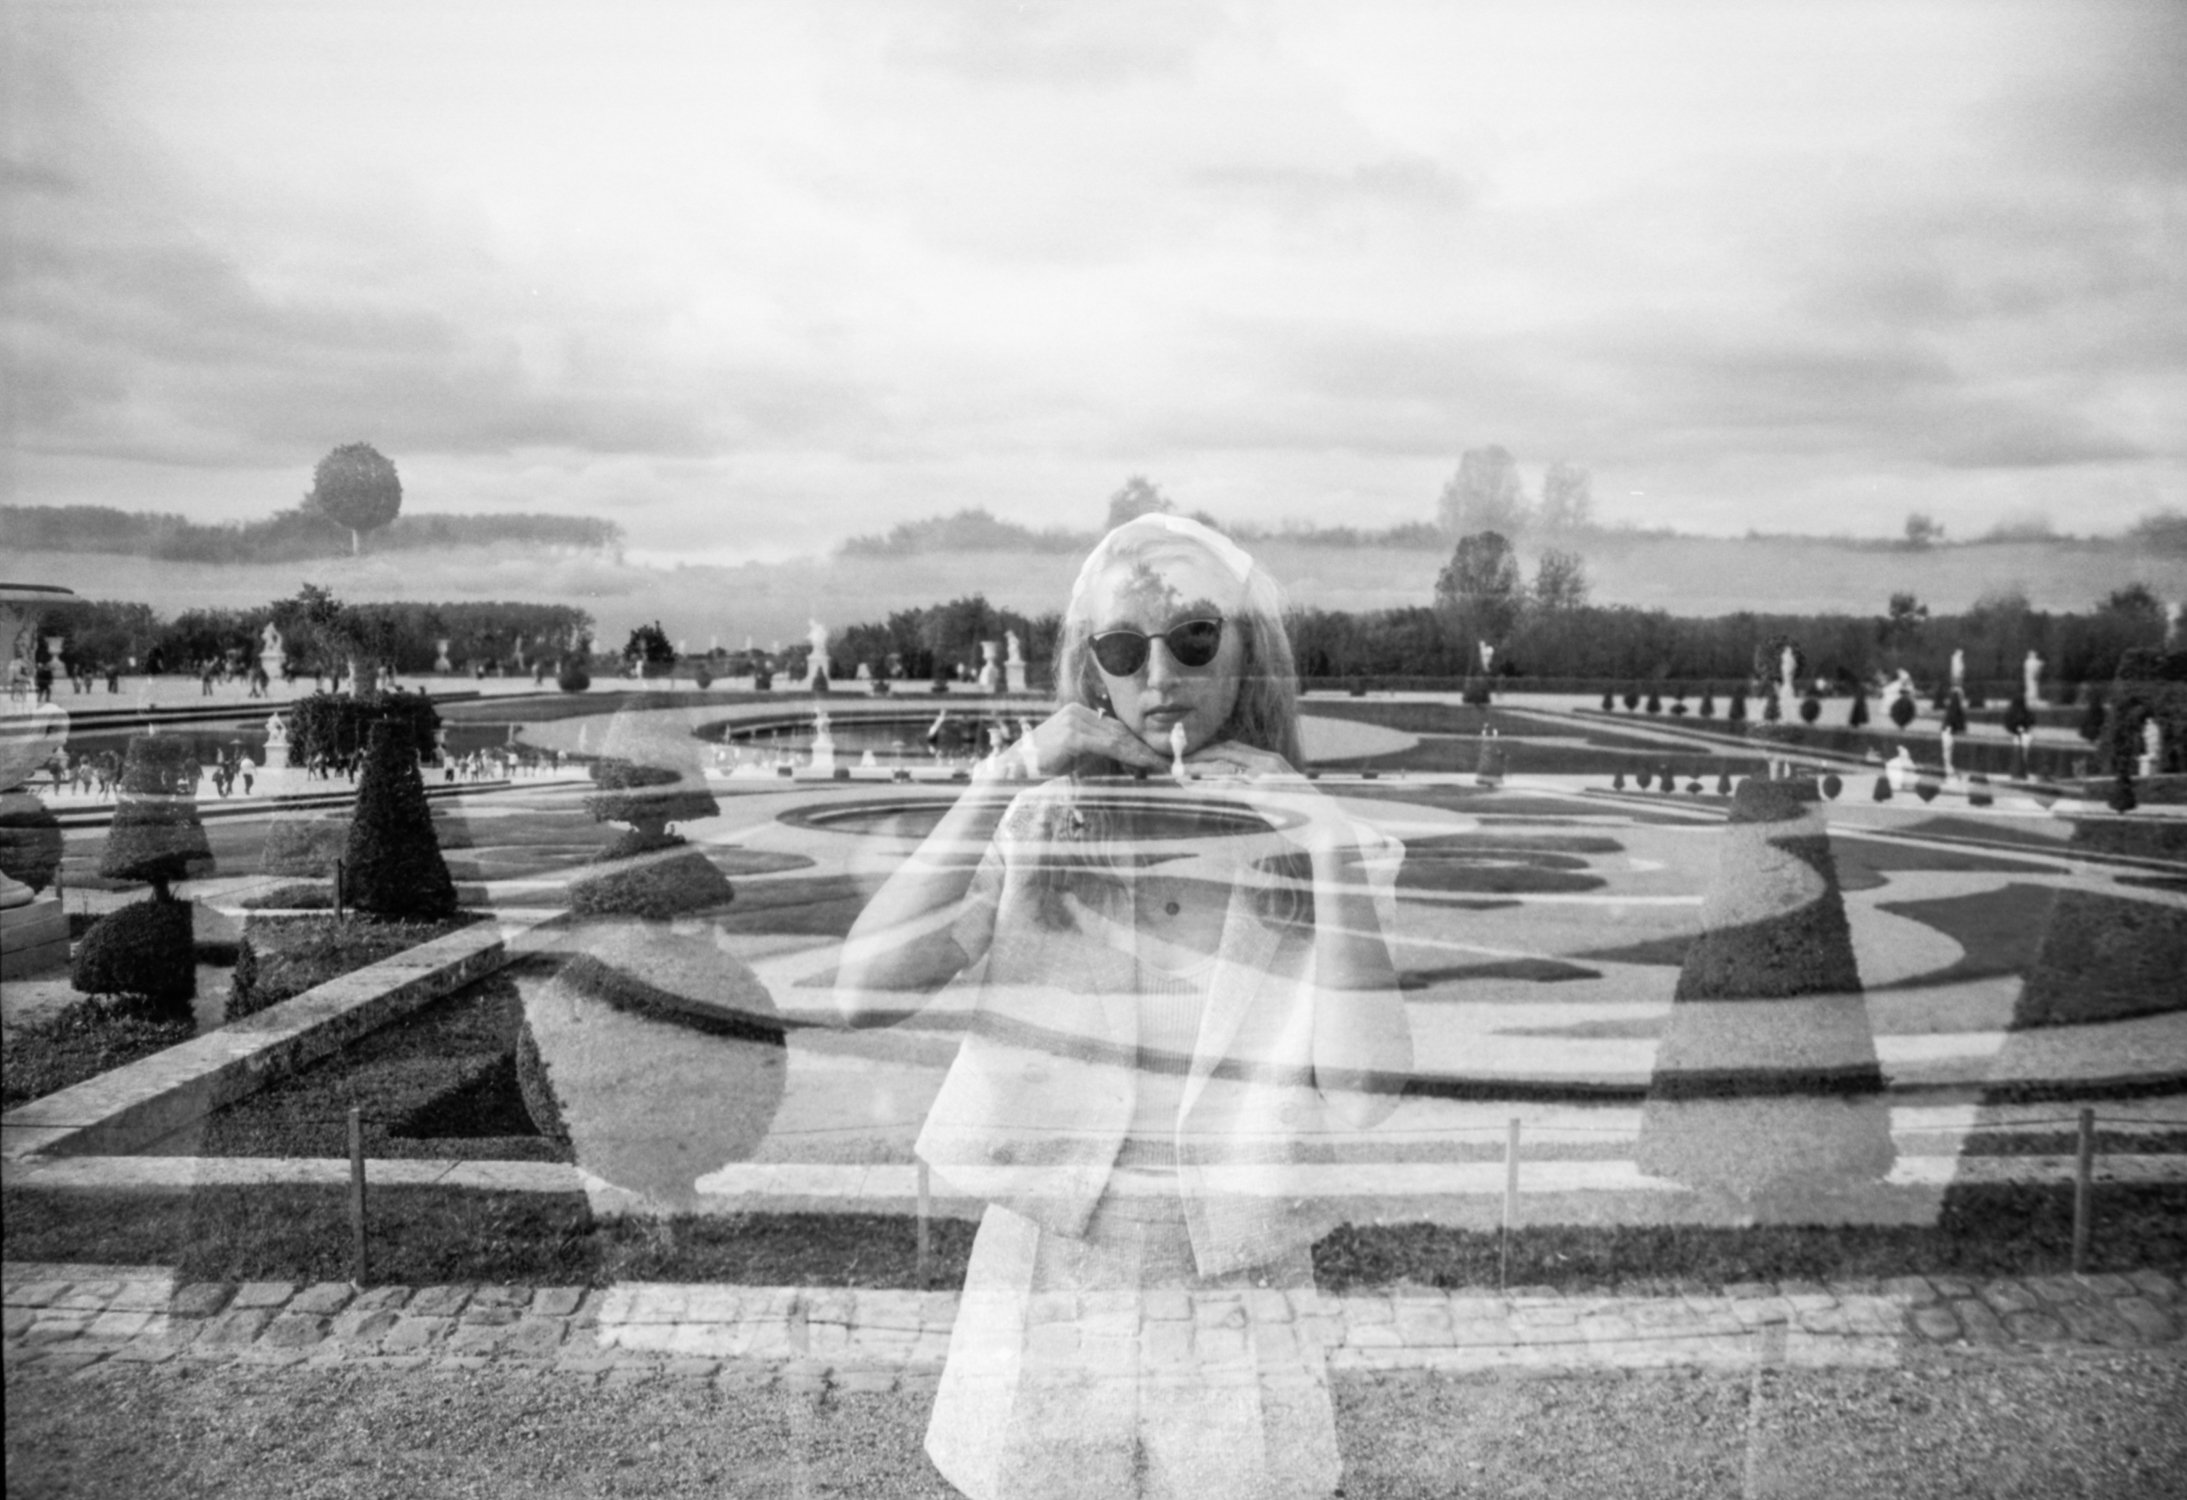
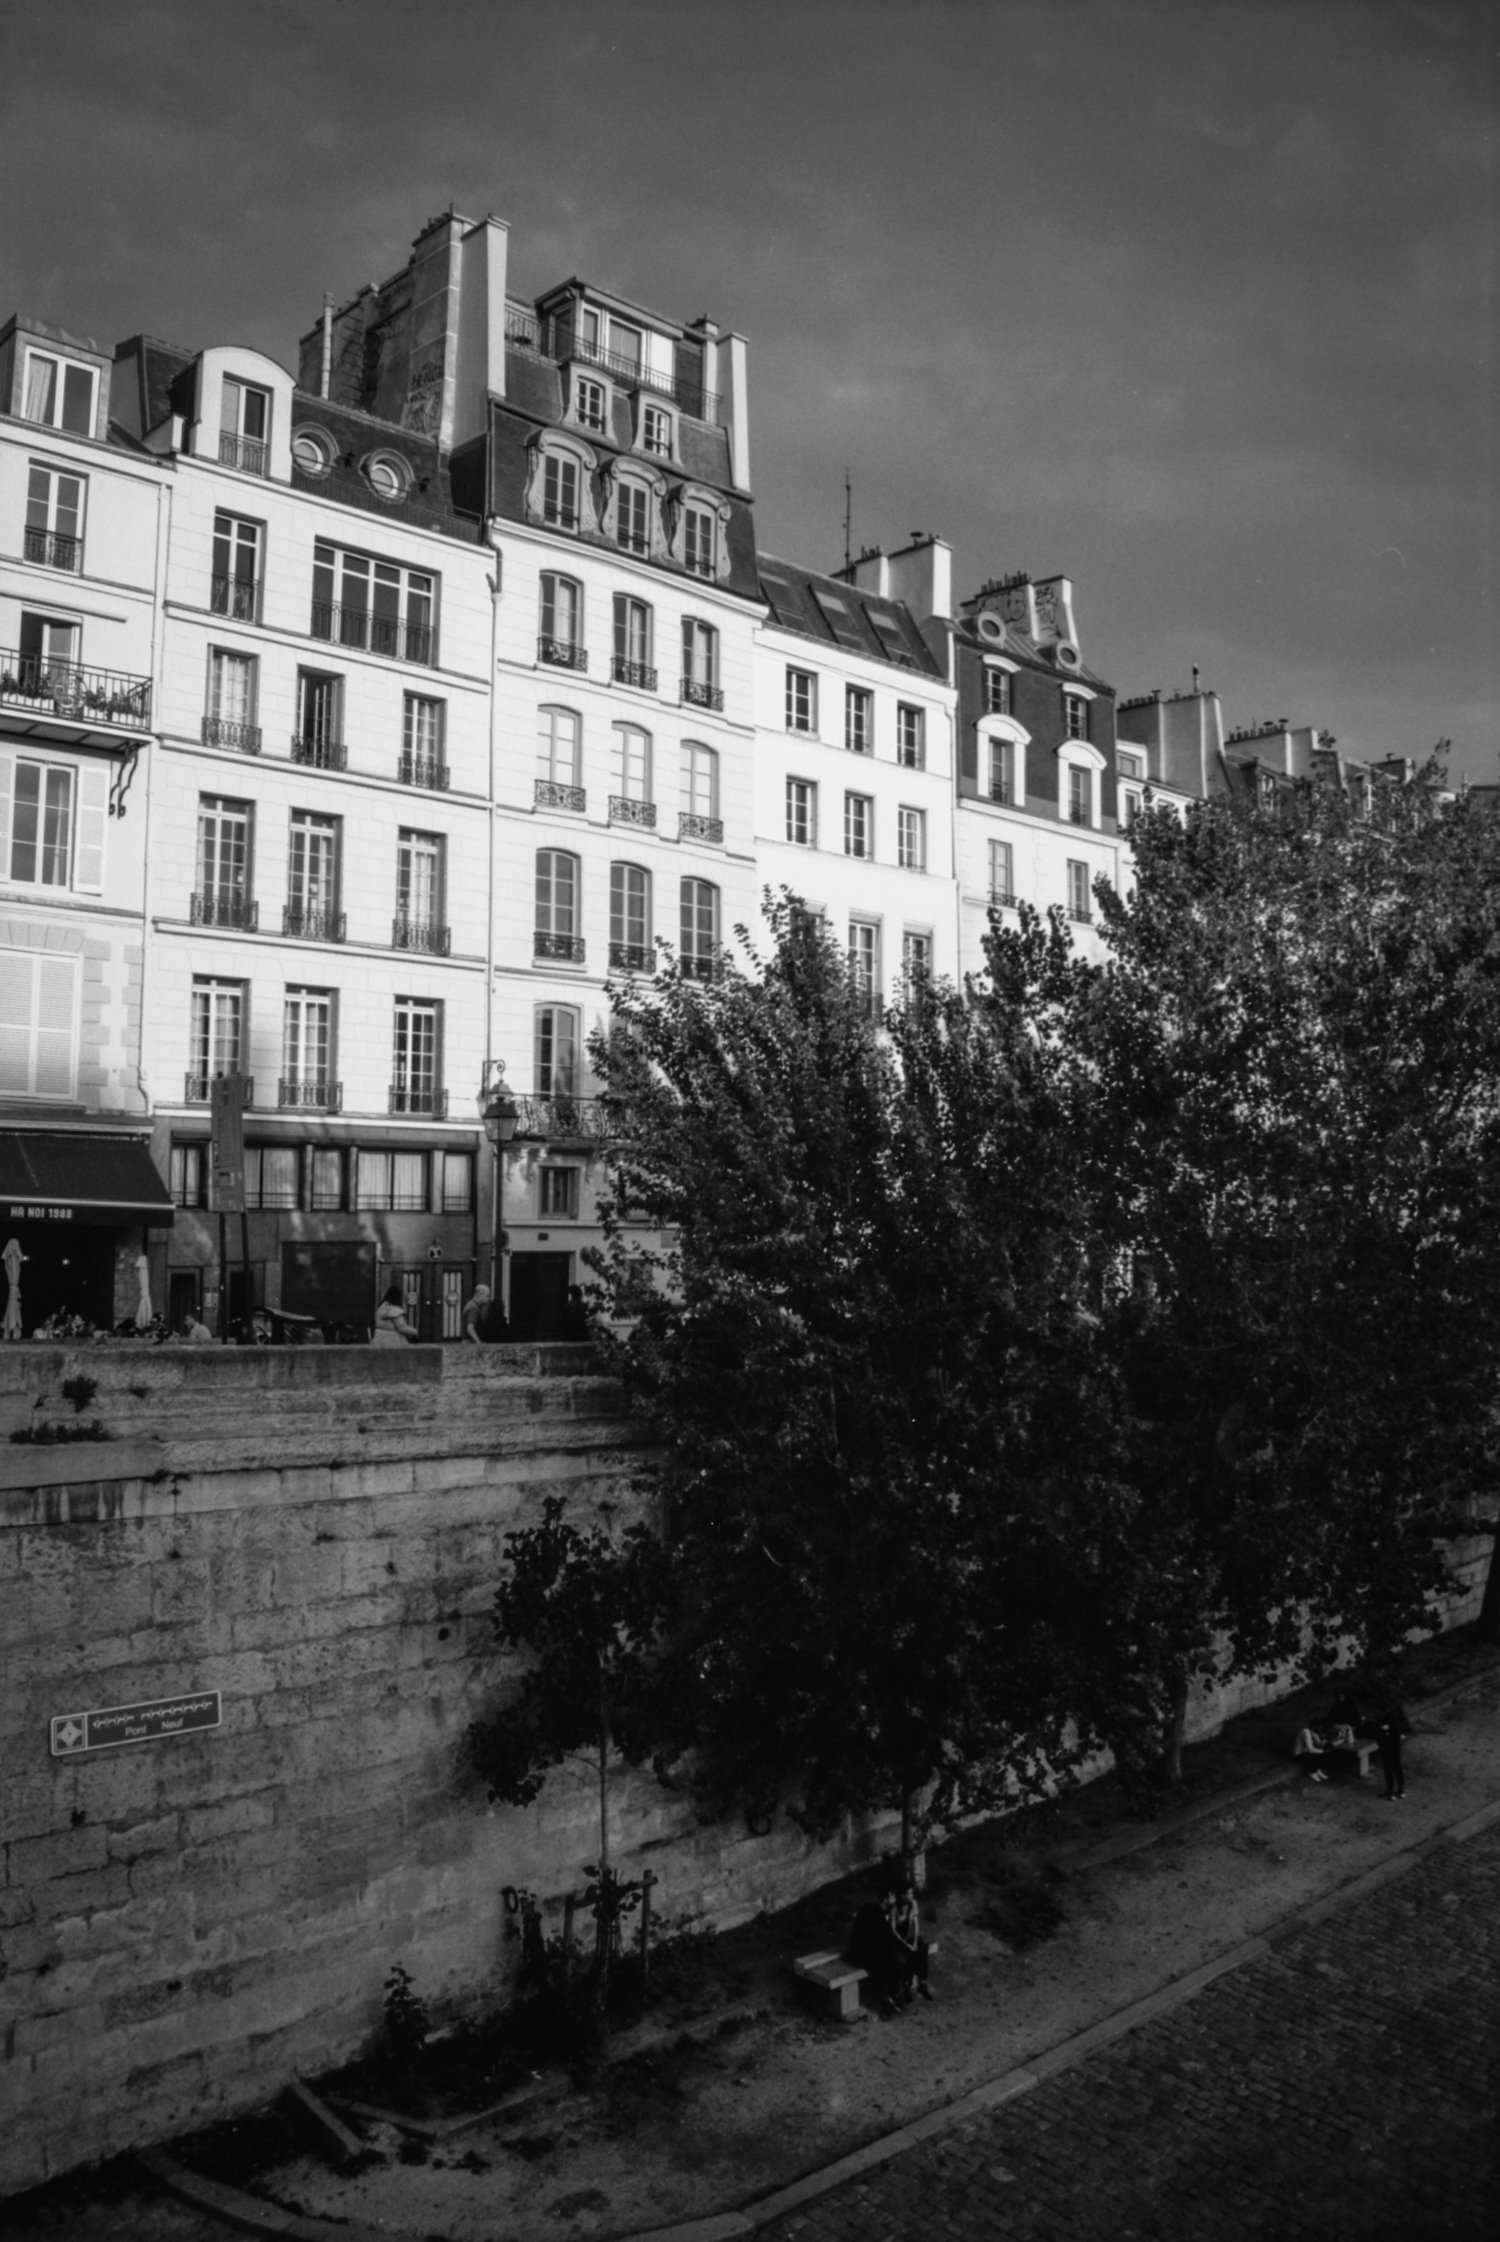
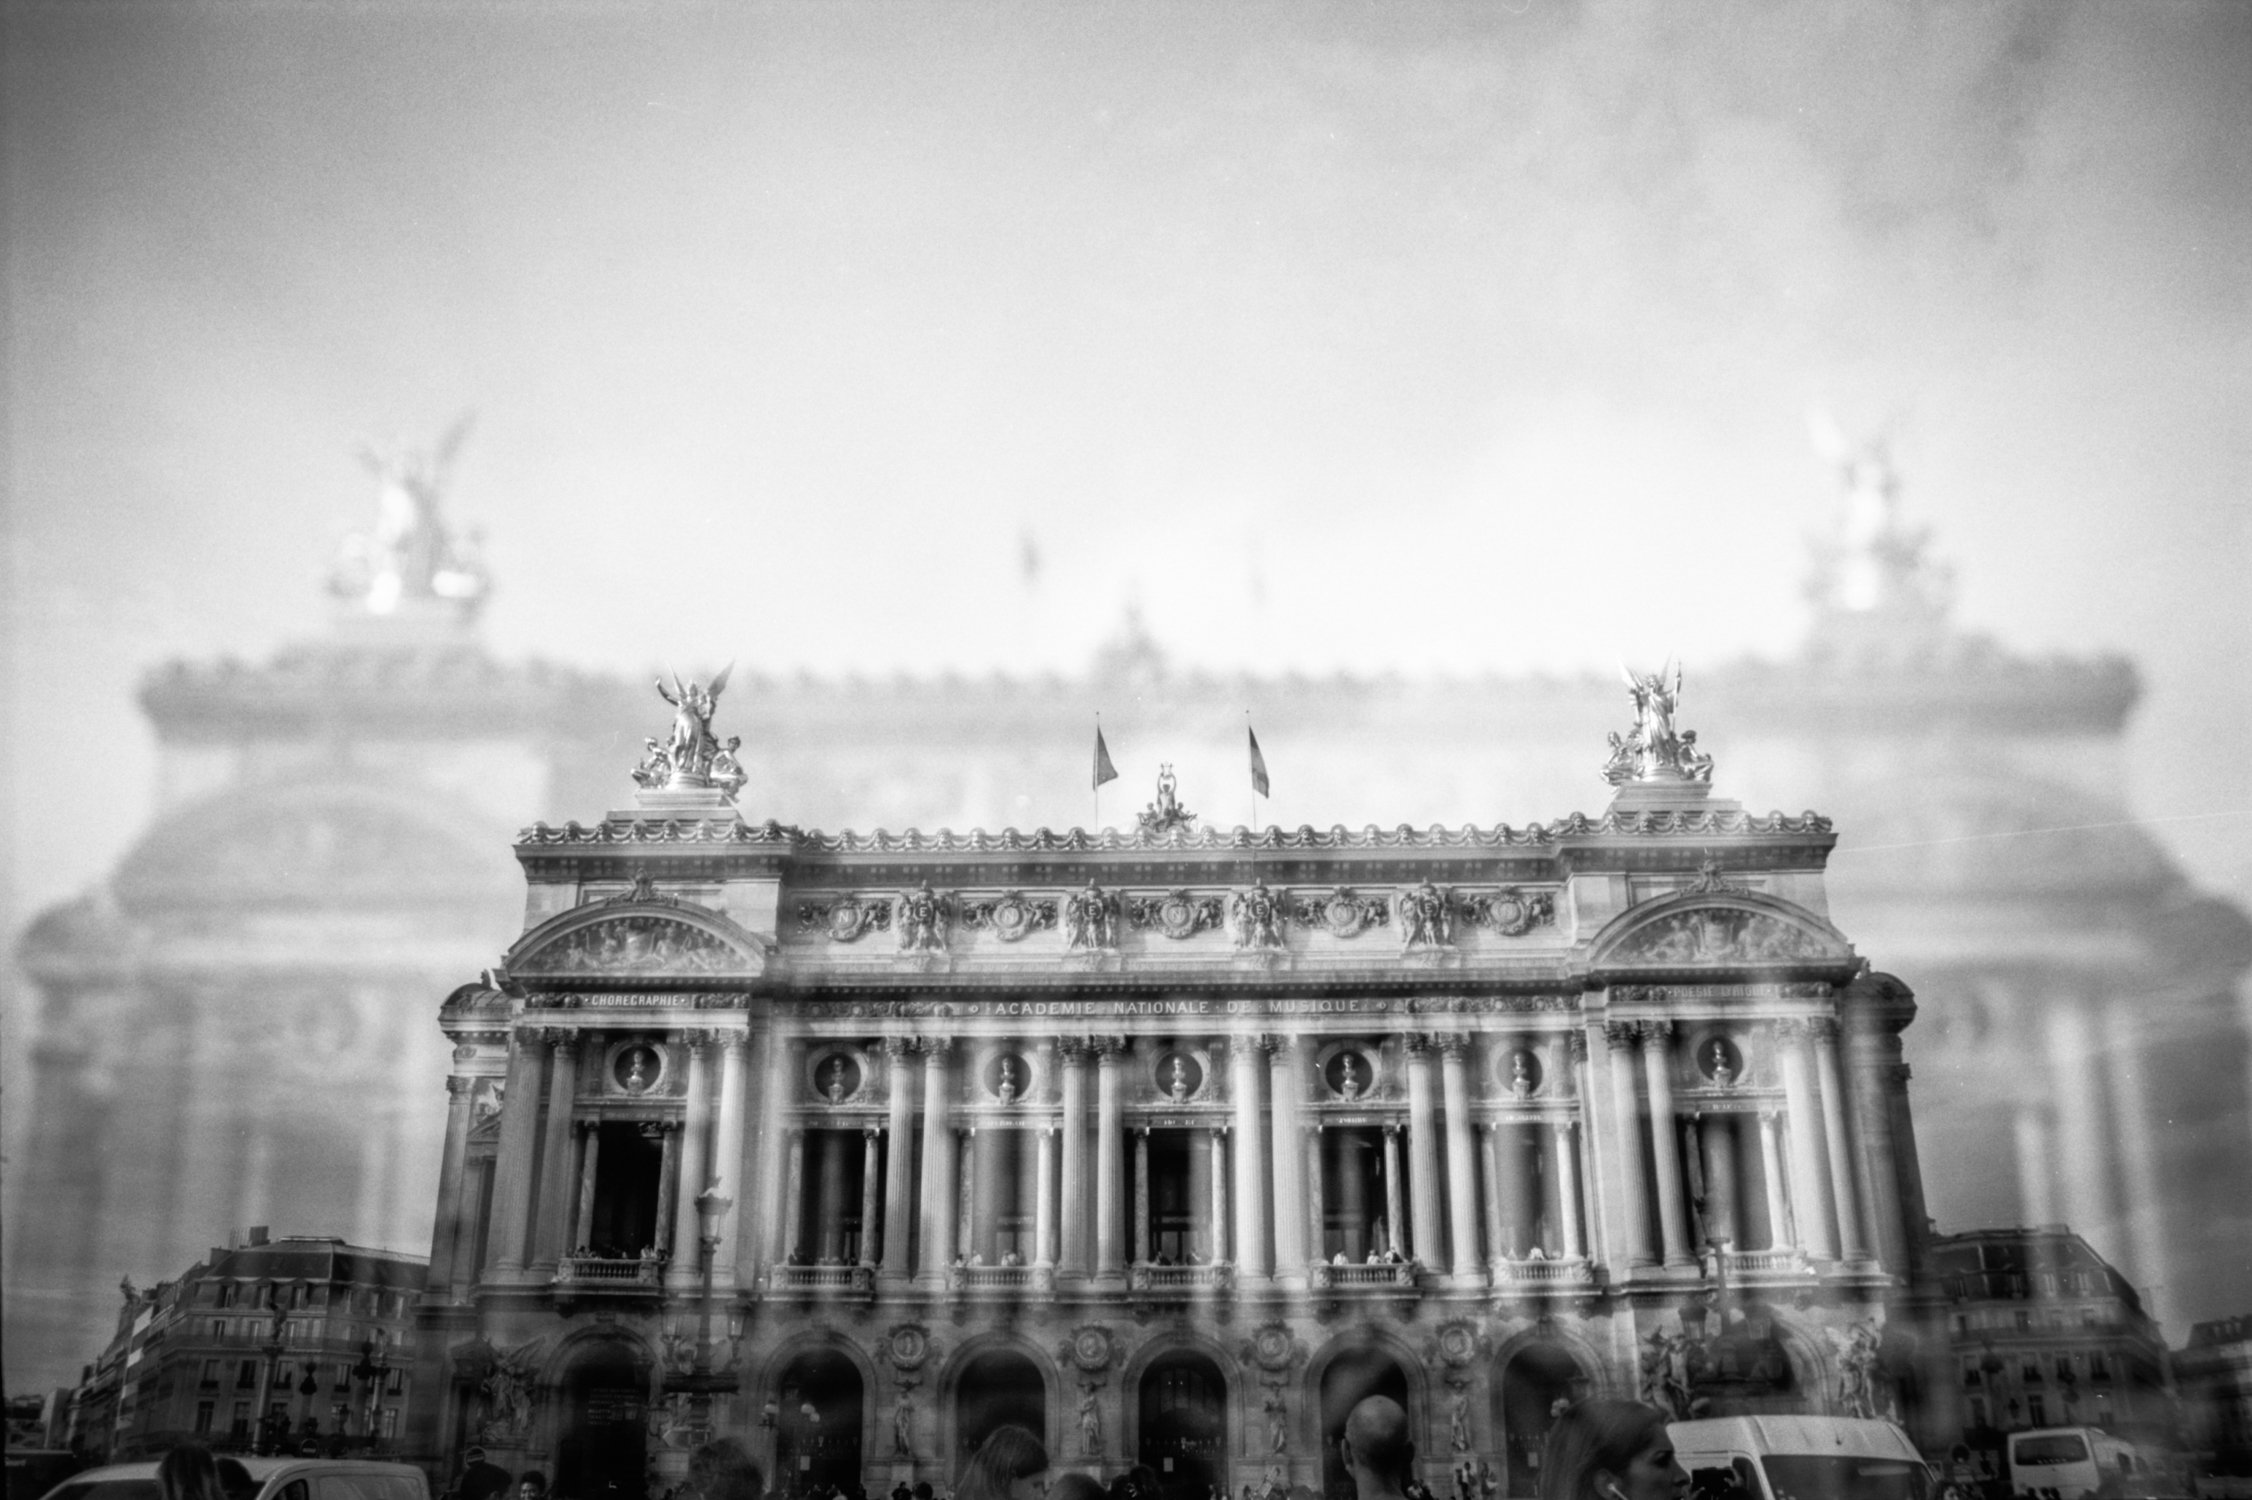
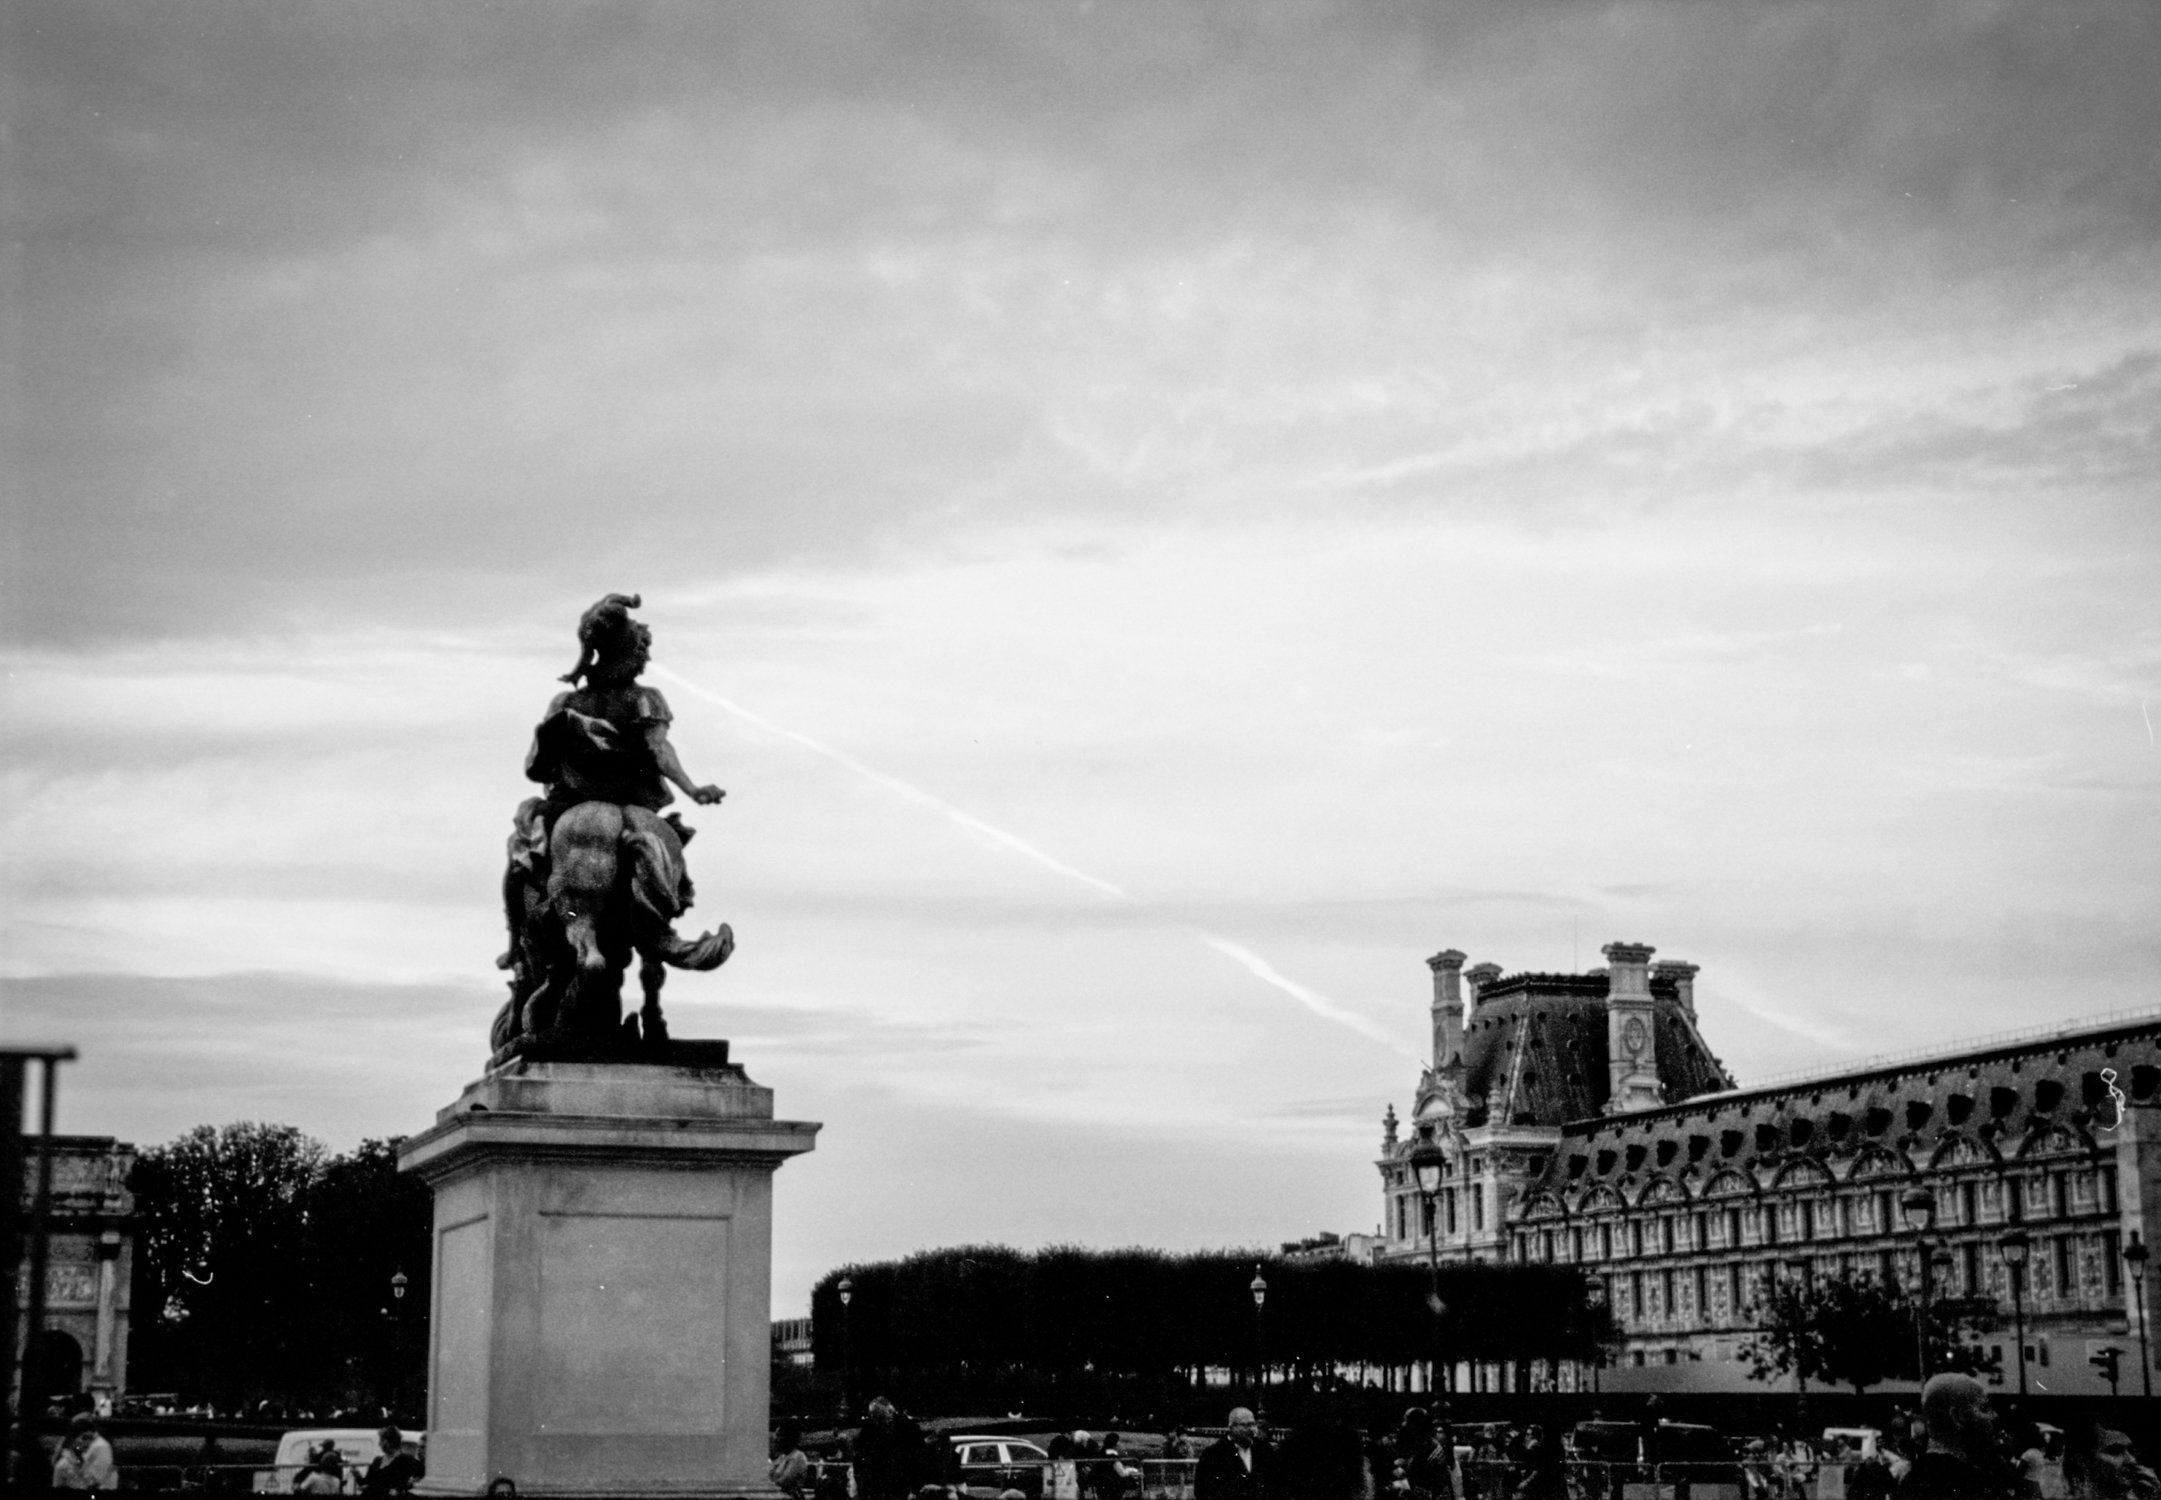
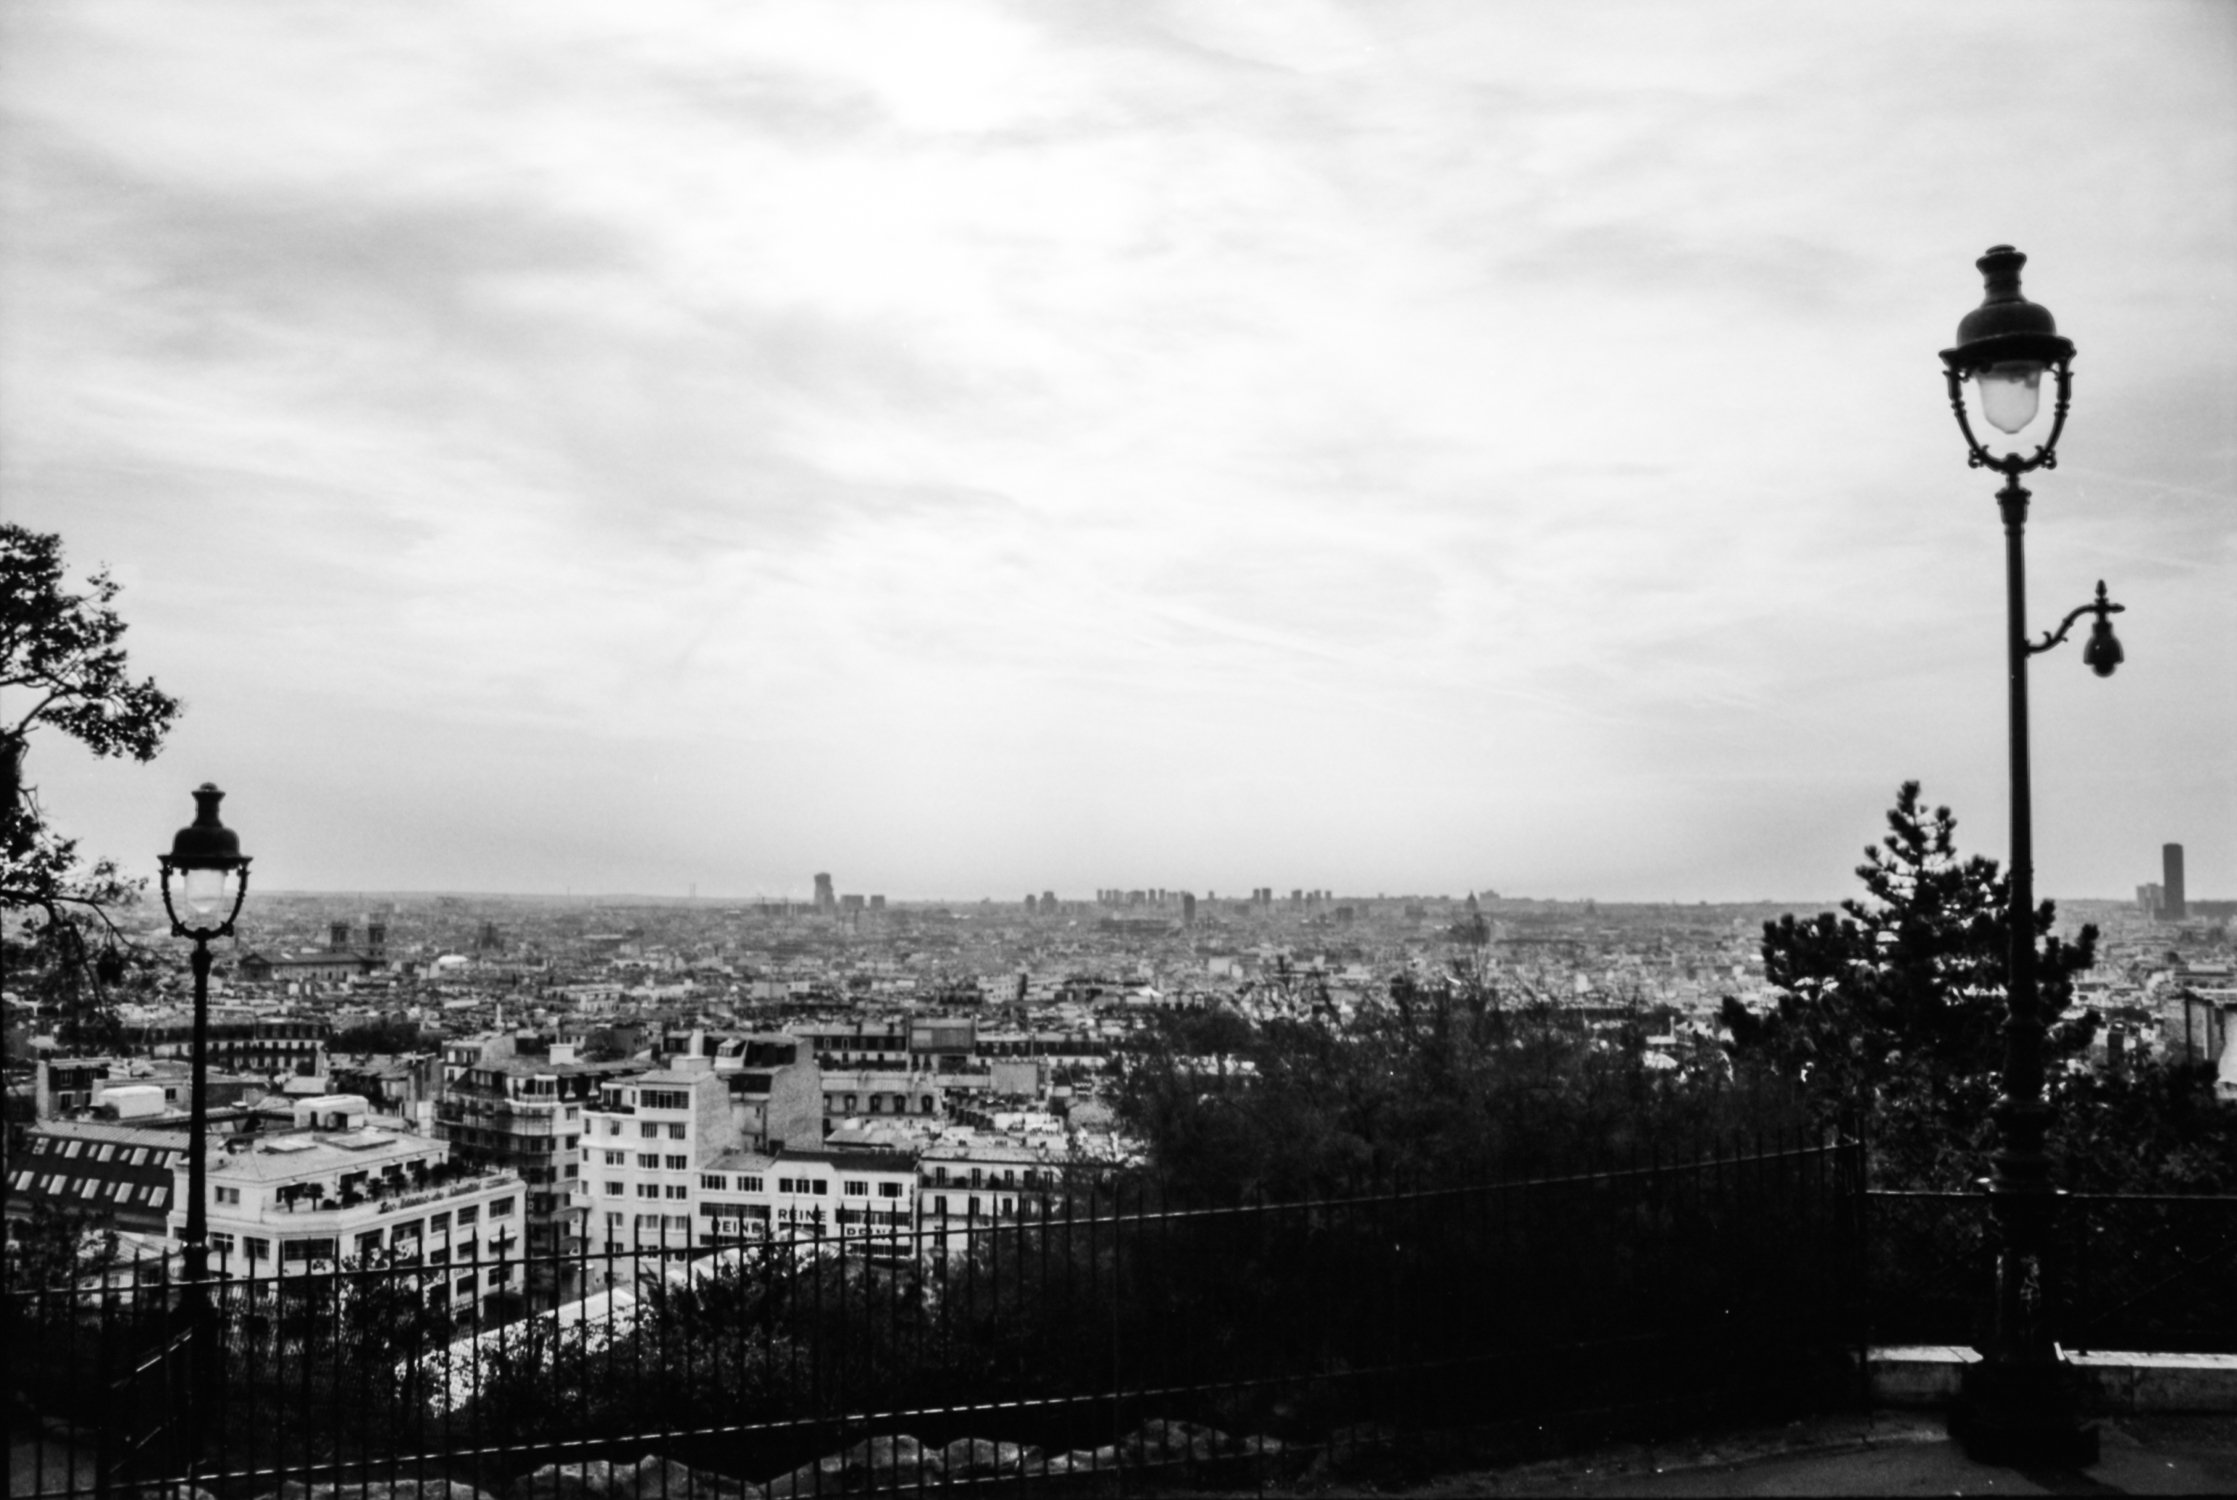
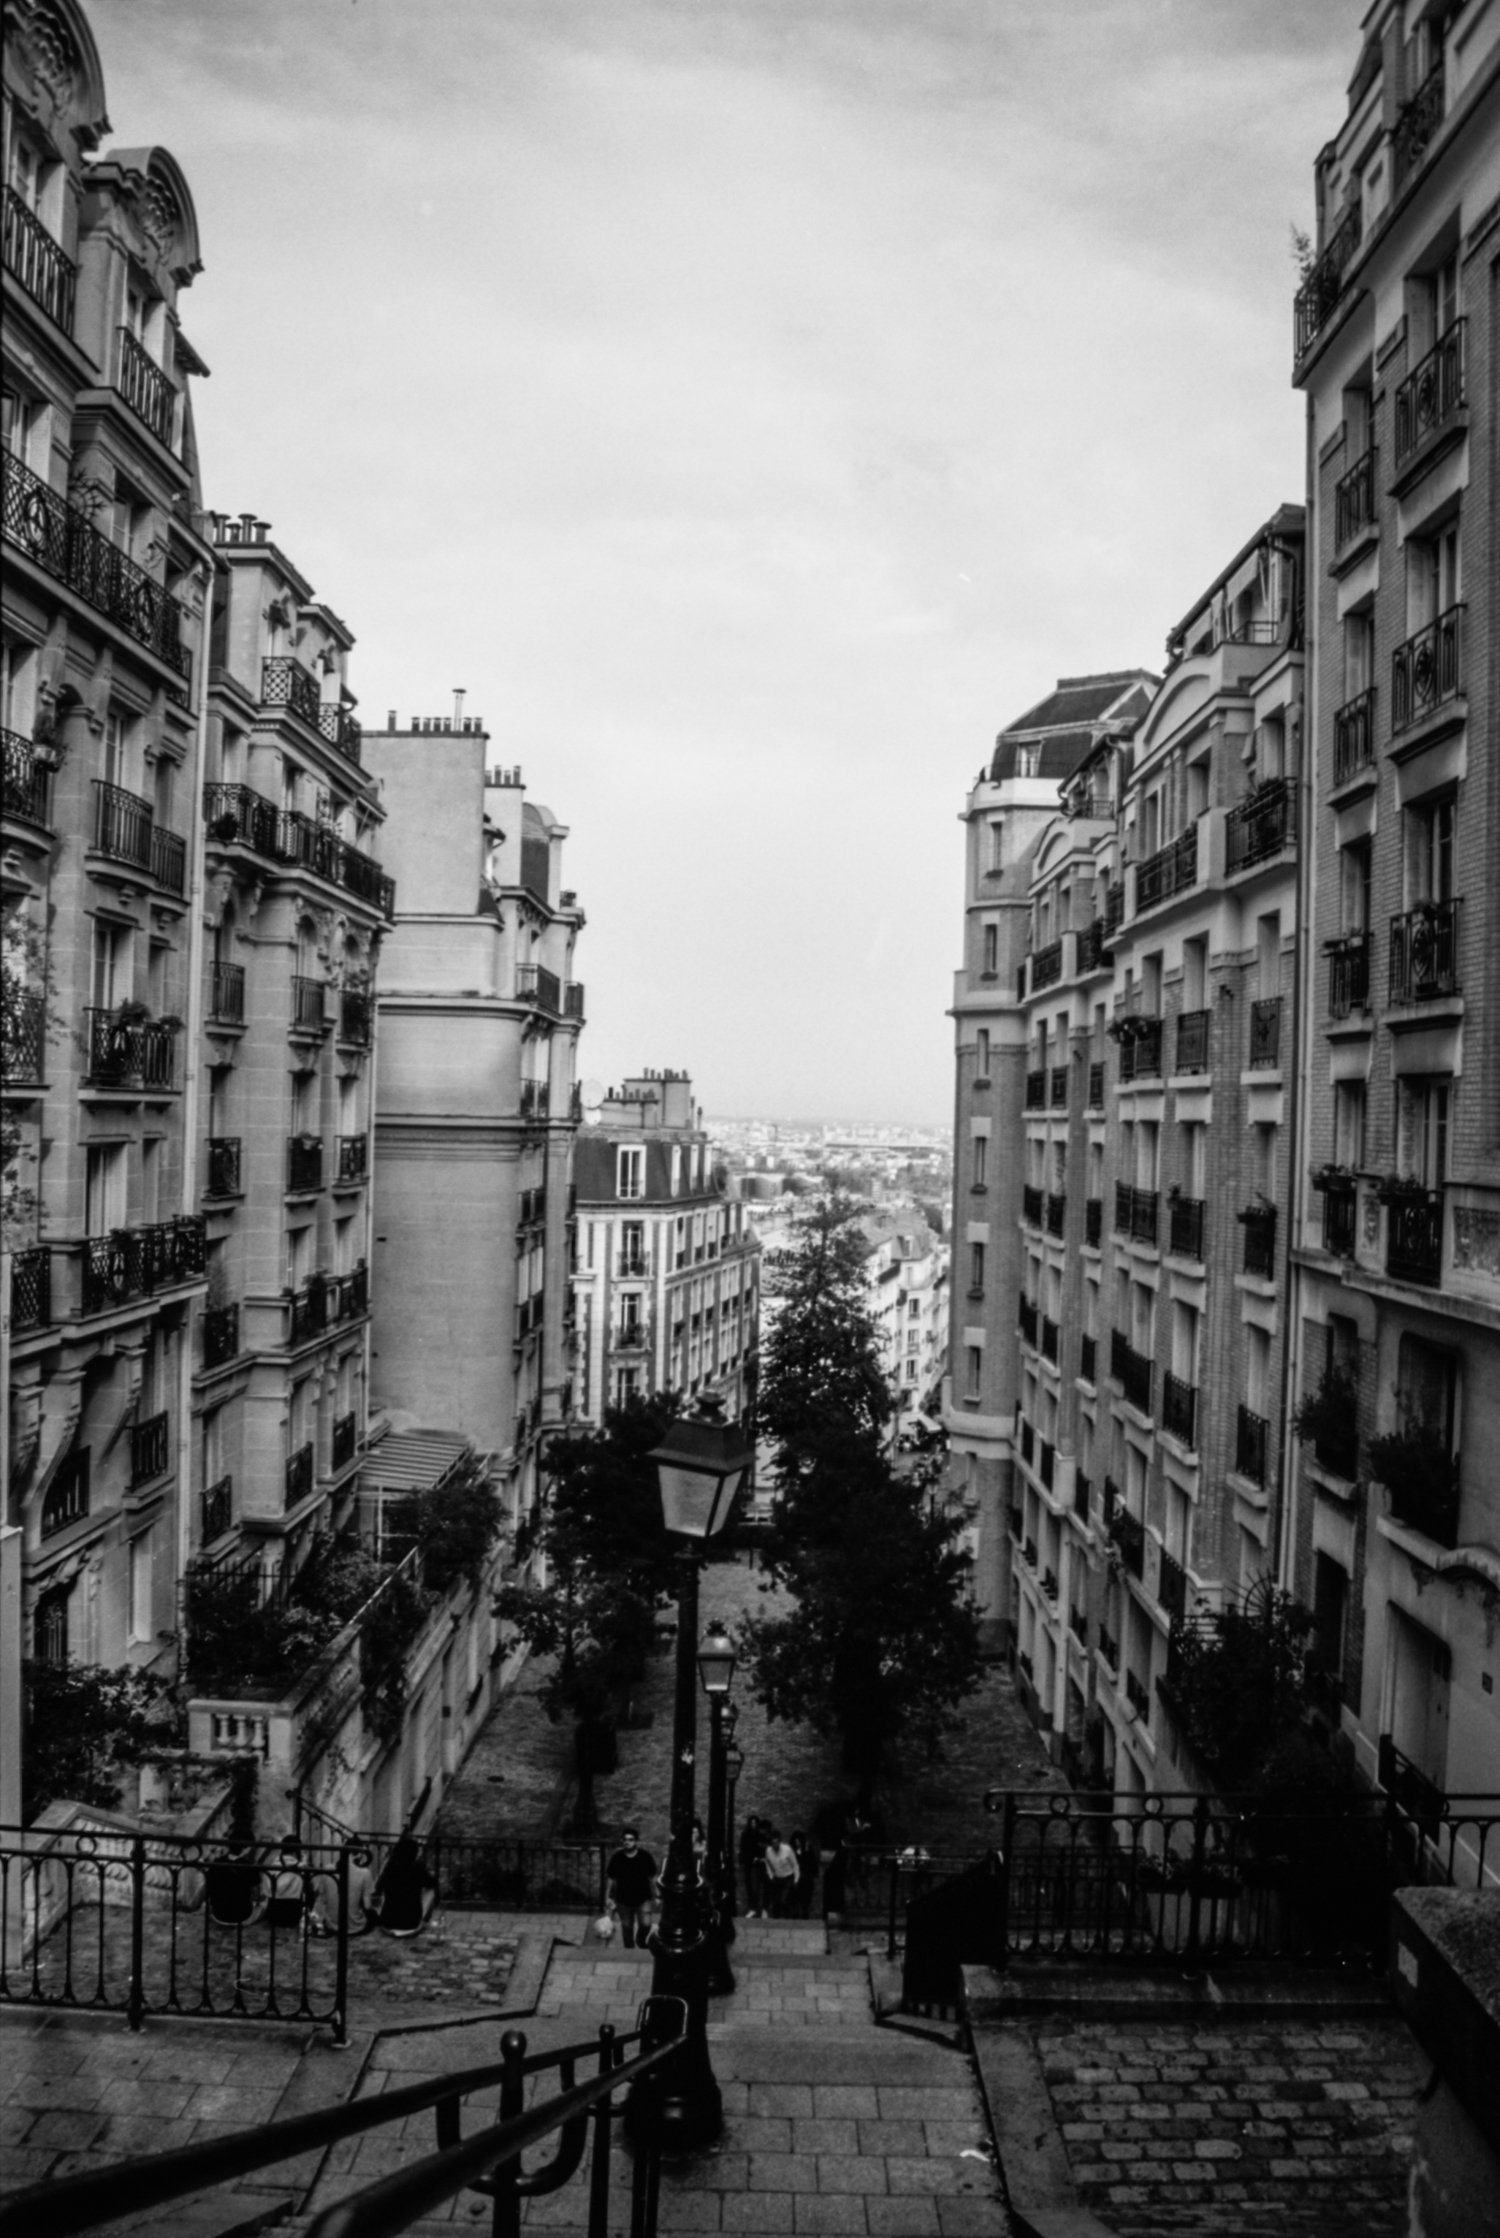
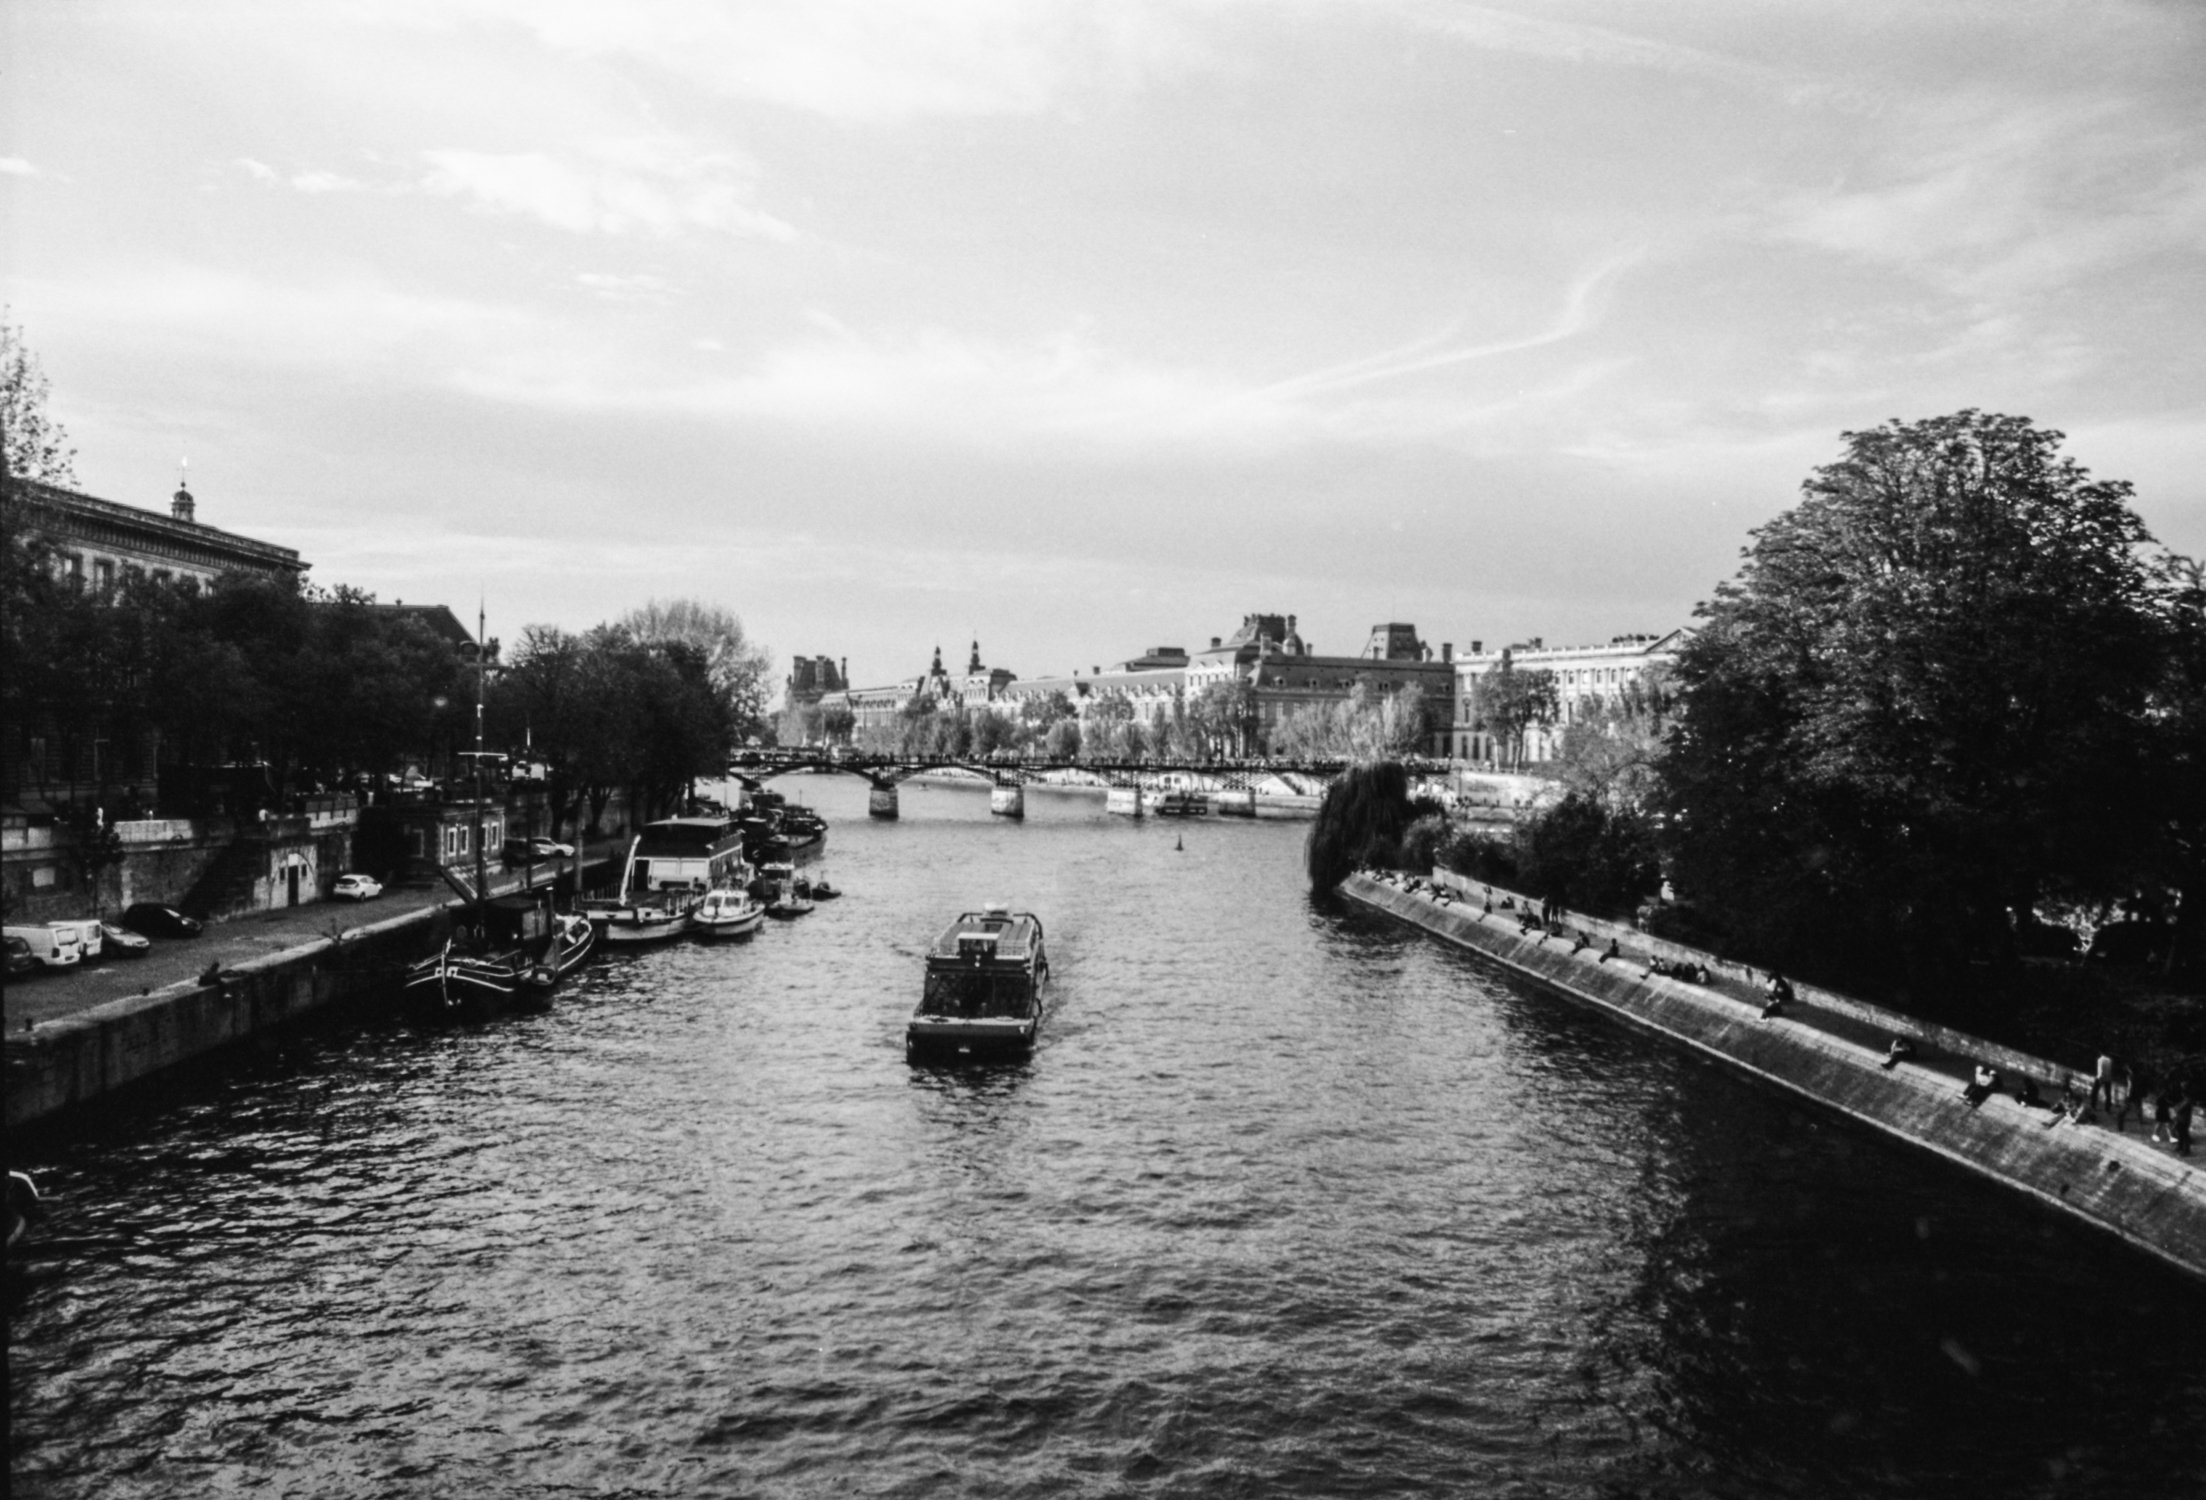
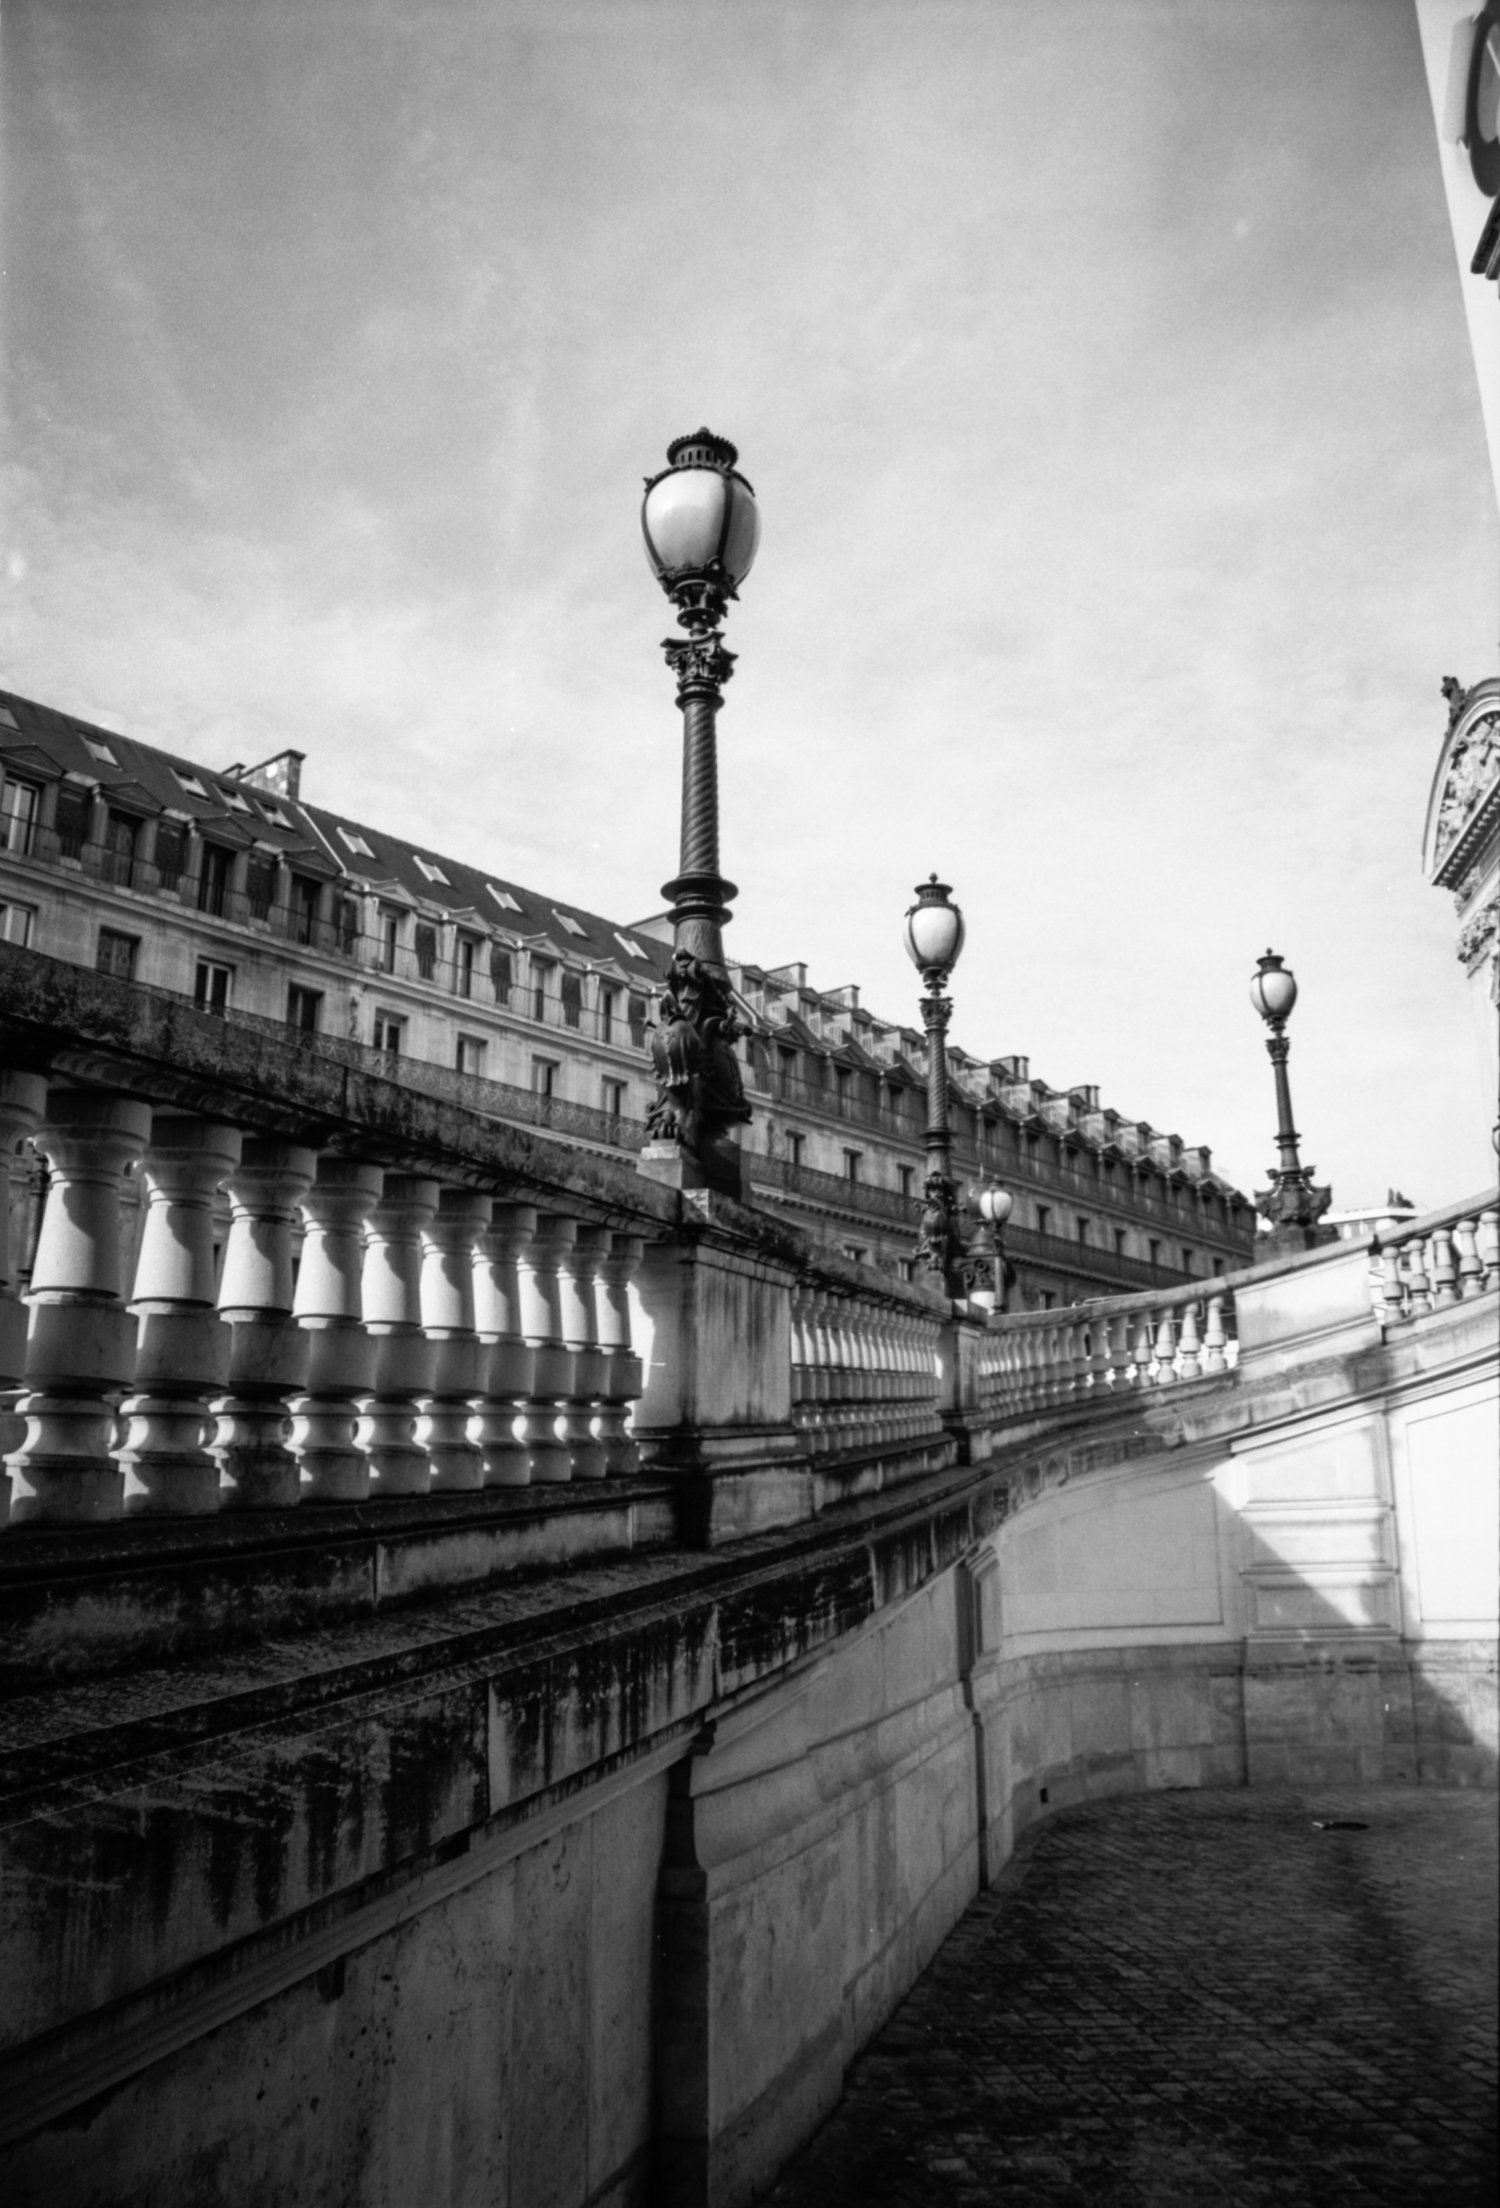
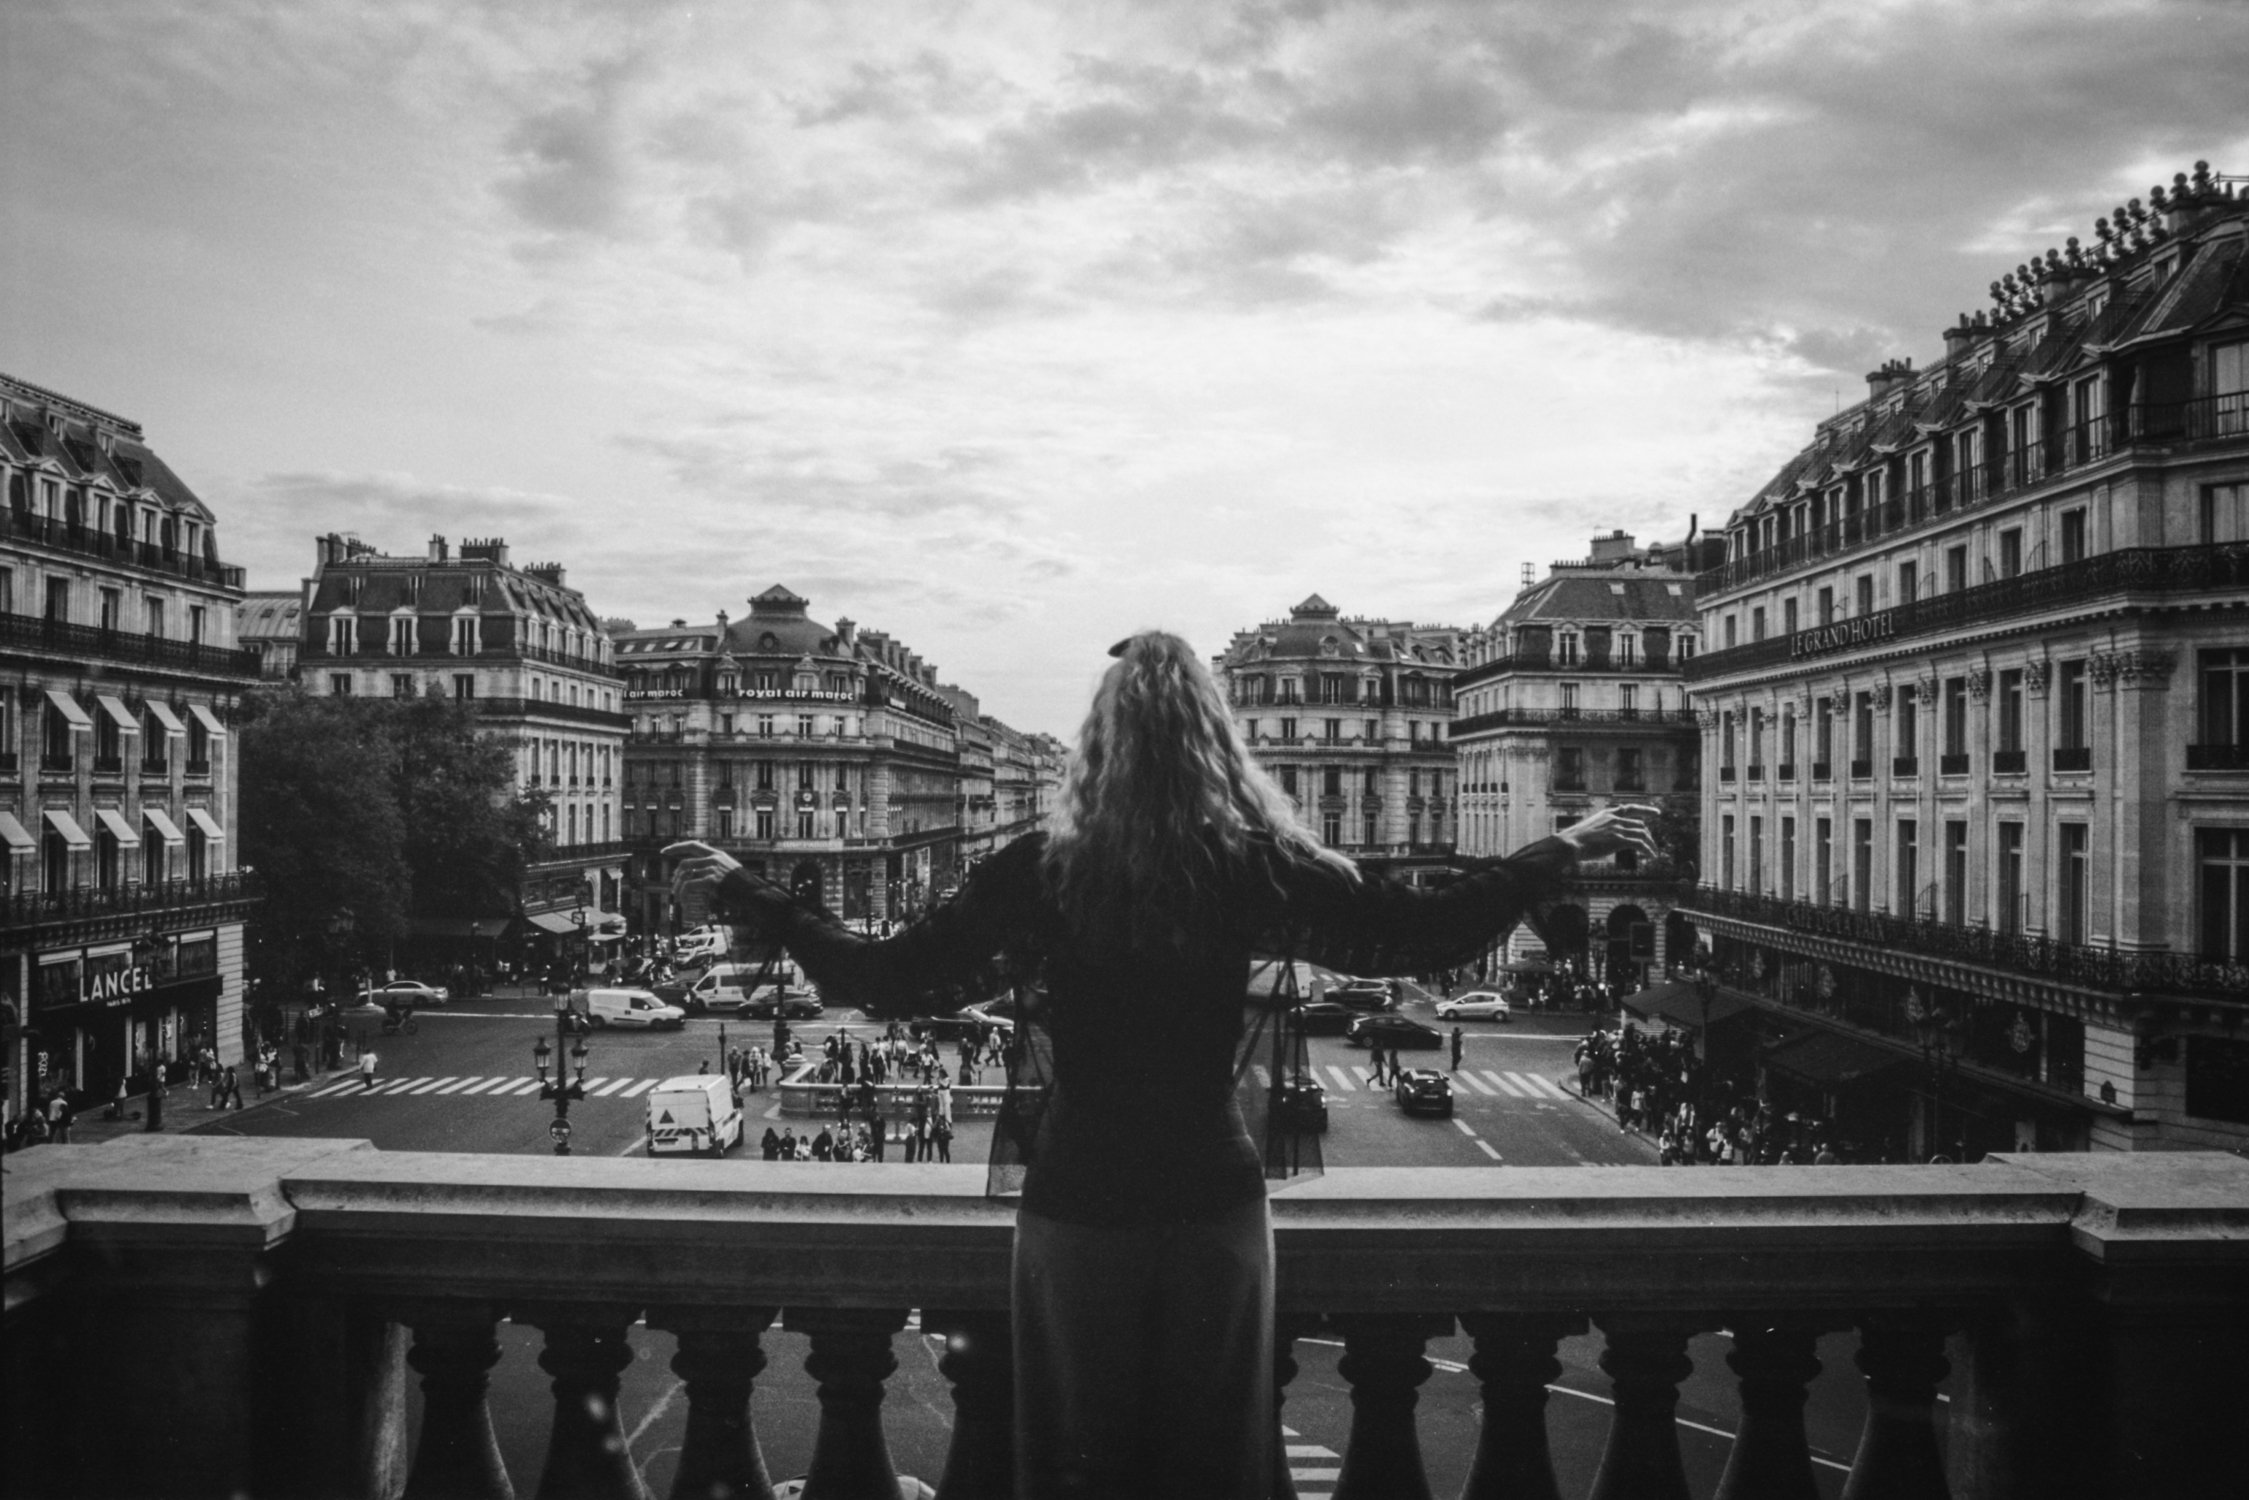
I don’t typically bring my Canon Rebel K2 with me on trips because I have so many other cameras that are technically “better”, but I recently took it with me to Italy and France. On my first trip to Paris in 2010, I used my Canon Rebel K2 and Neopan Acros 100 film. I’m still in love with those photos so I decided to recreate that same camera set-up during my recent trip. I brought a few rolls of Neopan Acros 100 (version II - they don’t make the original version of this film anymore) and once again, this camera delivered. I think it’s going to be hard to leave this camera at home when I go on future trips - there’s just something special about it.

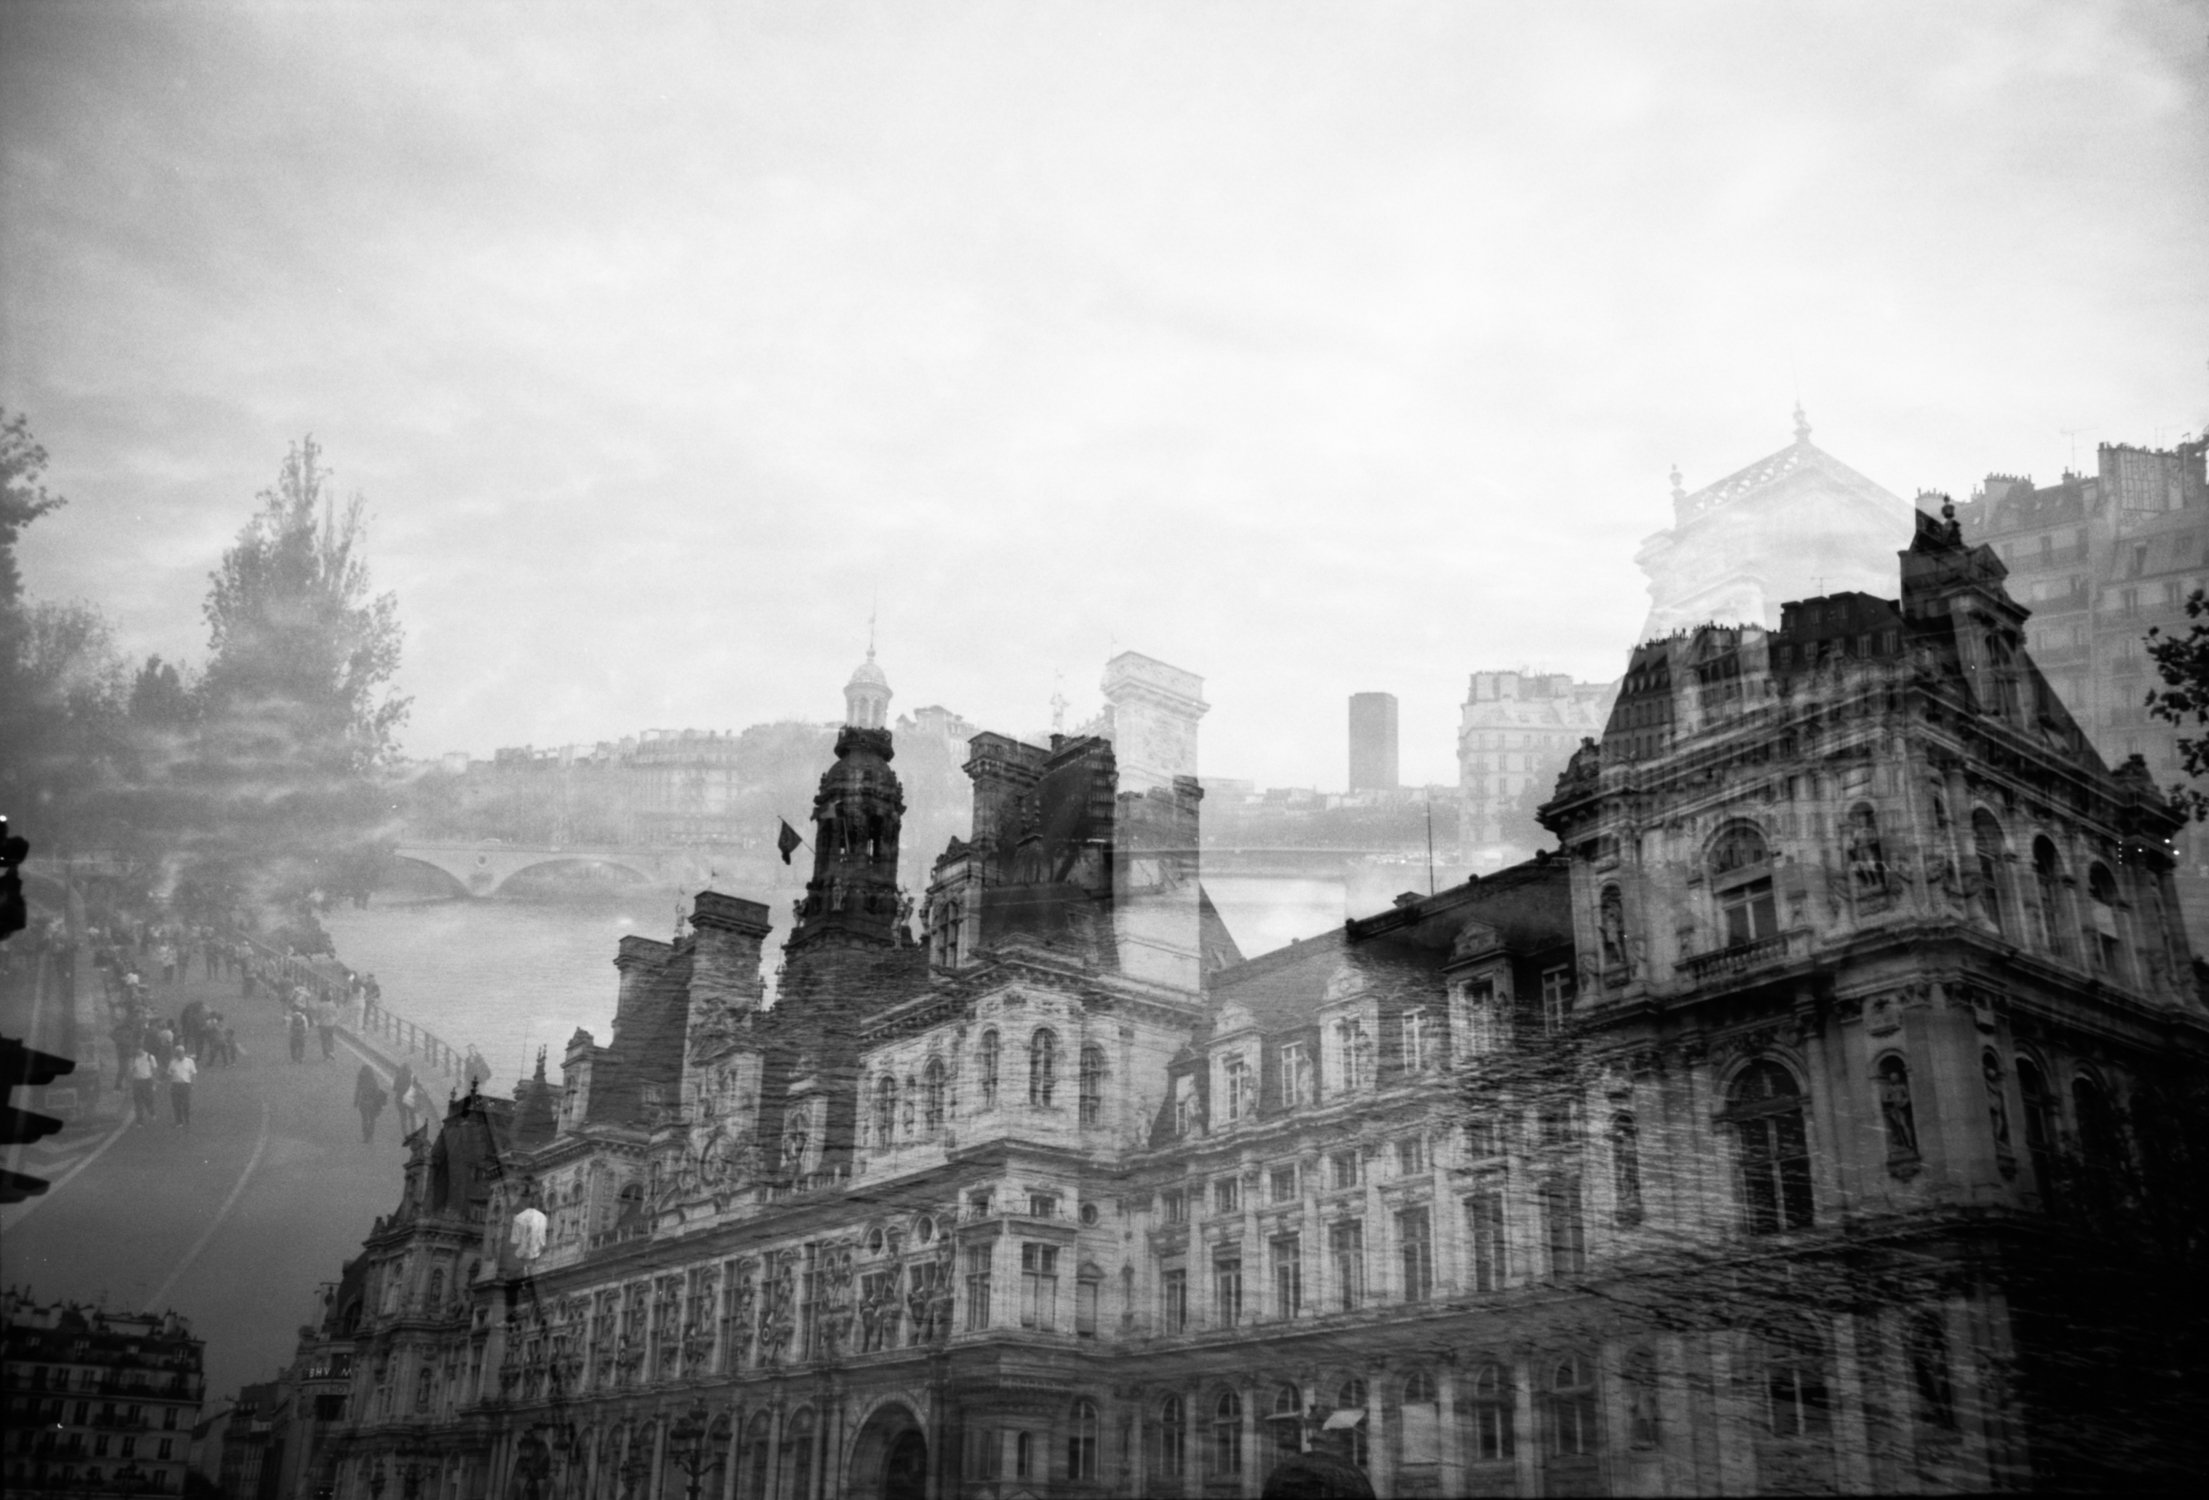
The Canon Rebel K2 has all of the features you’d want in a travel camera: a SUPER lightweight body, automatic and manual settings, a flash, a multiple exposure feature and an option for a zoom lens ( I use the Canon 28-90mm f/5.6 kit lens). It’s also incredibly inconspicuous and is great for street photography. I’m quite a shy person, so the idea of bothering someone or making them upset with me if I took their photo would be my nightmare, so the fact that this camera doesn’t stand out or look expensive or distracting is a positive feature in my book.

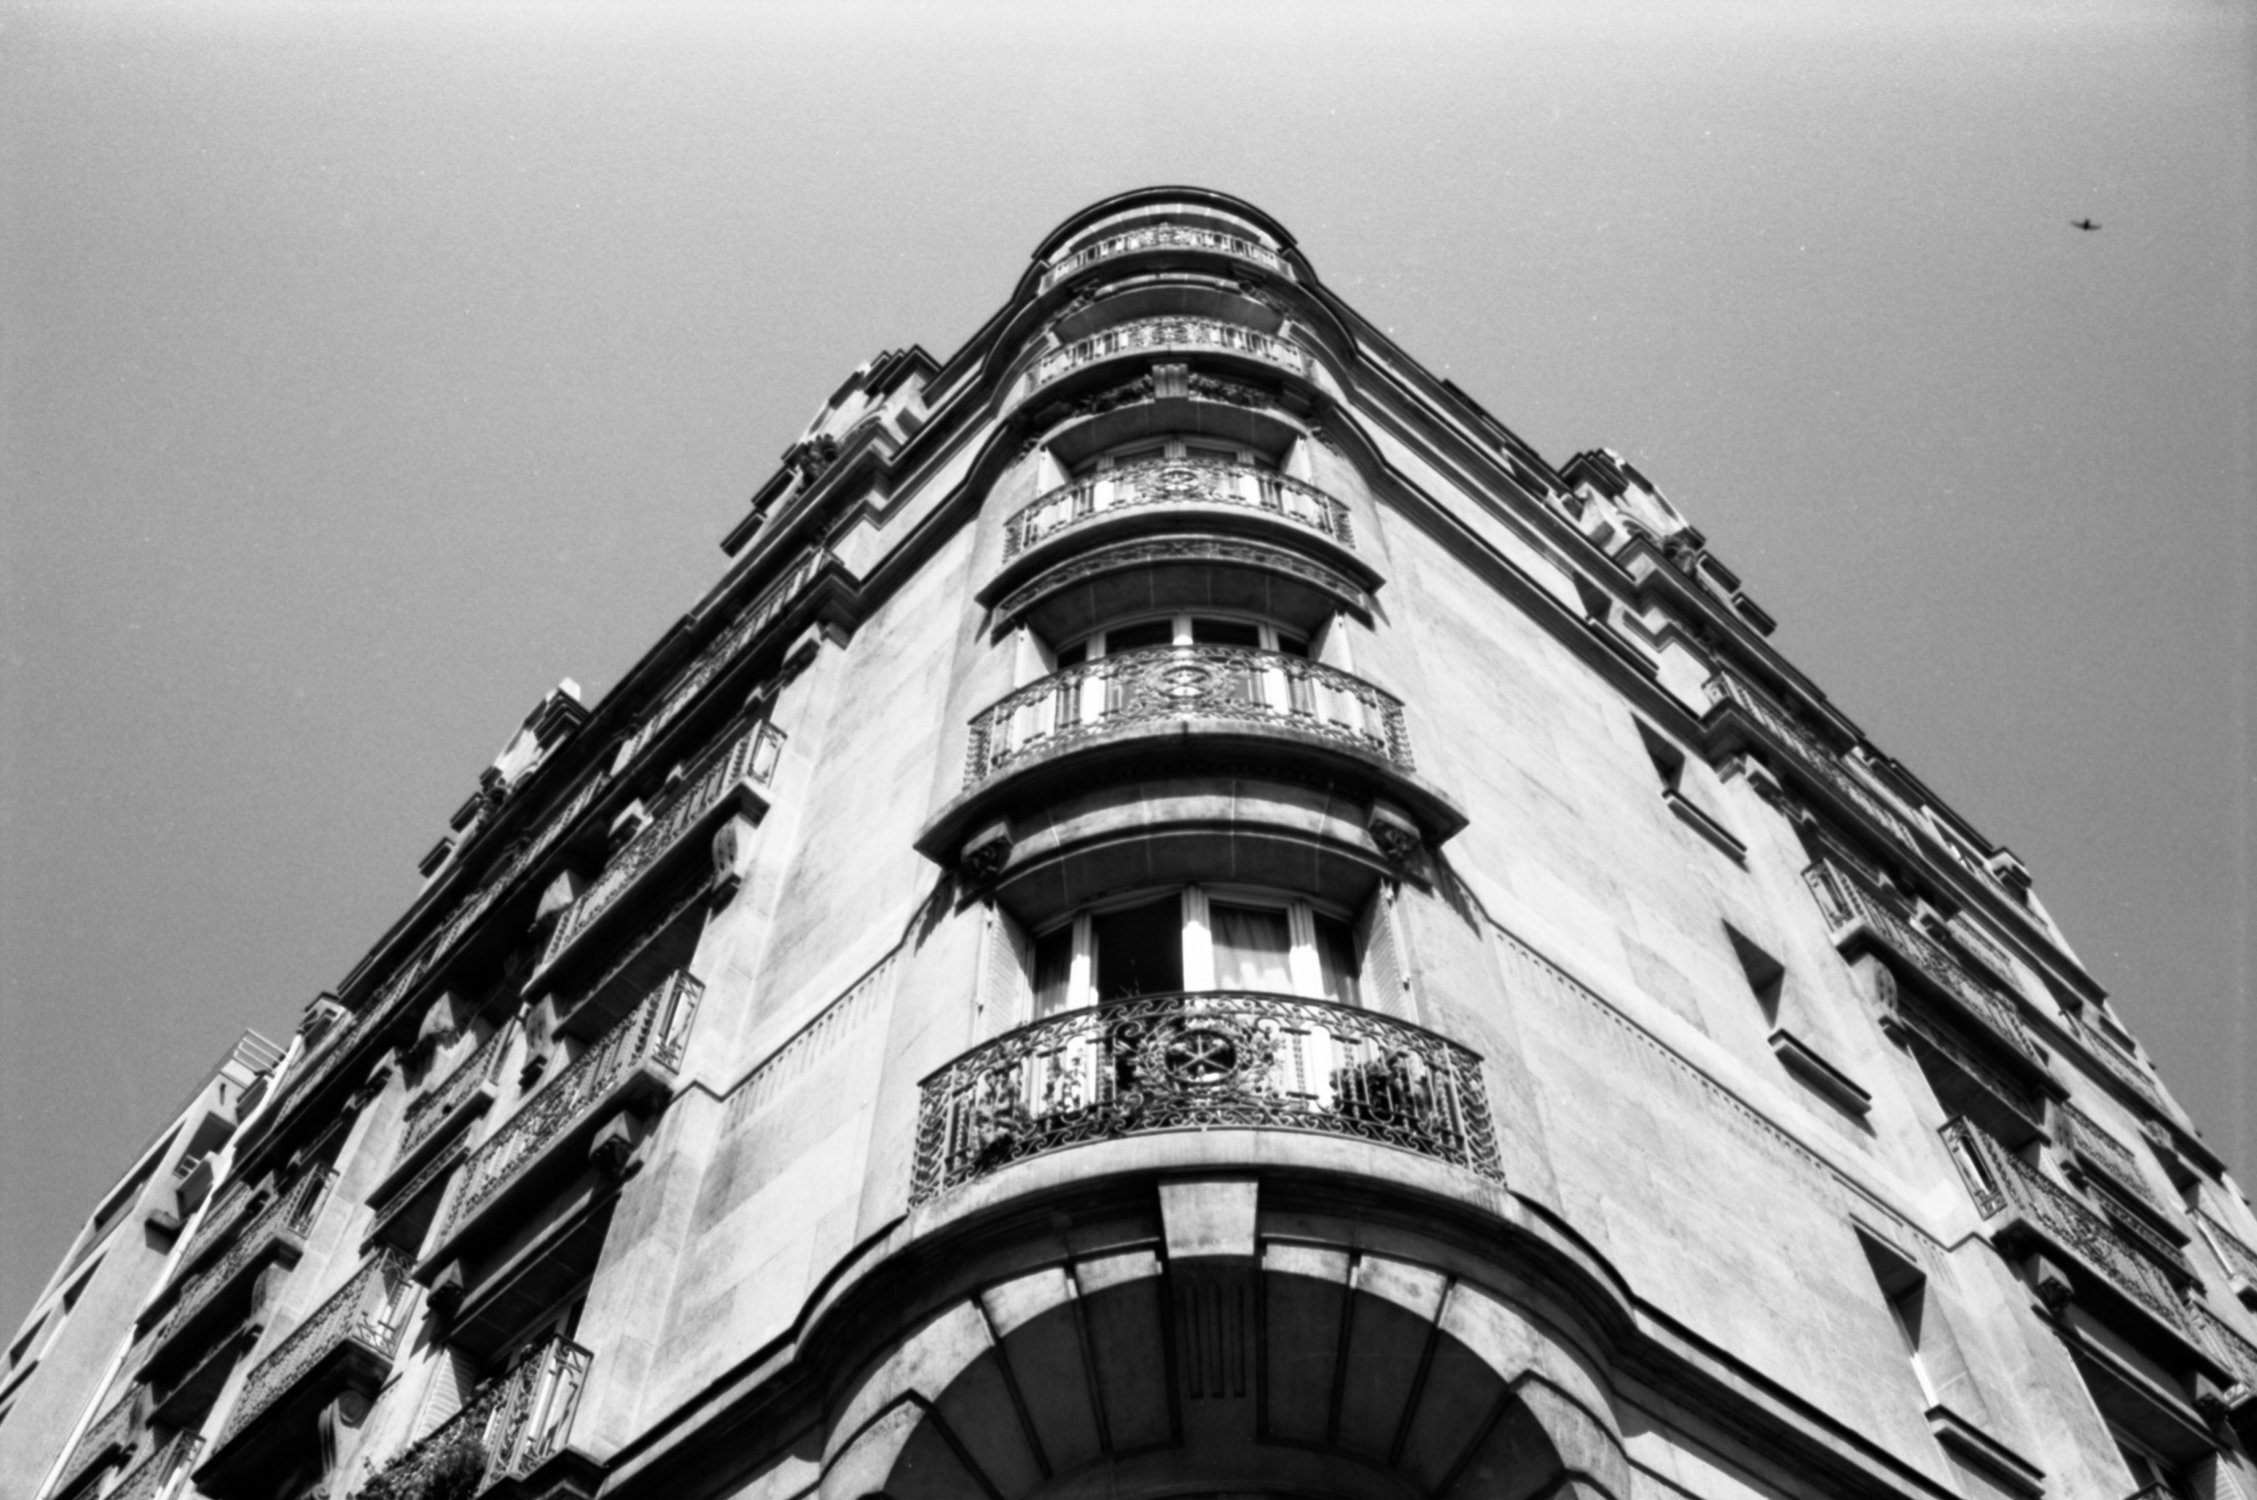
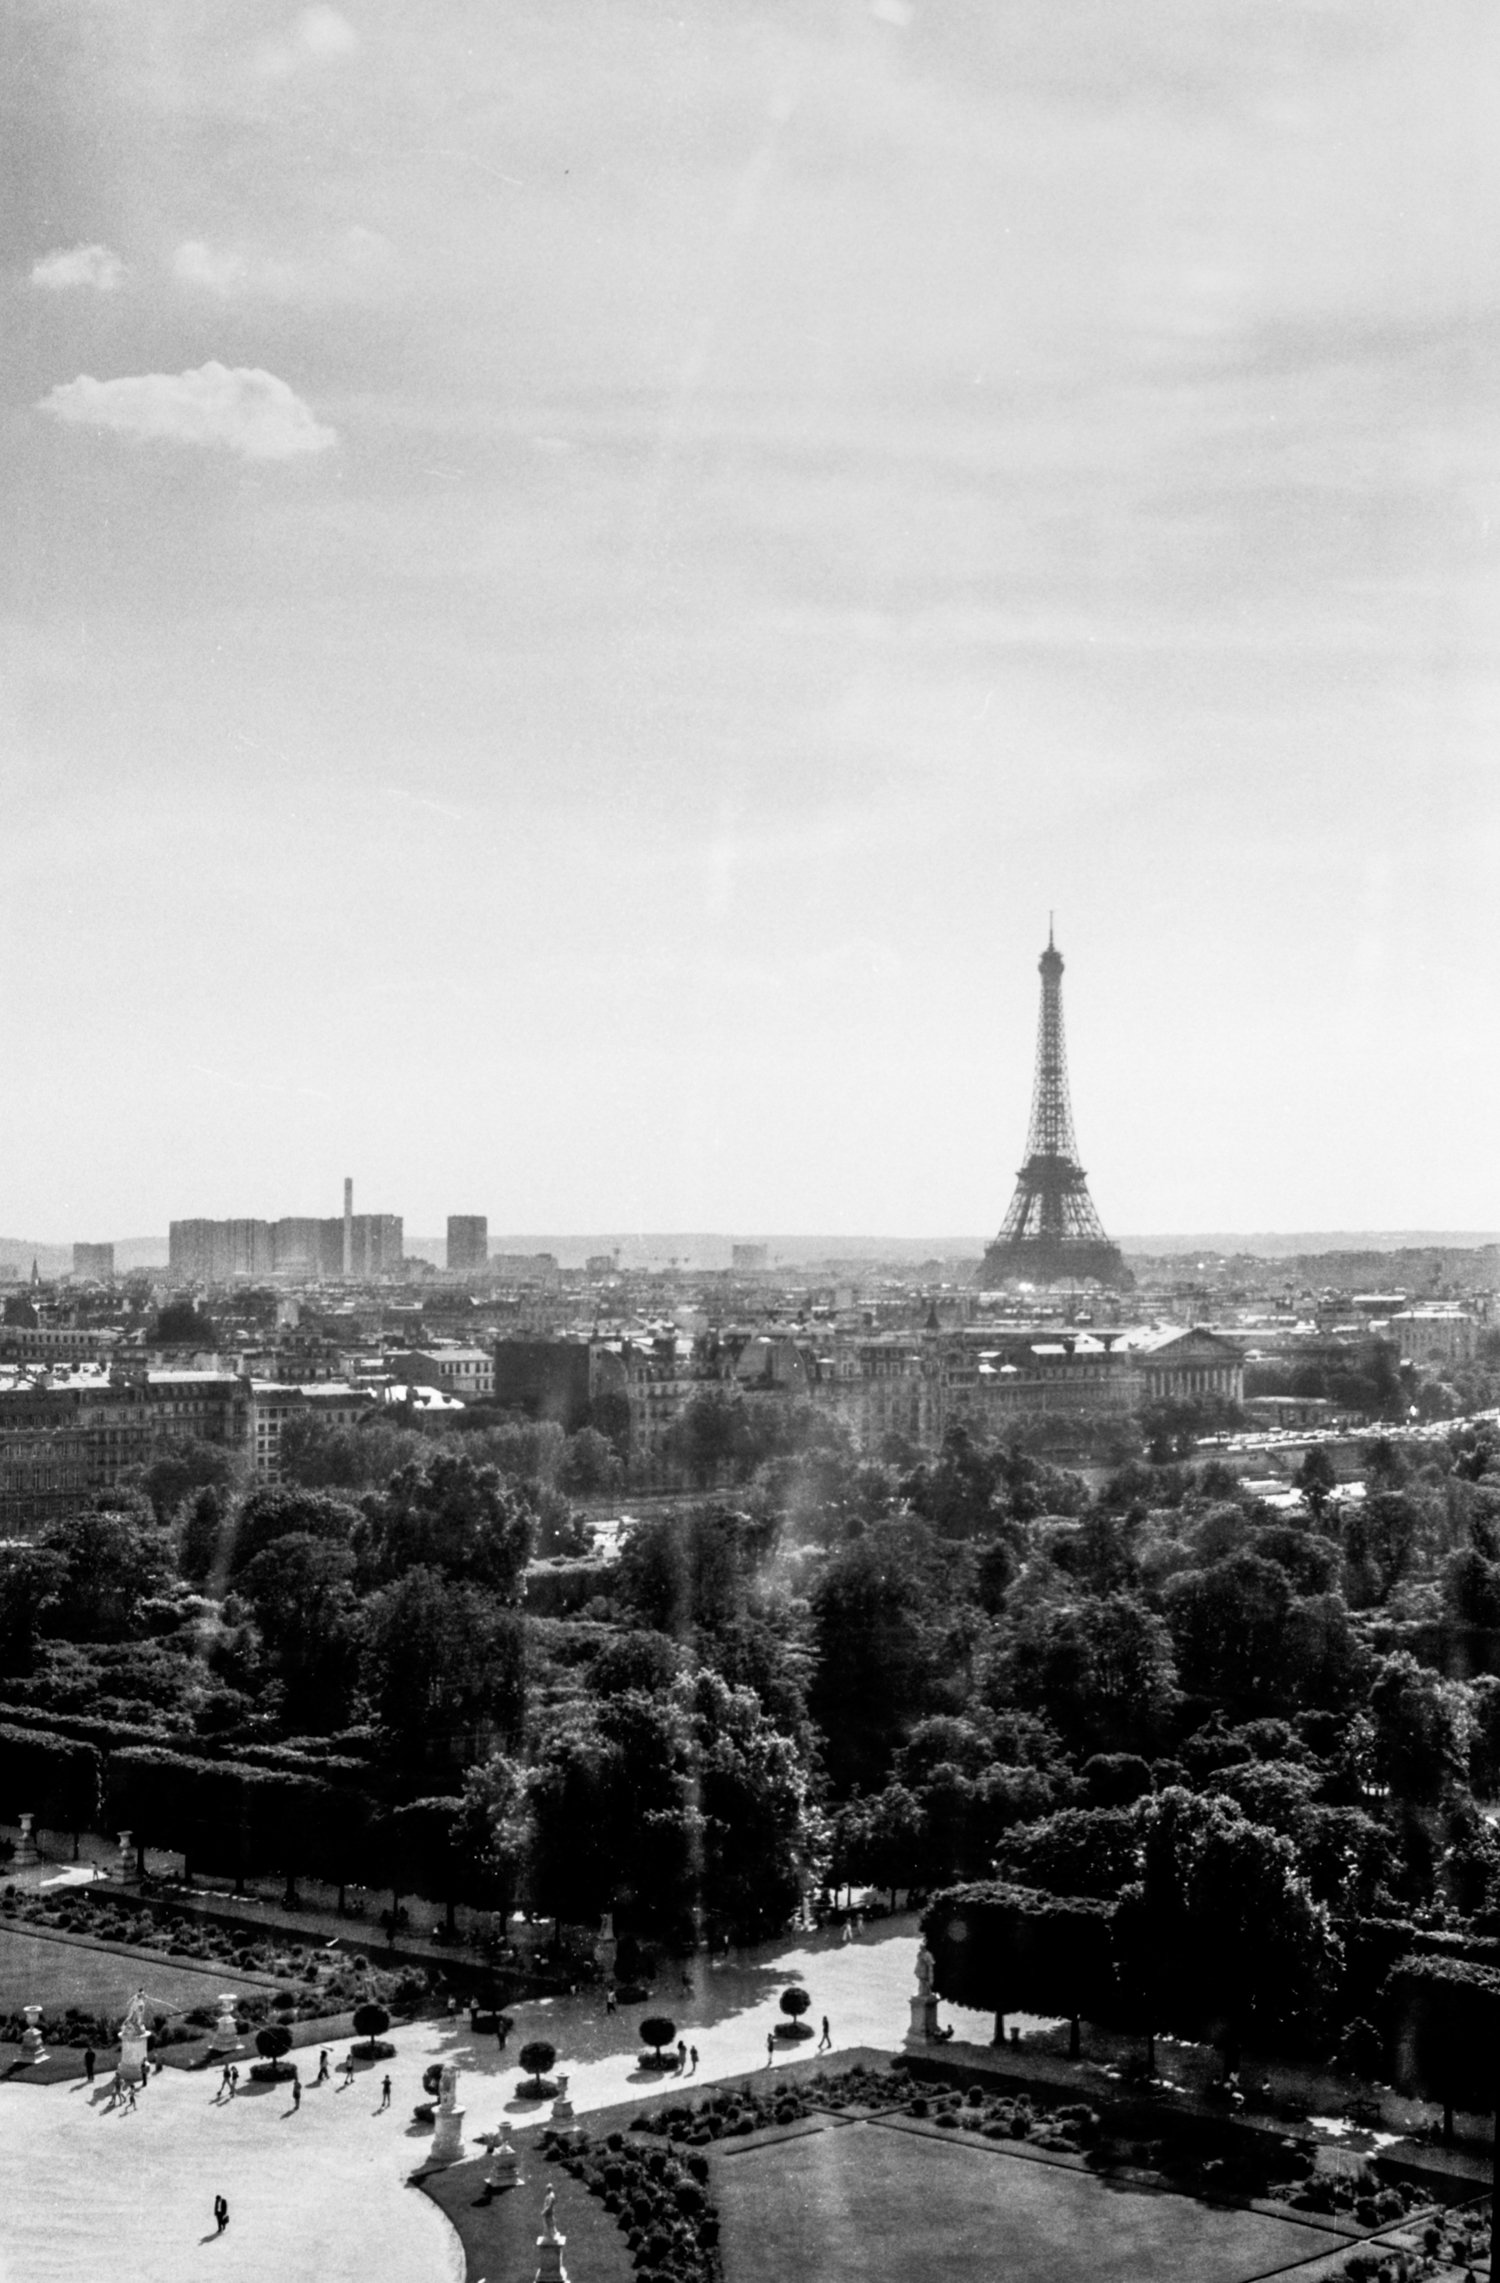
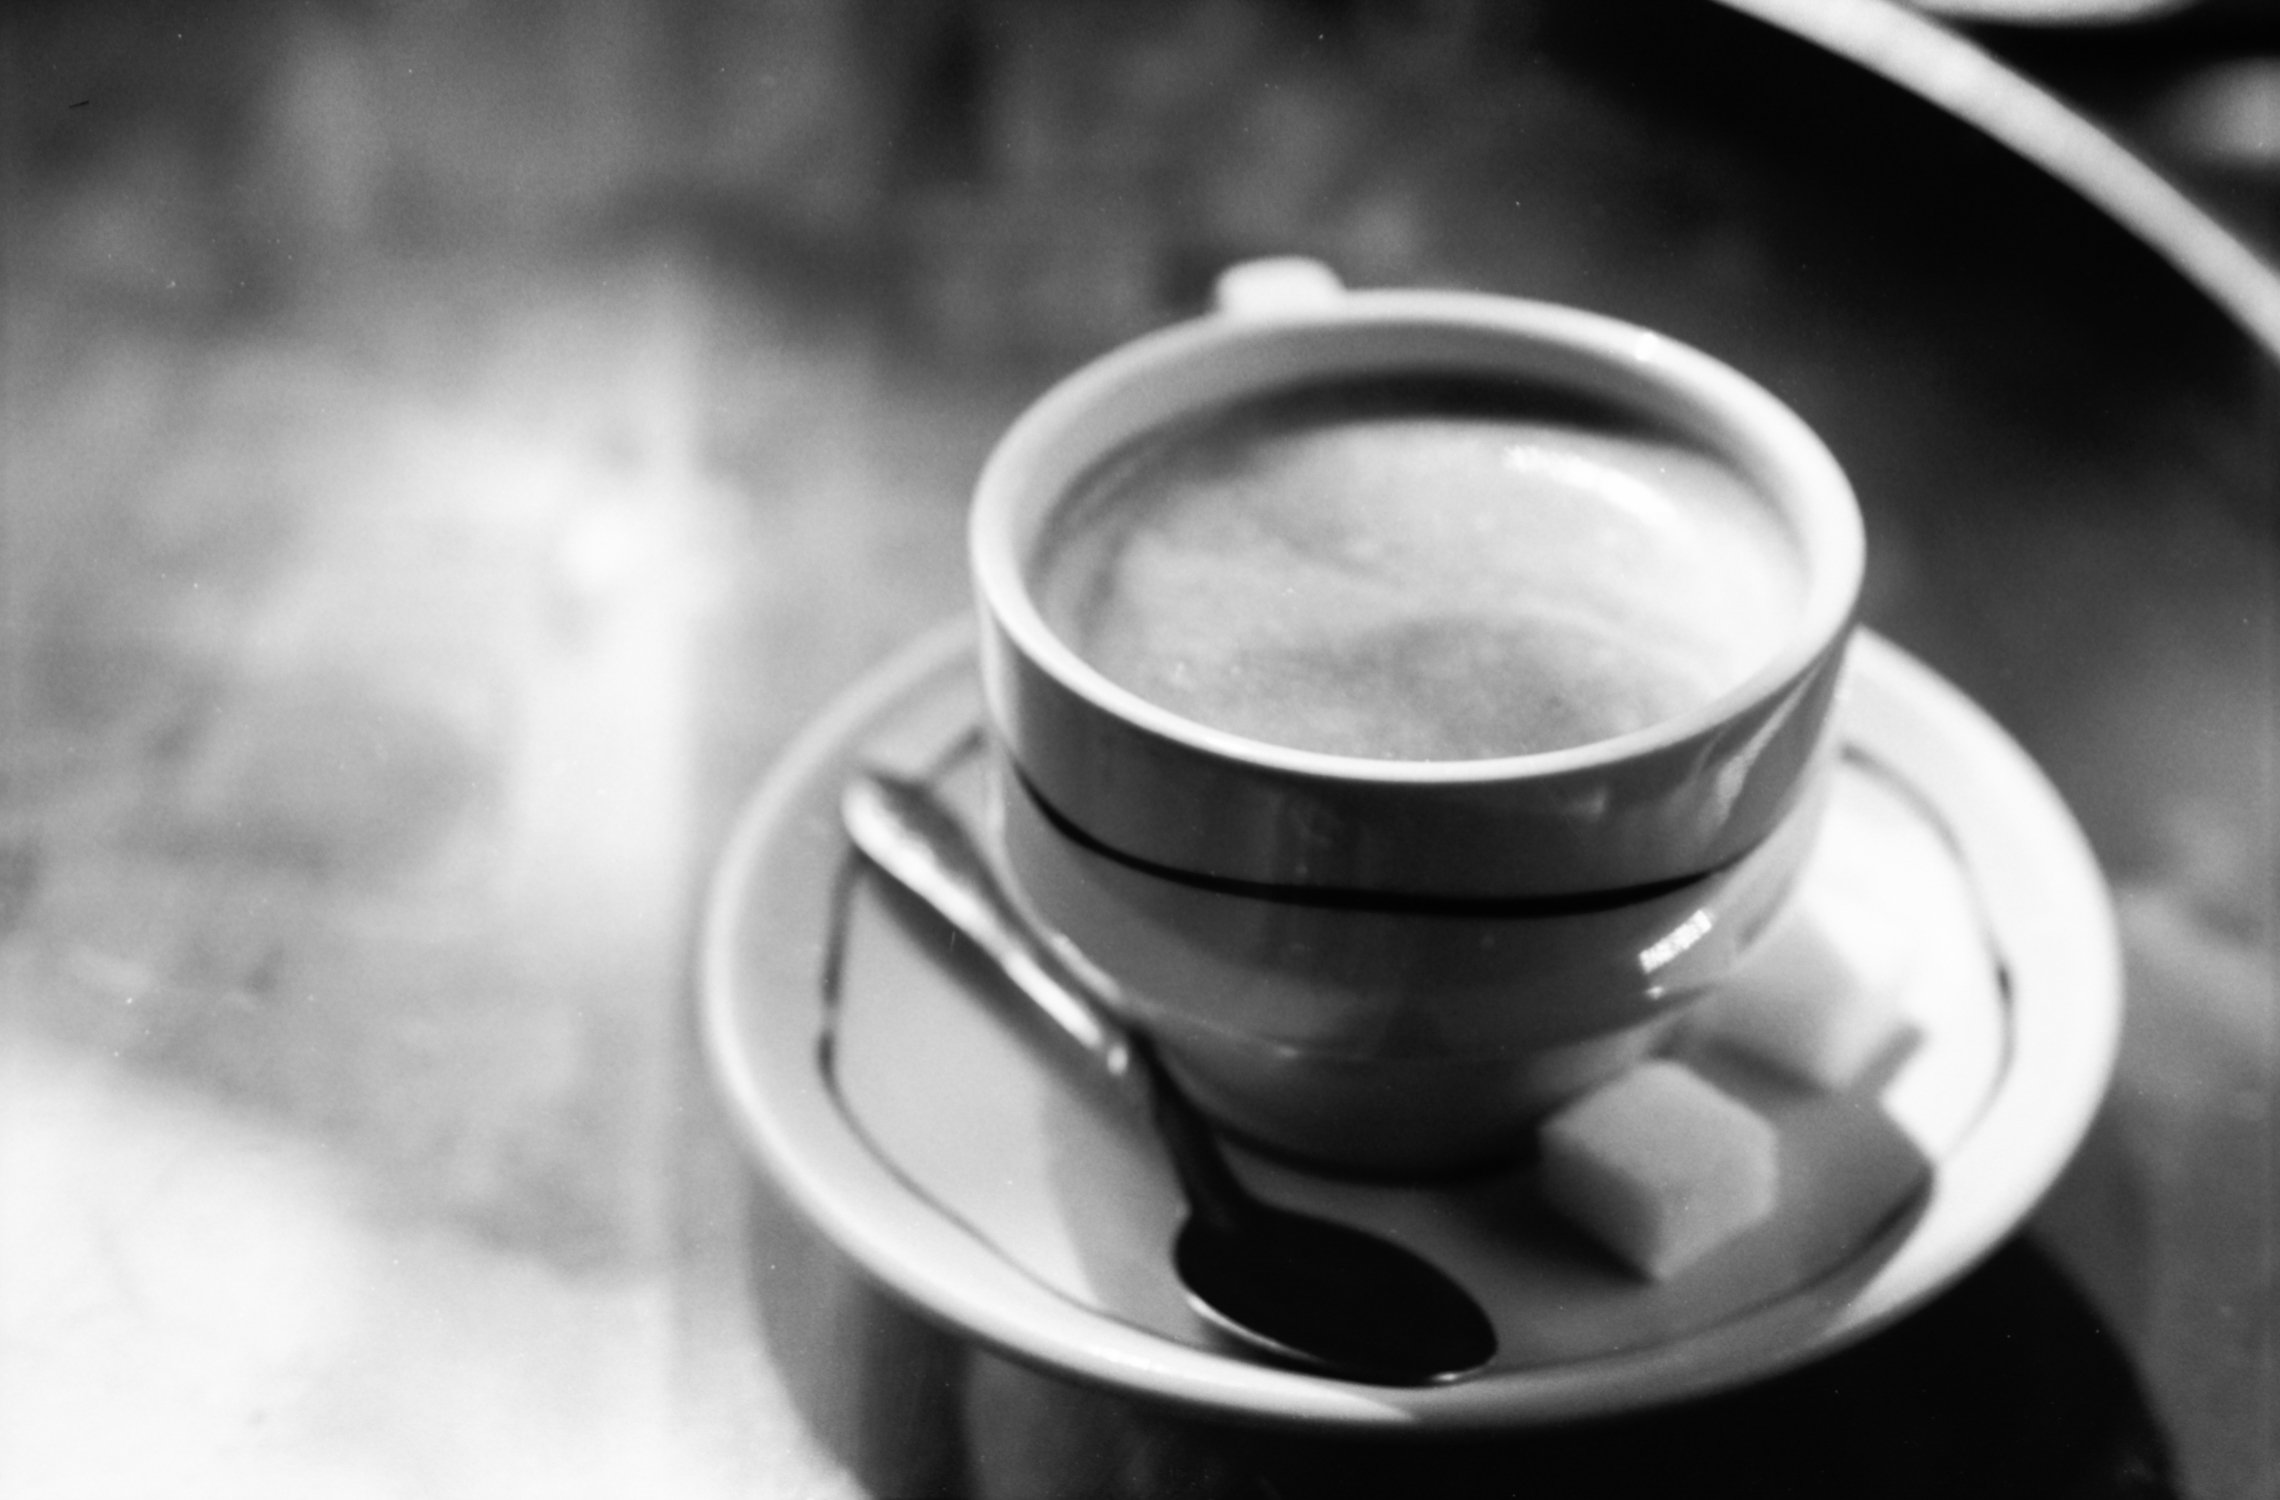
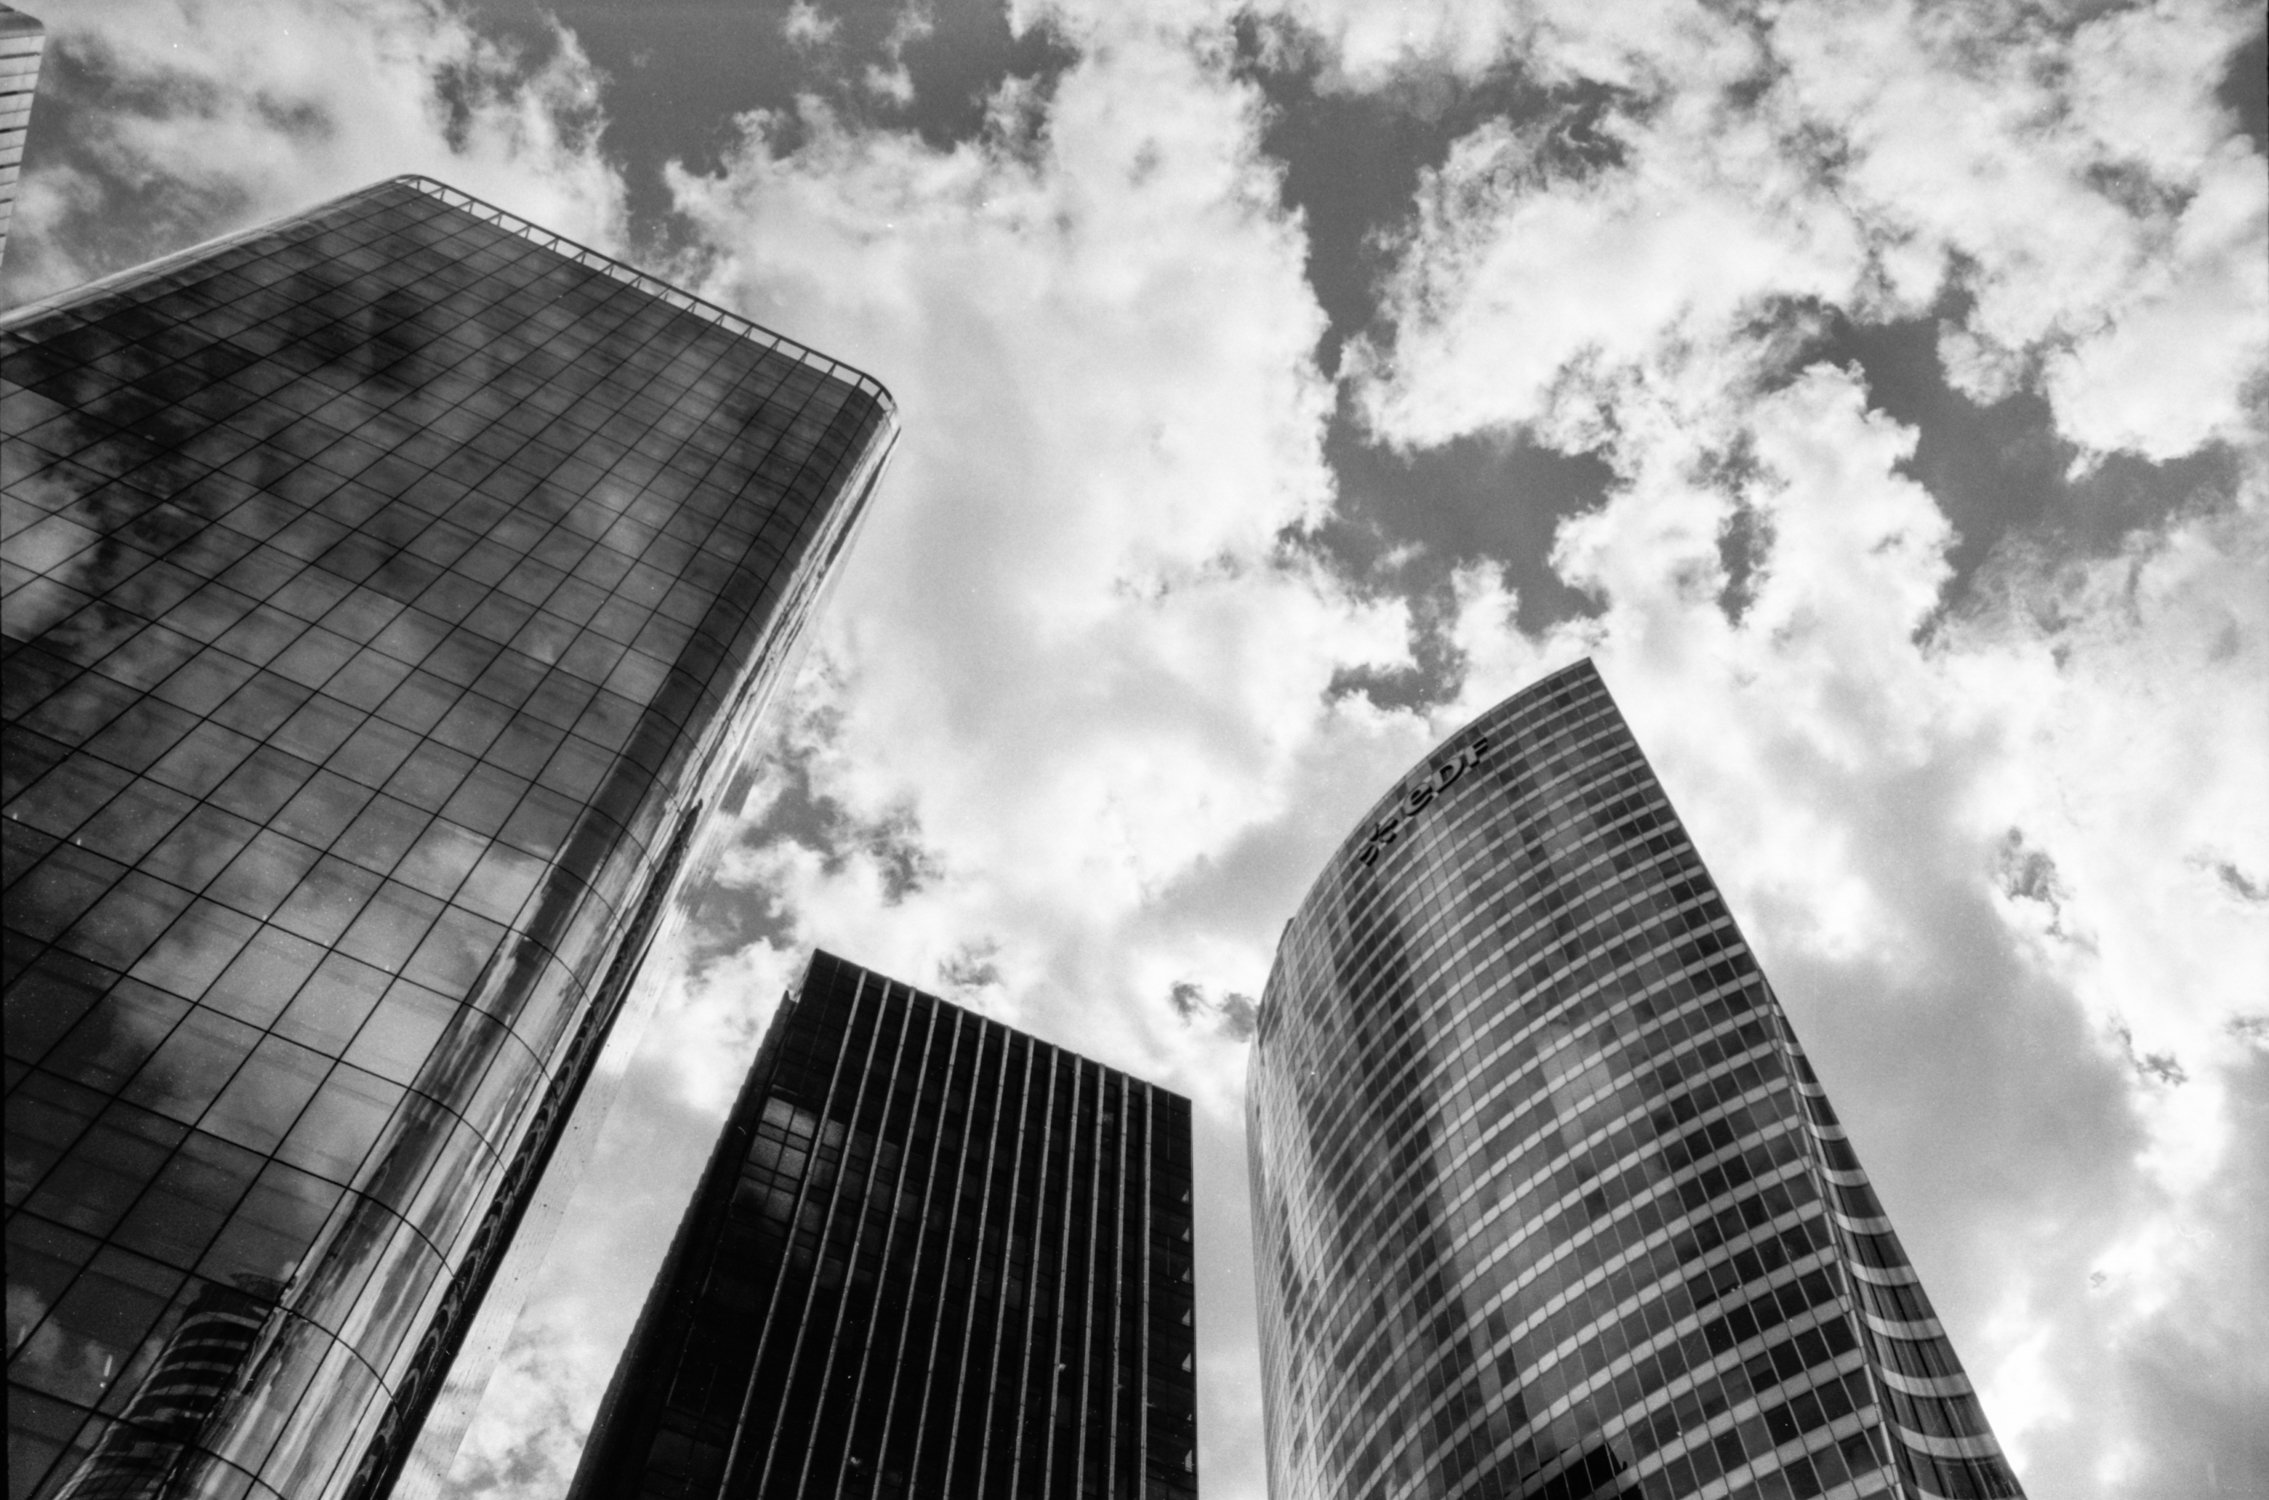
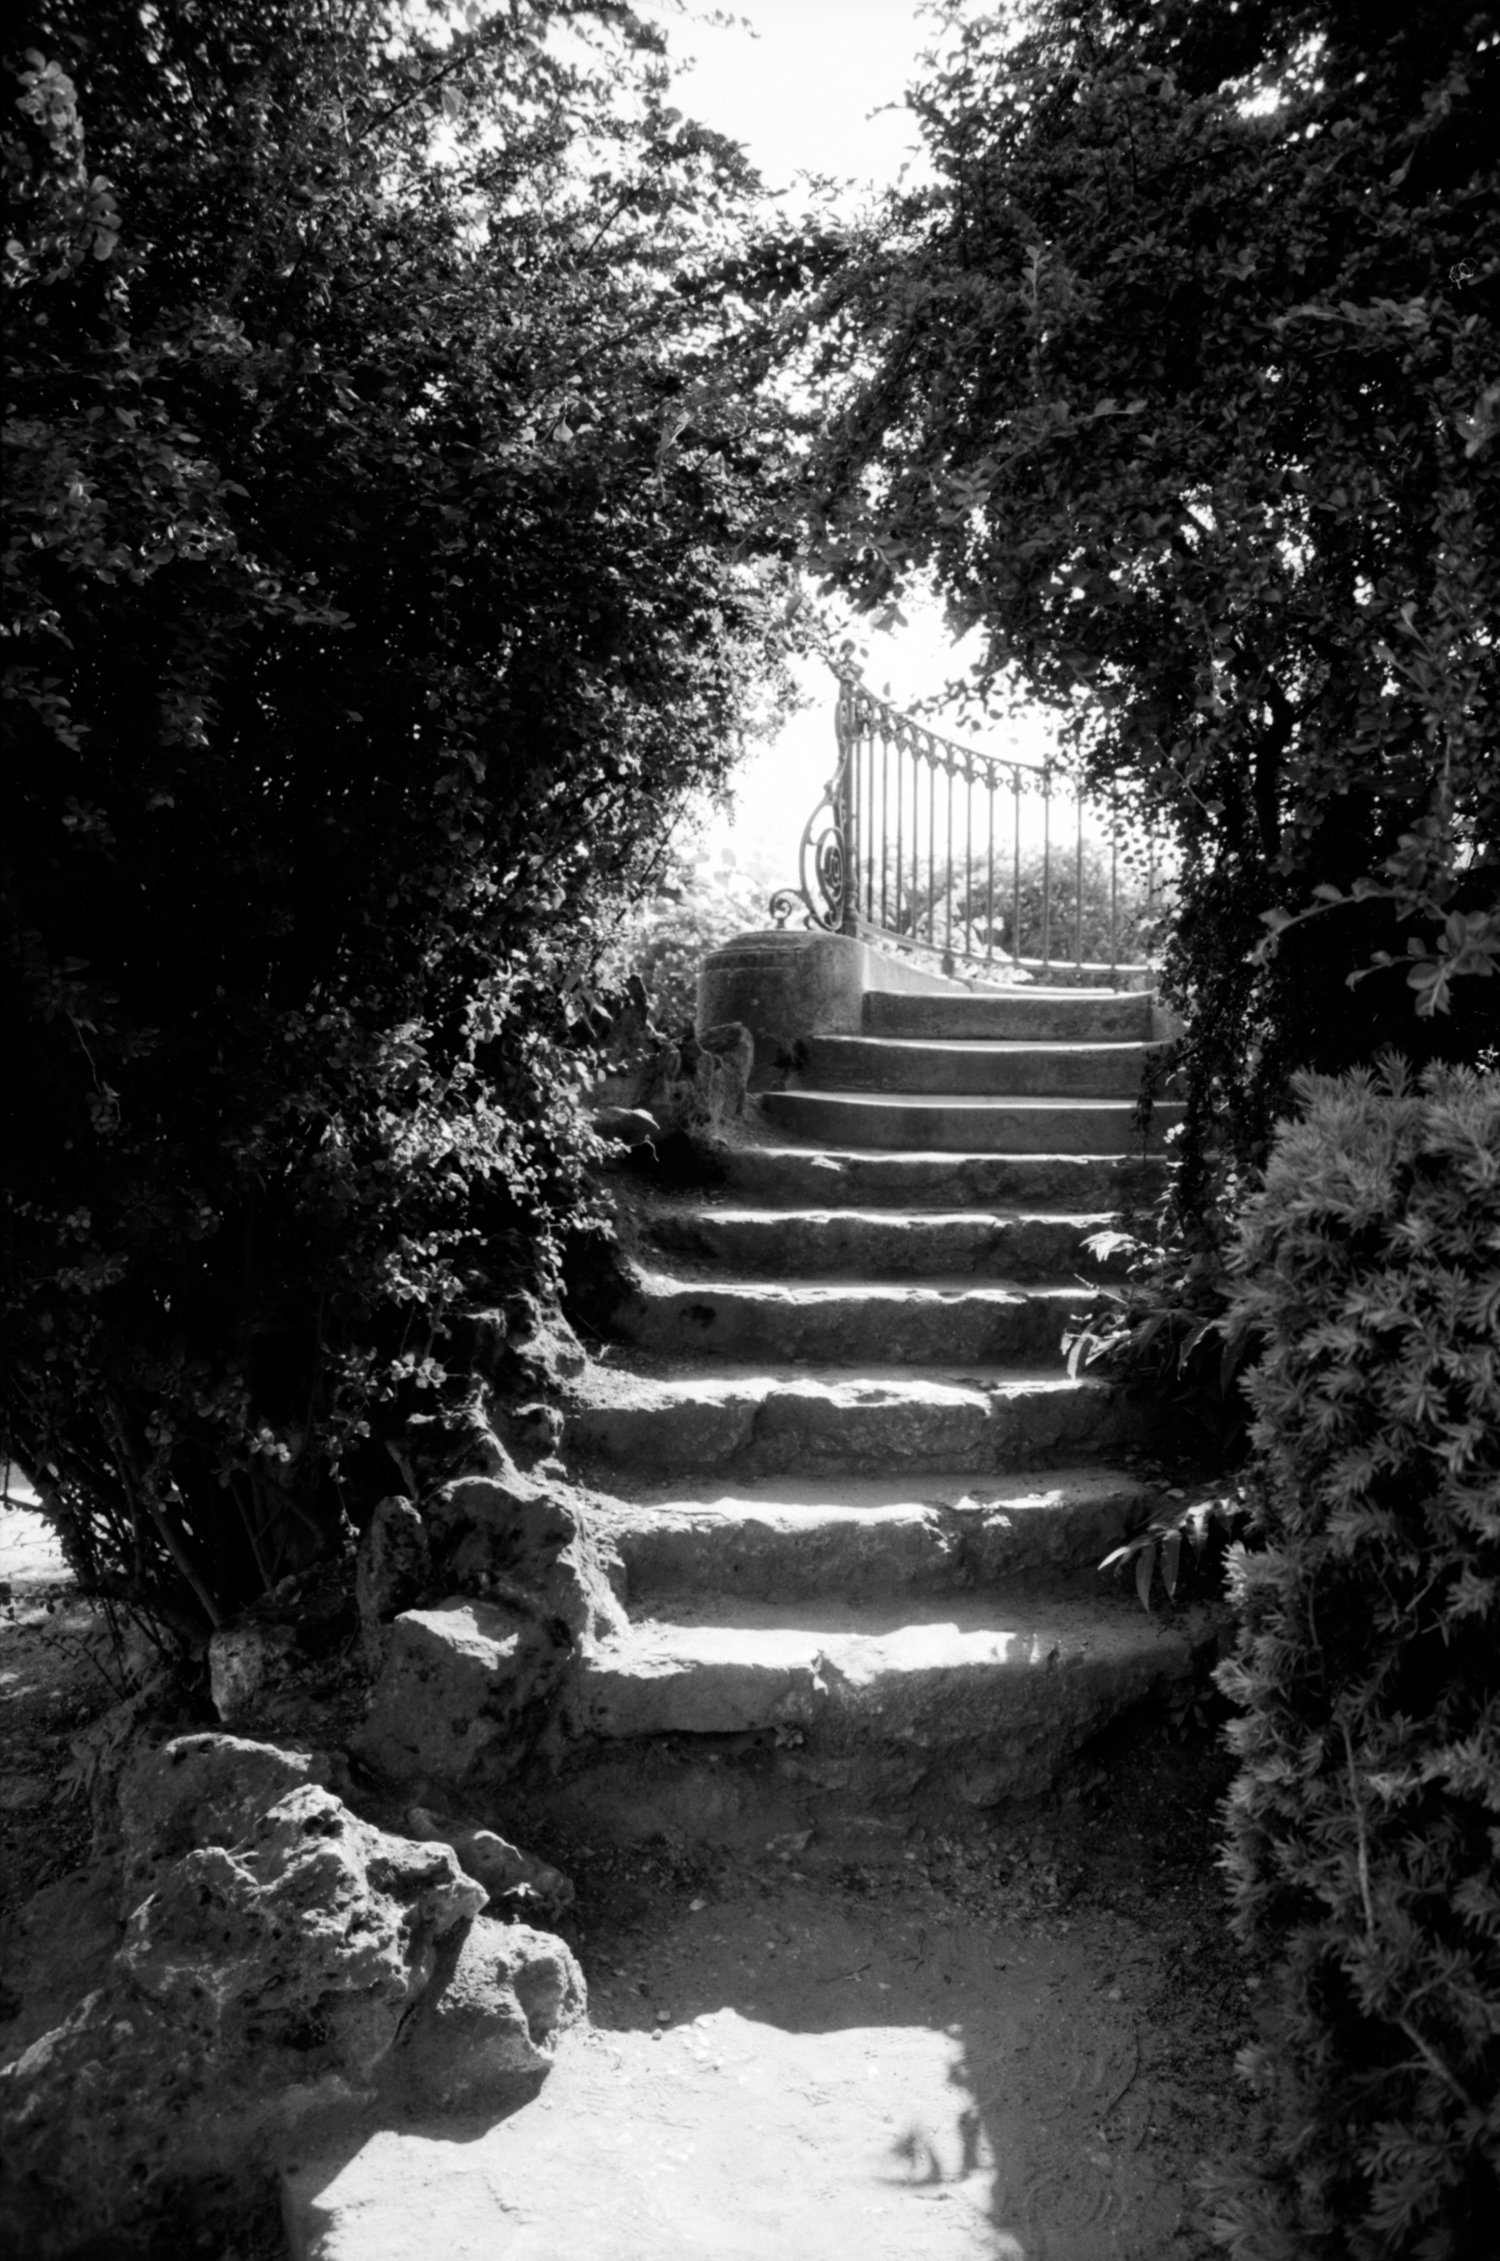
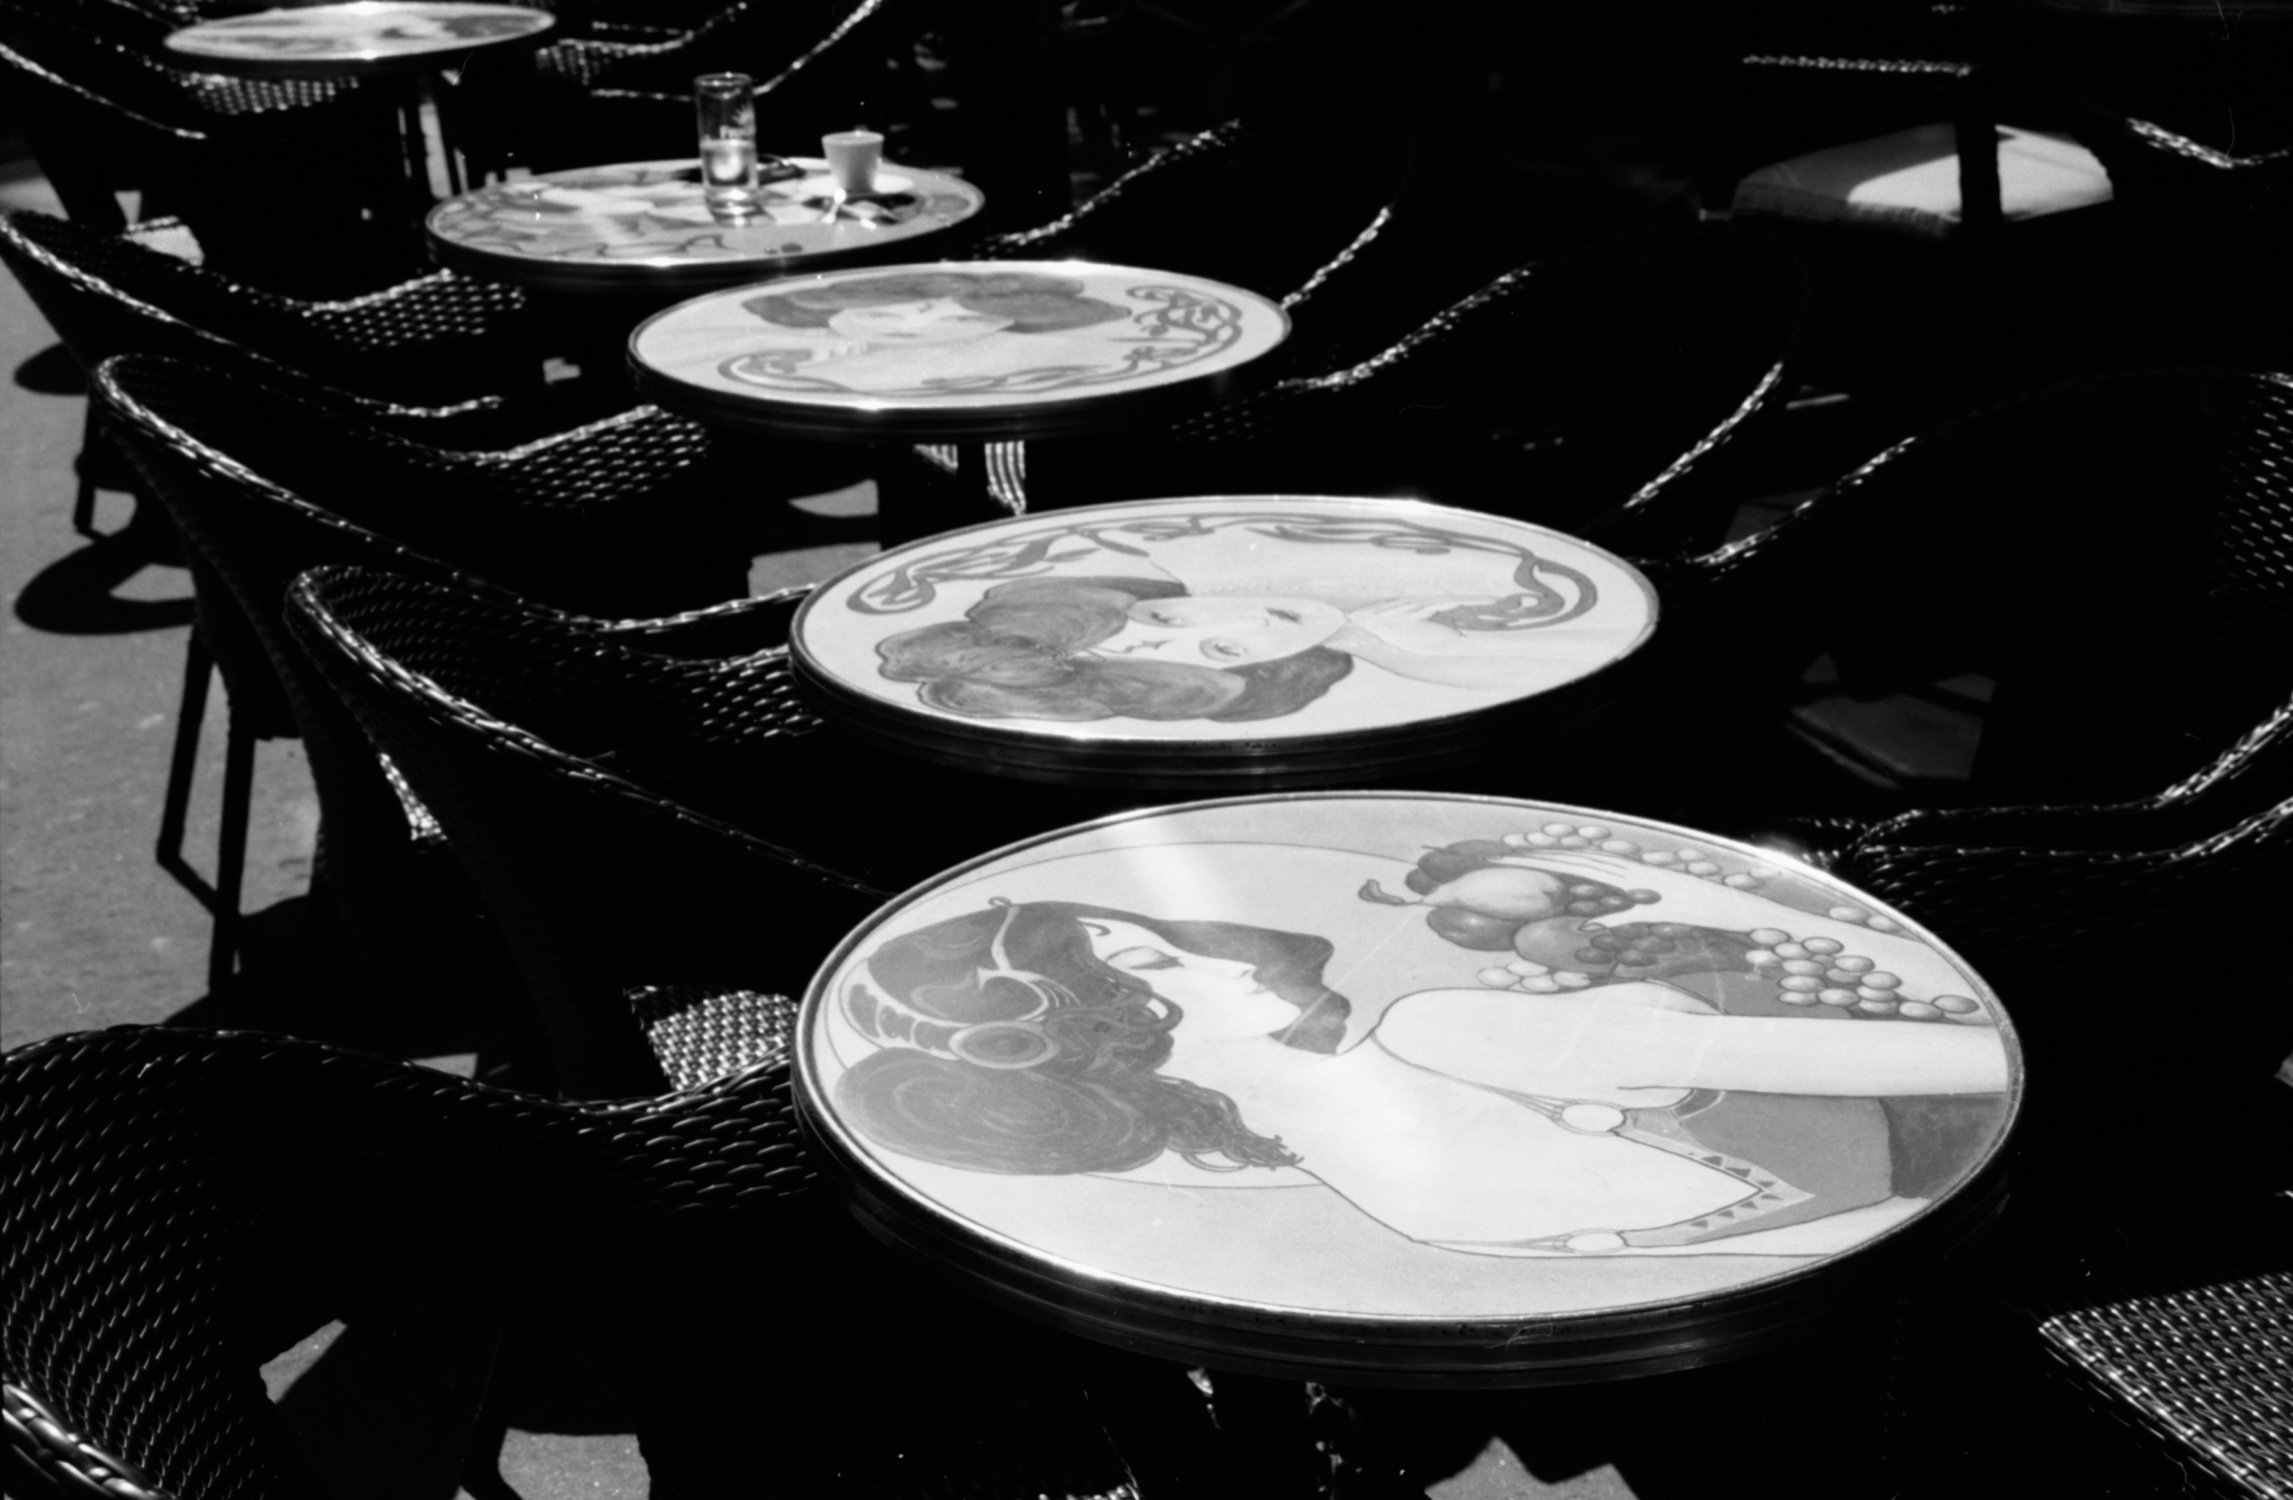
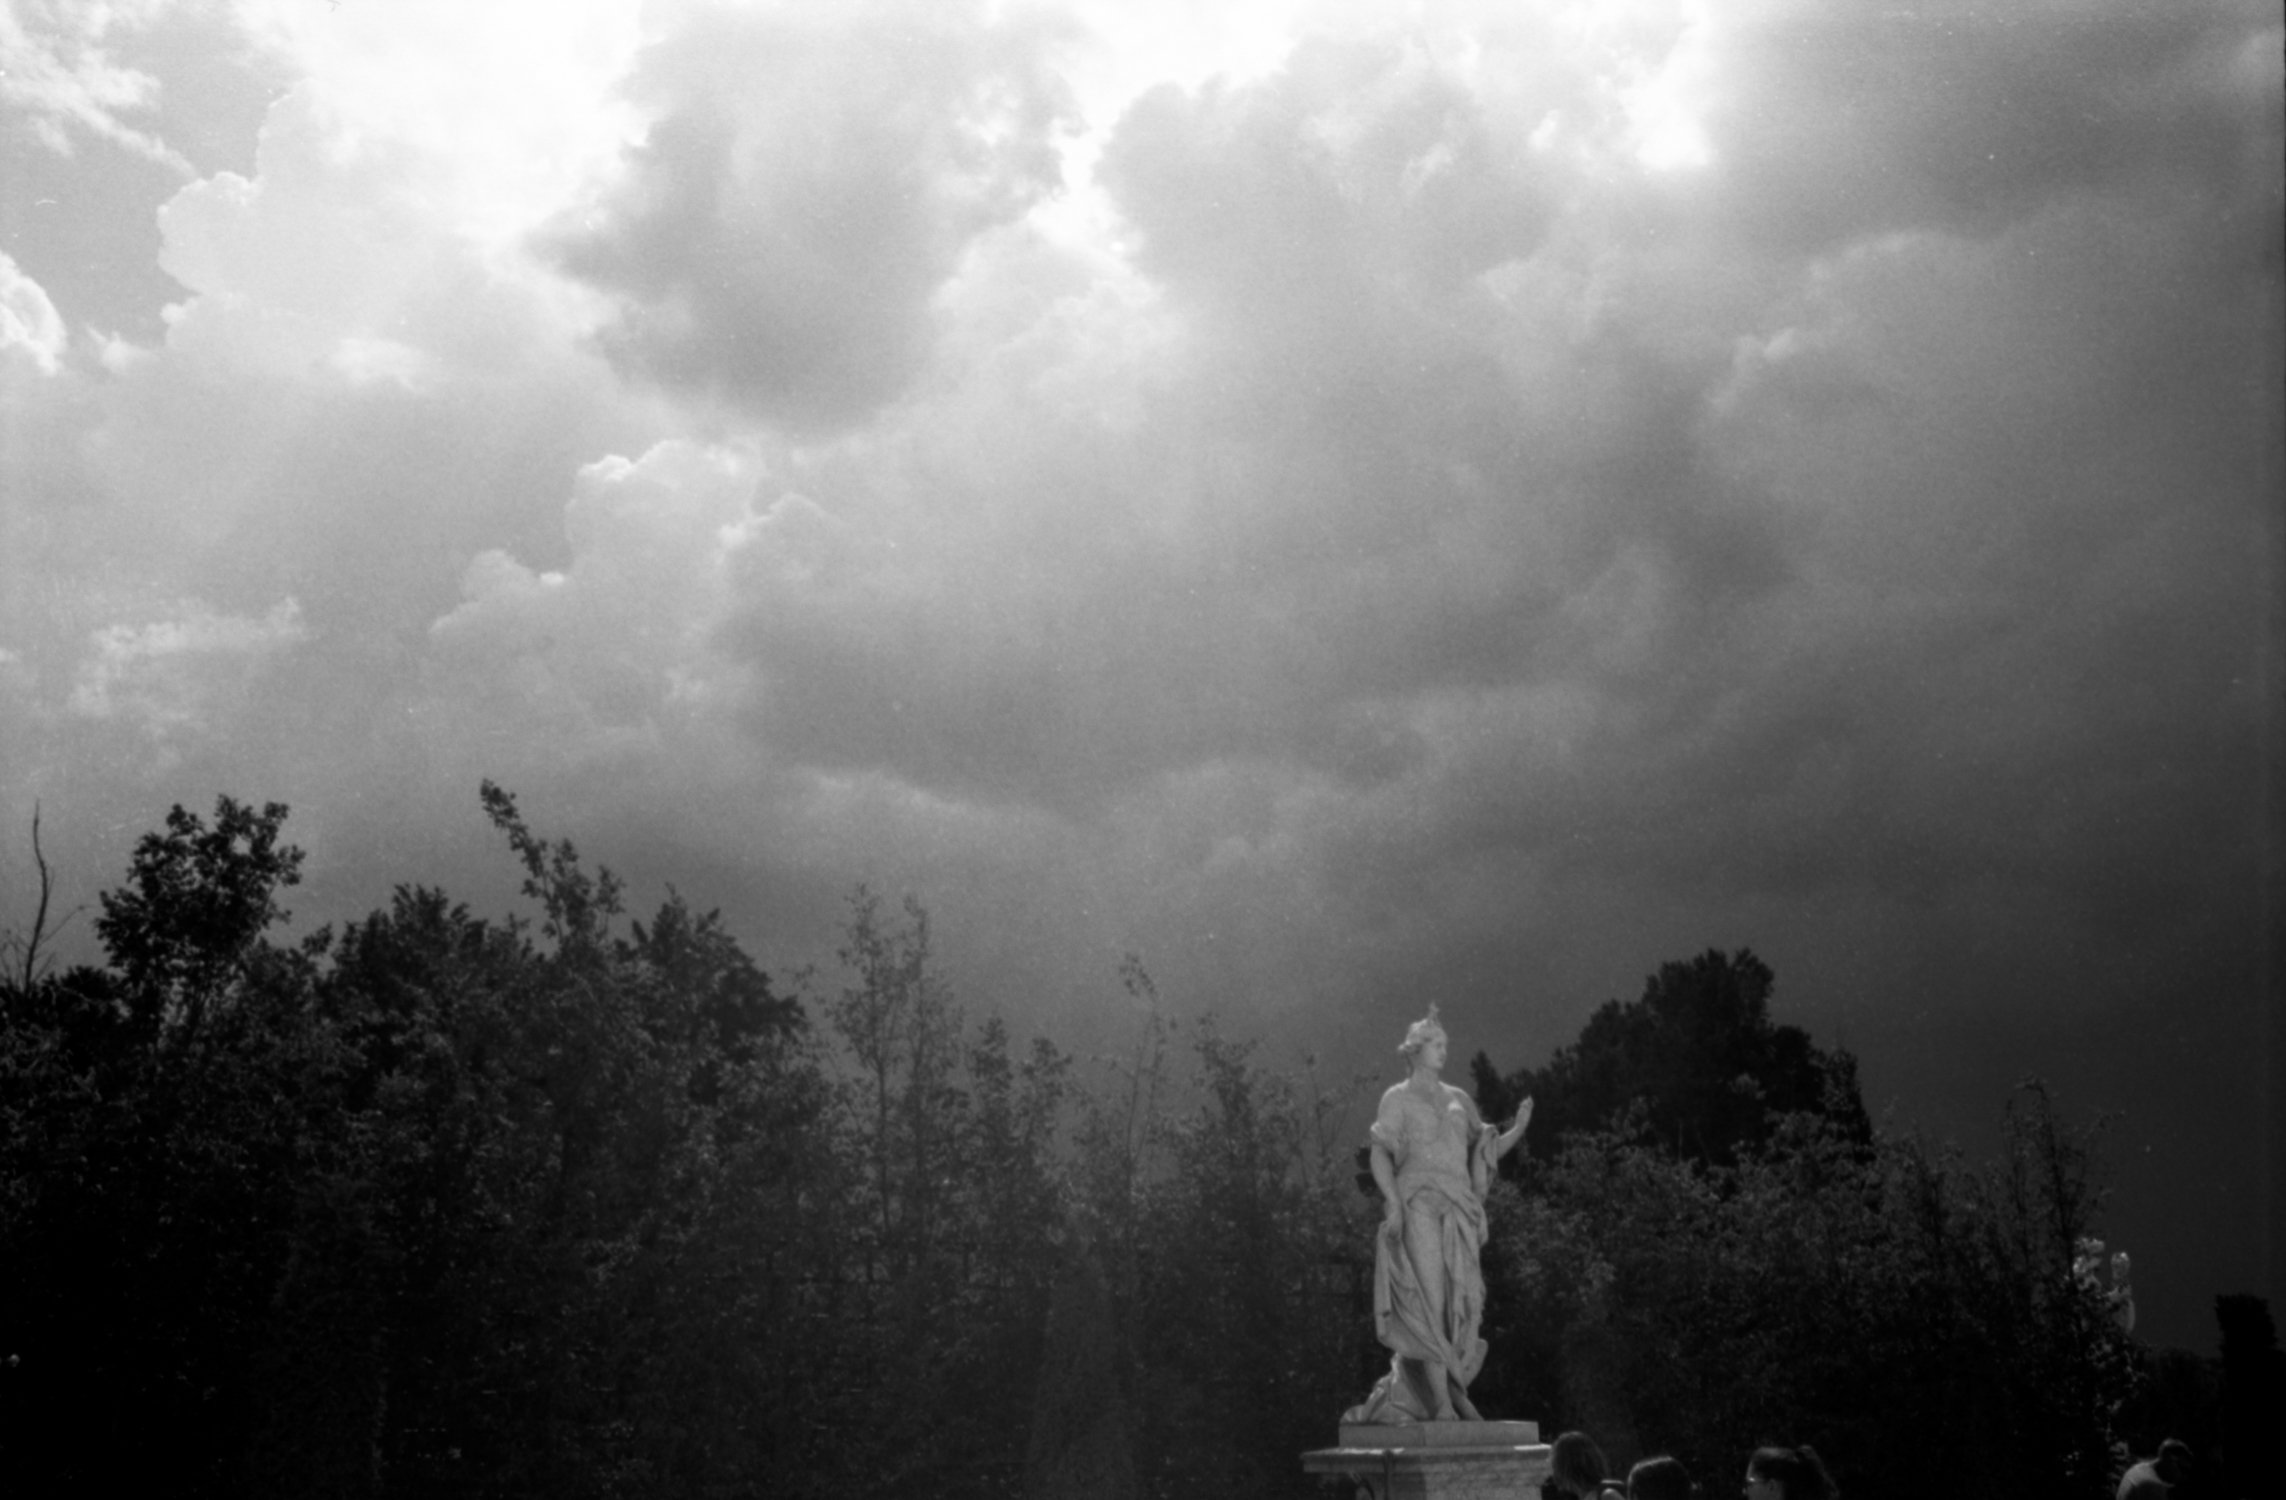
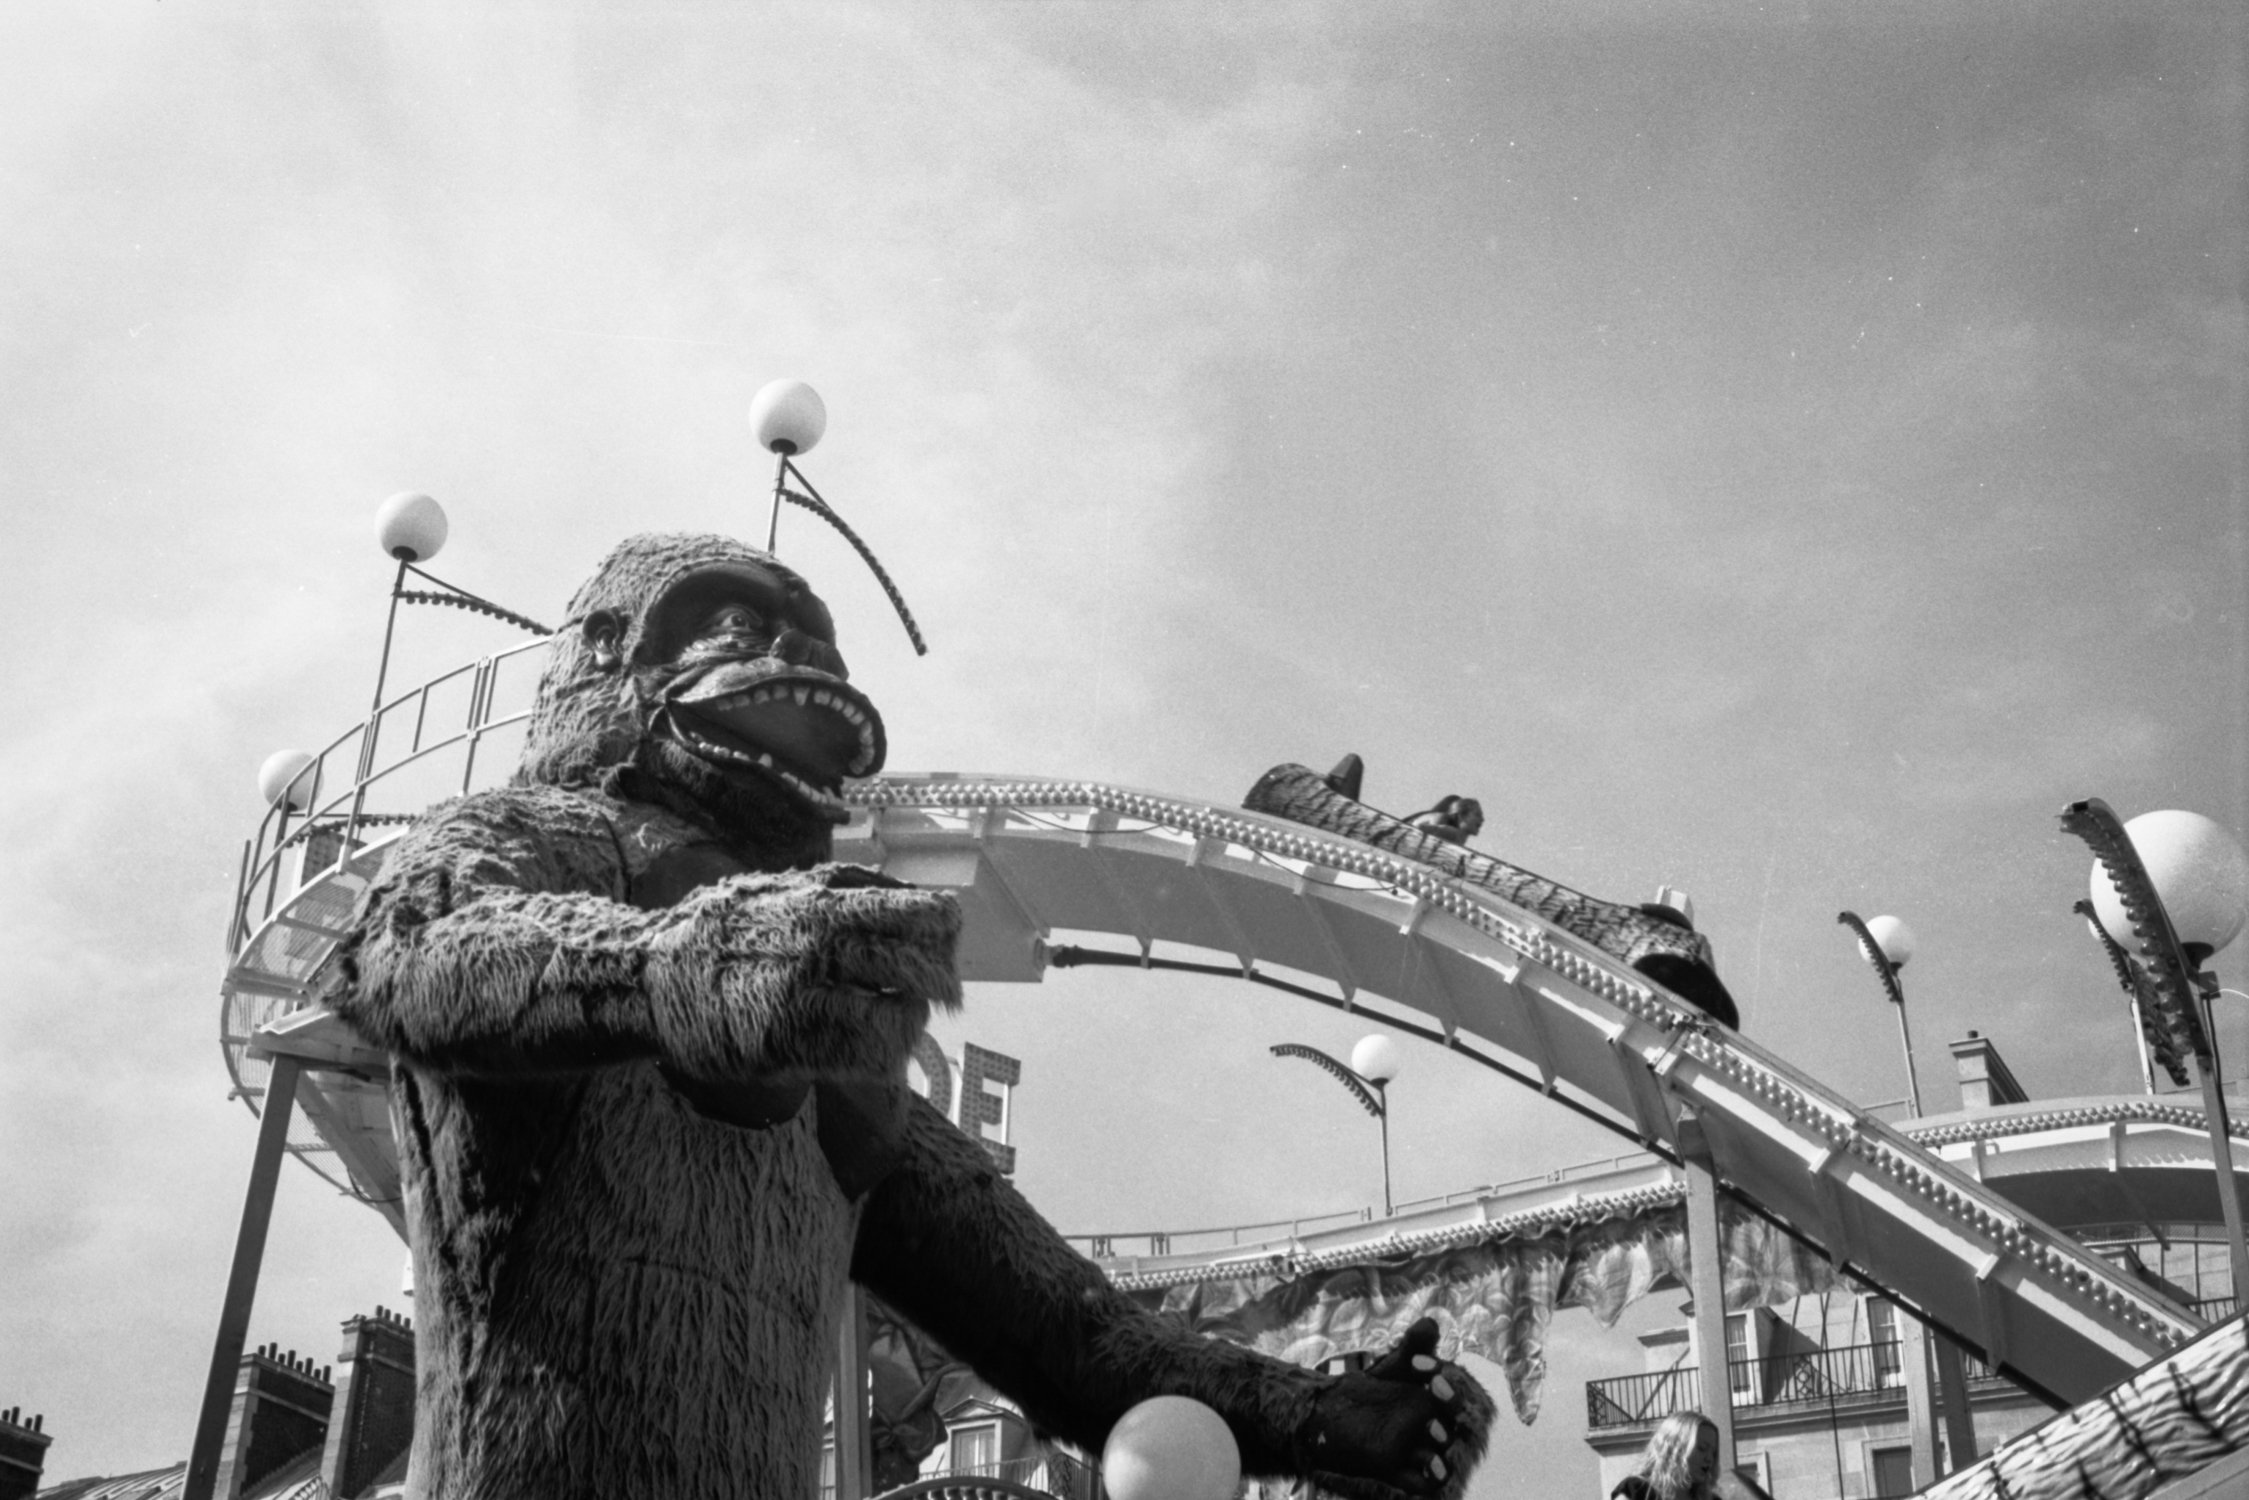
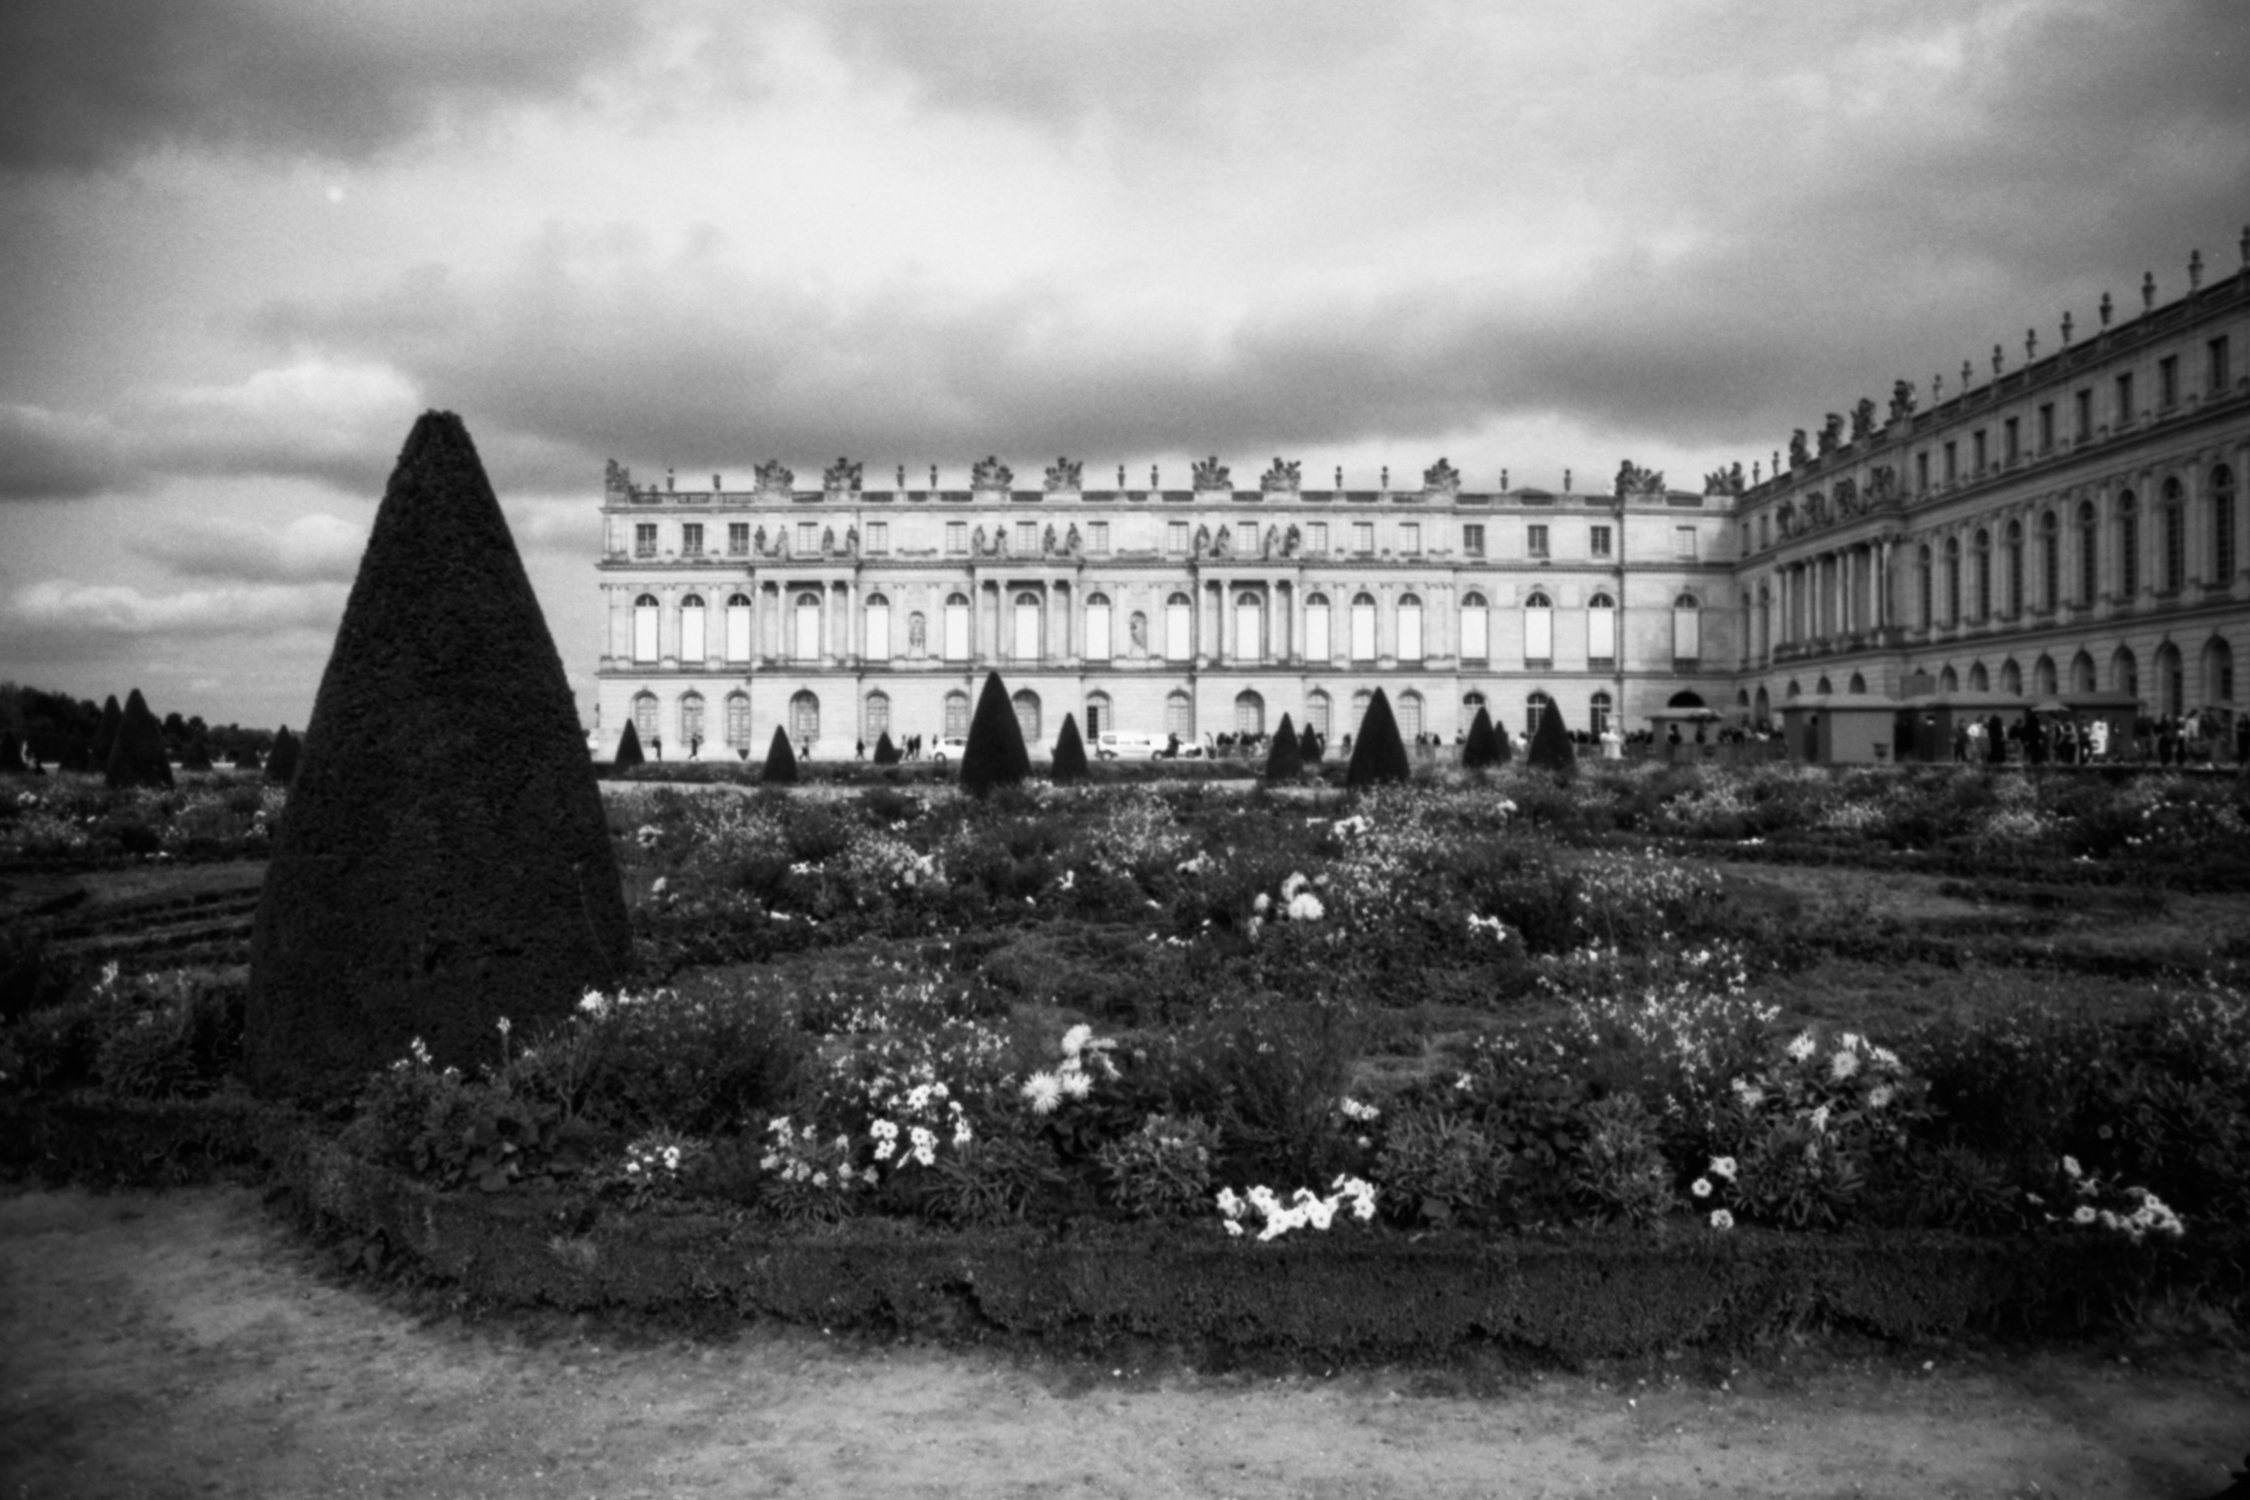
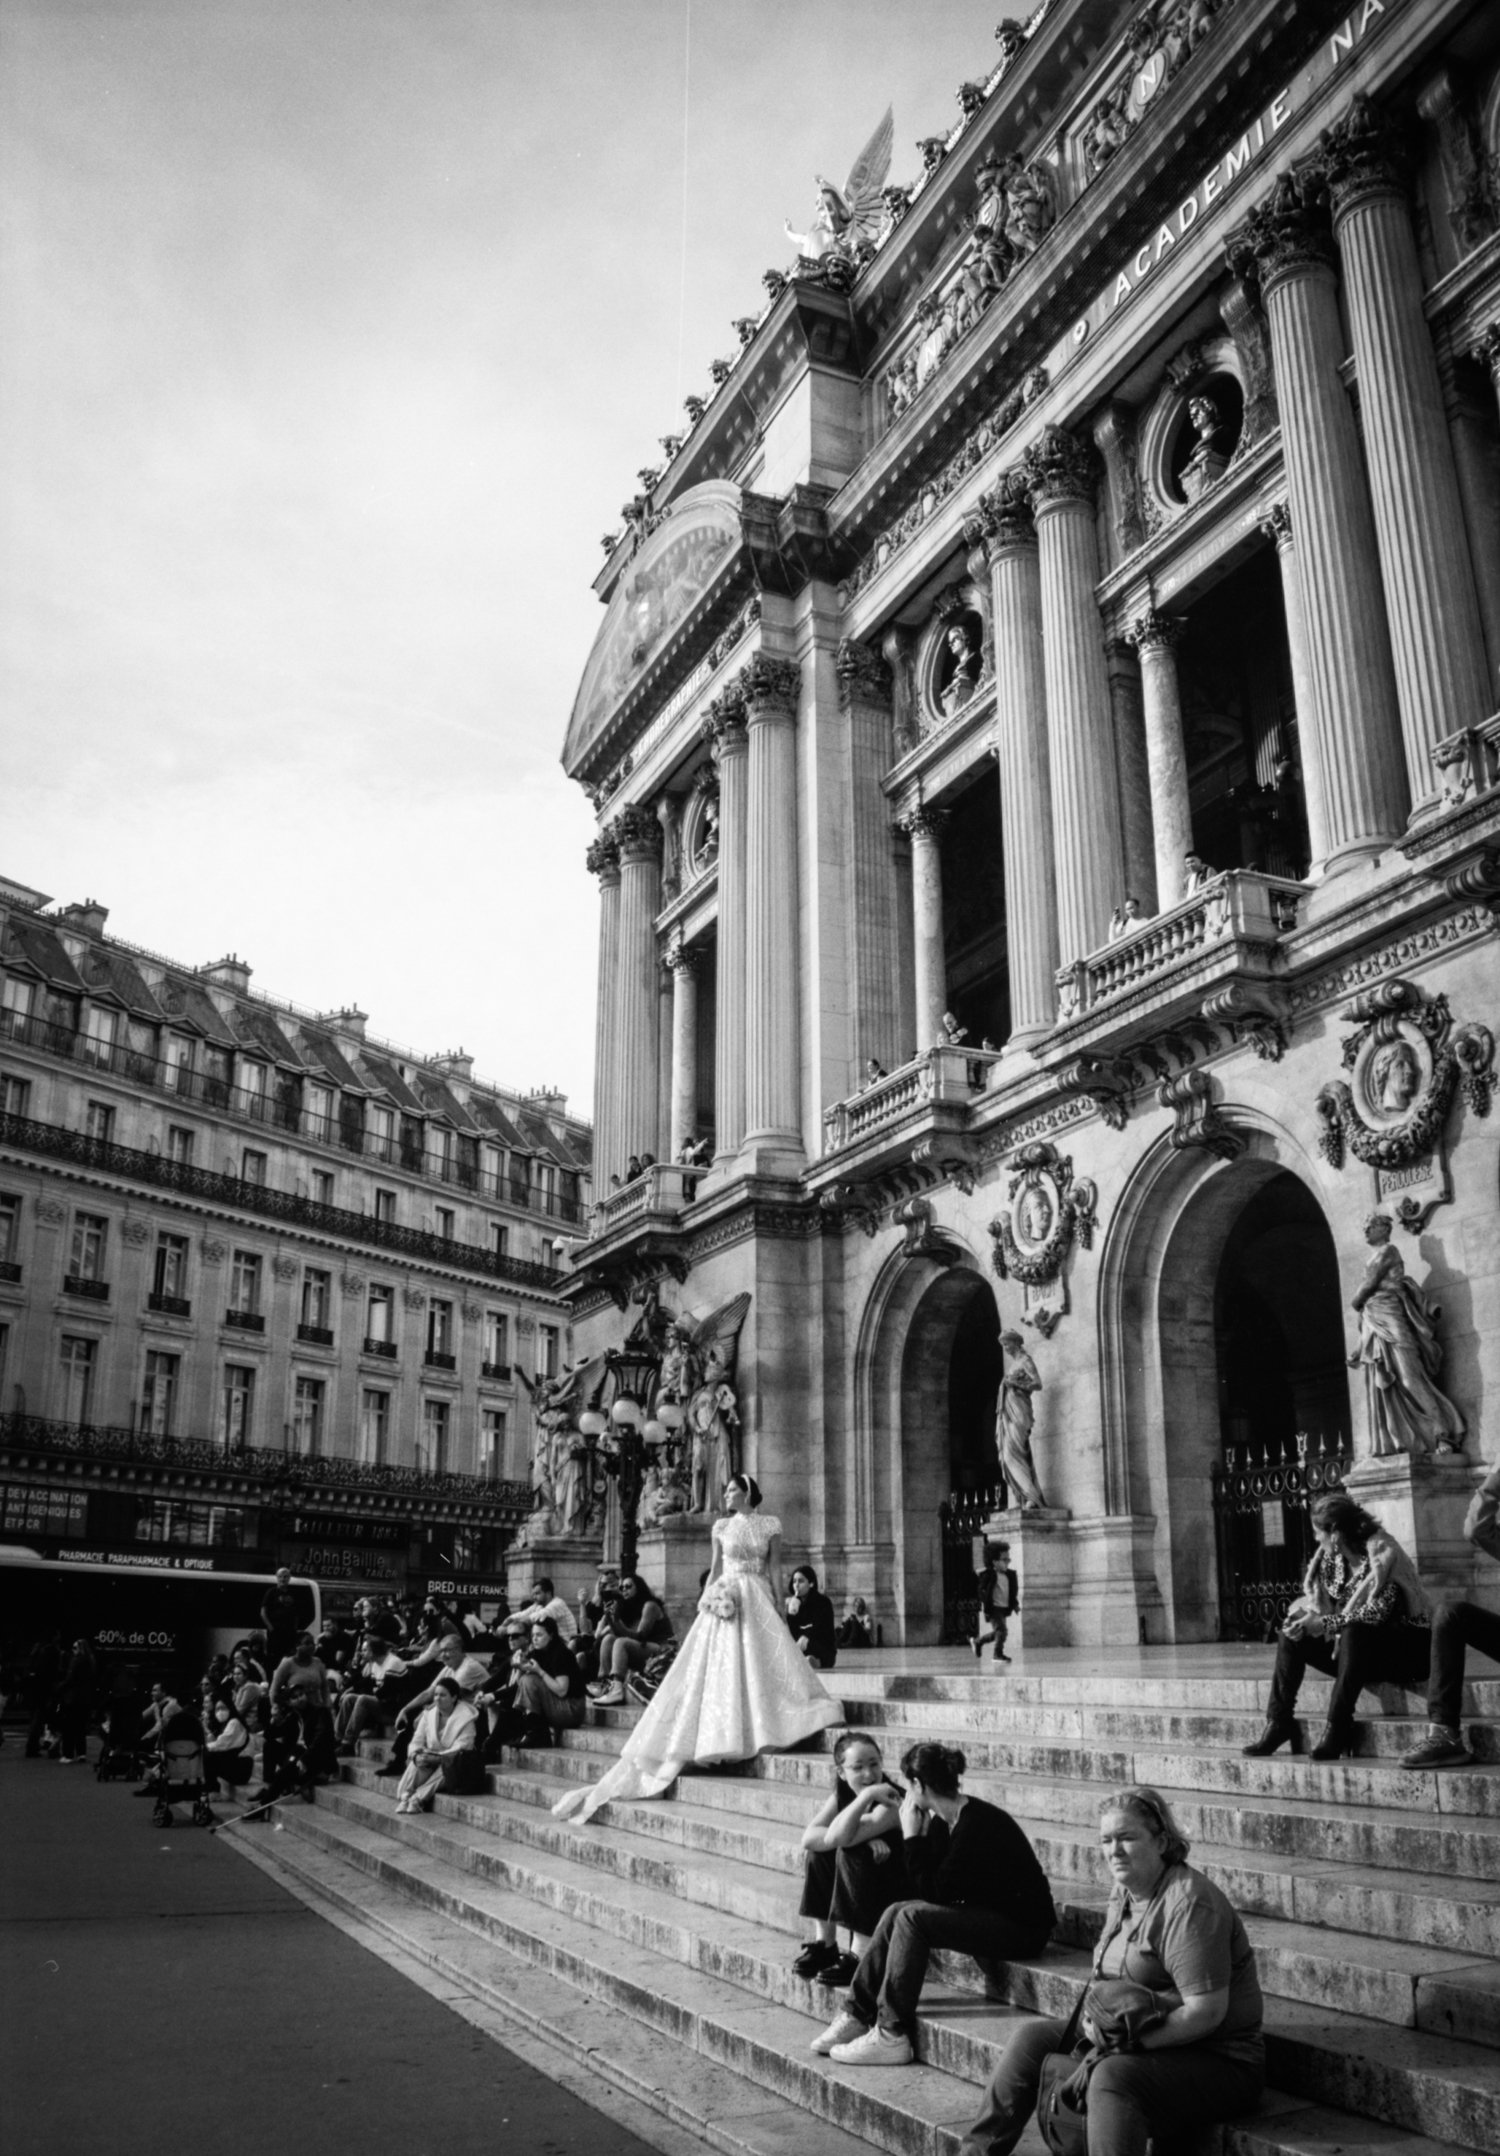
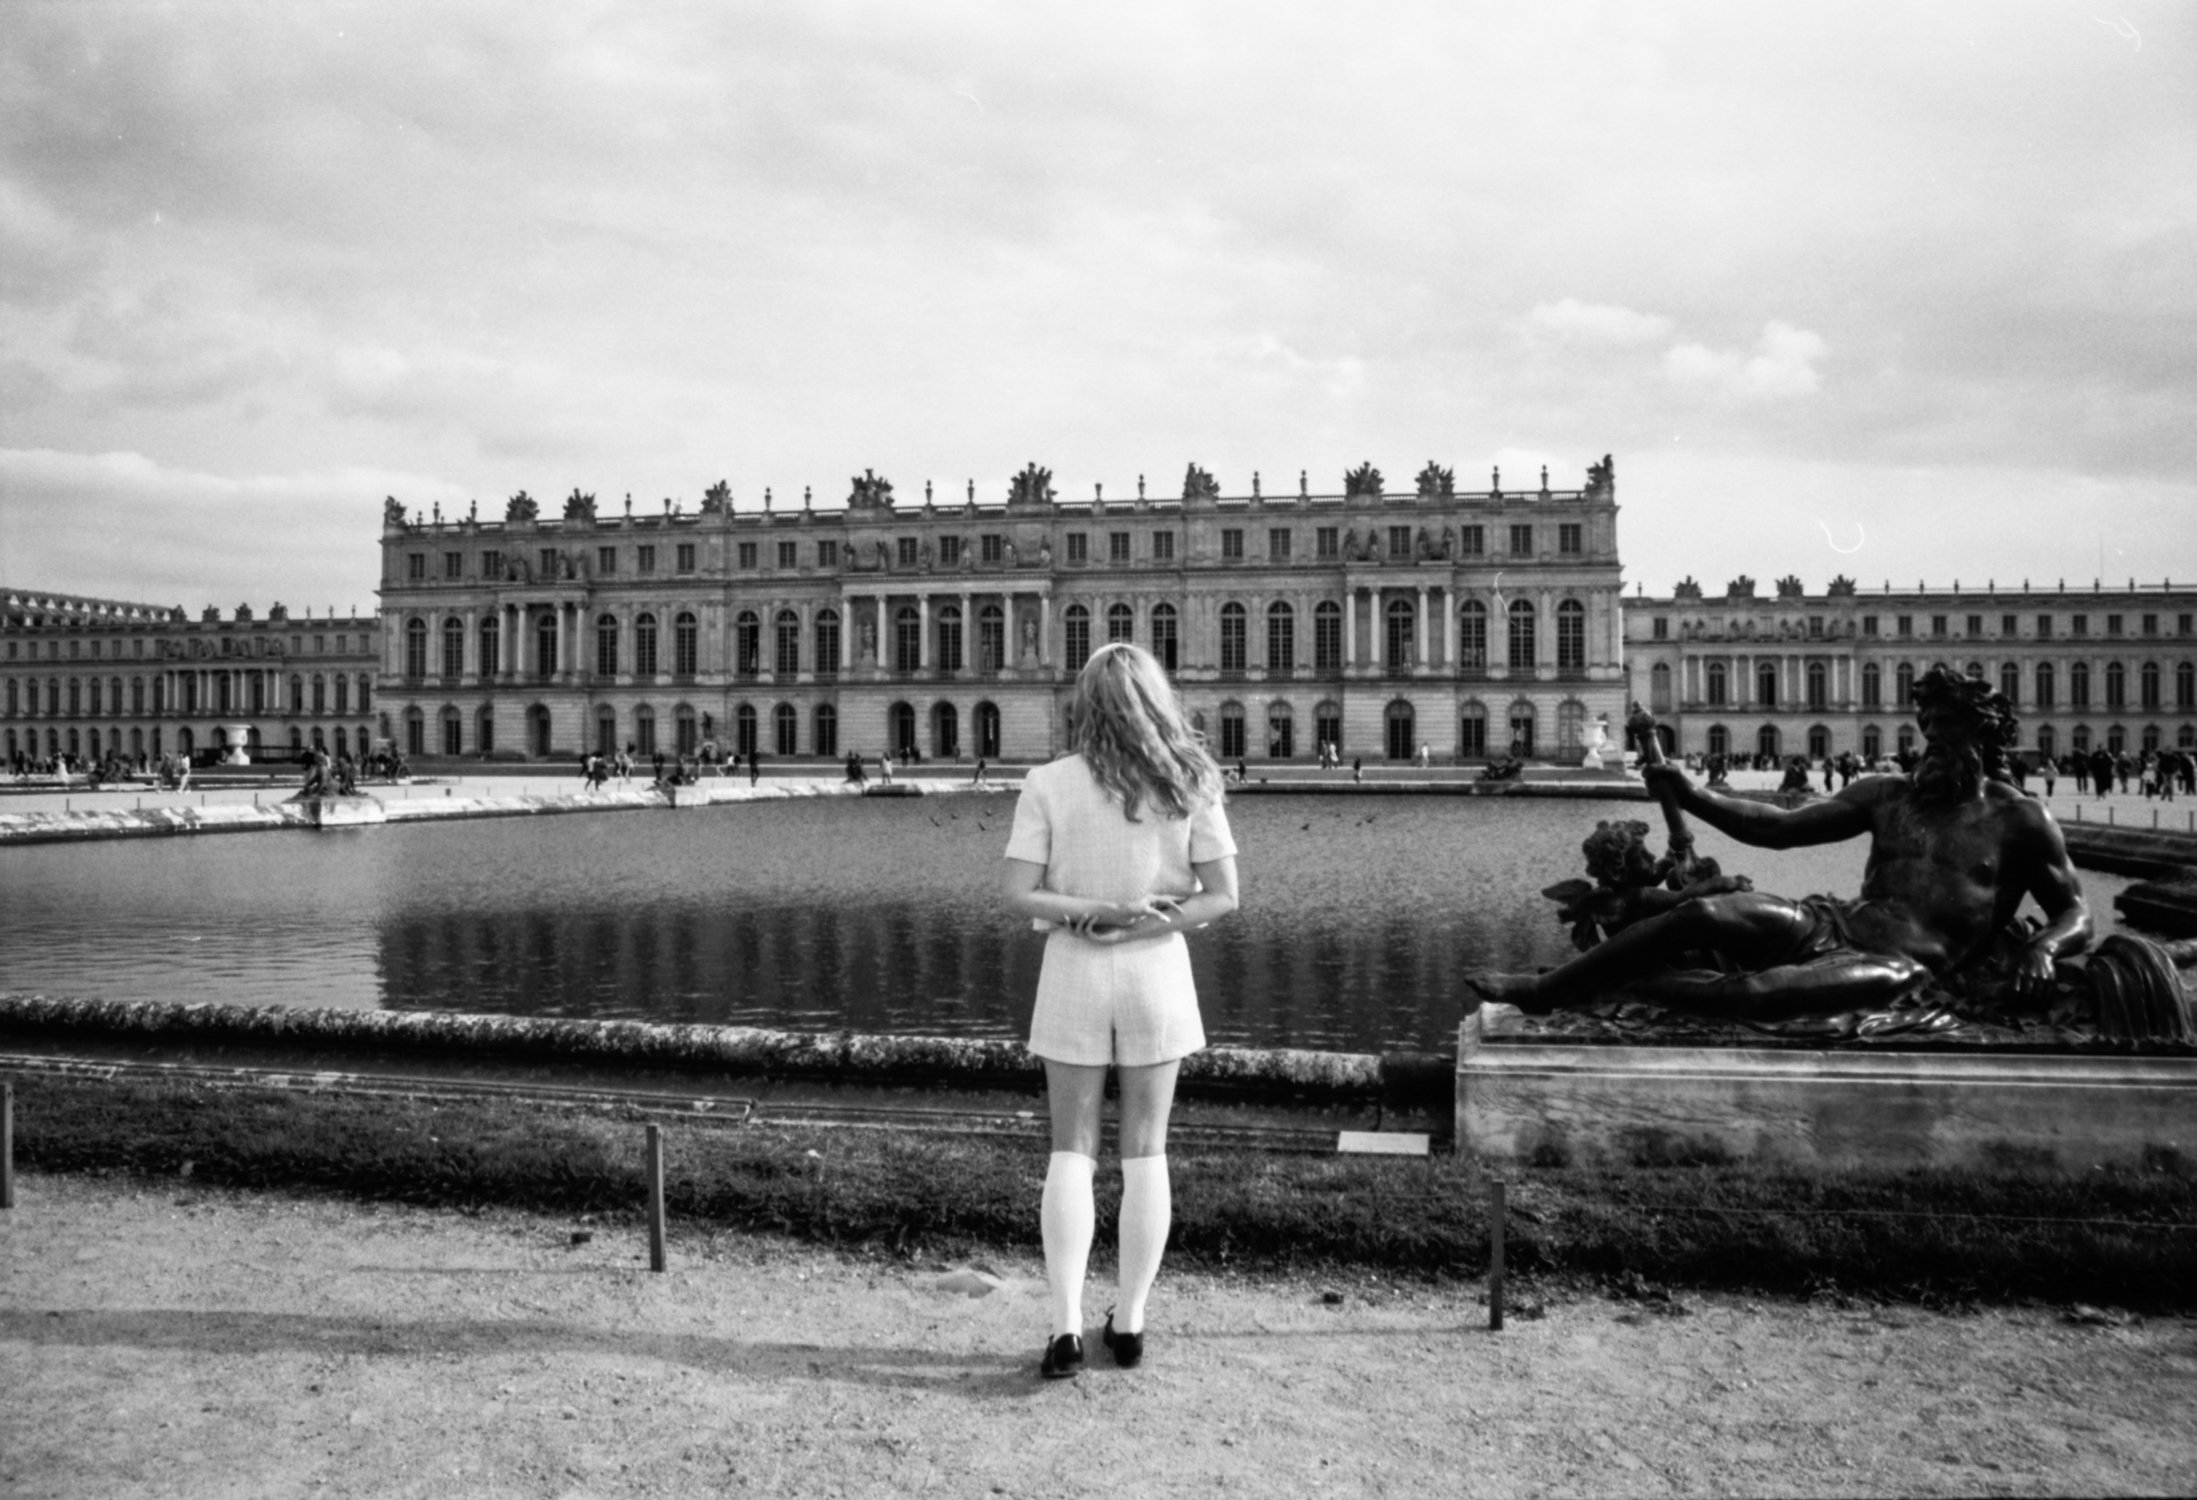
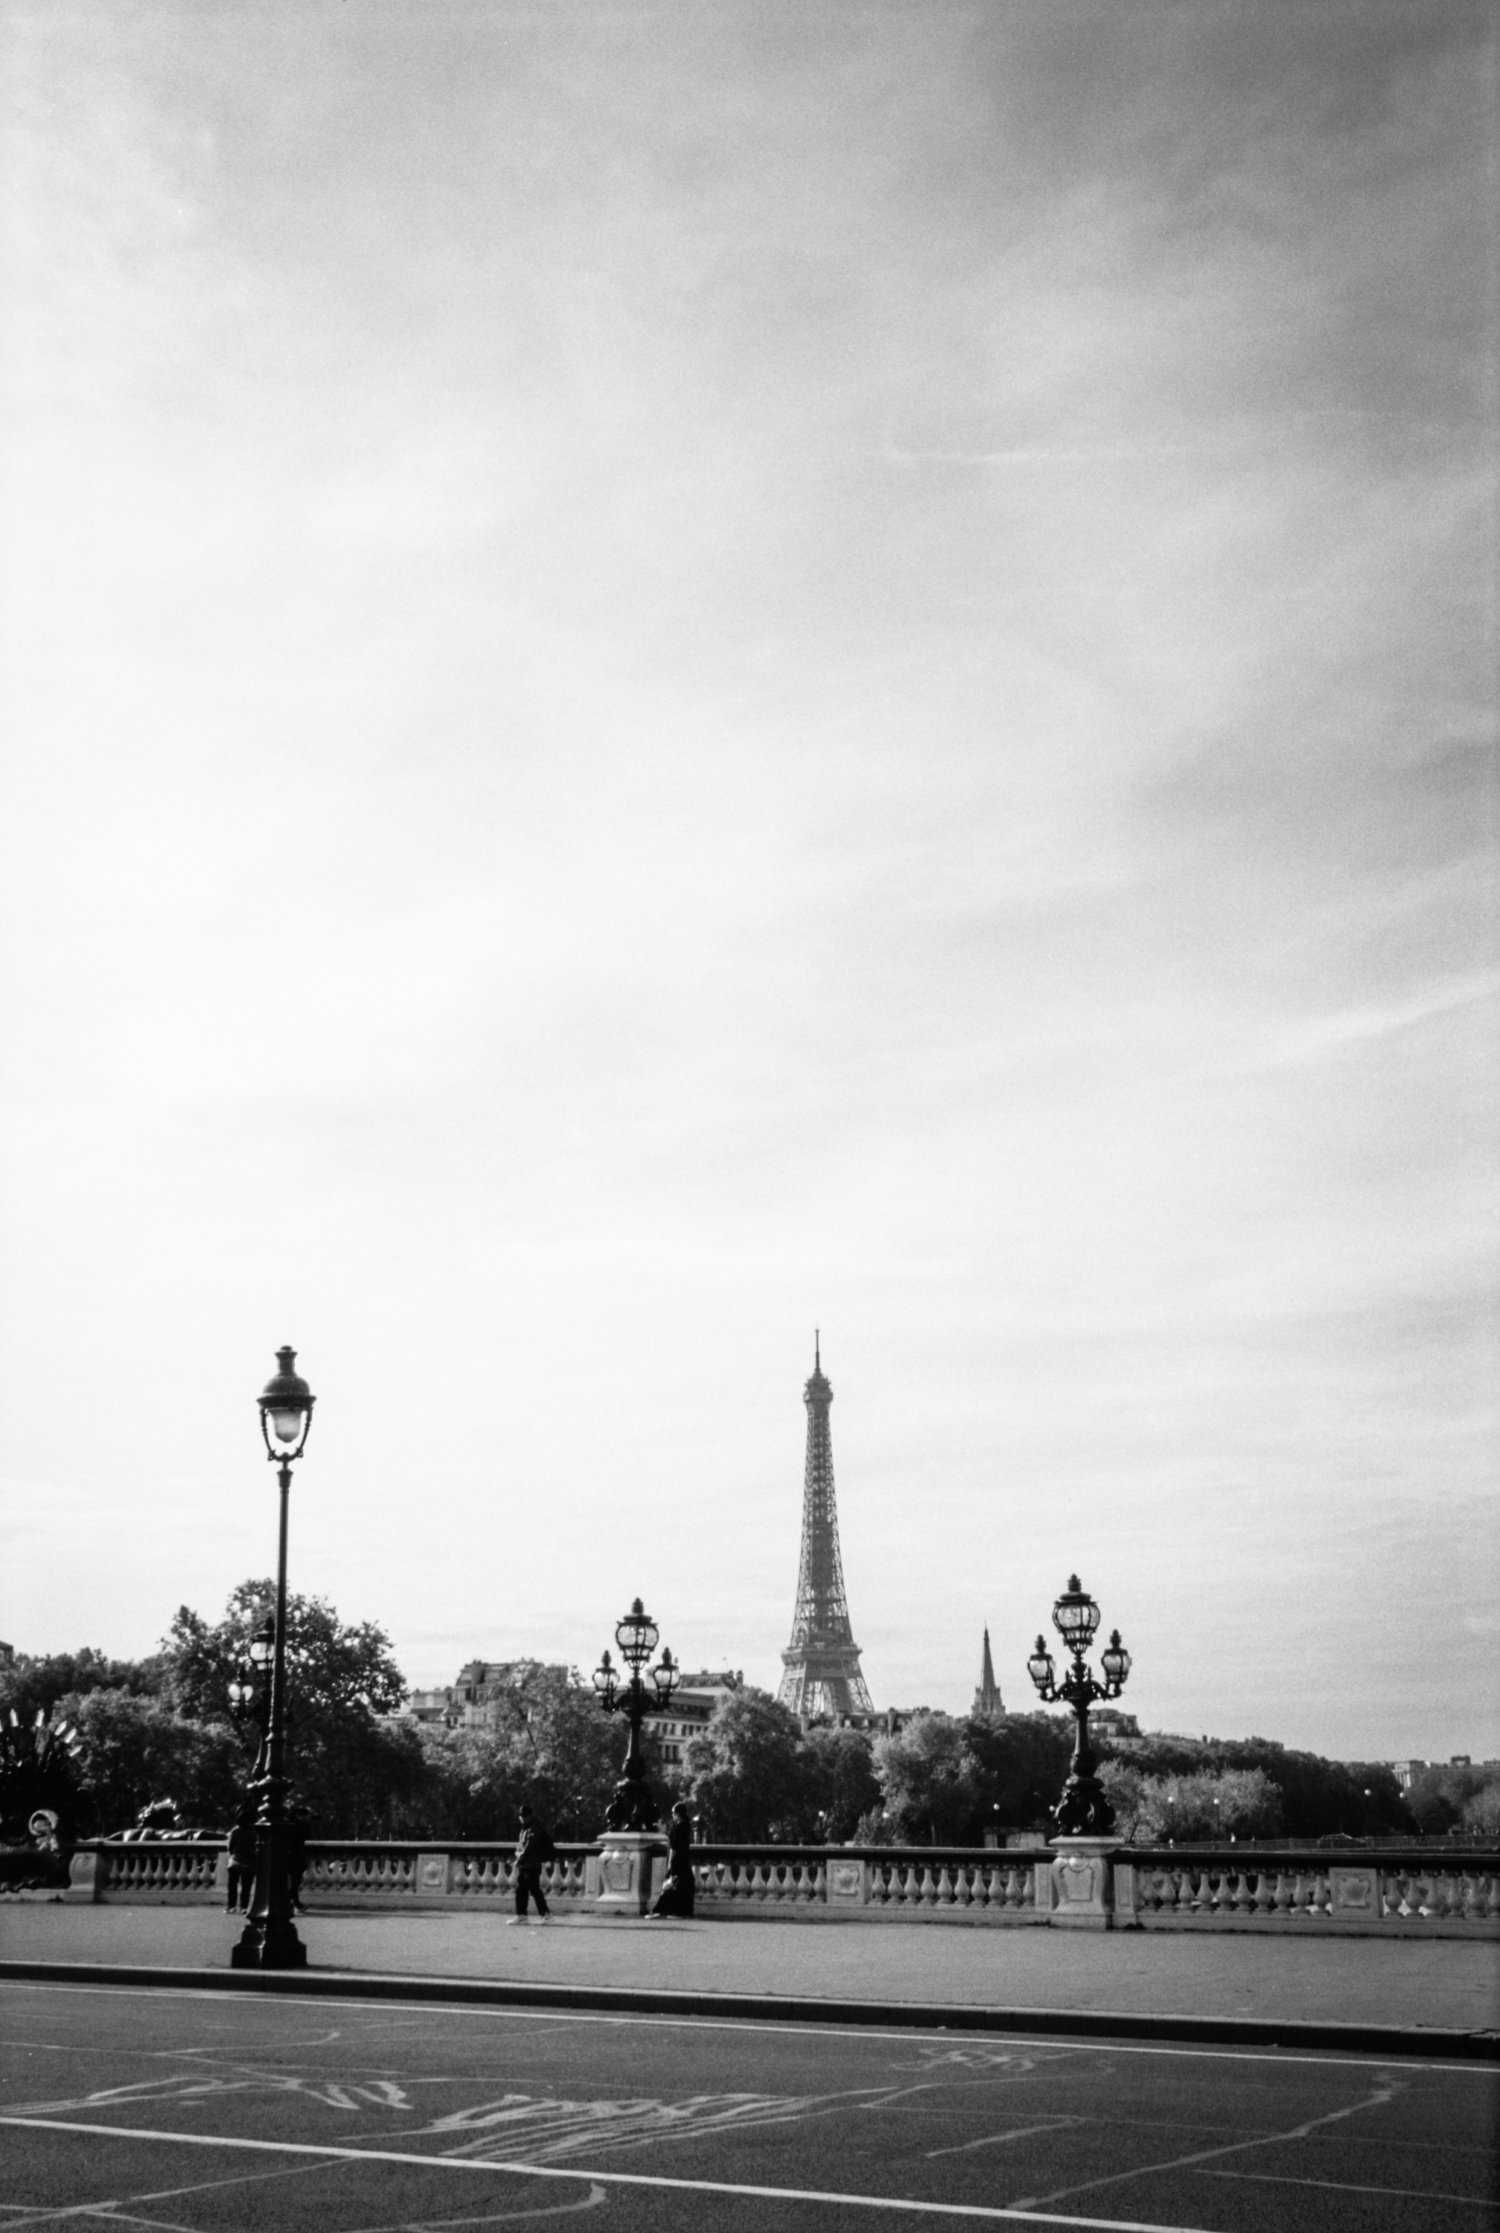
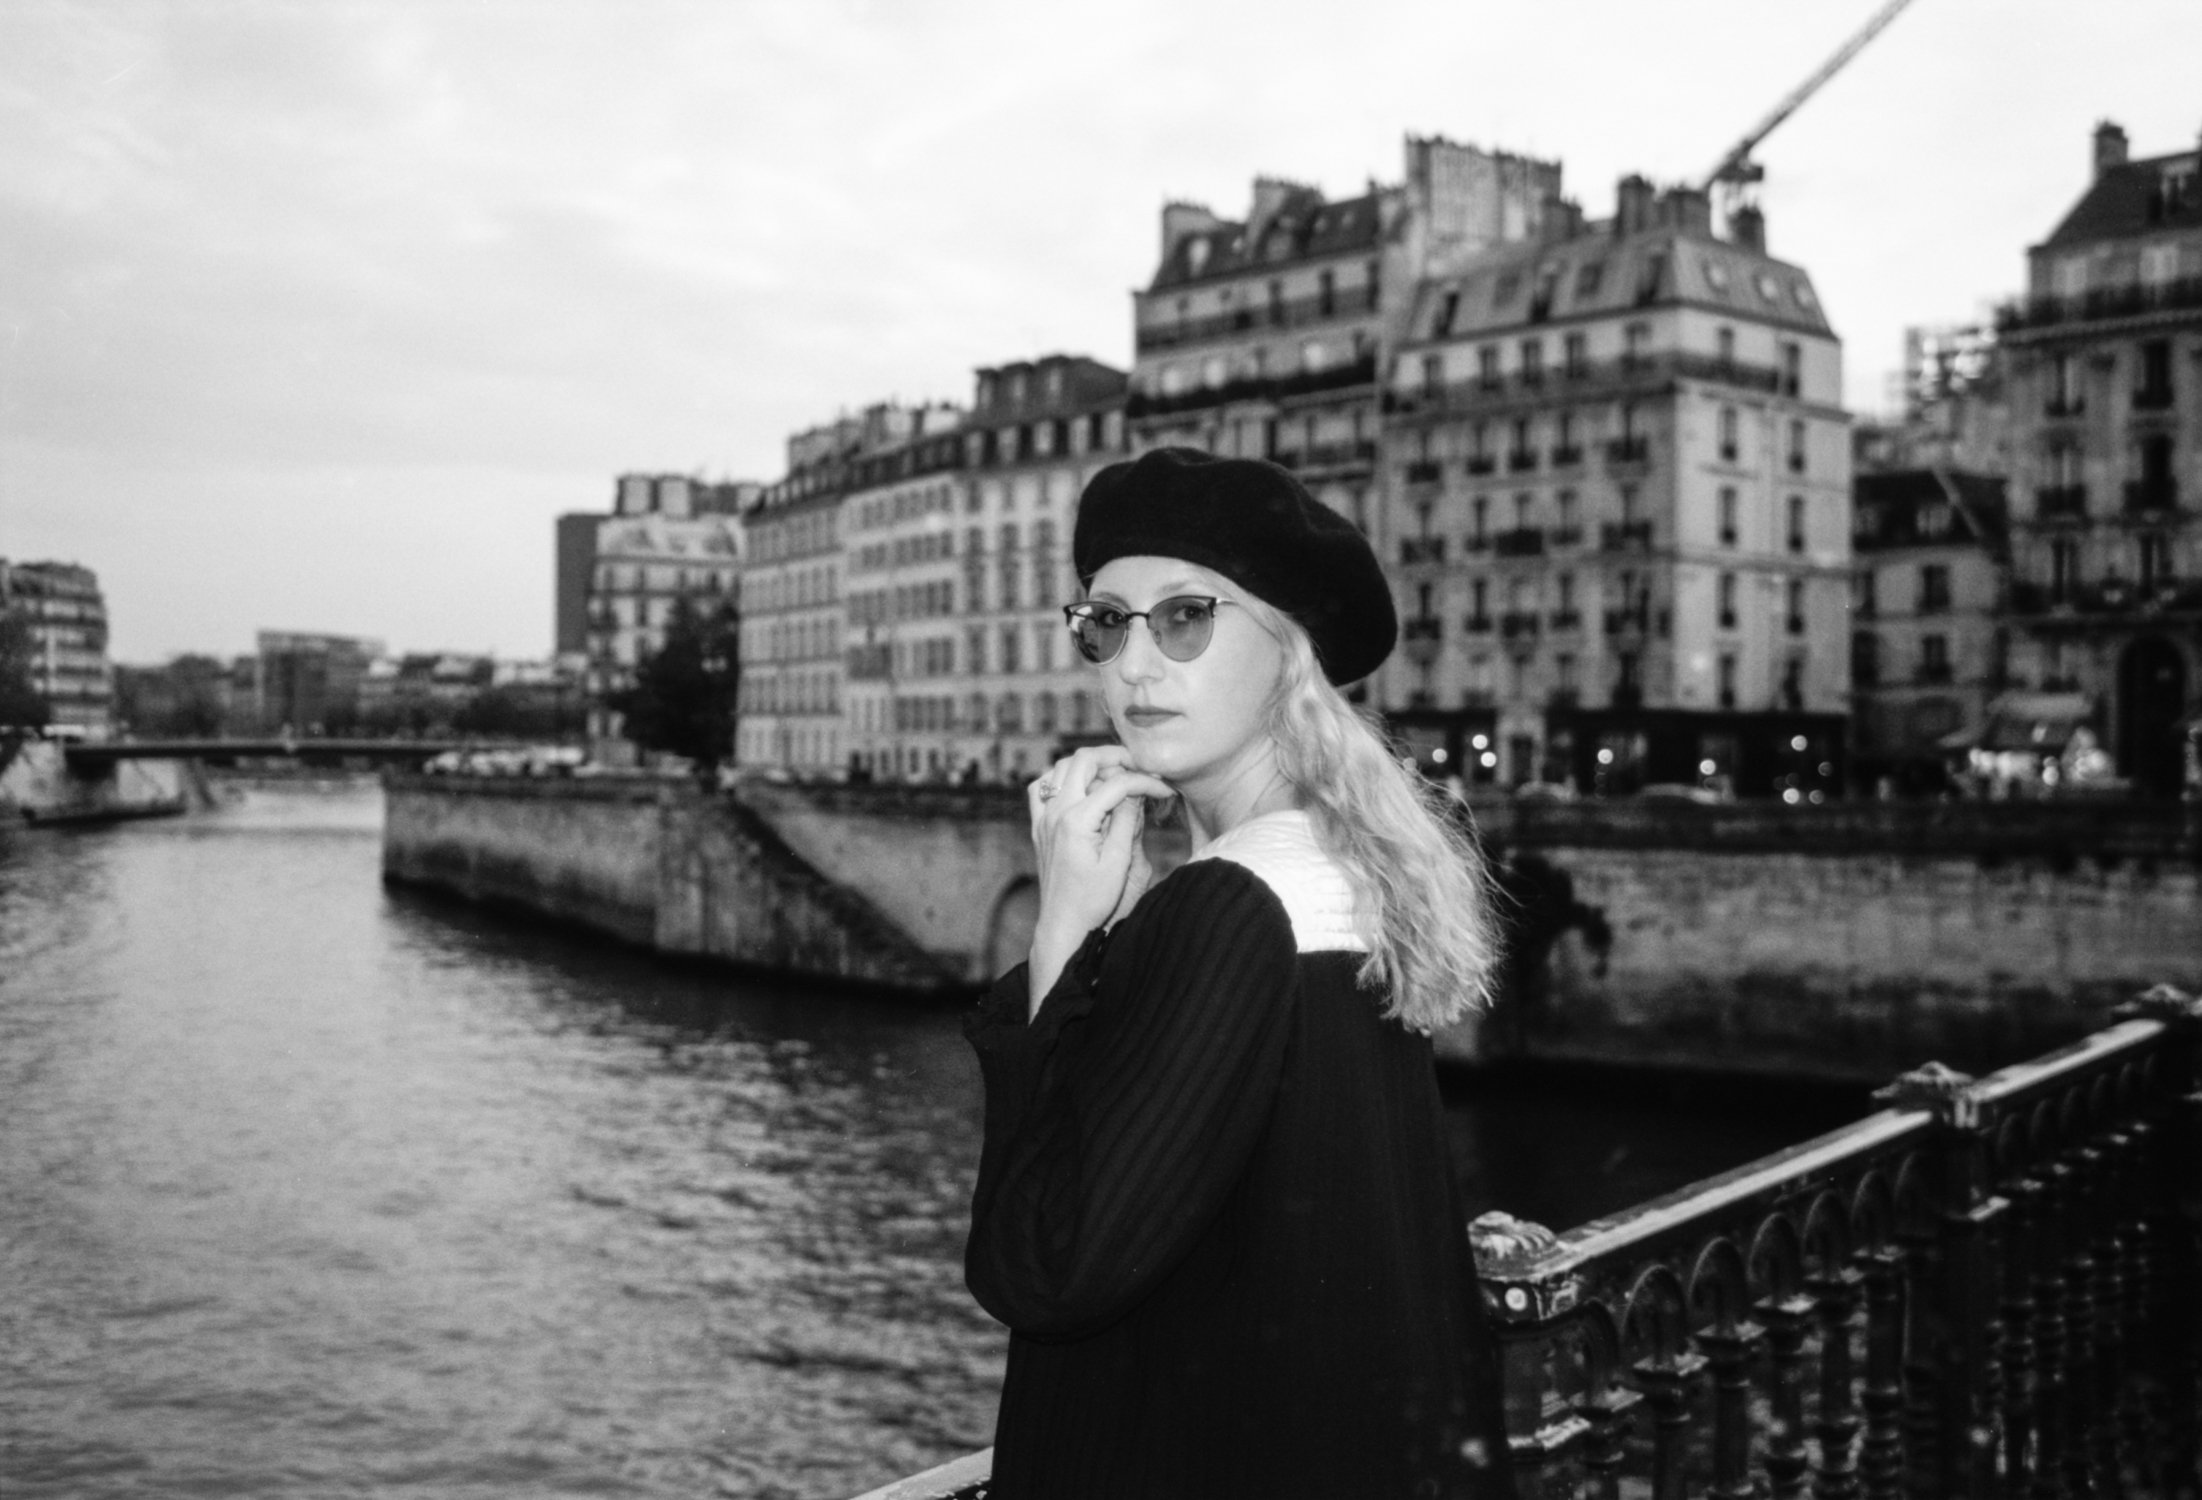
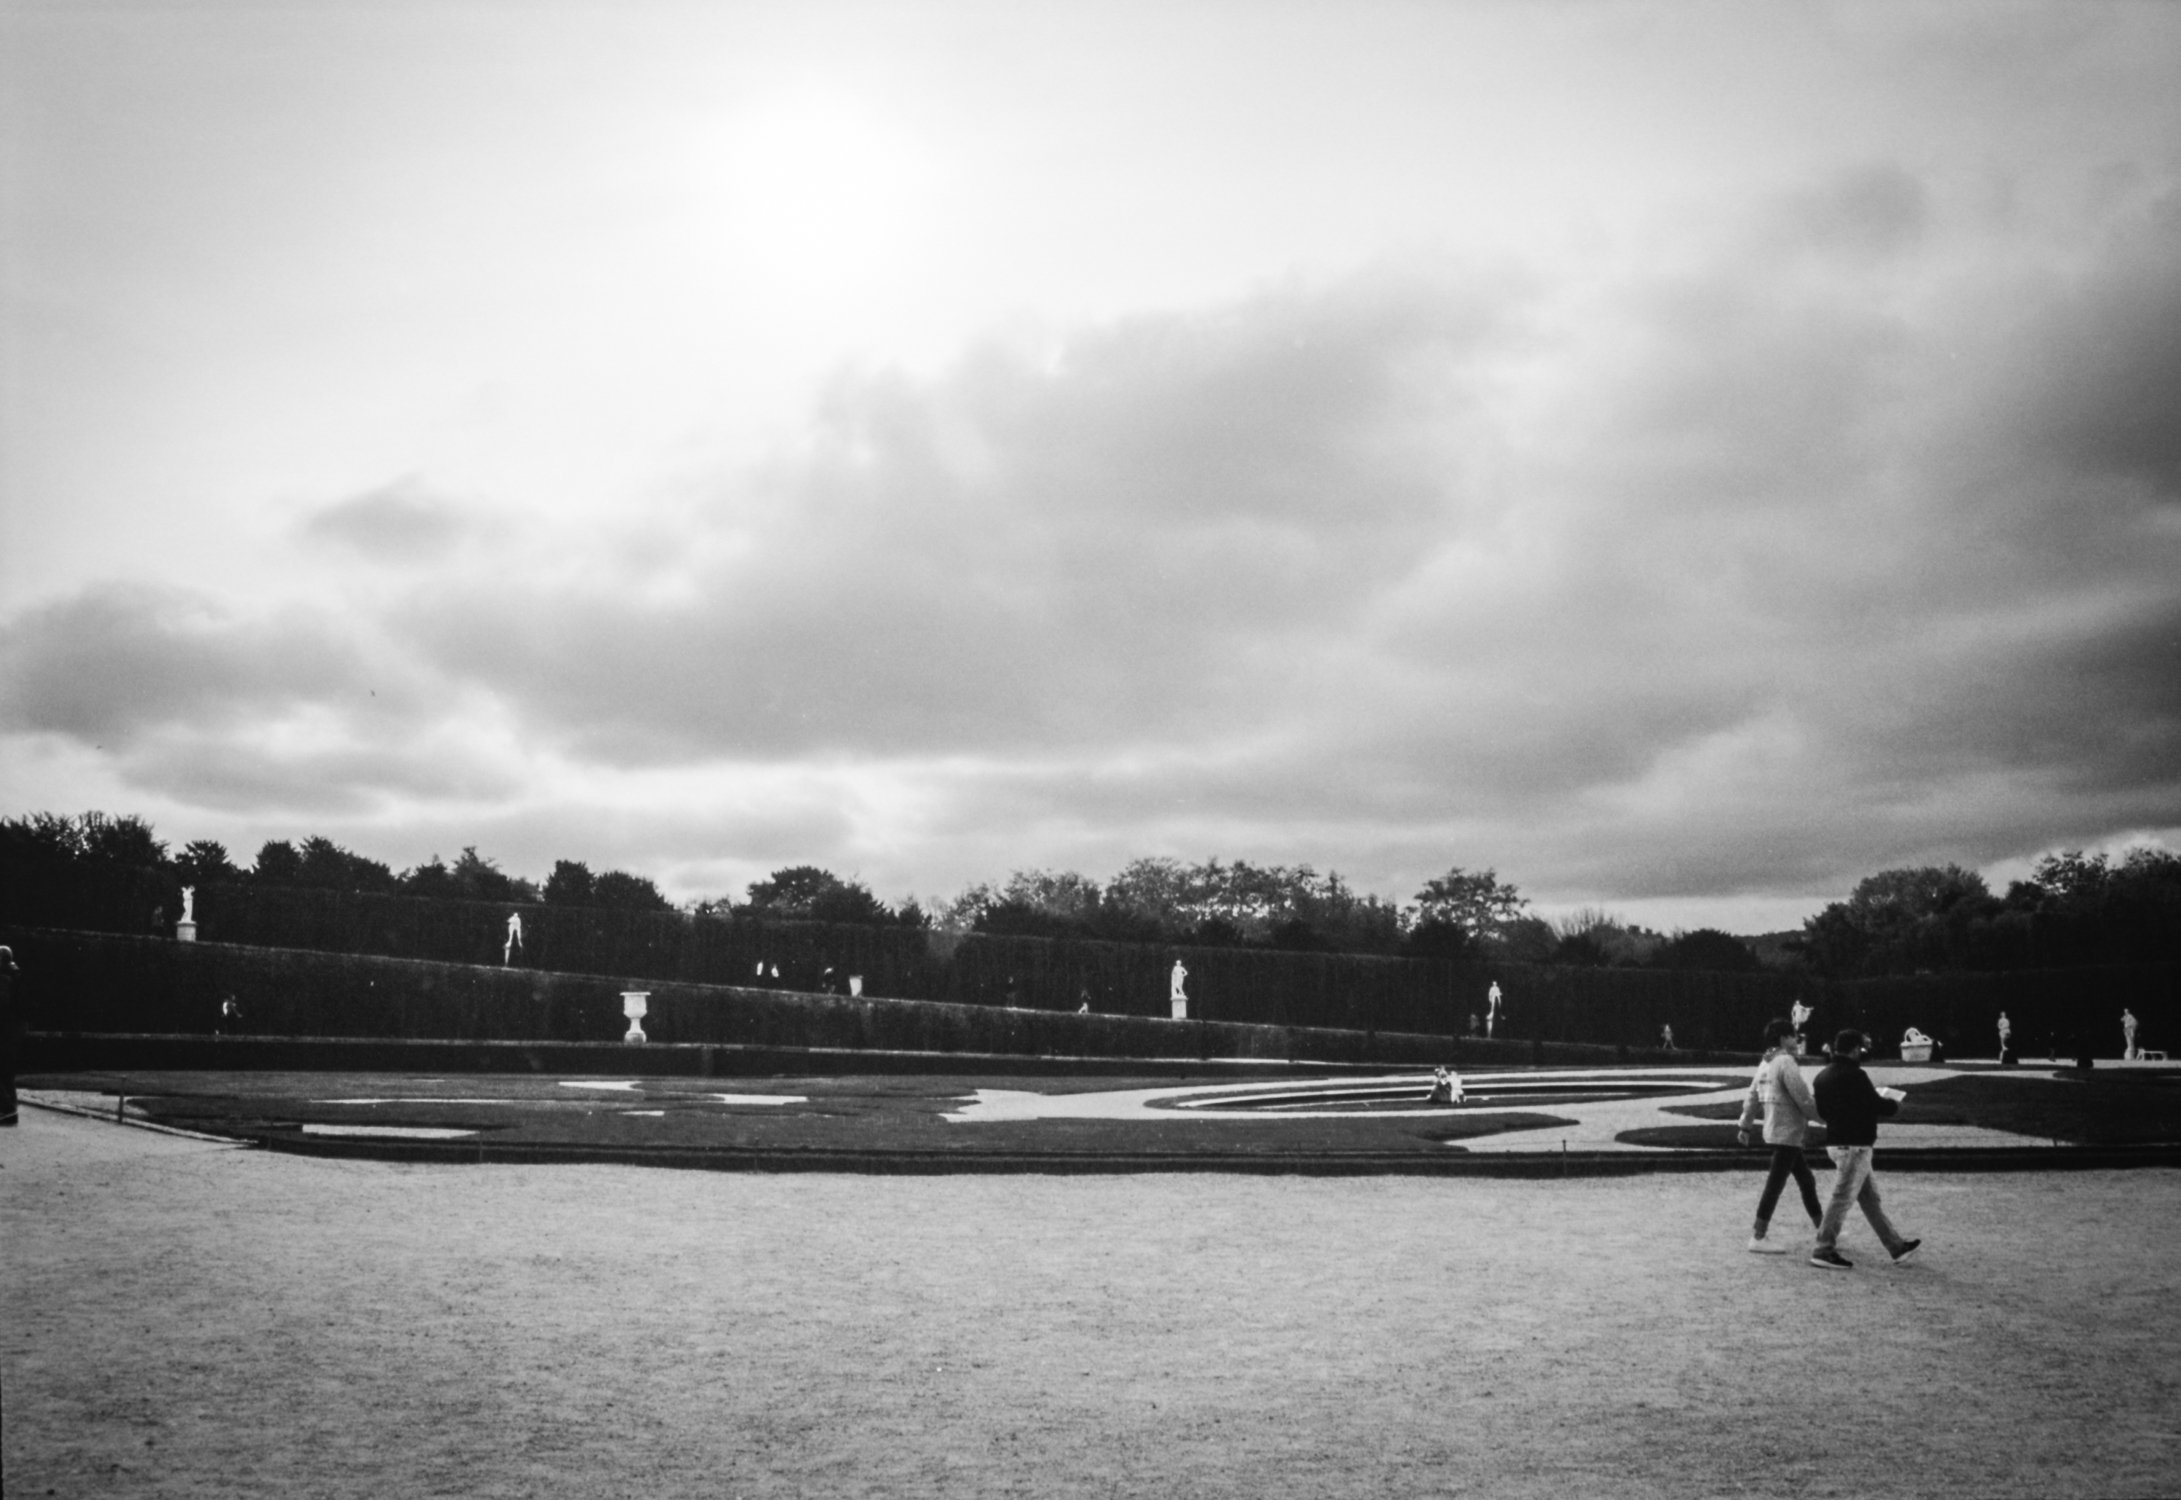
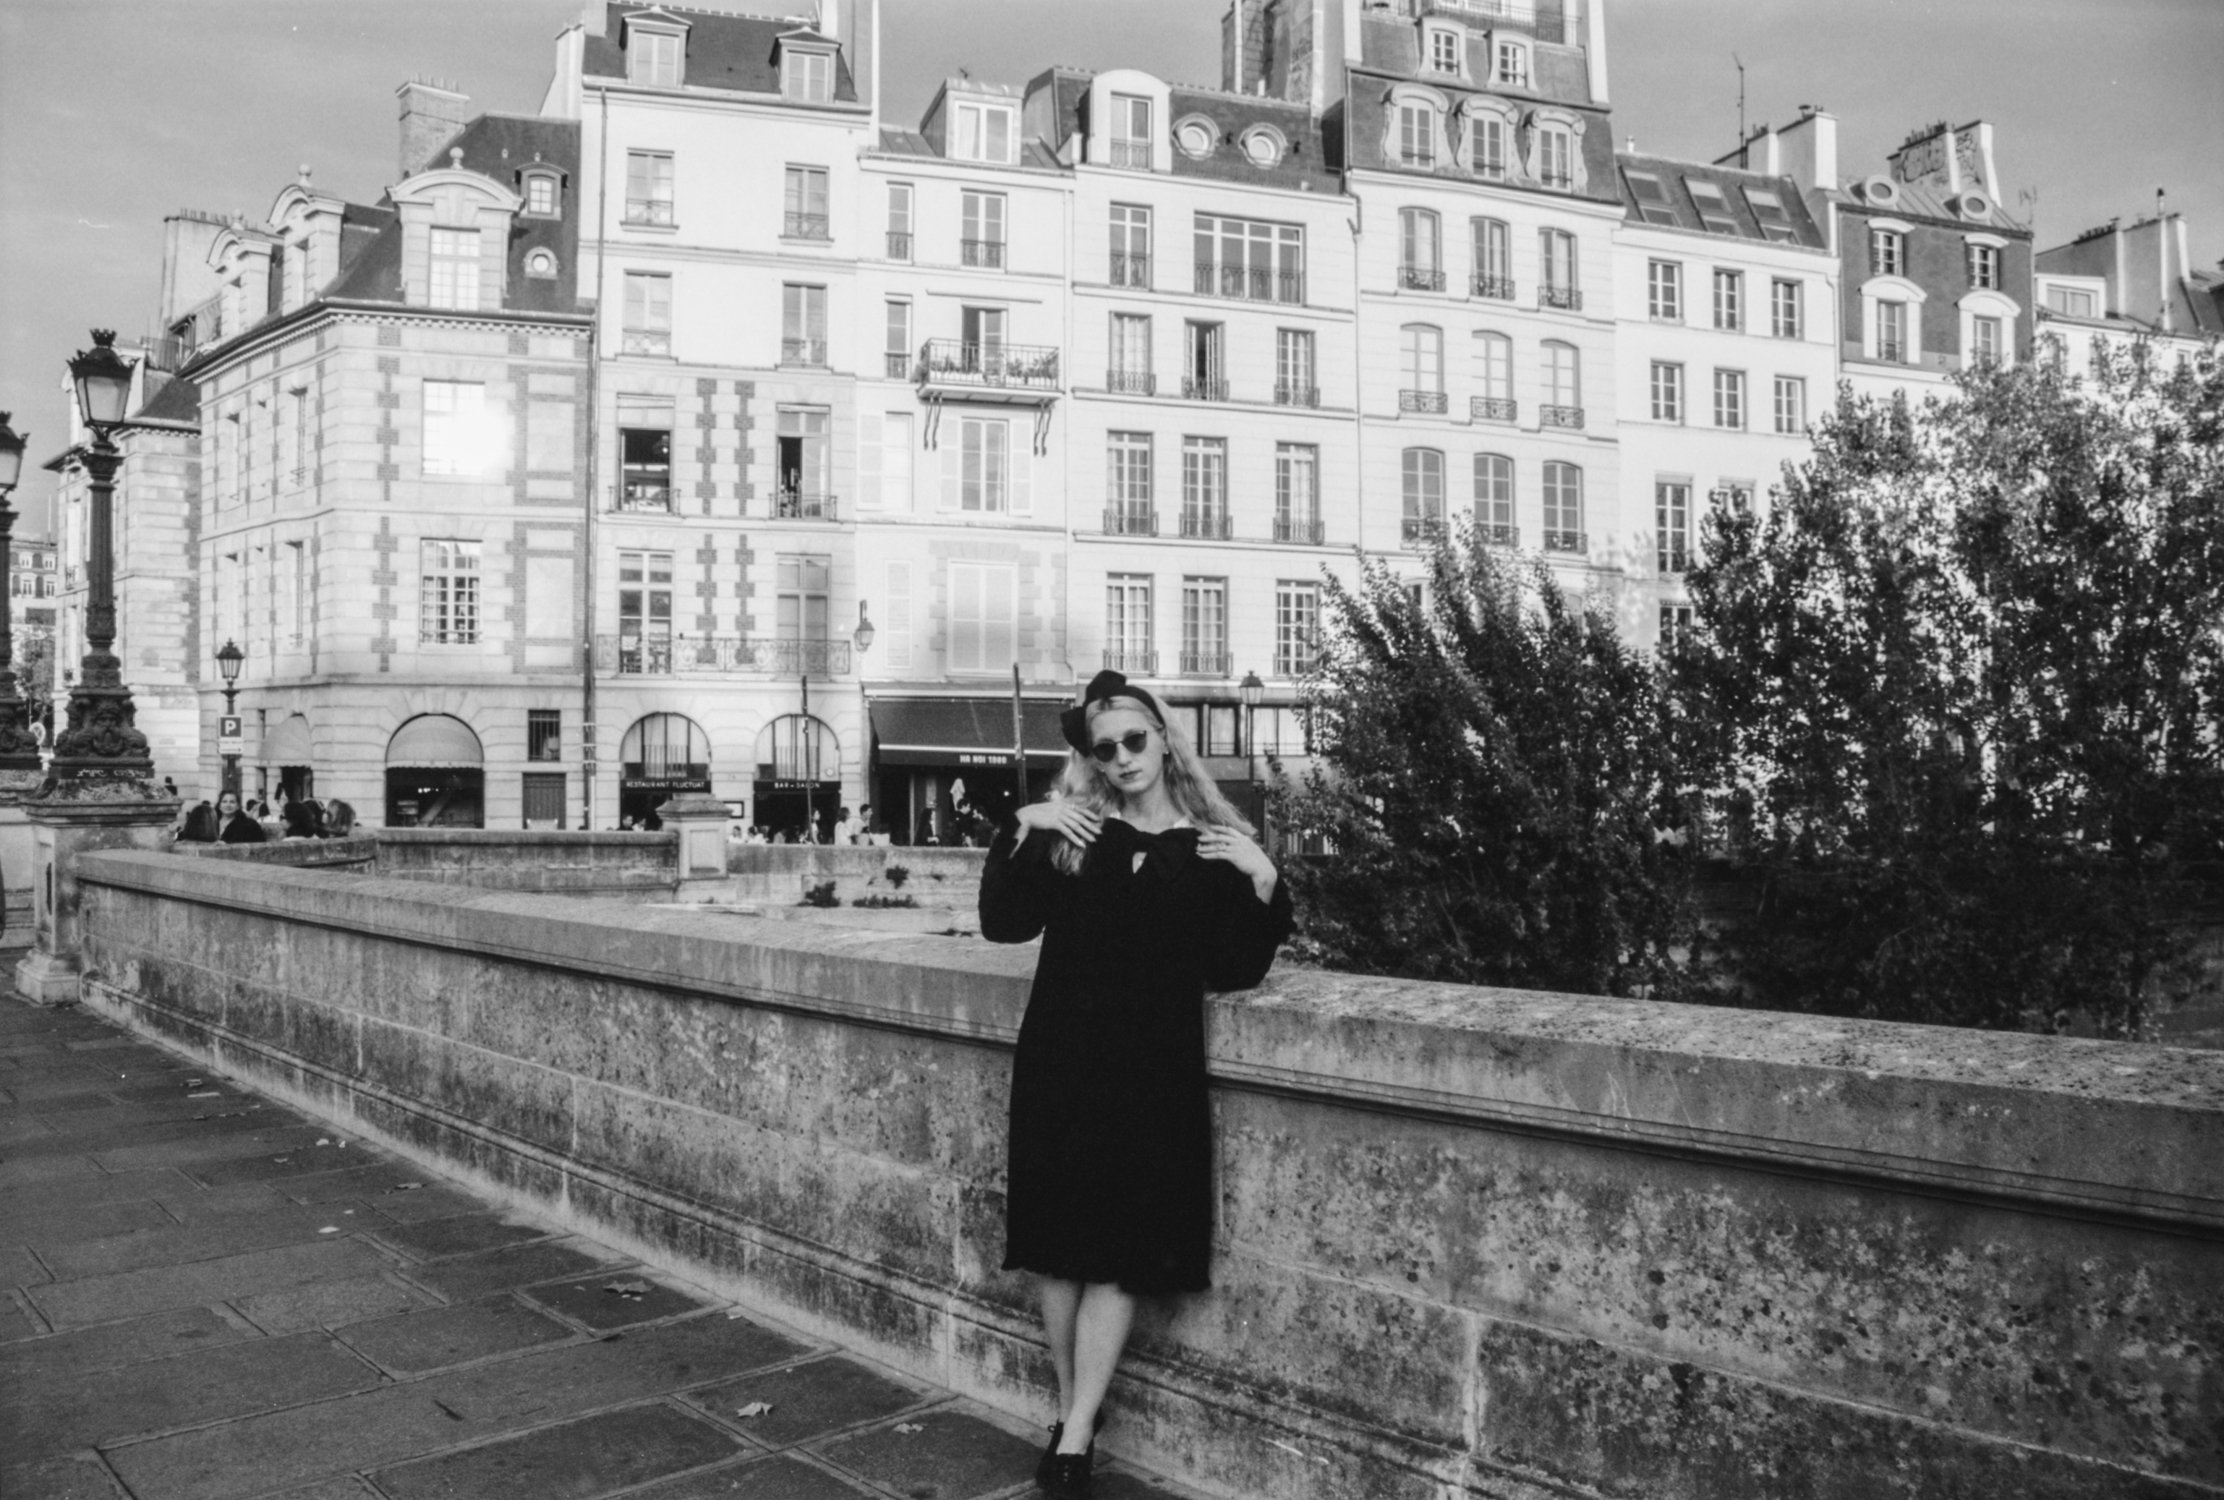
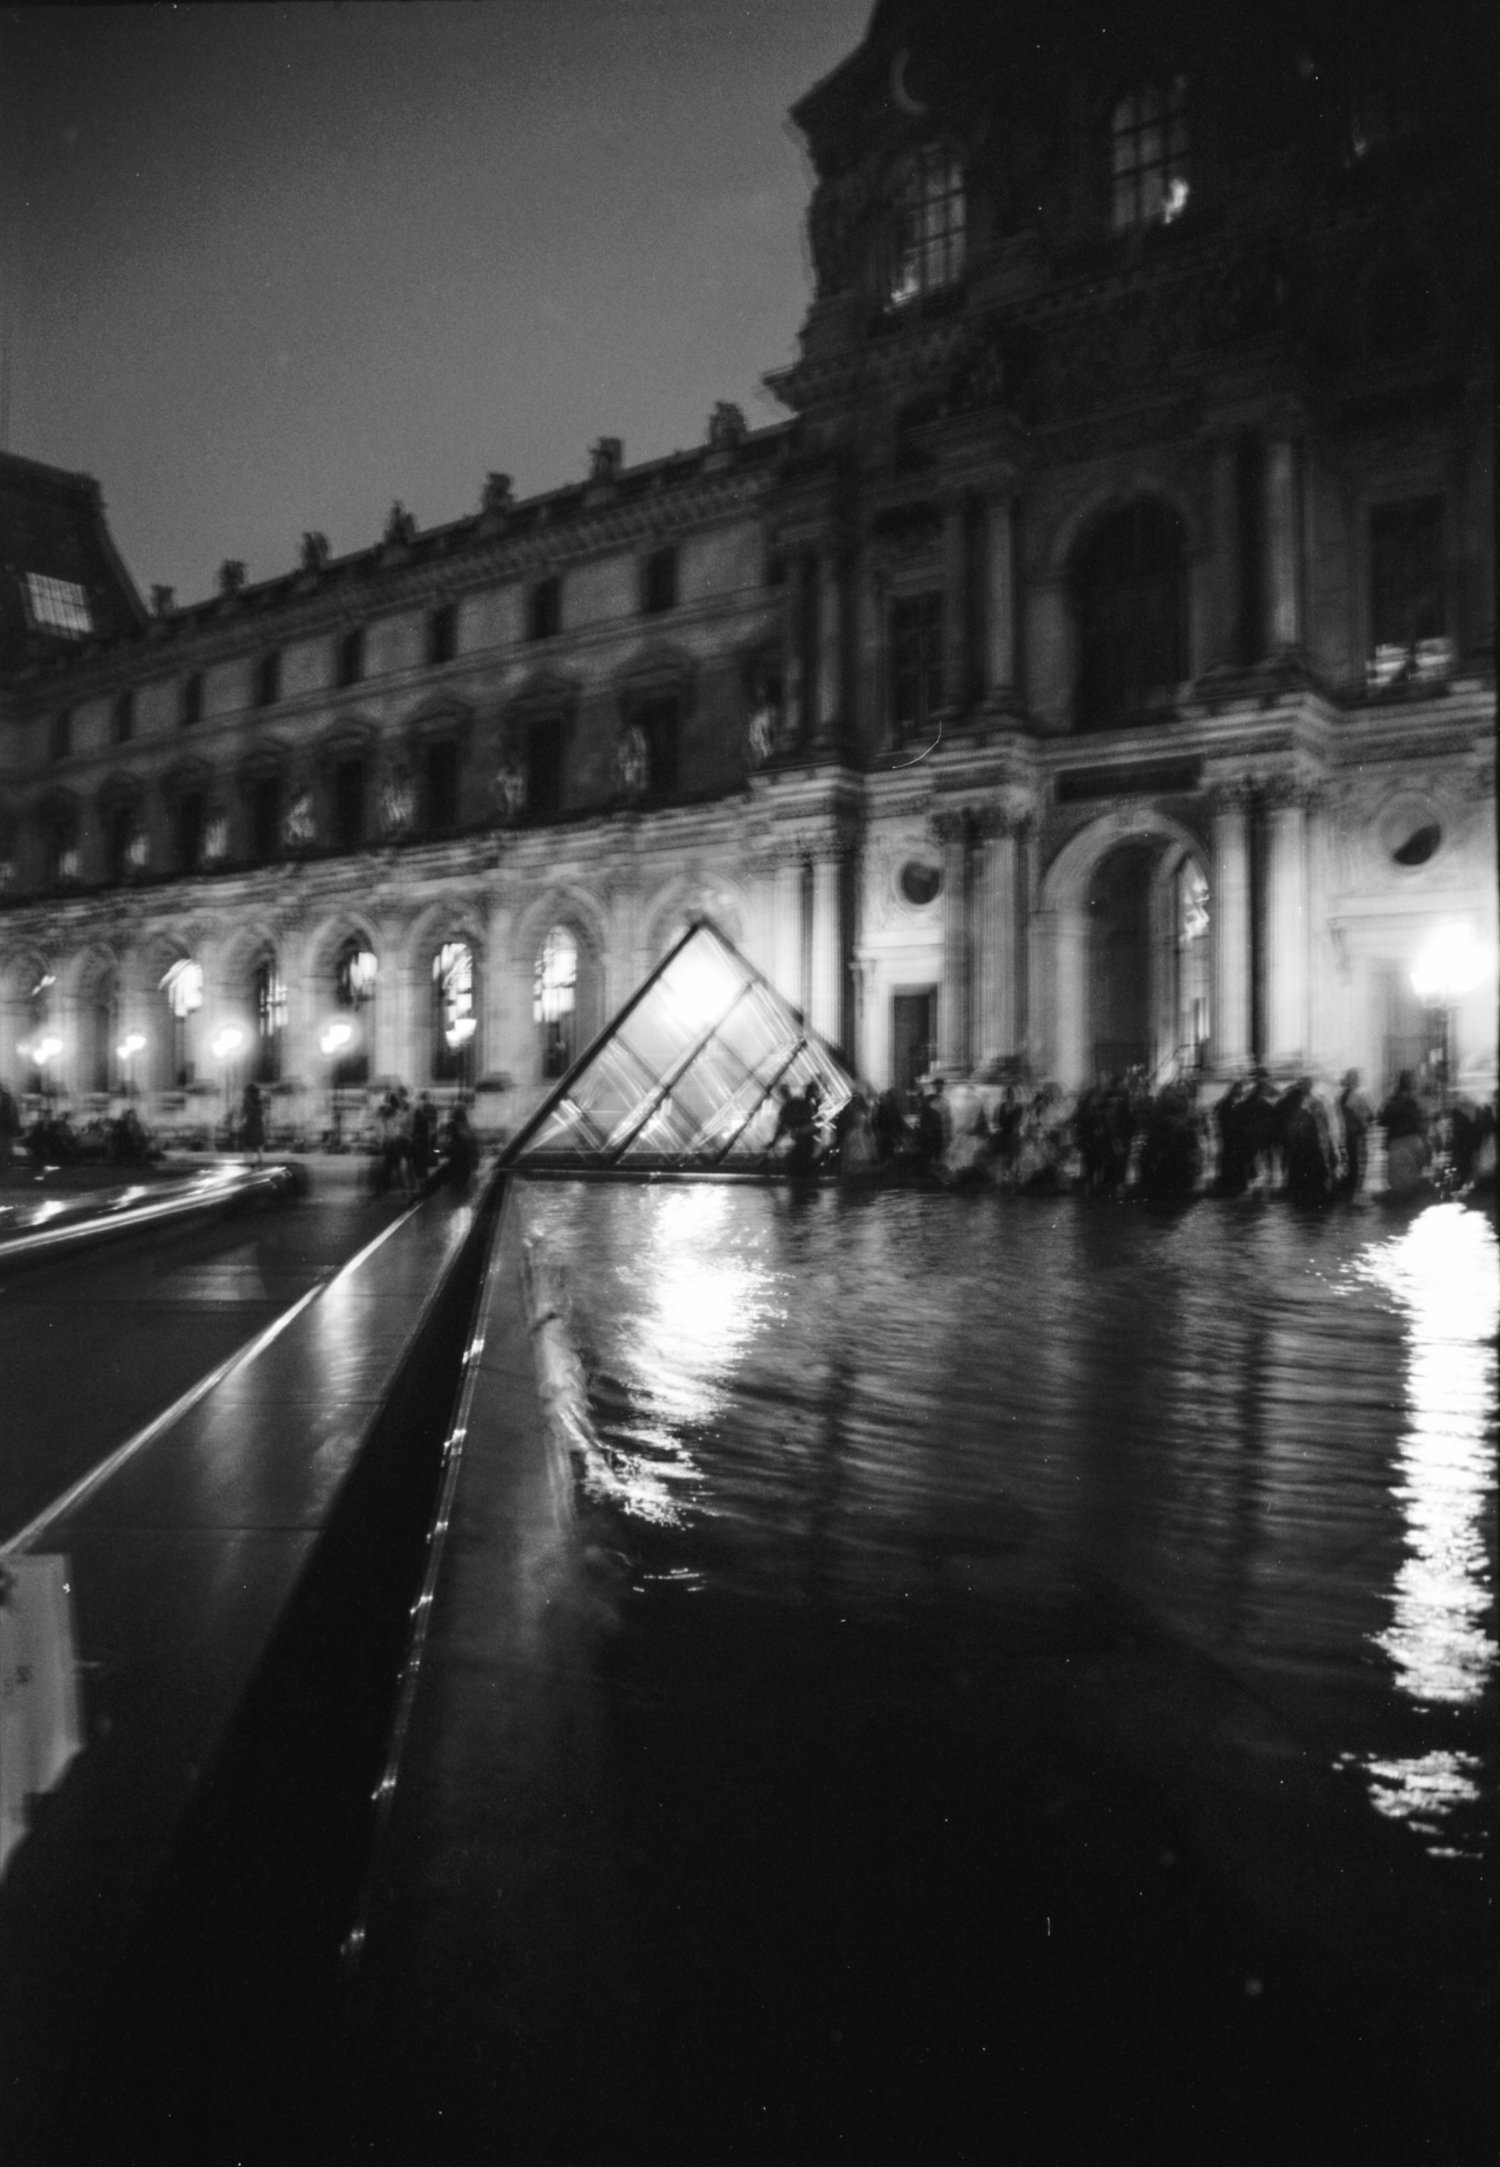
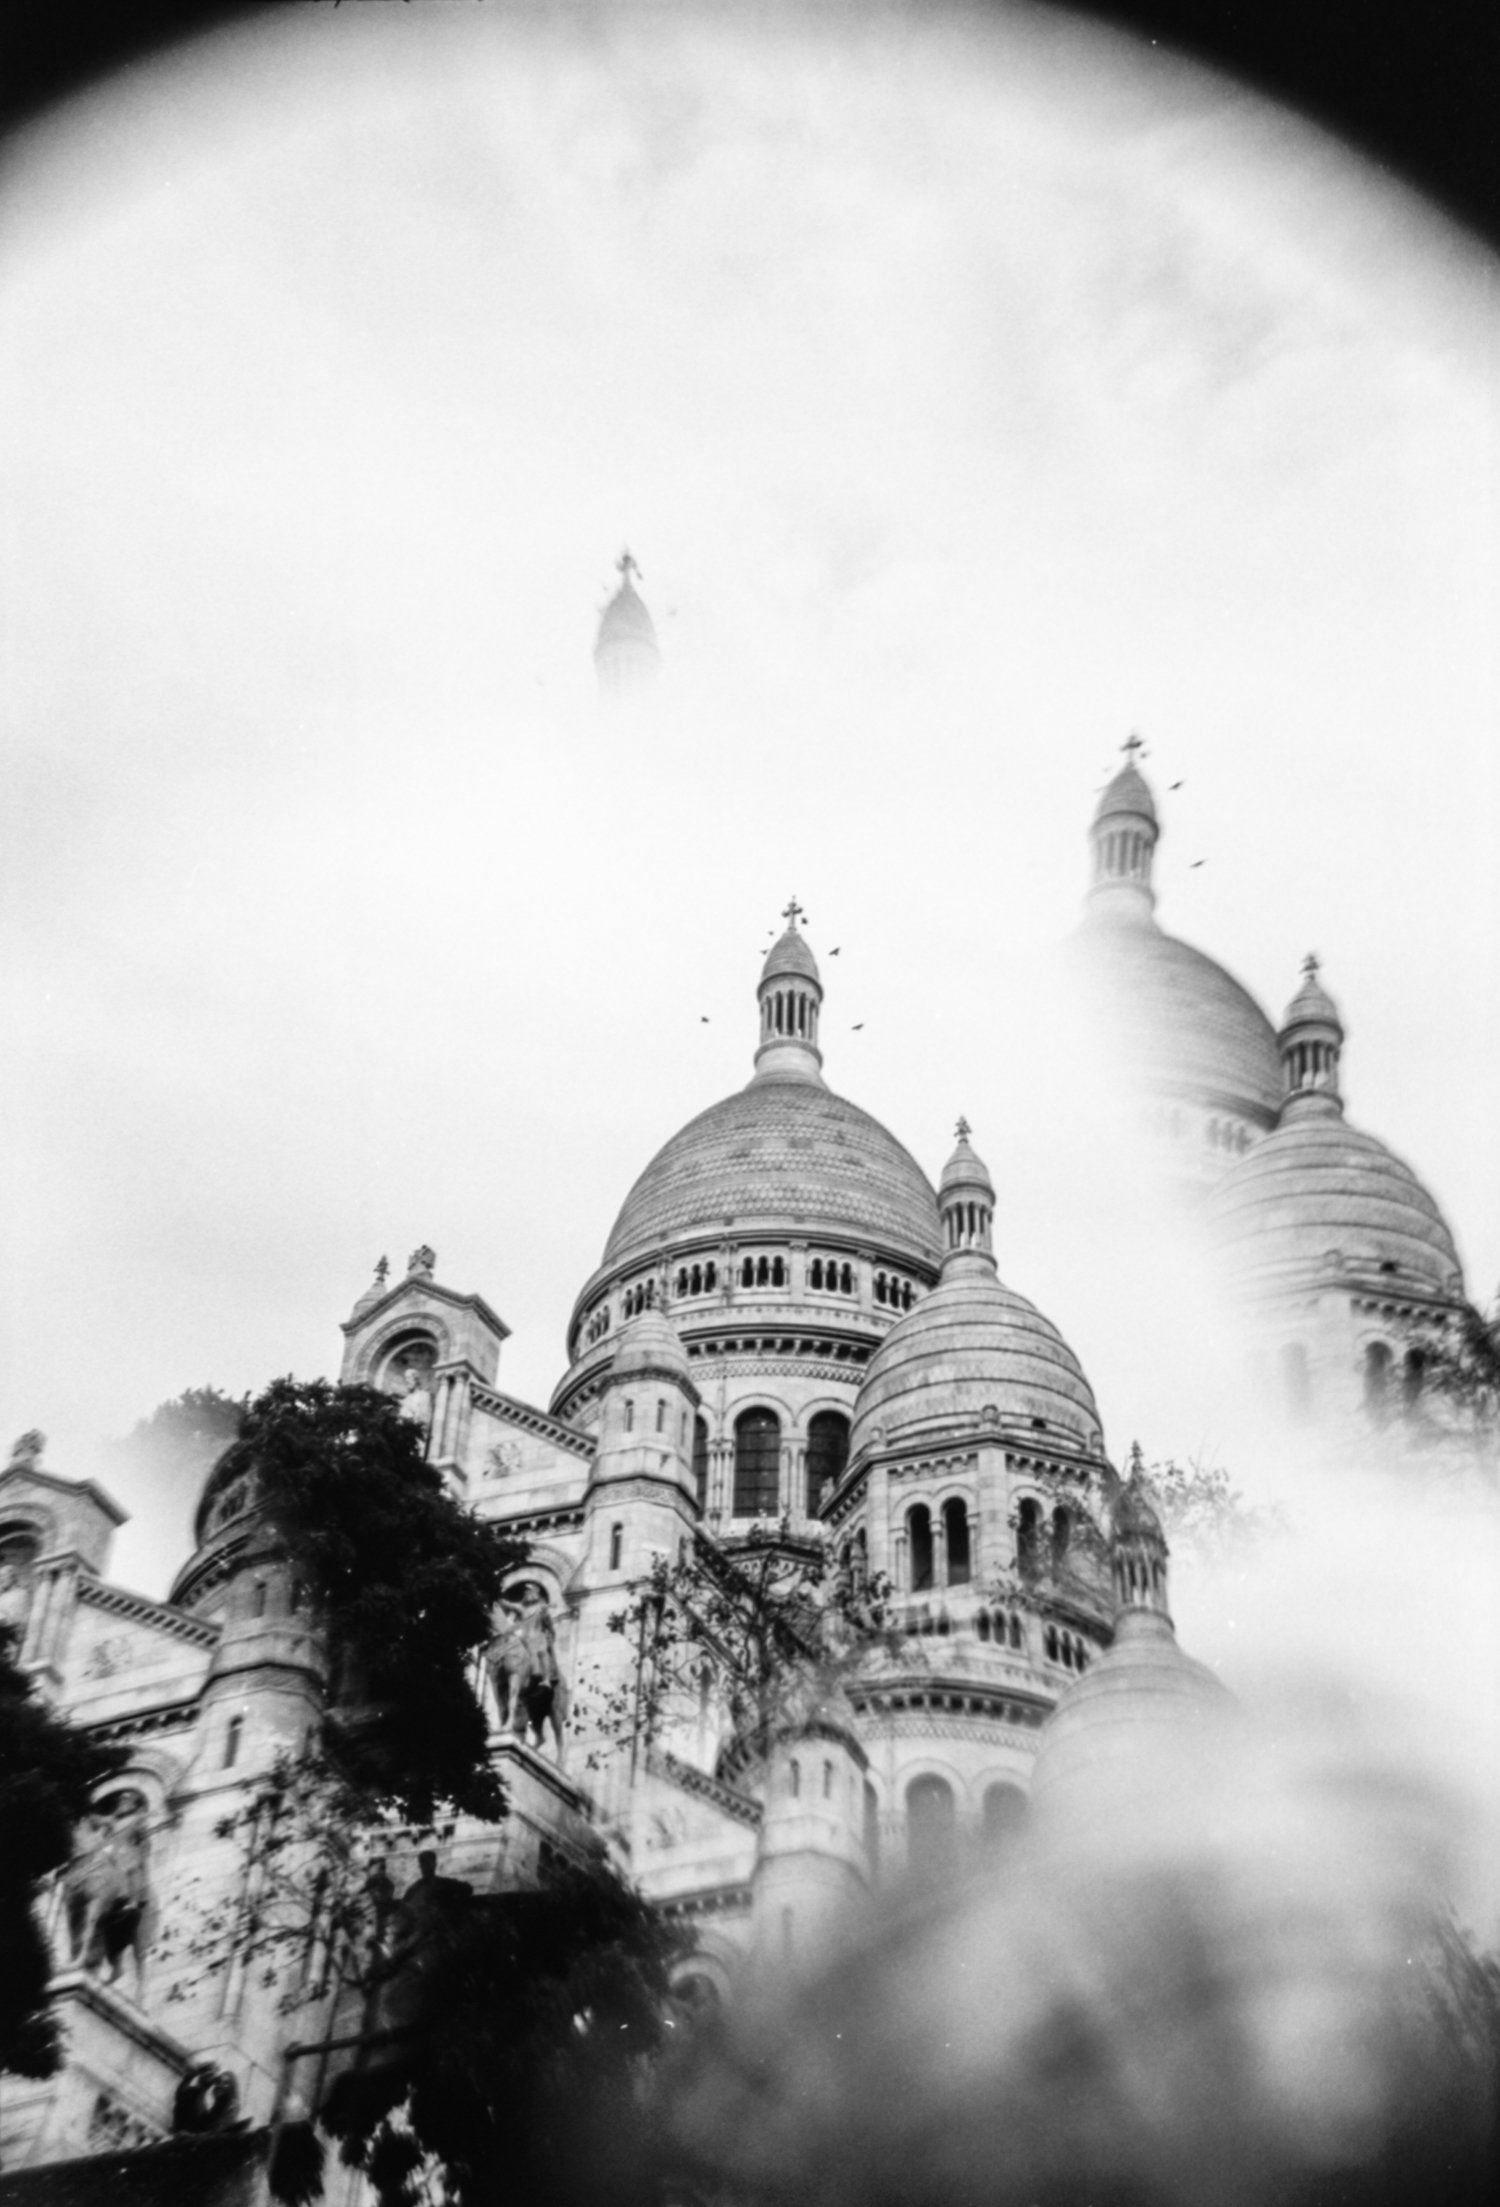
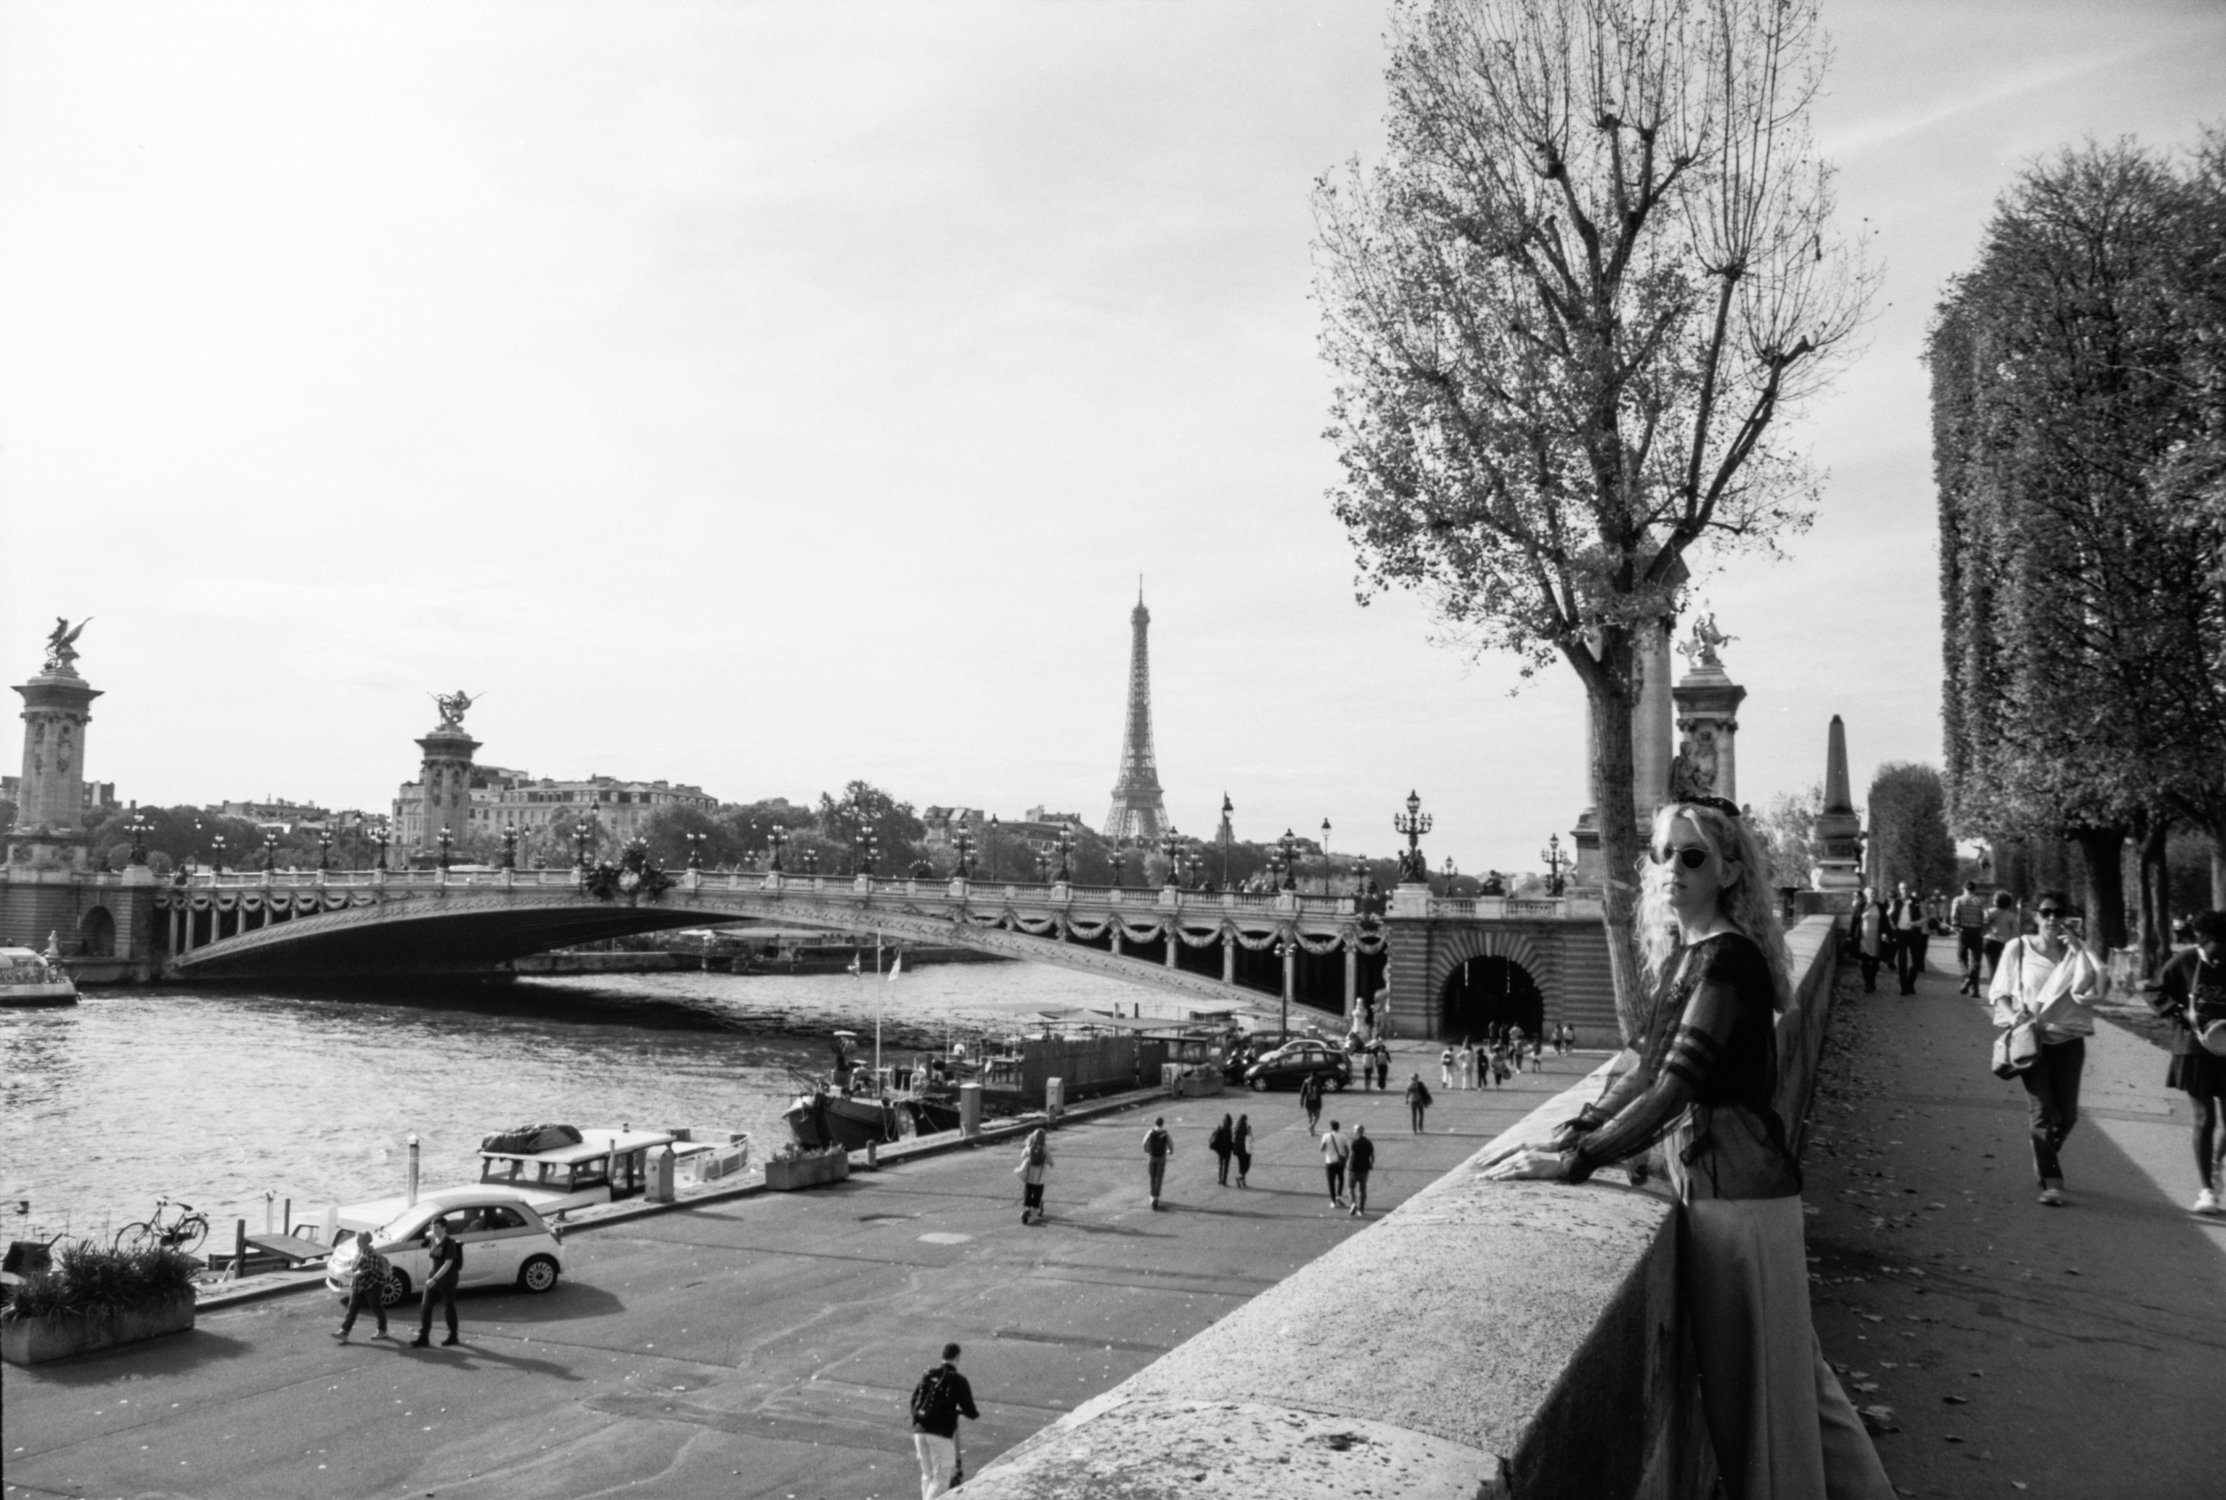
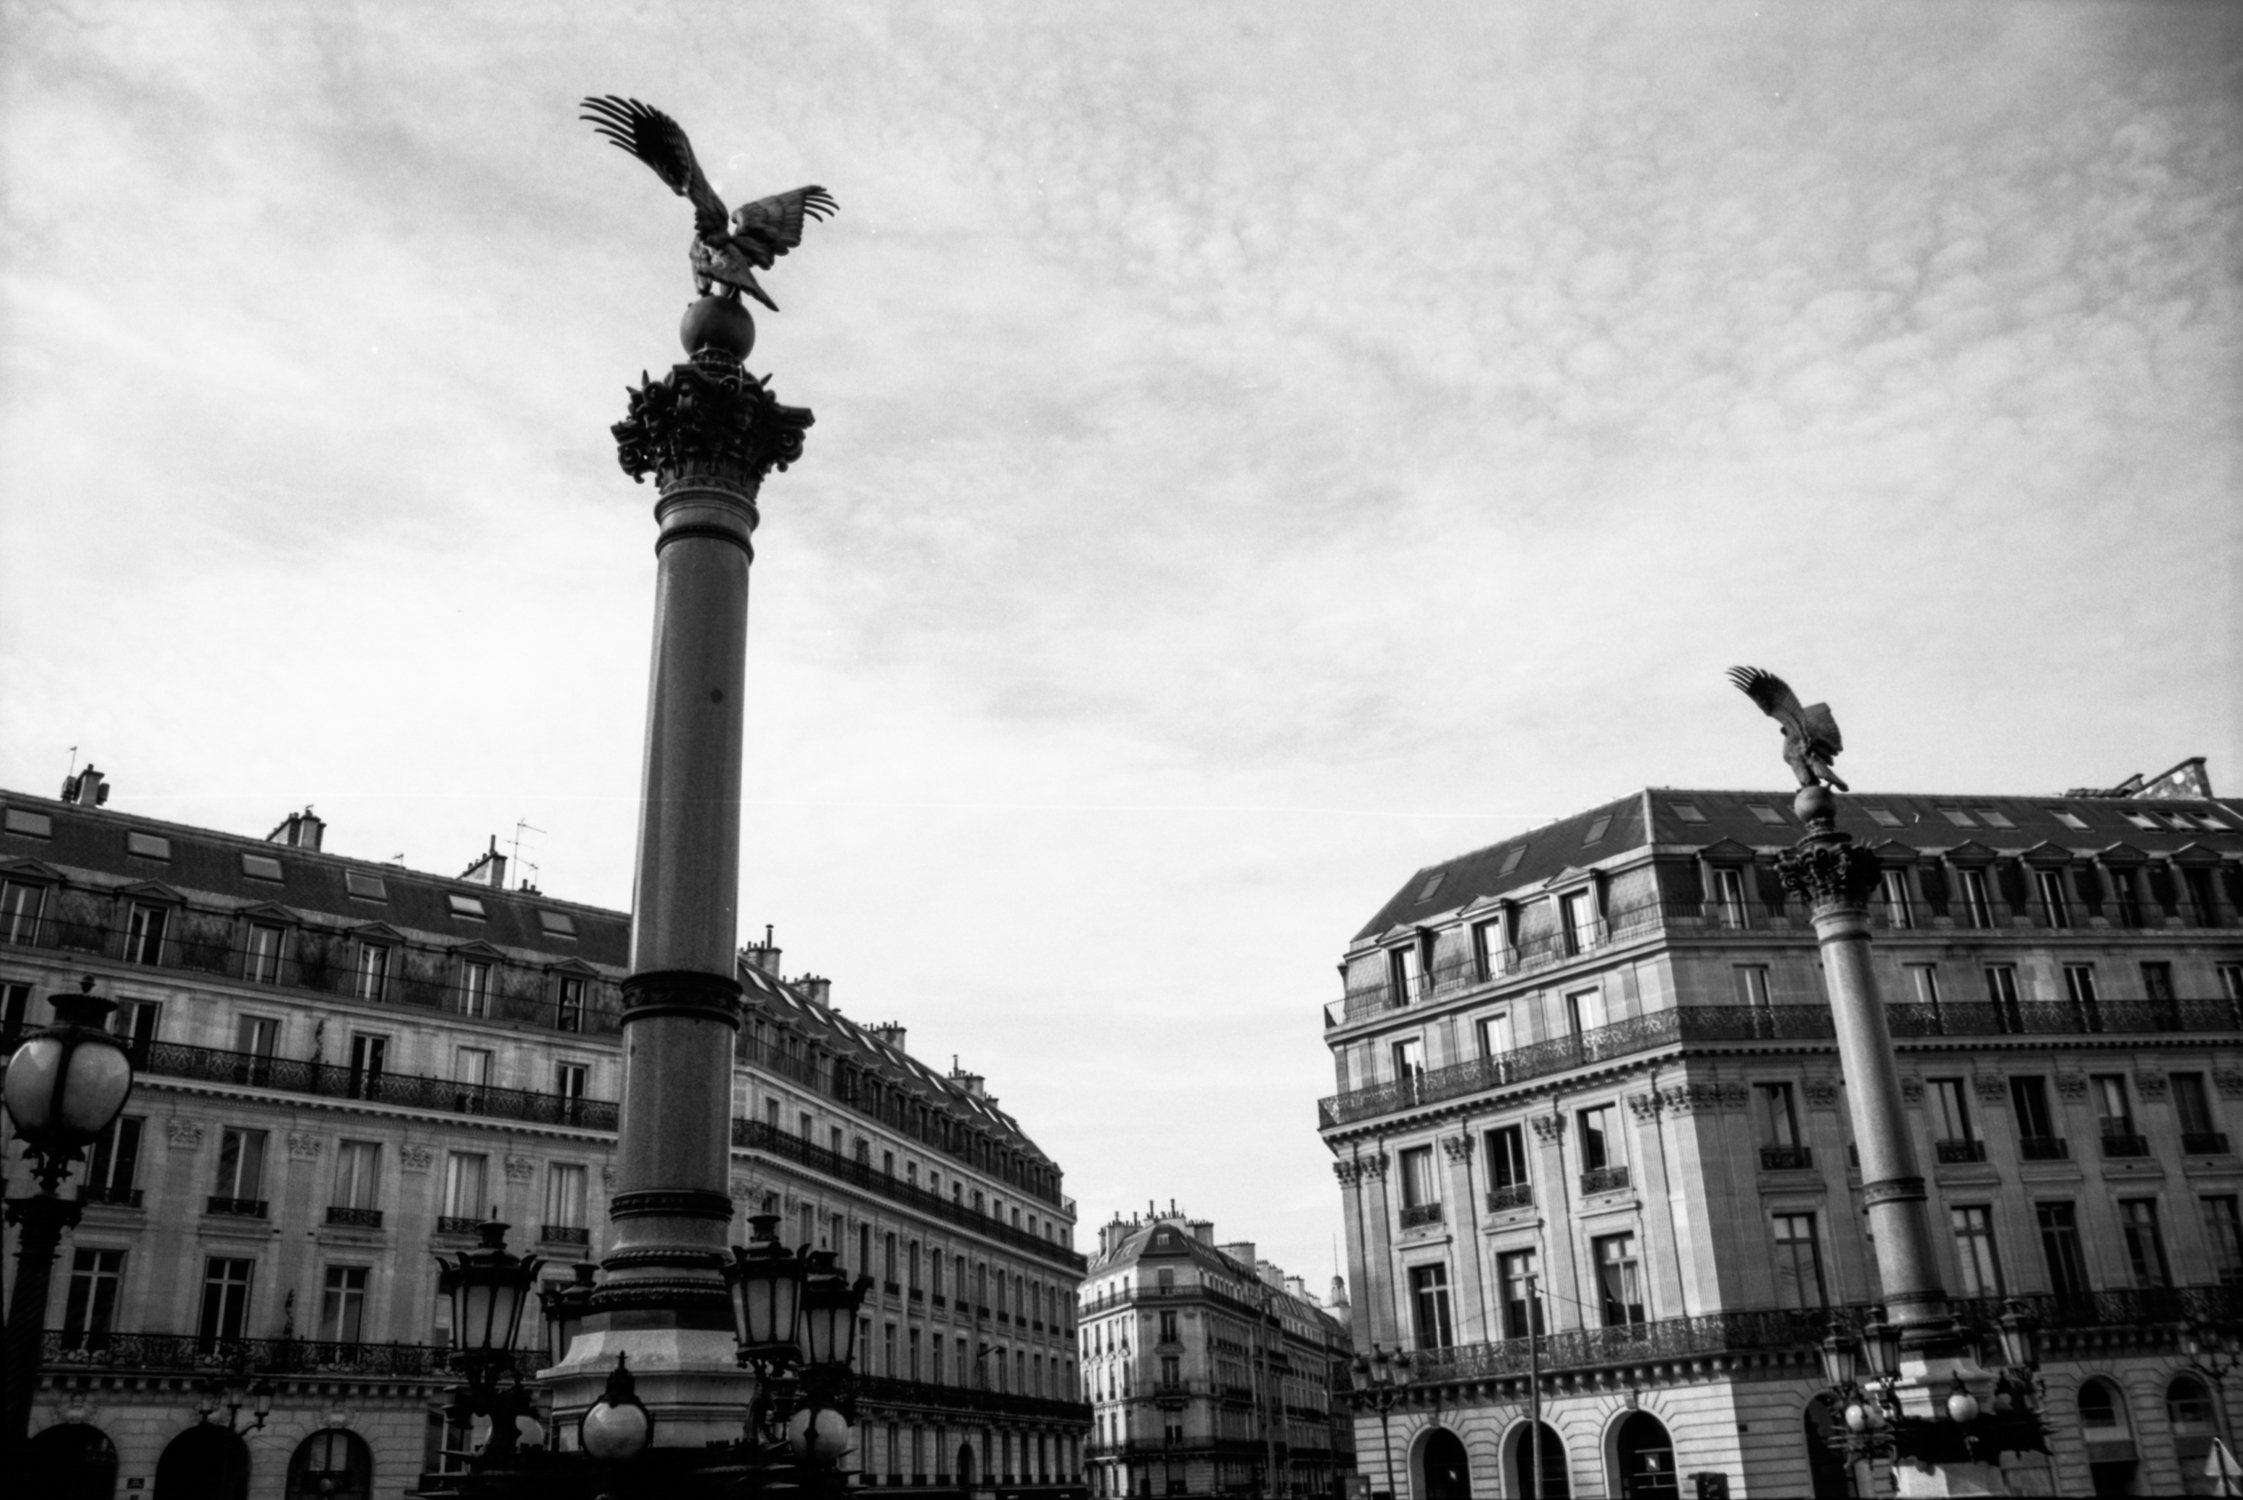
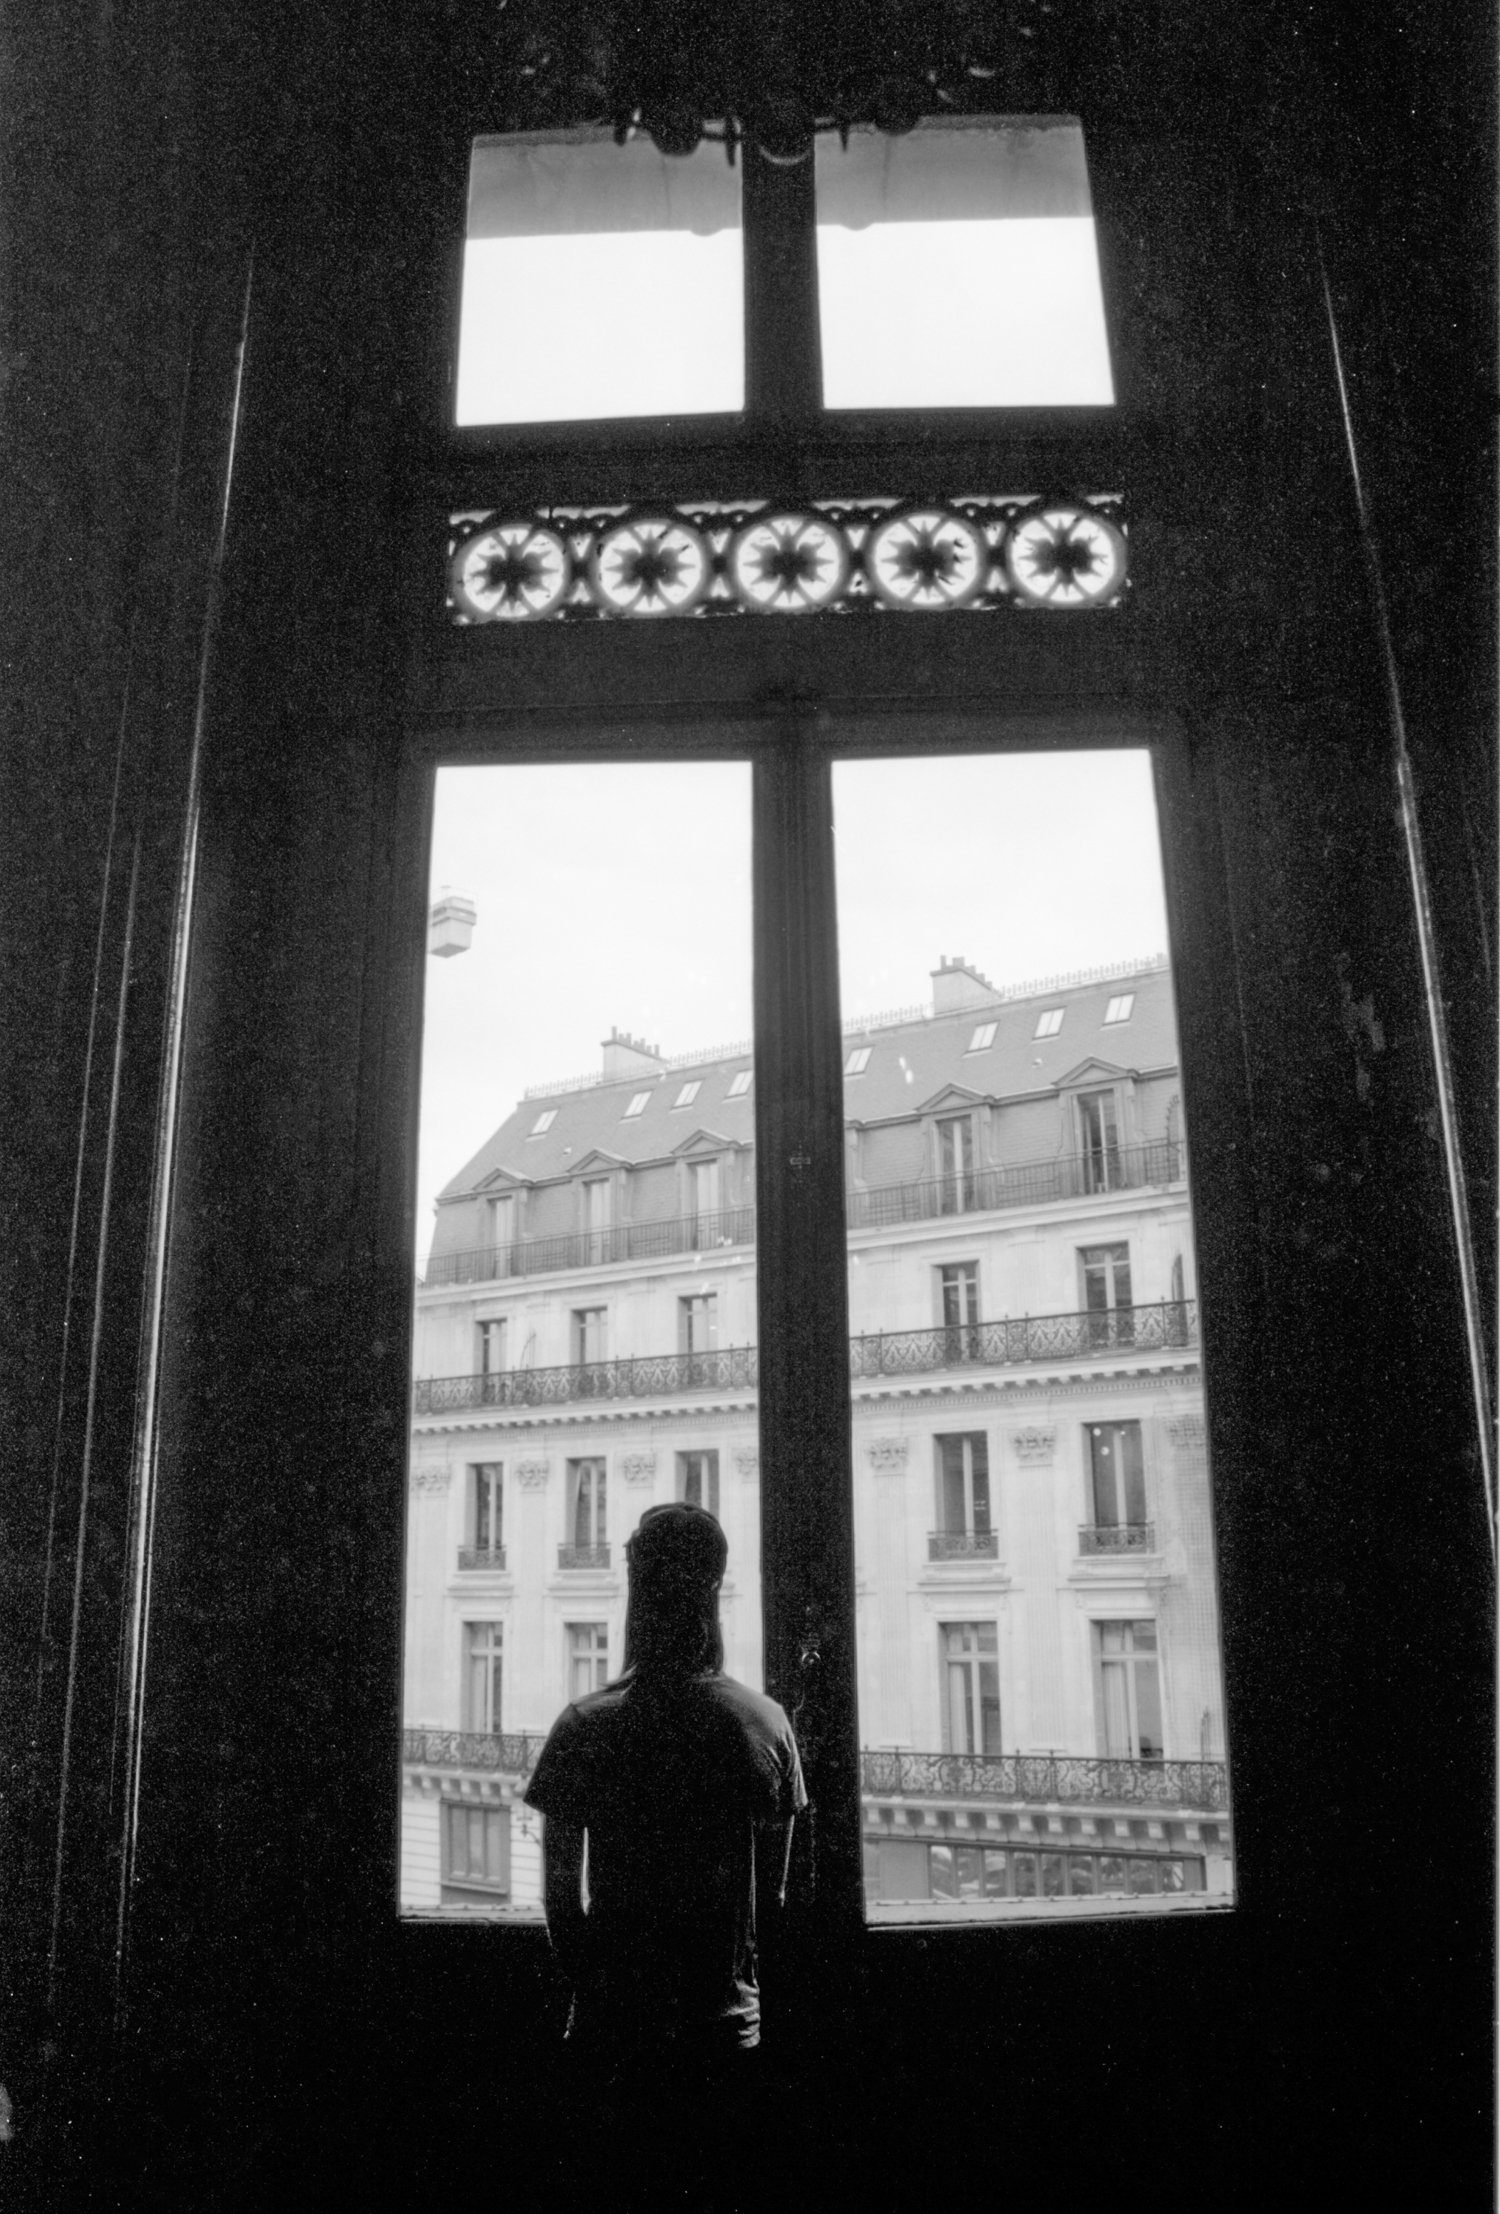
I’ve included a few of my favorite photographs from 2010, followed by a few of my favorites from my recent trip. I still think that there’s something beautiful about the original version of the Neopan Acros 100 film - it seems sharper and better at capturing detail in the highlights and shadows. The new version of the film is still beautiful but just doesn’t seem to bring that same moodiness that I loved so much in the original version. I’d love to know your thoughts and if you notice a difference in the two films!

If you love this camera as much as I do, make sure to check out my YouTube video and review for the Canon Rebel K2 below, or you can purchase your own:

Purchase a Canon Rebel K2 on KEH Camera

Purchase a Canon Rebel K2 on eBay!

Purchase a Canon Rebel K2 on Amazon!

Purchase a Canon Rebel K2 on Etsy!

FILM RECOMMENDATIONS:

Neopan Acros 100 35mm B&W film

Kodak Gold 200 35mm film

Lomography 100 35mm film

If you found this post helpful or if you’d like to see more of my work, I’d love it if you considered signing up for my Patreon! For as little as $1 a month, you’ll get early access to all of my YouTube videos, plus tons of photos that I don’t post anywhere else. Depending on which tier you choose, you could also receive seasonal prints and/or discounts! I always use all of the proceeds towards cameras, film & processing. Find out more here!
Thanks so much for stopping by!

<3 Myles Katherine

BLACK & WHITE PHOTOGRAPHS IN PARIS IN 2010 USING A CANON REBEL K2 & Neopan acros 100 film

BLACK & WHITE PHOTOGRAPHS IN PARIS IN 2022 USING A CANON REBEL K2 & Neopan acros 100 film II

Thanks so much for stopping by! Feel free to leave any questions or comments below!

<3 Myles Katherine