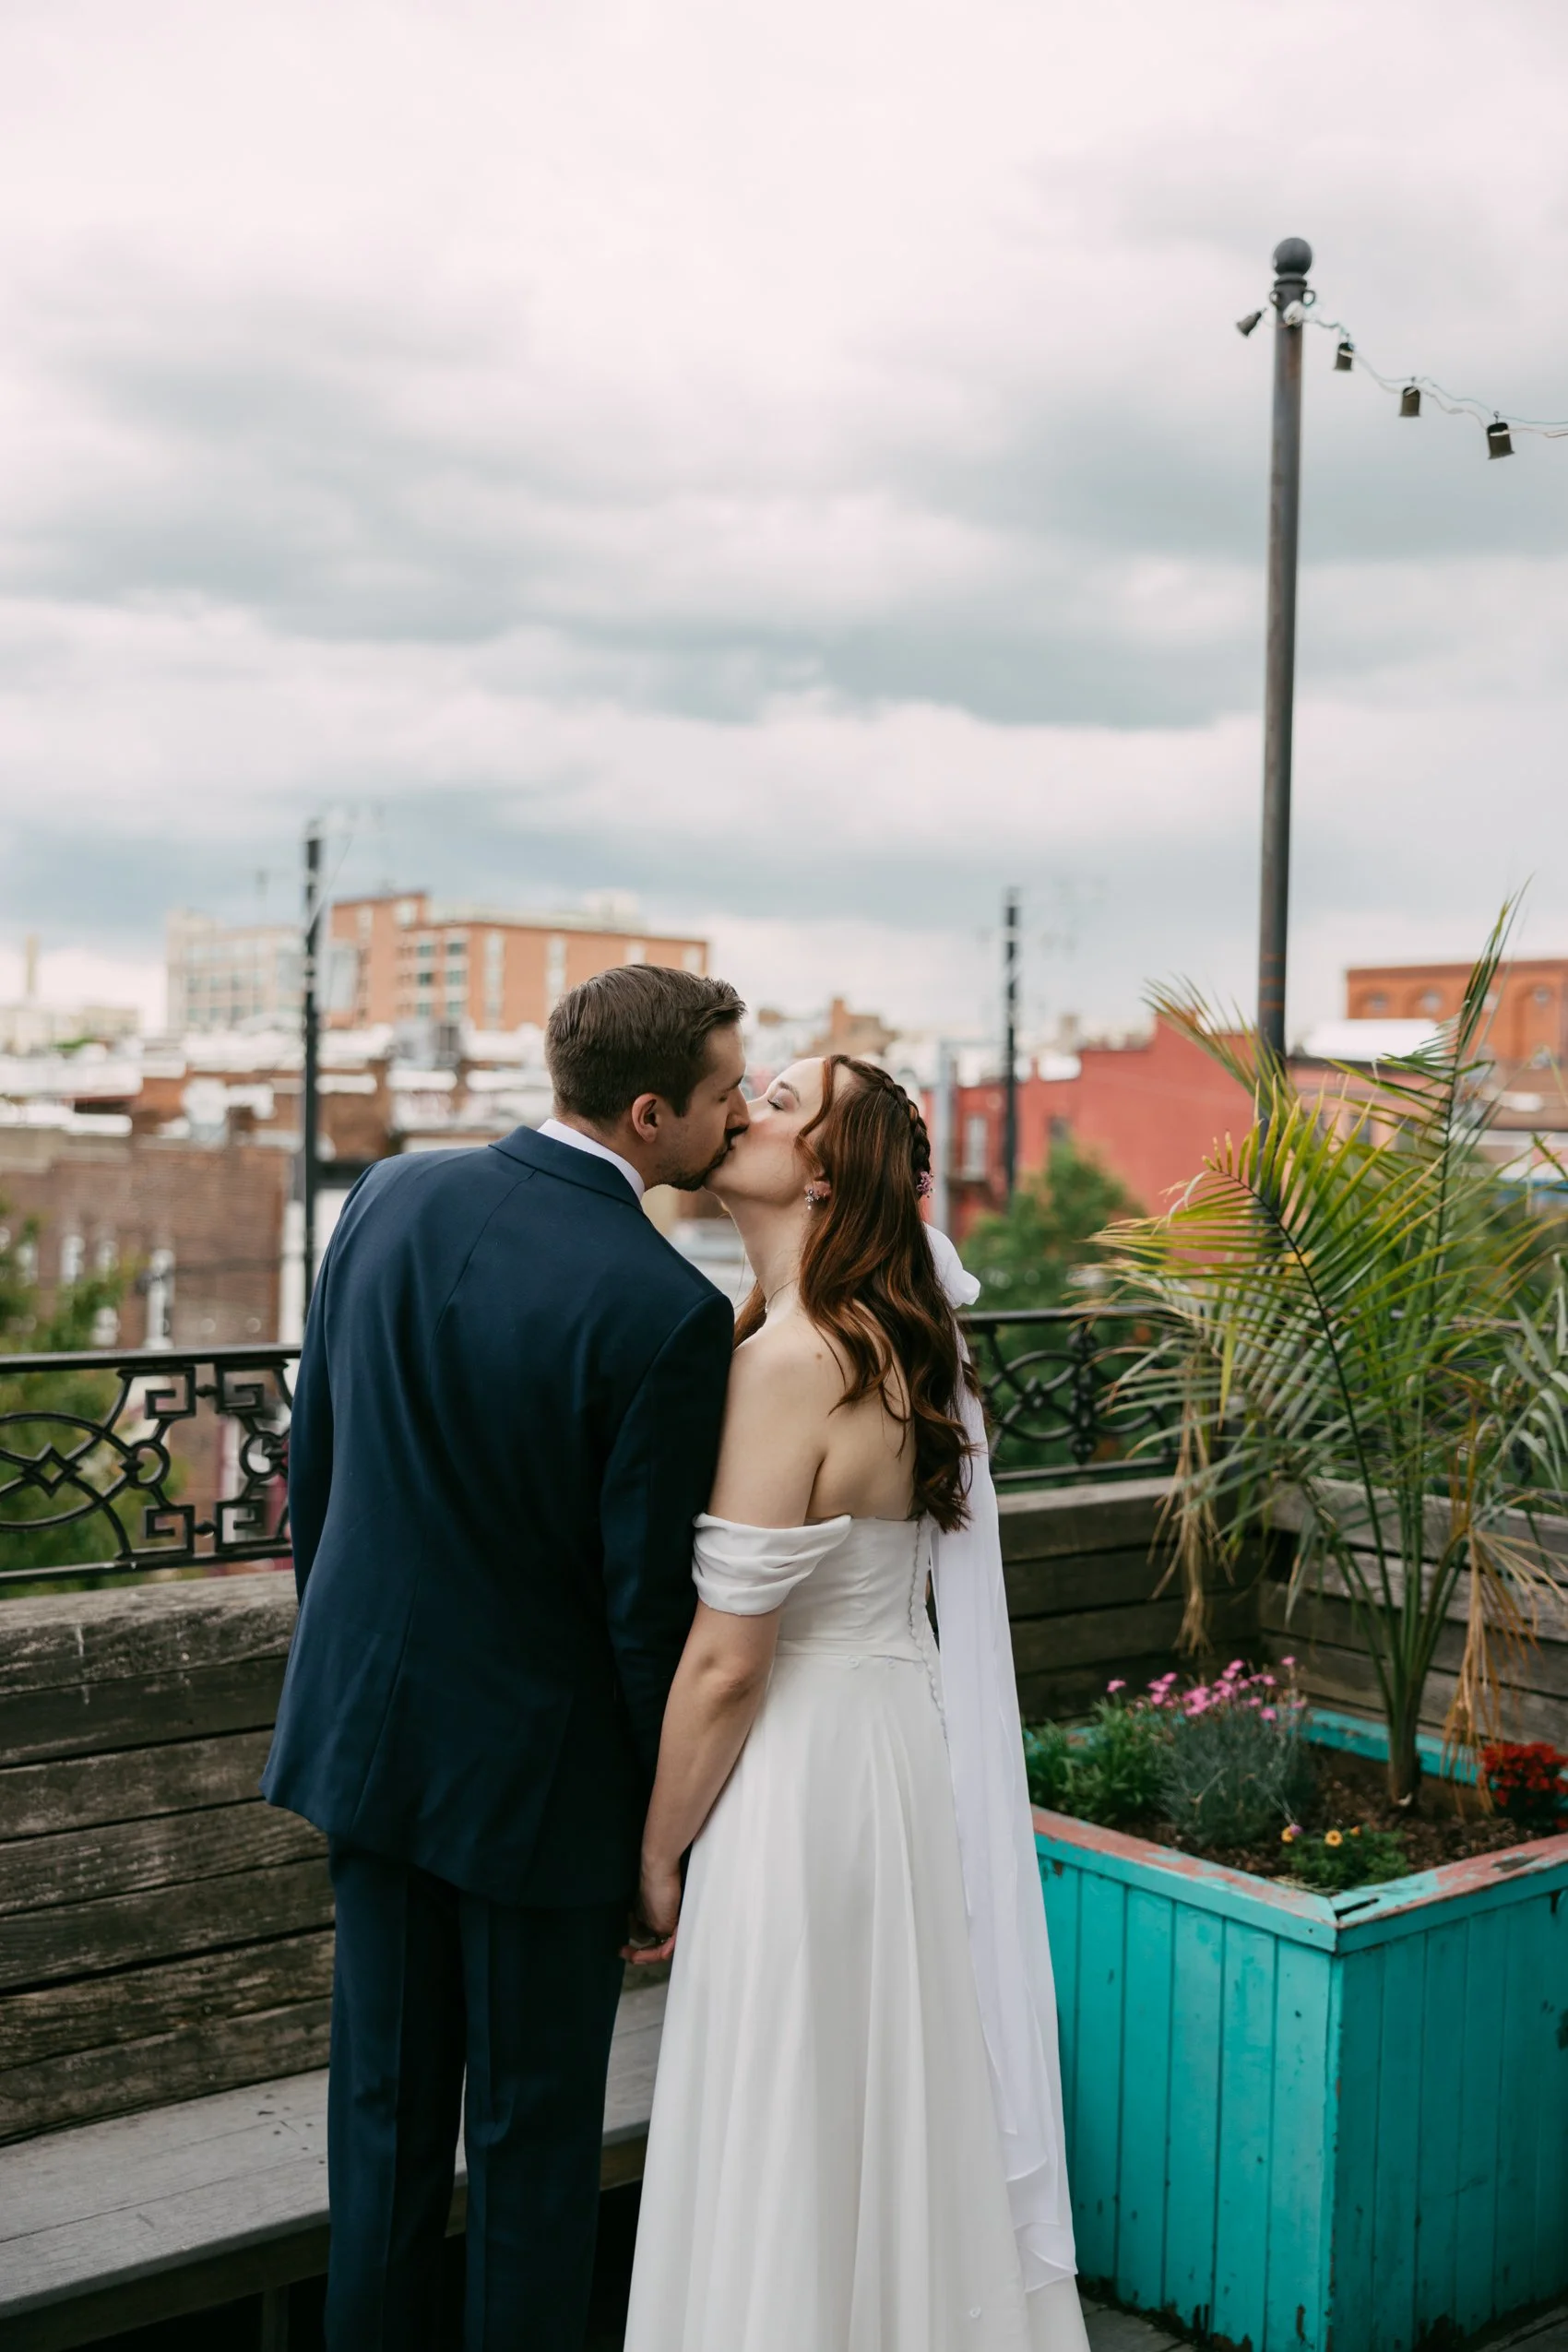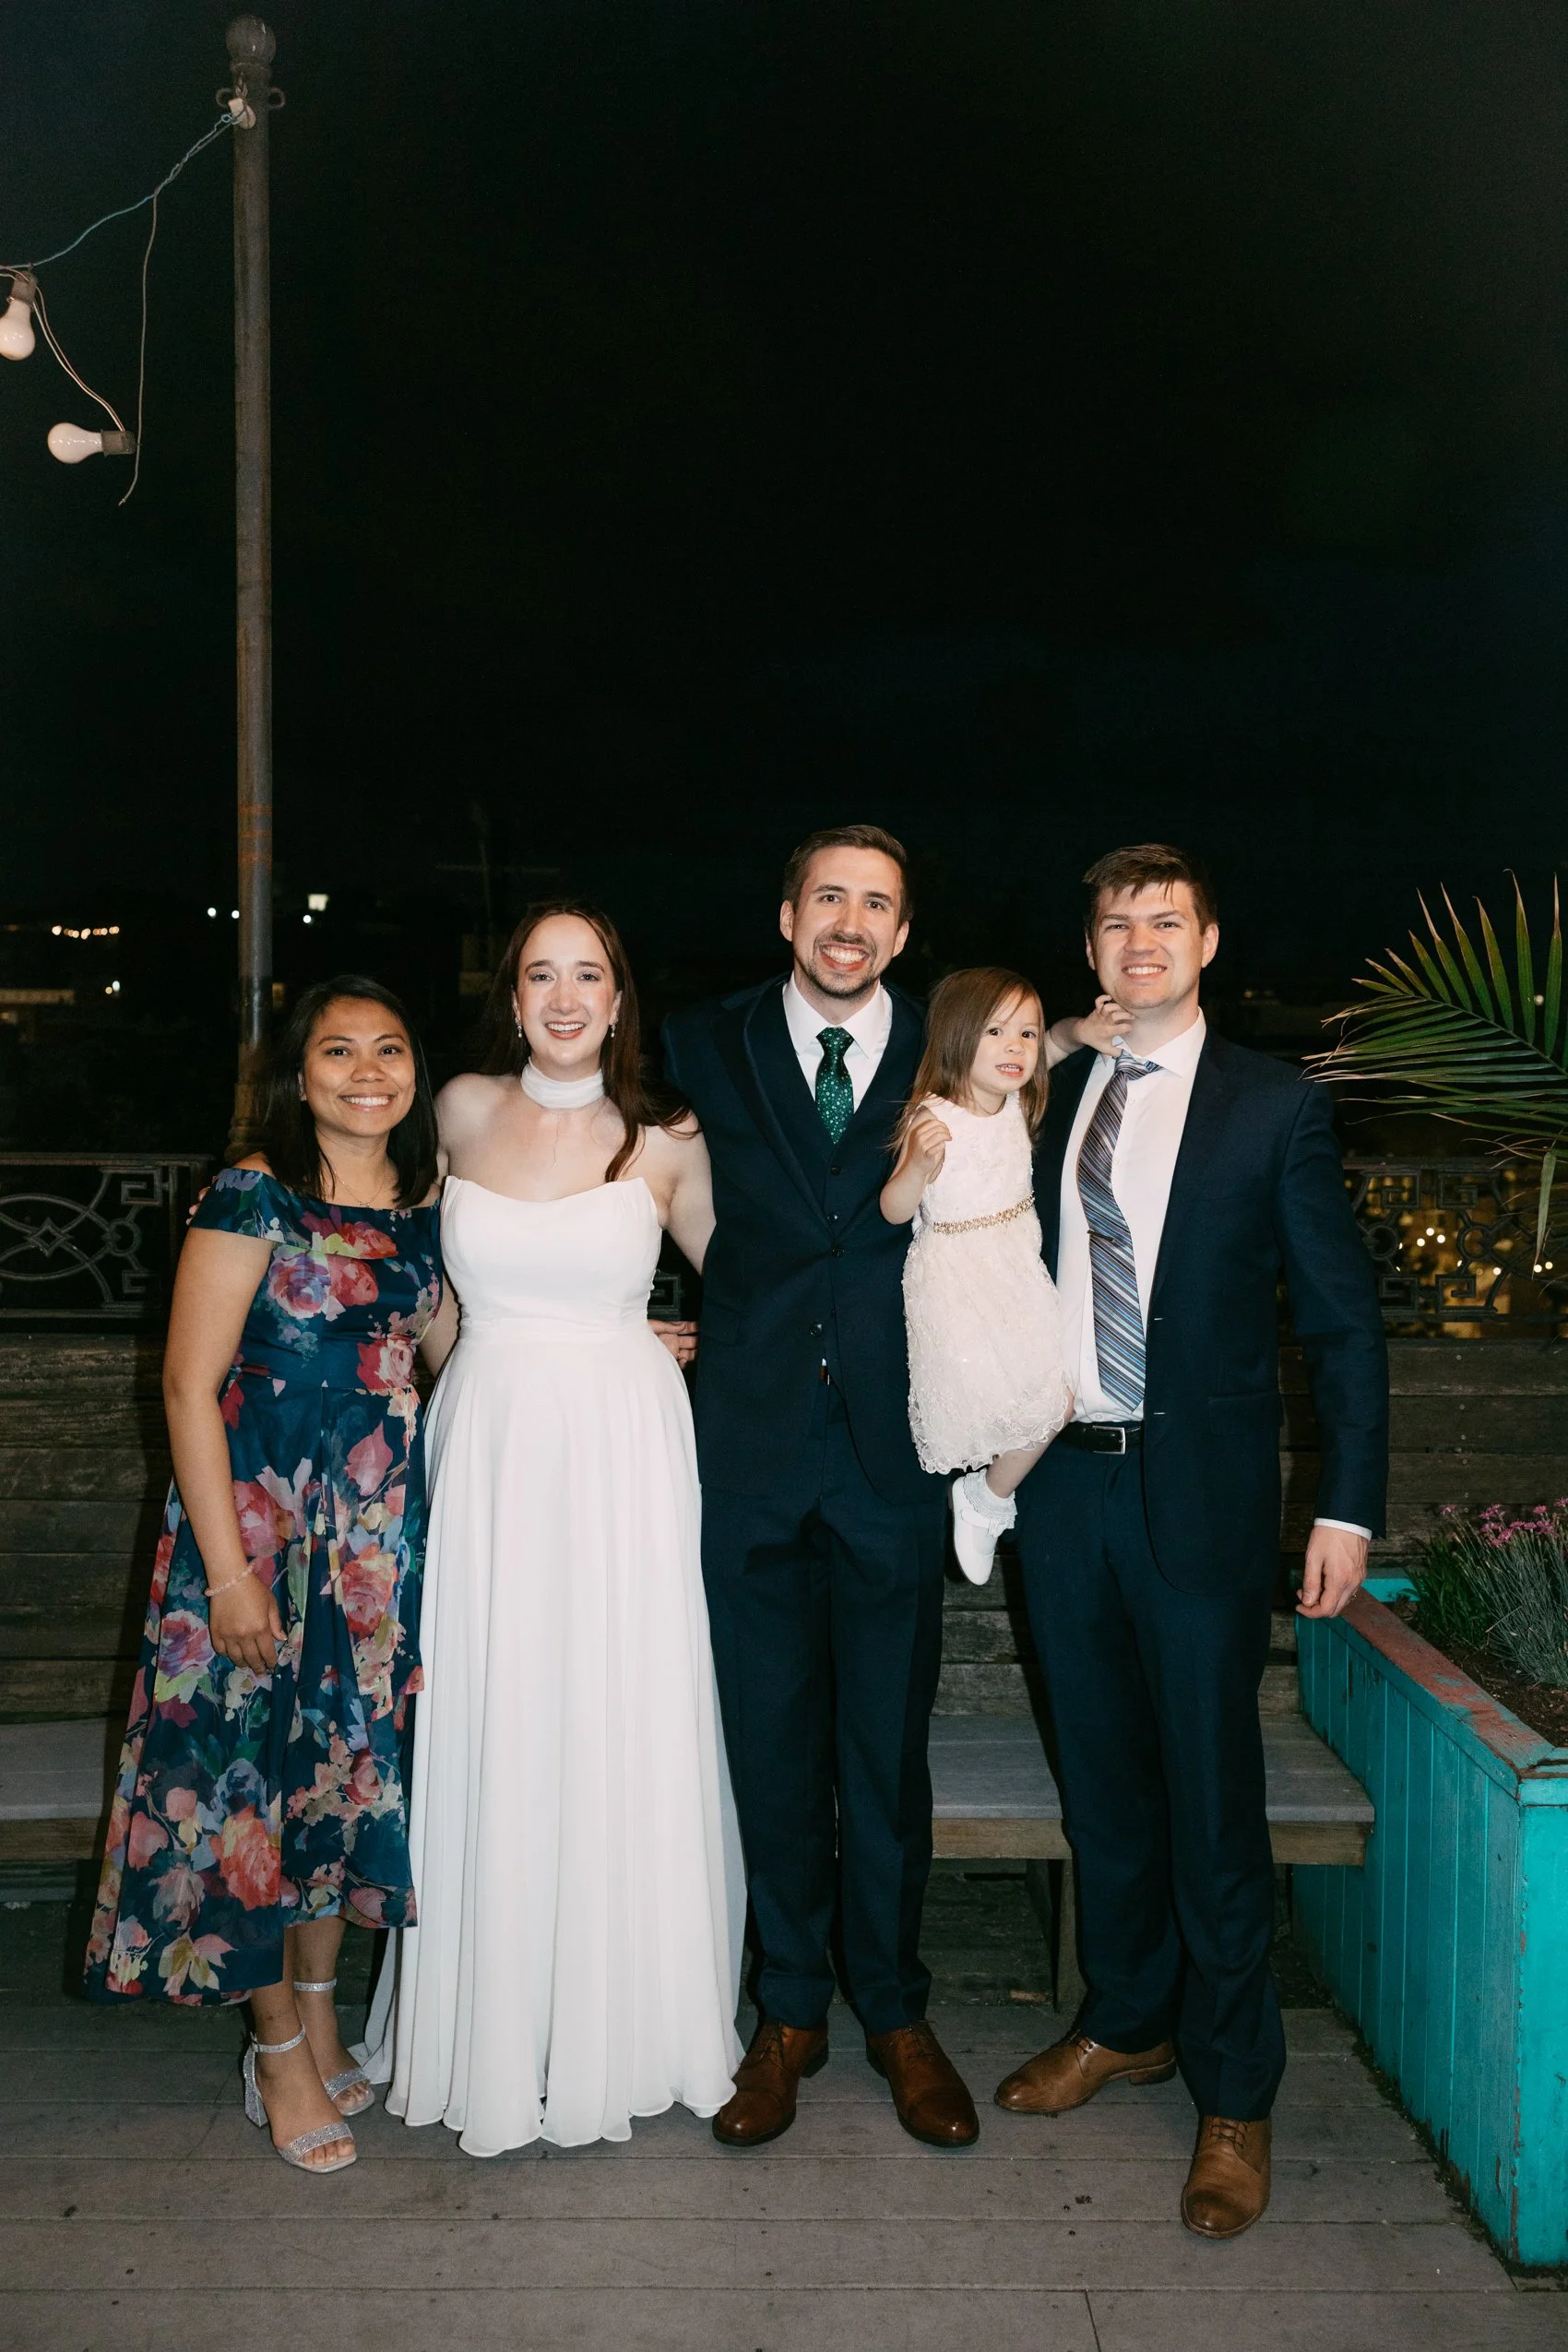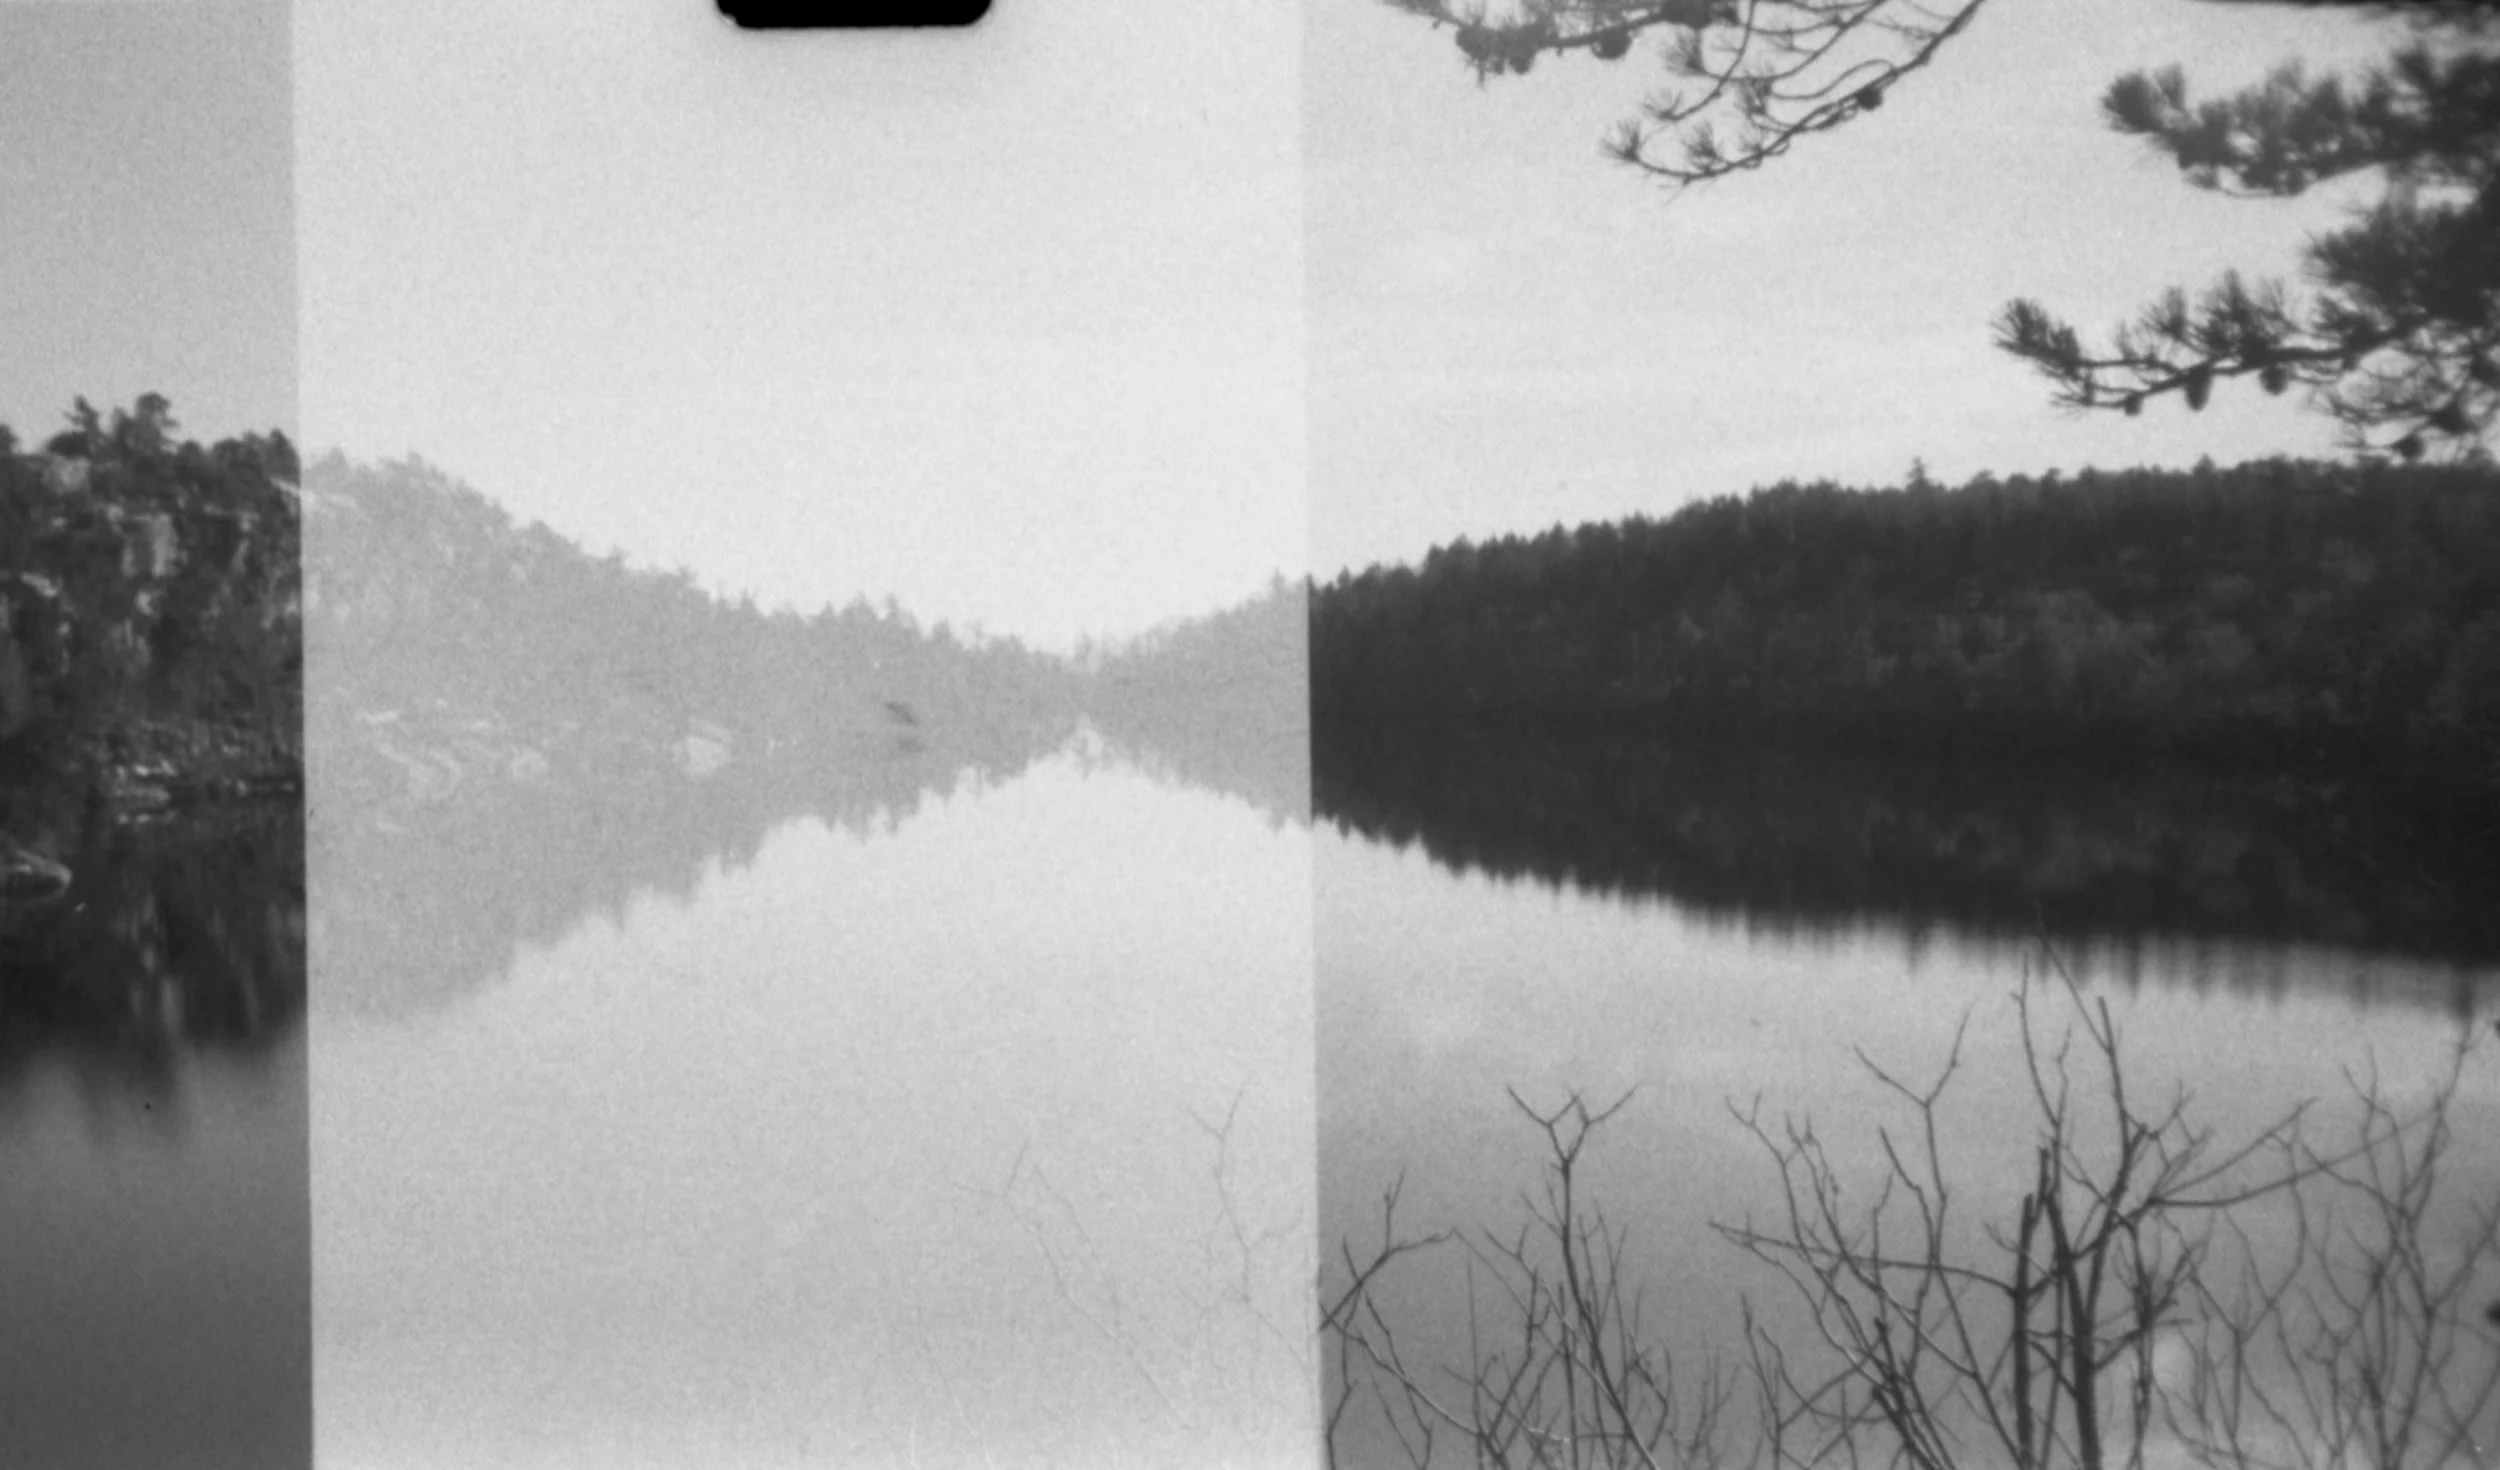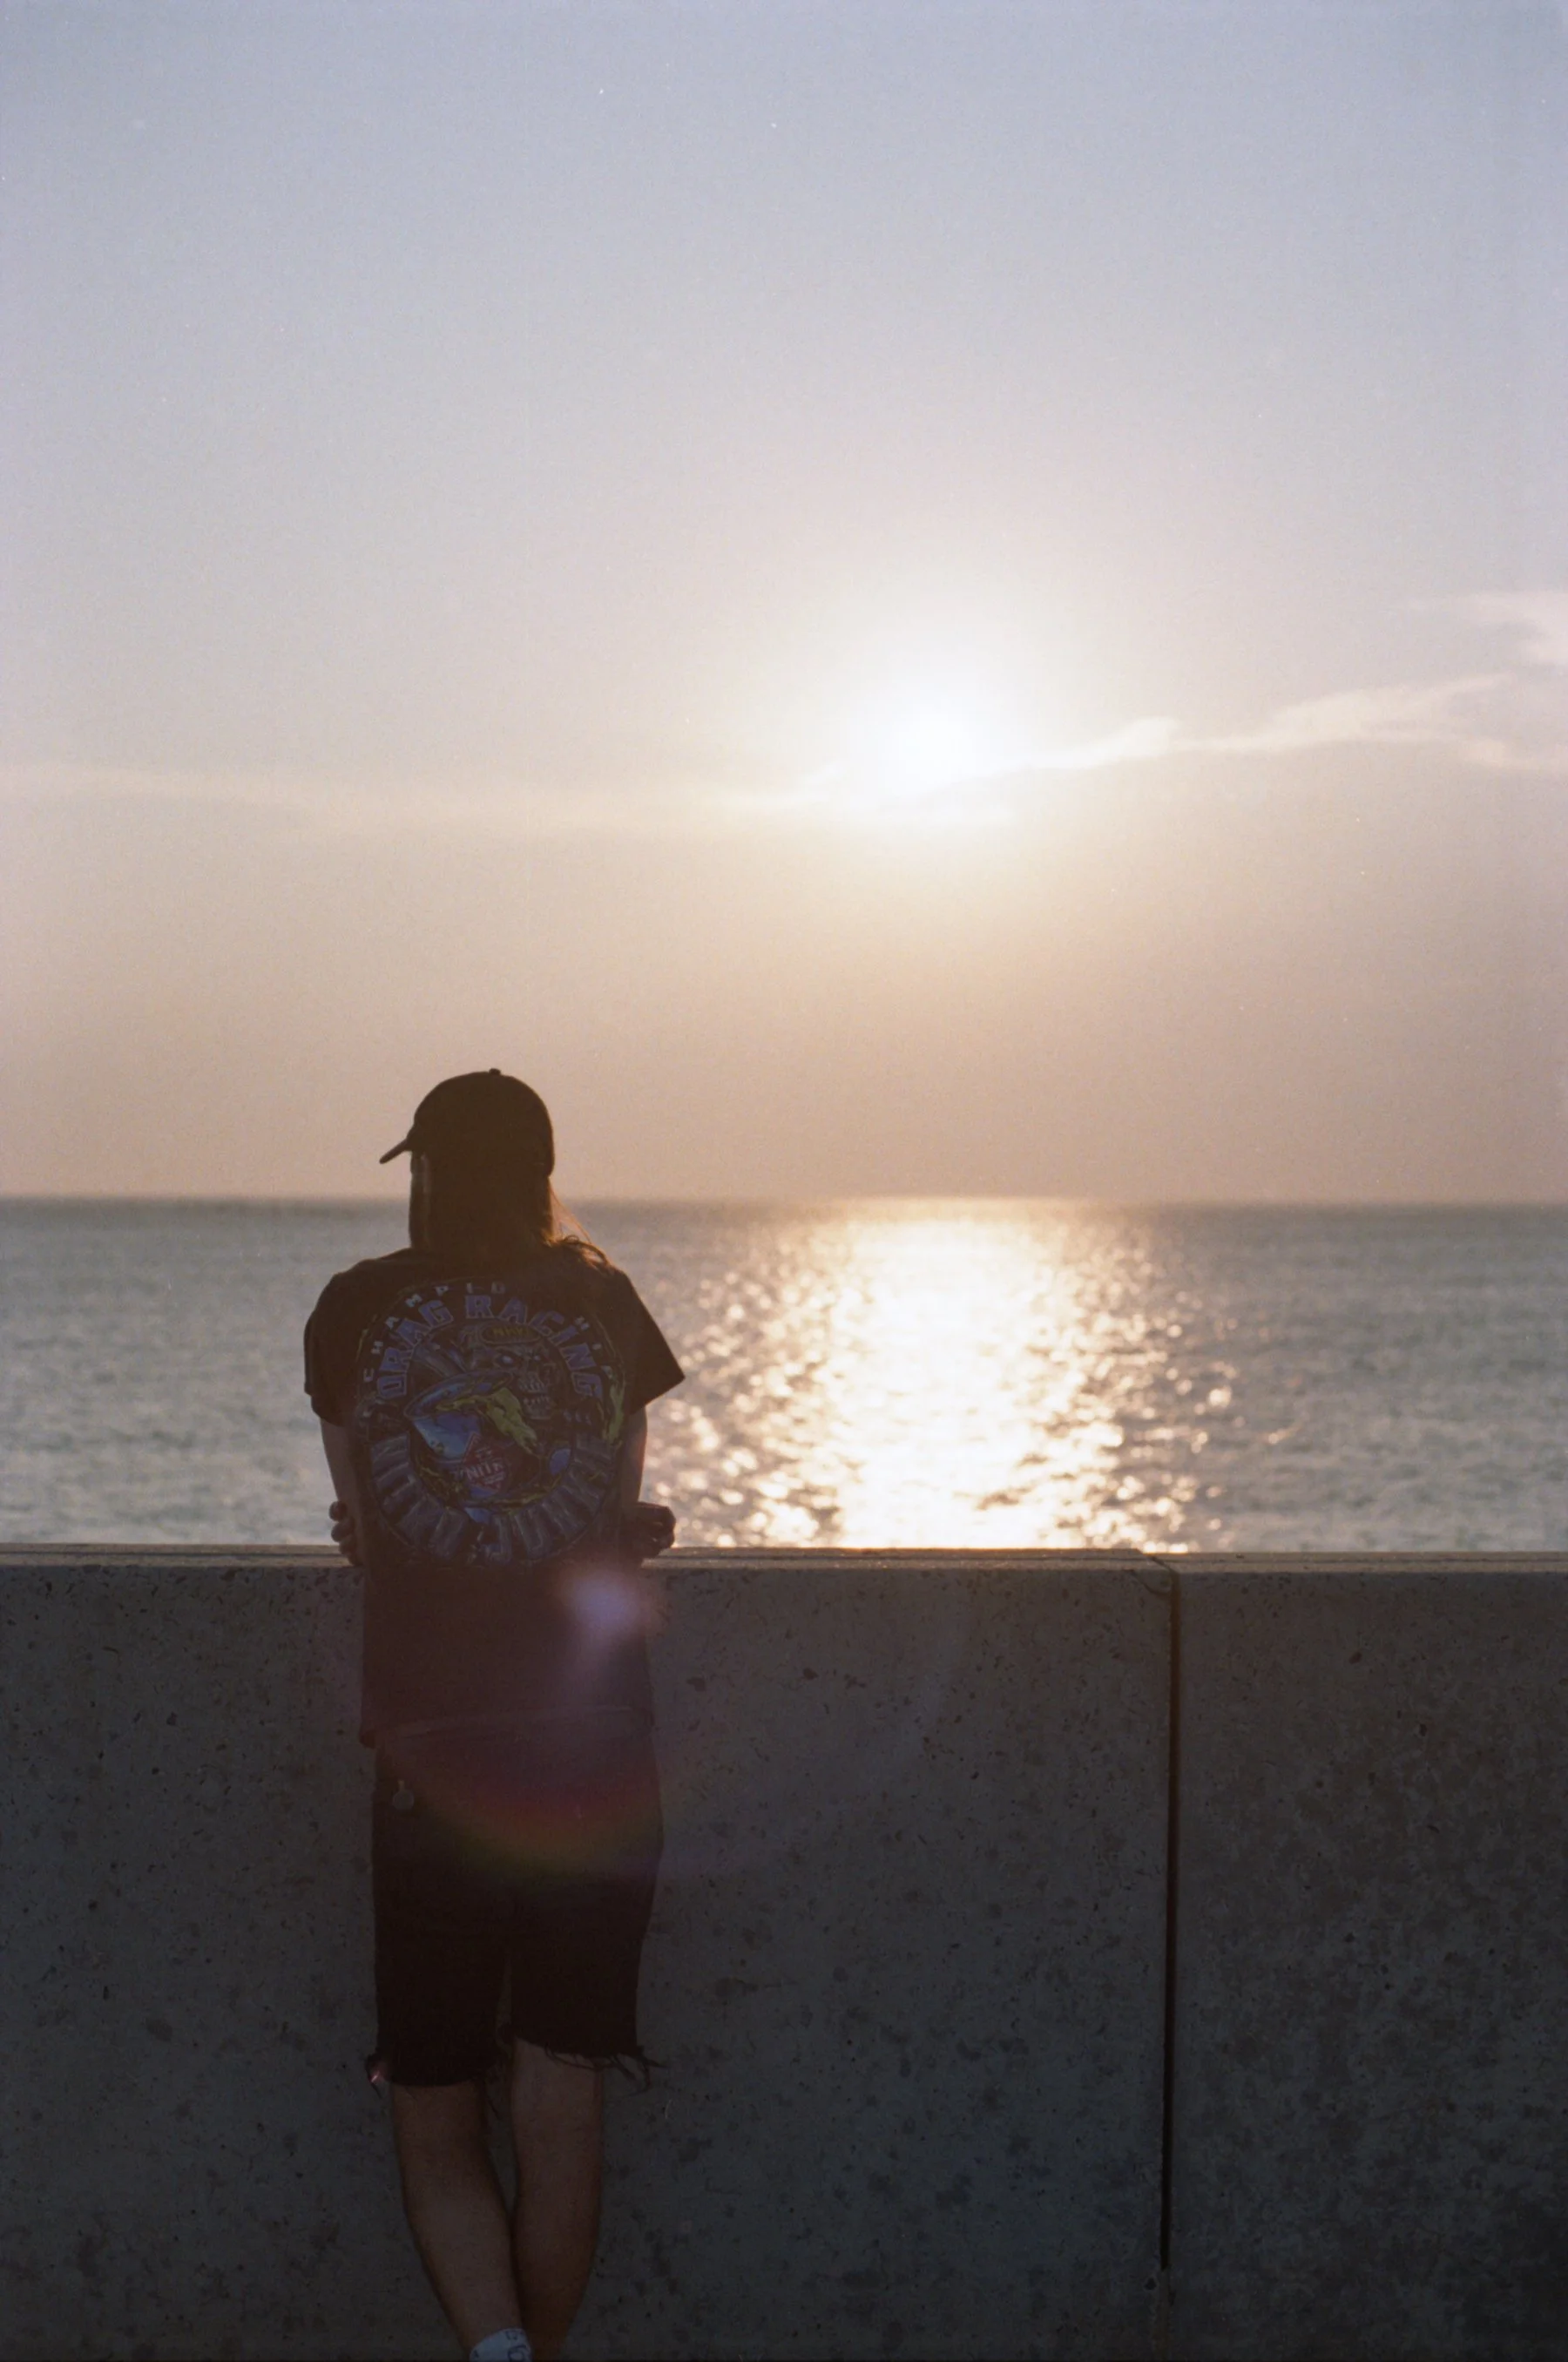

Here we go - the Canon RF 28-70mm f/2 L USM Lens. It took me WEEKS to decide between this lens and the Canon RF 24-105mm f/2.8 L IS USM Z Lens. They both had so many positive attributes. I desperately wanted a lens with a longer zoom capability for weddings, but the idea of having an f/2.0 aperture on a zoom lens, with the stunning portrait & bokeh capabilities of a prime lens, was also majorly enticing. After over a decade as my main lens, my Canon EF 24-70mm f/2.8 II L USM lens had finally kicked the bucket. It was time for an upgrade. I had an upcoming wedding on the books and needed to make a decision pronto so I could have it in time for the wedding. I even pulled my husband into the discussion and we spent days trying to decide what made the most sense for me and my style of photography. I wanted to share the three main reasons why I chose this lens over the highly desired Z lens so that, hopefully, I can help you in your decision!
(By using the affiliate links and/or codes in this blog post, you help support Myles Katherine Photography. I may earn a small commission at no additional cost to you if you make a purchase through these links. Thank you for your support!)
Beauty Over Functionality
The main question I kept asking myself was, is it more important to create beautiful images or have better functionality and reach at a high-paying event like a wedding? I’ve always wanted more zoom at weddings. I’ve been using the Canon EF 24-70mm f/2.8 II L USM lens for over a decade as my main lens at weddings. Every time I was standing in the aisle at a wedding and the couple was exchanging wedding rings, I dreamt of having just a little more reach to get close ups of their hands and rings. I imagined beautiful candid moments of guests across the room who didn’t realize I was taking their photograph. I wished I could zoom in on a mountain off in the distance or a butterfly on a flower and create images that only true nature photographers could achieve. But at the end of the day, I’ve always valued beauty and creativity over functionality. While this isn’t the case for every photographer, I realized it was for me. I wanted that extra background blur for my wedding portraits. I wanted just a bump of an upgrade to the low-light images I’d been creating for years. I wanted something BETTER than the images I’d been able to create with an f/2.8 aperture. I wanted to WOW my clients with dreamy, intimate portraits that were better than the norm. I knew this lens would give me that extra dose of magic I was looking for.


2. Low-light ABILITIES
I’ve spent over a decade getting along just fine with an f/2.8 aperture. It allowed me to capture images decently late into the evening at a wedding, but as the sun went down, I’d slowly make my way into using my Canon EF 50mm f/1.2 L USM lens to finish up the evening until I’d eventually switch to using an on-camera flash. This set up worked great for years and years. But in post-editing, I’d have to touch up some of the noise and grain that made it’s way into those evening photos as I bumped up the ISO on my camera. I always prefer natural lighting over flash, so it’s super important to me to be able to take as many photos as possible until I absolutely have to switch to a flash. I knew with 100% certainty that the better low-light performance of this lens would come in handy for me. I just photographed my first wedding with it and it honestly removed some of the stress that I’d face as the sun went down. I was able to use this lens up until the late-night dancing began. The images are truly stunning. This is also my first RF lens, and I’ve been dreaming of trying one out for years. It’s true that the RF lenses have a beautiful, natural sharpness that is just more expensive-looking than the EF lenses.

3. A Prime Lens in a Zoom Body
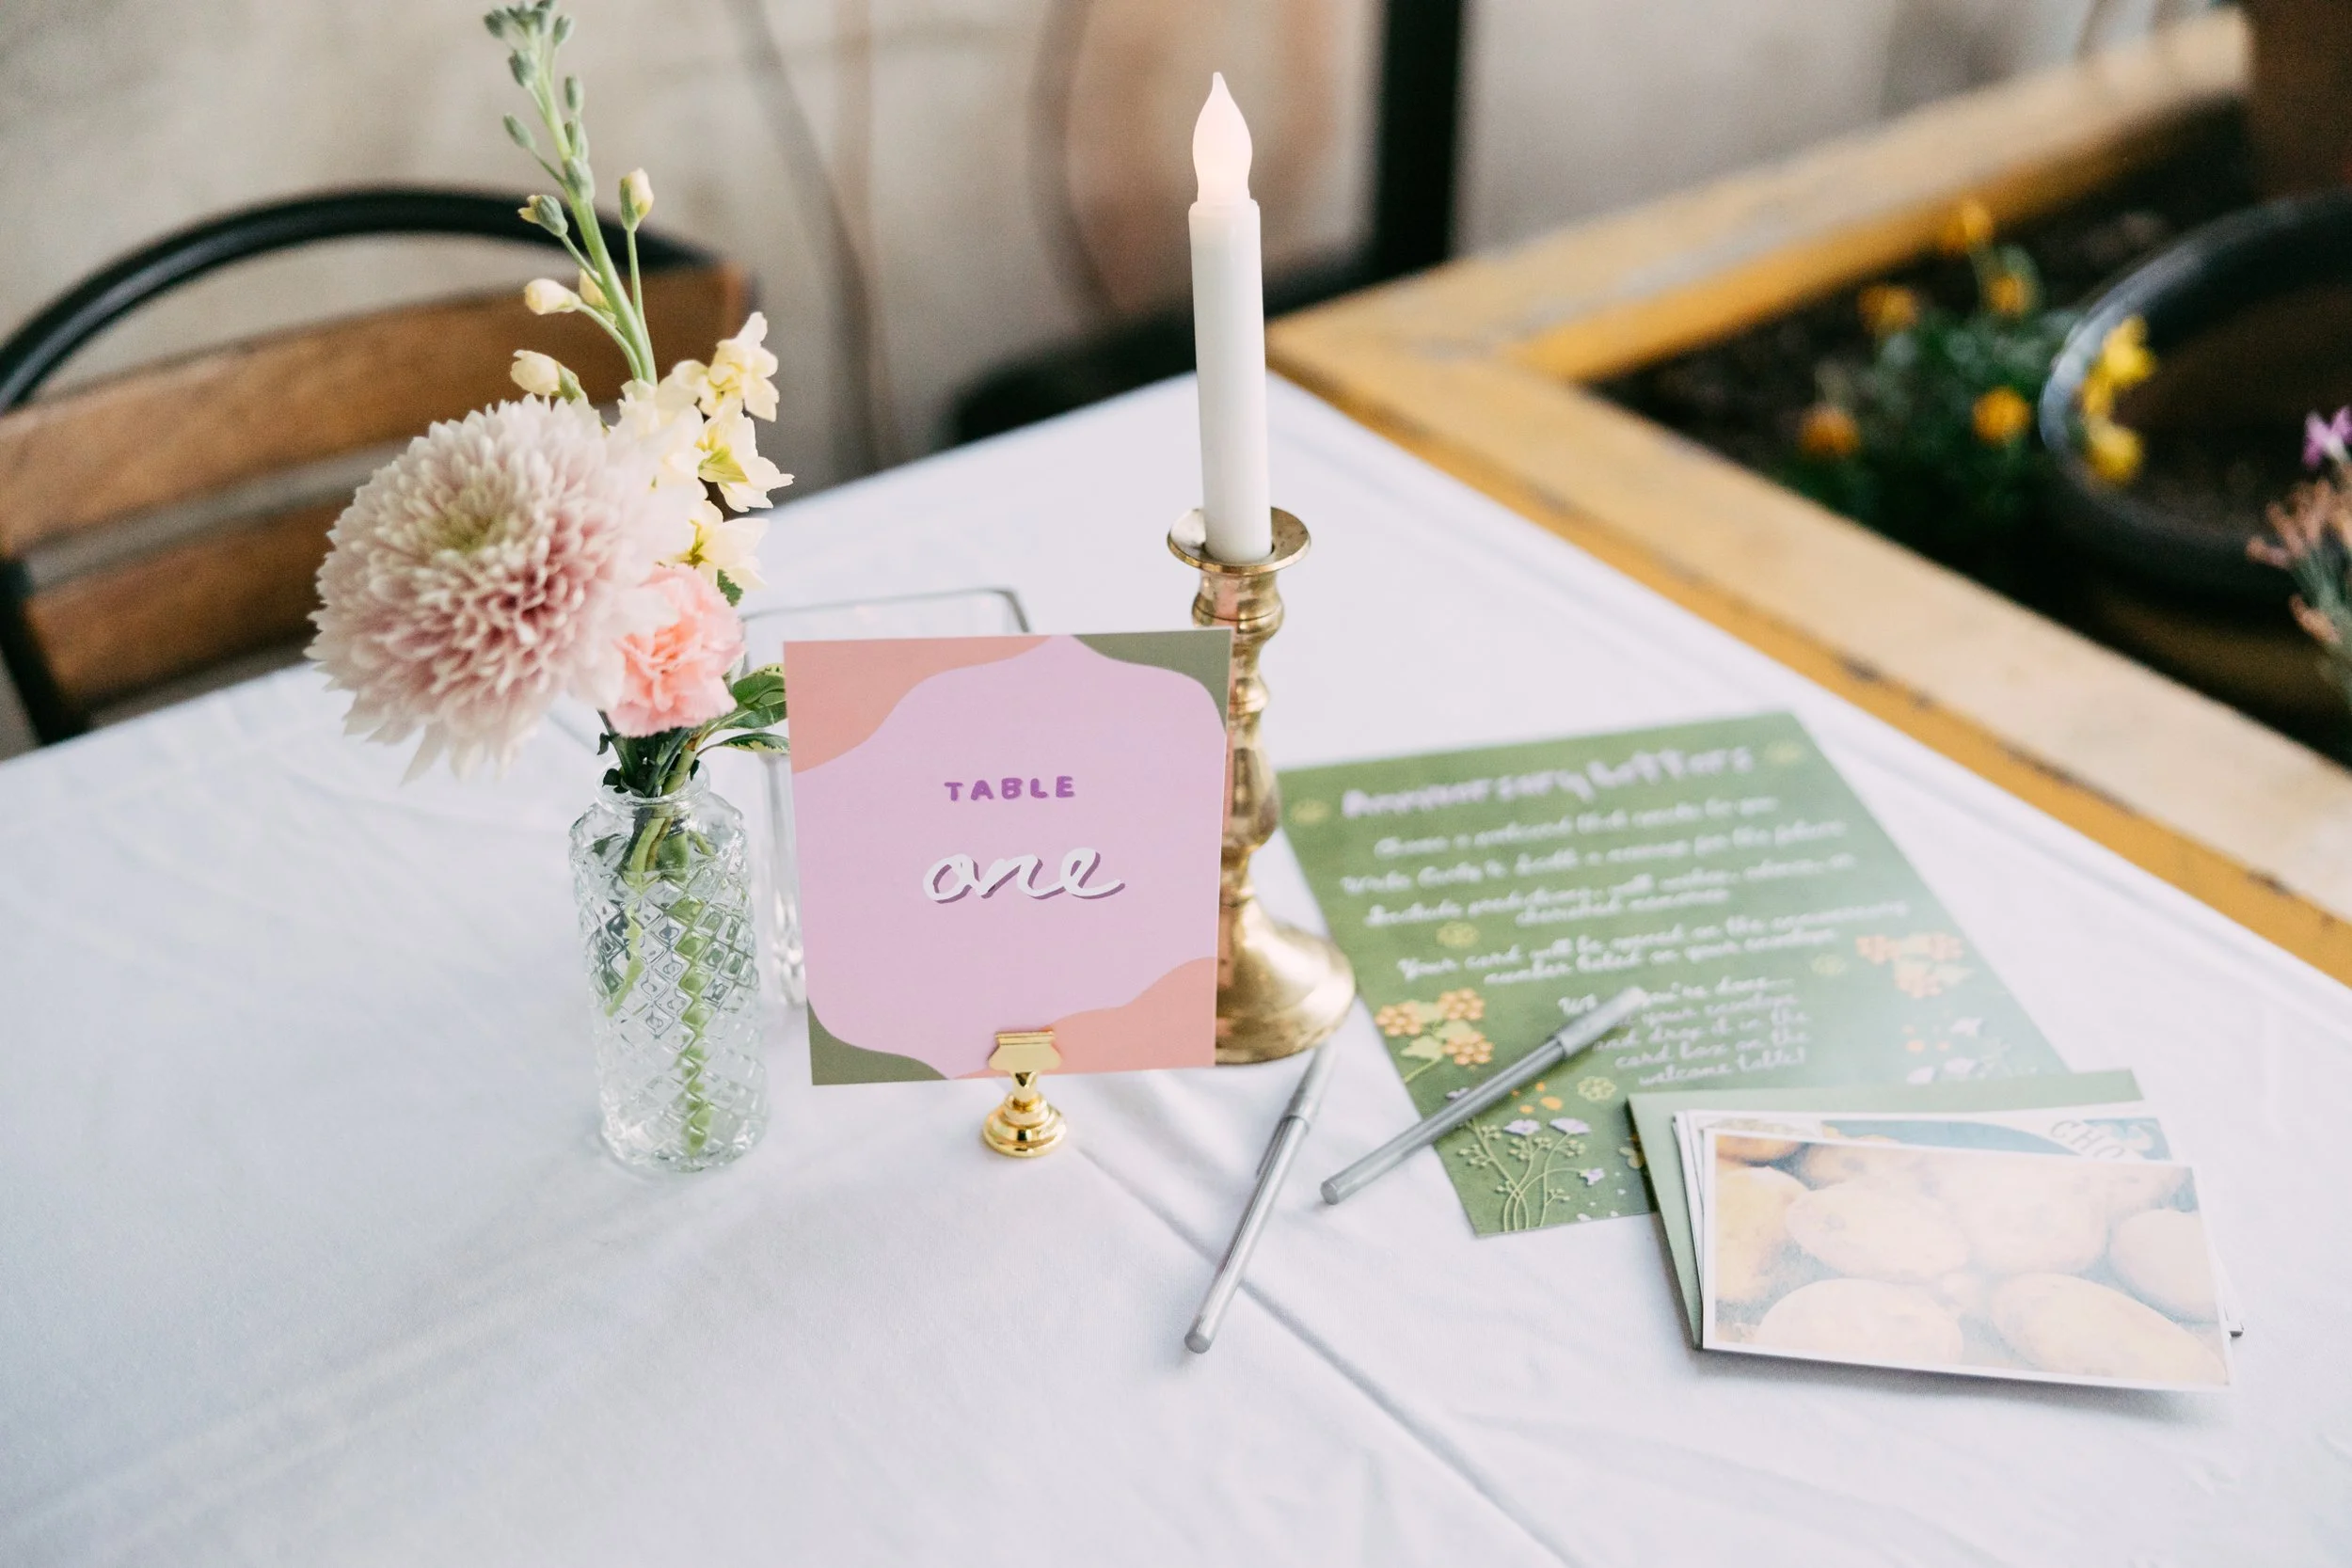
This one was hard to deny. Who wouldn’t want the features of a prime lens in a zoom lens body?! The magic of zoom lenses is that they are versatile and can speed up your photography in a setting like a wedding where you’re capturing intimate, candid moments. You can use them for food photography, detail shots, events, portraits, fashion, everything. And I did. I used my Canon EF 24-70mm f/2.8 II L lens for everything. But if I was photographing headshots, or intimate wedding portraits, or wanting images that were more surreal, cinematic, and unique, I’d bring out one of my prime lenses like the Canon EF 50 mm f/1.2 L or the Canon EF 85 mm f/1.2 II L lens. It just made people look more beautiful, it made flowers look more magical, it made moments seem more special. But prime lenses can be limiting. You’re stuck with a single focal length and often have to work around your circumstances to create the image you’re looking for. It can be exhausting. It can slow you down. It can limit your ability to create a variety of images quickly. Once I understood the reasoning behind this lens, that Canon’s goal WAS to create a prime lens with zoom lens functionality, it pretty much sealed the deal for me. And what’s funny is that after shooting my first wedding with this lens, I realized I hardly touched my 50 mm f/1,2 lens at the wedding. This means that the lens was fulfilling two functions for me, a zoom lens AND a prime lens. It really is both of those things in one!


A FEW THINGS TO CONSIDER
While this lens is incredible, I wanted to share a few of the things that almost turned me away from this lens. First of all, it’s HUGE. It’s HEAVY. It looks a little ridiculous on my tiny Canon EOS R body. If you think about prime lenses and how chunky they are, it is exactly like that, but with a zoom barrel added. It’s a CHUNK-MEISTER (the same nickname I’ve given to my new French bulldog puppy…). Weight is a huge factor to me when adding cameras and equipment to my collection. My camera was already so heavy and I’m not a large human so these professional DSLRs and giant lenses feel supersized on me. I compared the weights between the two lenses I was considering - 3.15 lb / 1430 g for the Canon RF 28-70mm f/2 L USM Lens and 2.9 lb / 1.3 kg for the Canon RF 24-105mm f/2.8 L IS USM Z Lens. Not a huge difference, but it was a factor in my consideration. After discussing with my husband though, we realized that with my history of bumping into walls and hitting my zoom lenses on corners constantly as they are hanging on my side, that the extra length of the 24-105mm lens might lead me to some issues. The 28-70mm lens is a bit more compact length-wise, so I knew that could mean a matter of life and death when it came to the lens and it’s lifespan with me. The 24-105mm lens has a length 7.8" while the 28-70mm lens is only 5.5". I’m often carrying two (or more!) cameras on me at any given time and I tend to get tangled. The extra length on the zoom lens would eventually start to bother me, and I knew that.
The other major thing to consider is that, because the 28-70mm lens is essentially a prime lens, it does NOT have image stabilization. My husband tried to argue this point with me for a while, because he’ll occasionally use my lenses for video. I know for some people this will be a deal-breaker. For me though, I’ve already been using my 24-70mm f/2.8 lens for over a decade without image stabilization and I’ve been able to create images that are beautiful and perfectly sharp. It’s really a matter of understanding when to bump up the ISO, when to speed up the shutter, and when to open up the aperture. Over the years, I’ve learned how to work around it, so I knew I wouldn’t miss what I’ve never had. However, I’m currently using the 28-70mm lens with my Canon EOS R, which is the very first mirrorless camera that Canon ever produced. It’s somewhat outdated and does not feature built-in image stabilization. My plan is to upgrade my EOS R next year to the Canon EOS R5 or R6 Mark II. My hope is that the built-in stabilization of those cameras will benefit me and my images, even if it’s just a tiny bit.
I was also a little bit bummed that I was losing 4mm of focal length by changing from the 24-70mm to 28-70mm. I love shooting super wide angle photos, especially at weddings where I’m trying to capture a full interior space. I use the full 24mm more often than I’d like to admit. My husband looked it up and it actually only accounts for about a foot of distance. So, hypothetically, if I just take one step back, I could account for the loss of focal length. However, at a wedding or in a tight space, I sometimes find myself up against the wall, unable to back up anymore, even with the 24mm lens. I’m still a little sad about it, but I don’t miss it when I’m outside or with plenty of space to back up. It’s only in those tight spaces that it would come in handy, and I don’t think it will happen as often as I think. In most situations, I will likely be able to take a step back.
And yes, obviously, it is expensive. It was a punch in the gut to purchase it. BUT! Here’s how I justified it. I used my Canon 24-70mm f/2.8 II L lens for about 12 years as my main lens (you can read my full review of this lens on my blog here). It carried my business. It represented me and my work for YEARS. My husband and I did some quick math and determined that the cost of the lens was less than 1% of the entire amount of money it made me over 12 years. You can’t argue with that!
SO, WAS IT THE RIGHT CHOICE?
Ok, so I’m known for being one of the most indecisive people in the world. I’ll made a decision and then spend weeks convincing myself that it was the wrong one. But I’m being 100% honest when I say, I know with full certainty that I made the right choice for me. After trying this lens out for a few photo shoots and a wedding, I came away from the shoots inspired, excited, and surprised by the next level that this lens has brought my images to. I’ve spent the past few years feeling a little burnt out, and it’s amazing what new gear can do for a photographer. I can hardly even wait for my next photo shoot! The limitations I used to experience with my 24-70mm lens aren’t there anymore. I can now get that dreamy background blur that I’m always looking for, and that beautiful low-light sharpness and low grain that is so important for weddings and indoor event photography. And I don’t miss or wish for that extra zoom that the 24-105mm would have given me, simply because I just wouldn’t have used it that often. It didn’t make sense to have that extra zoom if I’d only use it for a handful of images every year. So, YES! For me, this was the right choice. I hope that this post has helped you in your journey to make a decision.
And of course, there were a few lower budget lenses that I was considering while hunting for a new lens. The Canon RF 24-70mm f/2.8 L IS USM Lens was also a major contender, as was the Canon RF 24-105mm f/4 L IS USM Lens. The problem with these was that I didn’t feel that they would greatly enhance my work, just because I was already using an f/2.8 zoom lens for so long. But they are both great options, and would save you some dough! And at the end of the day, the RF 24-105mm f/2.8 Z lens is going to make more sense for a lot of people, especially if you shoot a LOT of weddings, because that extra zoom length and image stabilization is hard to turn down. Even when I was purchasing my lens, the store associate said the Z lens was extremely popular. It wasn’t even in stock when I ordered the 28-70mm! You can find it on B&H Photo here though, if you’re on the hunt for one!
WHERE TO BUY THE CANON RF 28-70MM F/2 L USM LENS
WHERE TO BUY THE CANON RF 24-105mm f/2.8L IS USM Z LENS
MORE AFFORDABLE OPTIONS
Canon RF 24-70mm f/2.8 L IS USM Lens
Canon RF 24-105mm f/4 L IS USM Lens
If you found this post helpful or inspiring, I’d love it if you considered signing up for my Patreon! For as little as $1 a month, you’ll get early access to all of my YouTube videos, plus tons of photos that I don’t post anywhere else. Depending on which tier you choose, you could also receive seasonal prints and/or discounts! I always use all of the proceeds towards cameras, film & processing.
If you have any questions, I’m always happy to help! You can contact me here, or leave a comment below! Thanks so much for stopping by! You can also check out my B&H Photo storefront & Amazon Storefront for more camera/film recommendations. :) Have a magical day!
<3 Myles Katherine
(This post contains affiliate links and I will be compensated if you make a purchase after clicking through my links.)