(By using the affiliate links and/or codes in this blog post, you help support Myles Katherine Photography. I may earn a small commission at no additional cost to you if you make a purchase through these links. Thank you for your support!)
For years, I’ve always gravitated towards Kodak film stocks, but lately I’ve been branching out and trying more Fujifilm options. There’s something incredibly nostalgic about 35 mm Fujifilm, probably because it was common in the 80s and 90s for disposable cameras to be pre-loaded with a version of color Fujifilm or Kodak, and I specifically remember the way that Fujifilm disposable looked from my childhood.
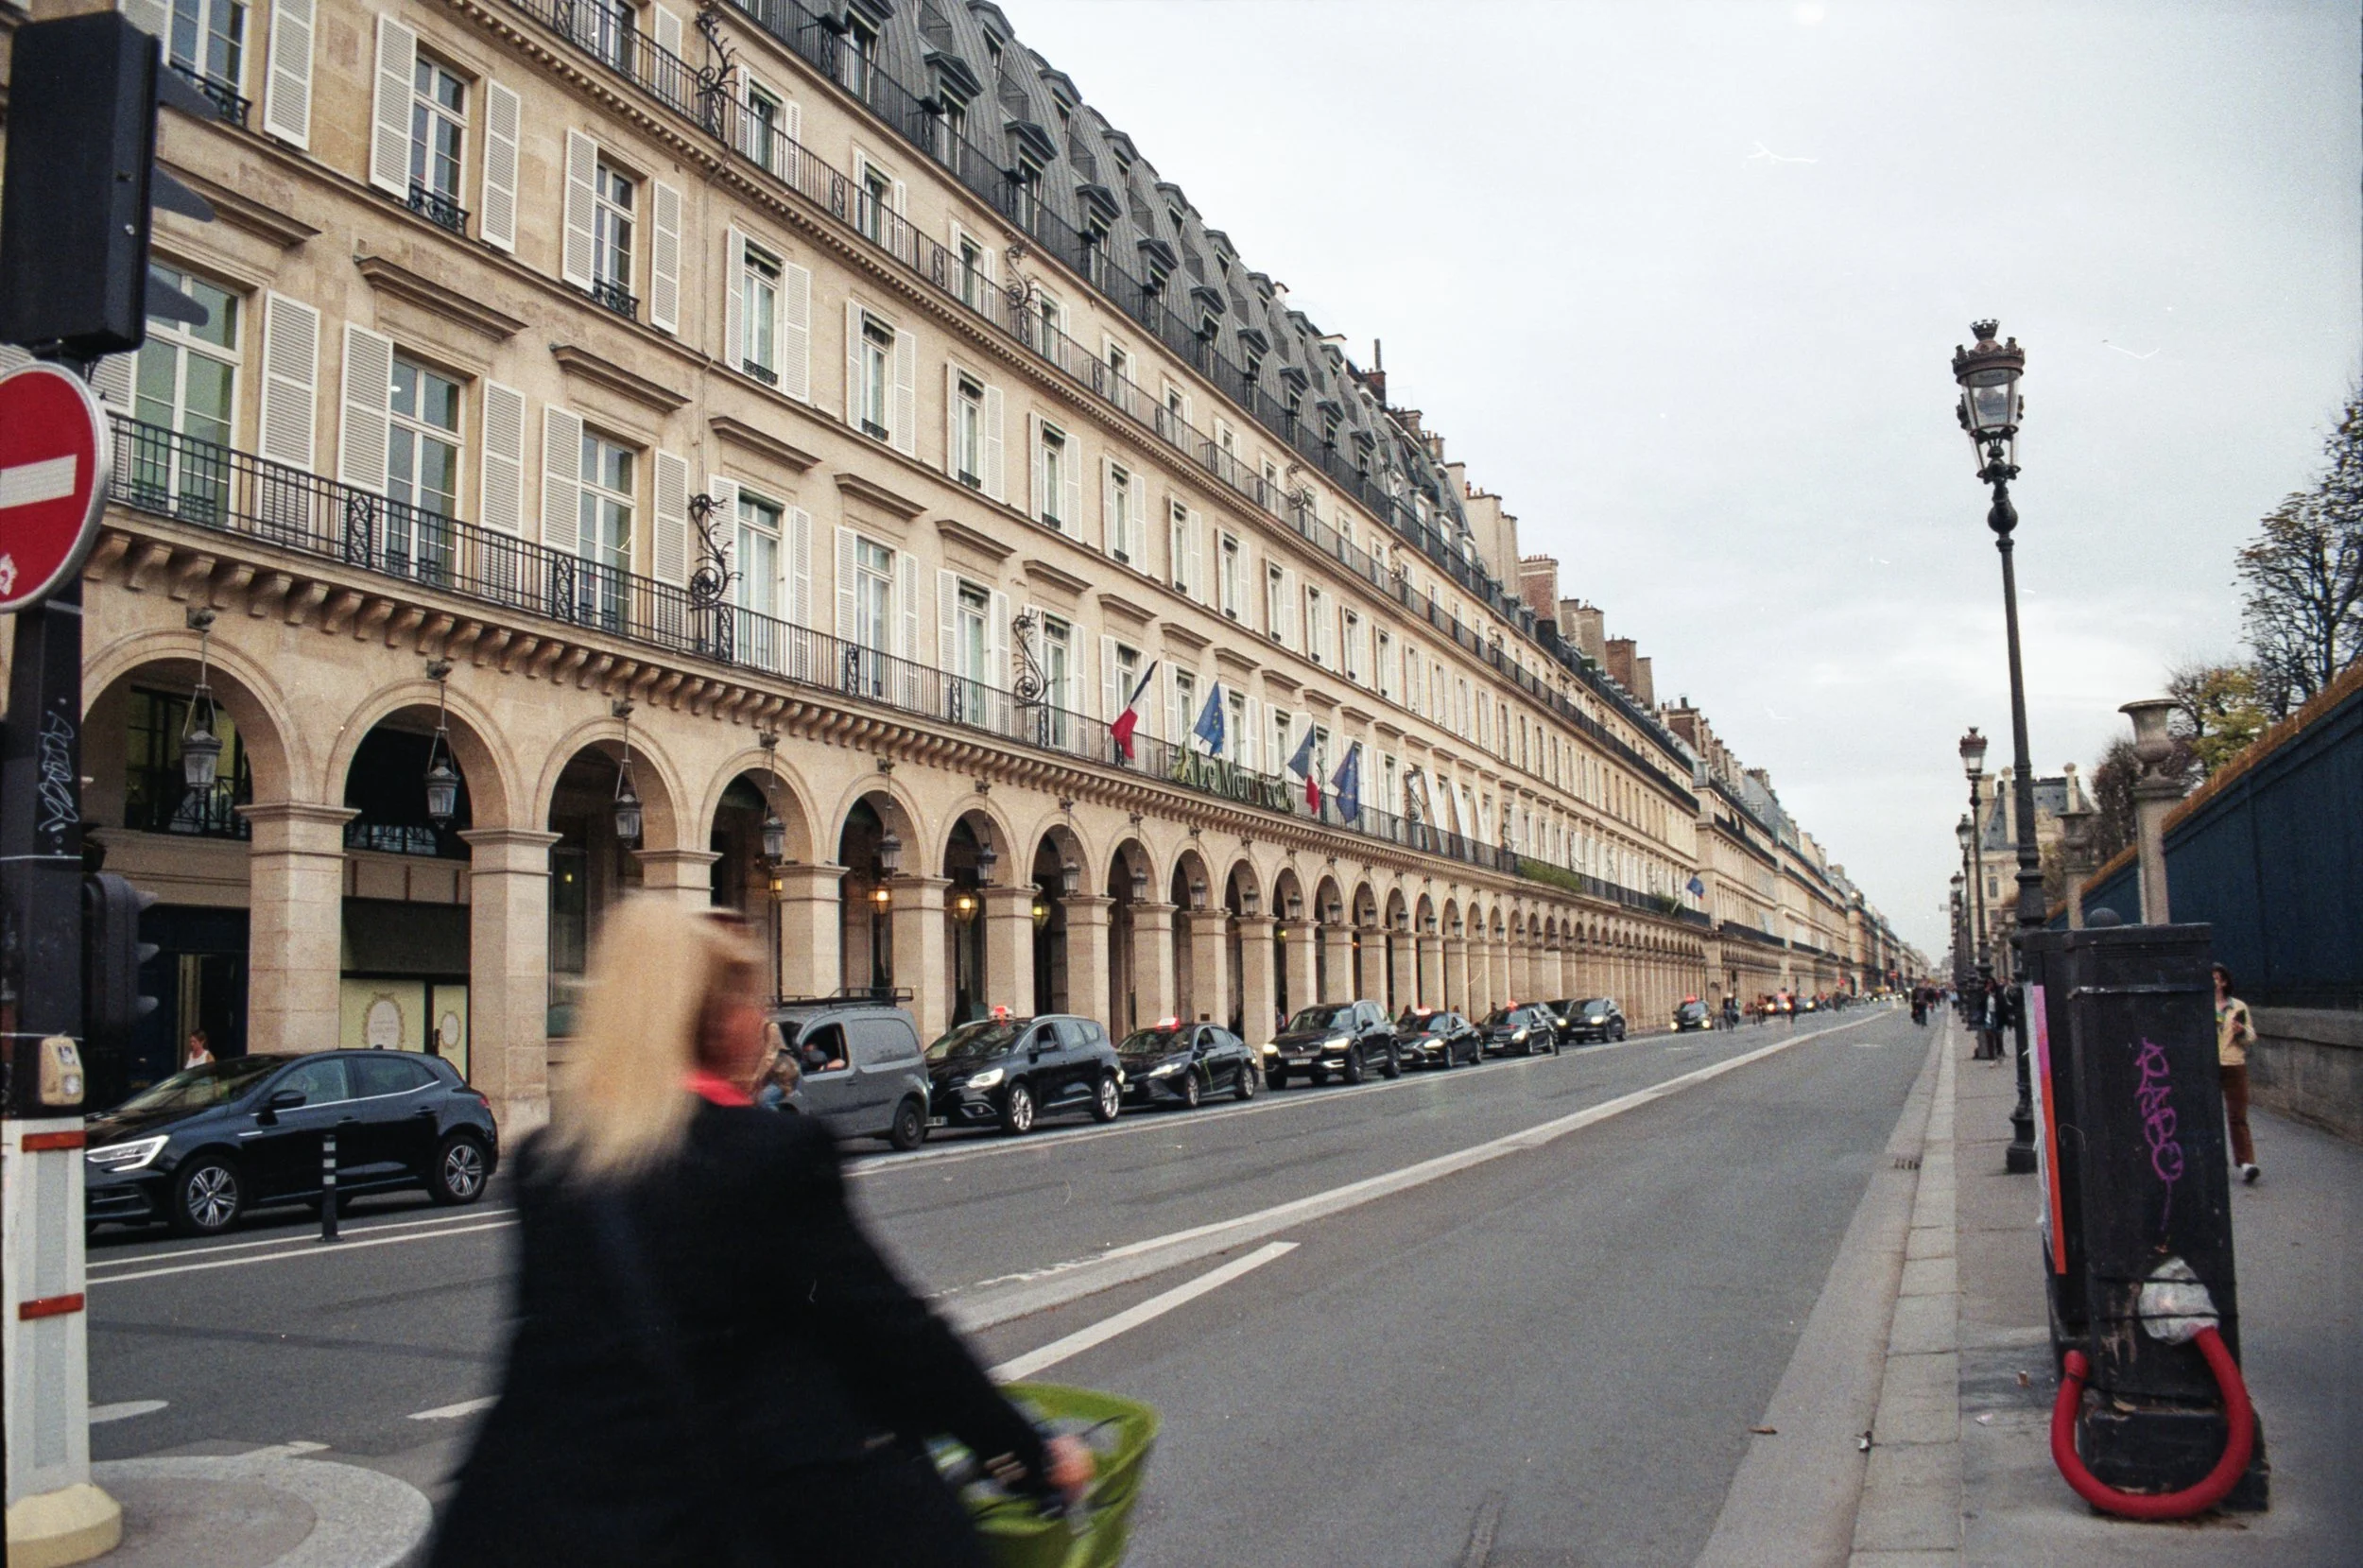
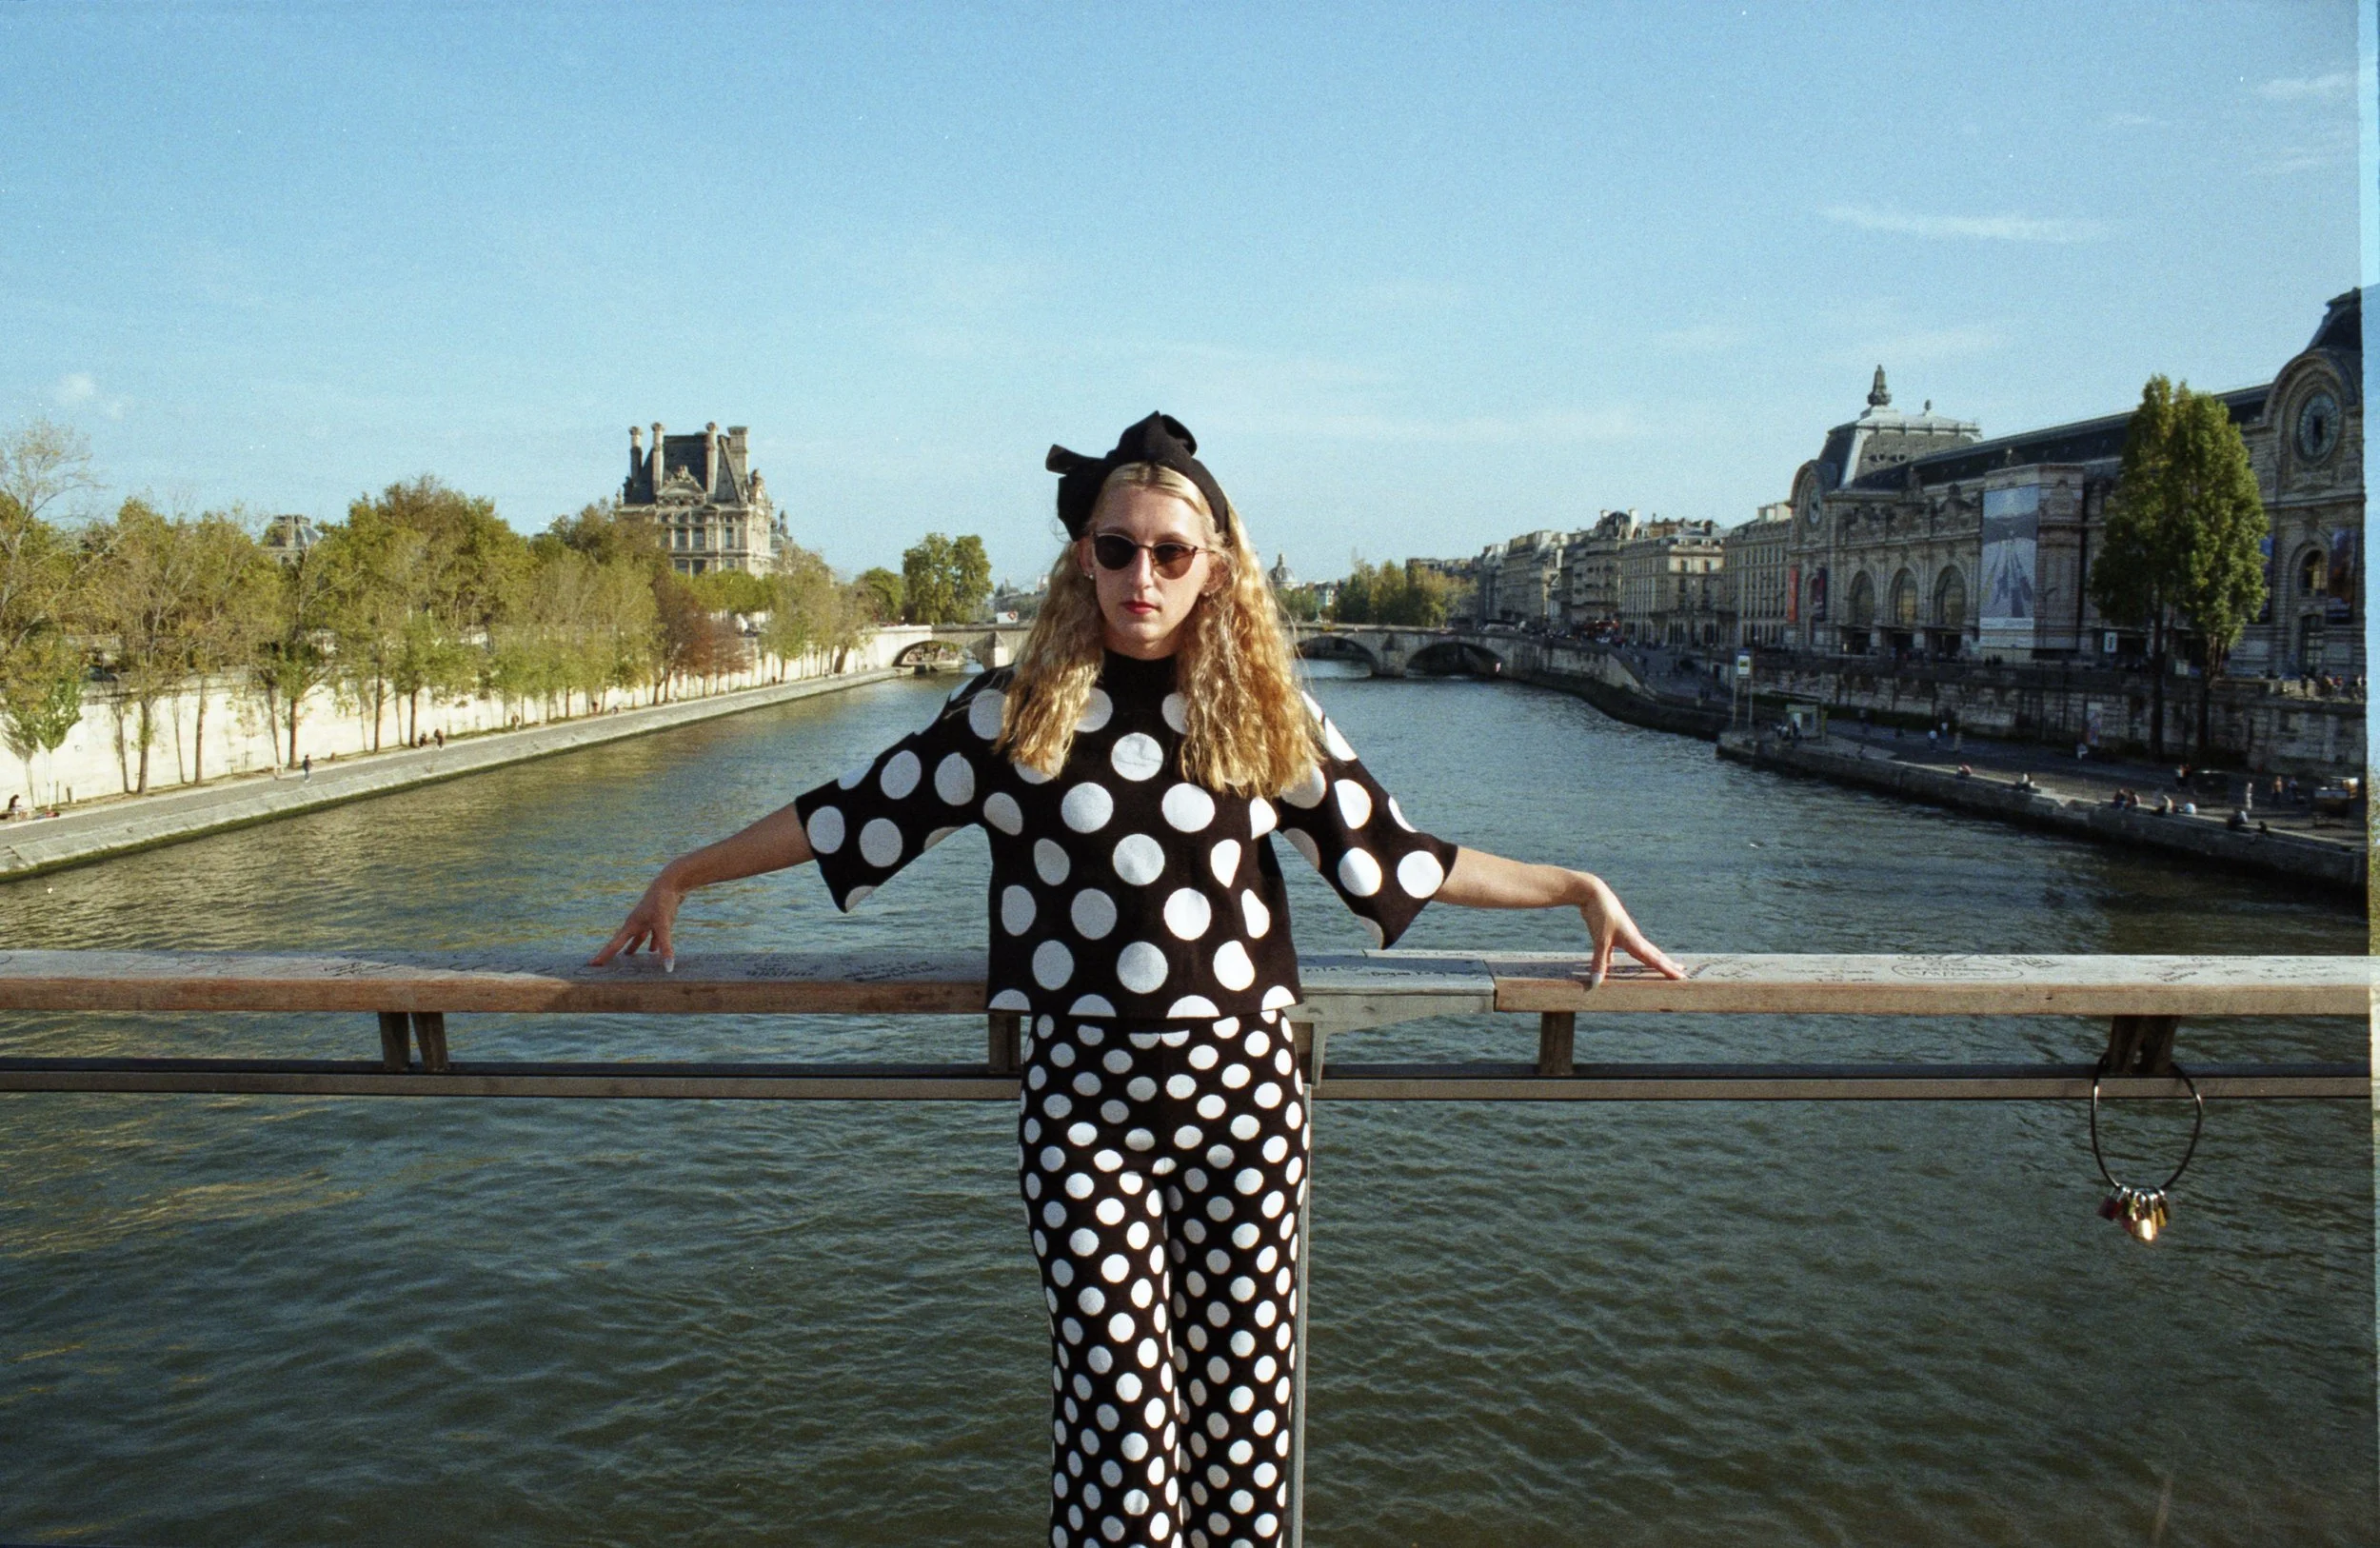
I decided to try out the Fujifilm 200 Color Negative film with my Canon Rebel K2 while I was in Paris, France. I have a full blog post and YouTube video about the Canon Rebel K2, if you’d like to learn more about it! It’s a fairly average 35 mm camera, but I find it to be the perfect travel camera, especially if you’re just getting into film photography.
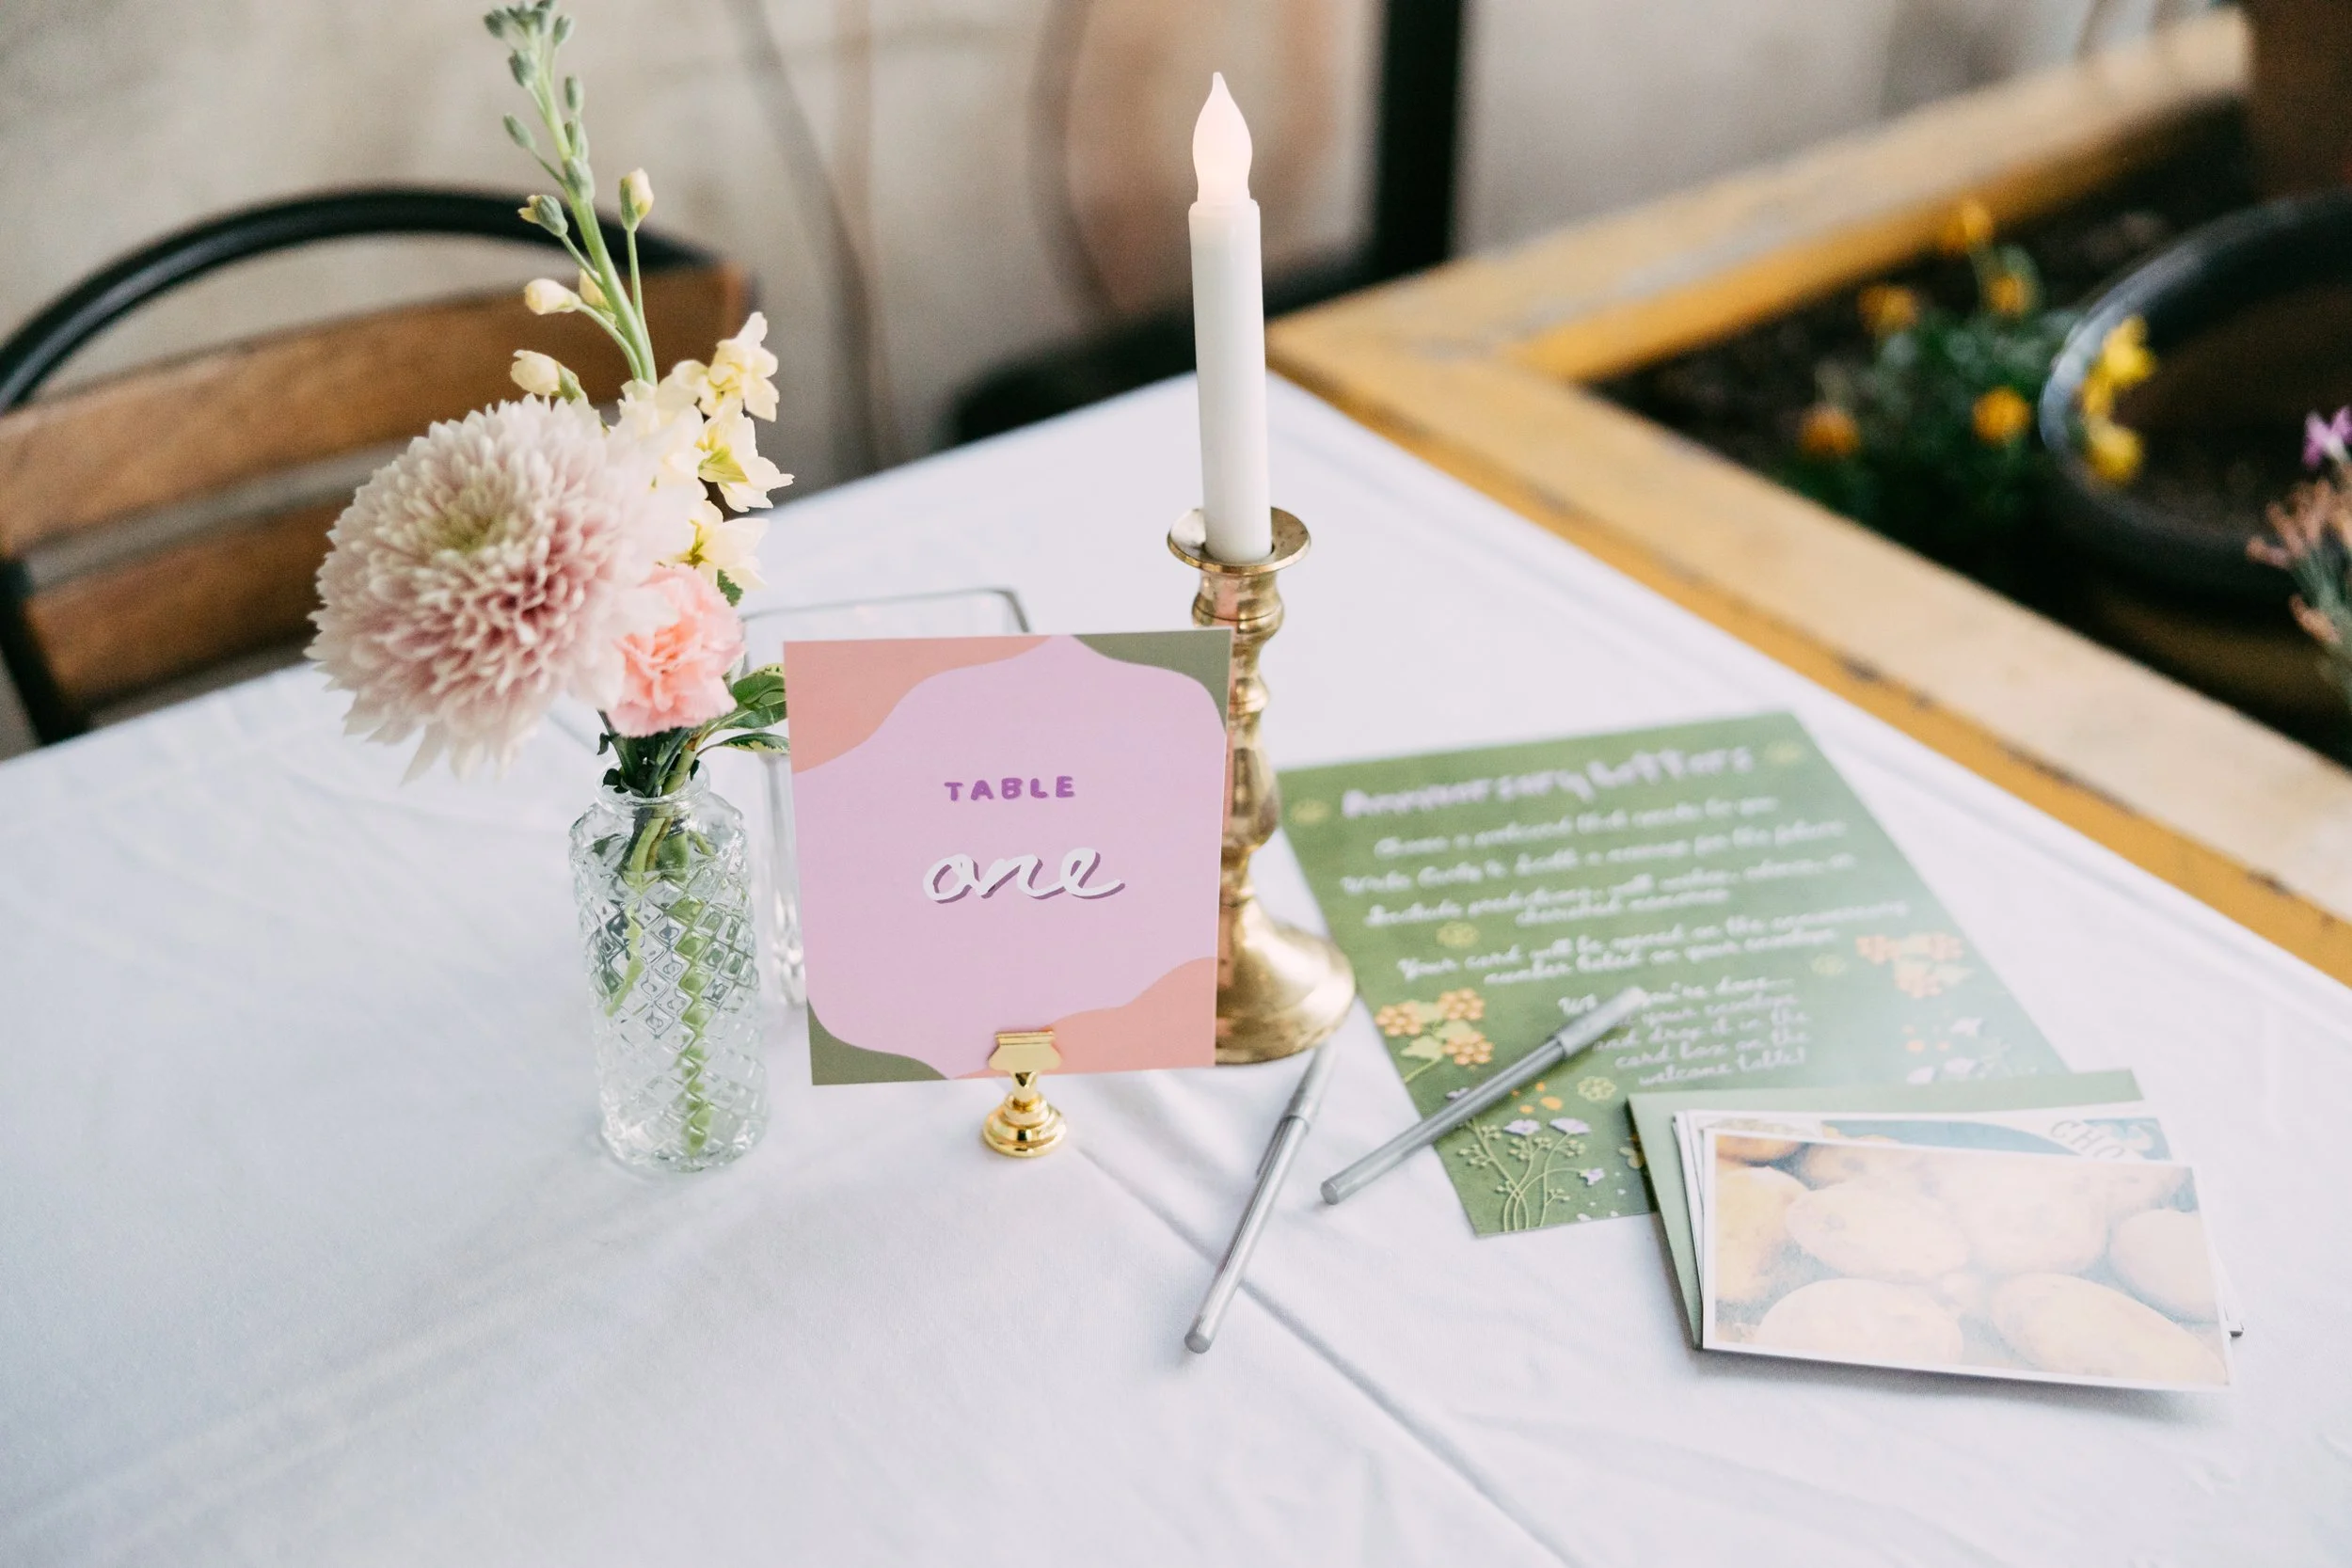
Going through these photos from my trip to Paris reminds me of why I love shooting film photography on my trips. Every image just feels sentimental and memorable. With film photography, there is just more thought and decisiveness that goes into creating an image than it does with digital photography. Every photo costs money, so each one is intentional and important to me.
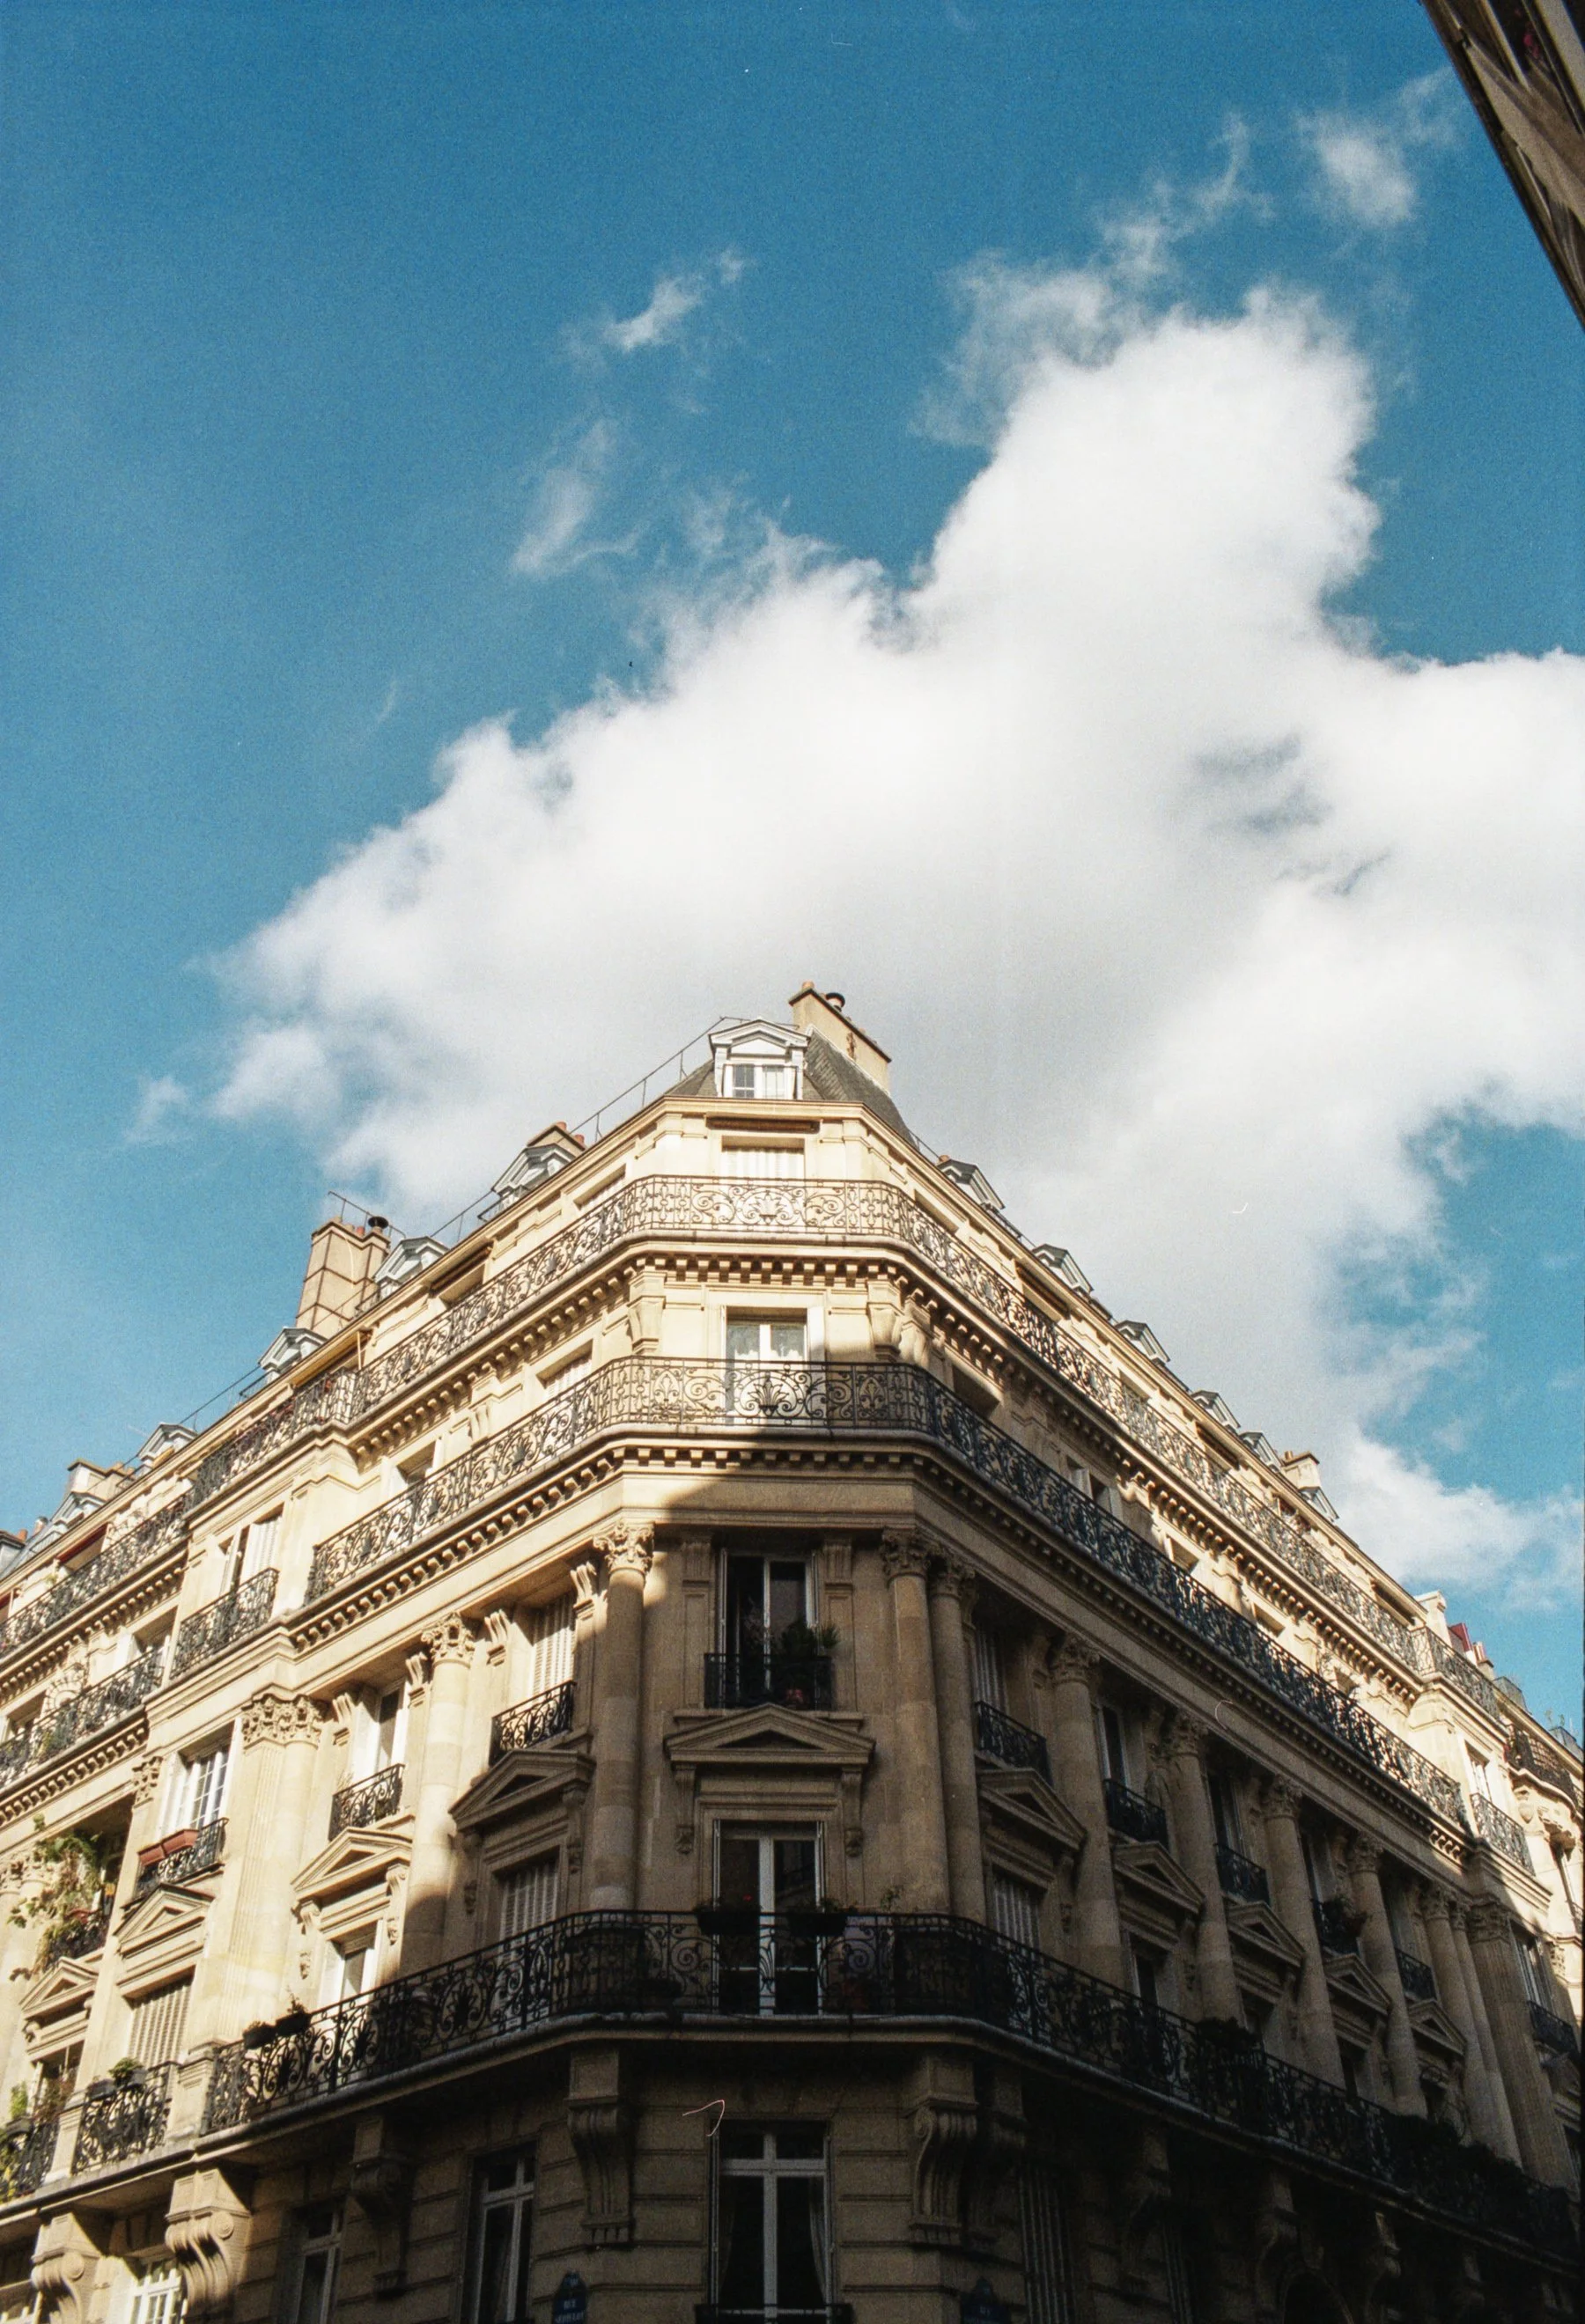
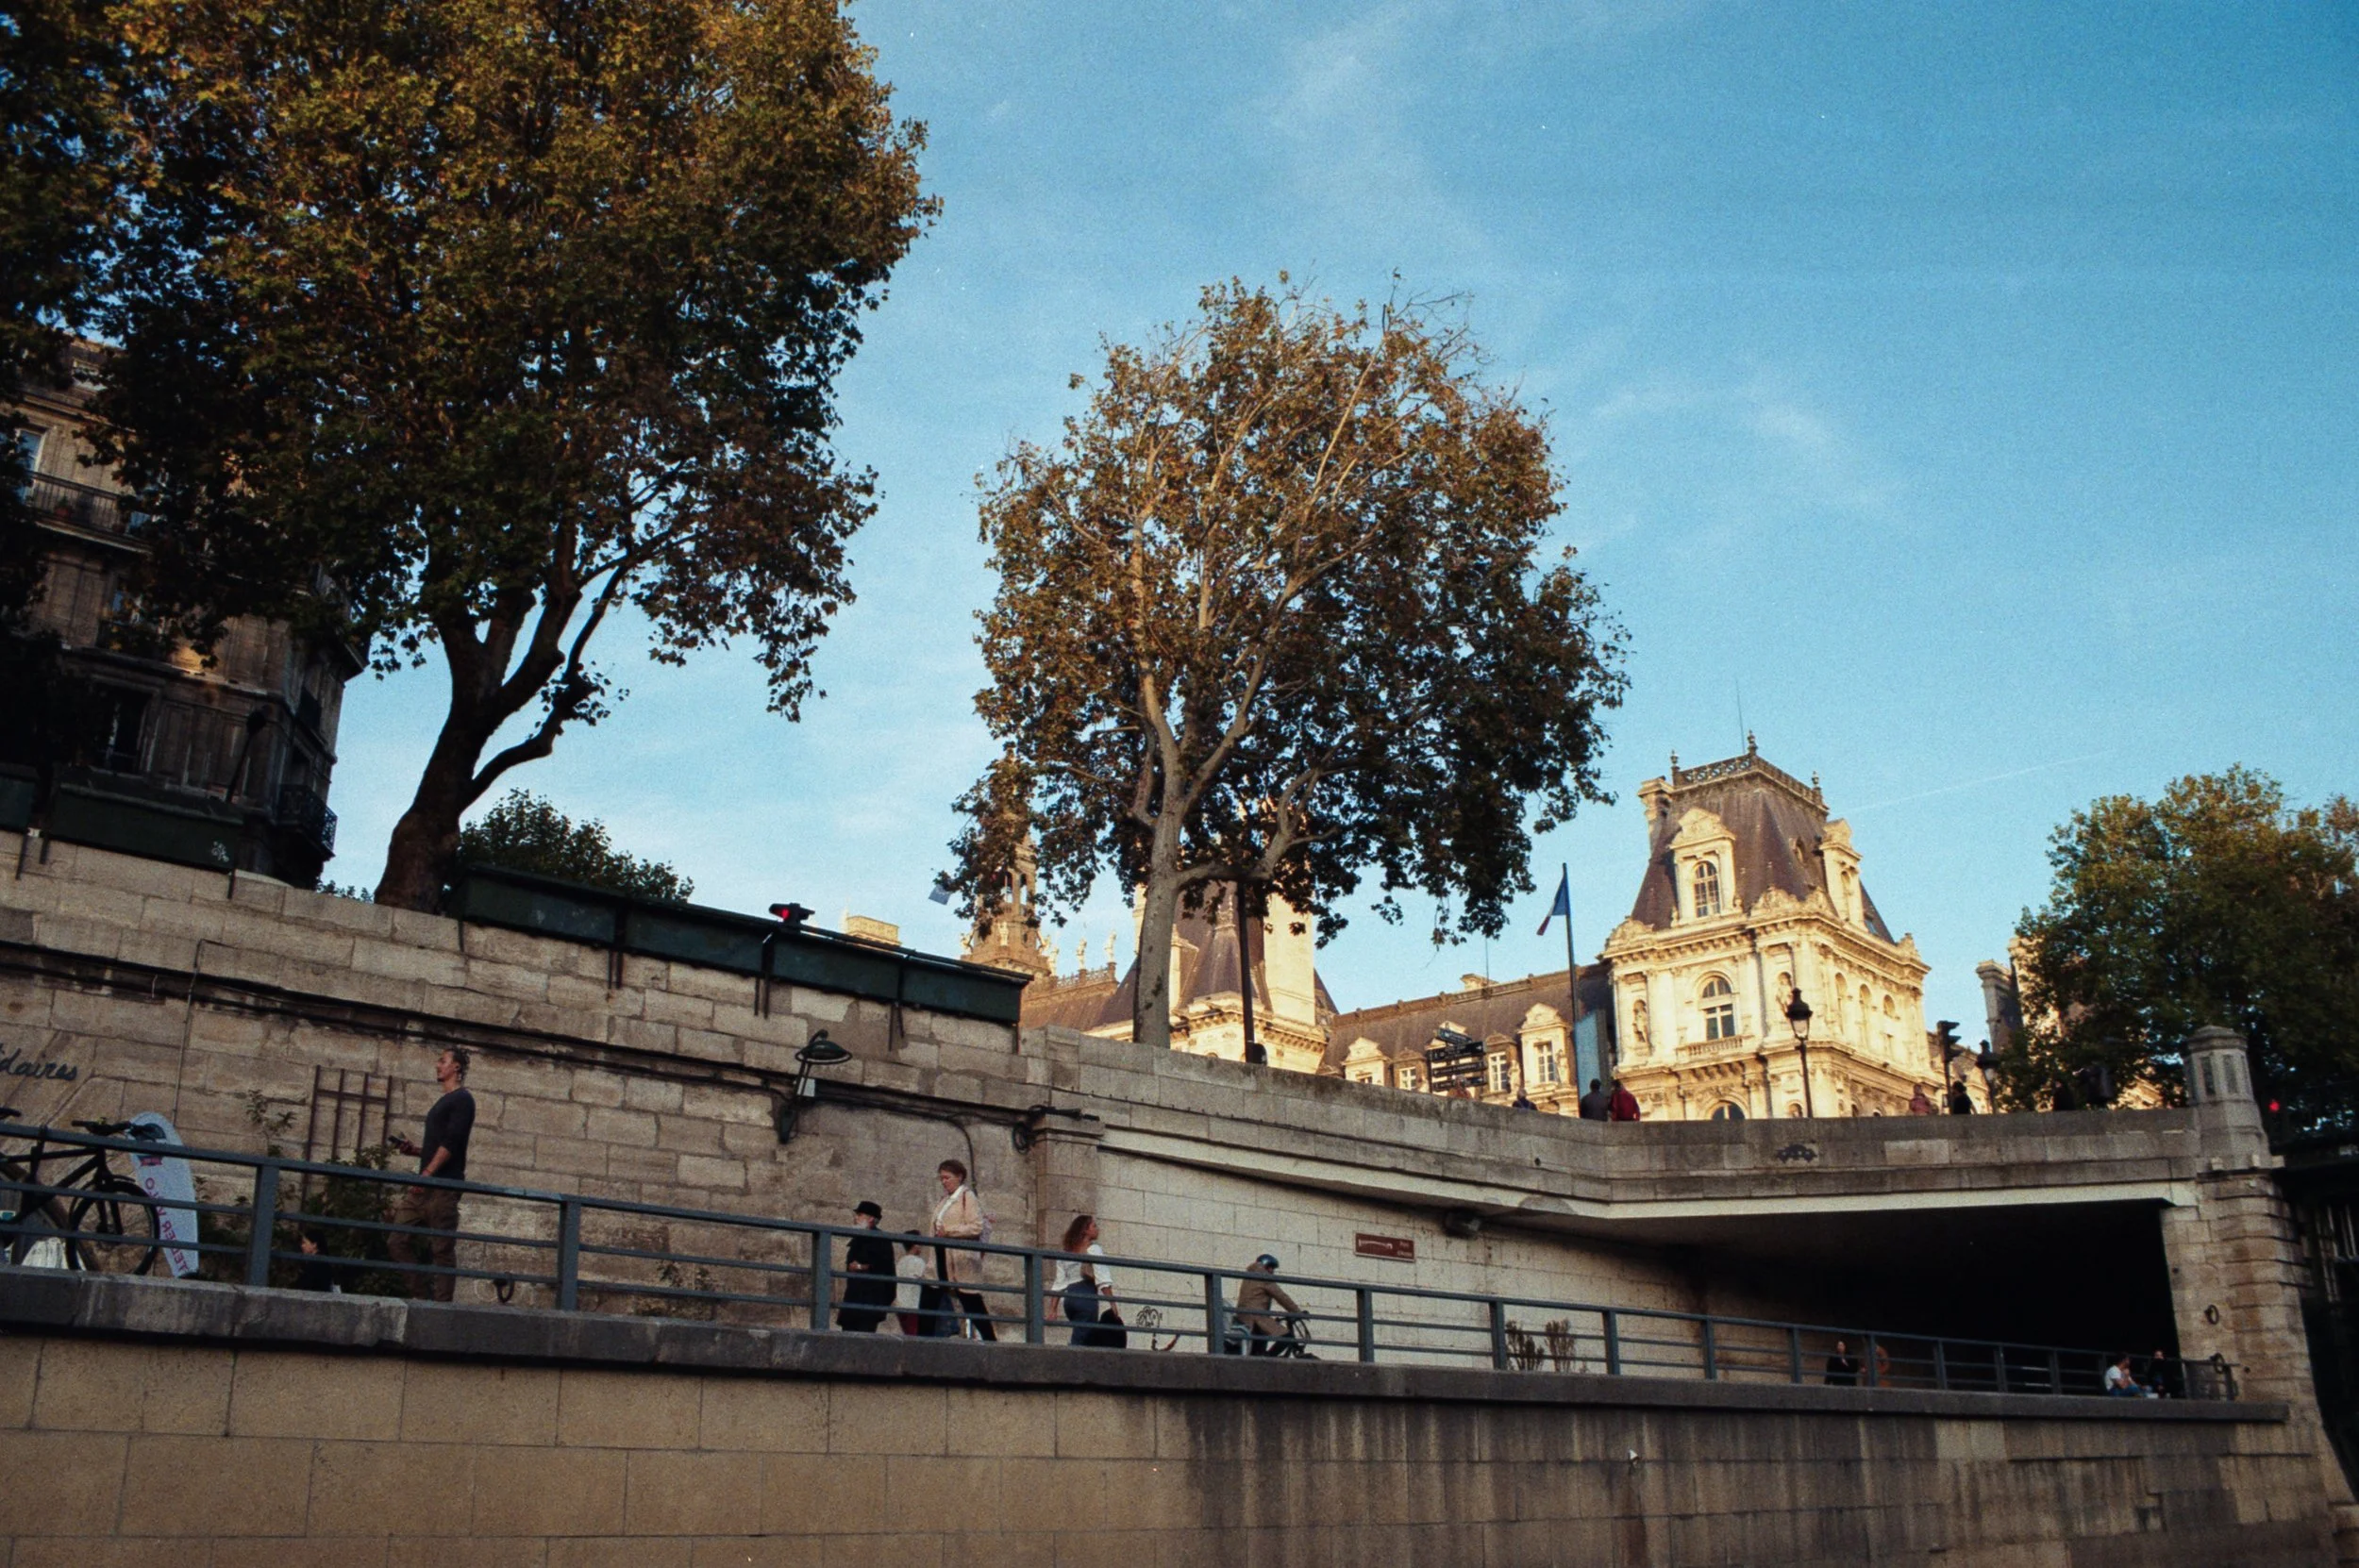
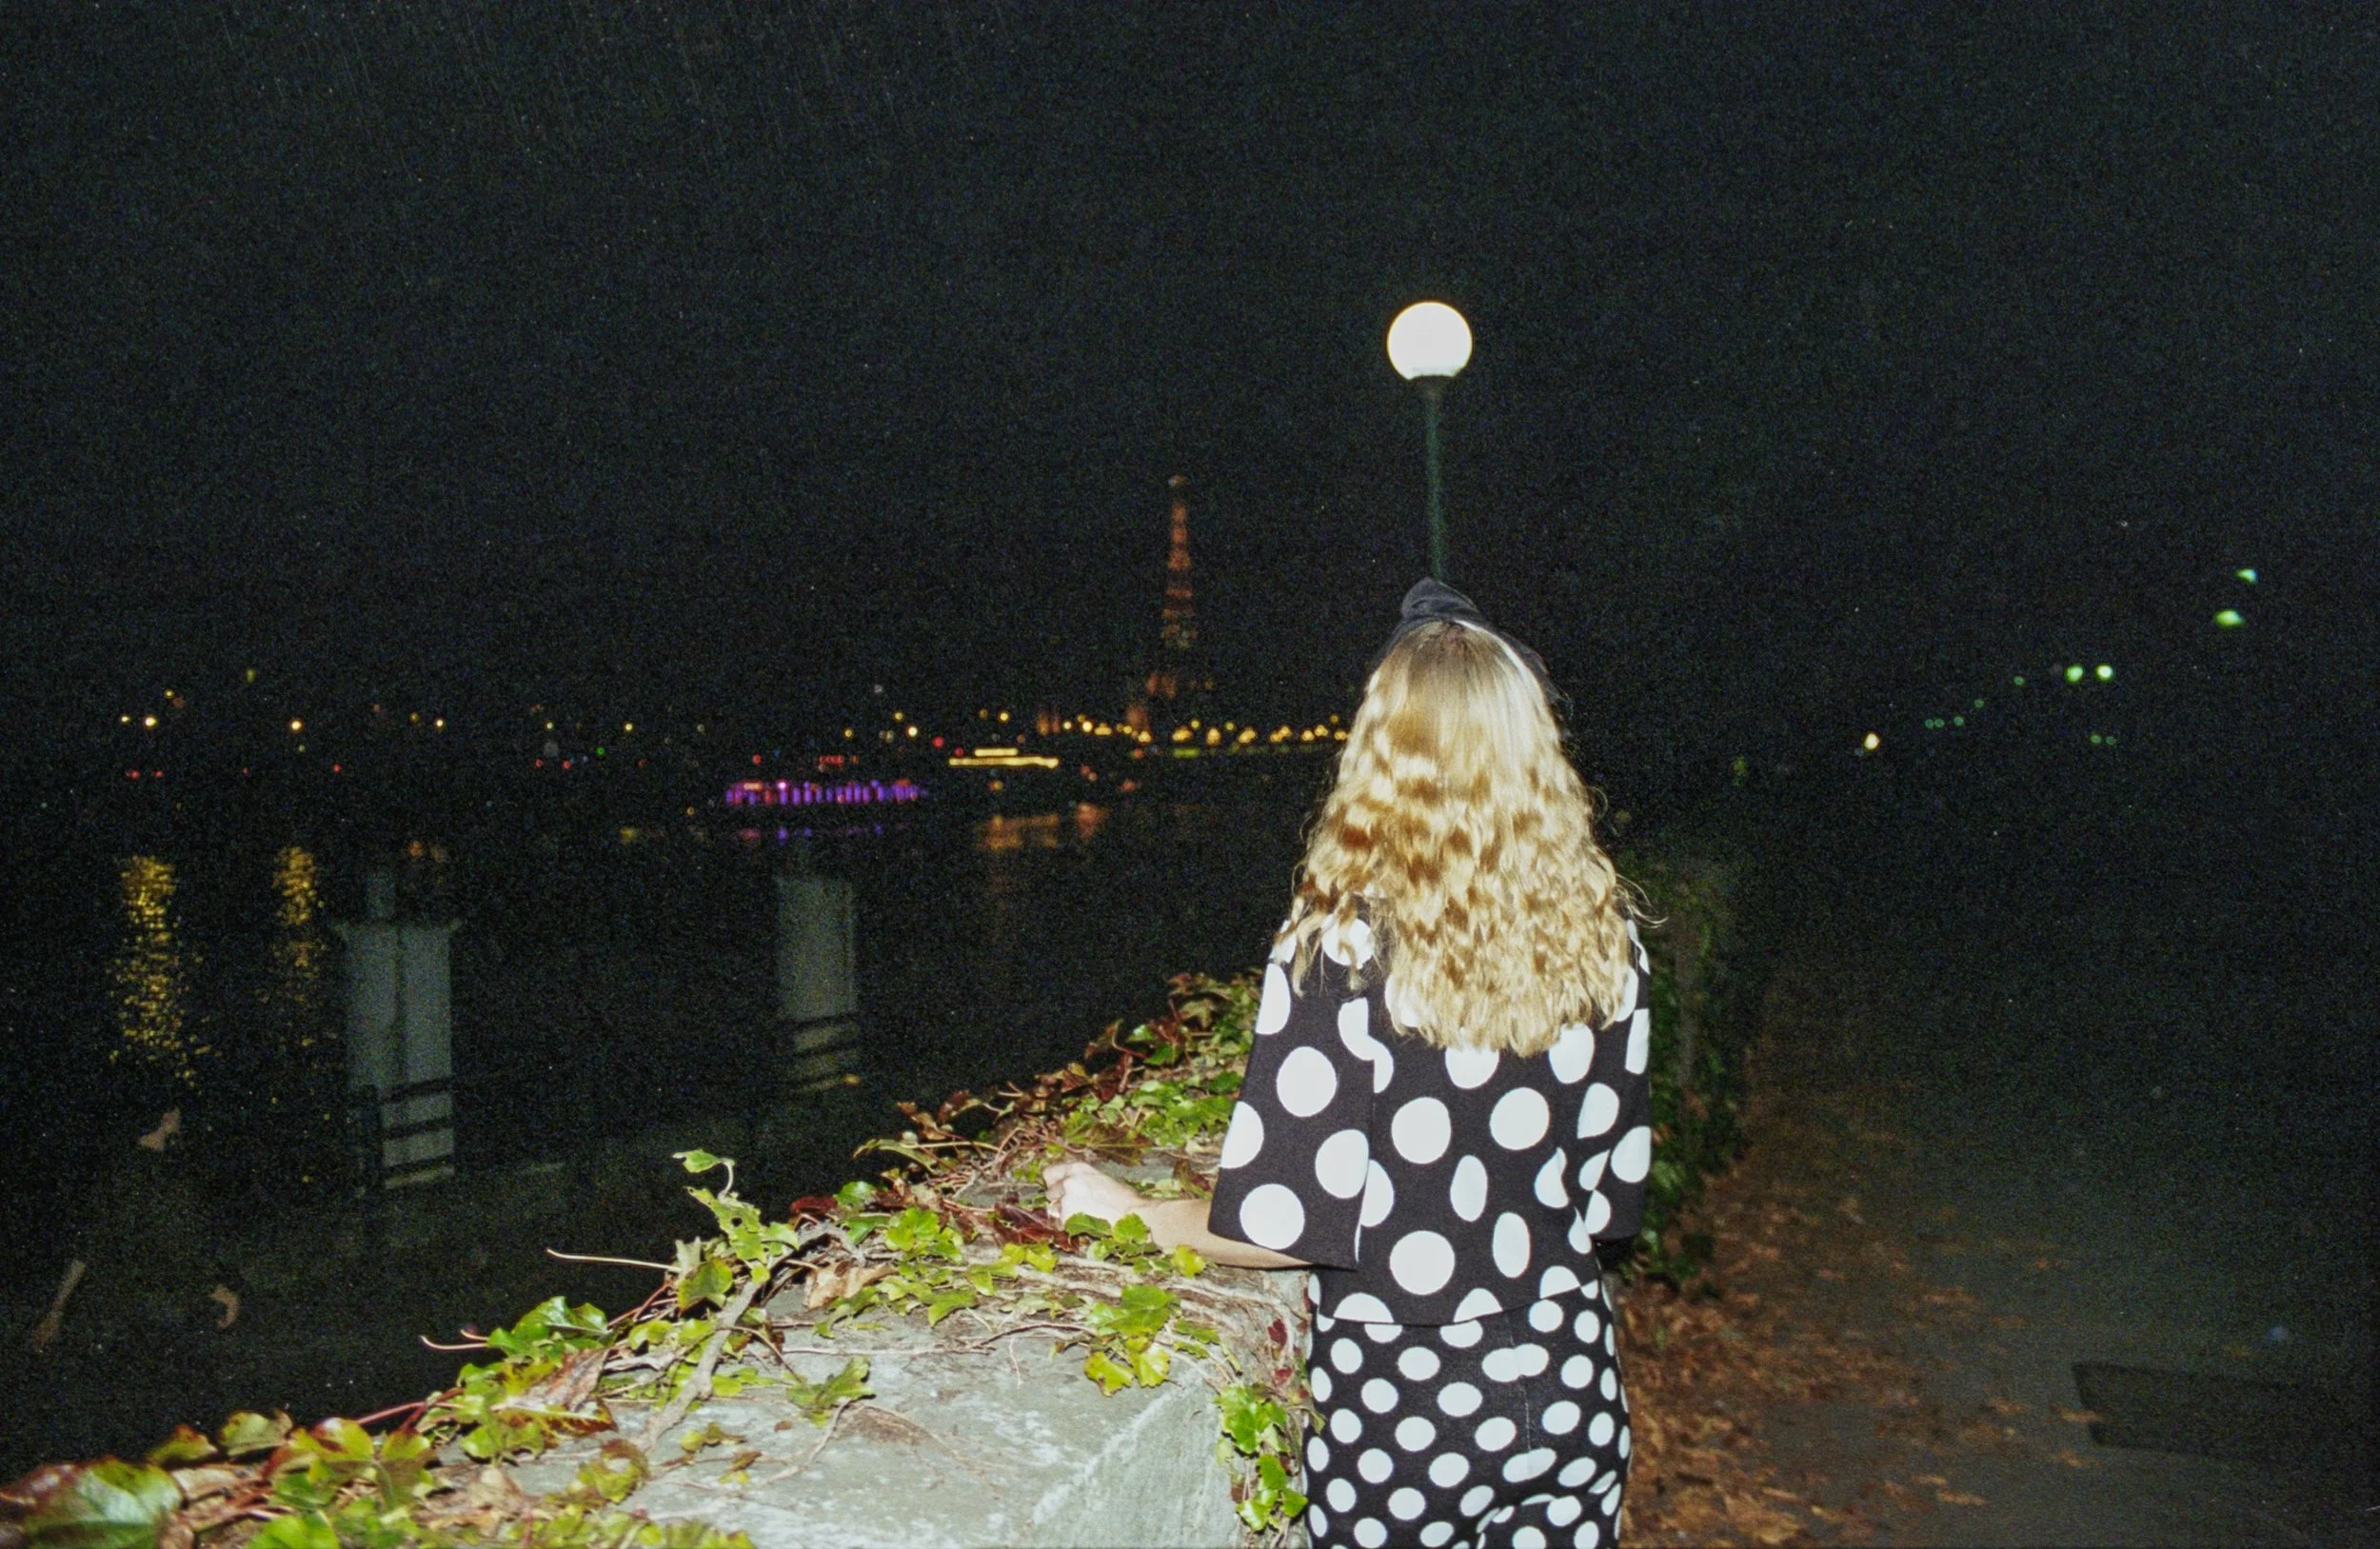
Overall, I’m pleasantly surprised by this film in that it captured quite a bit of detail in the shadows for a 200 ISO film. I do find it to be a bit grainy for a 200 speed film, but the color tones are beautiful. I absolutely love the slight green tint that I find Fujifilm to have because it’s almost as if the images have already aged a bit. It reminds me of looking through old photographs from my childhood that have turned a bit dusty or discolored after sitting in the photo album for a decade or two. Sometimes though, the slight green tint can become a bit difficult to deal with in post-processing if you’re photographing out in nature or with lots of foliage. There can just be too much green. In those situations, I’d probably prefer to use something like Kodak Portra 160 or 400 because they have more natural color tones.
For the price though, Fujifilm 200 Color Negative is a fun, reliable film stock. I don’t find it to be too oversaturated, which can be an issue with other low-price film stocks. One issue I tend to have with cheaper film is with skin tones. I often end up having to pull out red, yellows, and oranges but I didn’t find myself doing that with this film. I actually didn’t want to mess with the color tones too much in post-processing because the magic of Fujifilm is that it does have that vintage greenish tint to it.
I definitely want to try out this film with one of my more expensive 35 mm cameras so that I can really see what it’s capable of, especially with a wider aperture that may decrease the visible grain. But overall, I have no regrets using this film on my trip to Paris and I will definitely continue to try this film out more in the future!
WHERE TO BUY FUJIFILM FUJICOLOR 200 35 MM FILM
Or pick up a Fujifilm disposable camera if you really want to go for the full retro film vibe!
I’ve included a full roll of images from Paris using my Canon Rebel K2 below. I hope this post helps you decide if Fujifilm 200 is something you want to try out! If you’re on the hunt for other 35 mm color films, make sure to check out my post The Best Color Film for 35 mm Cameras | Top 5 Best 35 mm Color Films.
If you found this post helpful or inspiring, I’d love it if you considered signing up for my Patreon! For as little as $1 a month, you’ll get early access to all of my YouTube videos, plus tons of photos that I don’t post anywhere else. Depending on which tier you choose, you could also receive seasonal prints and/or discounts! I always use all of the proceeds towards cameras, film & processing.
If you have any questions, I’m always happy to help! You can contact me here, or leave a comment below! Thanks so much for stopping by! You can also check out my B&H Photo storefront & Amazon Storefront for more camera/film recommendations. :) Have a magical day!
<3 Myles Katherine