(By using the affiliate links and/or codes in this blog post, you help support Myles Katherine Photography. I may earn a small commission at no additional cost to you if you make a purchase through these links. Thank you for your support!)
I always love trying out Lomography’s film stocks. There aren’t many companies out there that produce film, let alone experiment with color, grain and contrast. Lomography has created some of my favorite film over the years, like Lomochrome purple, Lomochrome turquoise and Color Negative 100 and 400. I use the Color Negative 400 all the time. It’s pretty much my go-to film stock because it’s affordable, consistent and perfectly saturated. I have a full blog post about it here if you want to see some sample photos!
These days I stick with color film for the most part, but every once in a while I’ll throw a roll of black and white film in my camera bag and see how it goes. There is truly something special about black and white film. I swear my brain captures images differently when I know that my camera is loaded with it. I see the world in shapes and light, rather than being distracted by color. I always think that I’m going to regret shooting in black and white because it’s not capturing exactly what I see in front of me, but that’s never the case. Oftentimes, my black and white photos are my favorite photos from my travels! I think it’s because black and white film is automatically nostalgic. Maybe it tricks your brain into believing that each photo is special and memorable? It’s more simple than color film, and you really see the moment for what it is. Nothing flashy or over the top. Just a moment in time that might have slipped by if you hadn’t frozen it on film.


THOUGHTS ON BERLIN KINO 400 FILM
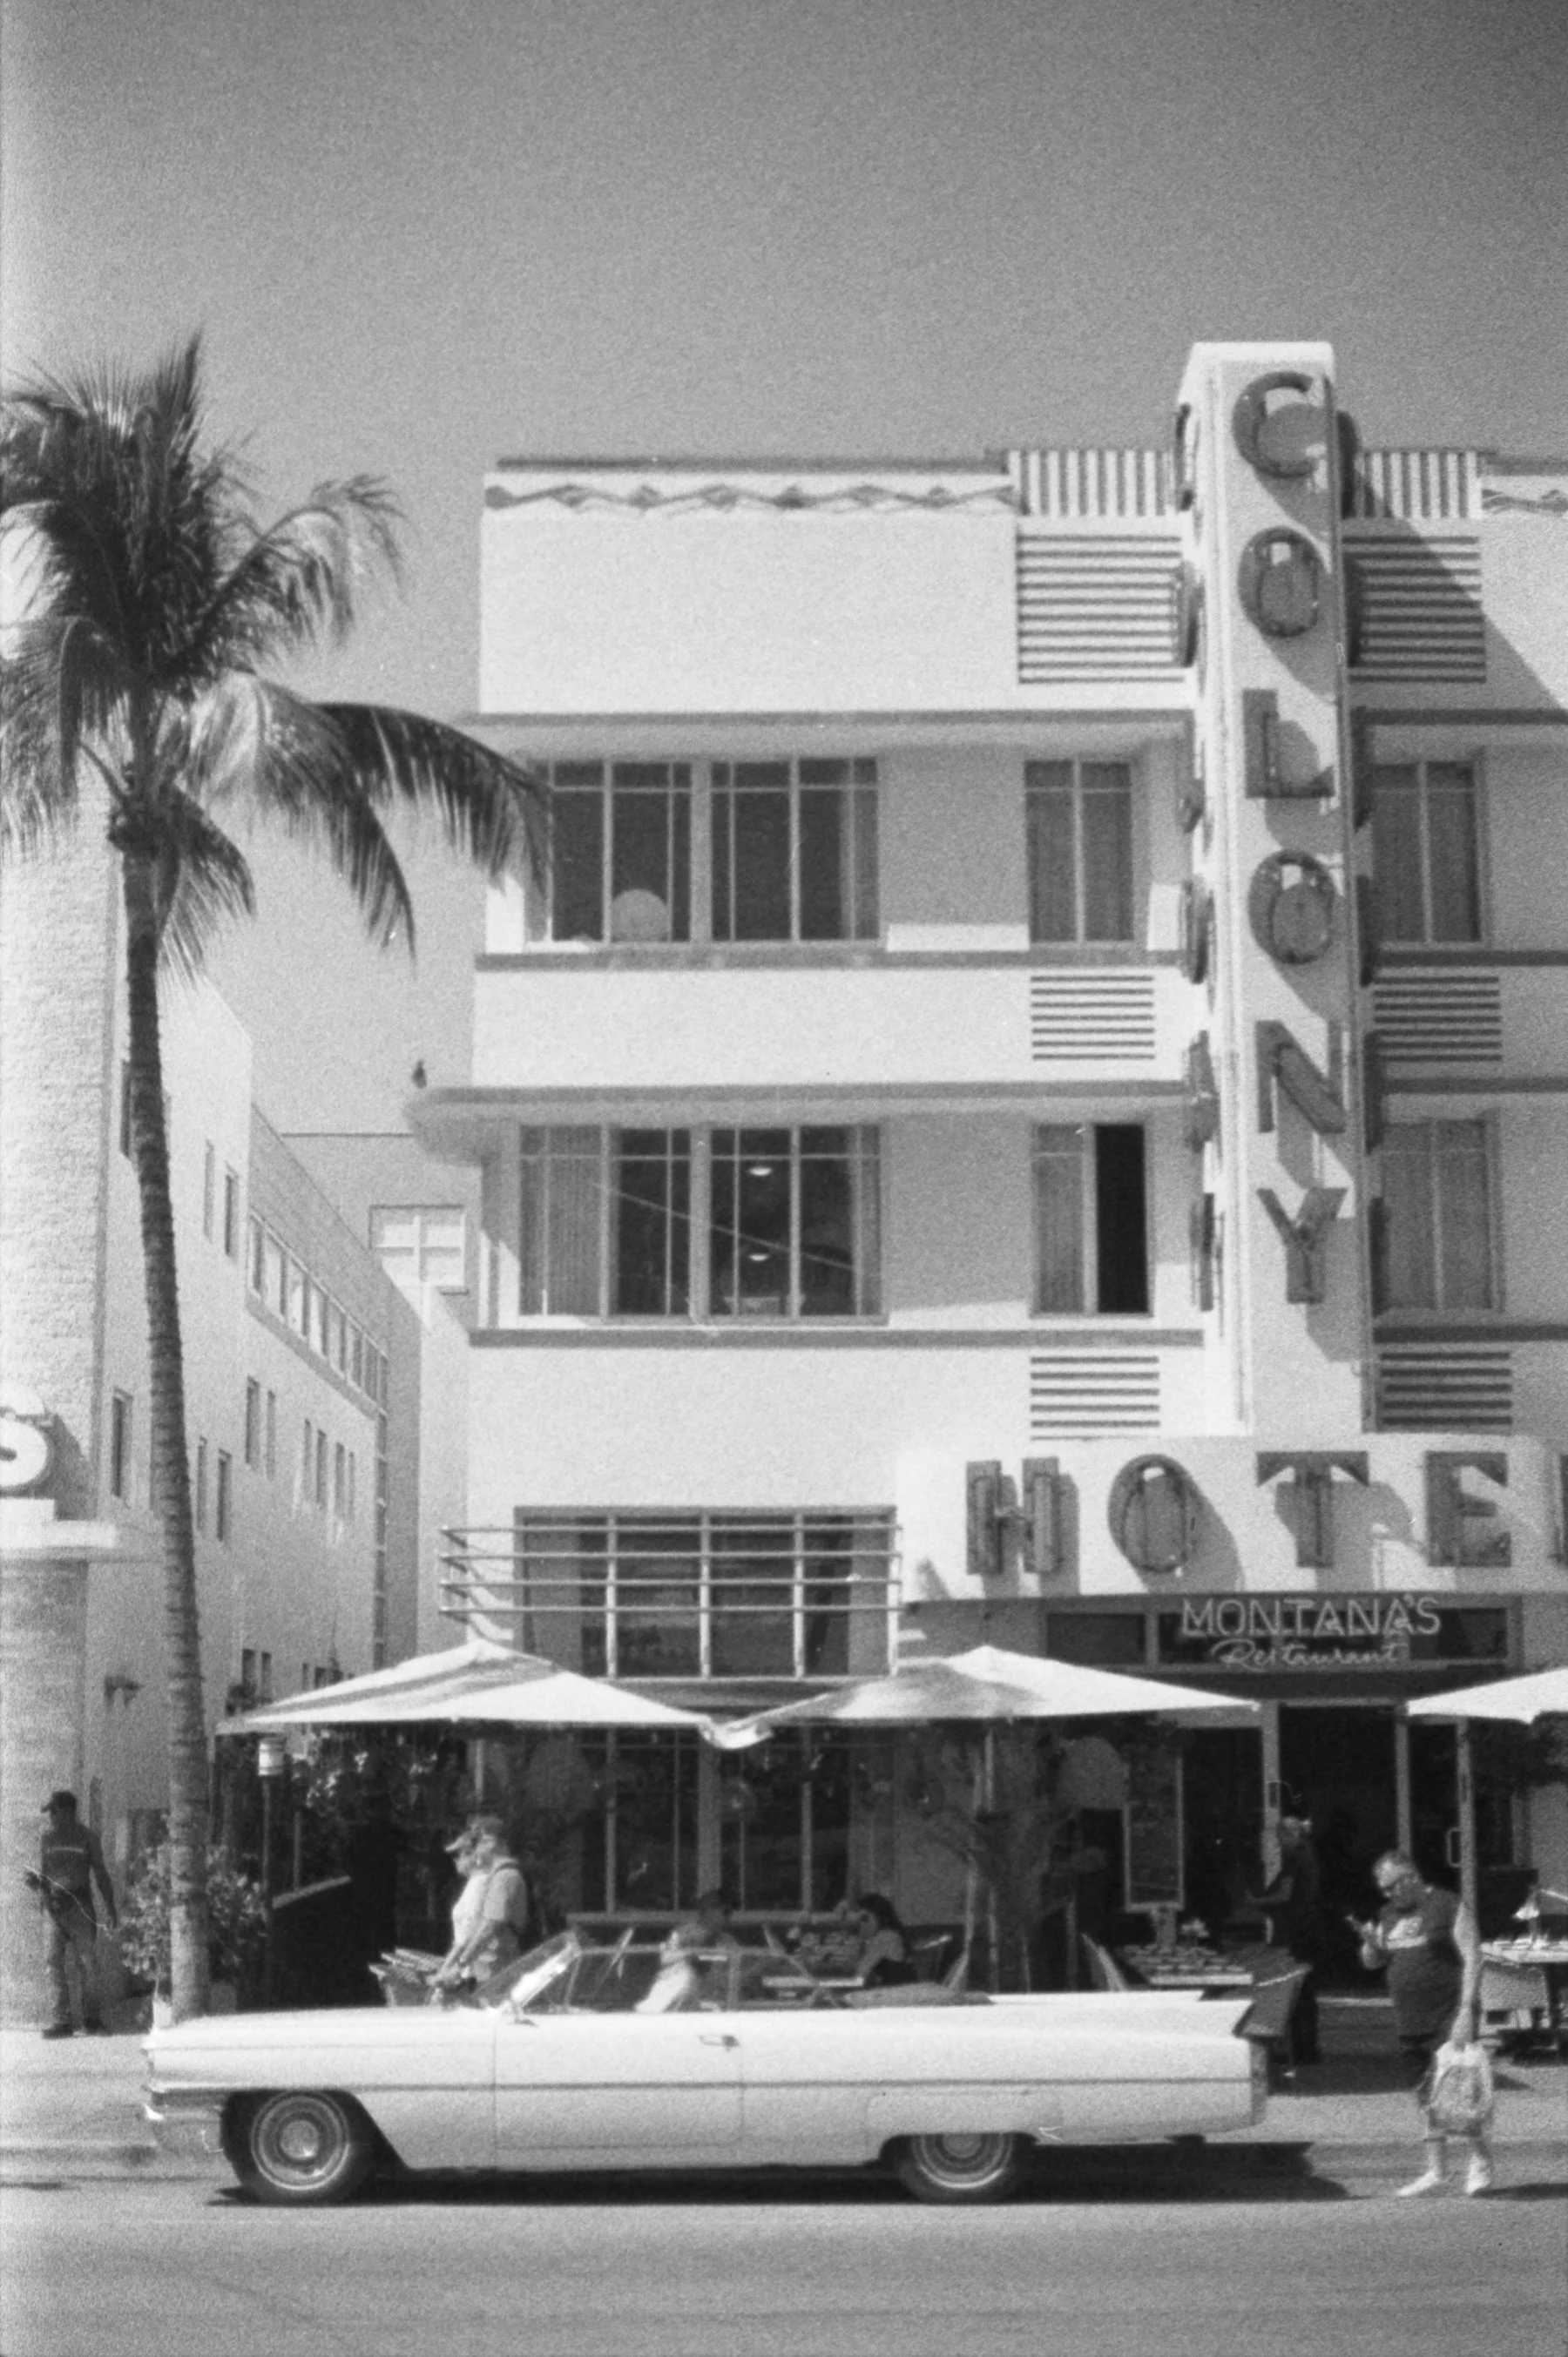
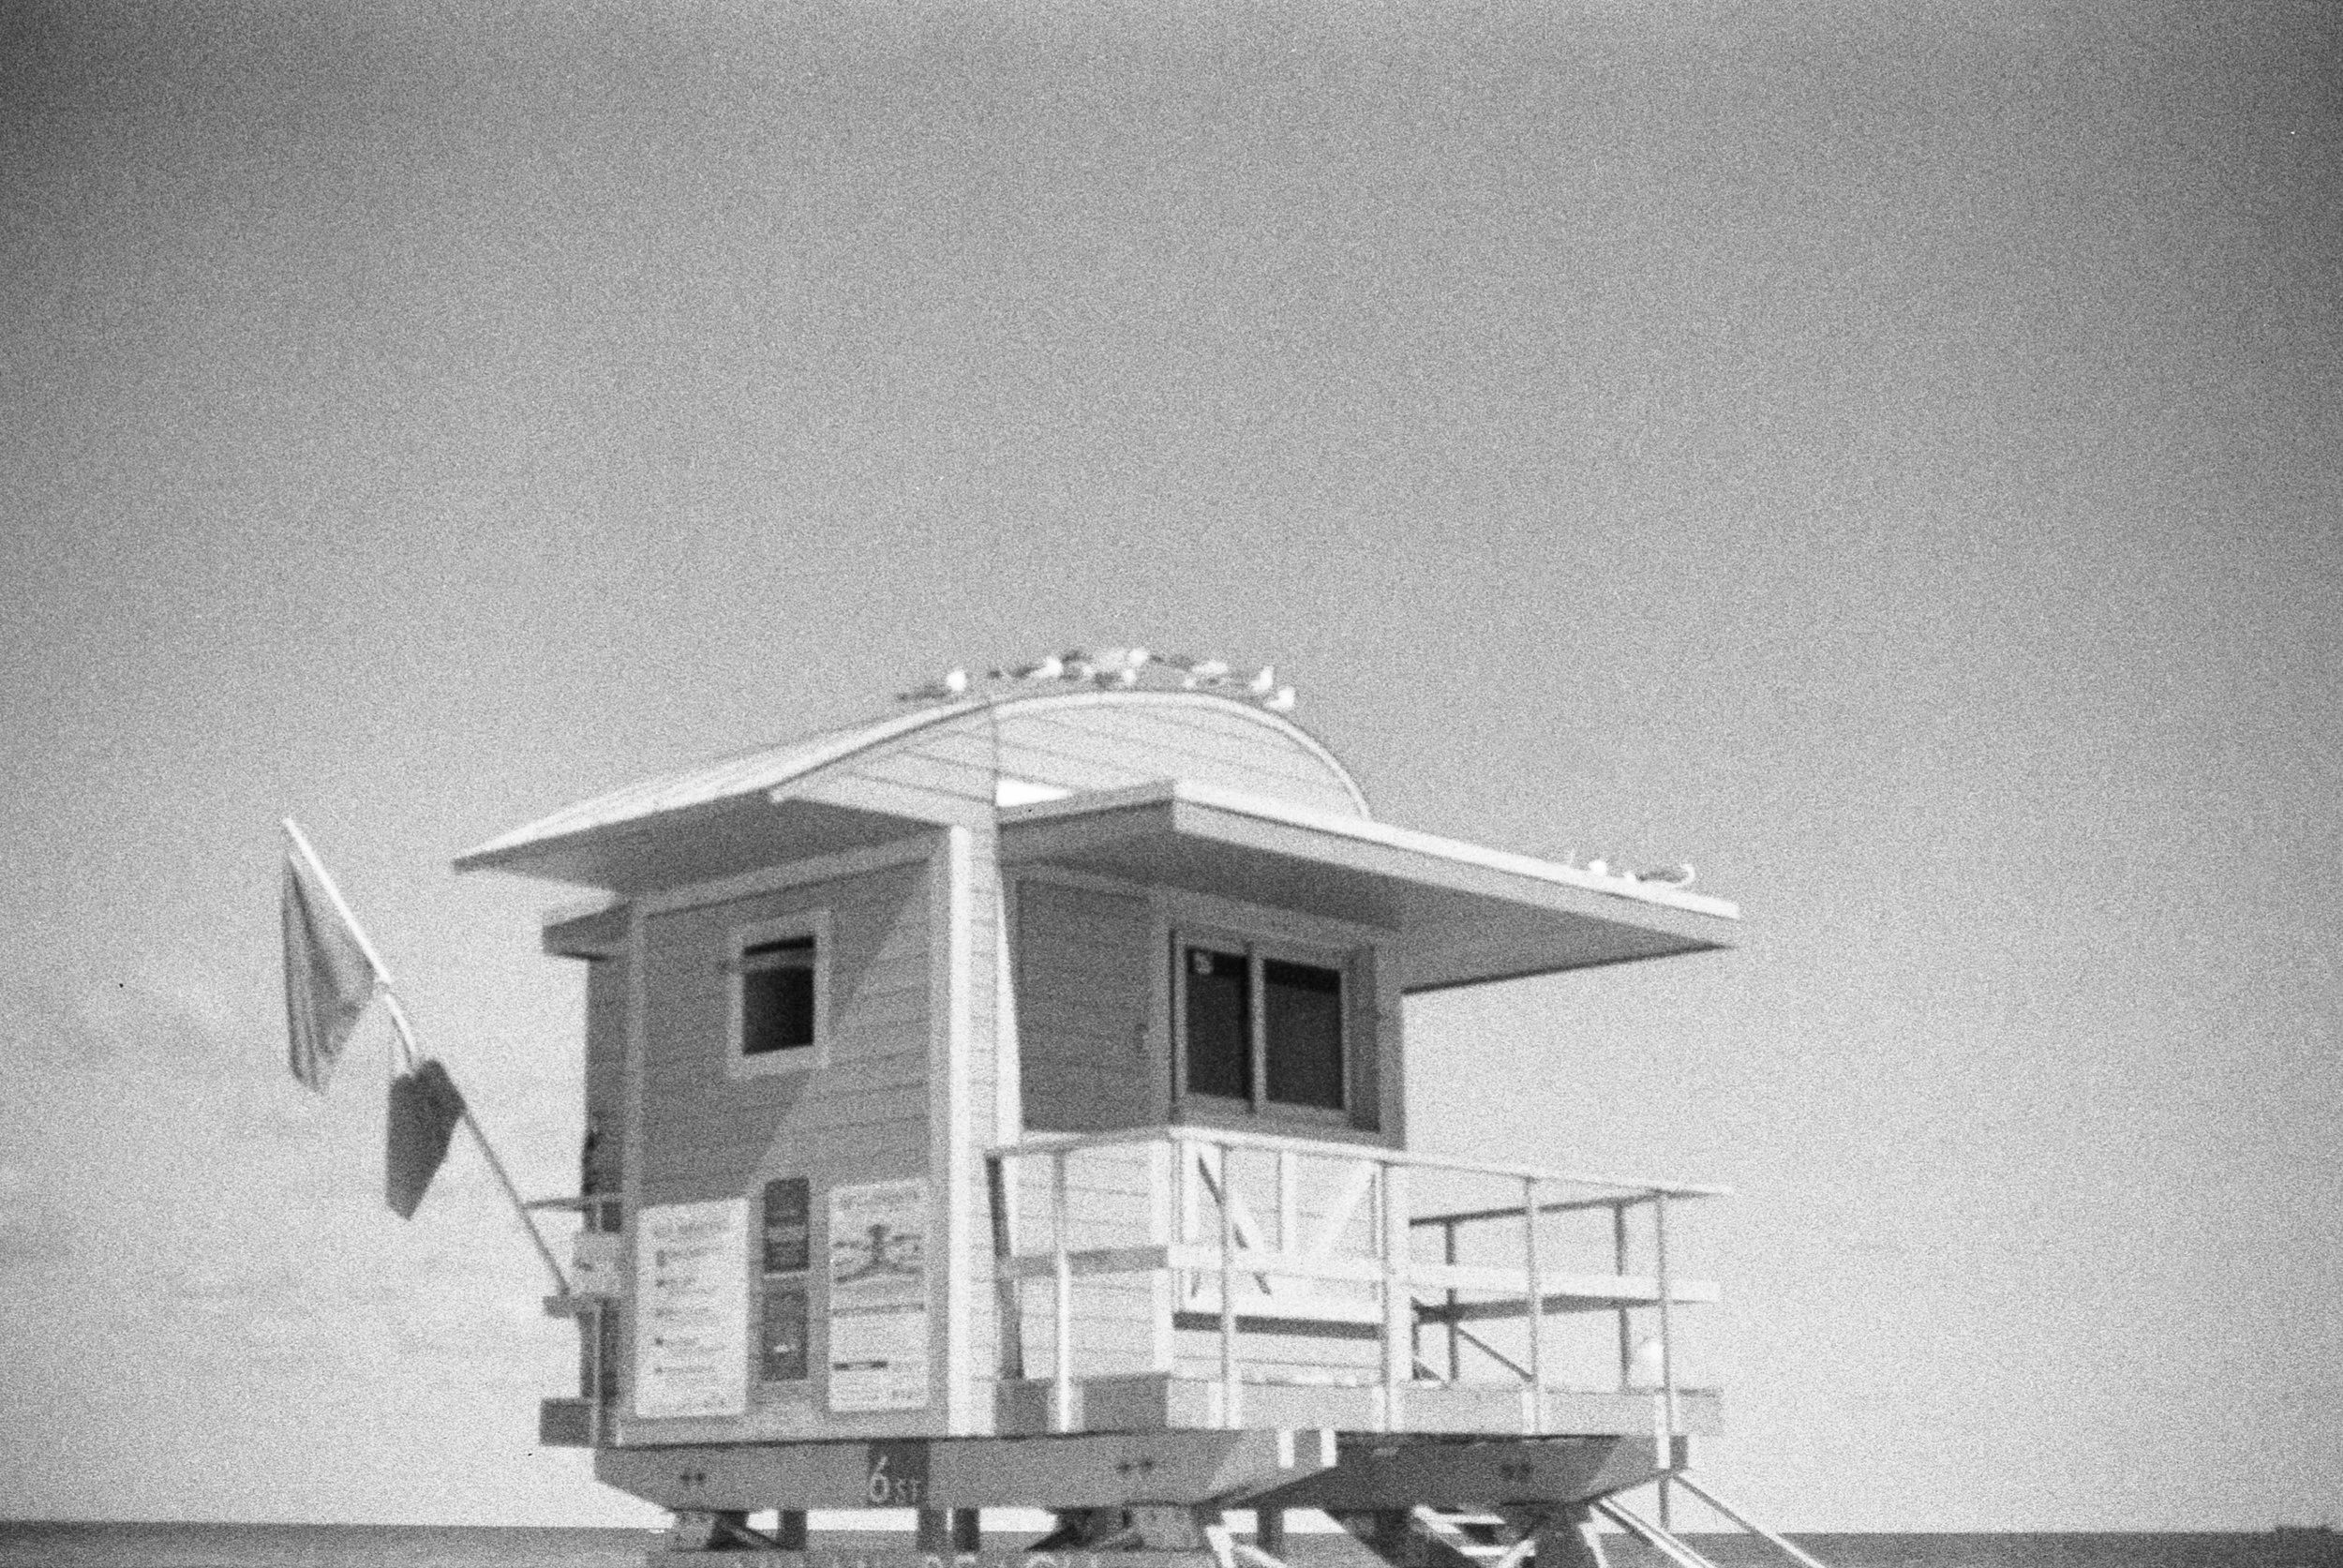
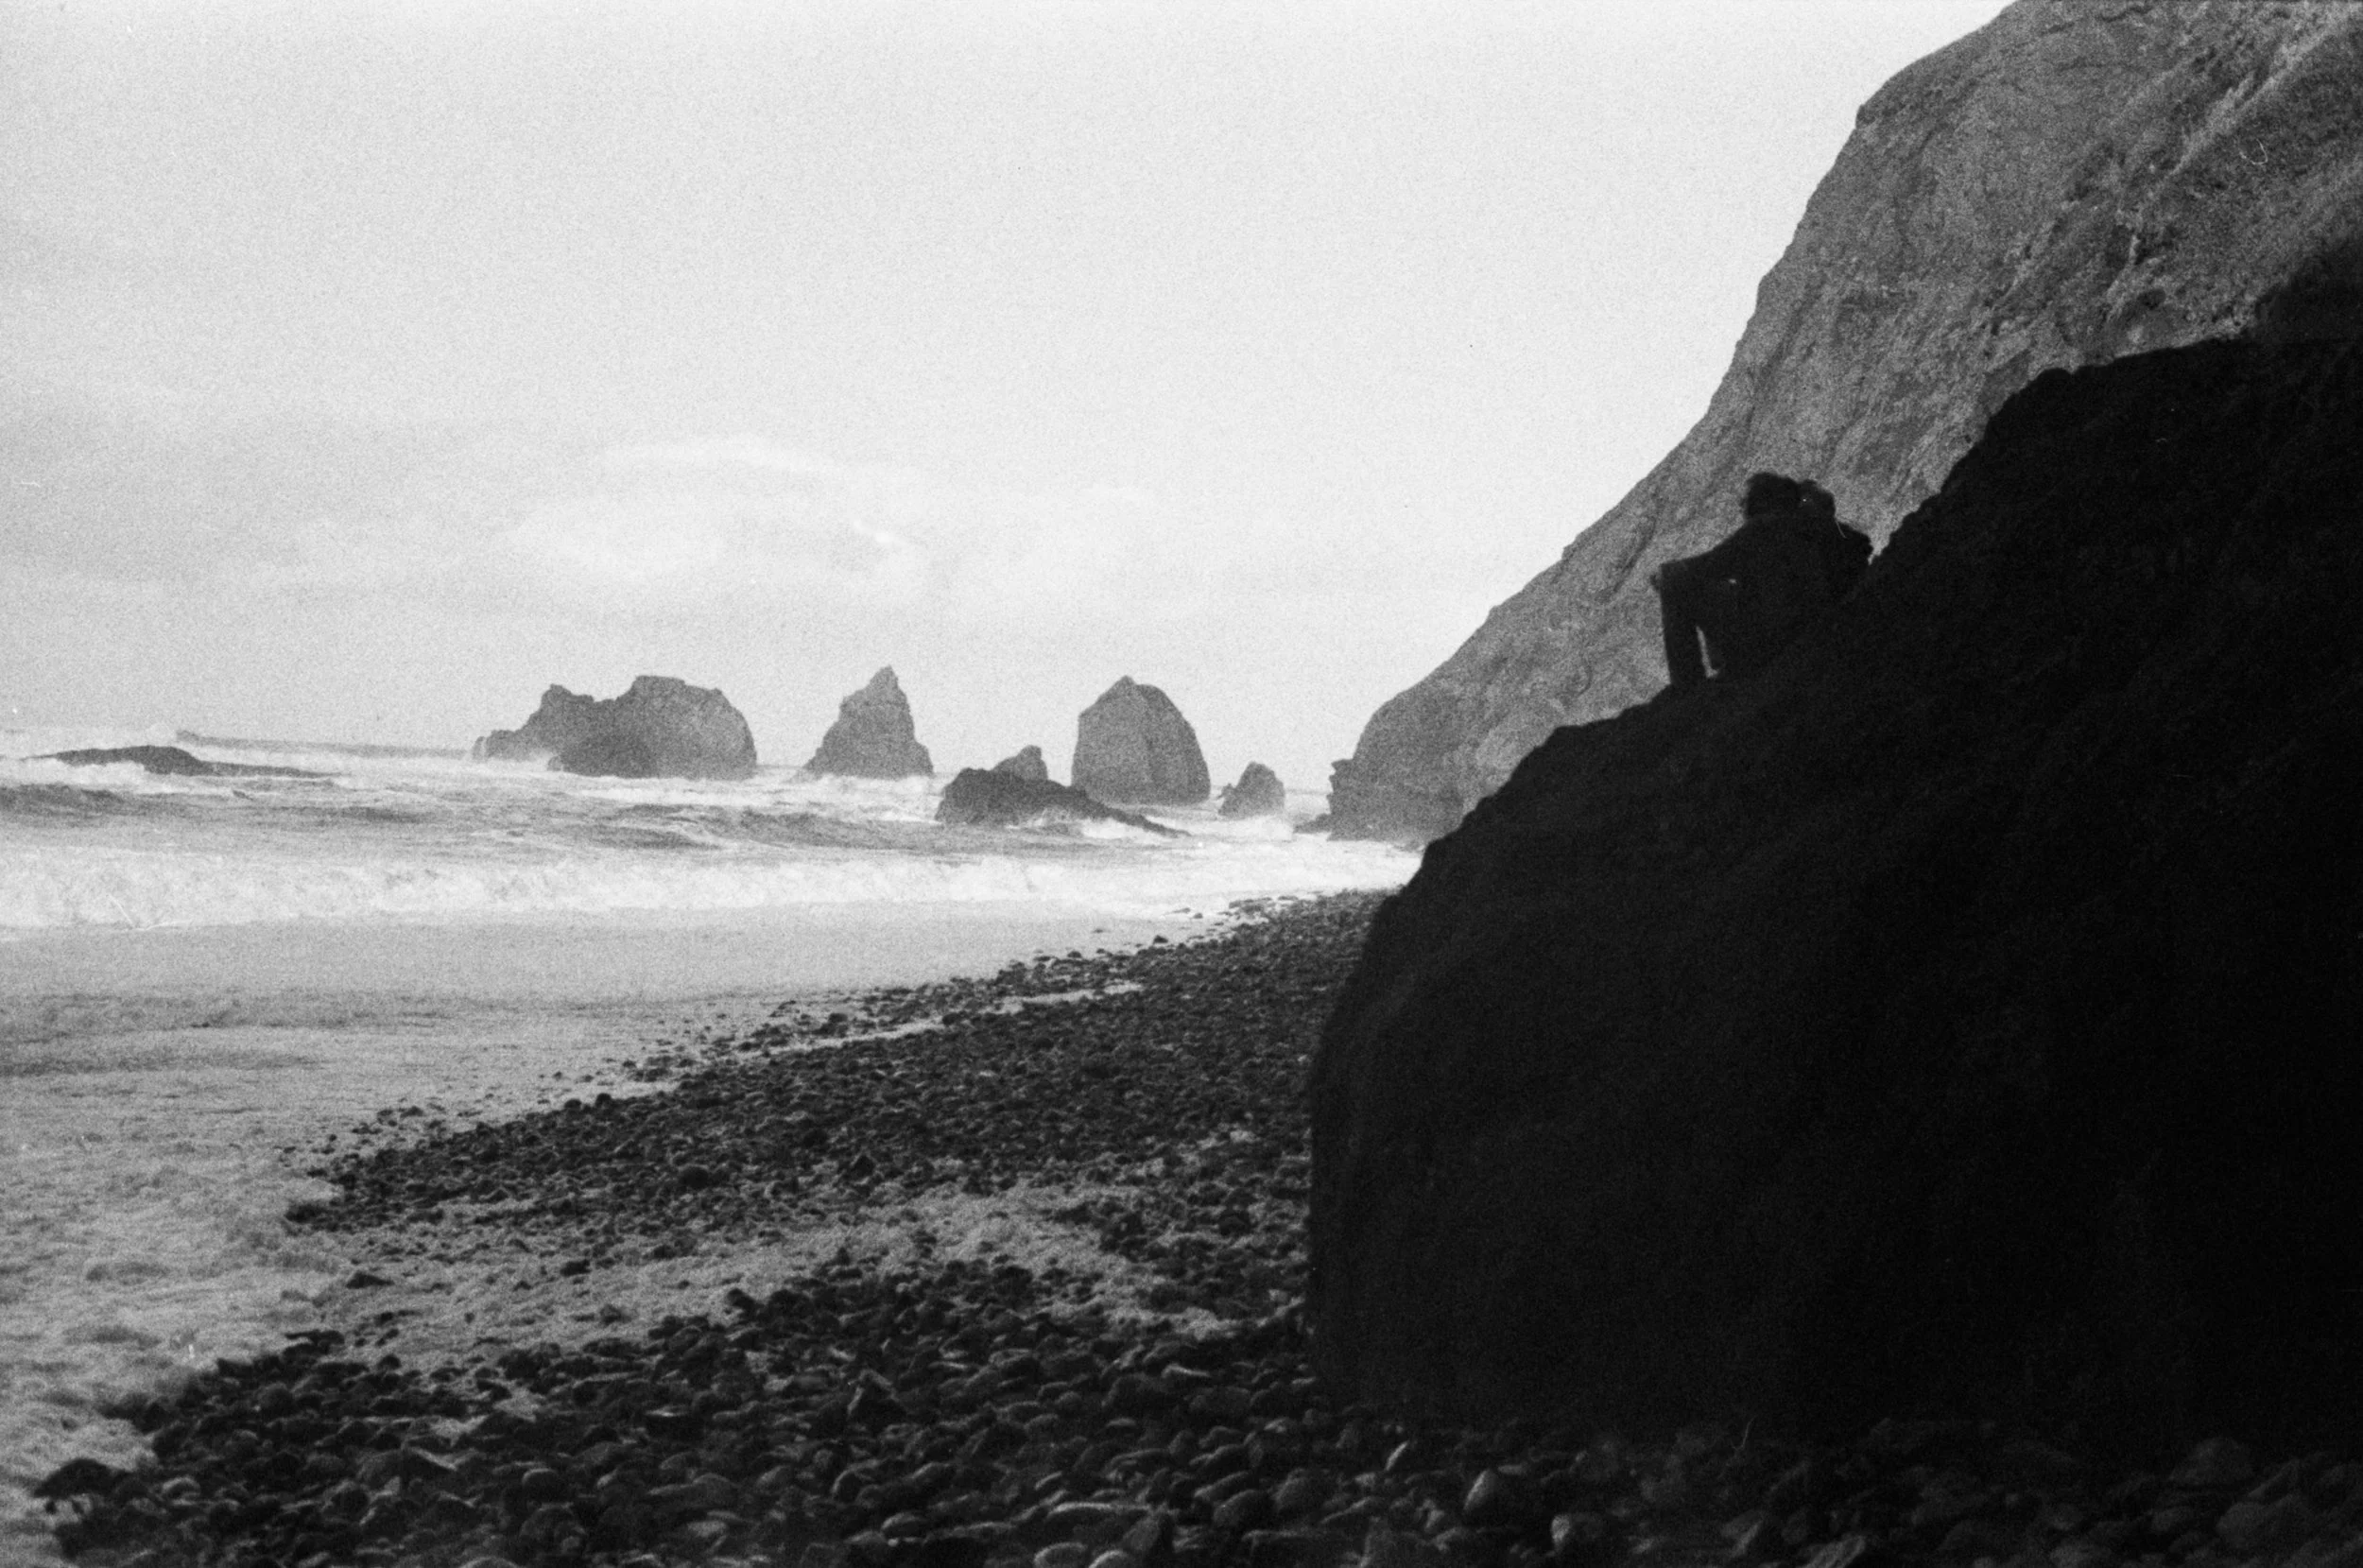
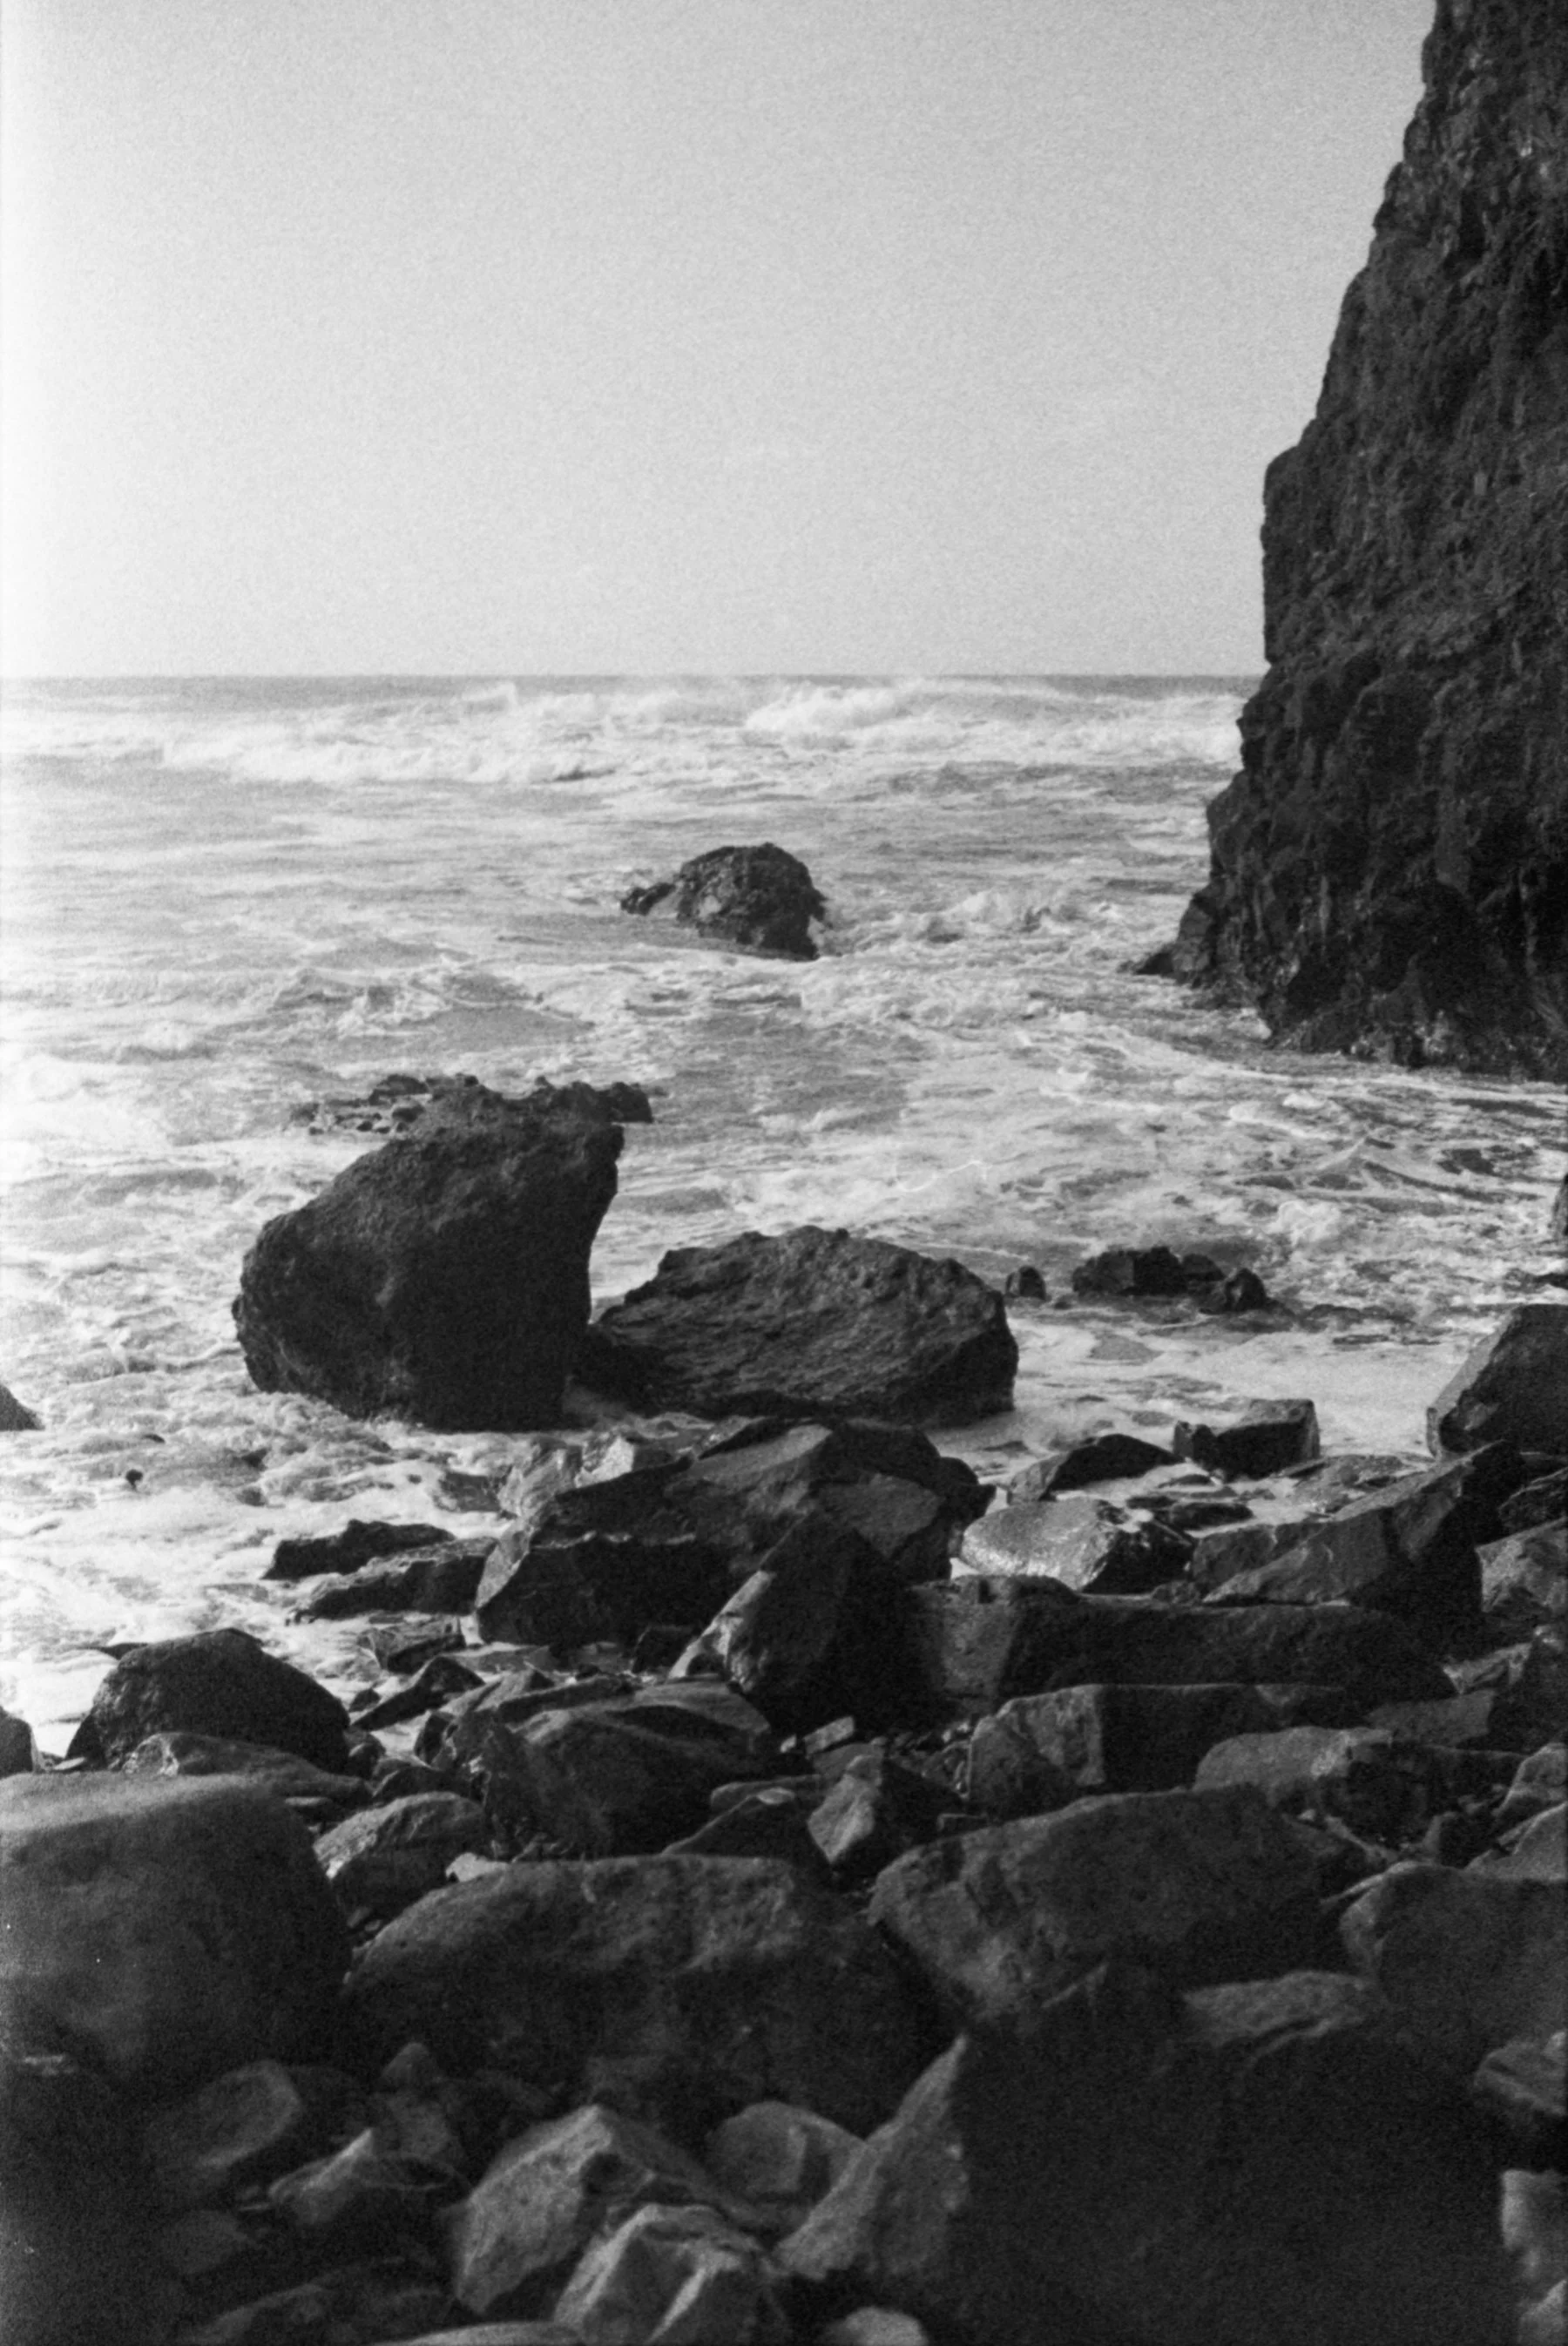
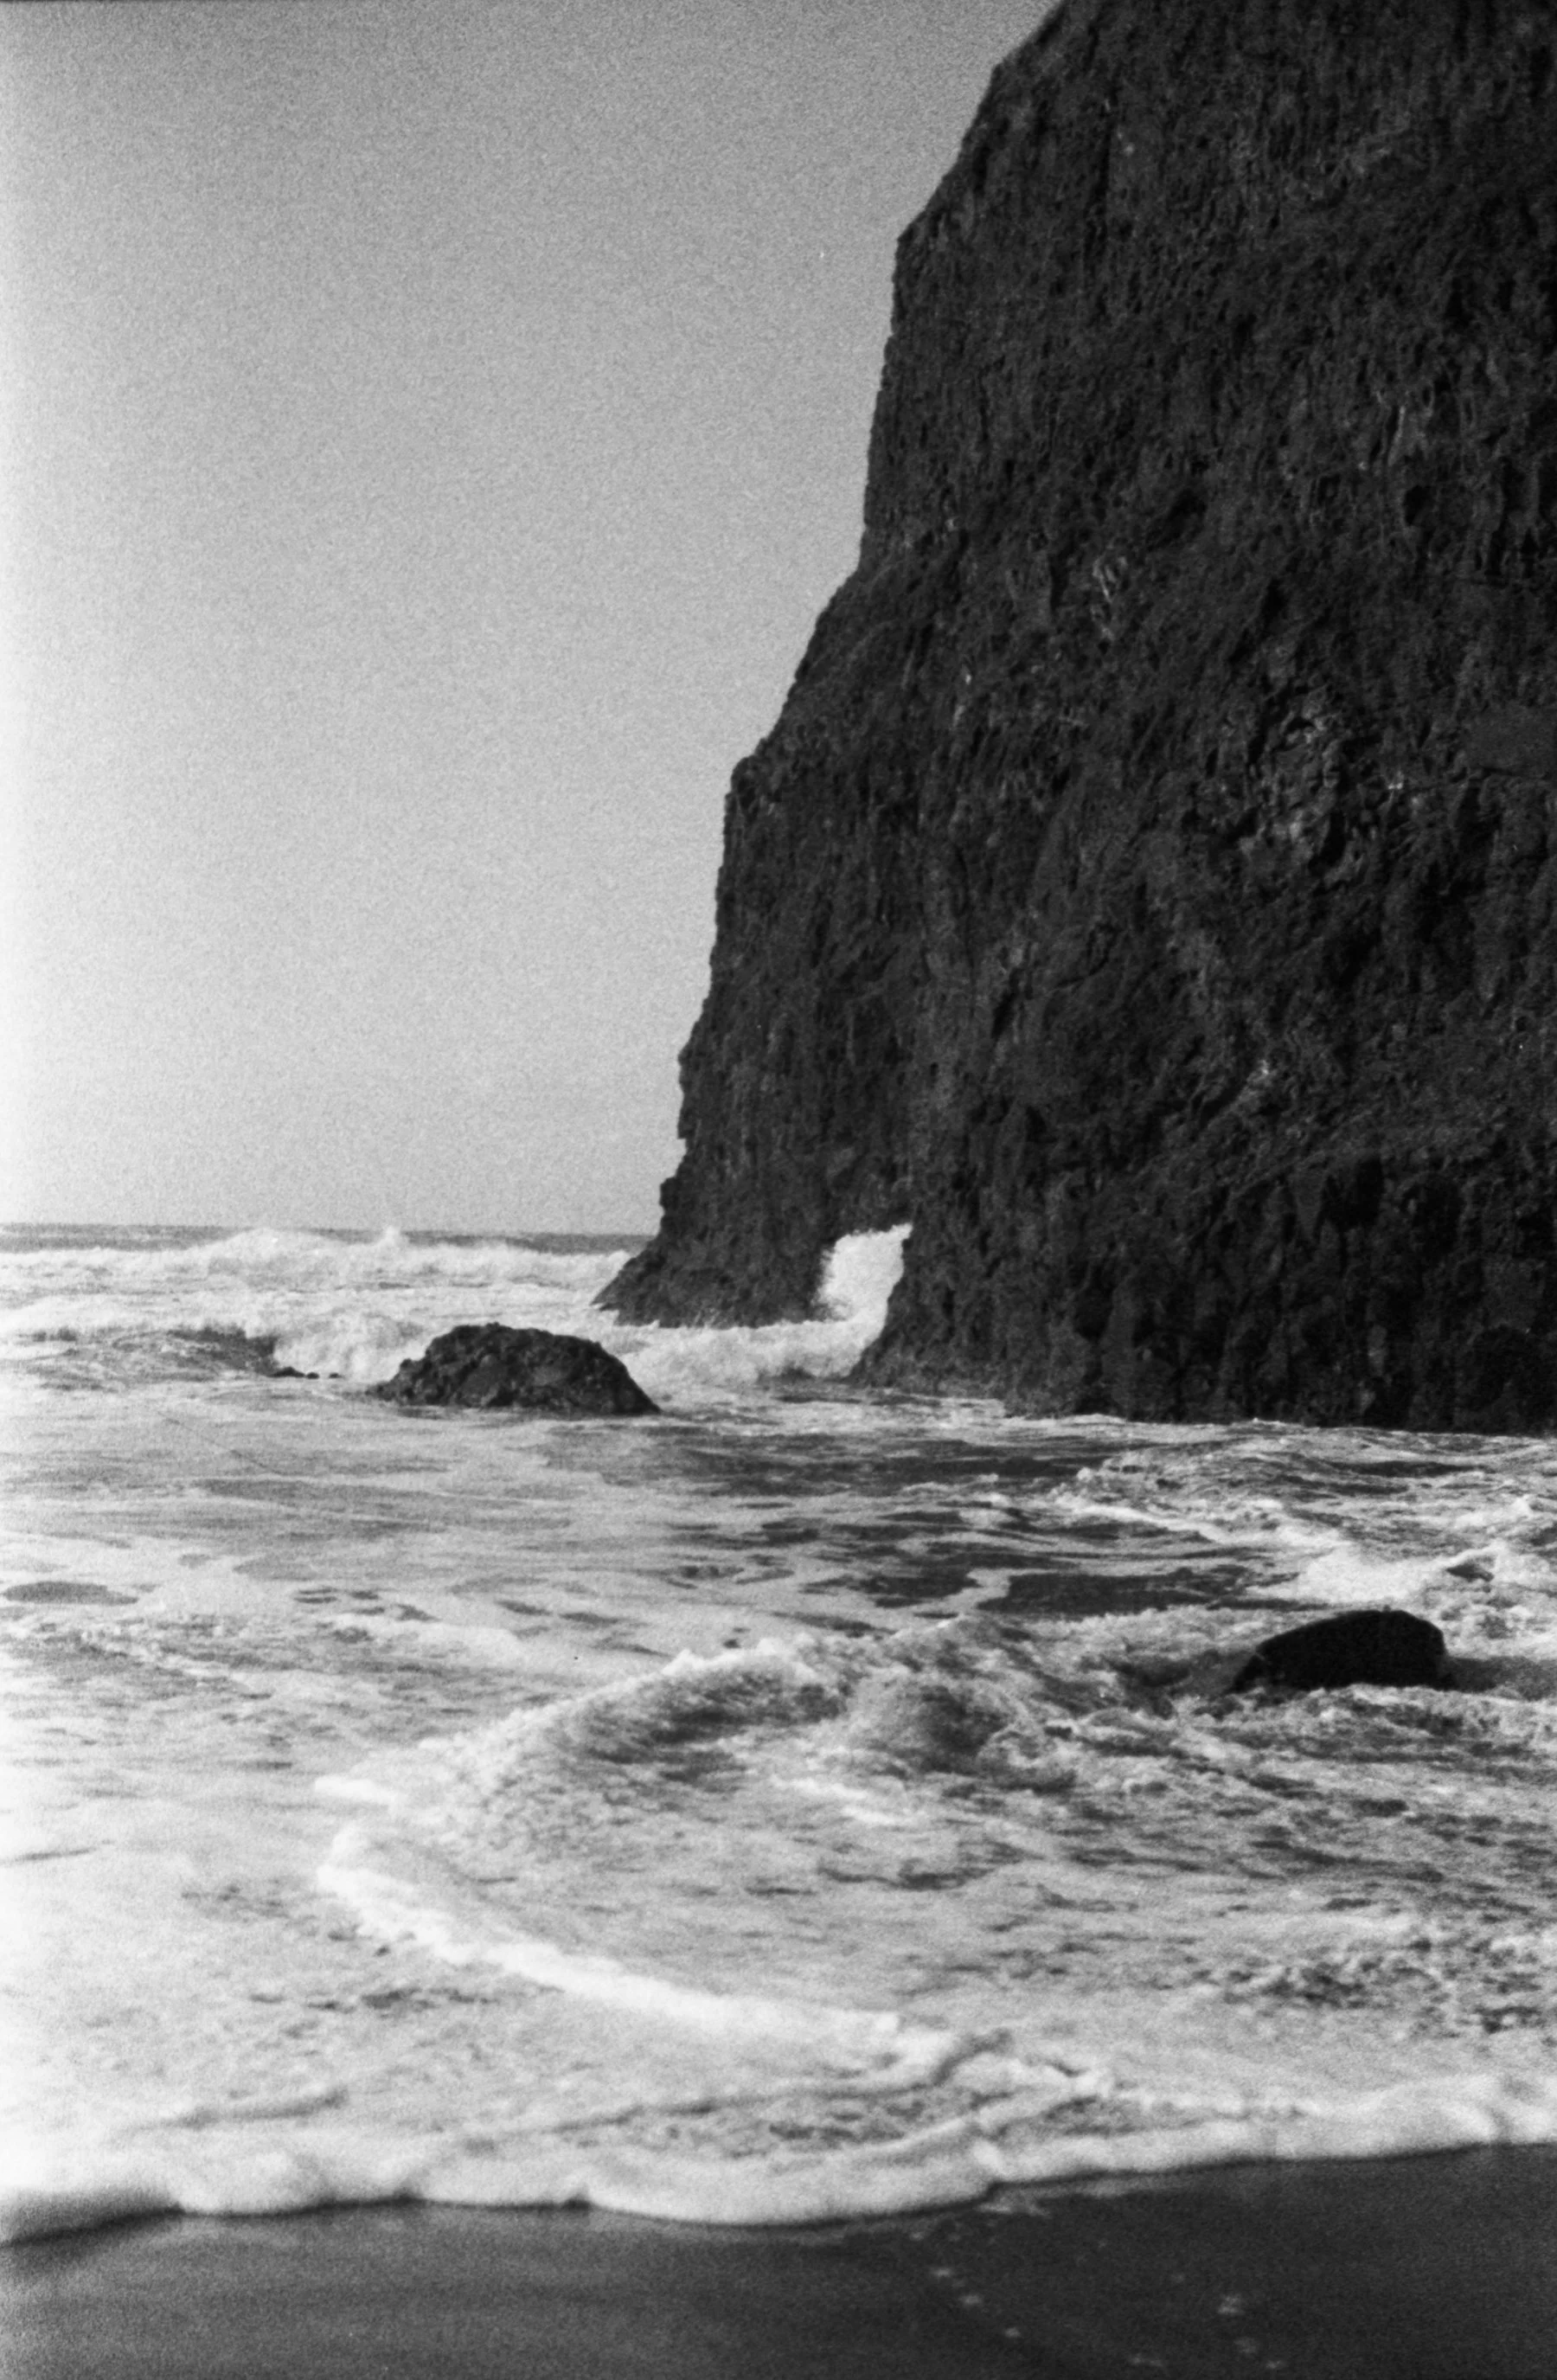
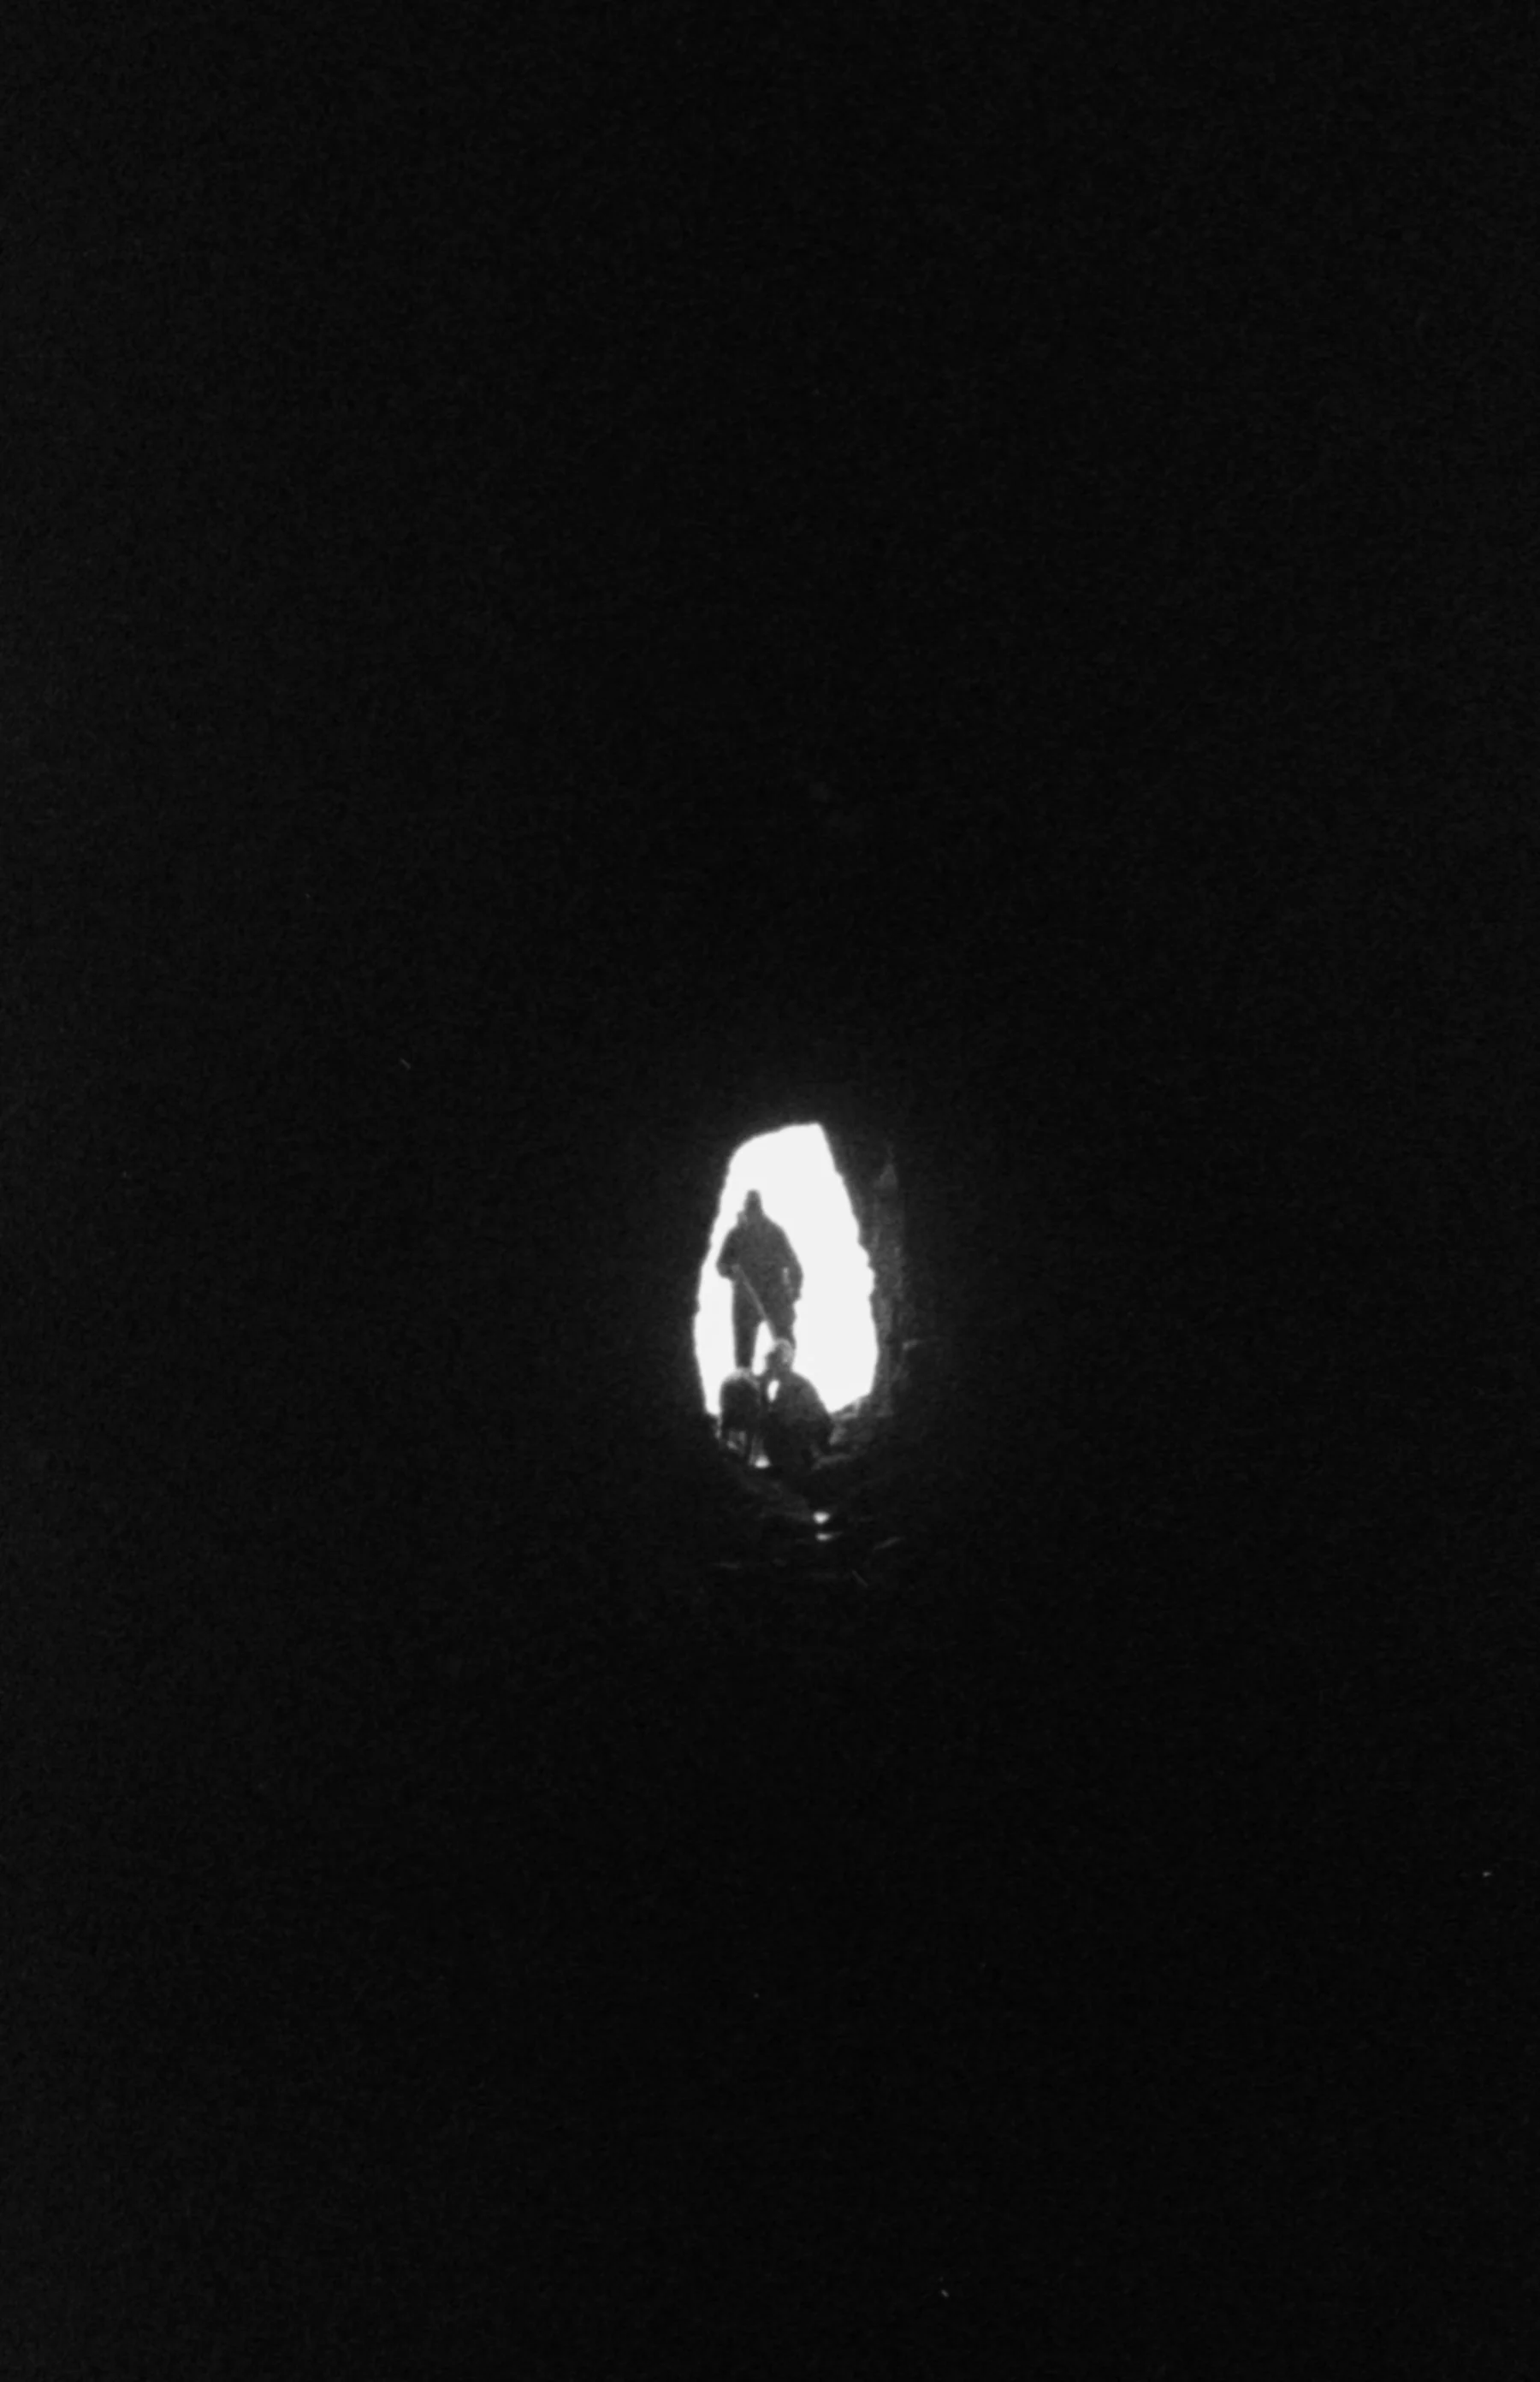
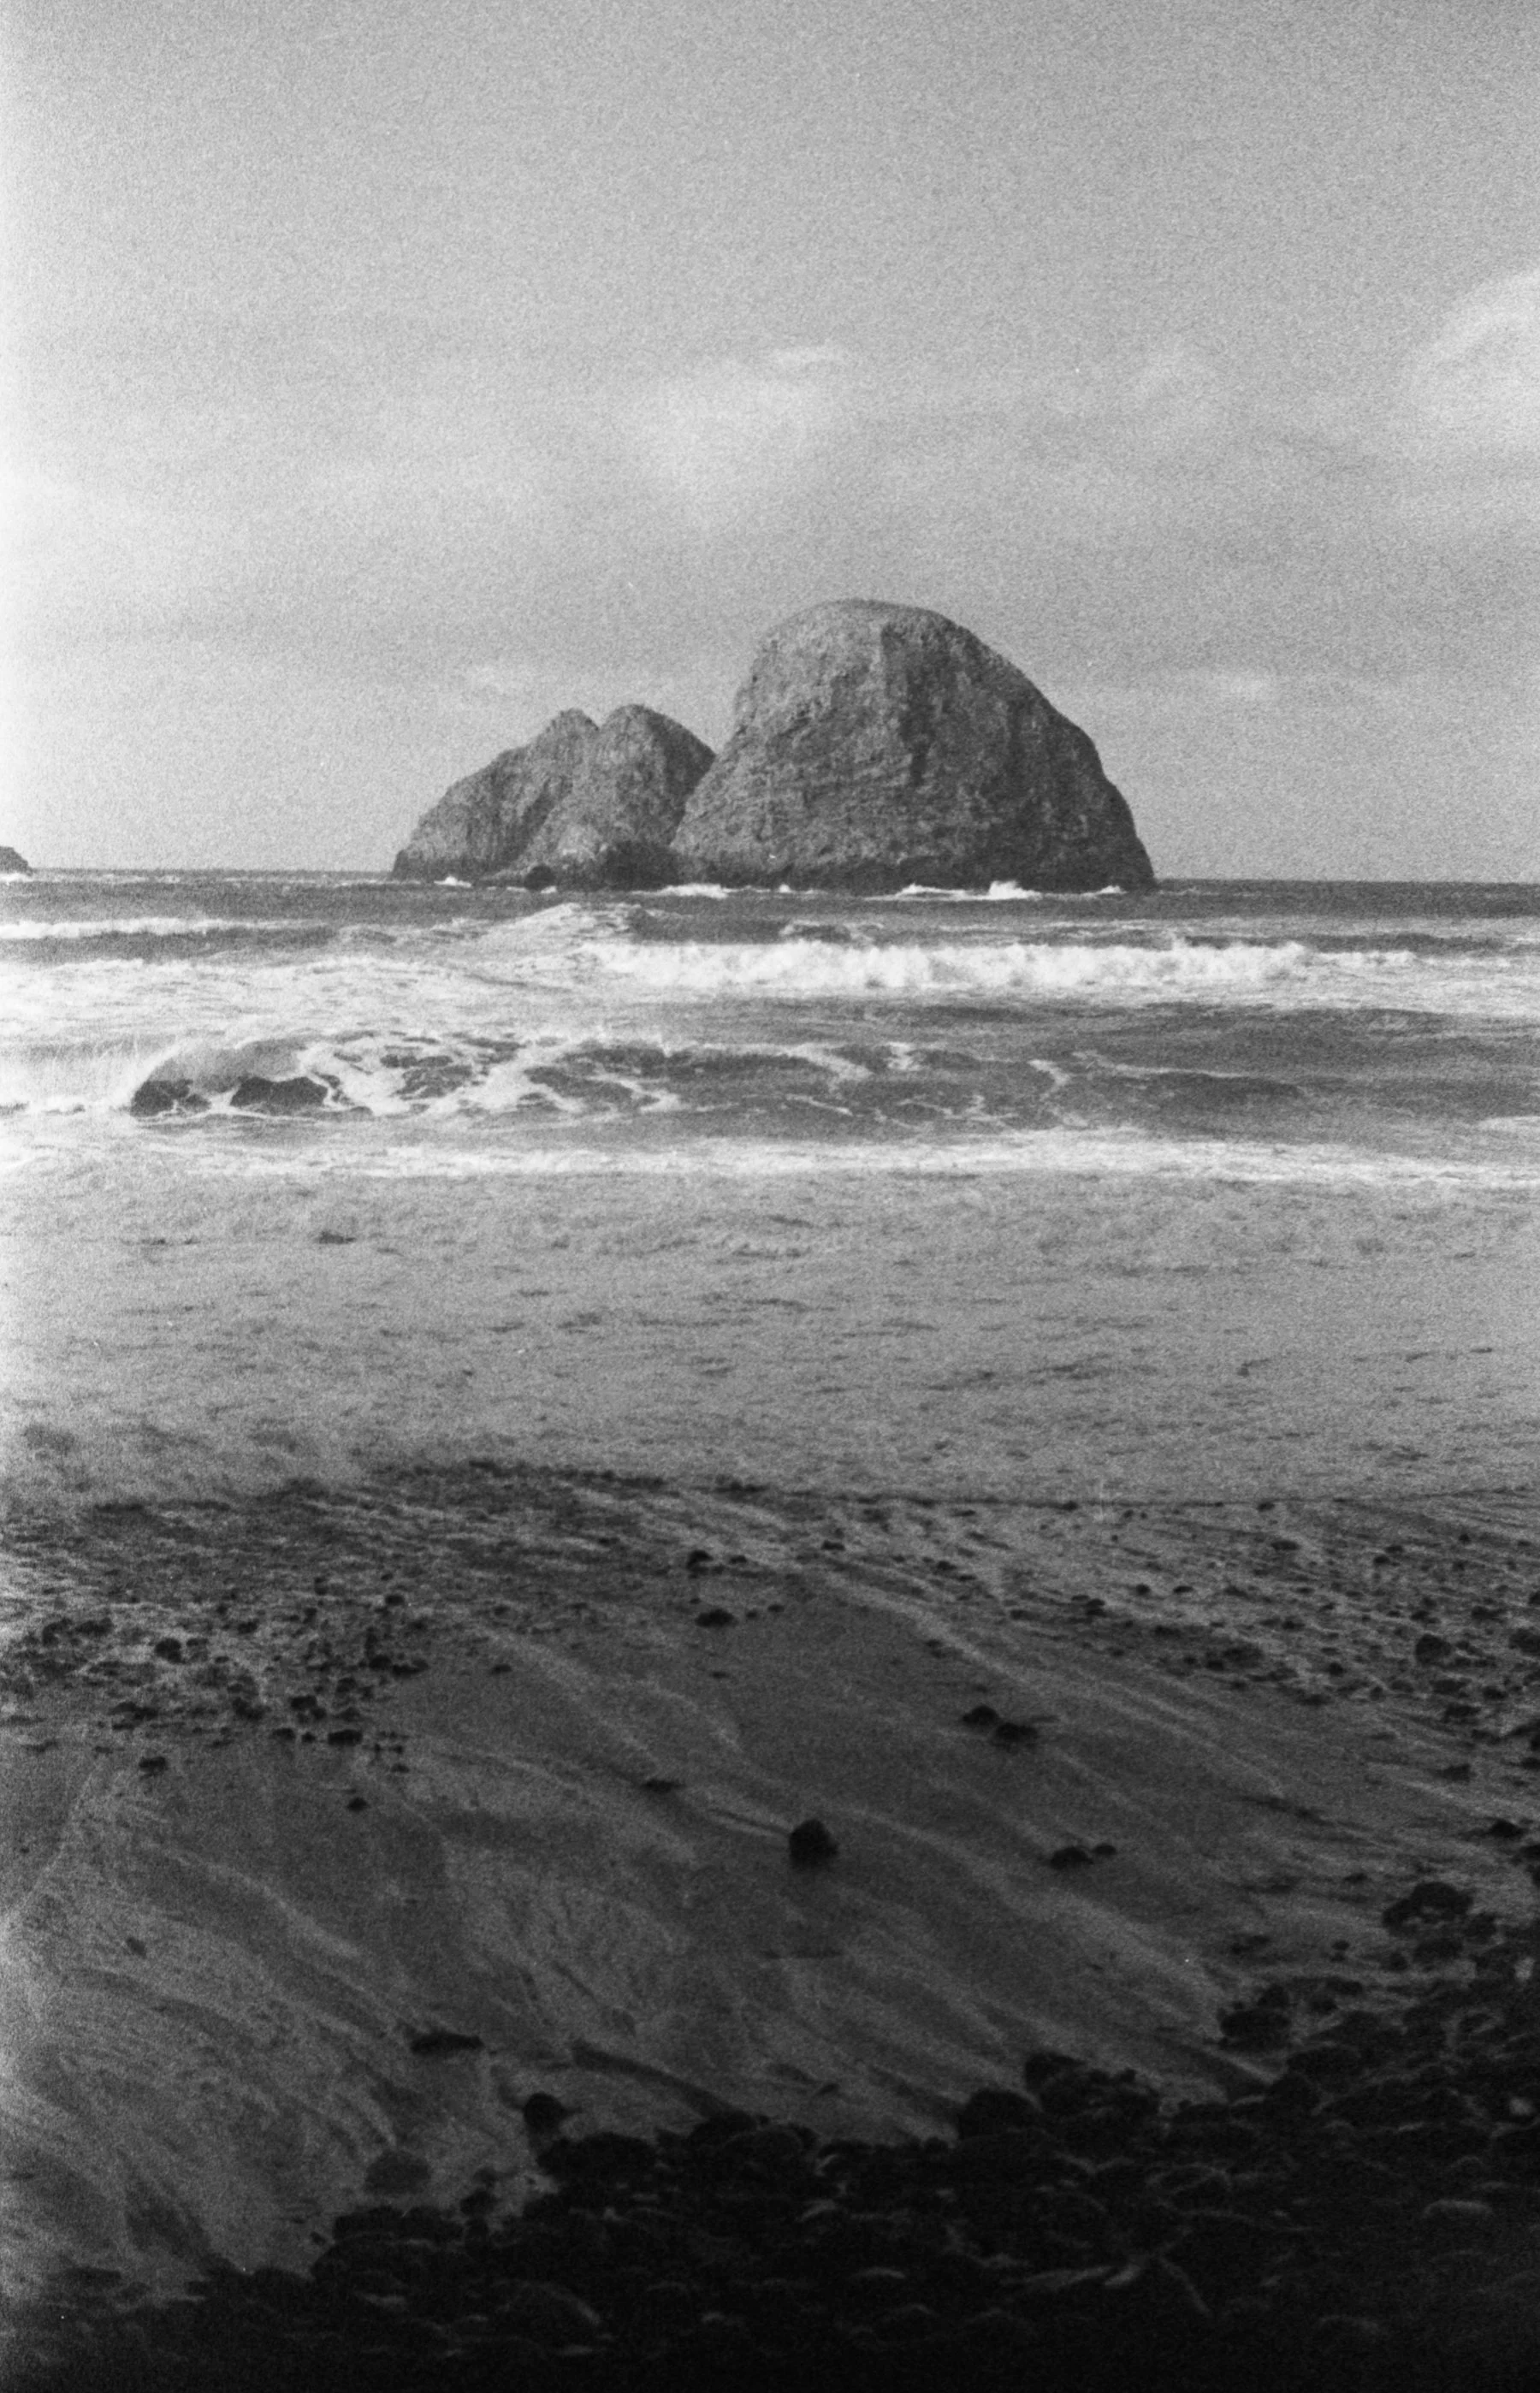
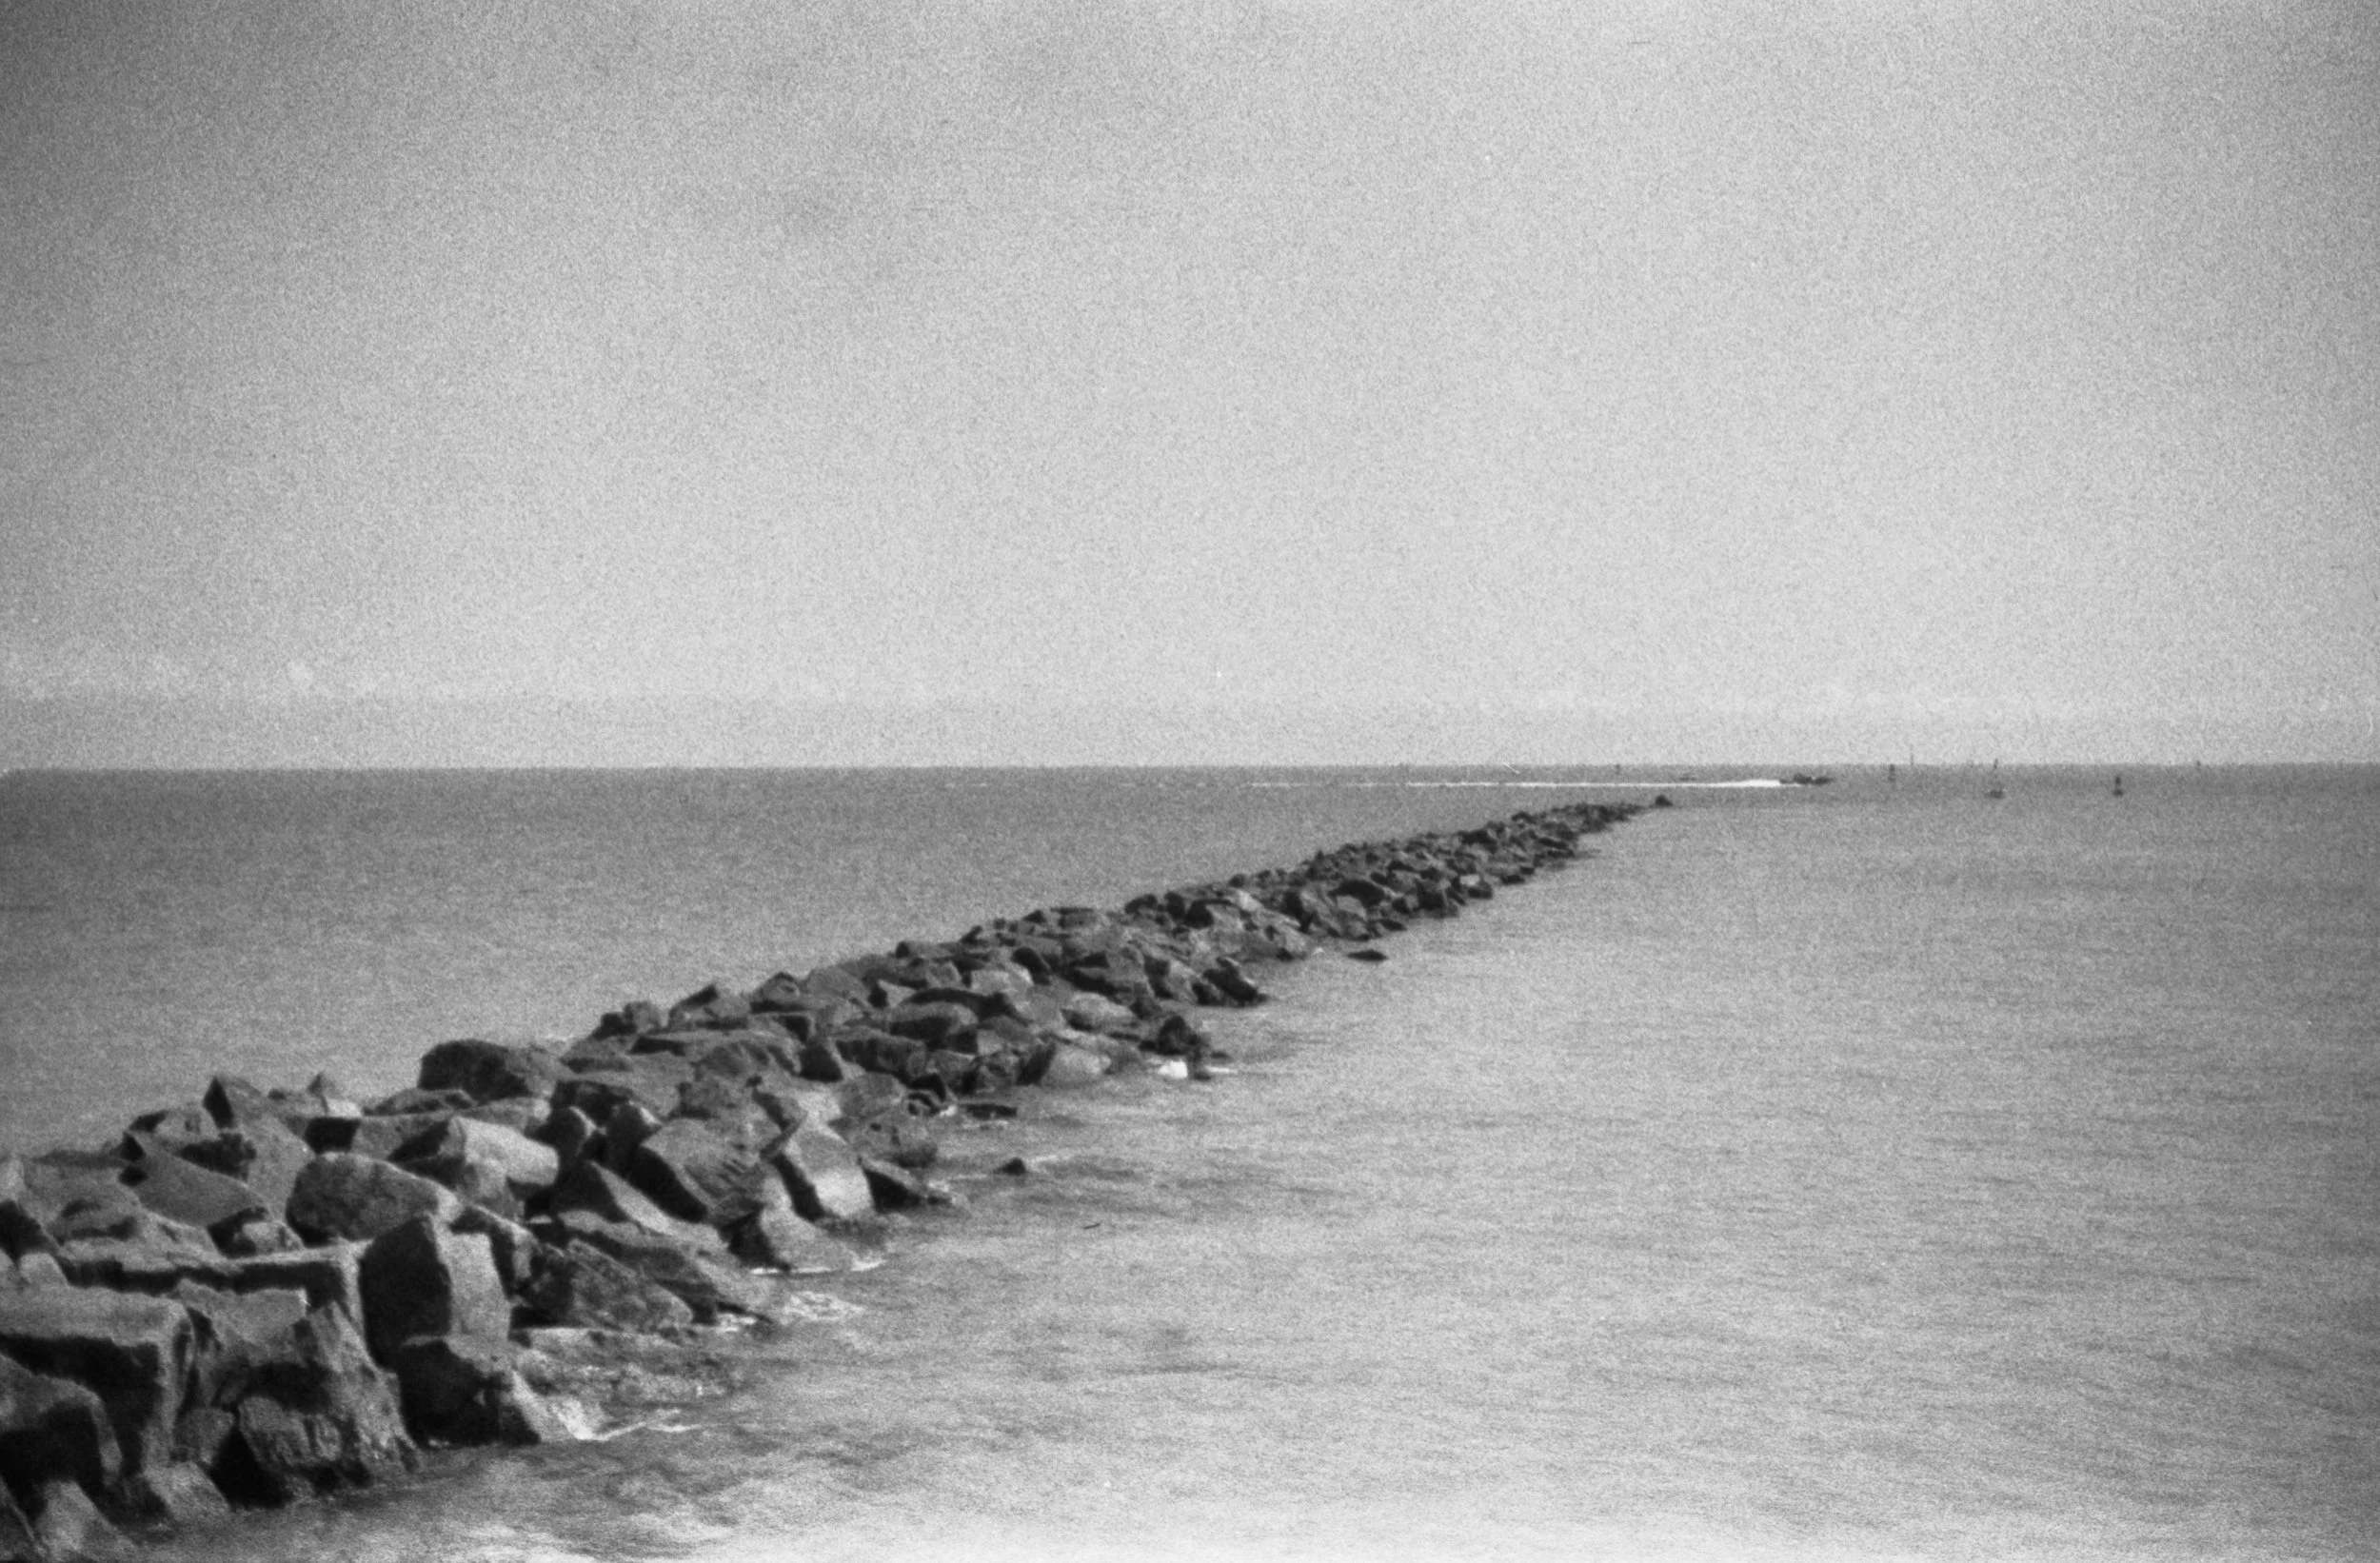
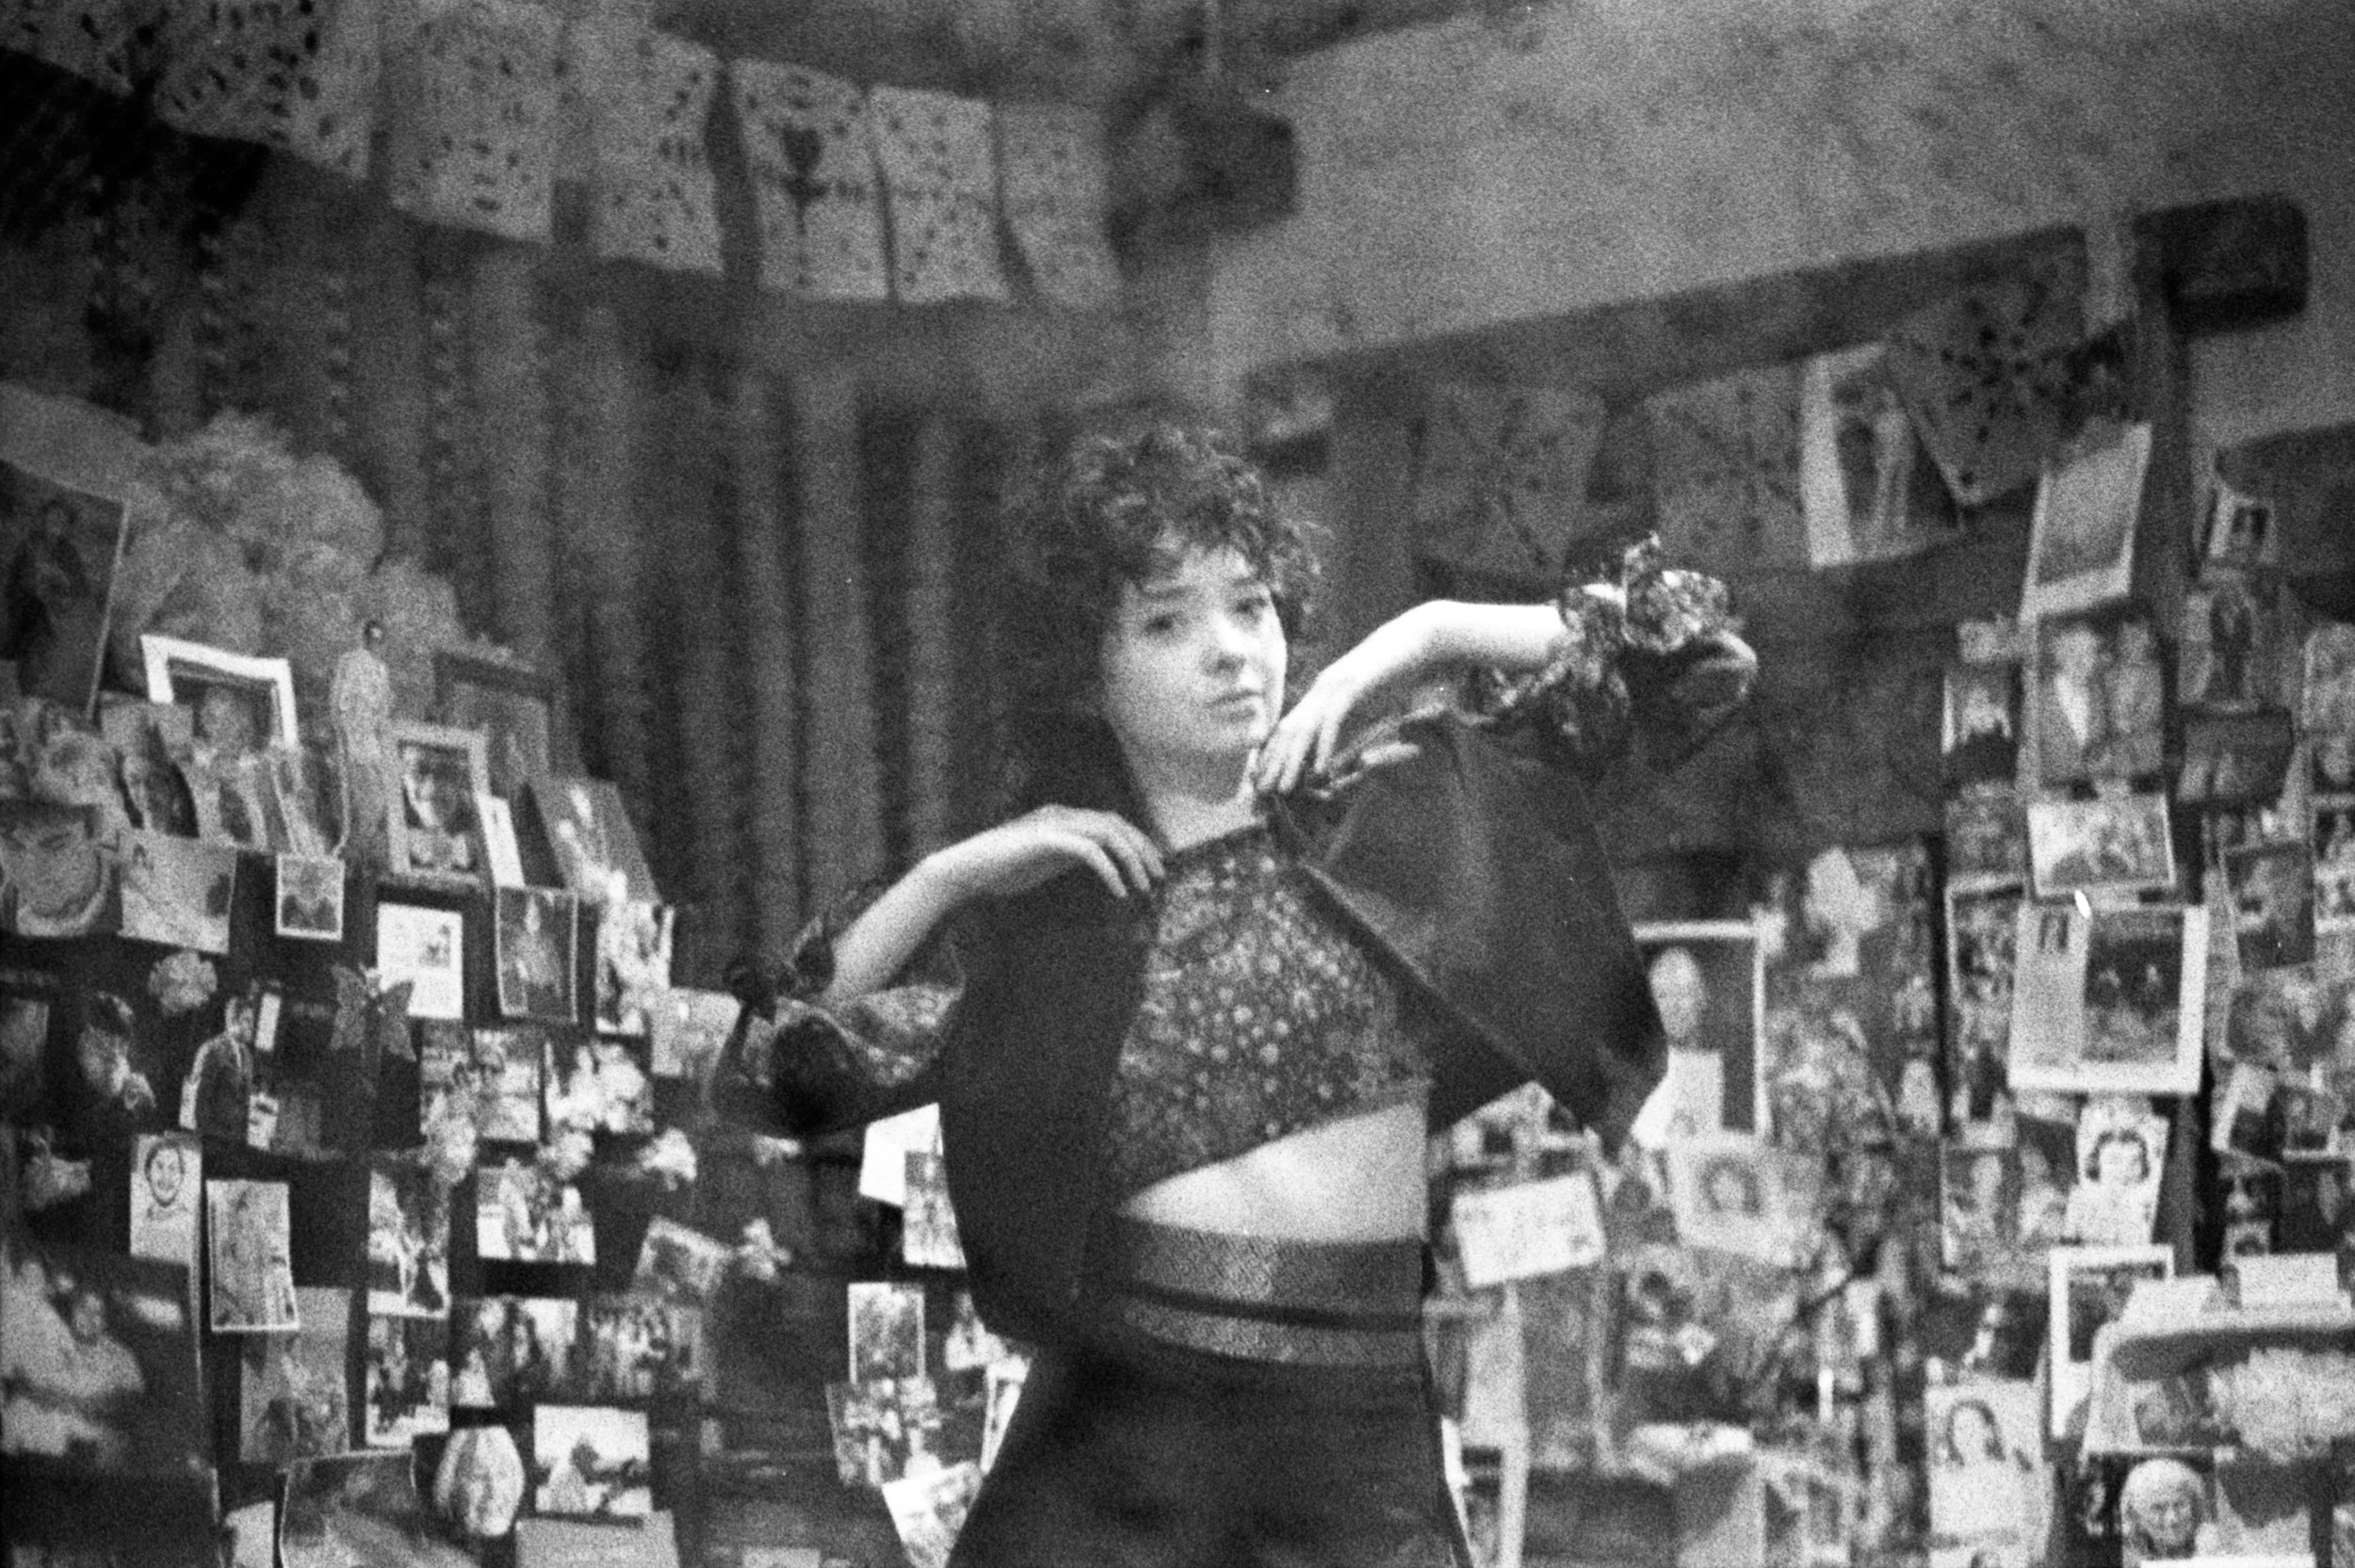
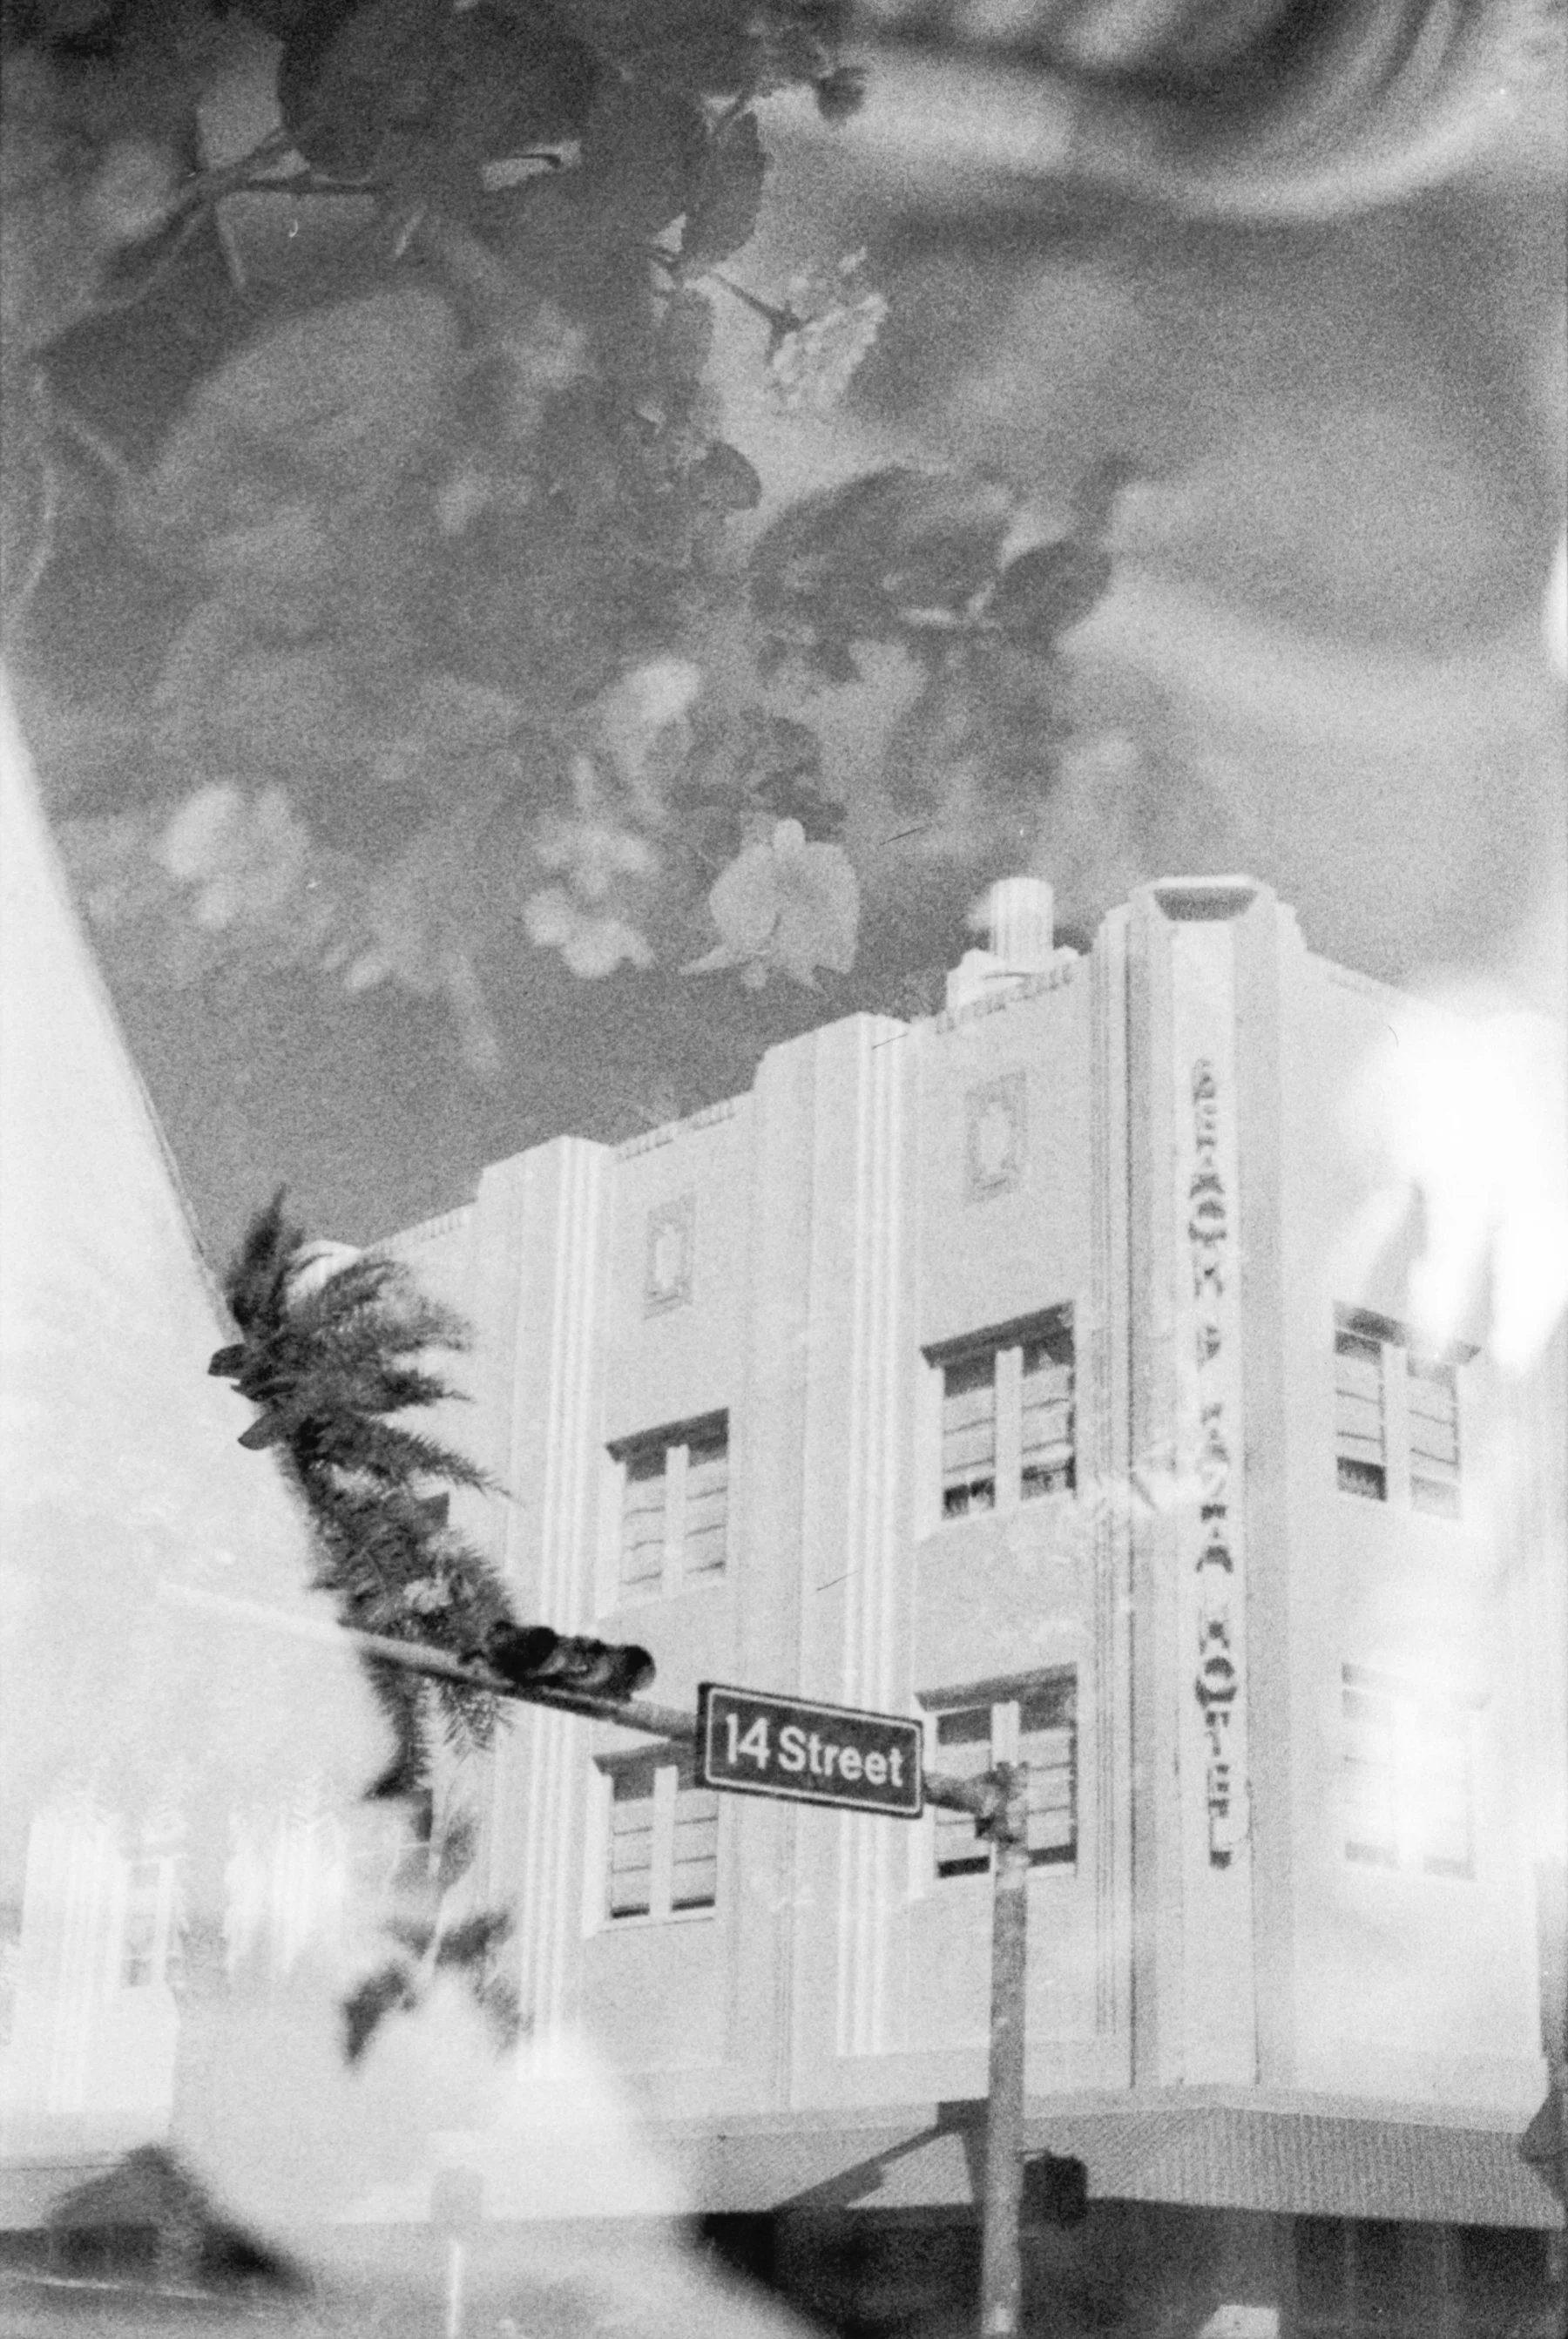
Berlin Kino 400 is an interesting black and white film, in my opinion. It’s definitely super grainy for a 400 film, so it comes across more like an 800 ISO film. I typically don’t like too much grain in my photos, but in this case, it didn’t bother me so much. It’s not an incredibly contrasty film either. It has a fairly minimal tonal range, but still captures a lot of detail in your subjects. It’s not as dynamic as a film like Neopan Across 100 for example (one of my favorite black and white films - check out my blog post about it here!) and it’s not as classic-looking as Ilford HP 5 Plus 400 or Kodak Tri-X 400. By that I mean, the blacks and whites aren’t as intense or prominent. The tones blend together in a soft, natural way that is incredibly moody and gentle. It was a perfect film for capturing my sister’s new baby and the beautiful, quiet waves on the Oregon coast. It definitely makes the images feel a lot more aged than they are, almost as if you are using an expired film roll. It can be a bit difficult to get your hands on this film, but I usually have decent luck finding it for a good price on eBay.
I used the Nikon FE2 for all of the photos in this post. It’s one of my favorite 35 mm film cameras (read more about it here!) and I think it was a perfect match for this film. I wouldn’t use a super cheap film camera with Berlin 400 because you really need a sharp, nice lens to override the grain. The Nikon FE2 is similar to a Canon AE-1 or Pentax K1000, so any of those cameras would be great to use as well if you’re shooting 35 mm. I also shot a roll of Berlin 400 with my Contax 645 which is a super fancy medium format 120 film camera, and I really loved the way those turned out. 120 film is physically larger than 35 mm so it captures more detail and the grain isn’t quite as noticeable. I will say I prefer the way those images turned out than the 35 mm.
WOULD I BUY IT AGAIN?
This is a hard one. While I enjoyed shooting with this film, I’m not sure it is 100% my vibe. Overall, I prefer film that is a bit cleaner with less grain, but I do like the overall mood and nostalgia of the film. It does capture a surprising amount of detail for how minimal the contrast is. I would probably prefer Lomography Earl Grey 100 because it has a bit more intensity, or even Lady Grey 400 which falls more in the middle. Berlin Kino 400 does remind me of Potsdam Kino 100 but with a little more grain, which makes sense because it does come from Lomography’s Kino black and white film family. If you’d like just a little less grain and smoother overall quality, I’d try the Potsdam 100 out. With an ISO 100 film though, I’d recommend shooting outdoors in bright sunlight for best results.
I definitely don’t regret shooting with it, as I do find the photos to be beautiful in a vintage, black and white tv kind of way. I think it would be a really cool roll to make a short film out of using a video camera like the Lomography LomoKino. I’ve actually had one of these cameras for a few years now but haven’t even opened it! It’s on my list to review soon though!
Overall, I recommend giving this film a try at the very least and seeing what you think! You can’t go wrong with any of Lomography’s film stocks. It’s always worth it to experiment and push yourself a little creatively. That’s why I like trying out different film stocks. I get bored shooting with the same old films time and time again. :)
If you’re looking for more black and white 35 mm film recommendations check out my blog post, The 5 Best and Most Affordable Black and White Film Stocks. If you’re looking for 35 mm camera recommendations, make sure to read my post The Top 10 Best 35 mm Film Cameras for Beginners.
WHERE TO BUY BERLIN KINO 400 FILM
35 MM
B&H Photo
Shop on eBay
120 FILM
Shop on eBay
Amazon
WHERE TO BUY POTSDAM KINO 100 FILM
35 MM
B&H Photo
eBay
120 FILM
B&H Photo
eBay
If you found this post helpful in any way, I’d love it if you considered signing up for my Patreon! For as little as $1 a month, you’ll get early access to all of my YouTube videos, plus tons of photos that I don’t post anywhere else. Depending on which tier you choose, you could also receive seasonal prints and/or discounts! I always use all of the proceeds towards cameras, film & processing.
If you have any questions, I’m always happy to help! You can contact me here, or leave a comment below! Thanks so much for stopping by! You can also check out my B&H Photo storefront & Amazon Storefront for more camera/film recommendations. :) Have a magical day!
<3 Myles Katherine