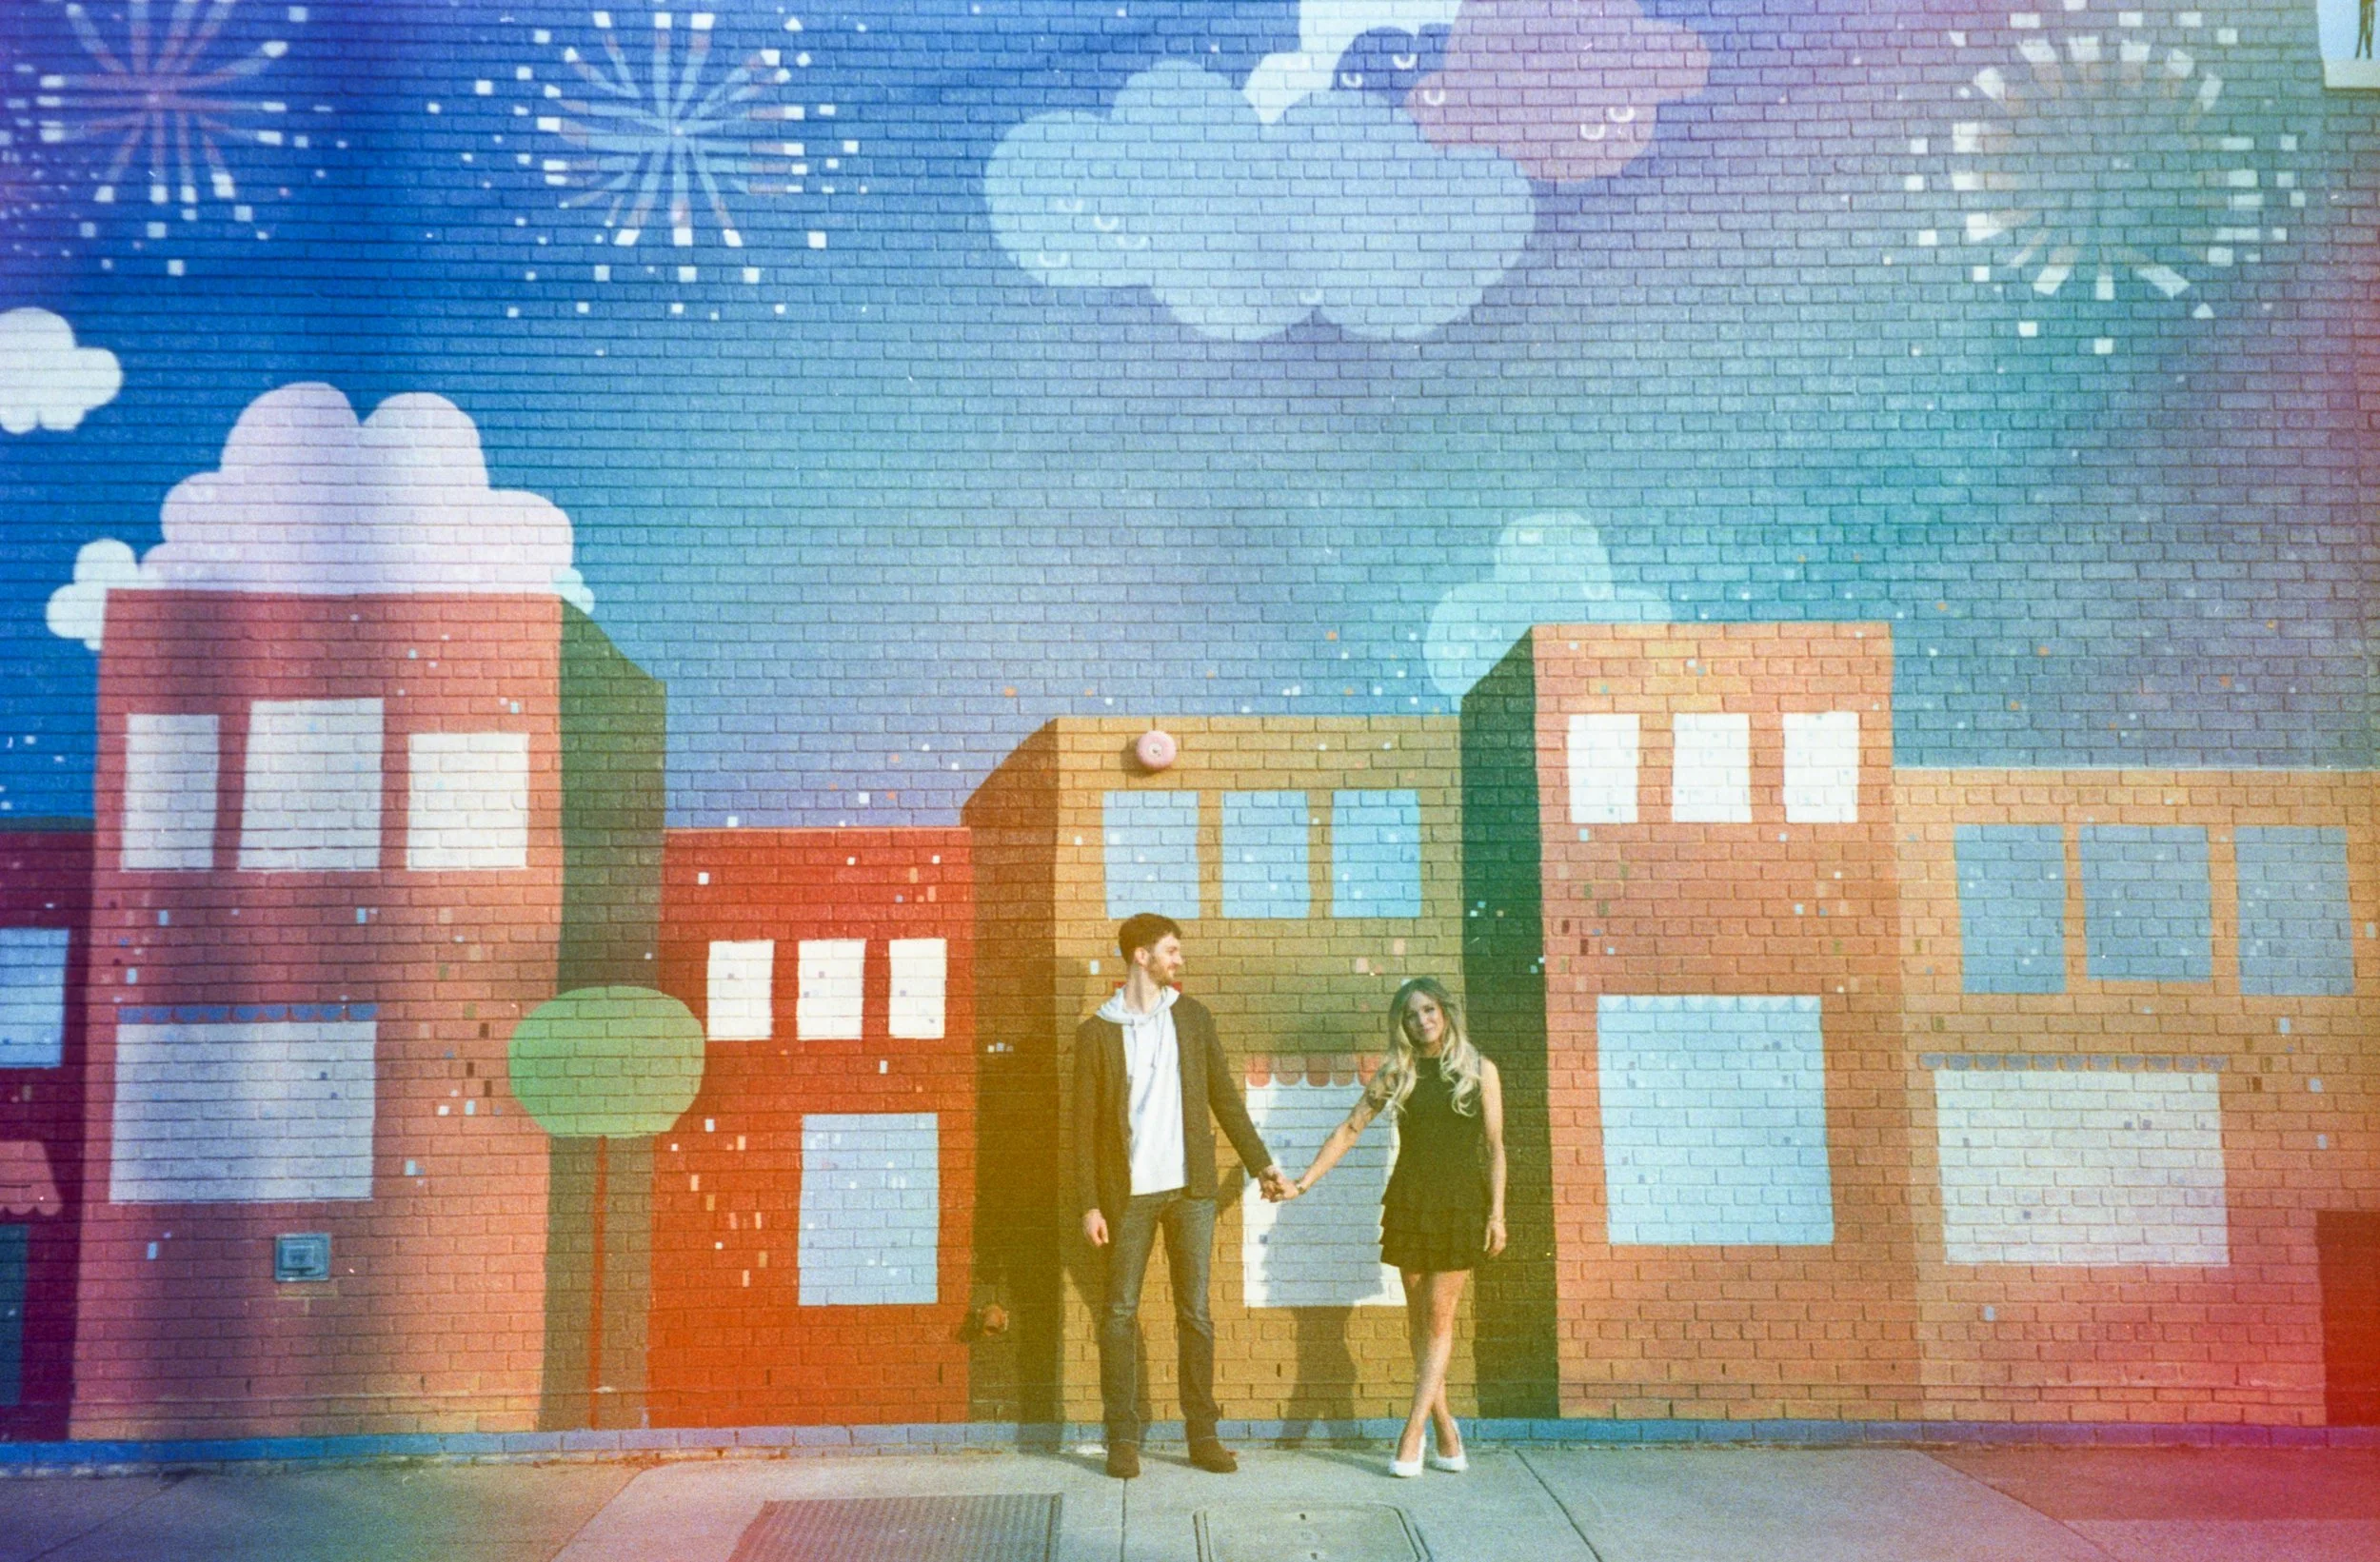
I’m probably a little bit too excited to review the Jelly 35 mm film roll by dubblefilm, but I can’t help it! I’ve been waiting to try out this film forever and I finally got up the nerve to use it in one of my point and shoot 35 mm film cameras, the Samsung Evoca Zoom 115. I’m absolutely obsessed with the results. I’m always doing what I can to create light leaks and dreamy, colorful images, so I knew that I was going to love this film. I was on instagram one day and came across a few photos that a photographer took with this film and I bought a roll right away. It’s definitely not the cheapest film out there, but for what you’re getting, I’d be willing to buy it again.
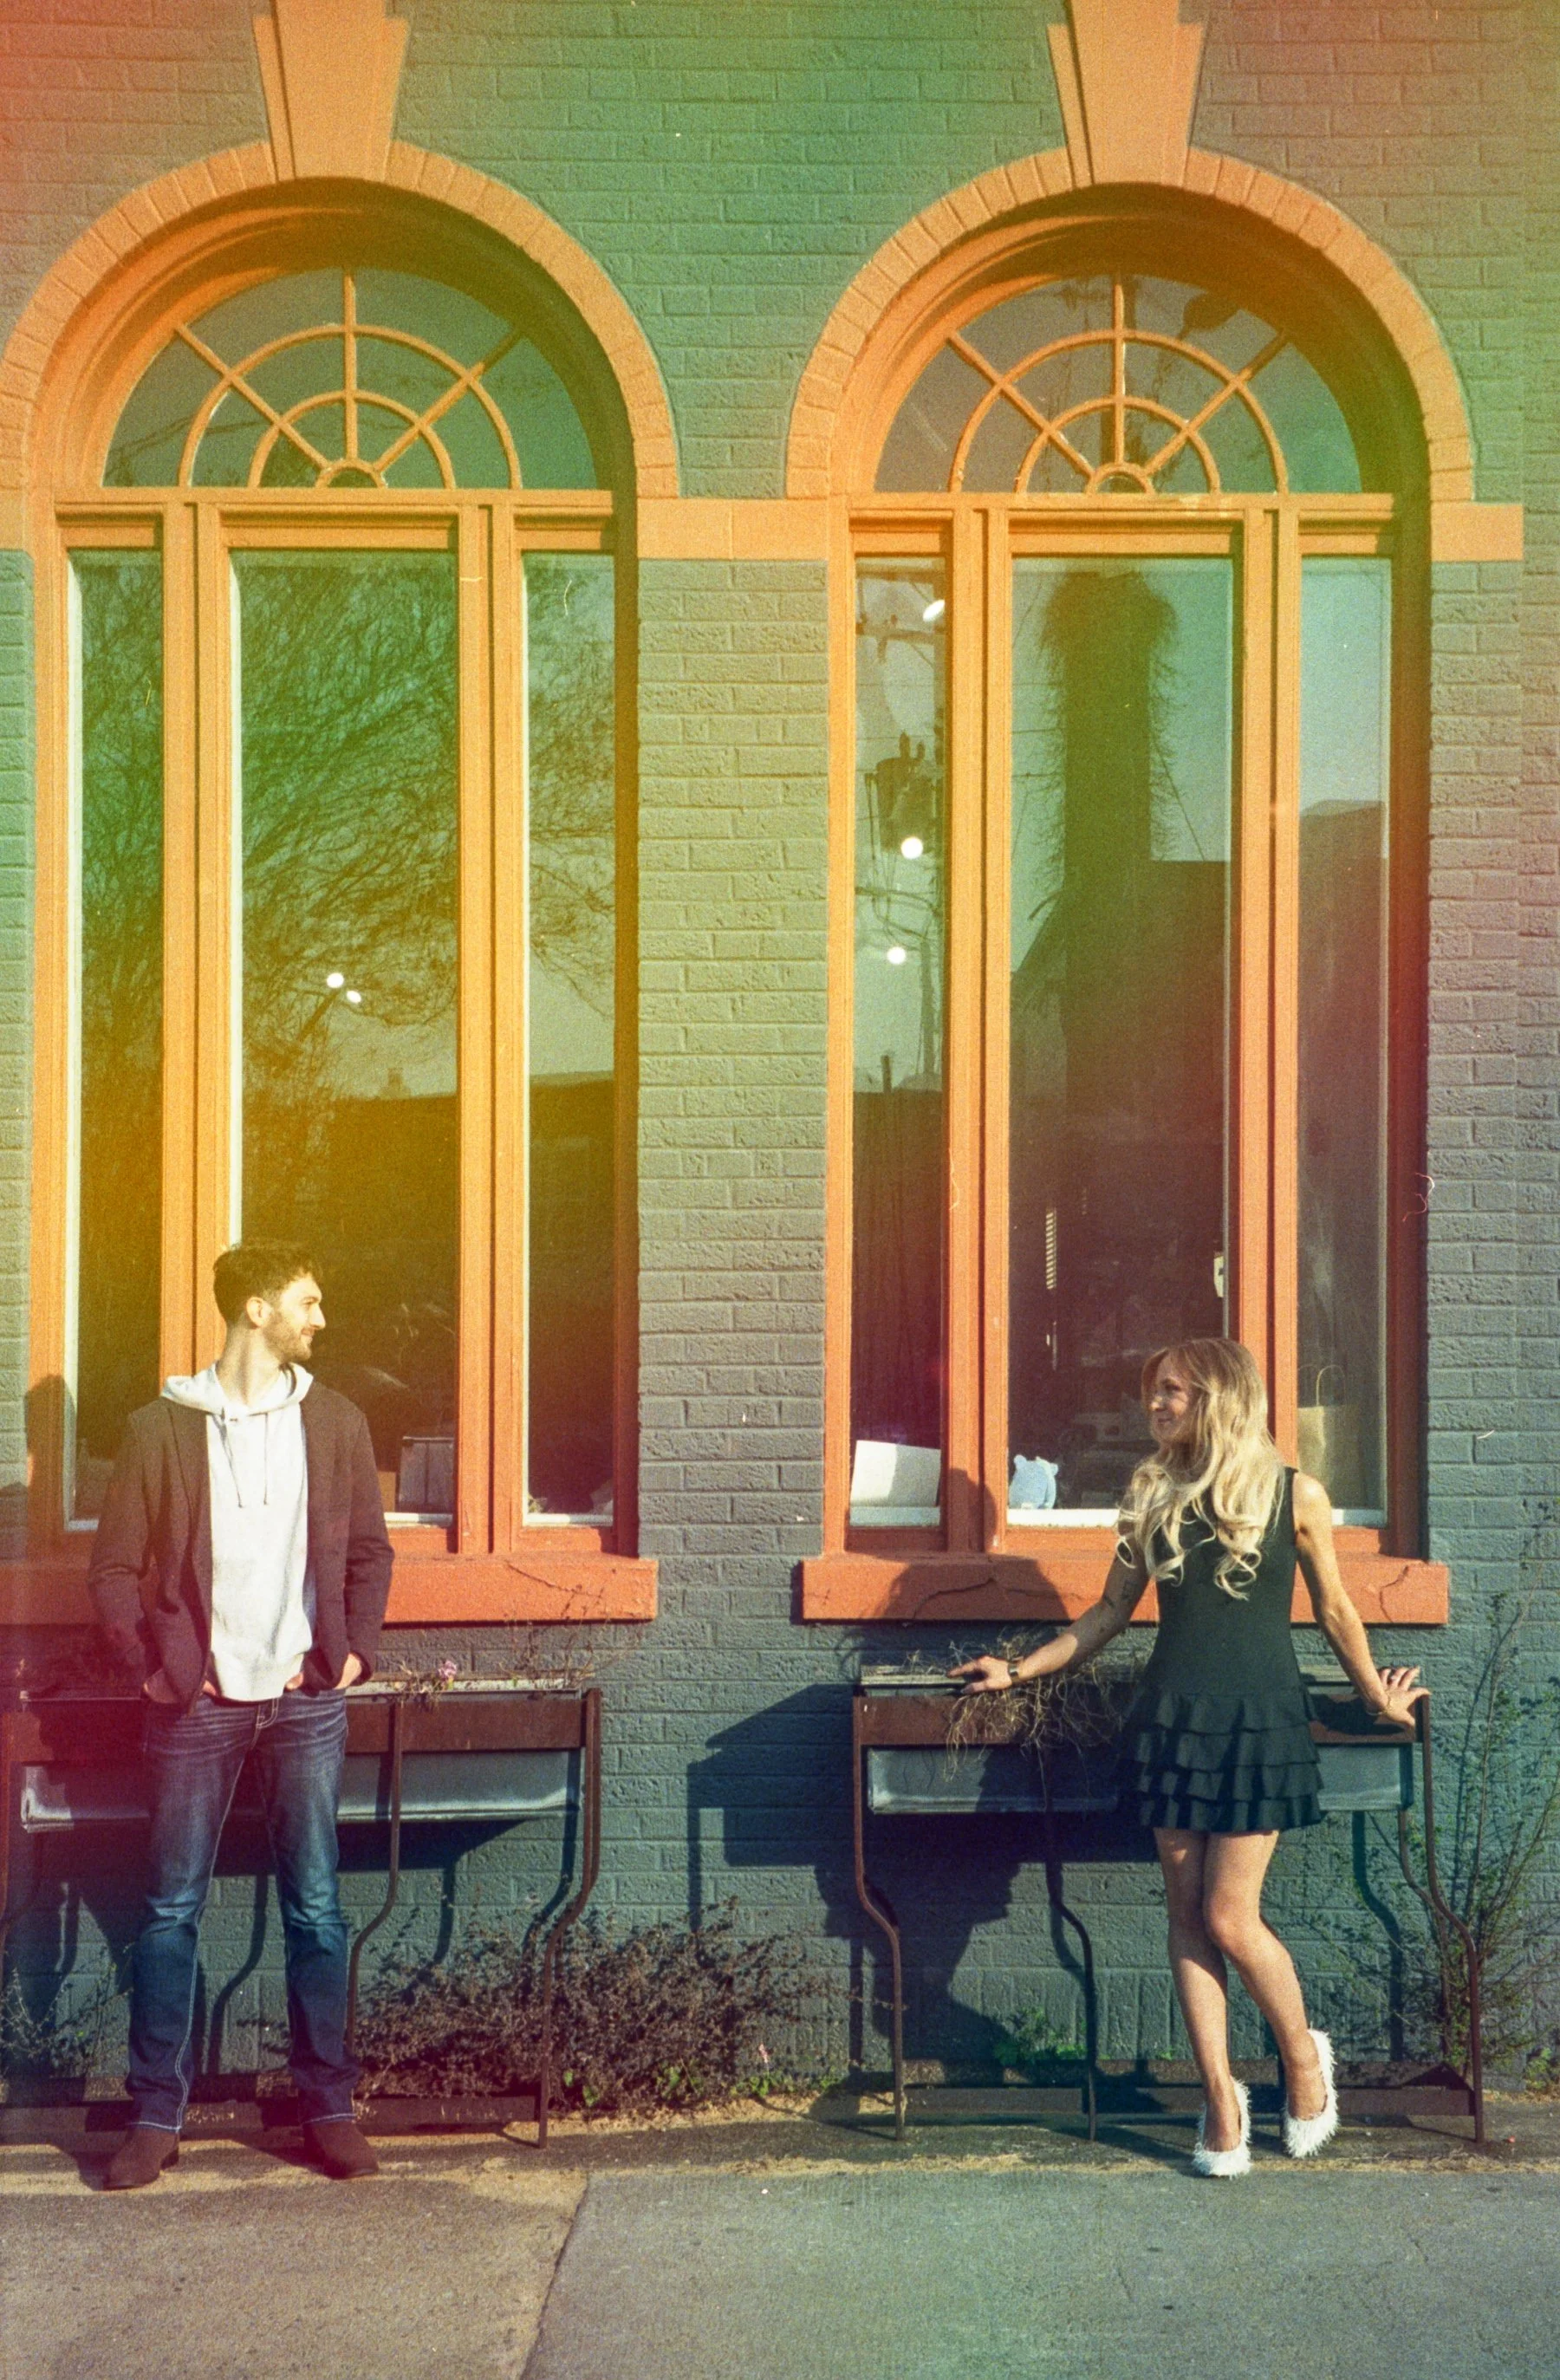
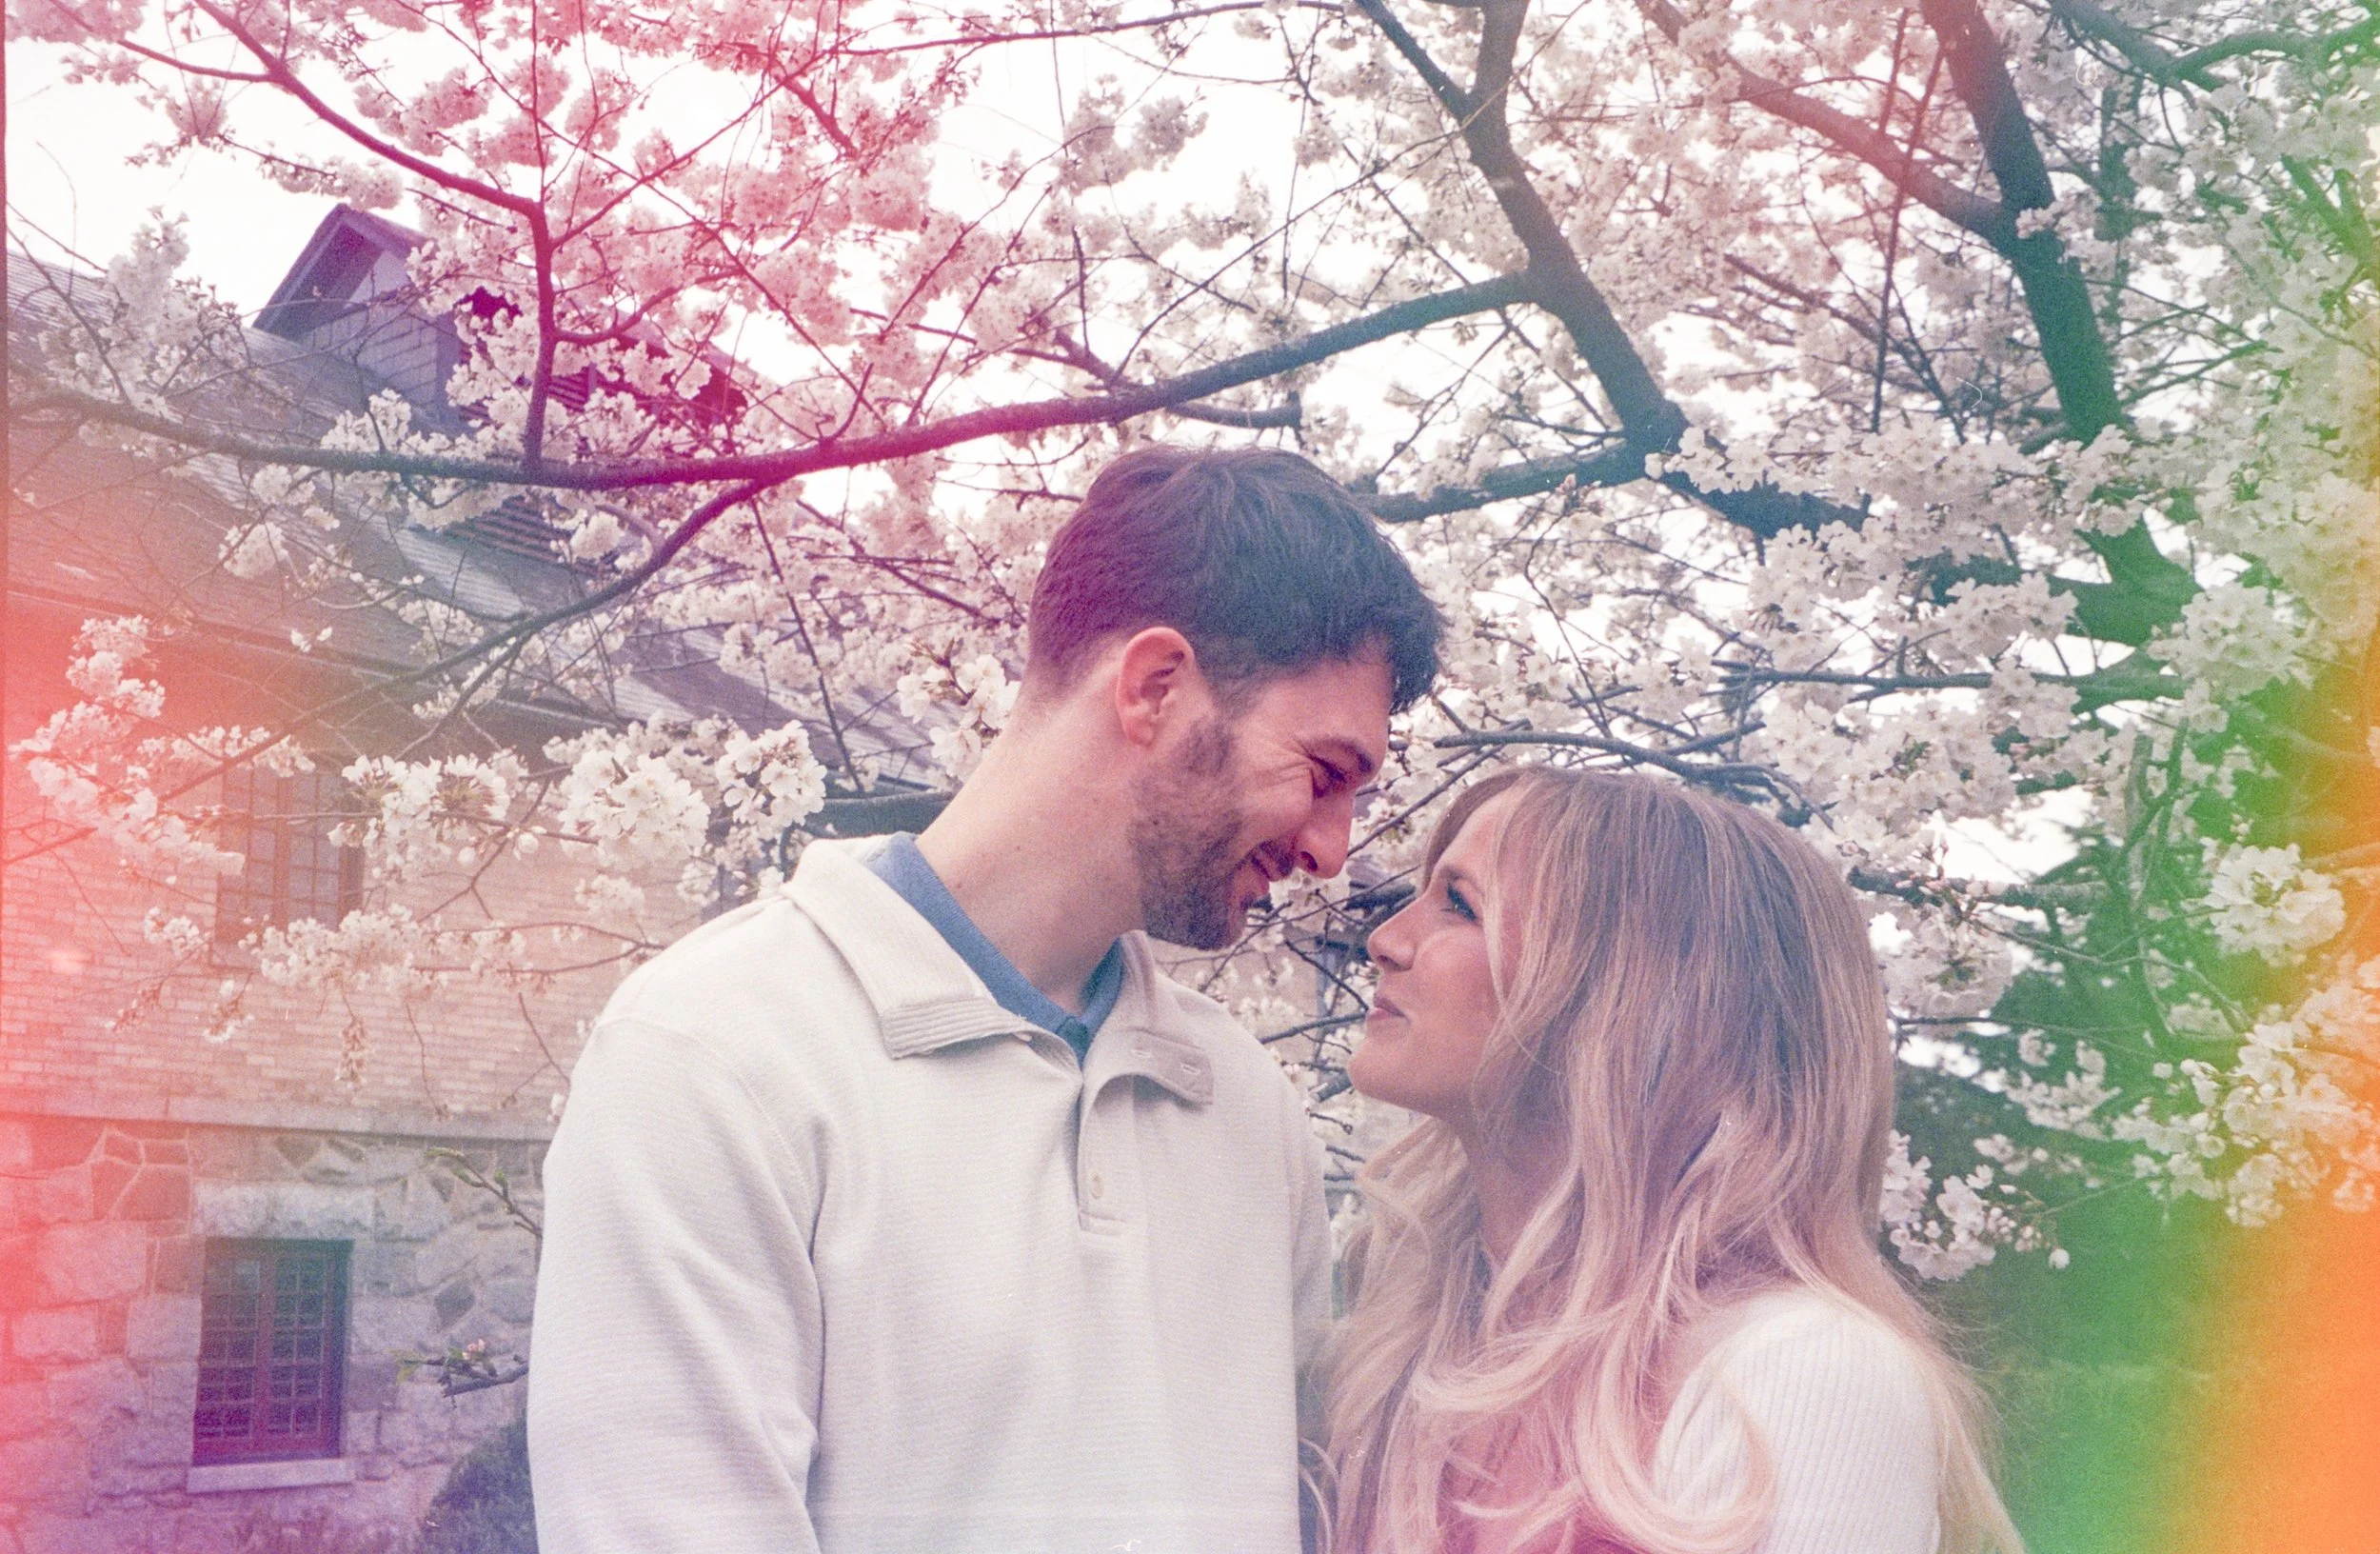
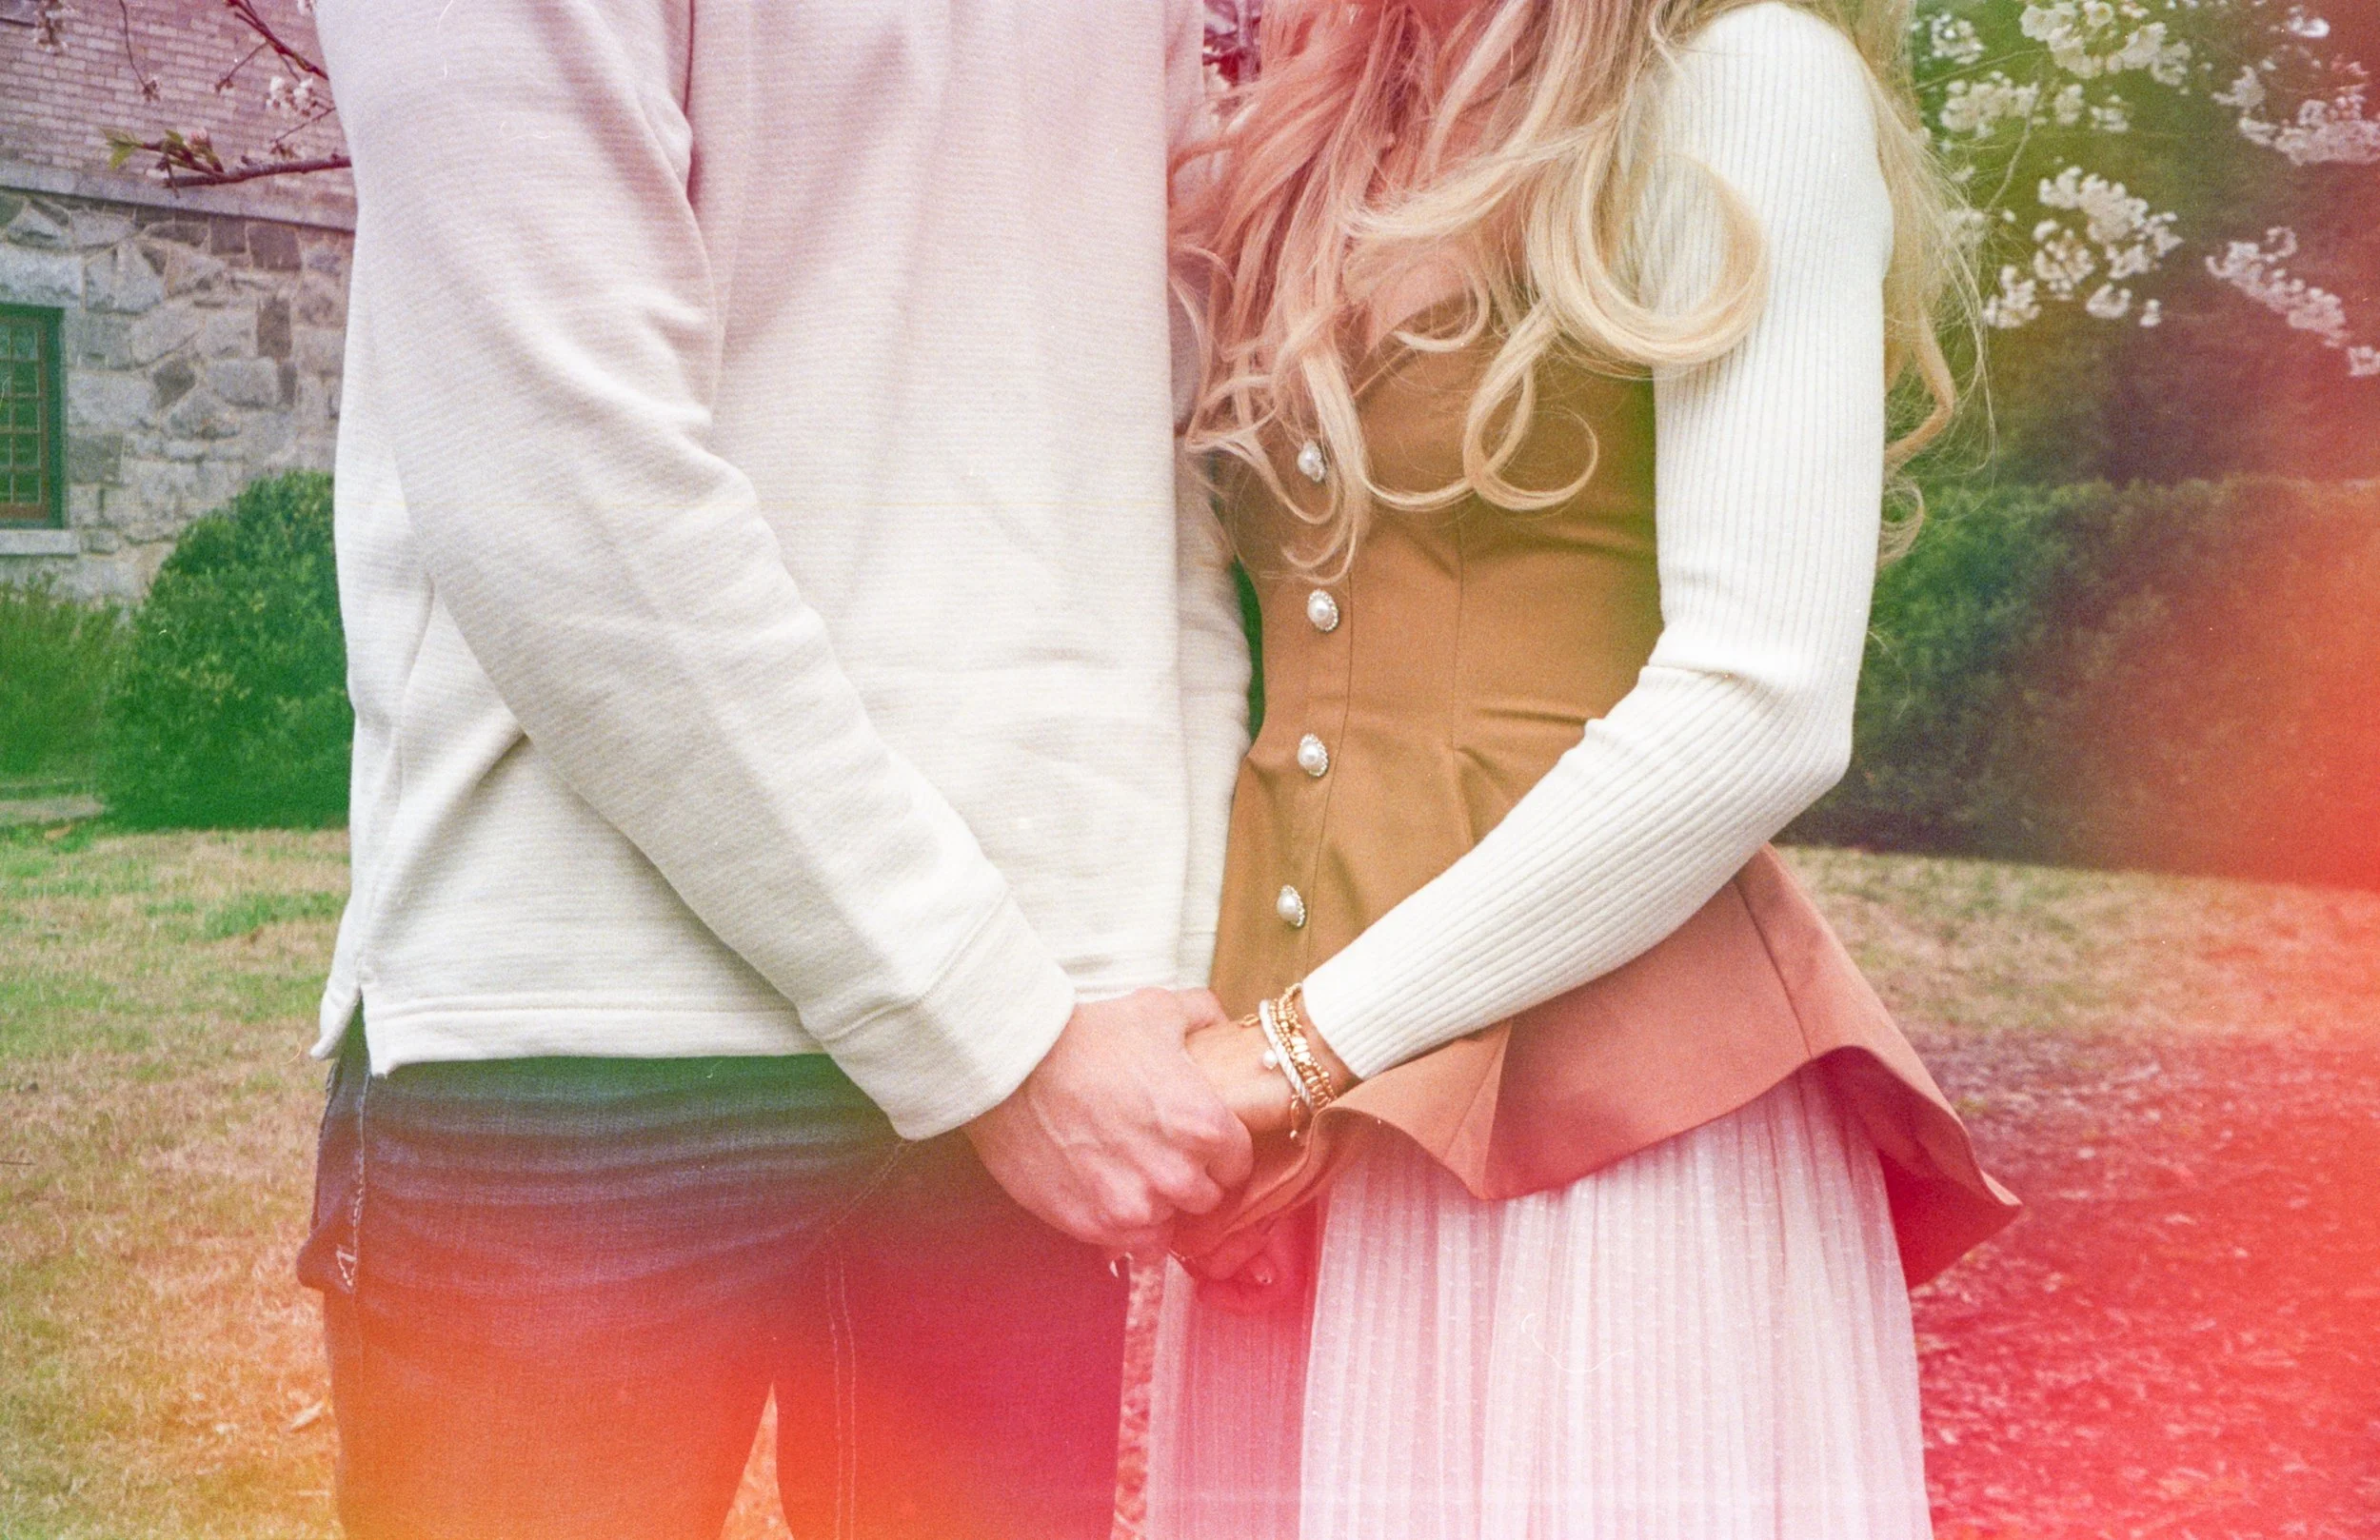
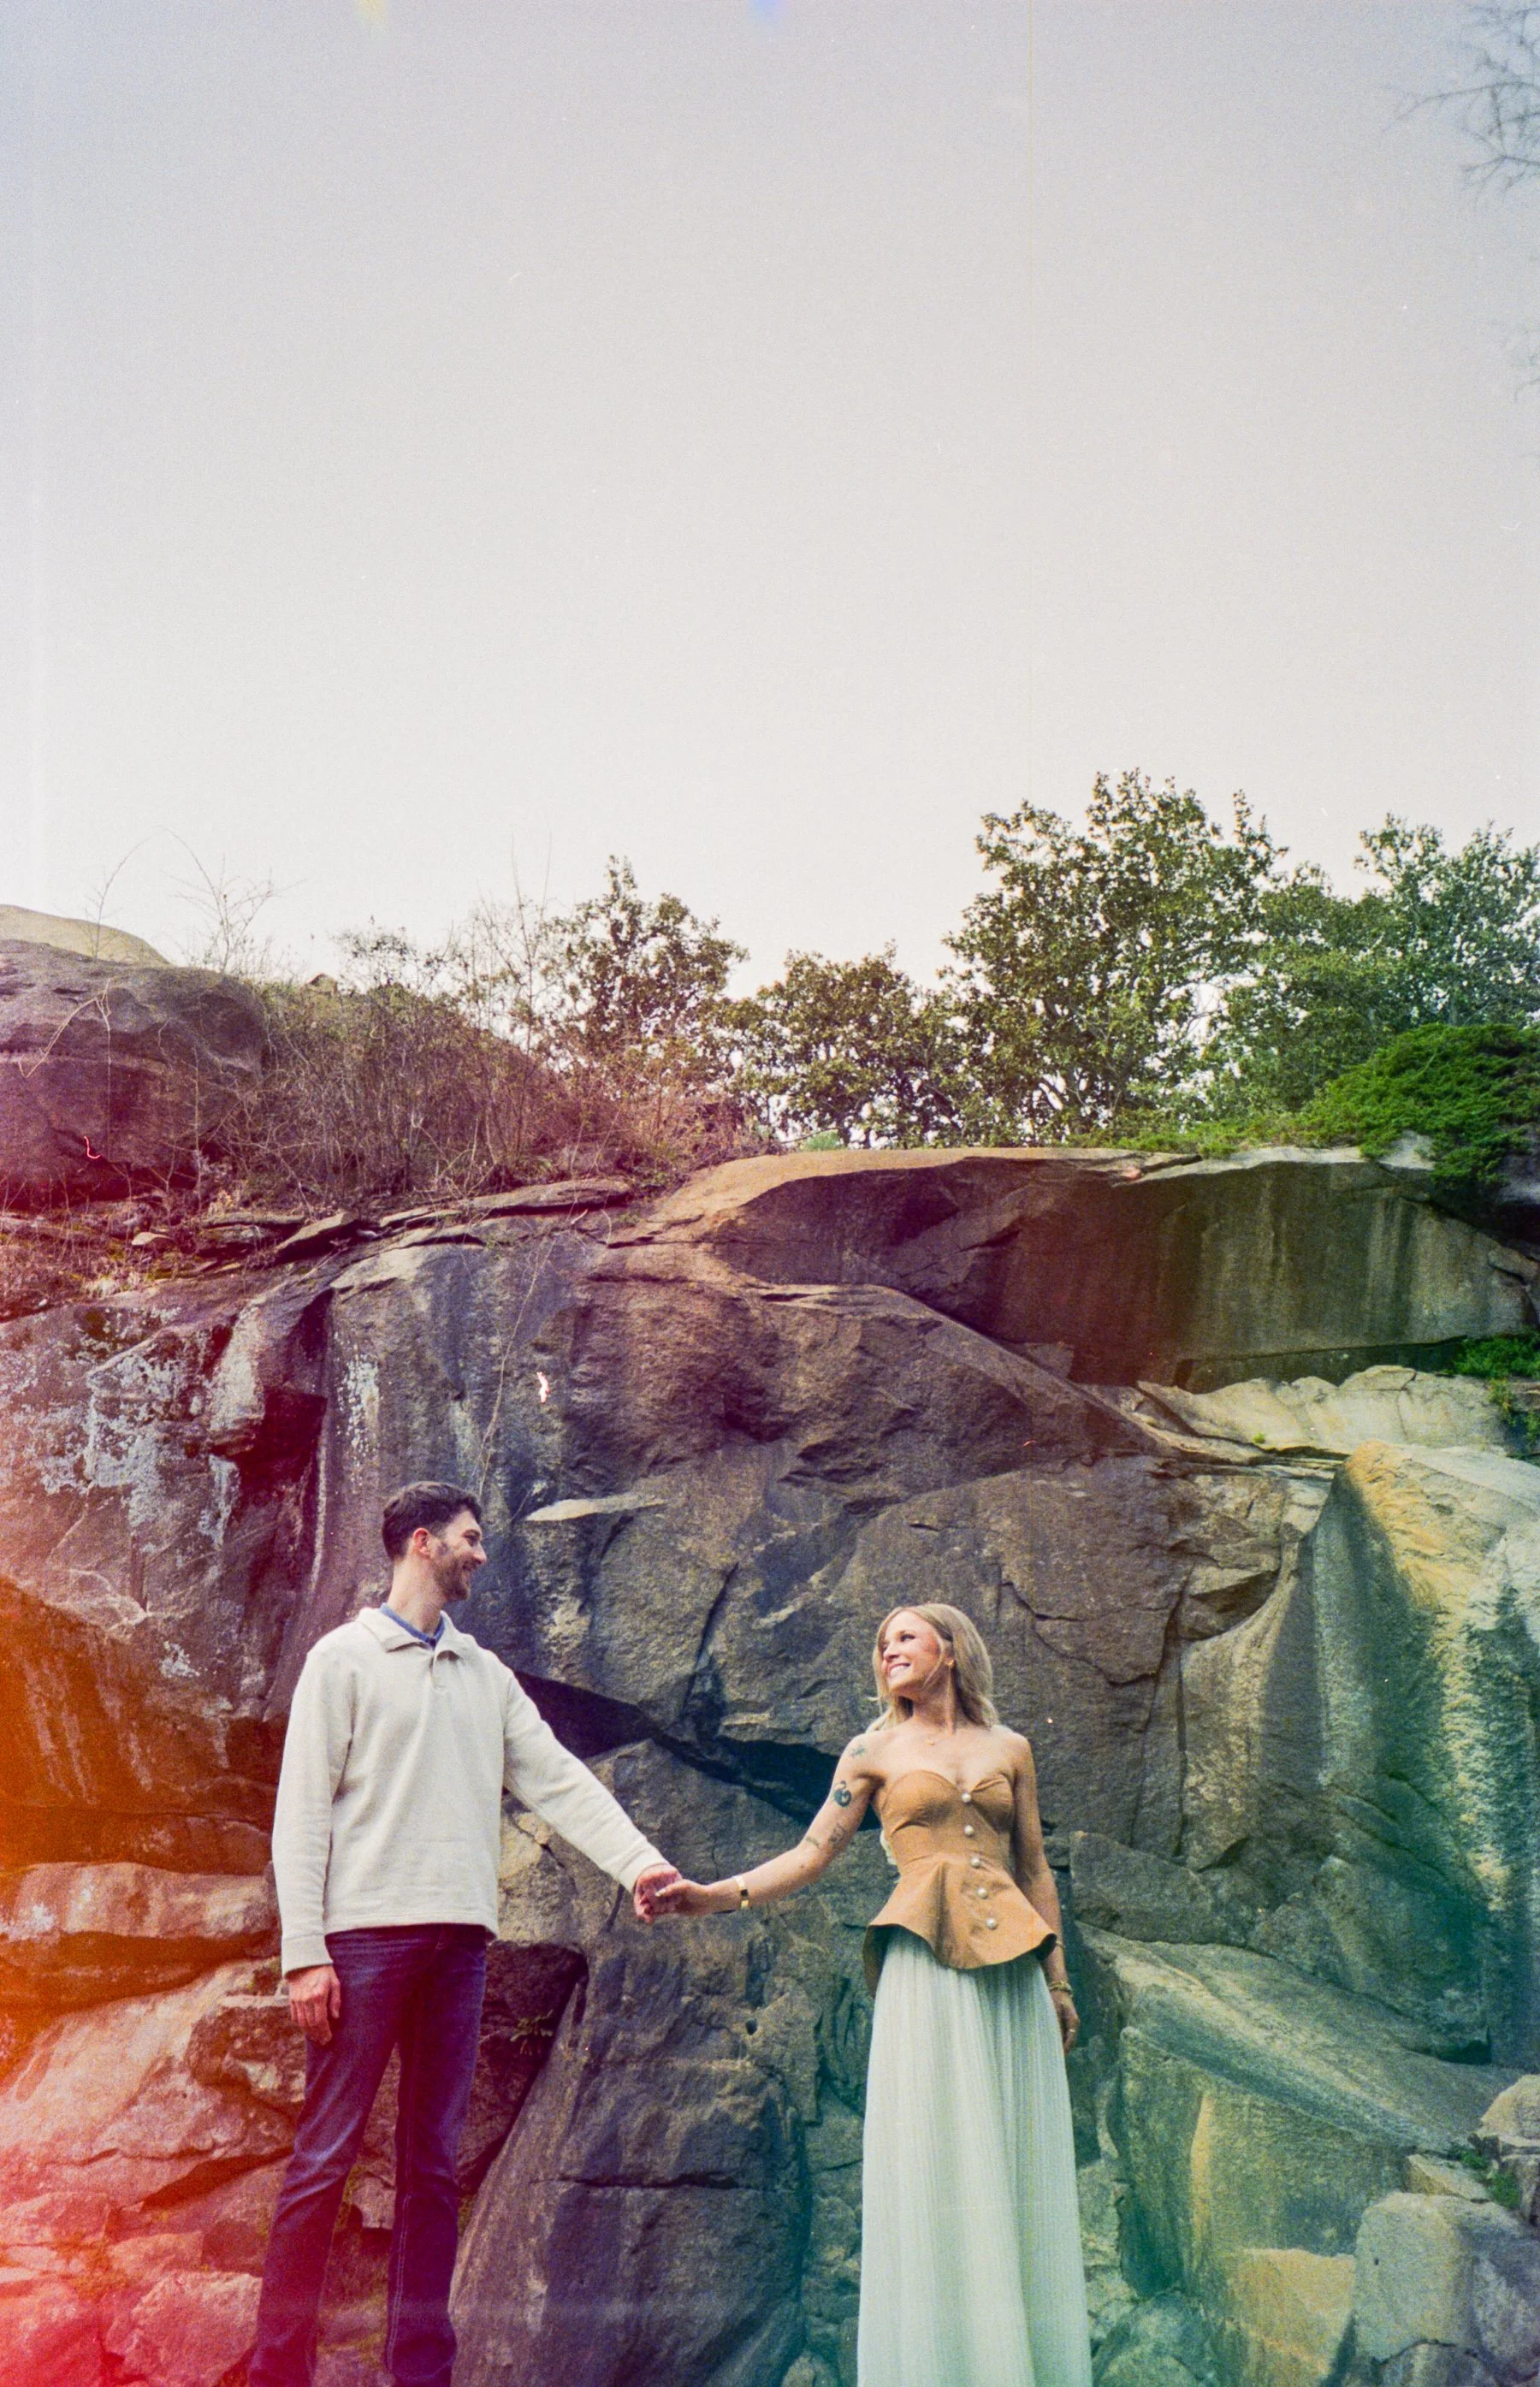
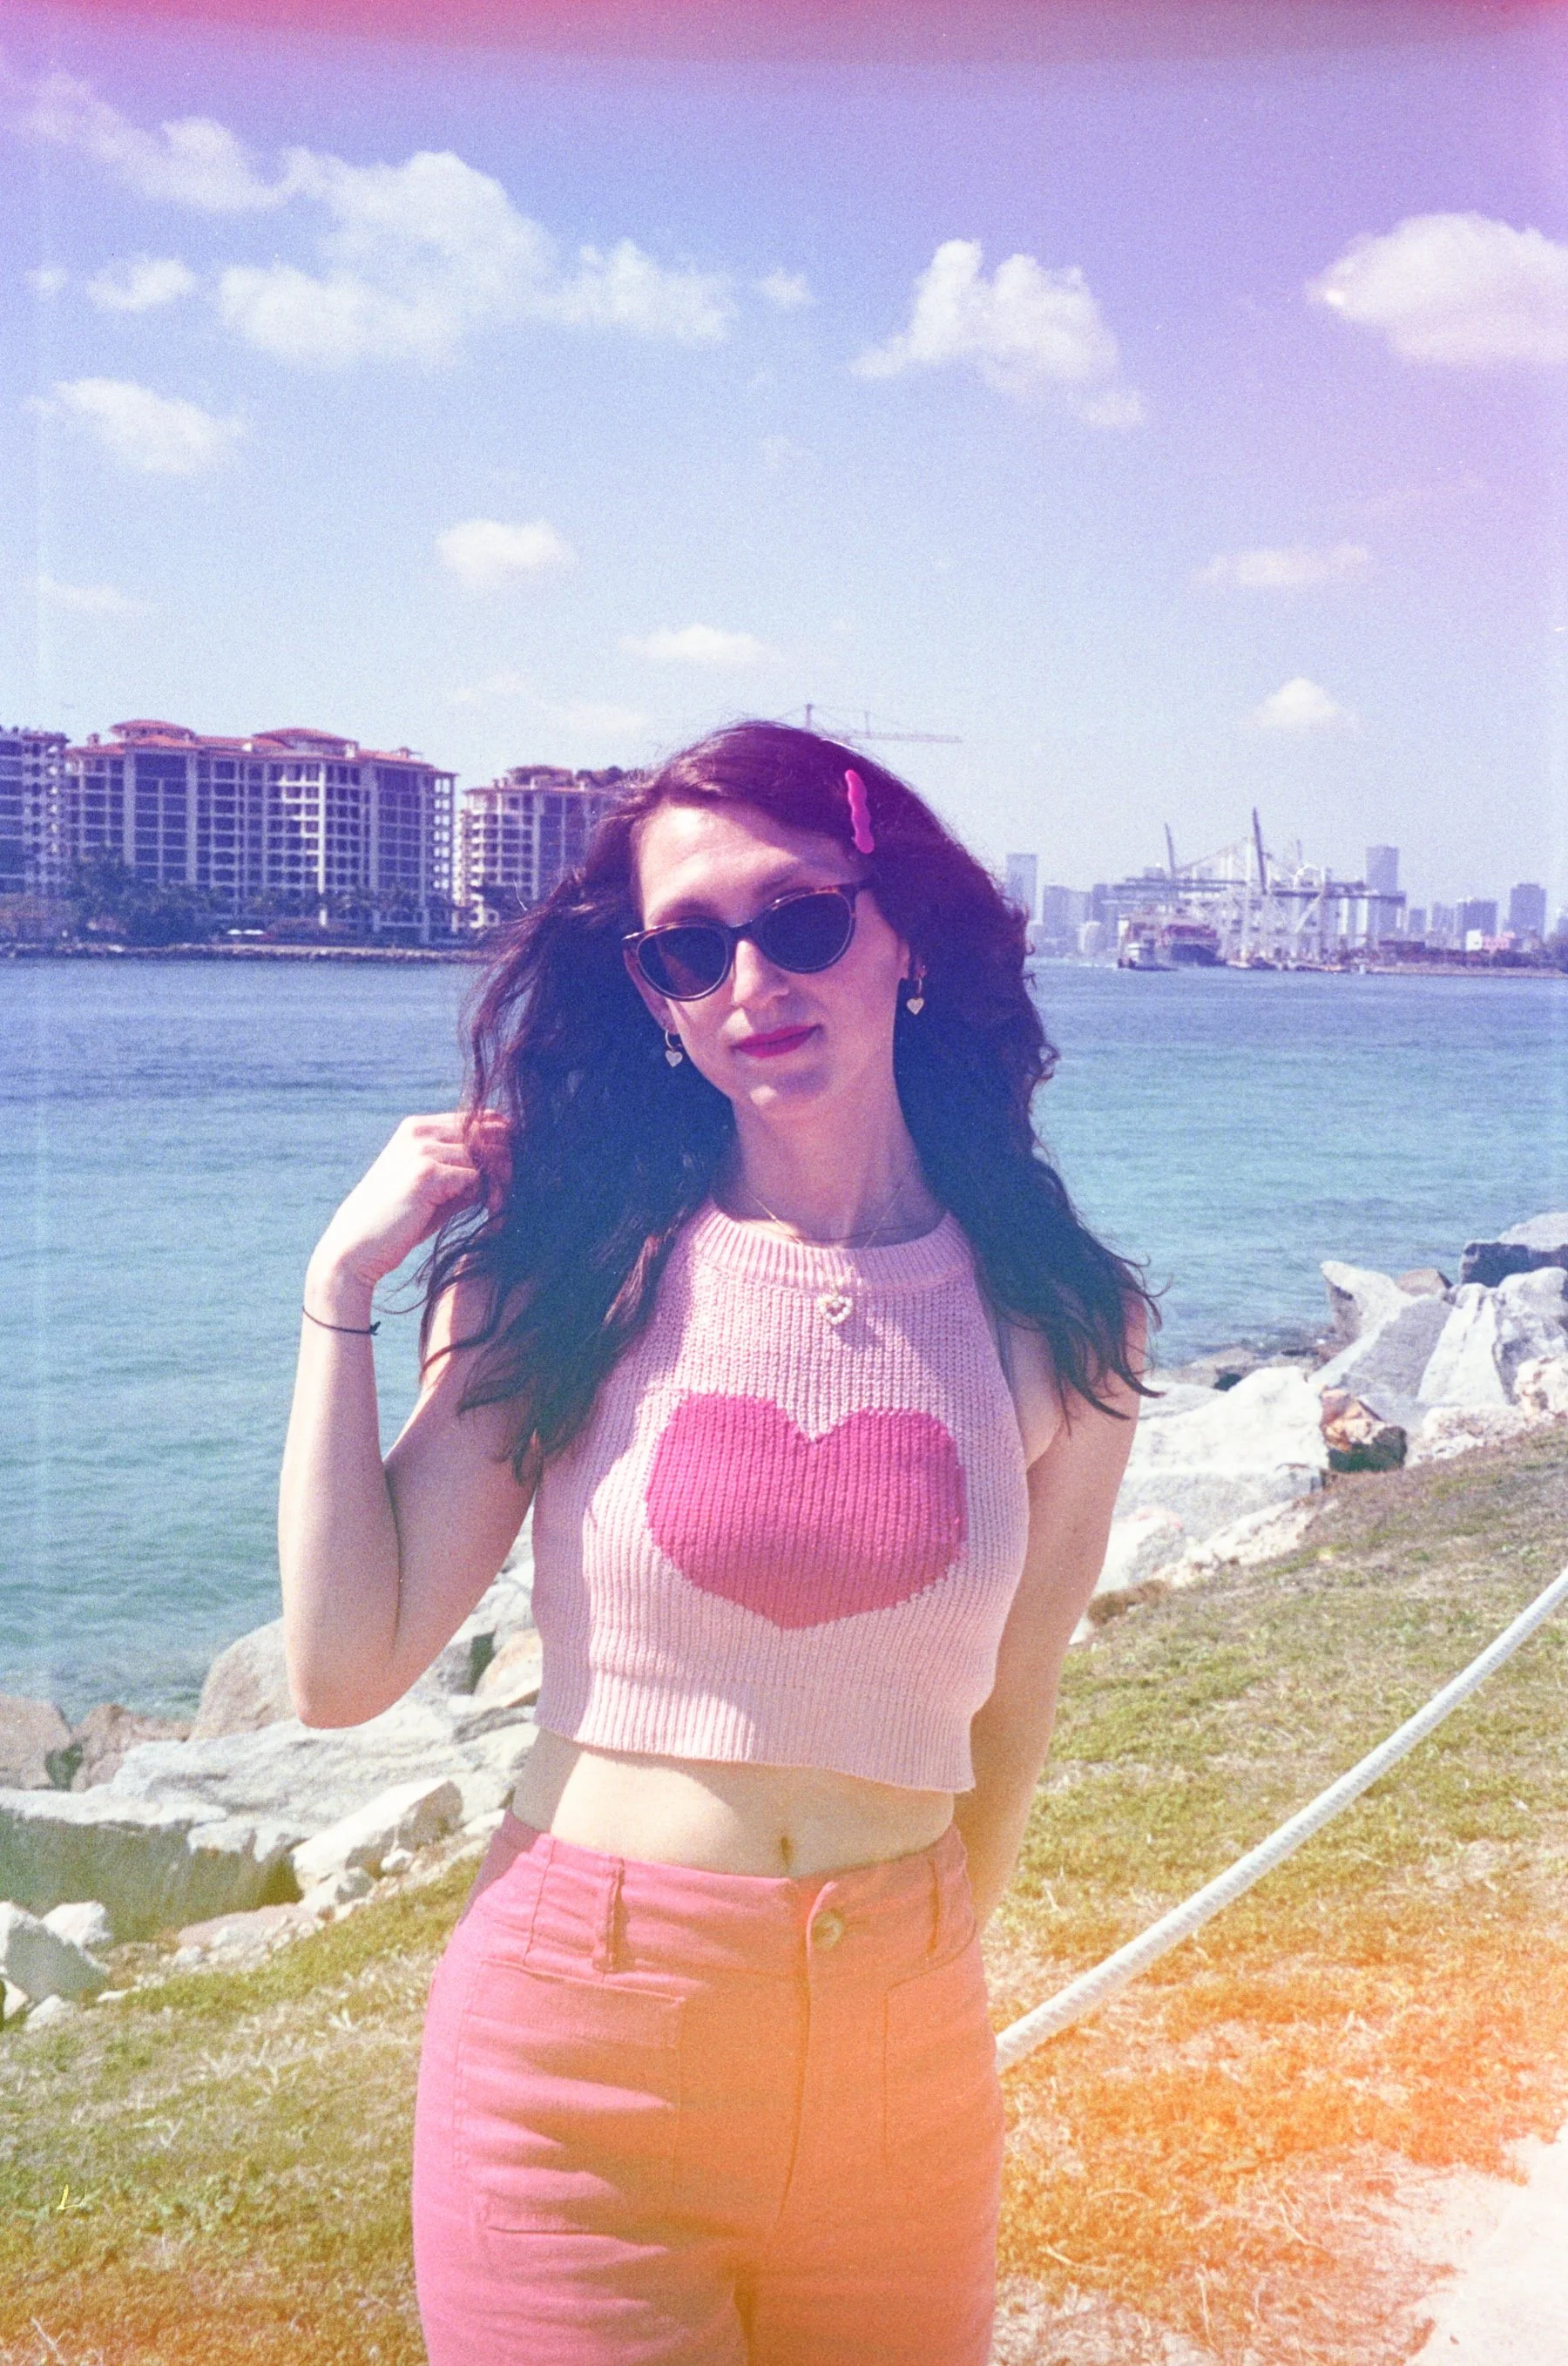
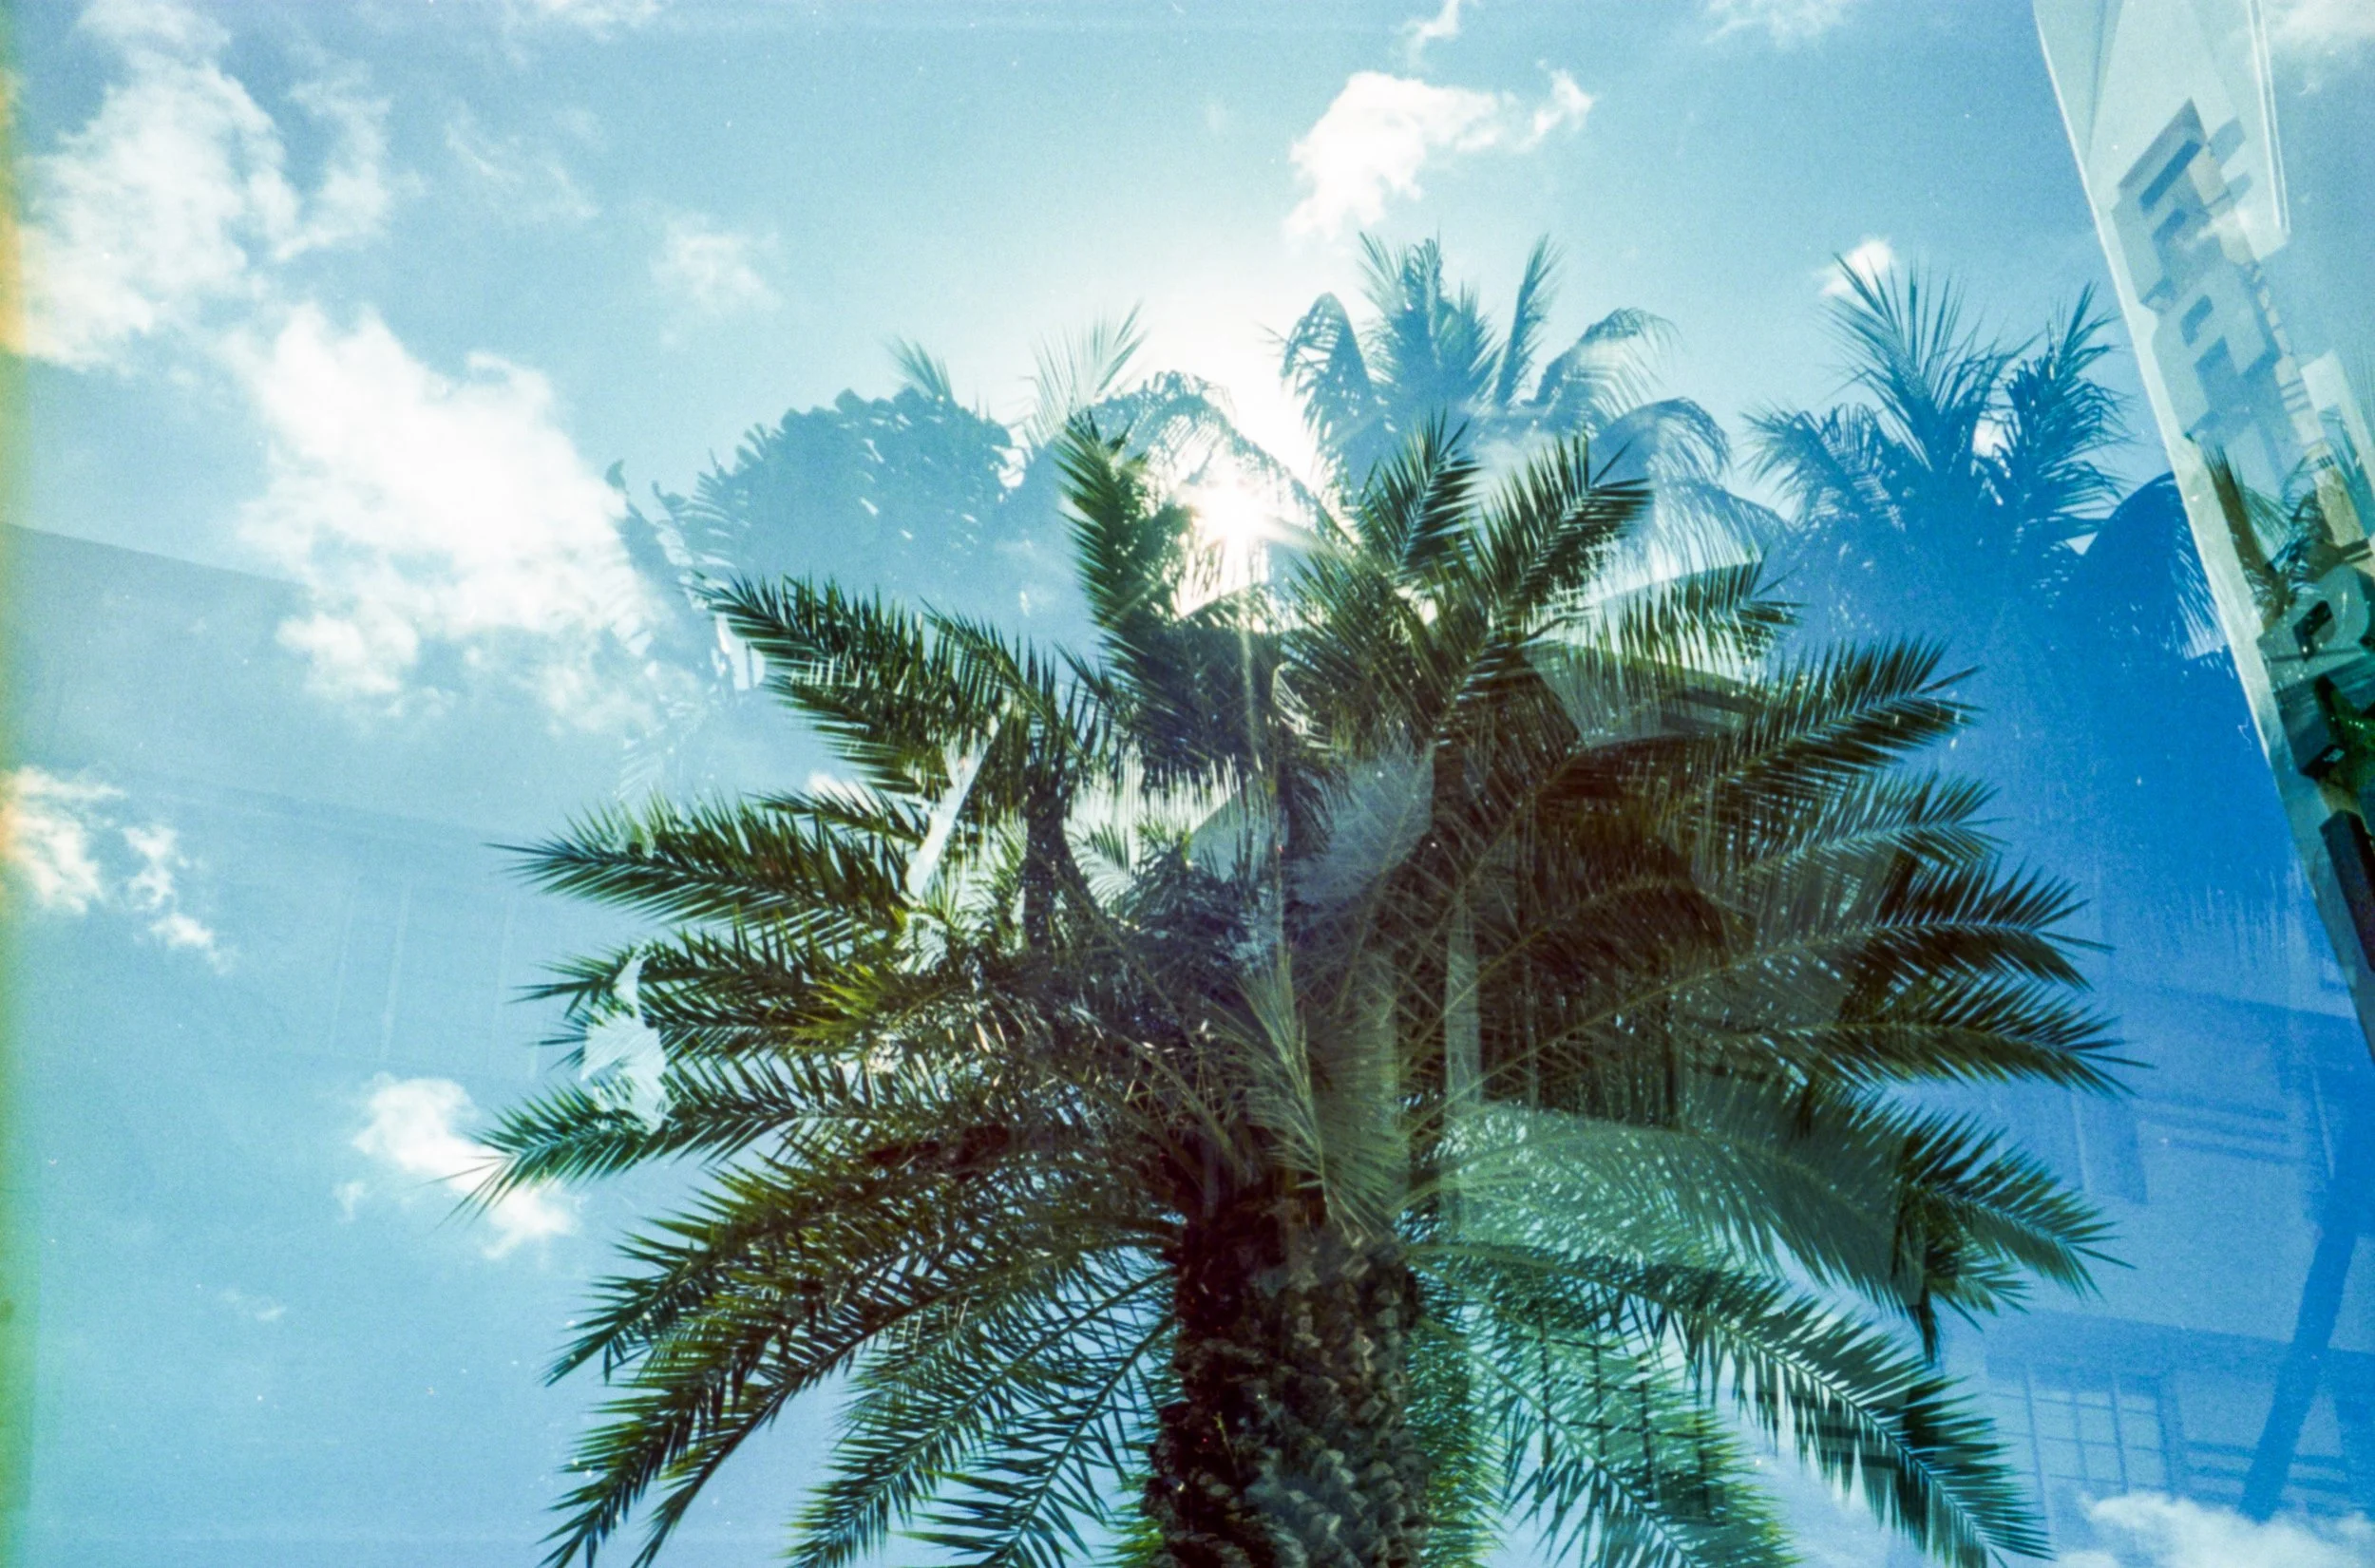
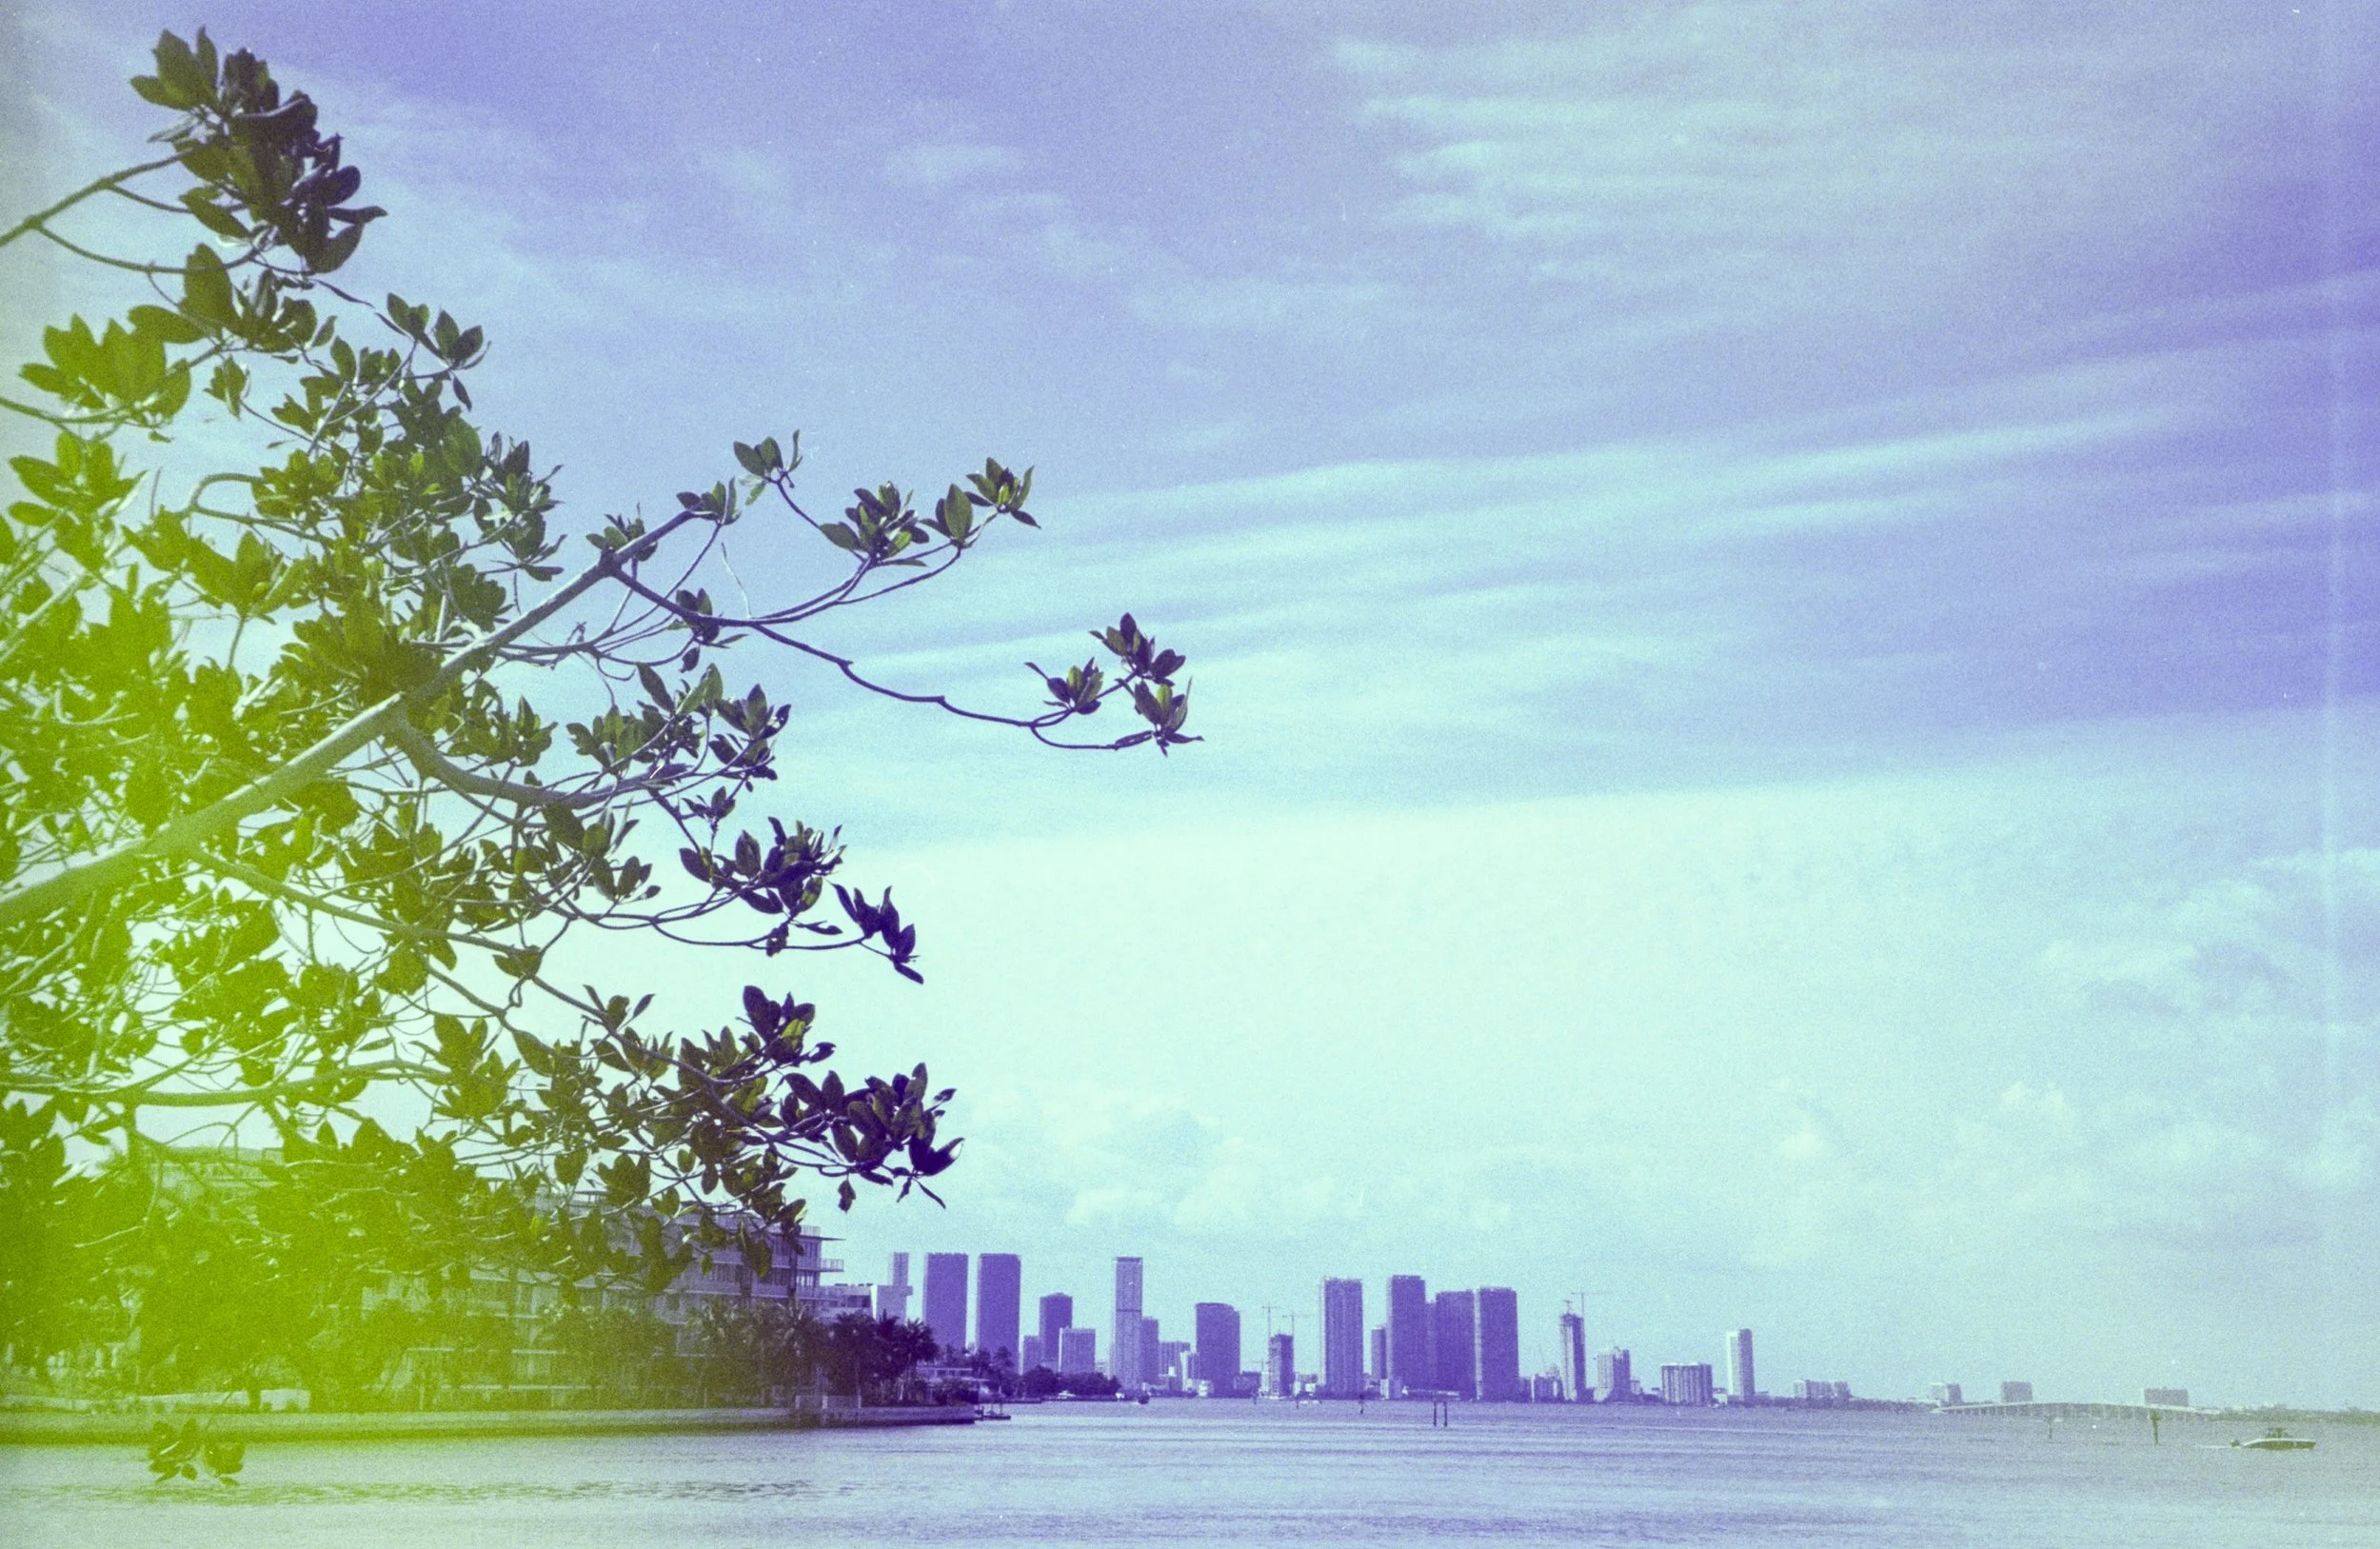
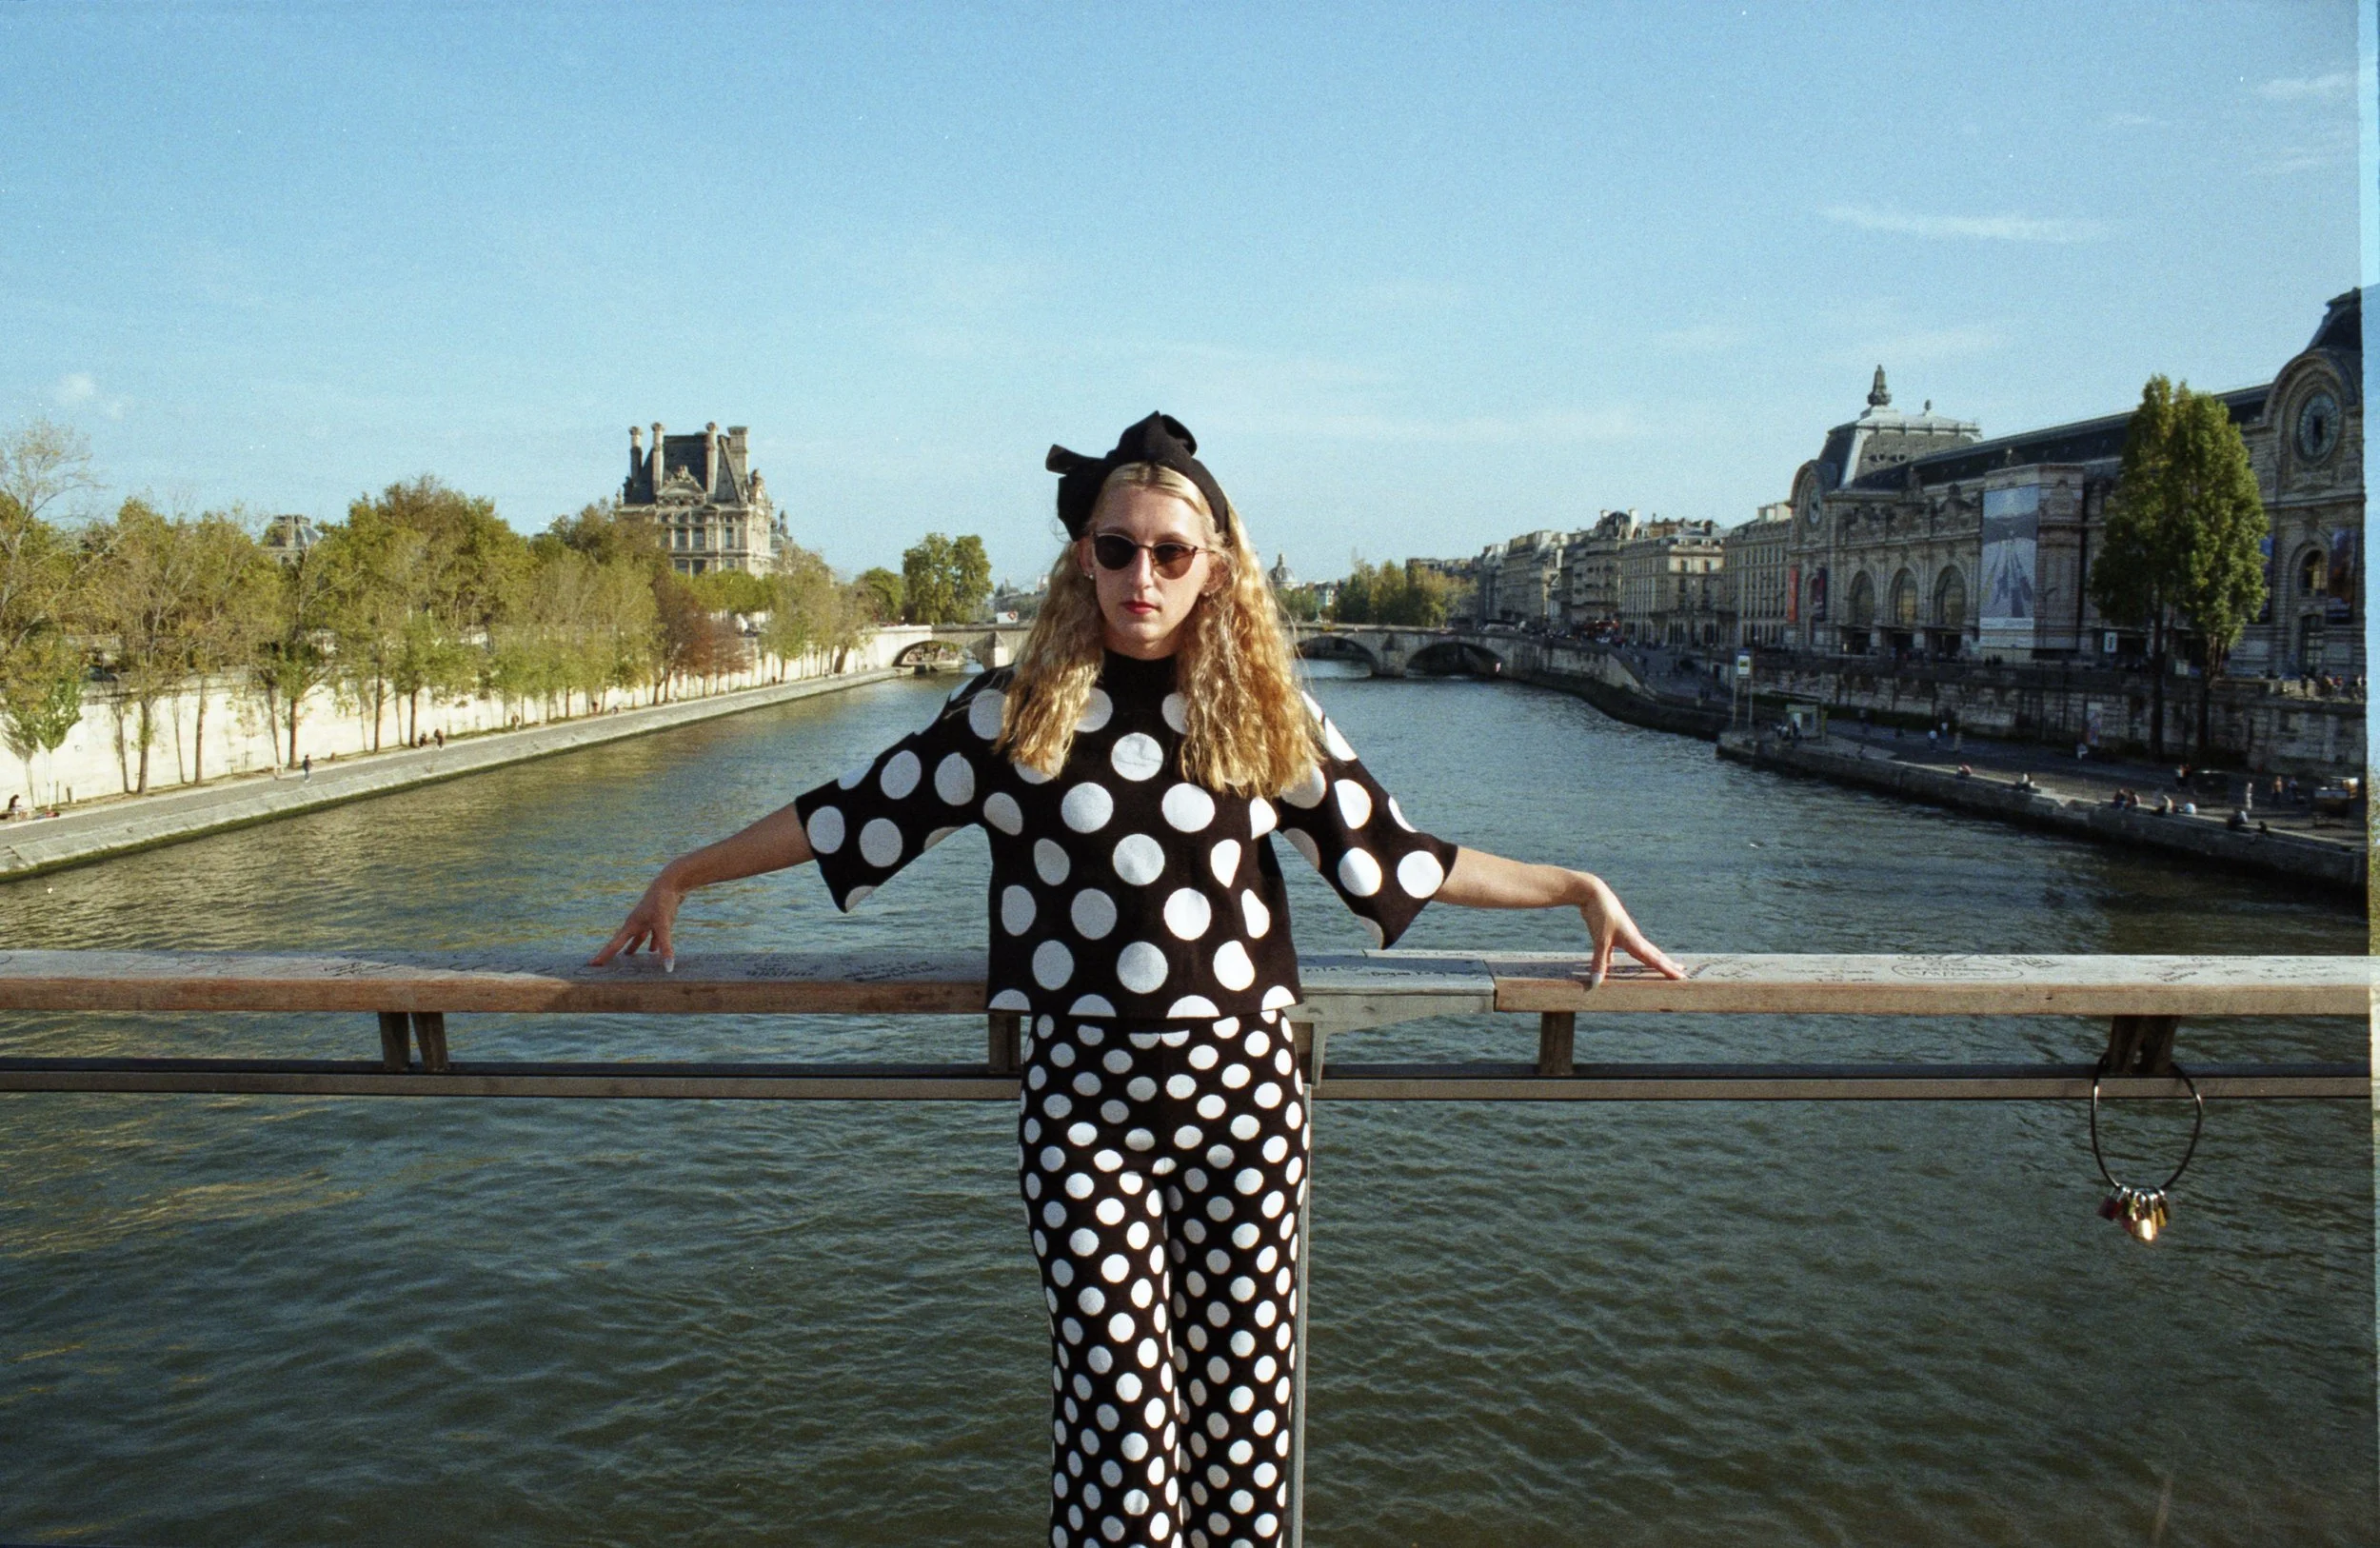
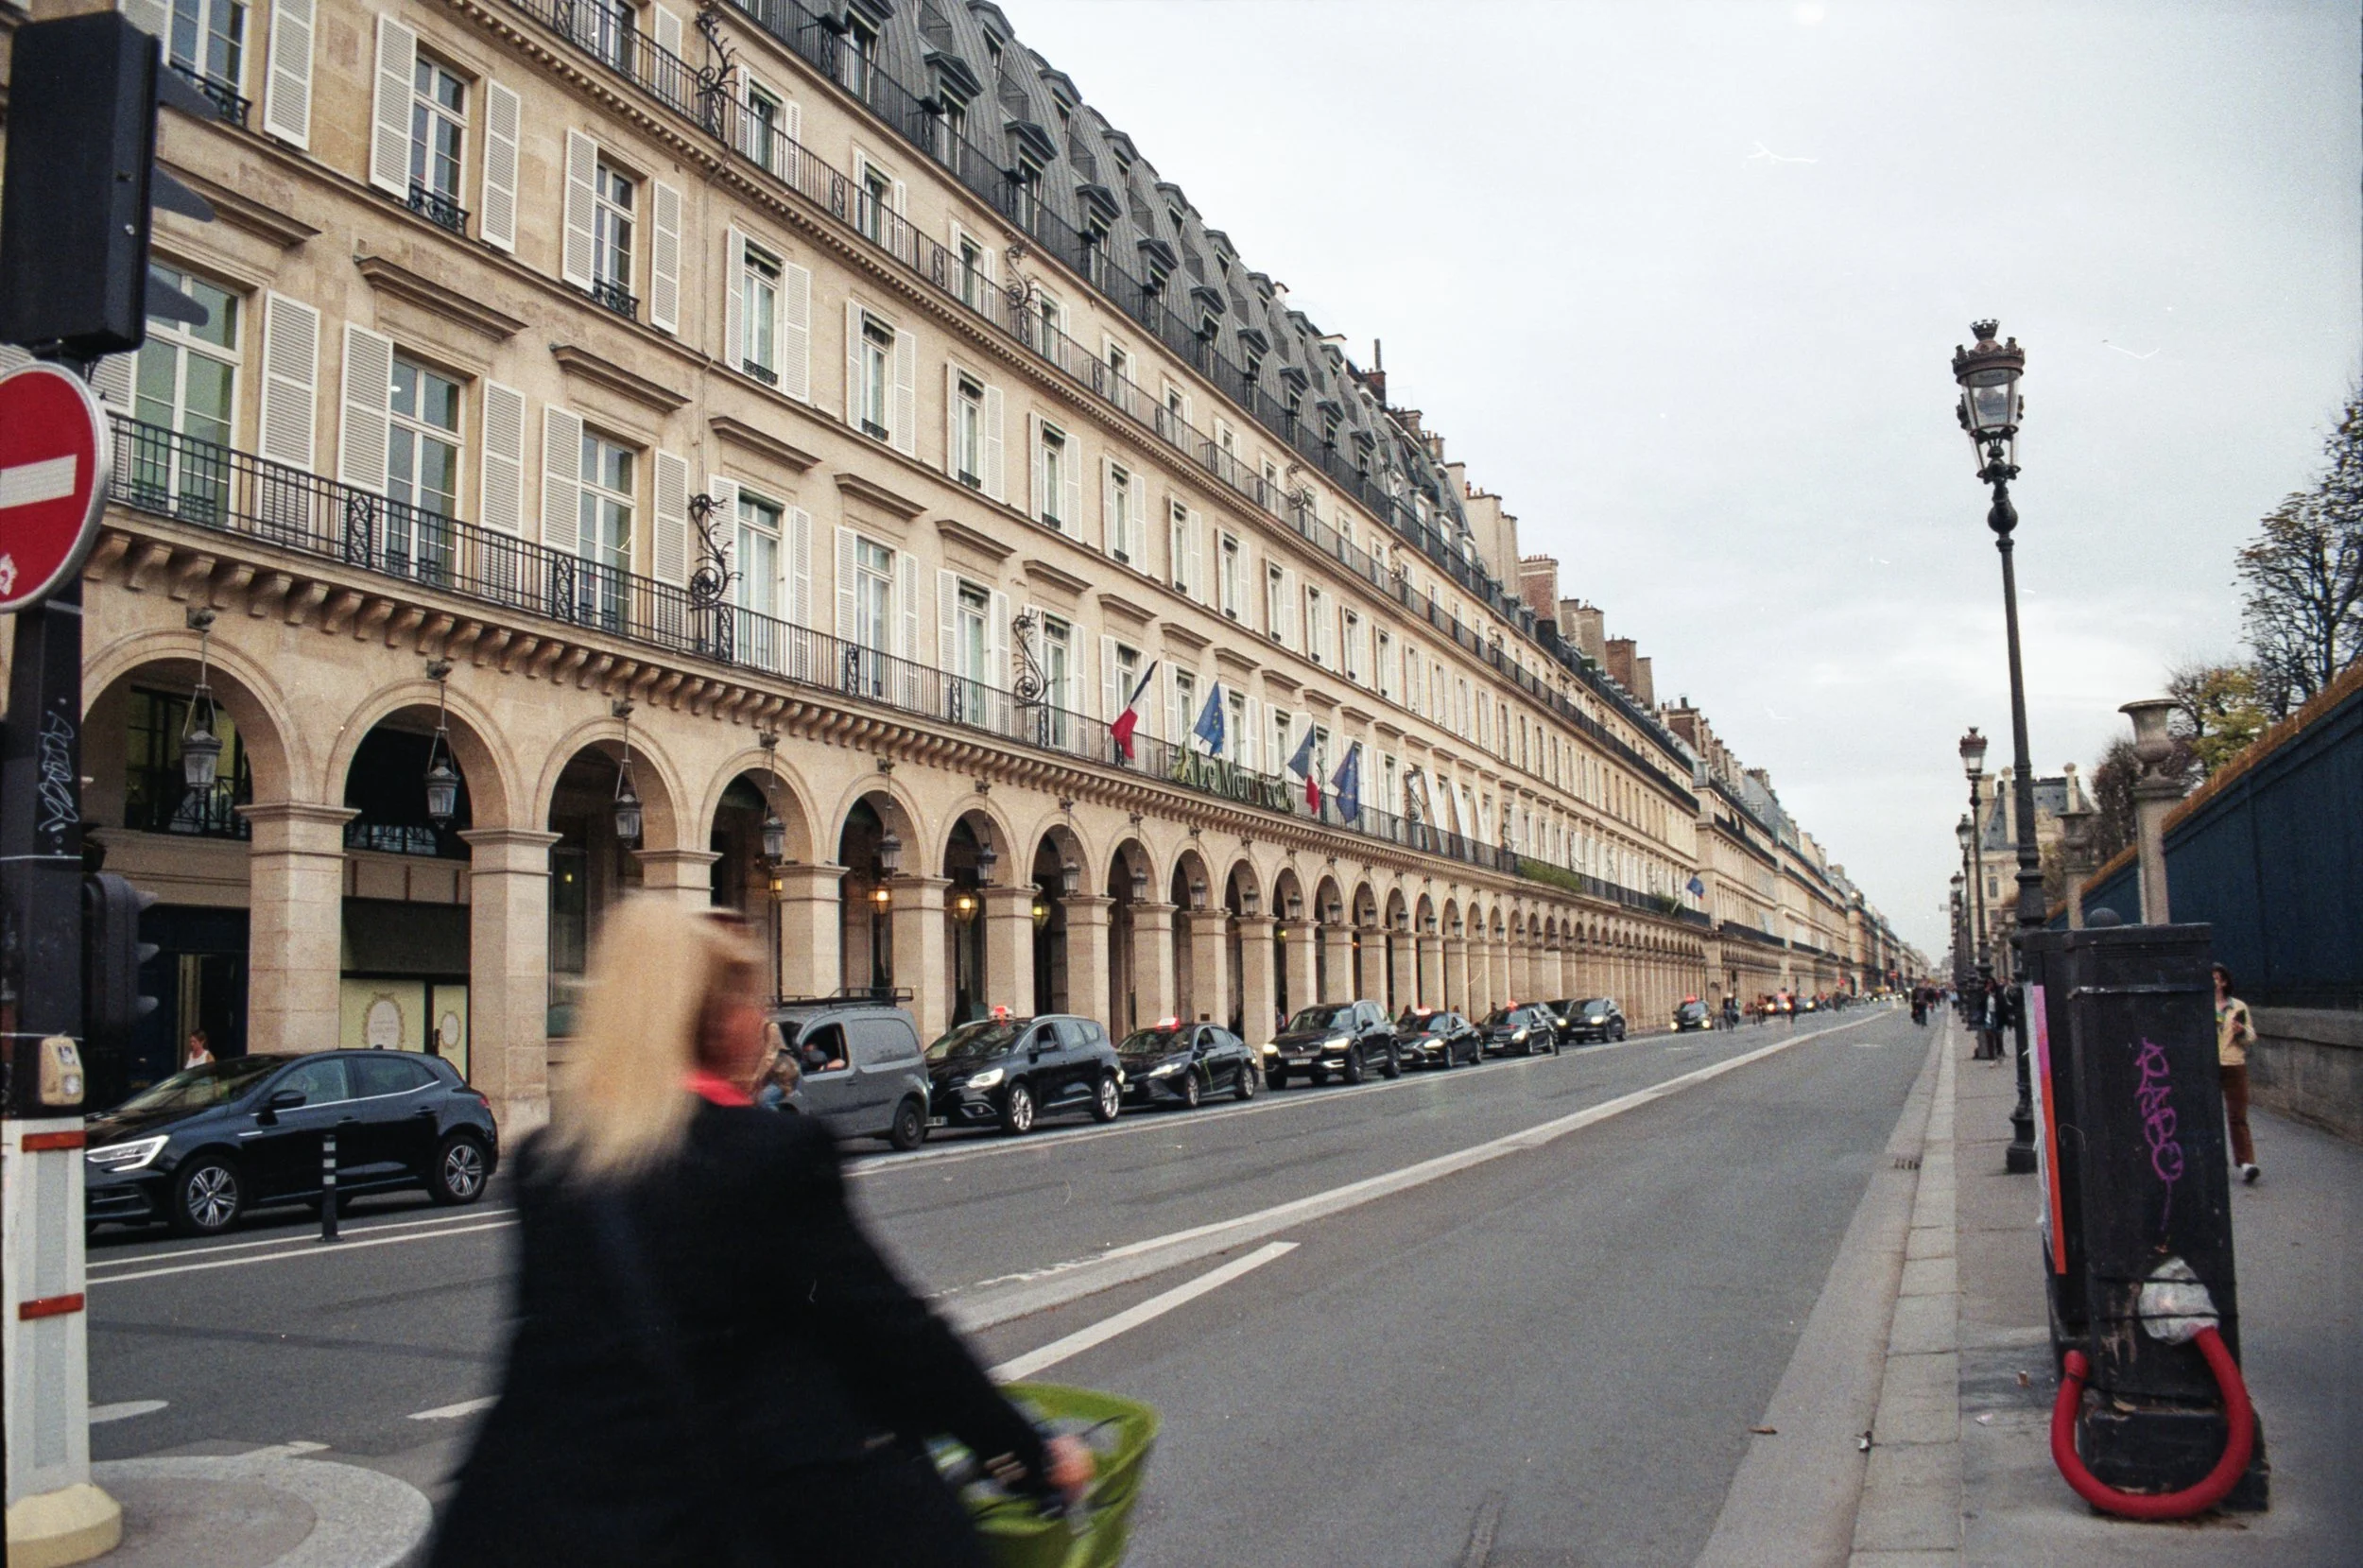
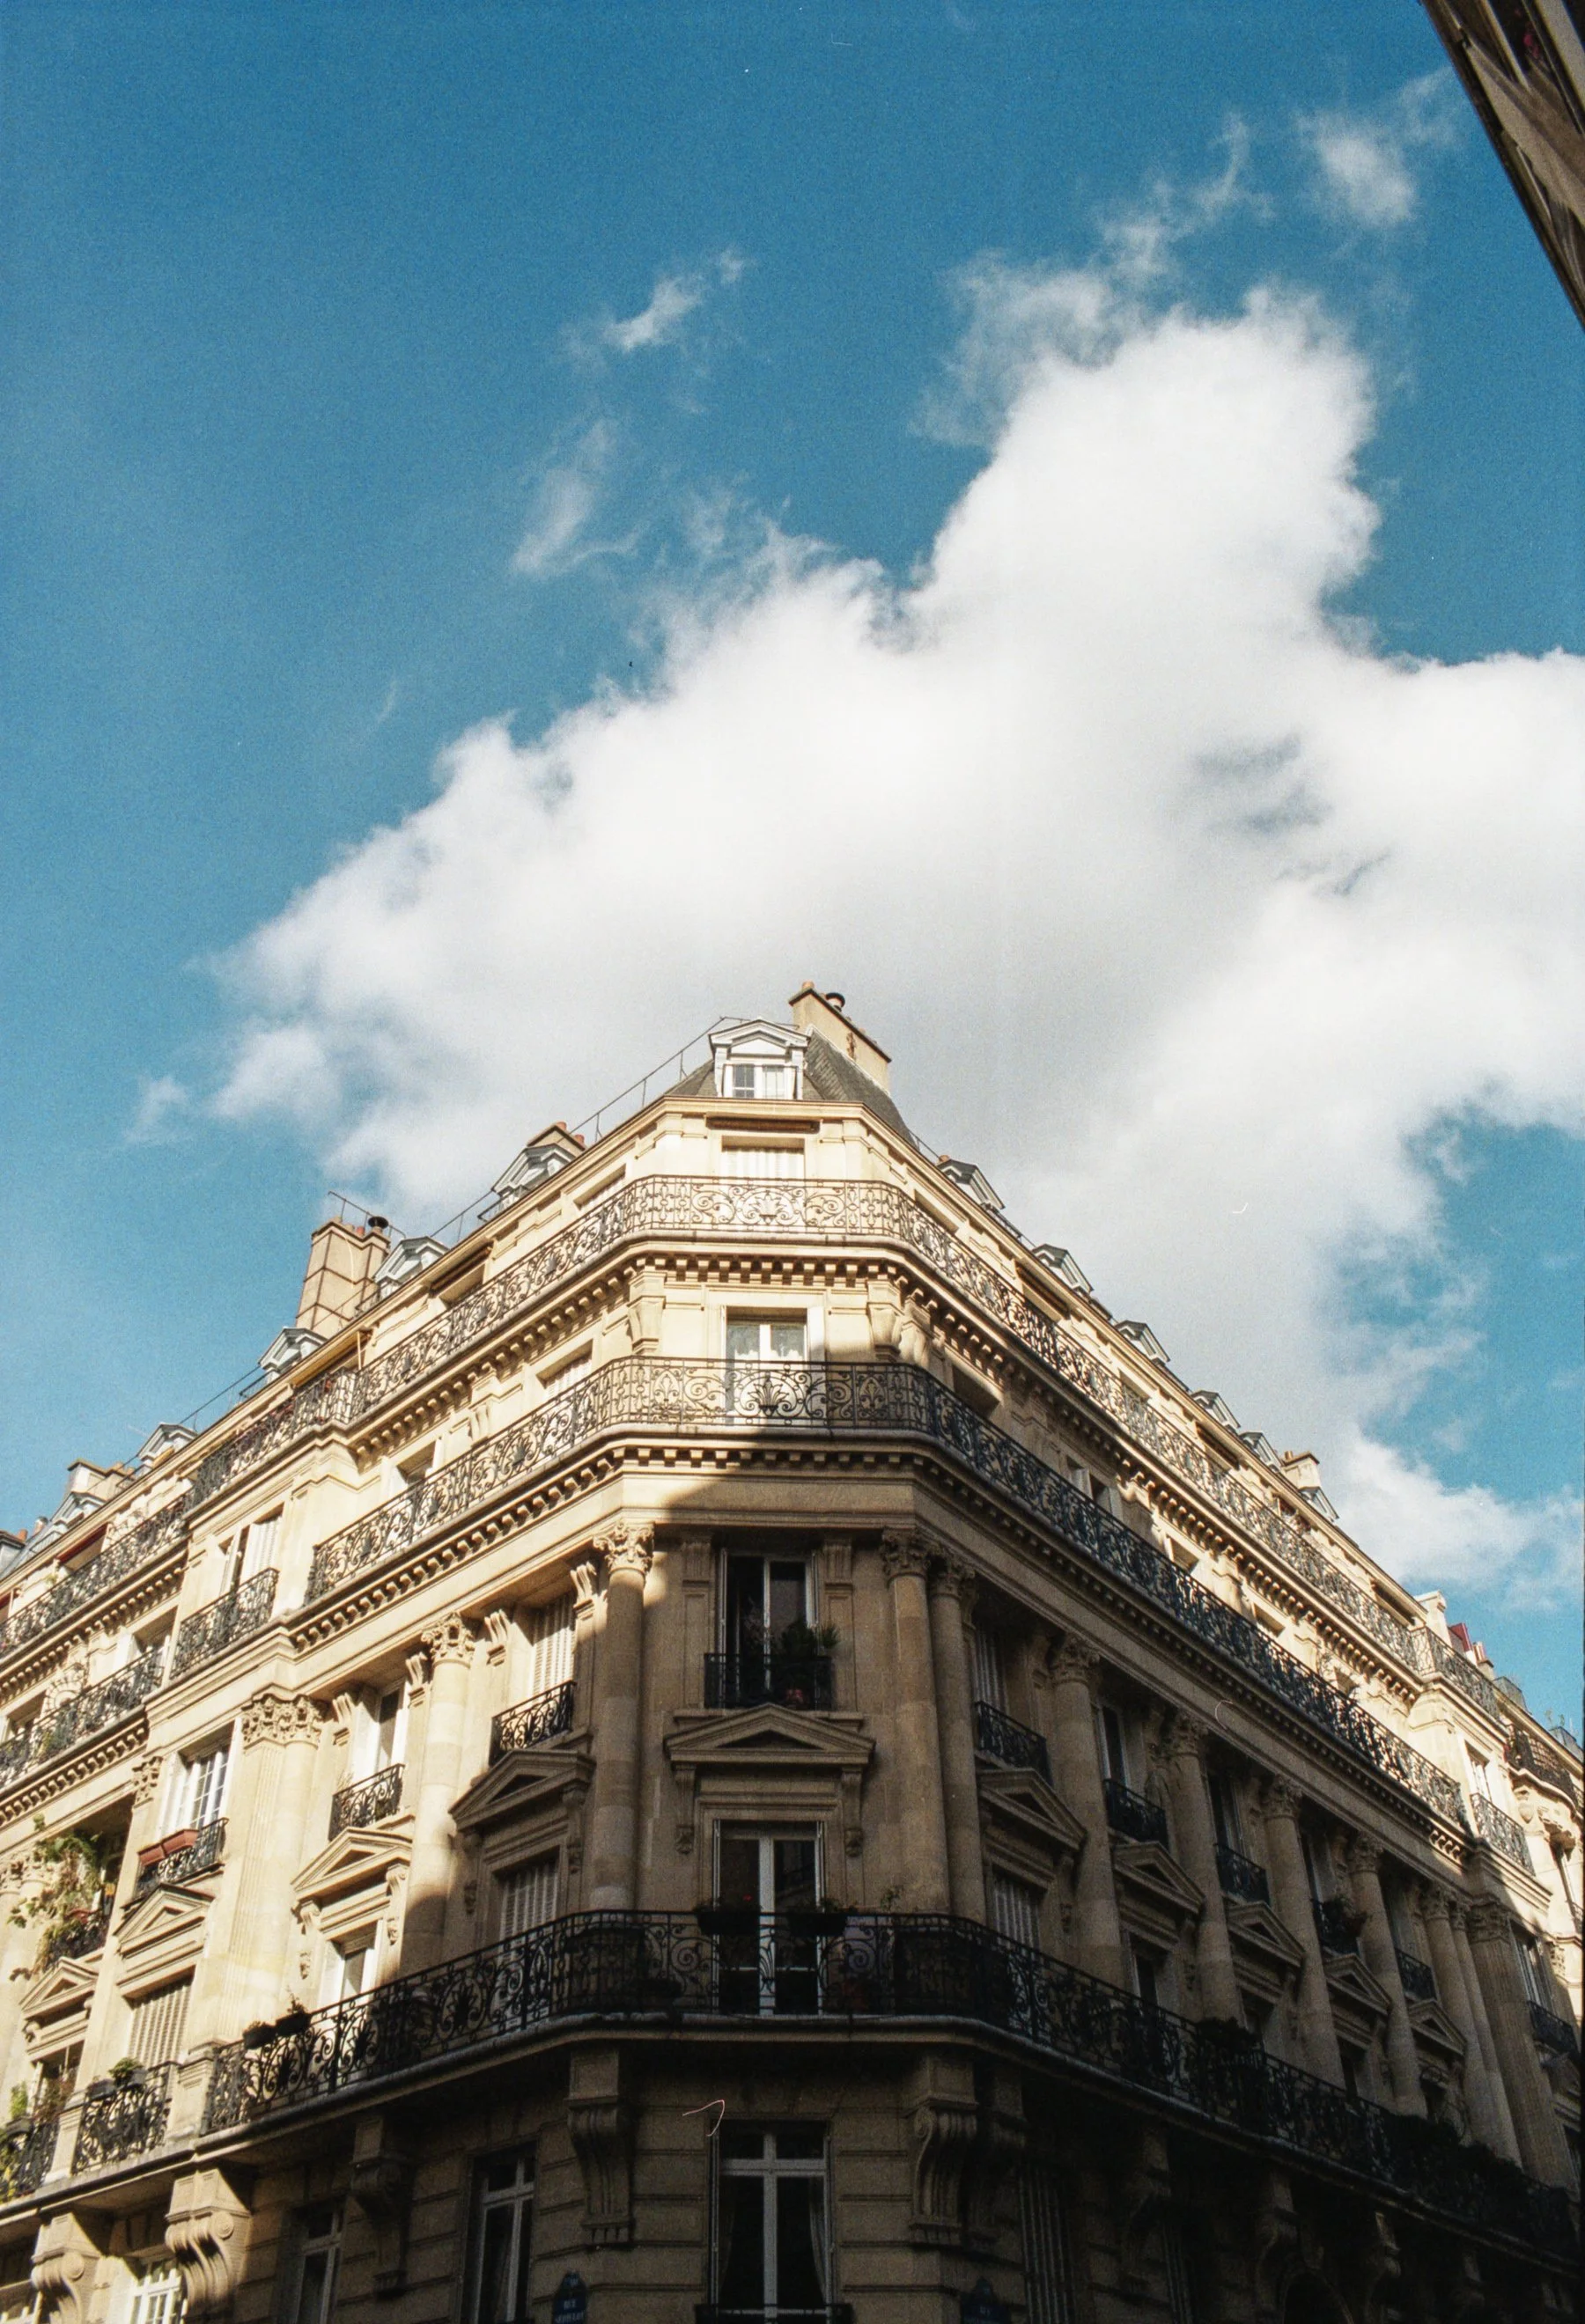
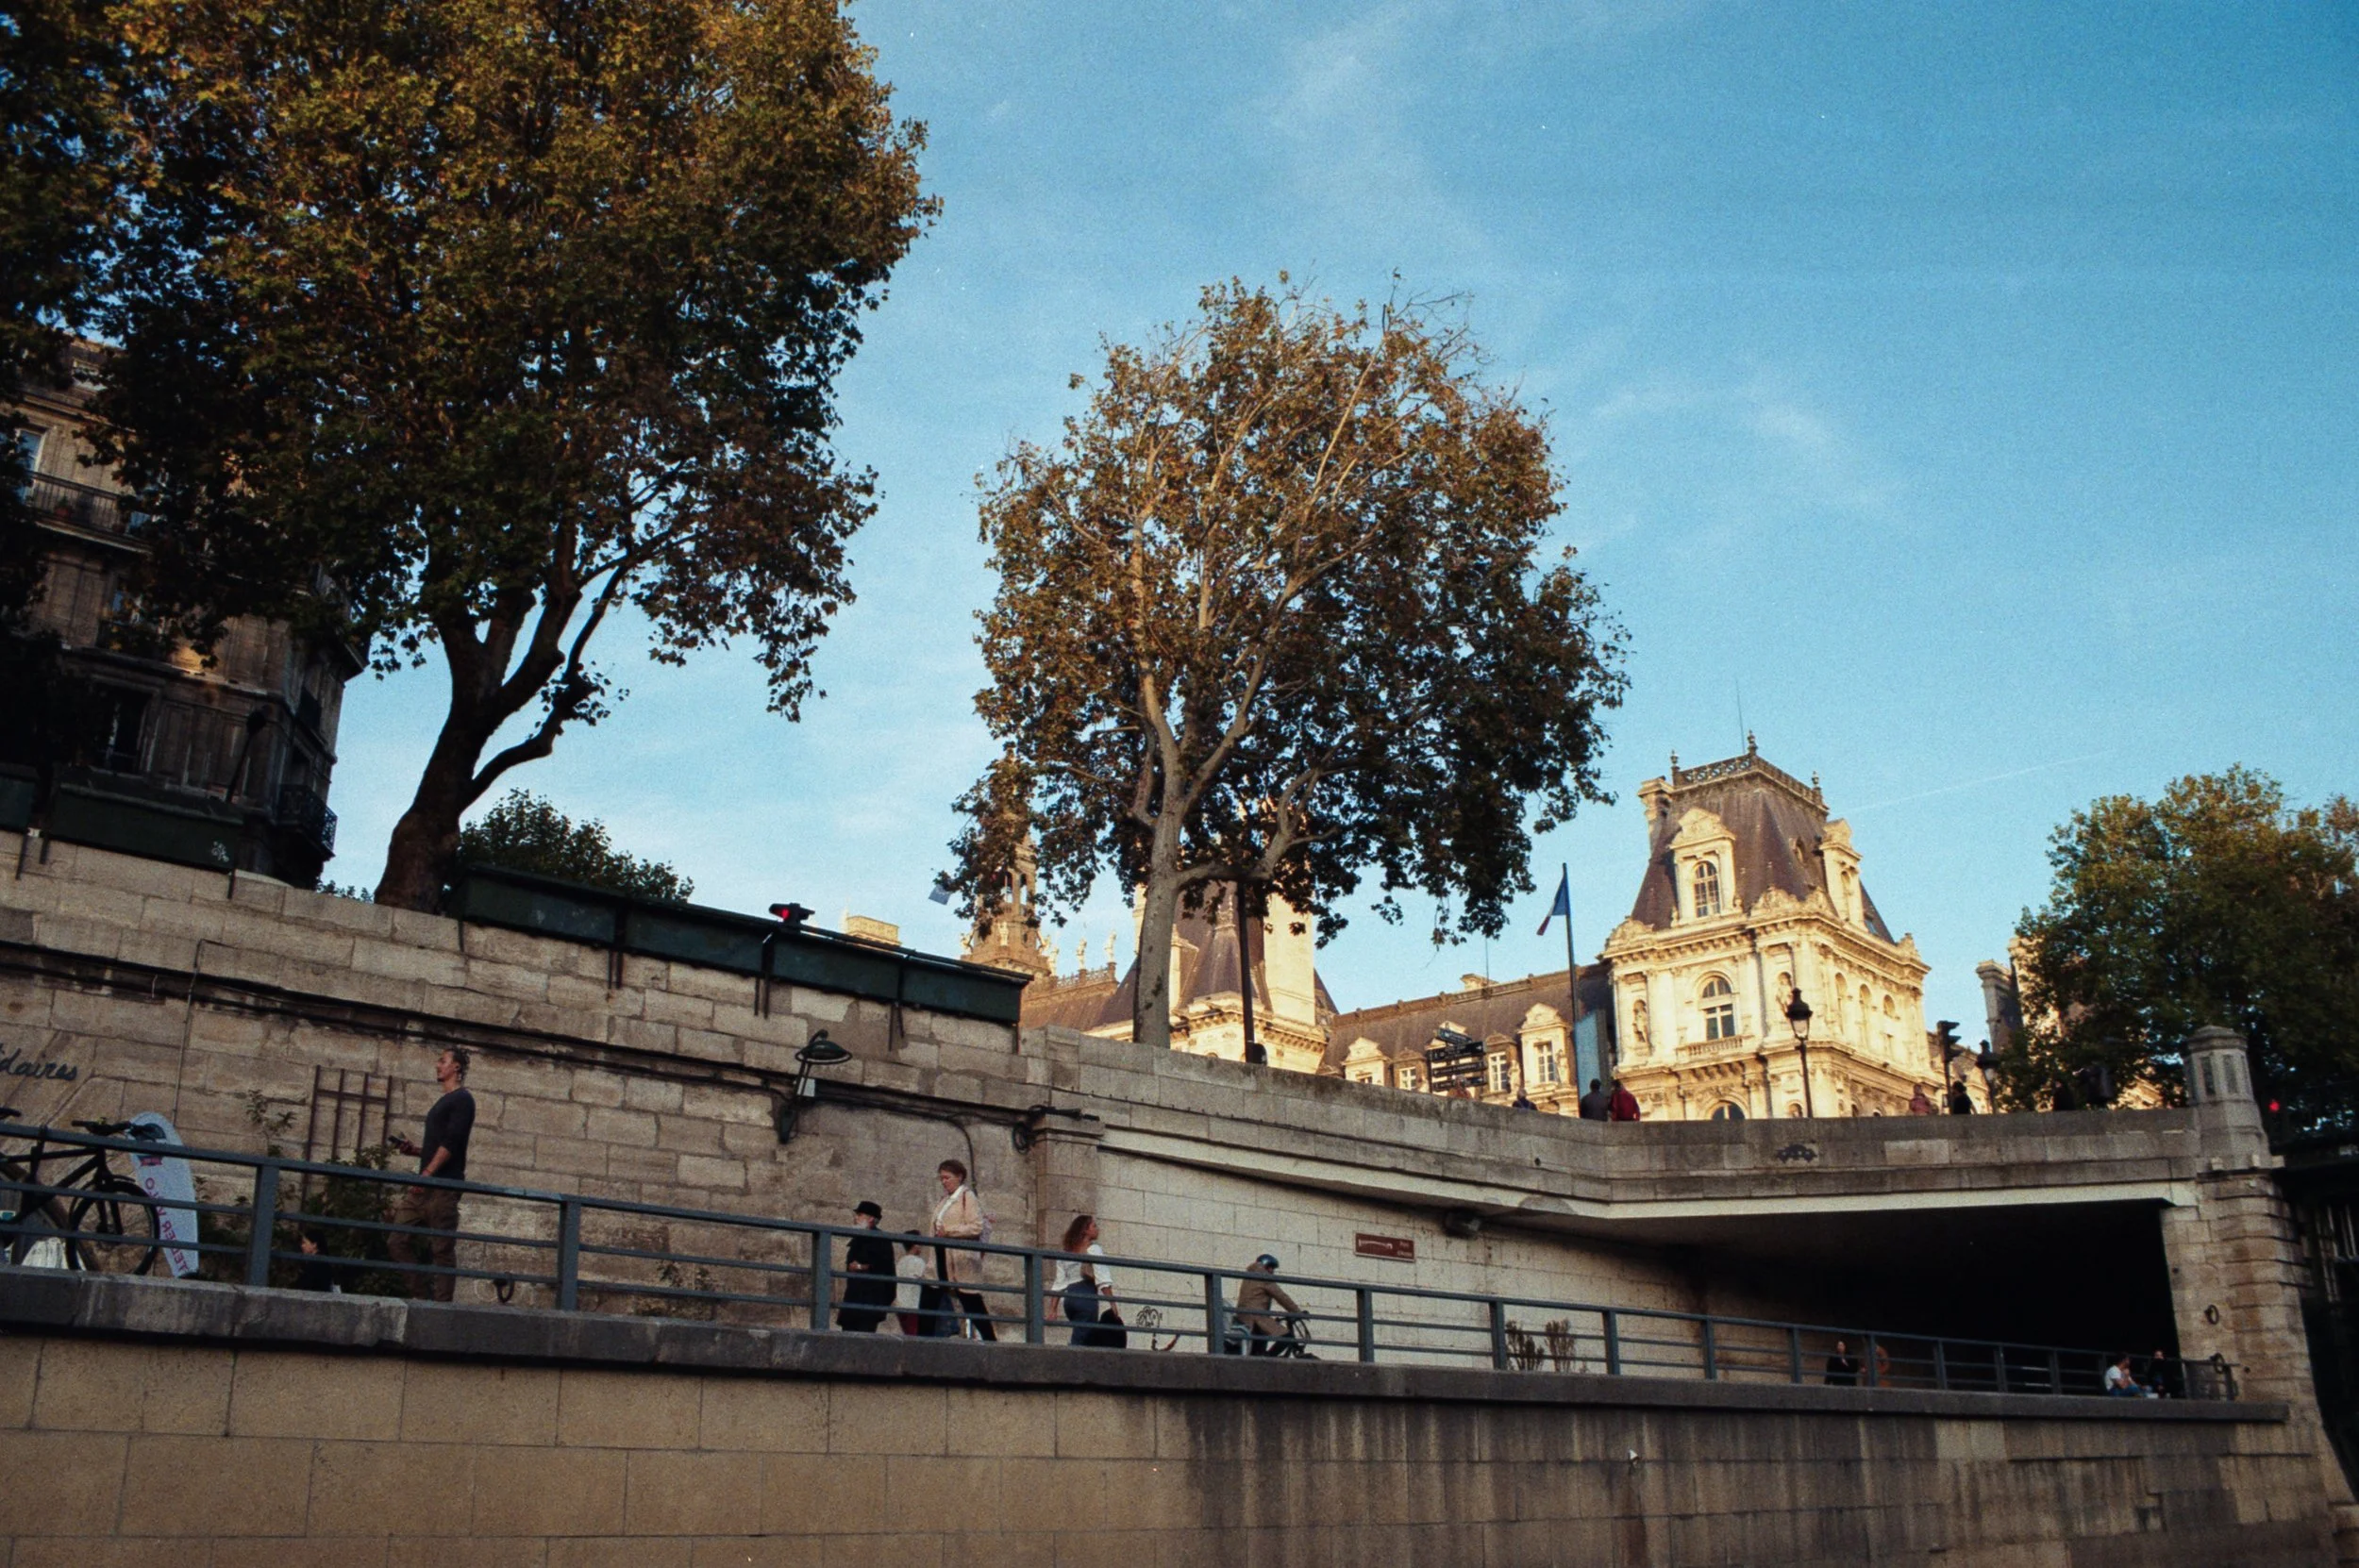
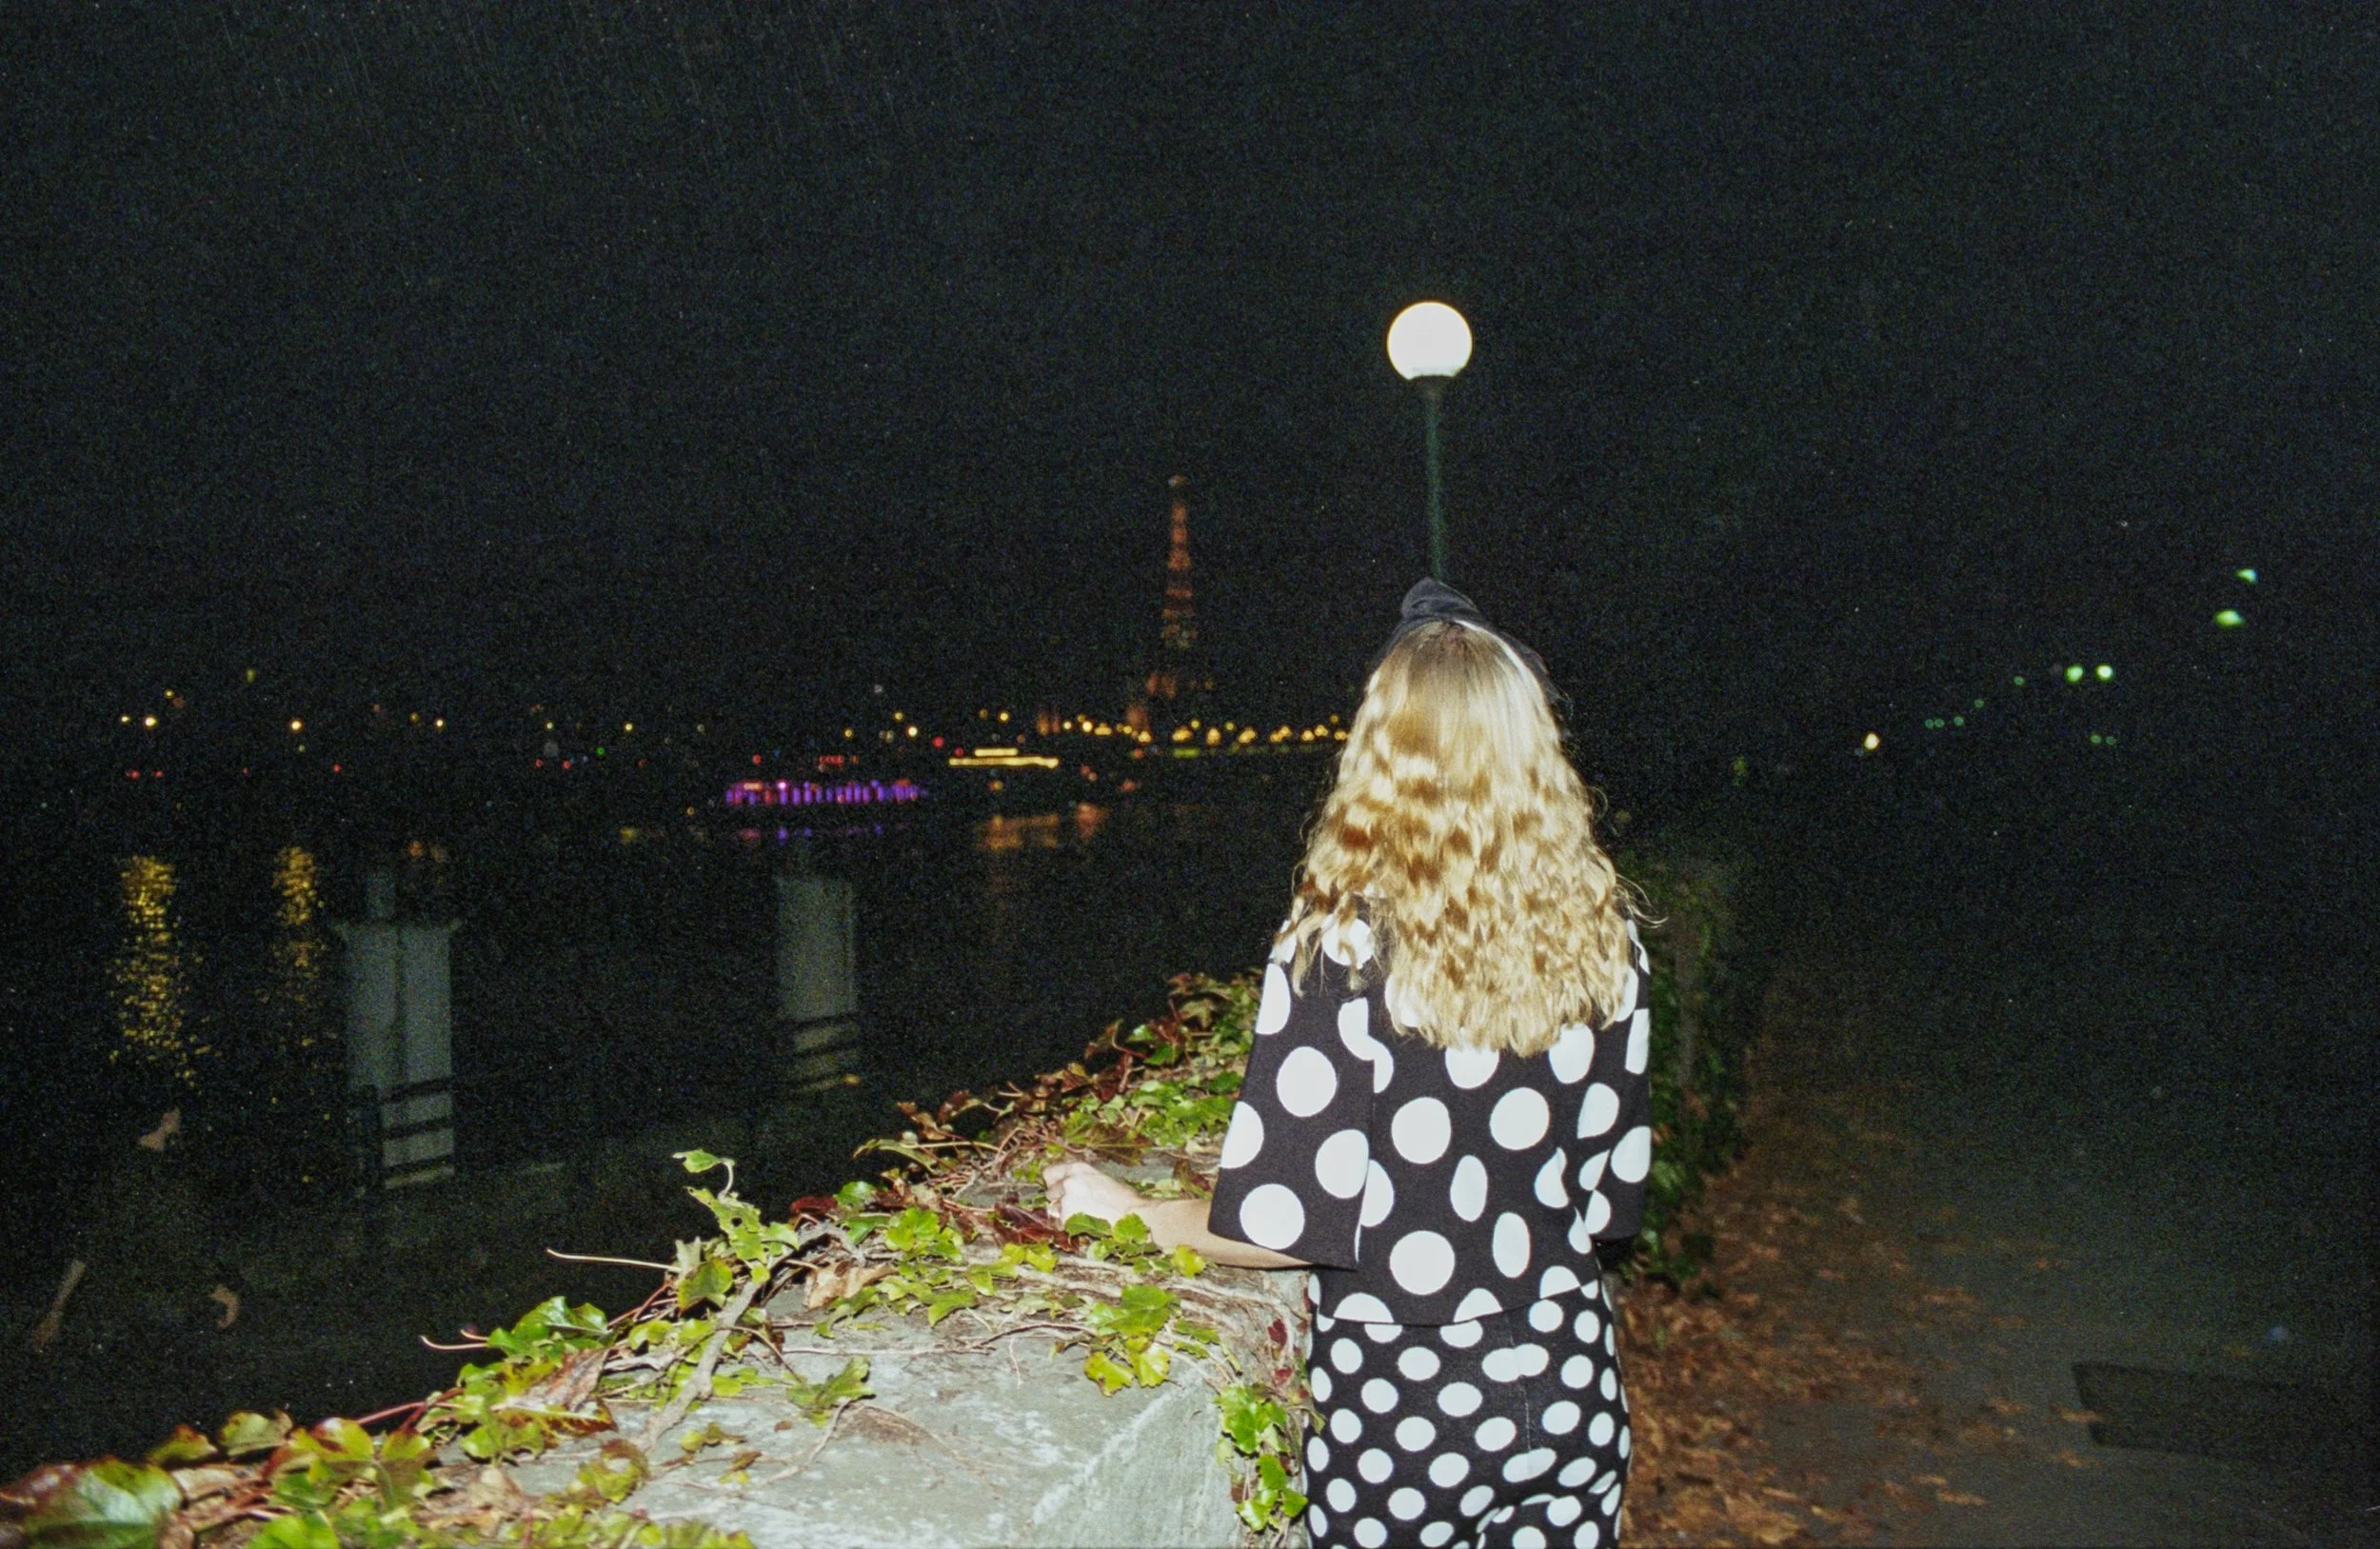
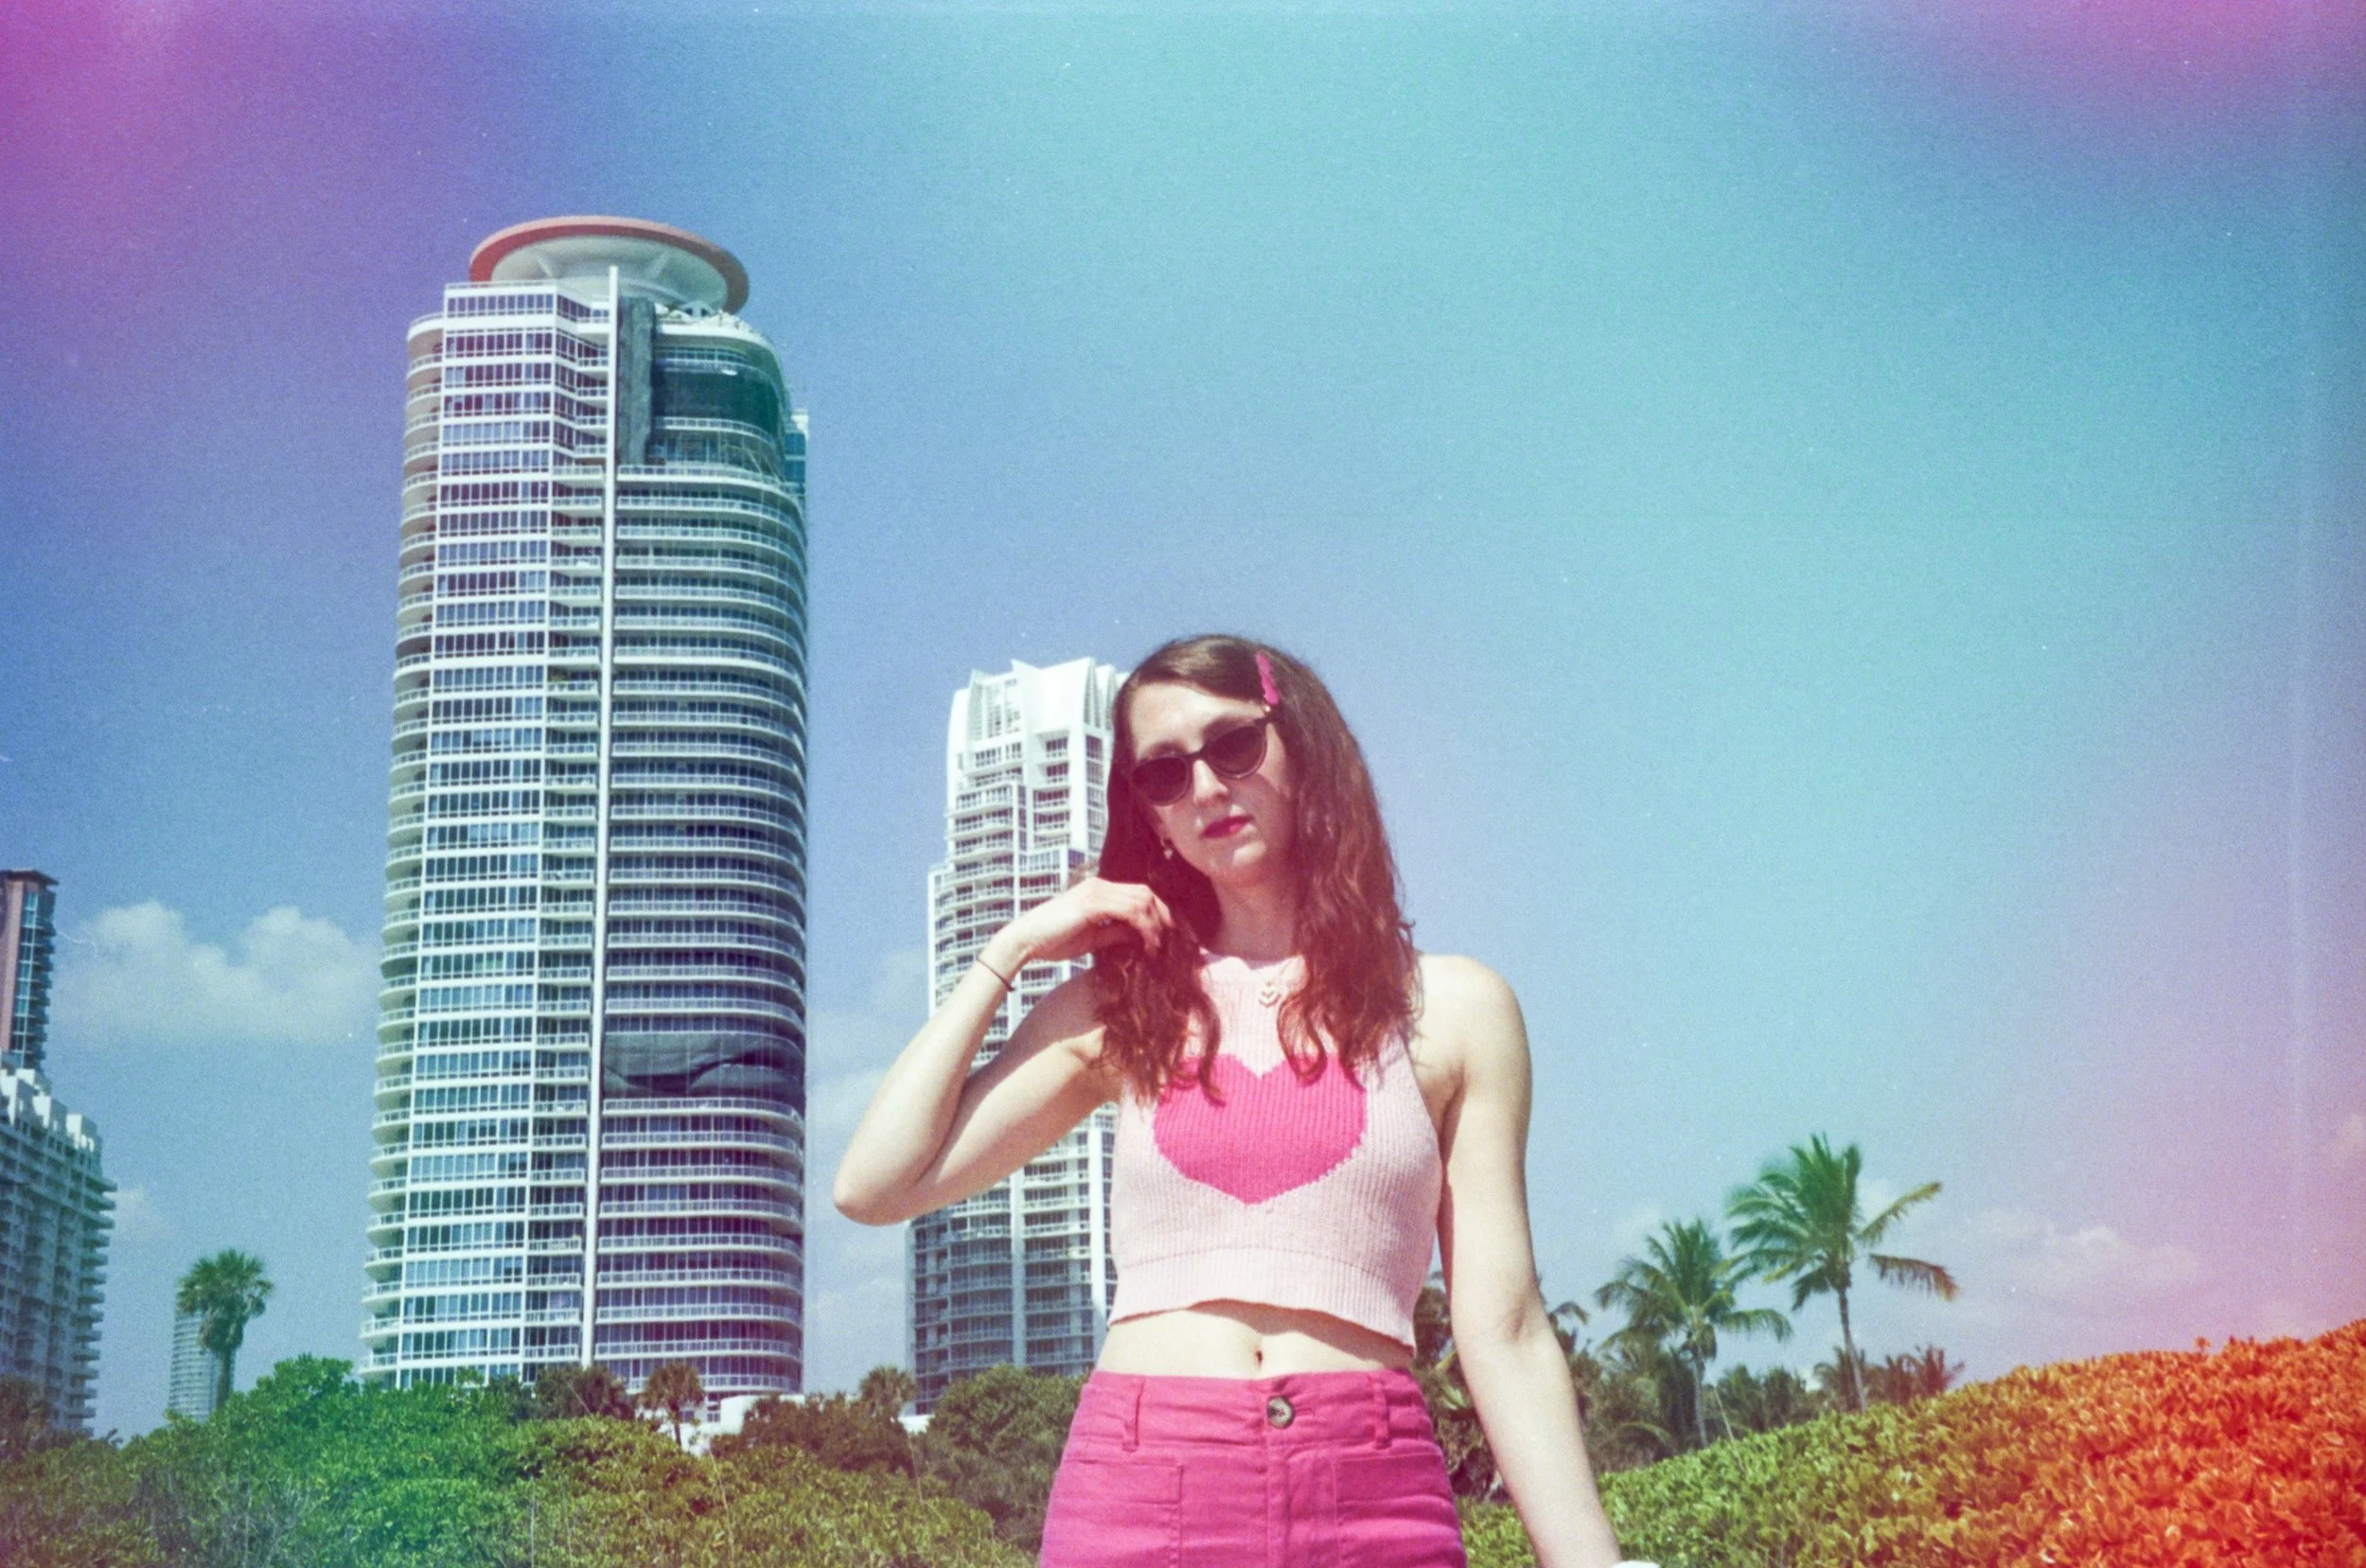
I guess this isn’t really a review, but more of a rave because it’s exactly what I was hoping for. I’ve tried out a few experimental film rolls like Pyschedelic Blues and even made my own film soup (a fun way to alter your film rolls at home - I have a YouTube video about it if you want to try it for yourself!)! But the variety that I got throughout this film roll was pretty amazing. All of the images below are from the same roll of film, so you’ll see the immense color variation throughout. There are pinks, blues, reds, greens, and purples. And there aren’t any images that didn’t turn out because the color variations weren’t crazy or overdone. There’s just a gorgeous rainbow-like effect over each photo that brings a lovely, magical quality to them. I was actually expecting most of the images to be more of the pink/purple tone based on the images I saw on instagram, but I’m actually happy that there was more variation than that.
(By using the affiliate links and/or codes in this blog post it supports Myles Katherine Photography. We may get a small kick back by you doing so.)

If you’re looking for a fun roll of film that it still reliable and won’t ruin any of your images, the dubblefilm Jelly 35 mm roll is definitely a great one to try out. I’d recommend comparing it to my photos using the Psychedelic Blues film that I mentioned above (you can see sample photos from that film here!). You’ll see that the dubblefilm is just a little less extreme and more subtle, yet still exciting and colorful. If you’d prefer something even more unique and unusual, the Psychedelic Blues film is also super fun to experiment with.
Another thing I love about this film is that for a 400 ISO film, it was surprisingly not grainy. When I’m using cheap point and shoot cameras, I’m sometimes disappointed by the results when I use a 400 speed film. Mostly because the cameras themselves aren’t super sharp, so when you combine that with a grainy film, it just lacks detail. But I didn’t find that to be the case with this film, and when I was scanning it with my Epson film scanner, I realized why - because it’s actually Kodak GC/Ultramax 400 film! They just used that brand when creating their experimental film, and I find Kodak GC/Ultramax to be a great representation of 400 film because it has that “film” look to it, but the grain isn’t overpowering. It works well in most lighting conditions and is the perfect all-around daytime film, whether it’s sunny or cloudy outside. I have a full review about the Kodak GC/Ultramax film on my blog here!
I’ll definitely be shooting with this film again, especially because I had such a blast shooting with it knowing that I was going to get bright, colorful photos. It was just so exciting! I love anything that makes my photos stand out. :)
If you’d like to try it out too, here’s where you can find it!
WHERE TO FIND DUBBLEFILM JELLY 35MM FILM
B&H Photo
WHERE TO FIND PSYCHEDELIC BLUES 35MM FILM
PsychBlues.com
WHERE TO FIND THE SAMSUNG EVOCA ZOOM 115 35 MM CAMERA
Etsy
Amazon
SHOP ON eBay
If you’re looking for other unique film stocks to try out, make sure to read my blog post - 5 Unique Films to Try to Make Your Photos More Interesting. Or if you just want some standard 35 mm film recommendations, check out my post about The Best Color Film for 35mm Cameras.
If you found this post helpful in any way, I’d love it if you considered signing up for my Patreon! For as little as $1 a month, you’ll get early access to all of my YouTube videos, plus tons of photos that I don’t post anywhere else. Depending on which tier you choose, you could also receive seasonal prints and/or discounts! I always use all of the proceeds towards cameras, film & processing.
If you have any questions, I’m always happy to help! You can contact me here, or leave a comment below! Thanks so much for stopping by! You can also check out my B&H Photo storefront & Amazon Storefront for more camera/film recommendations. :) Have a magical day!
<3 Myles Katherine