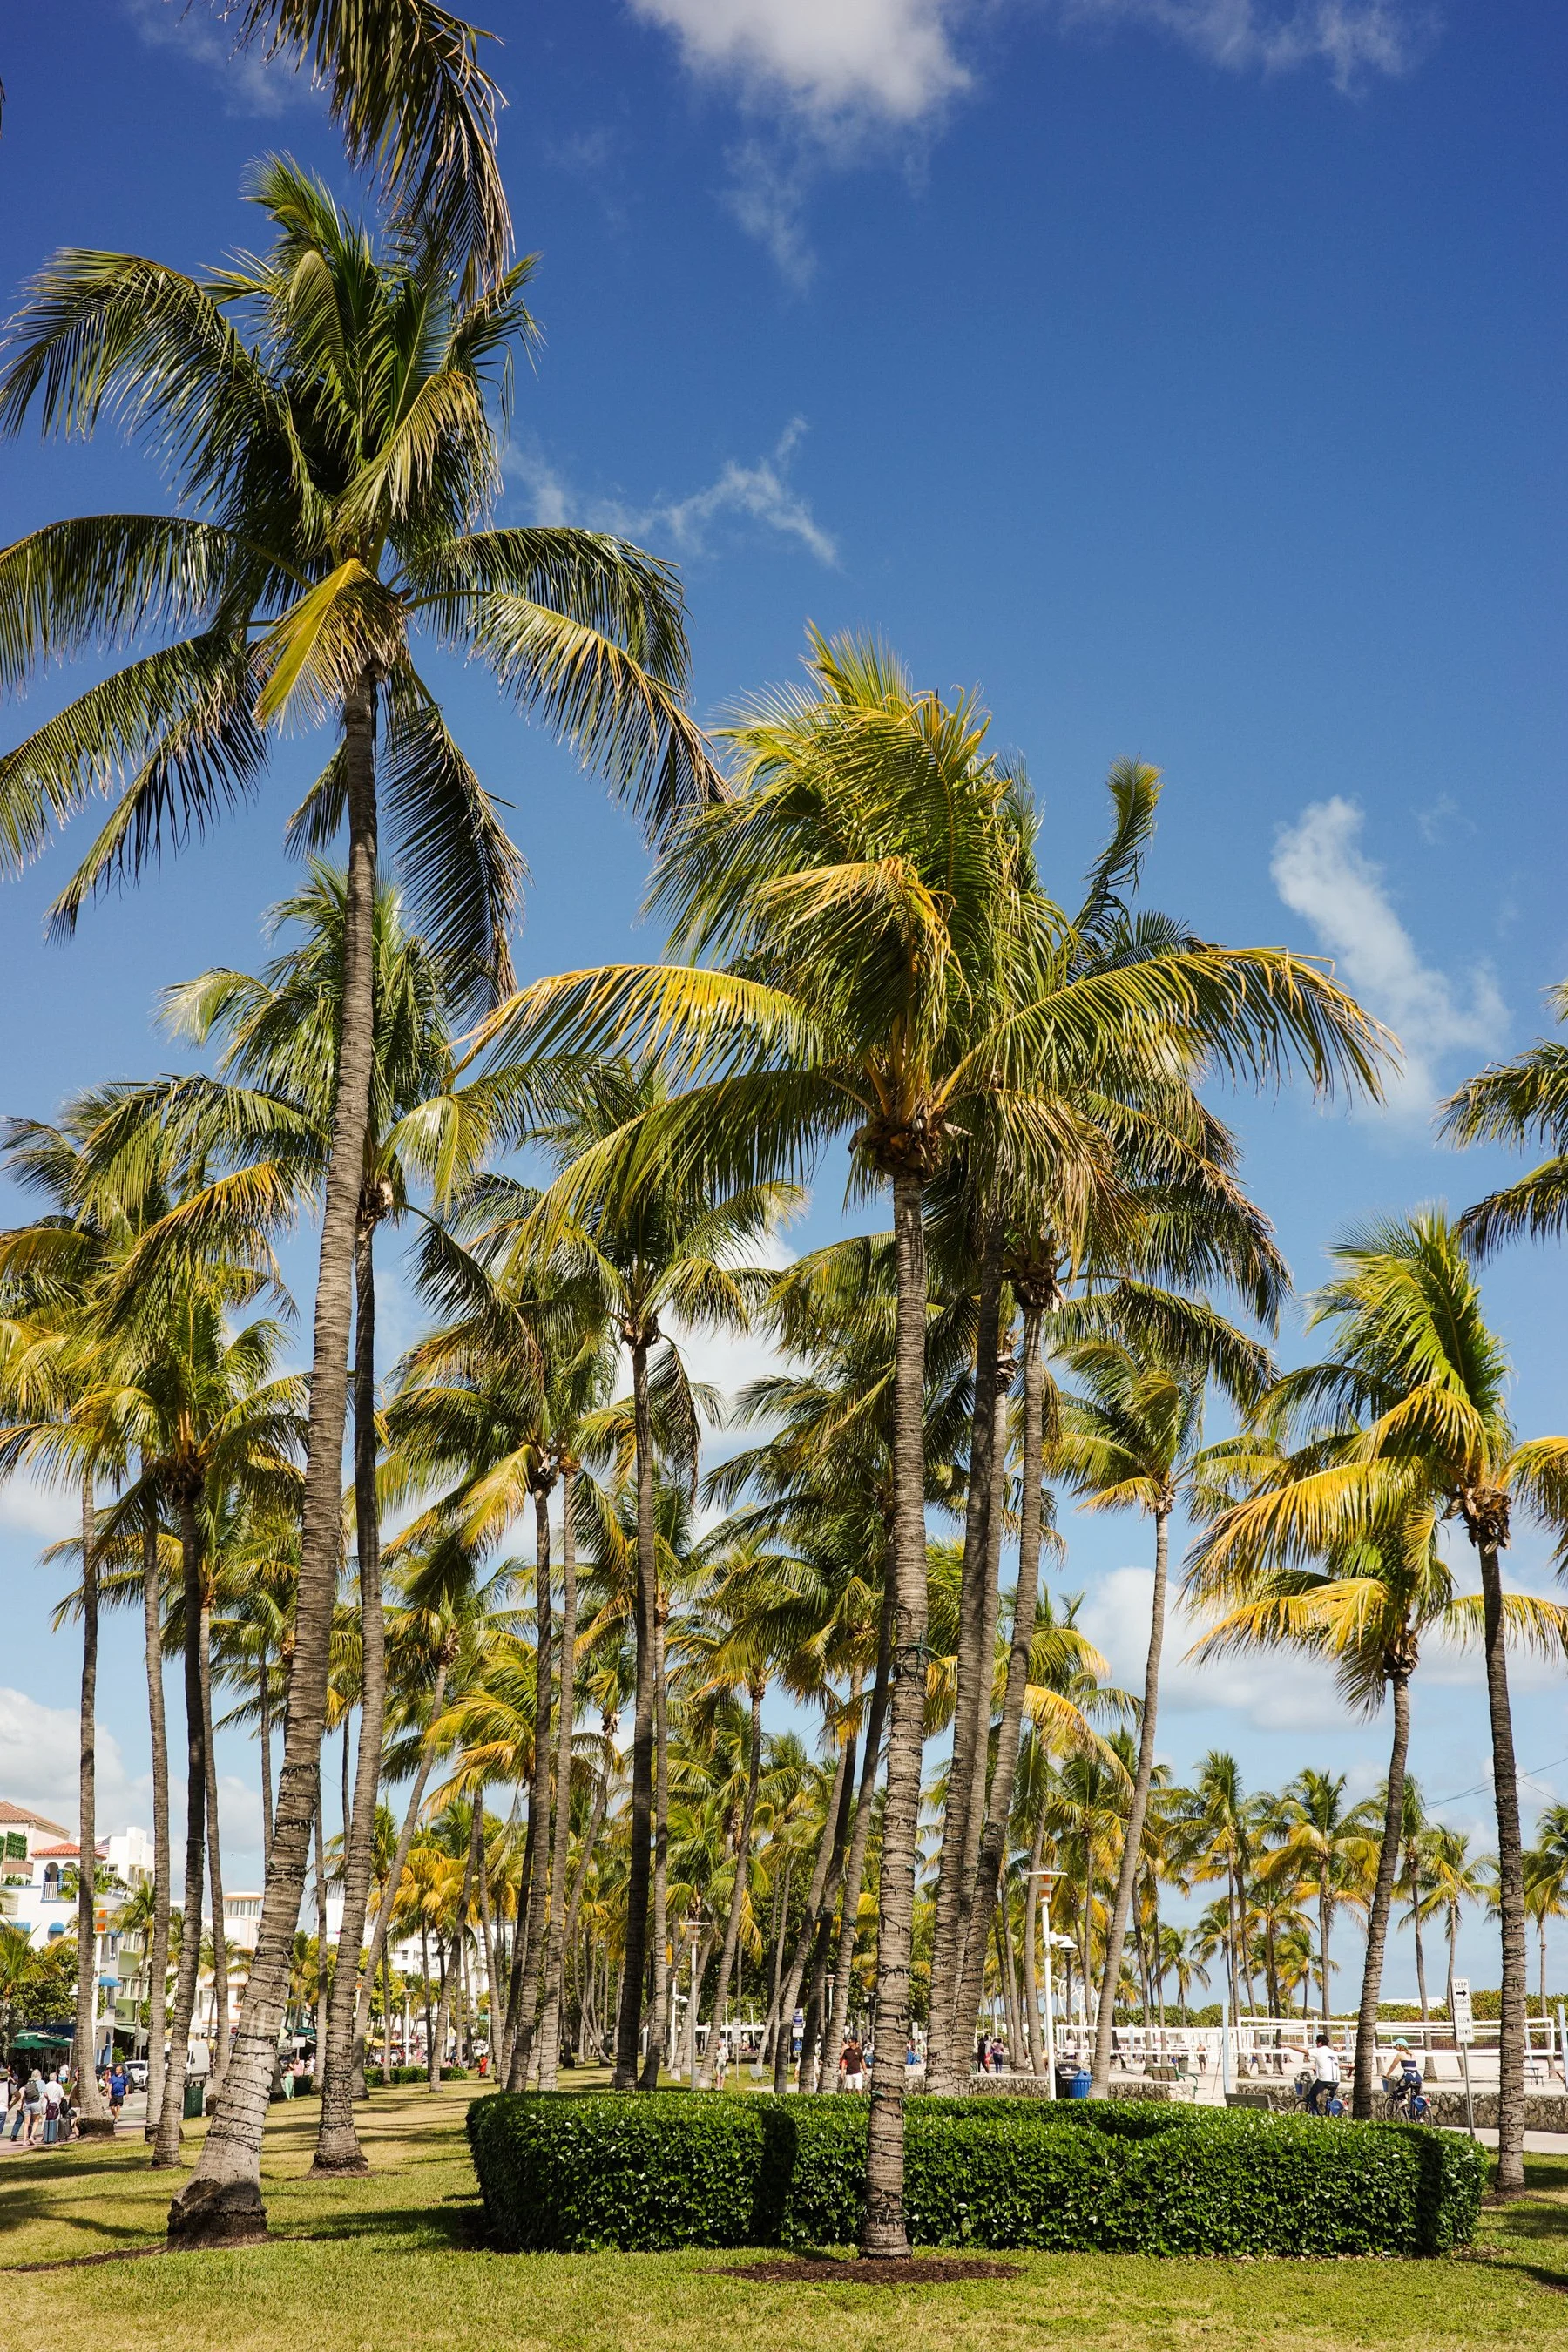
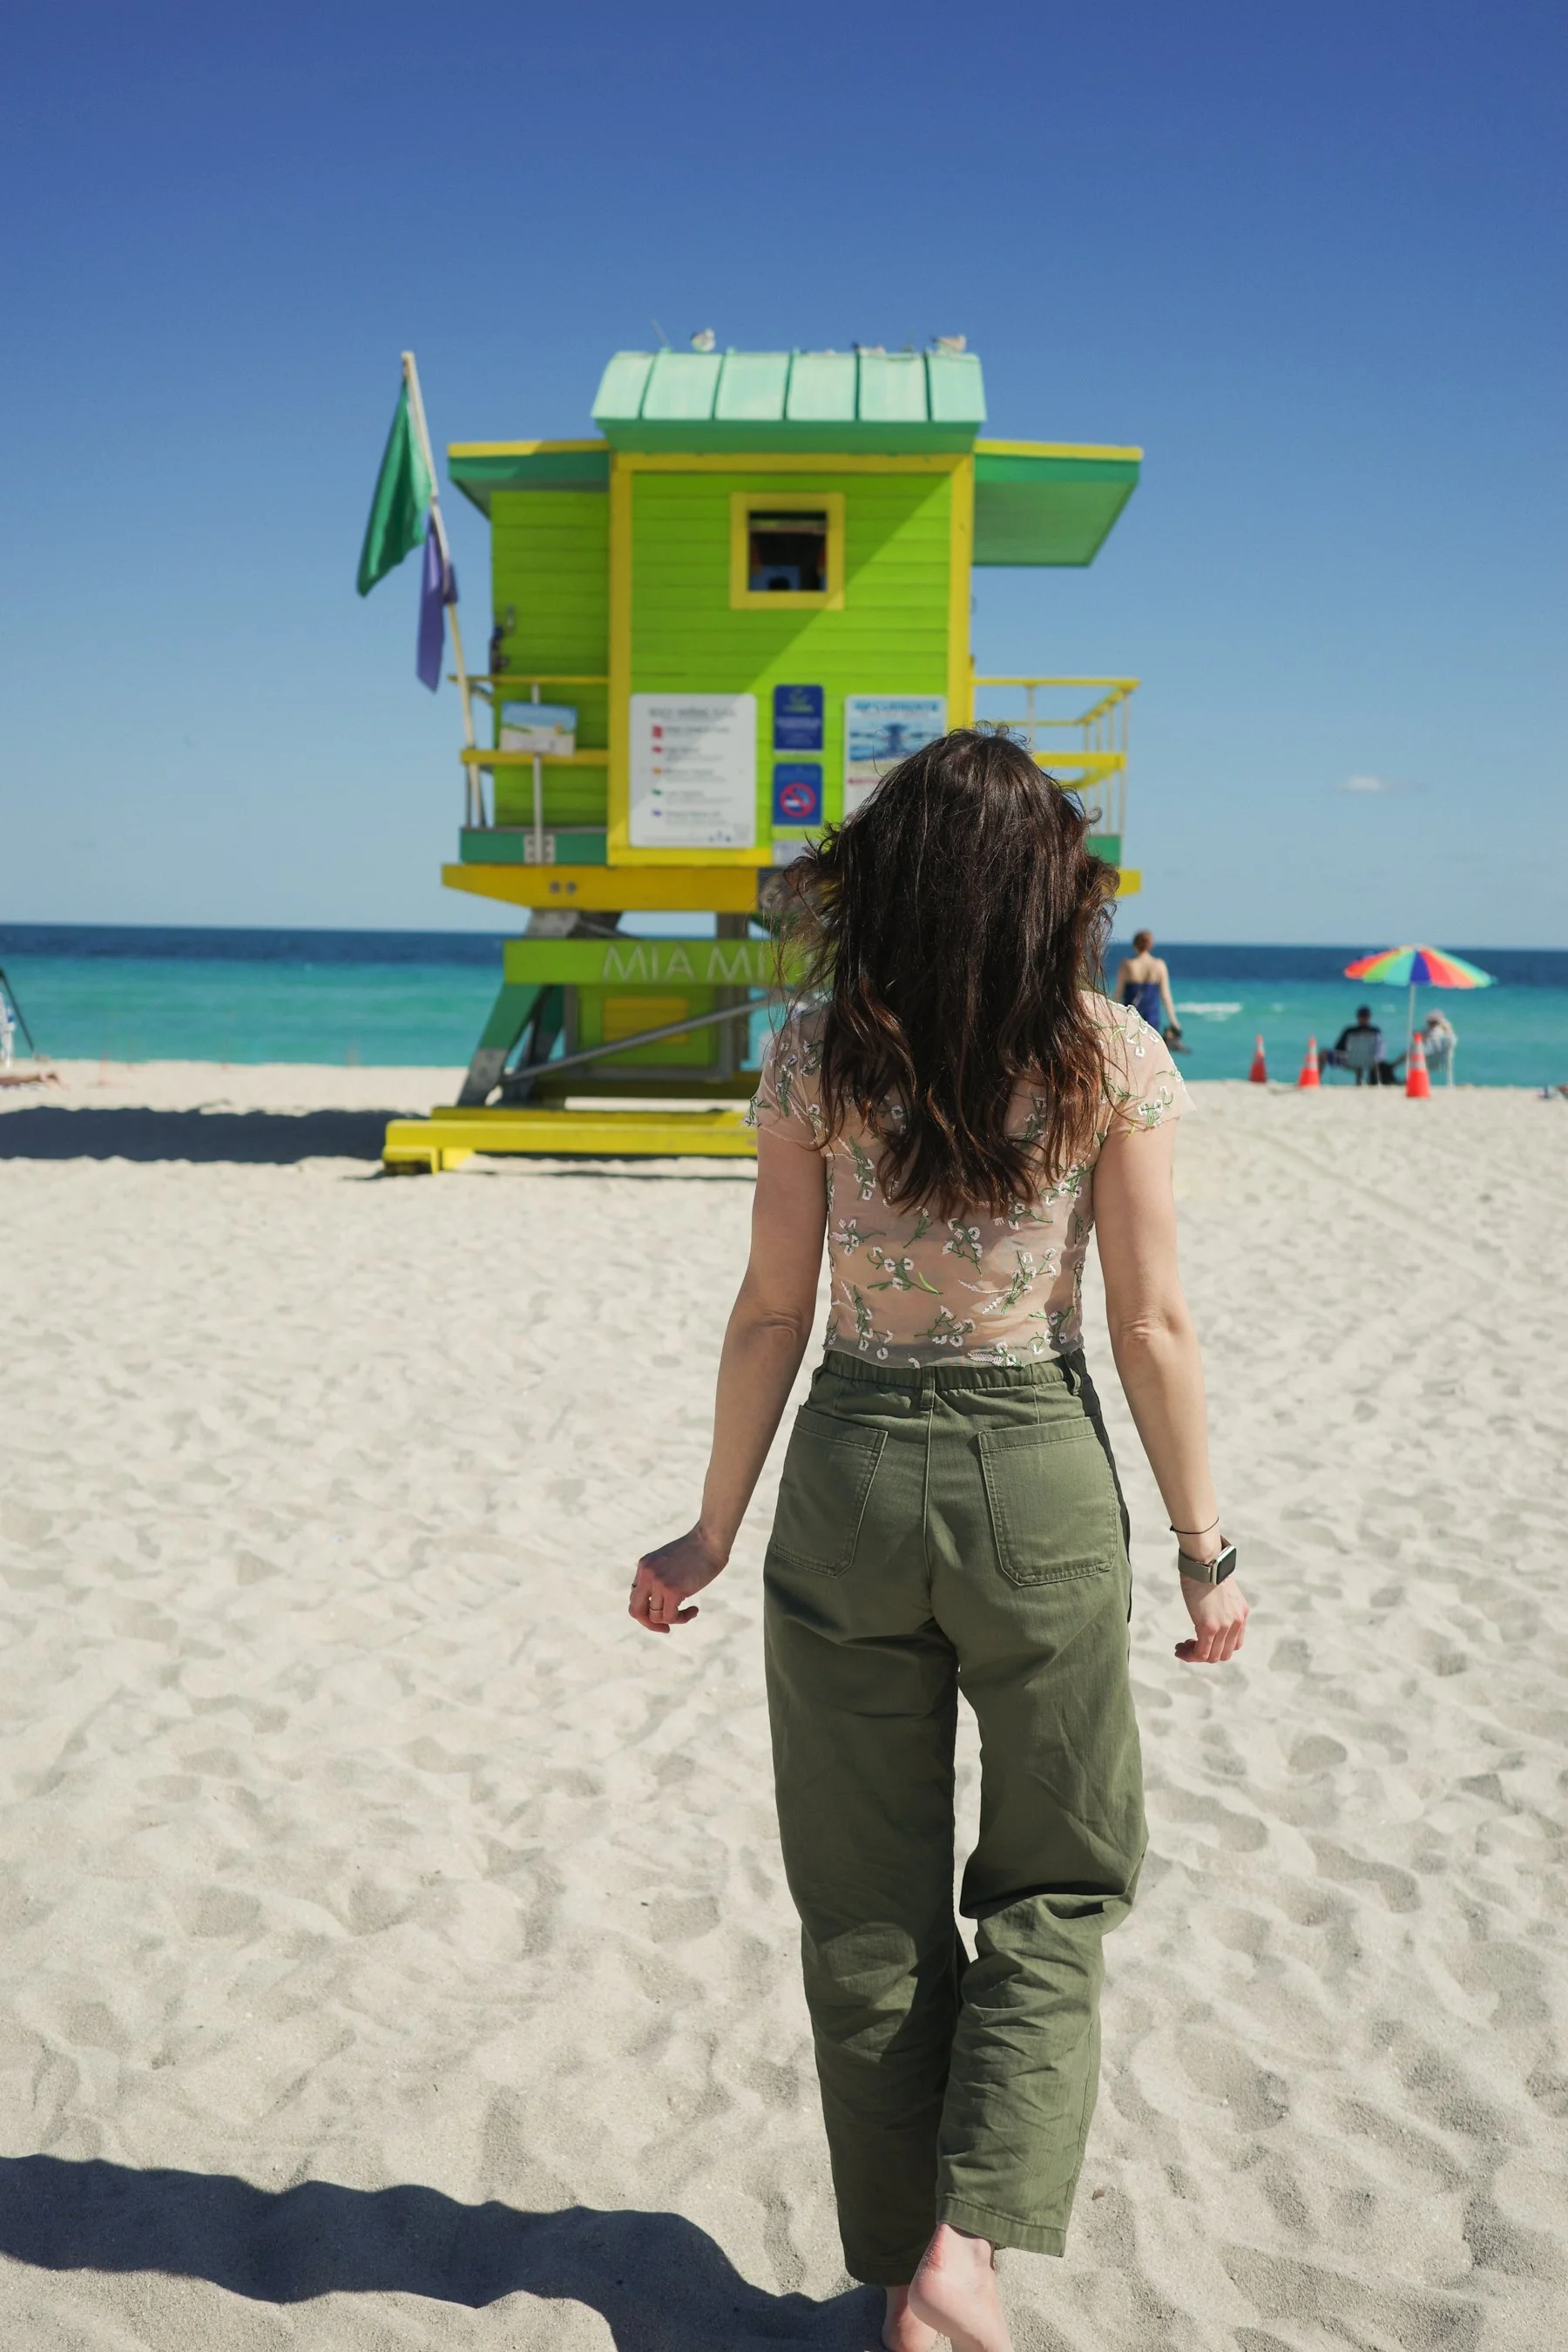
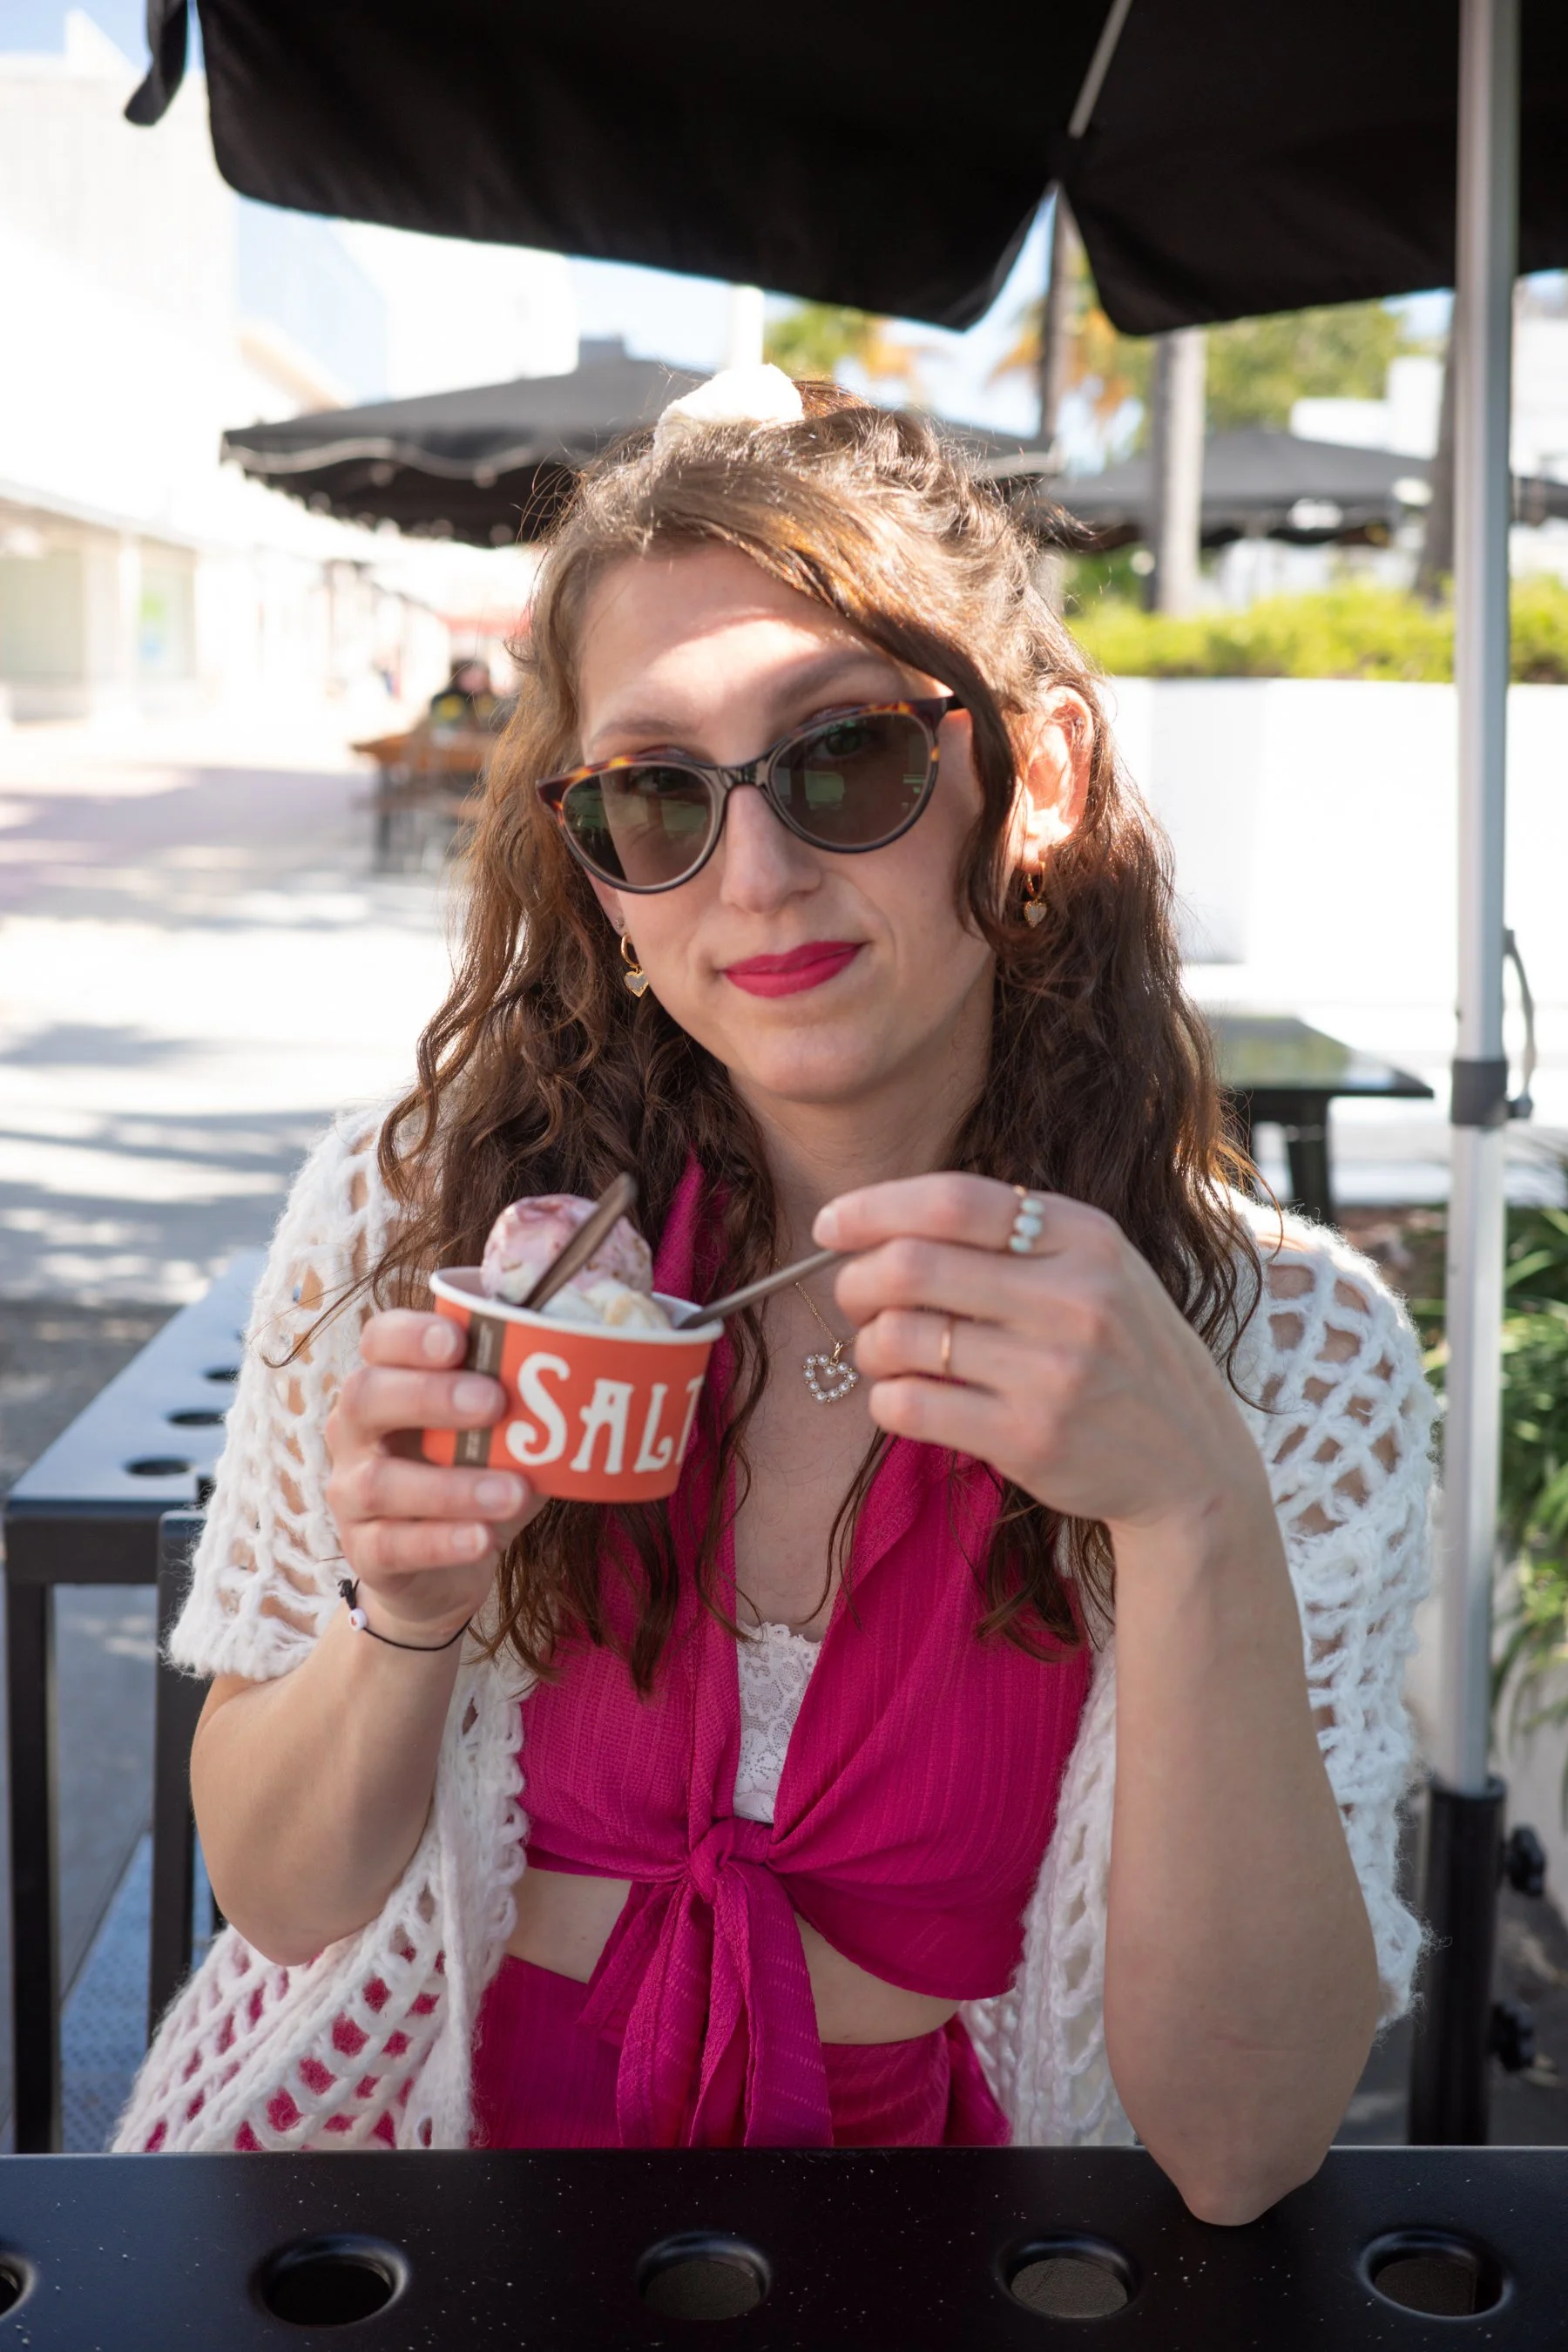
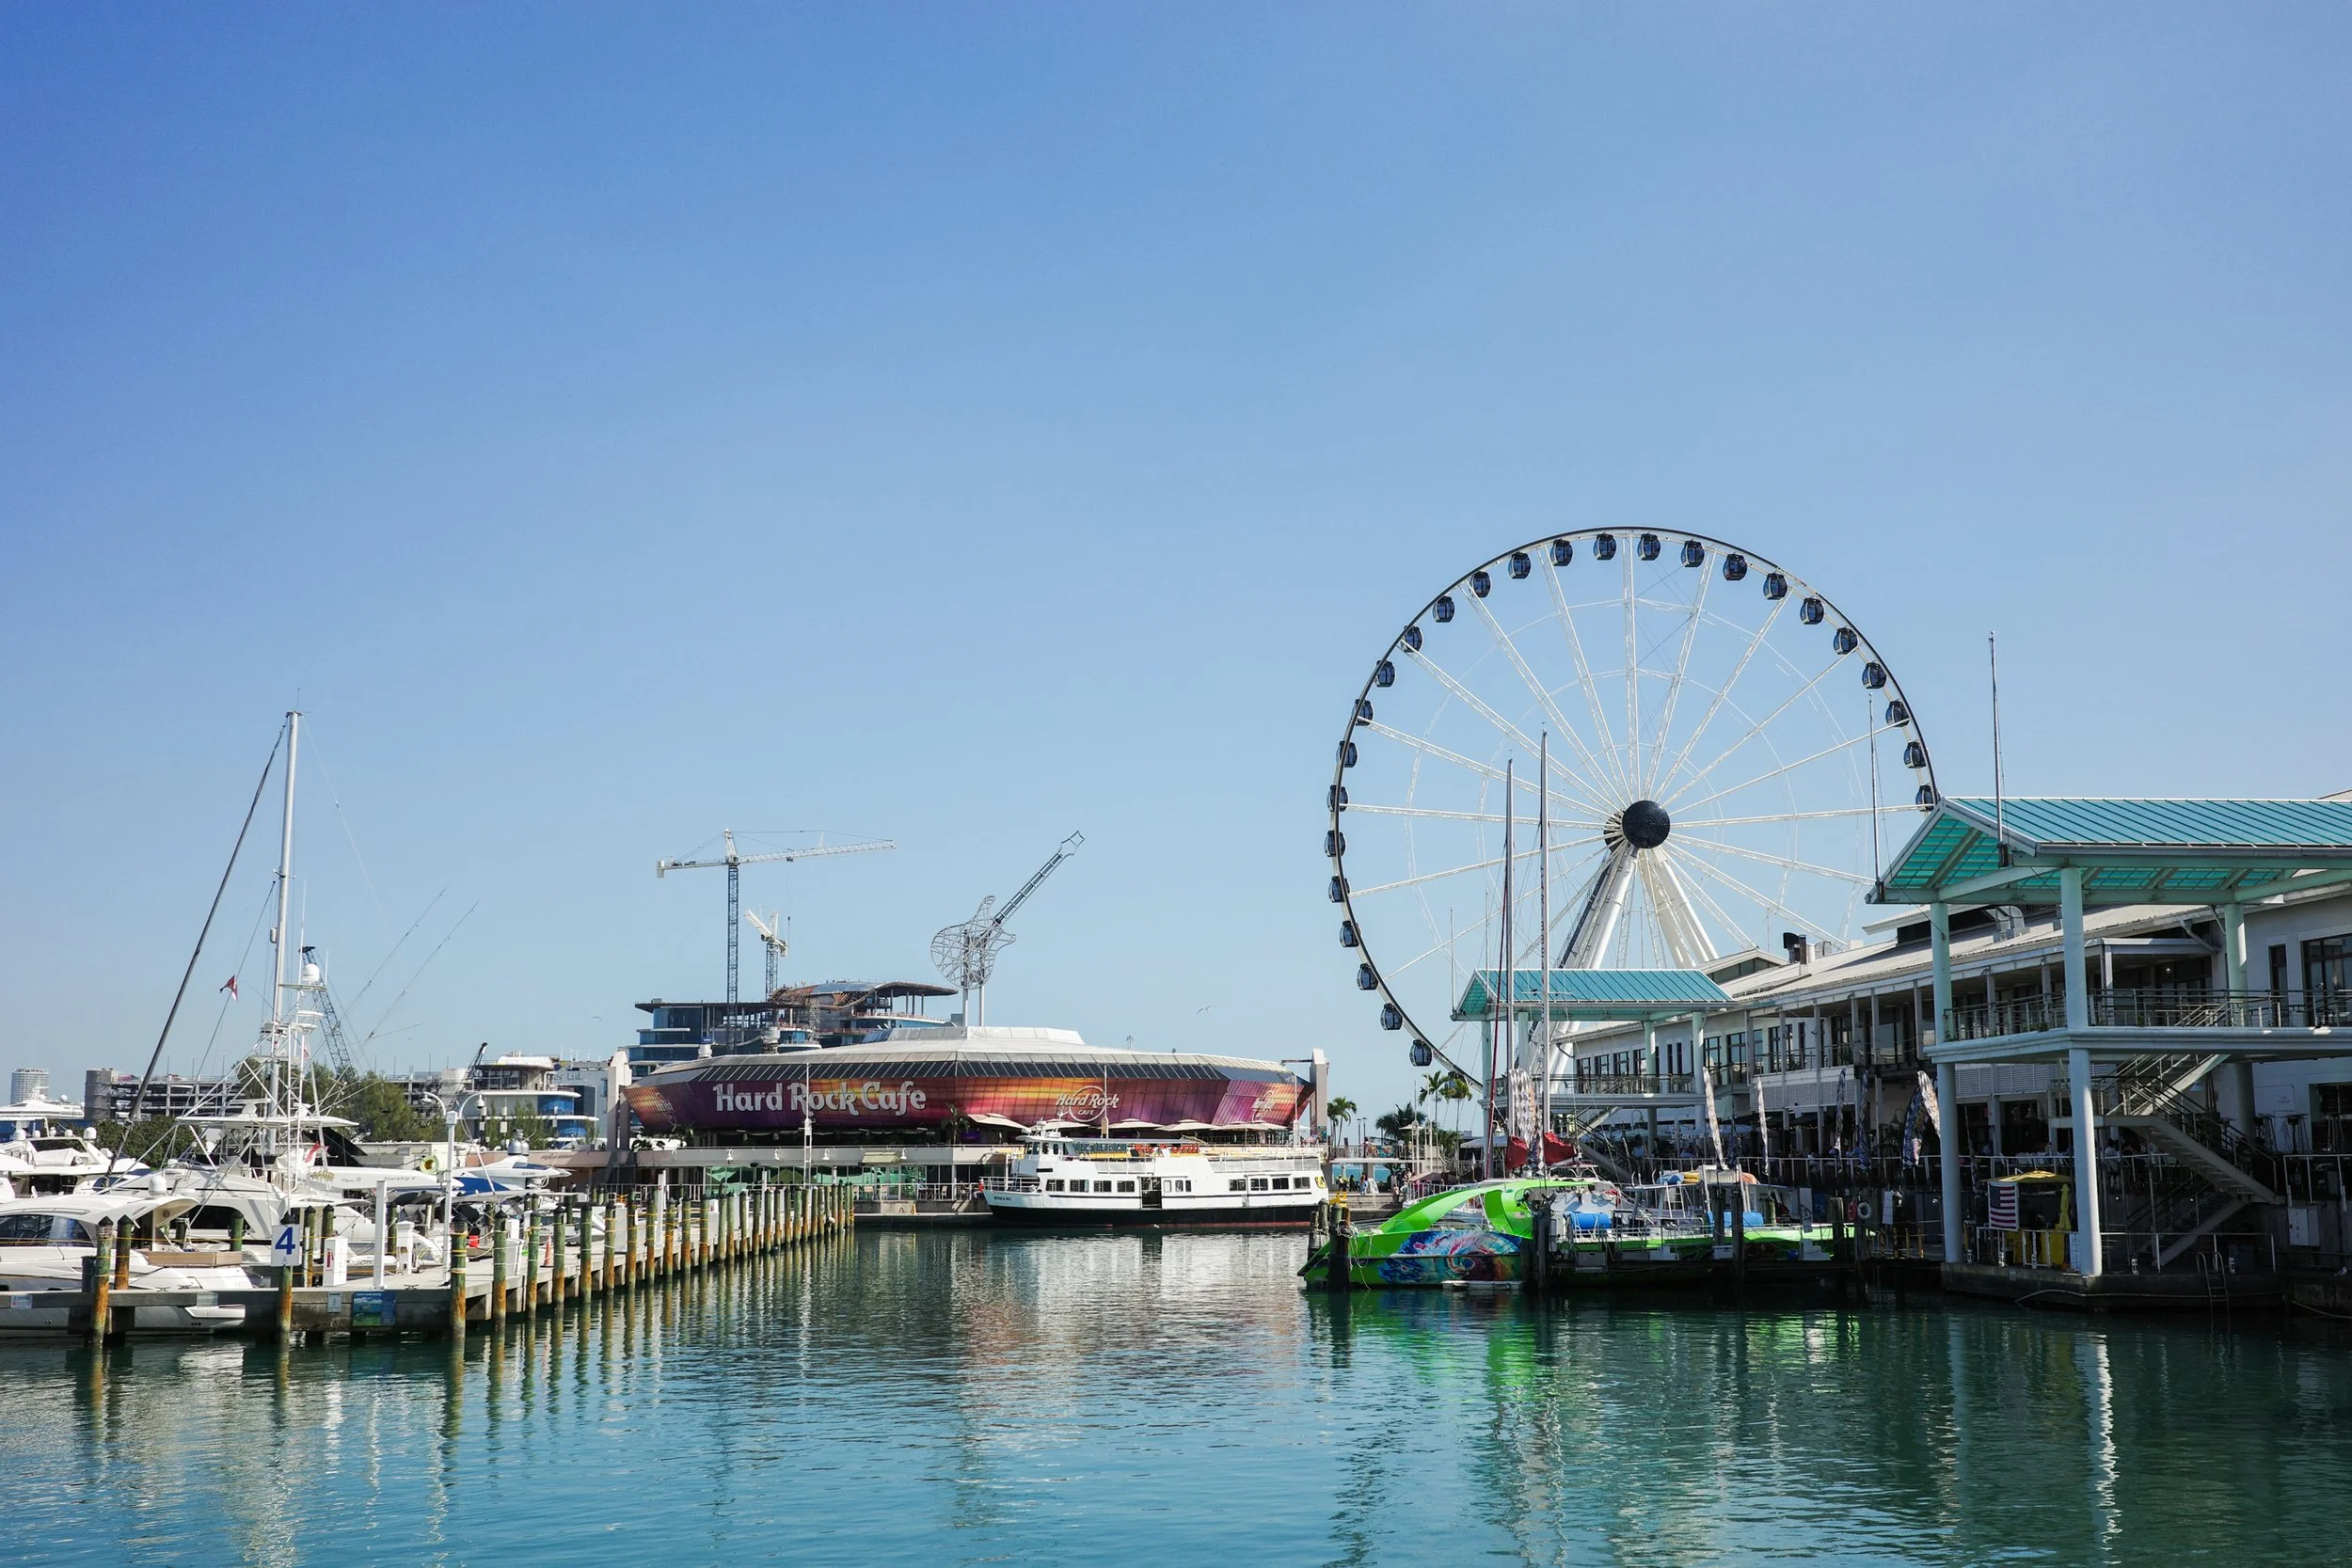
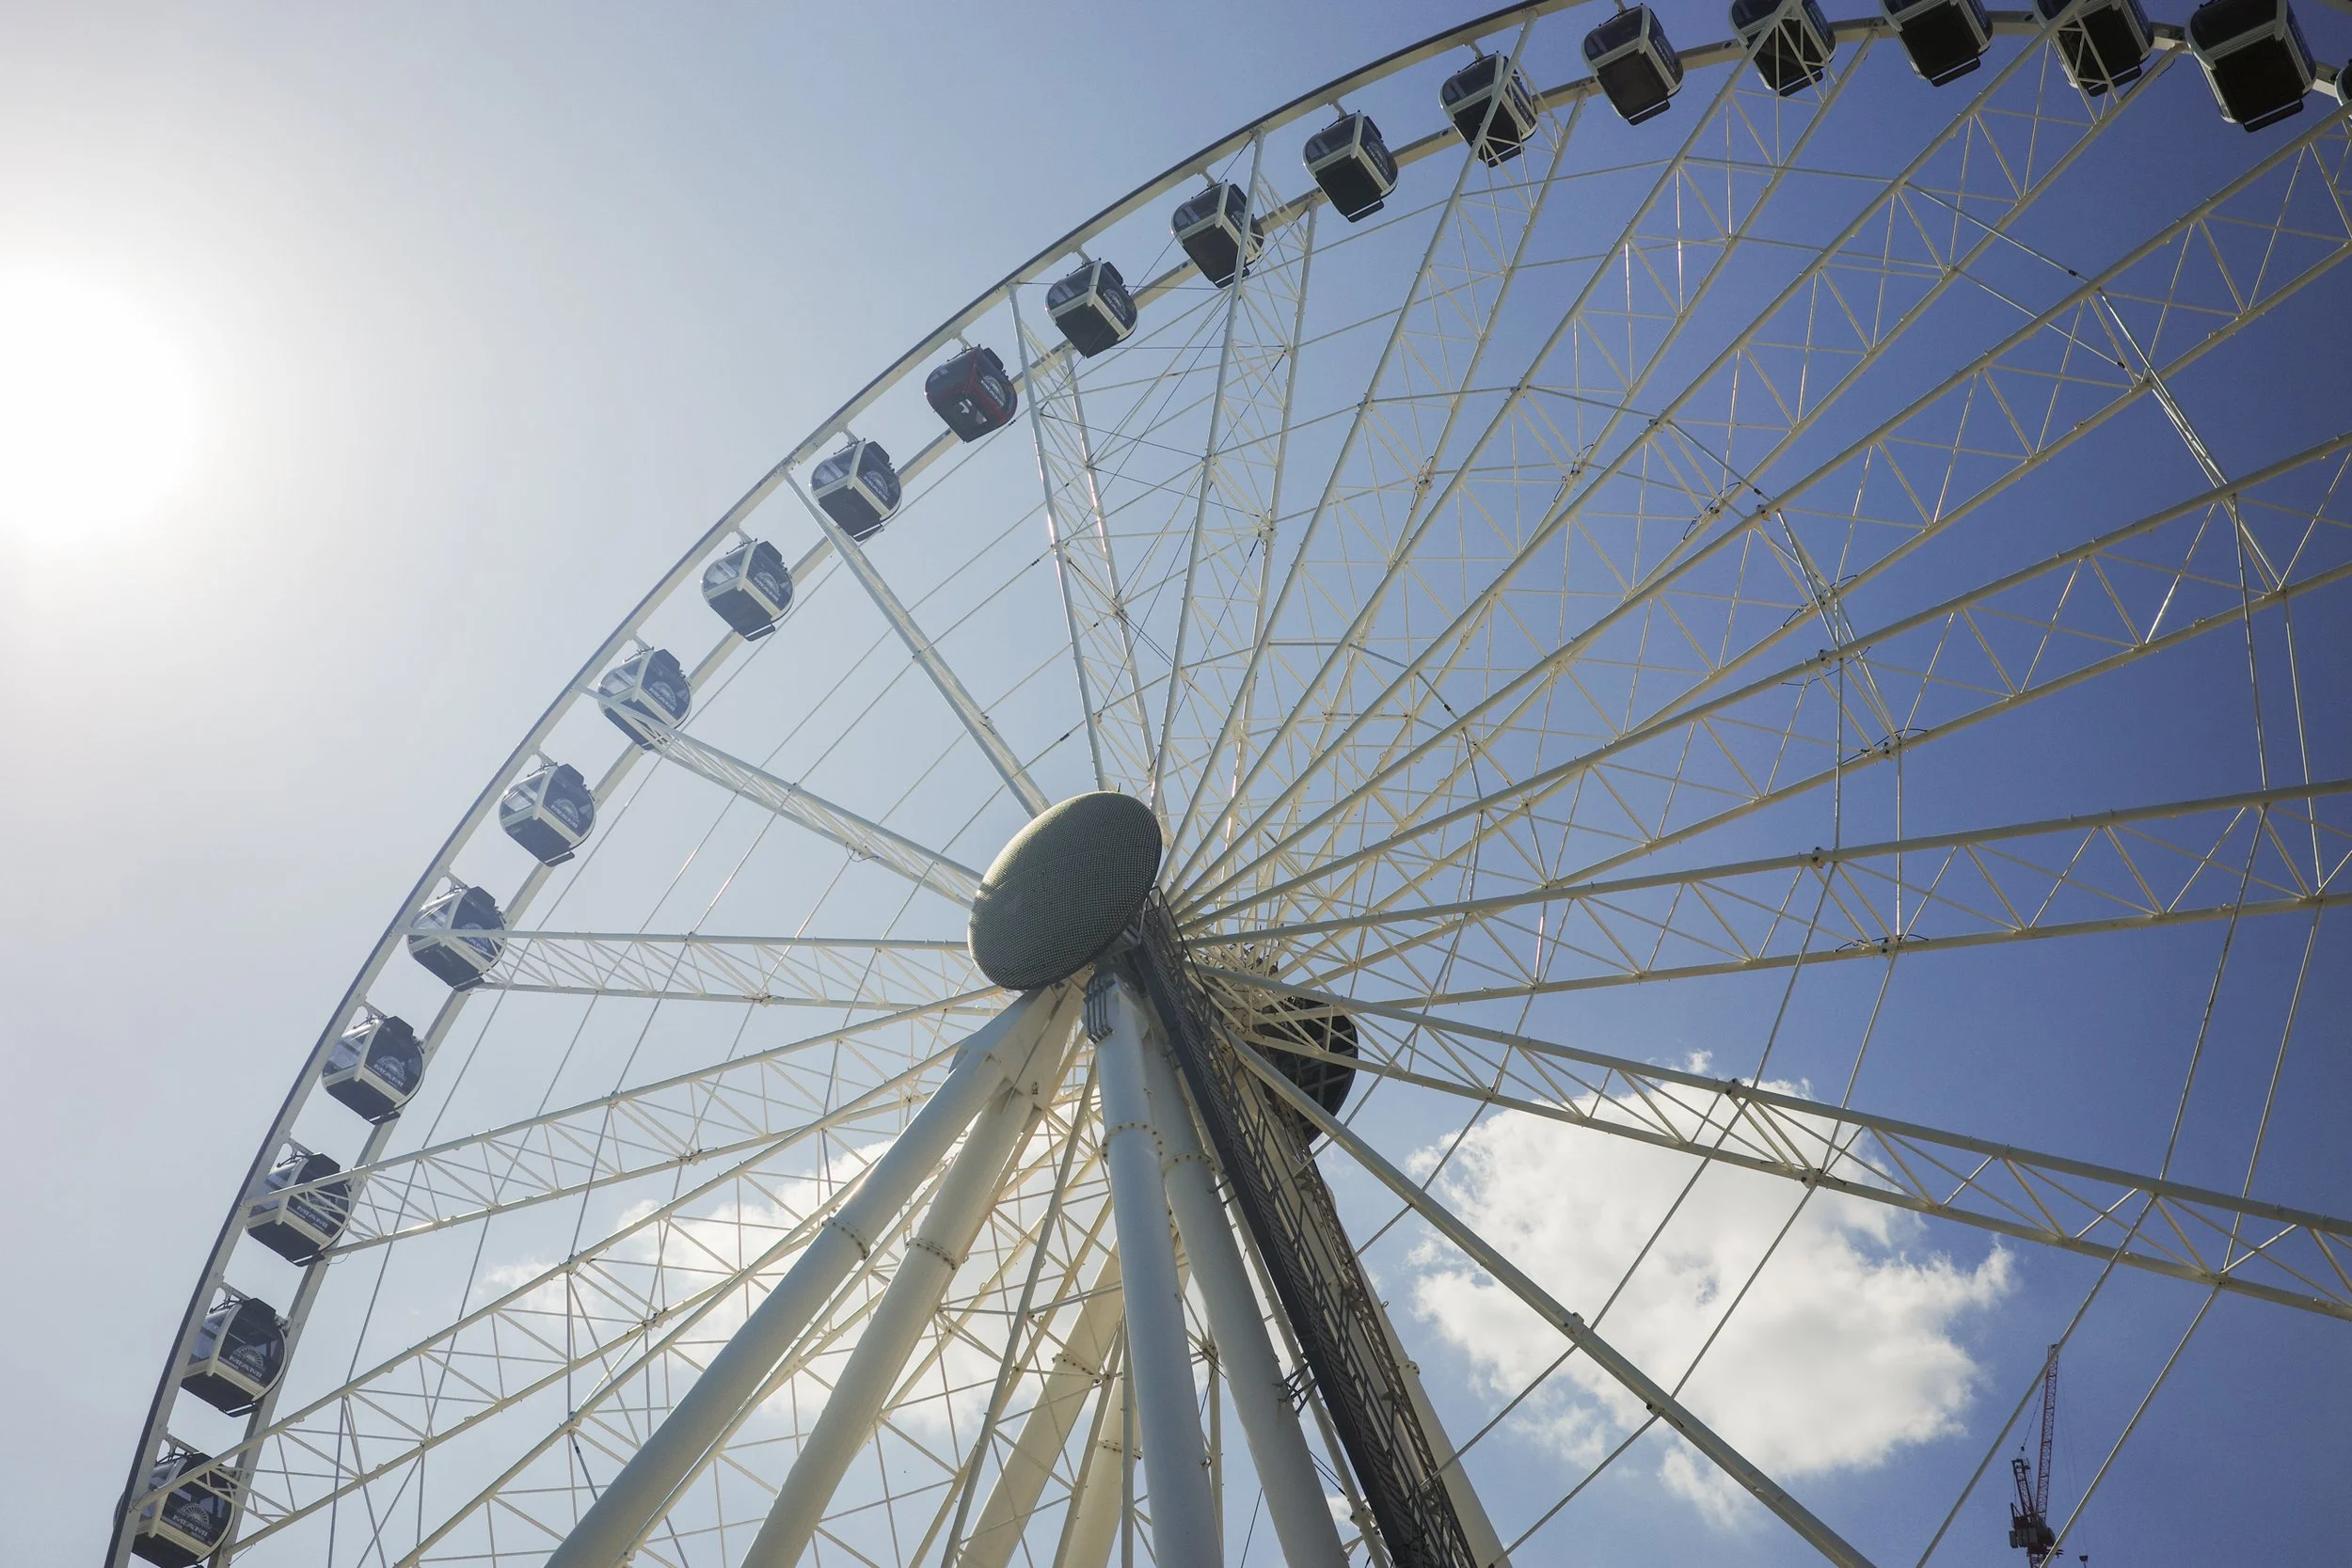
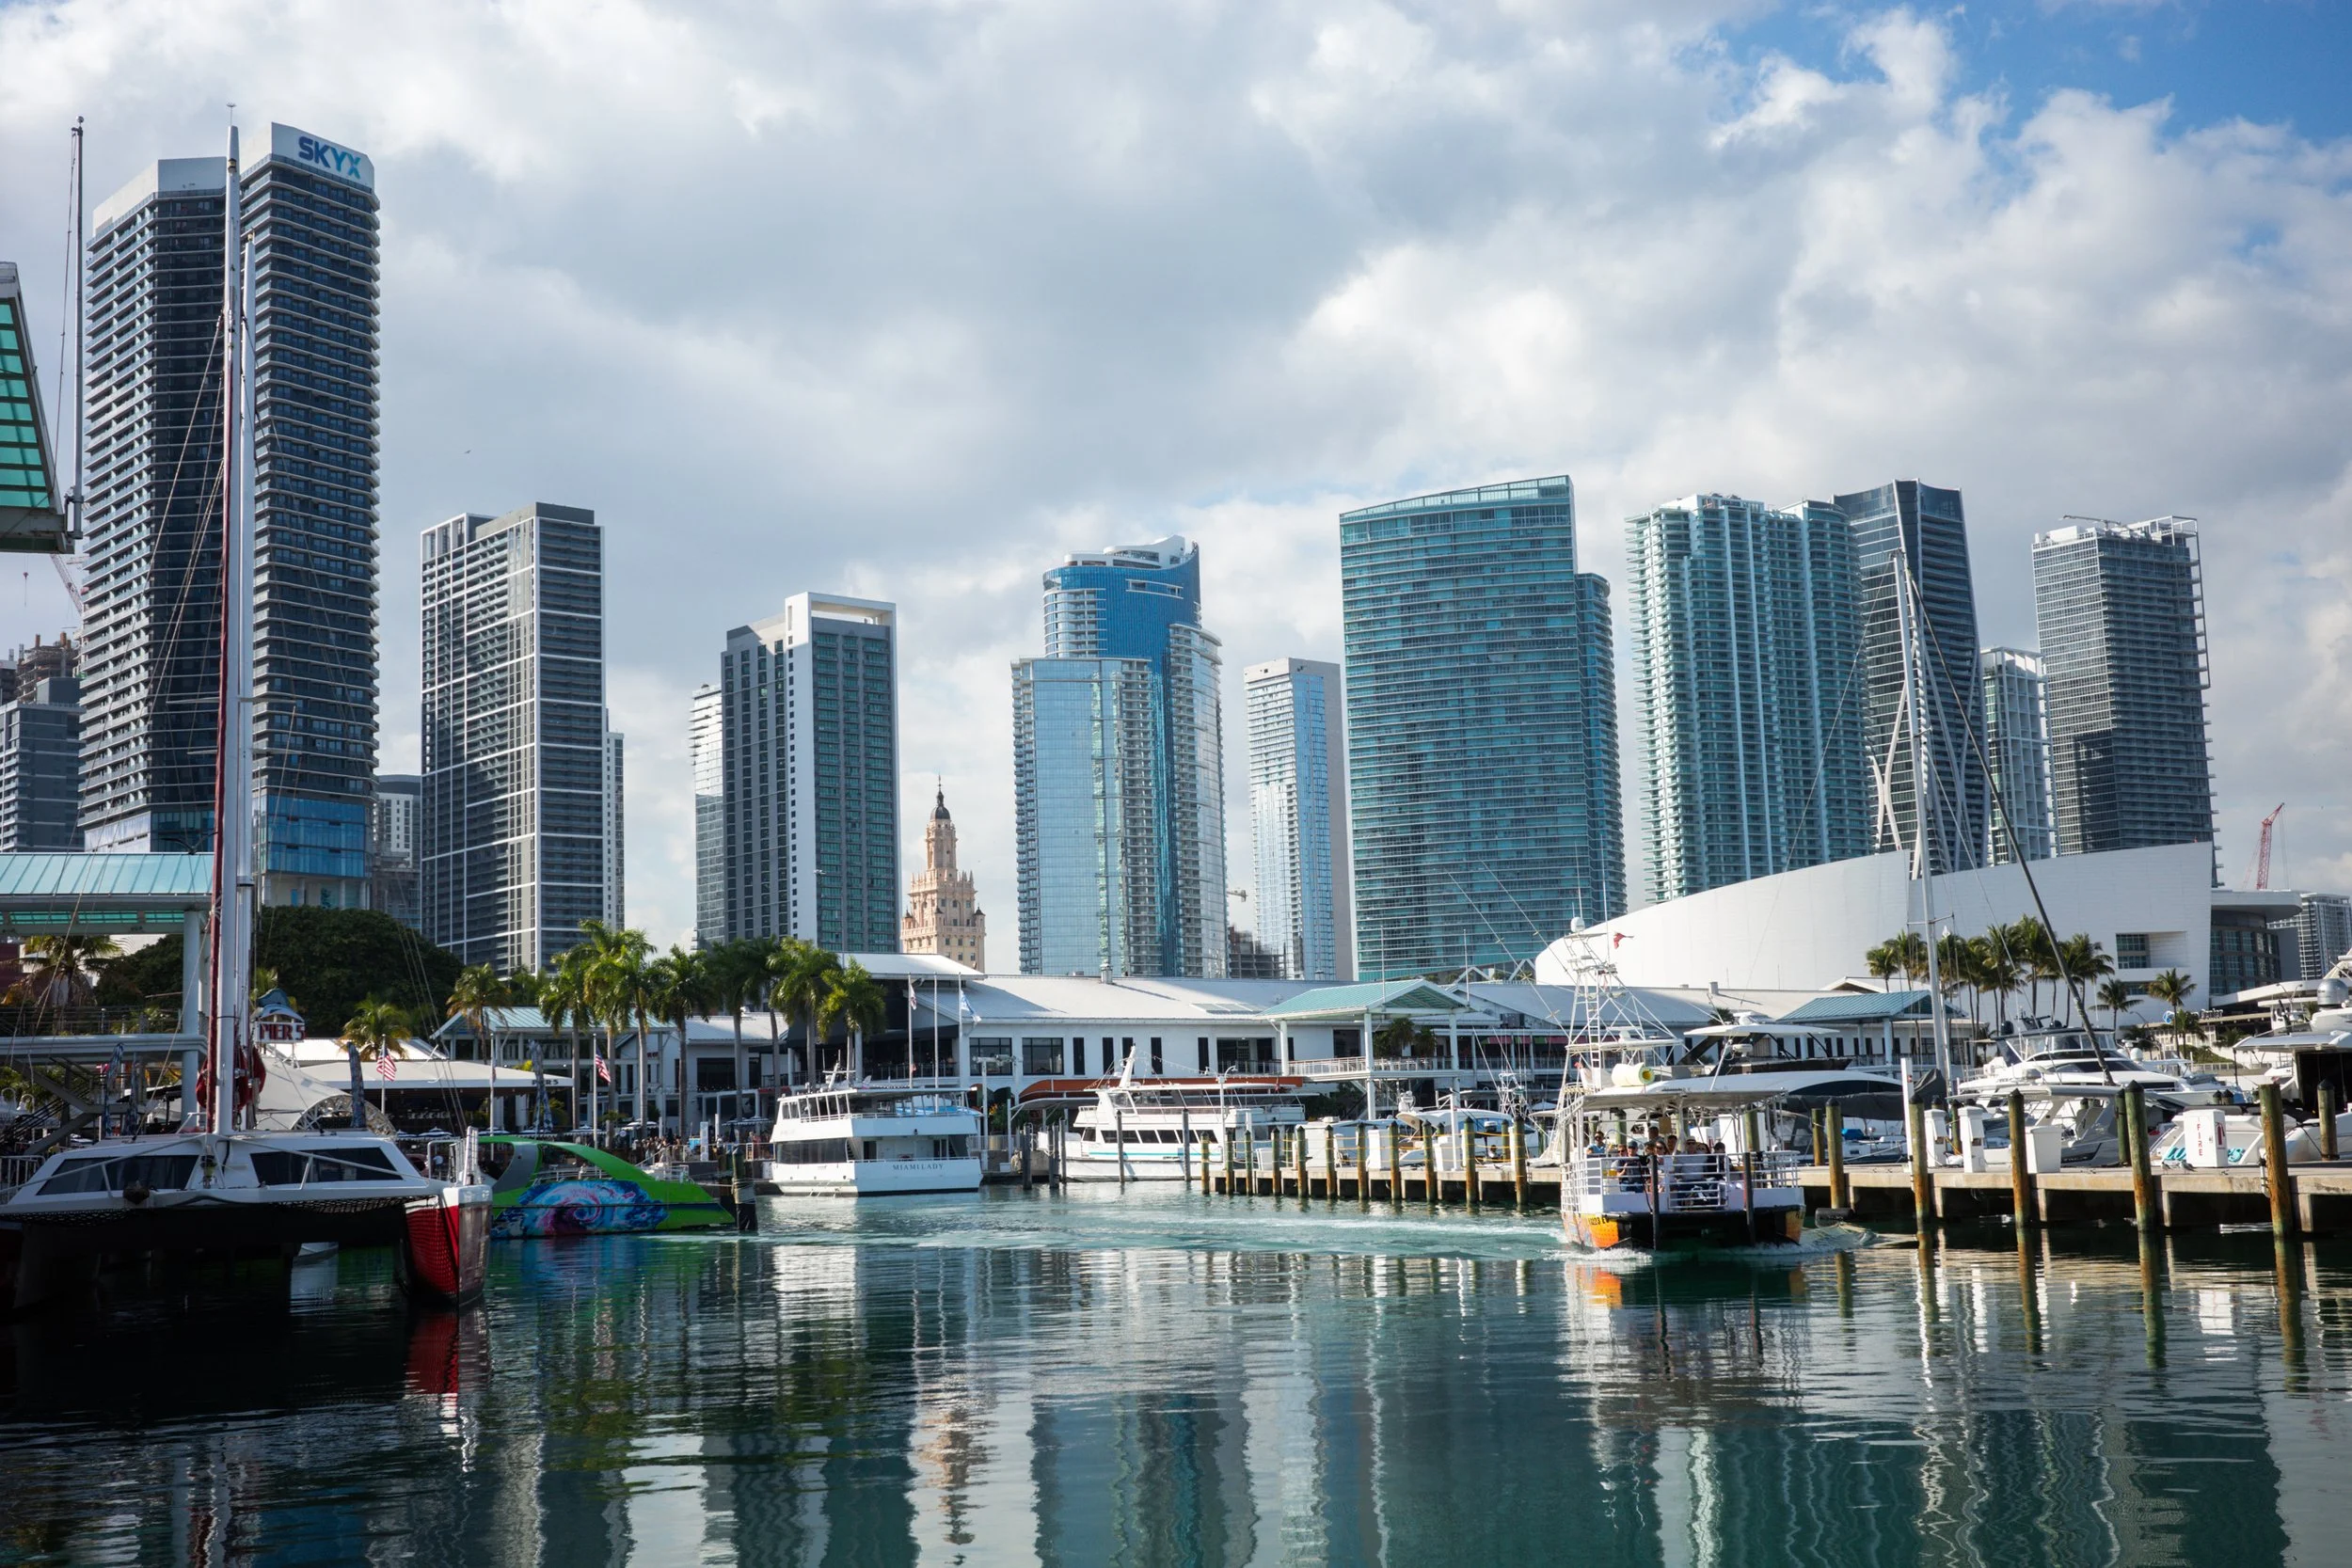
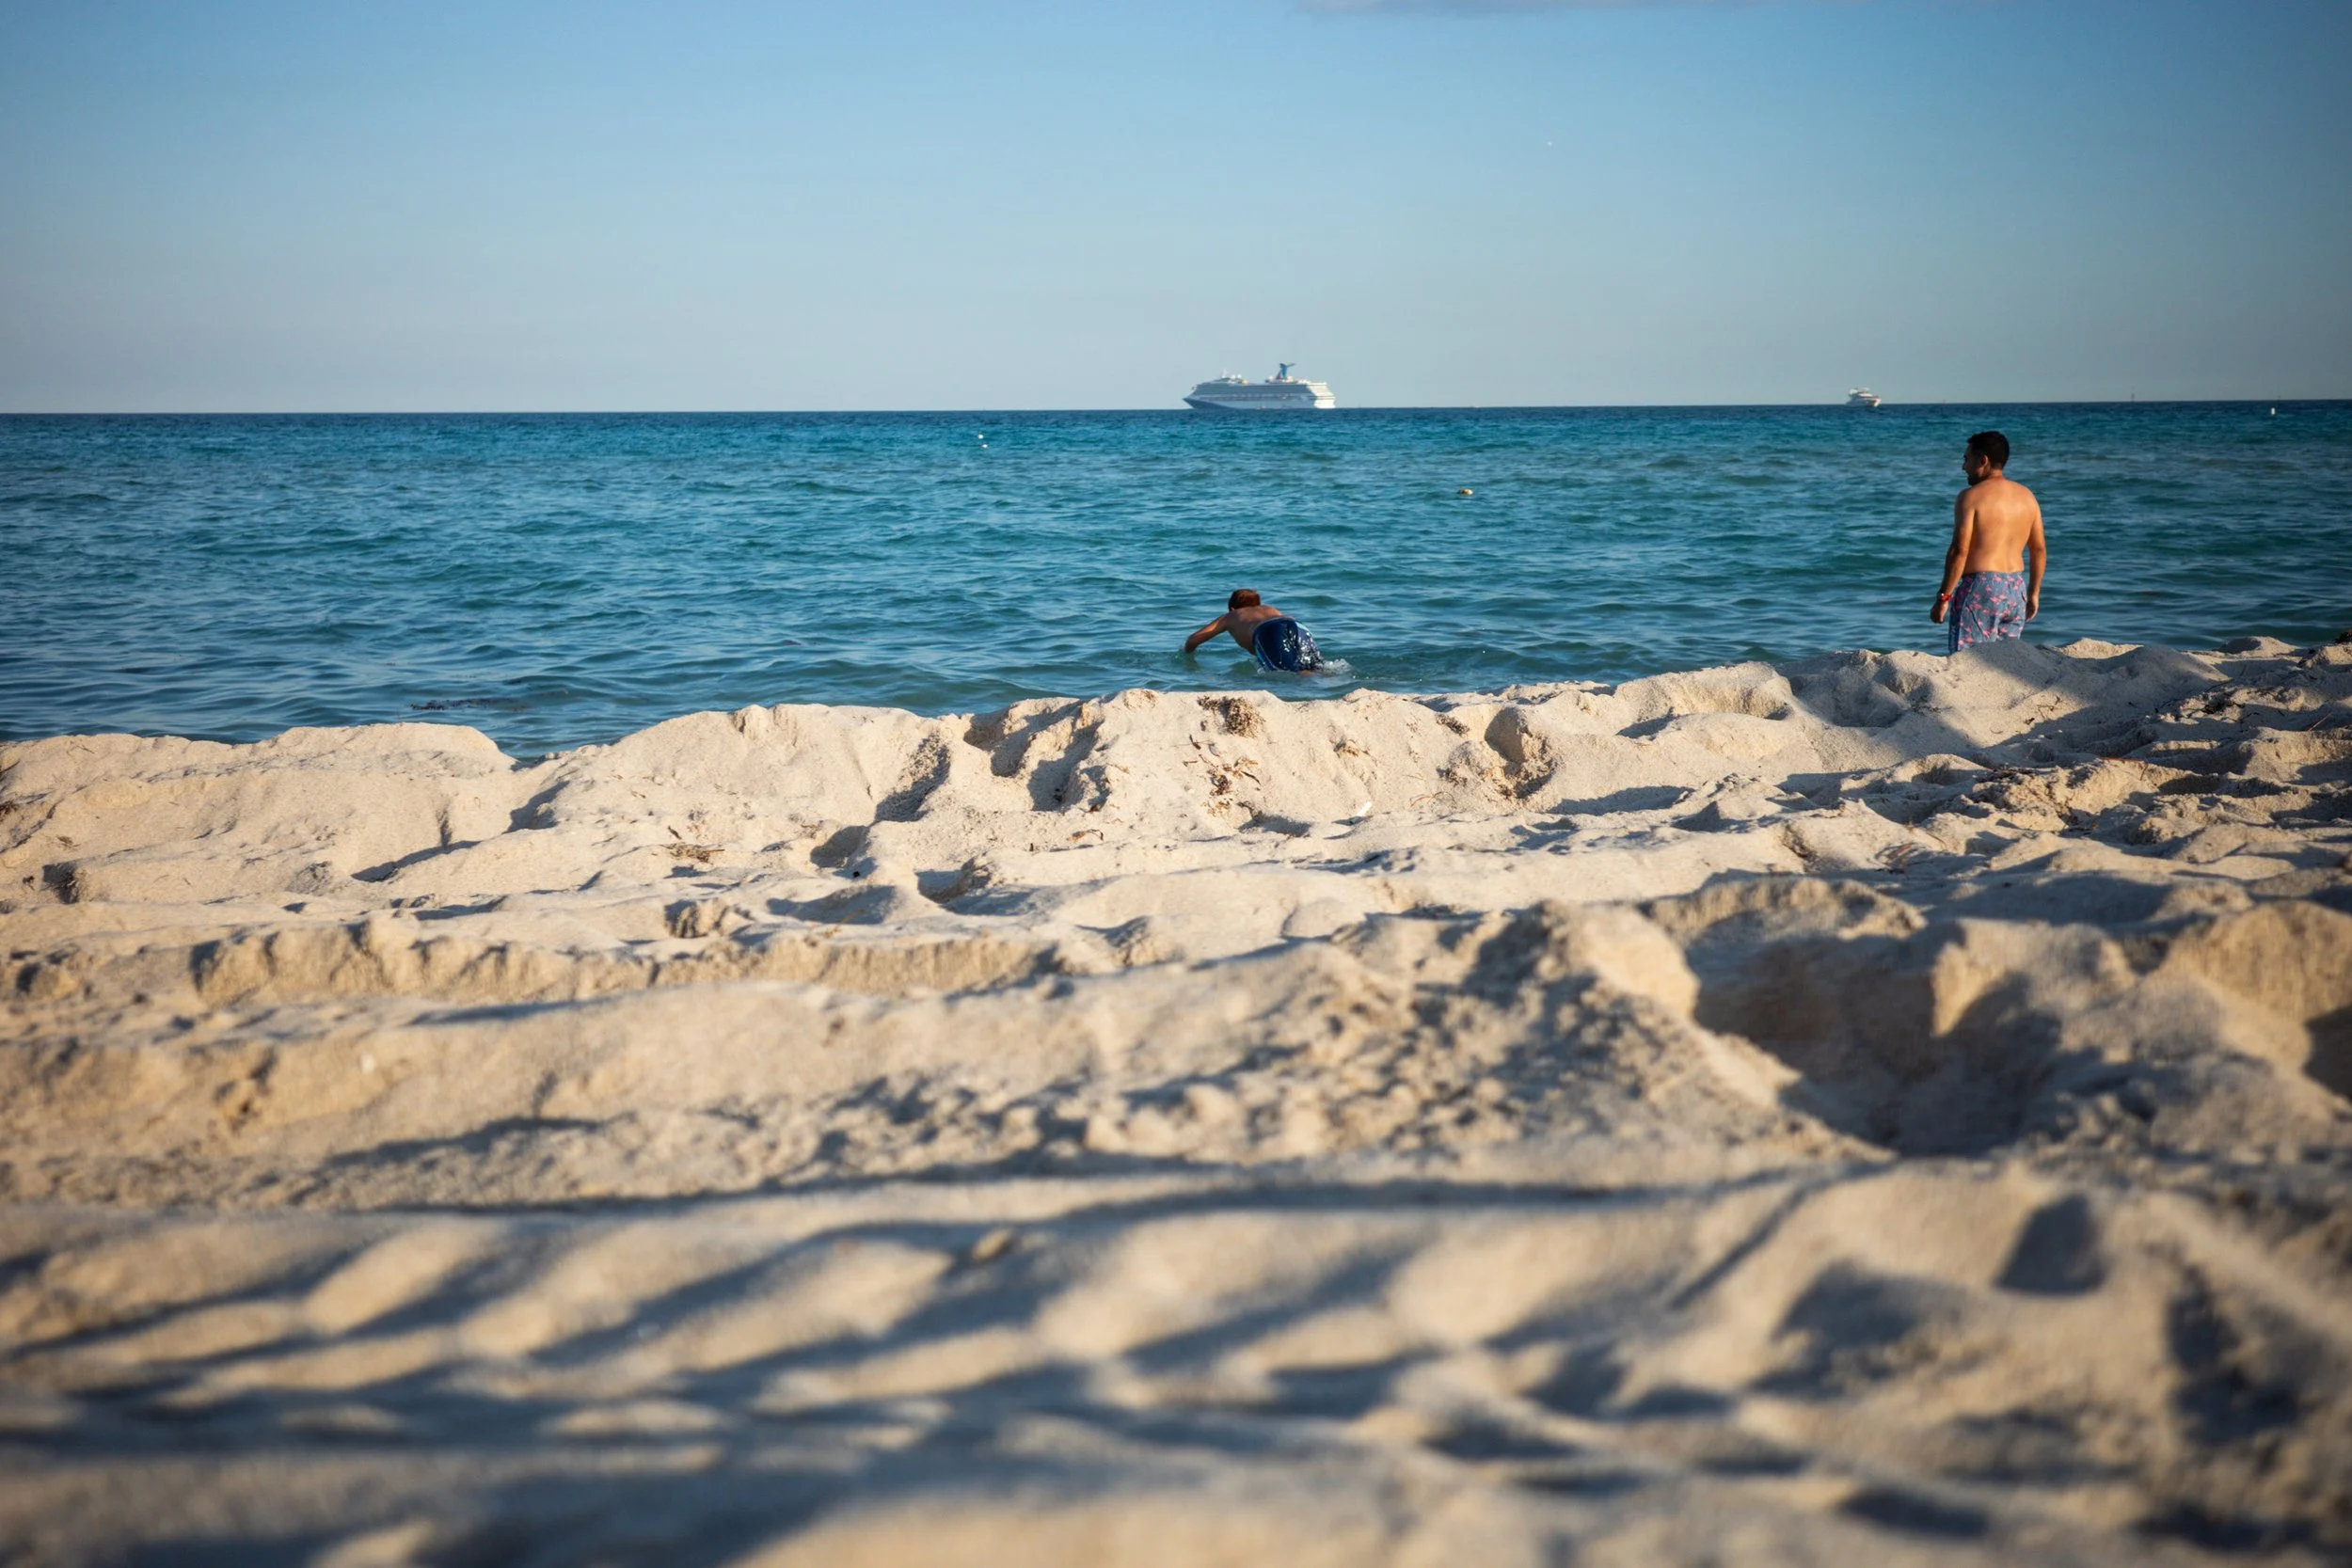
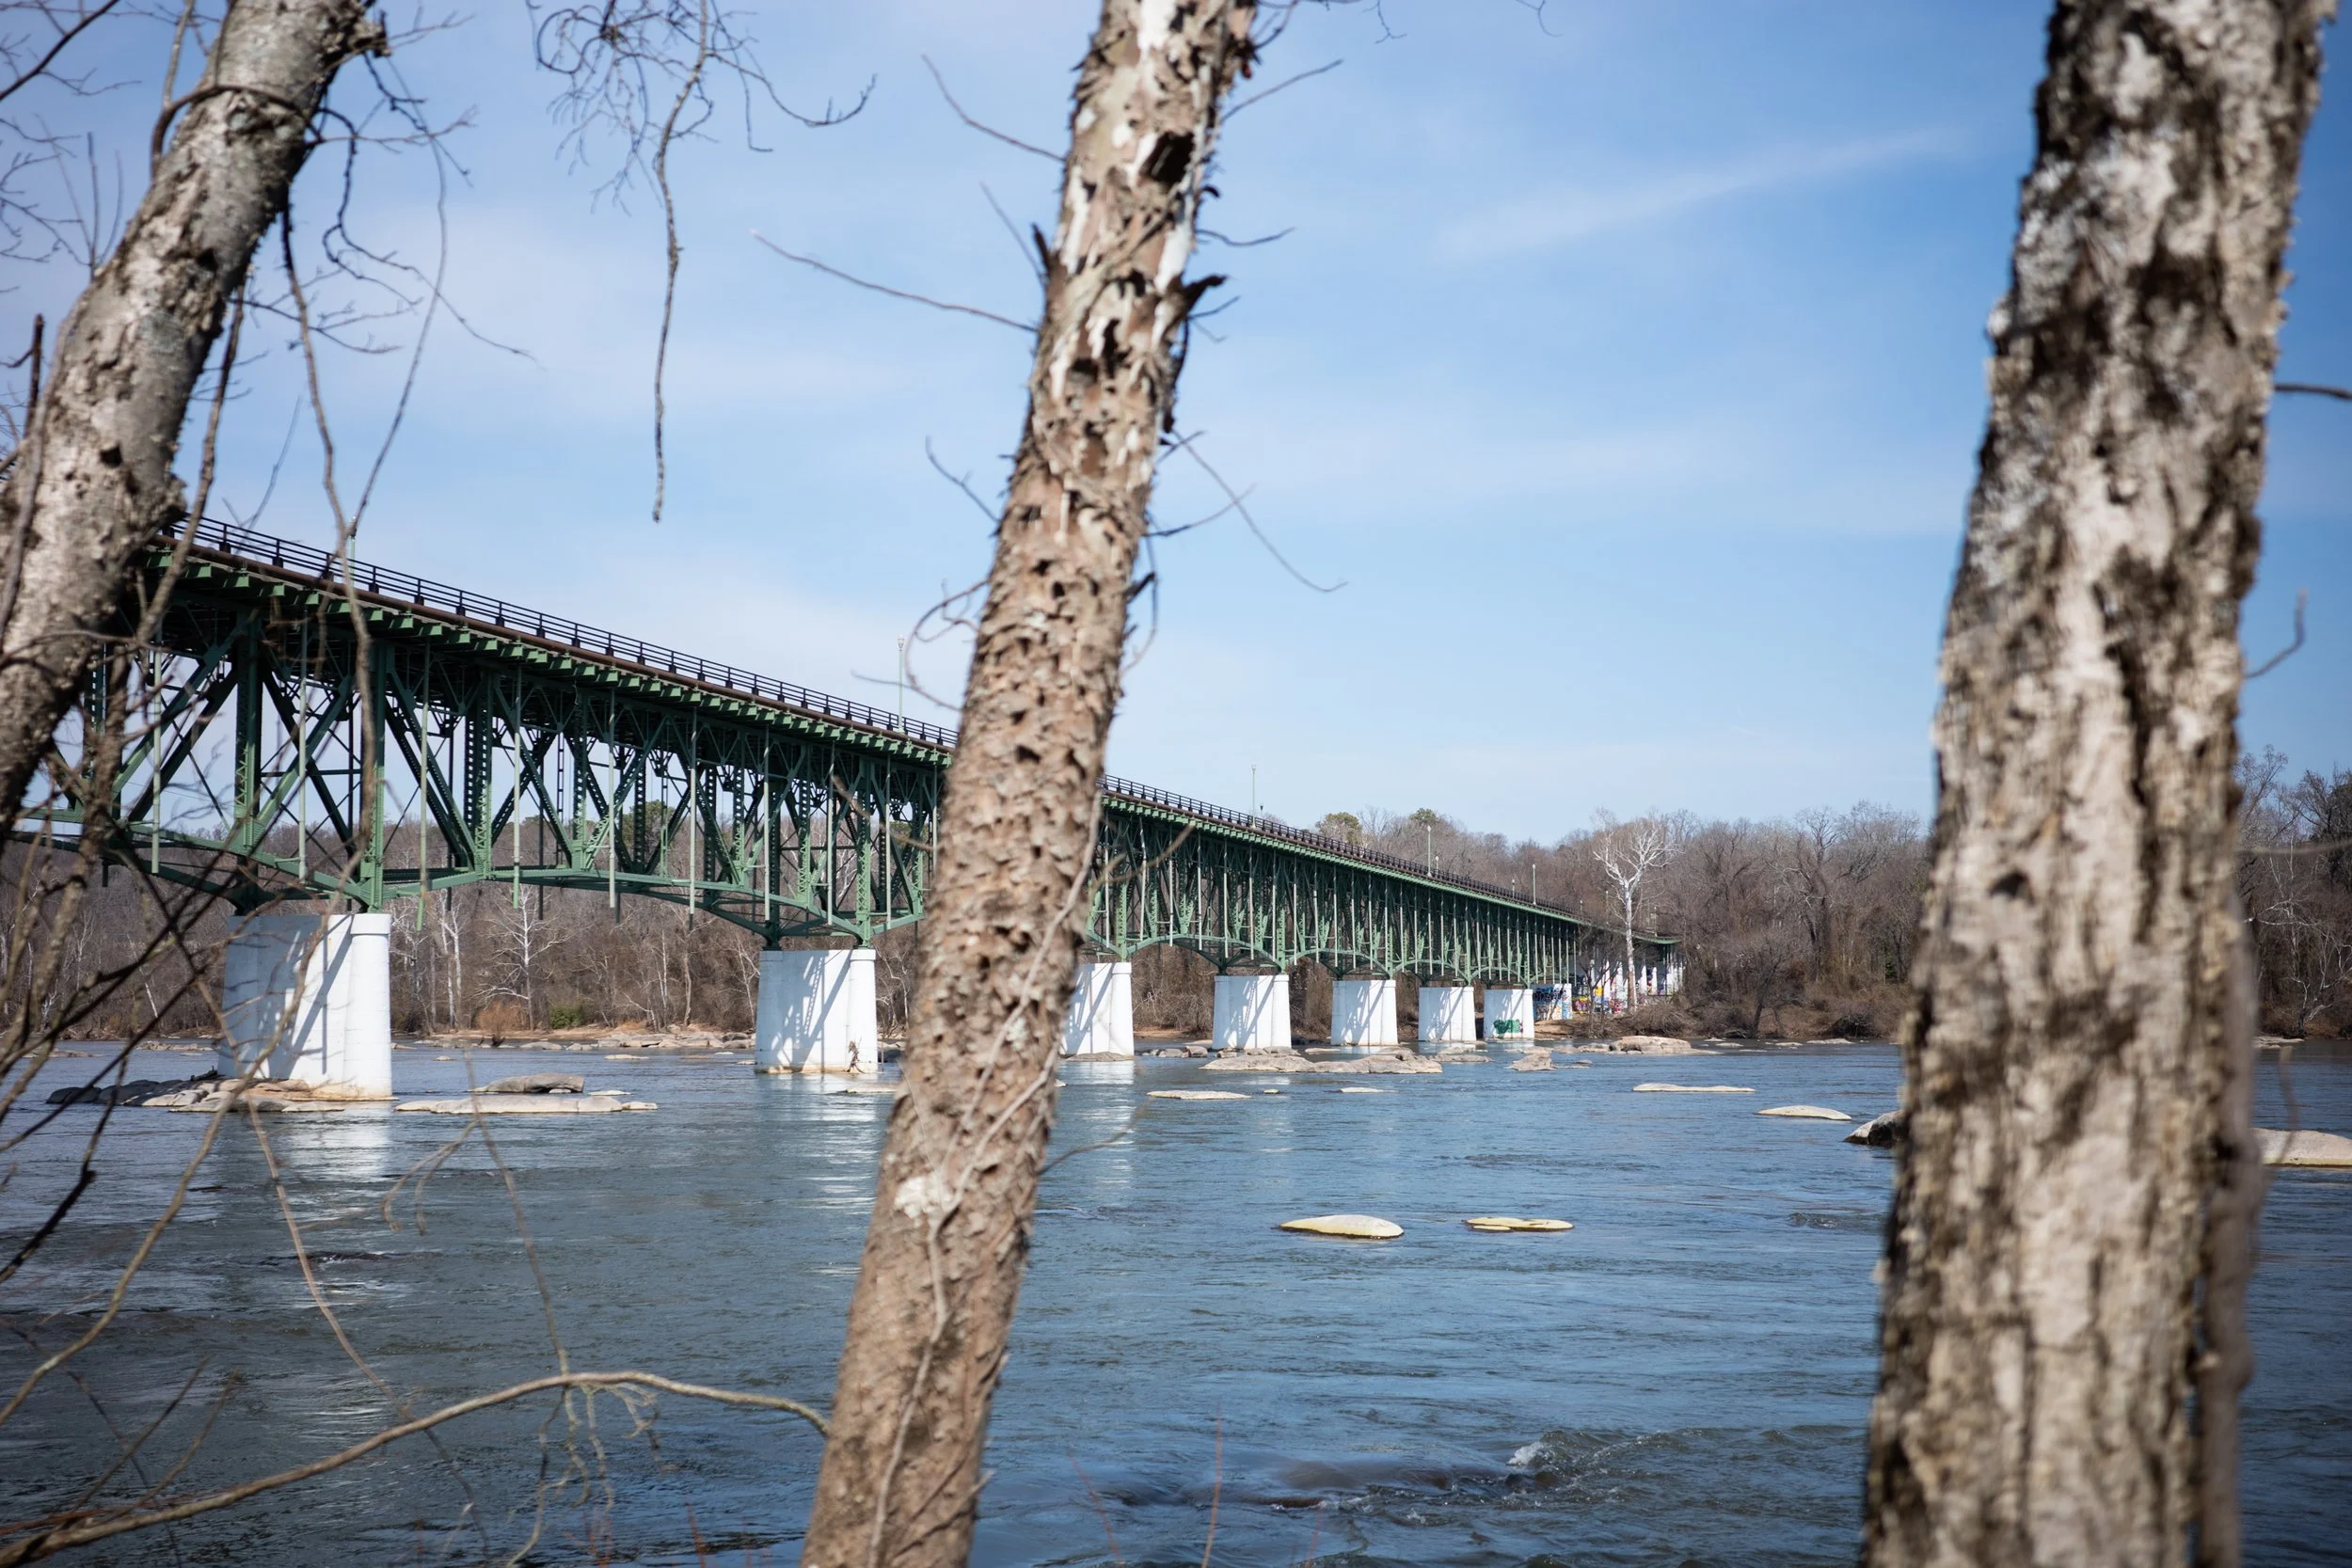
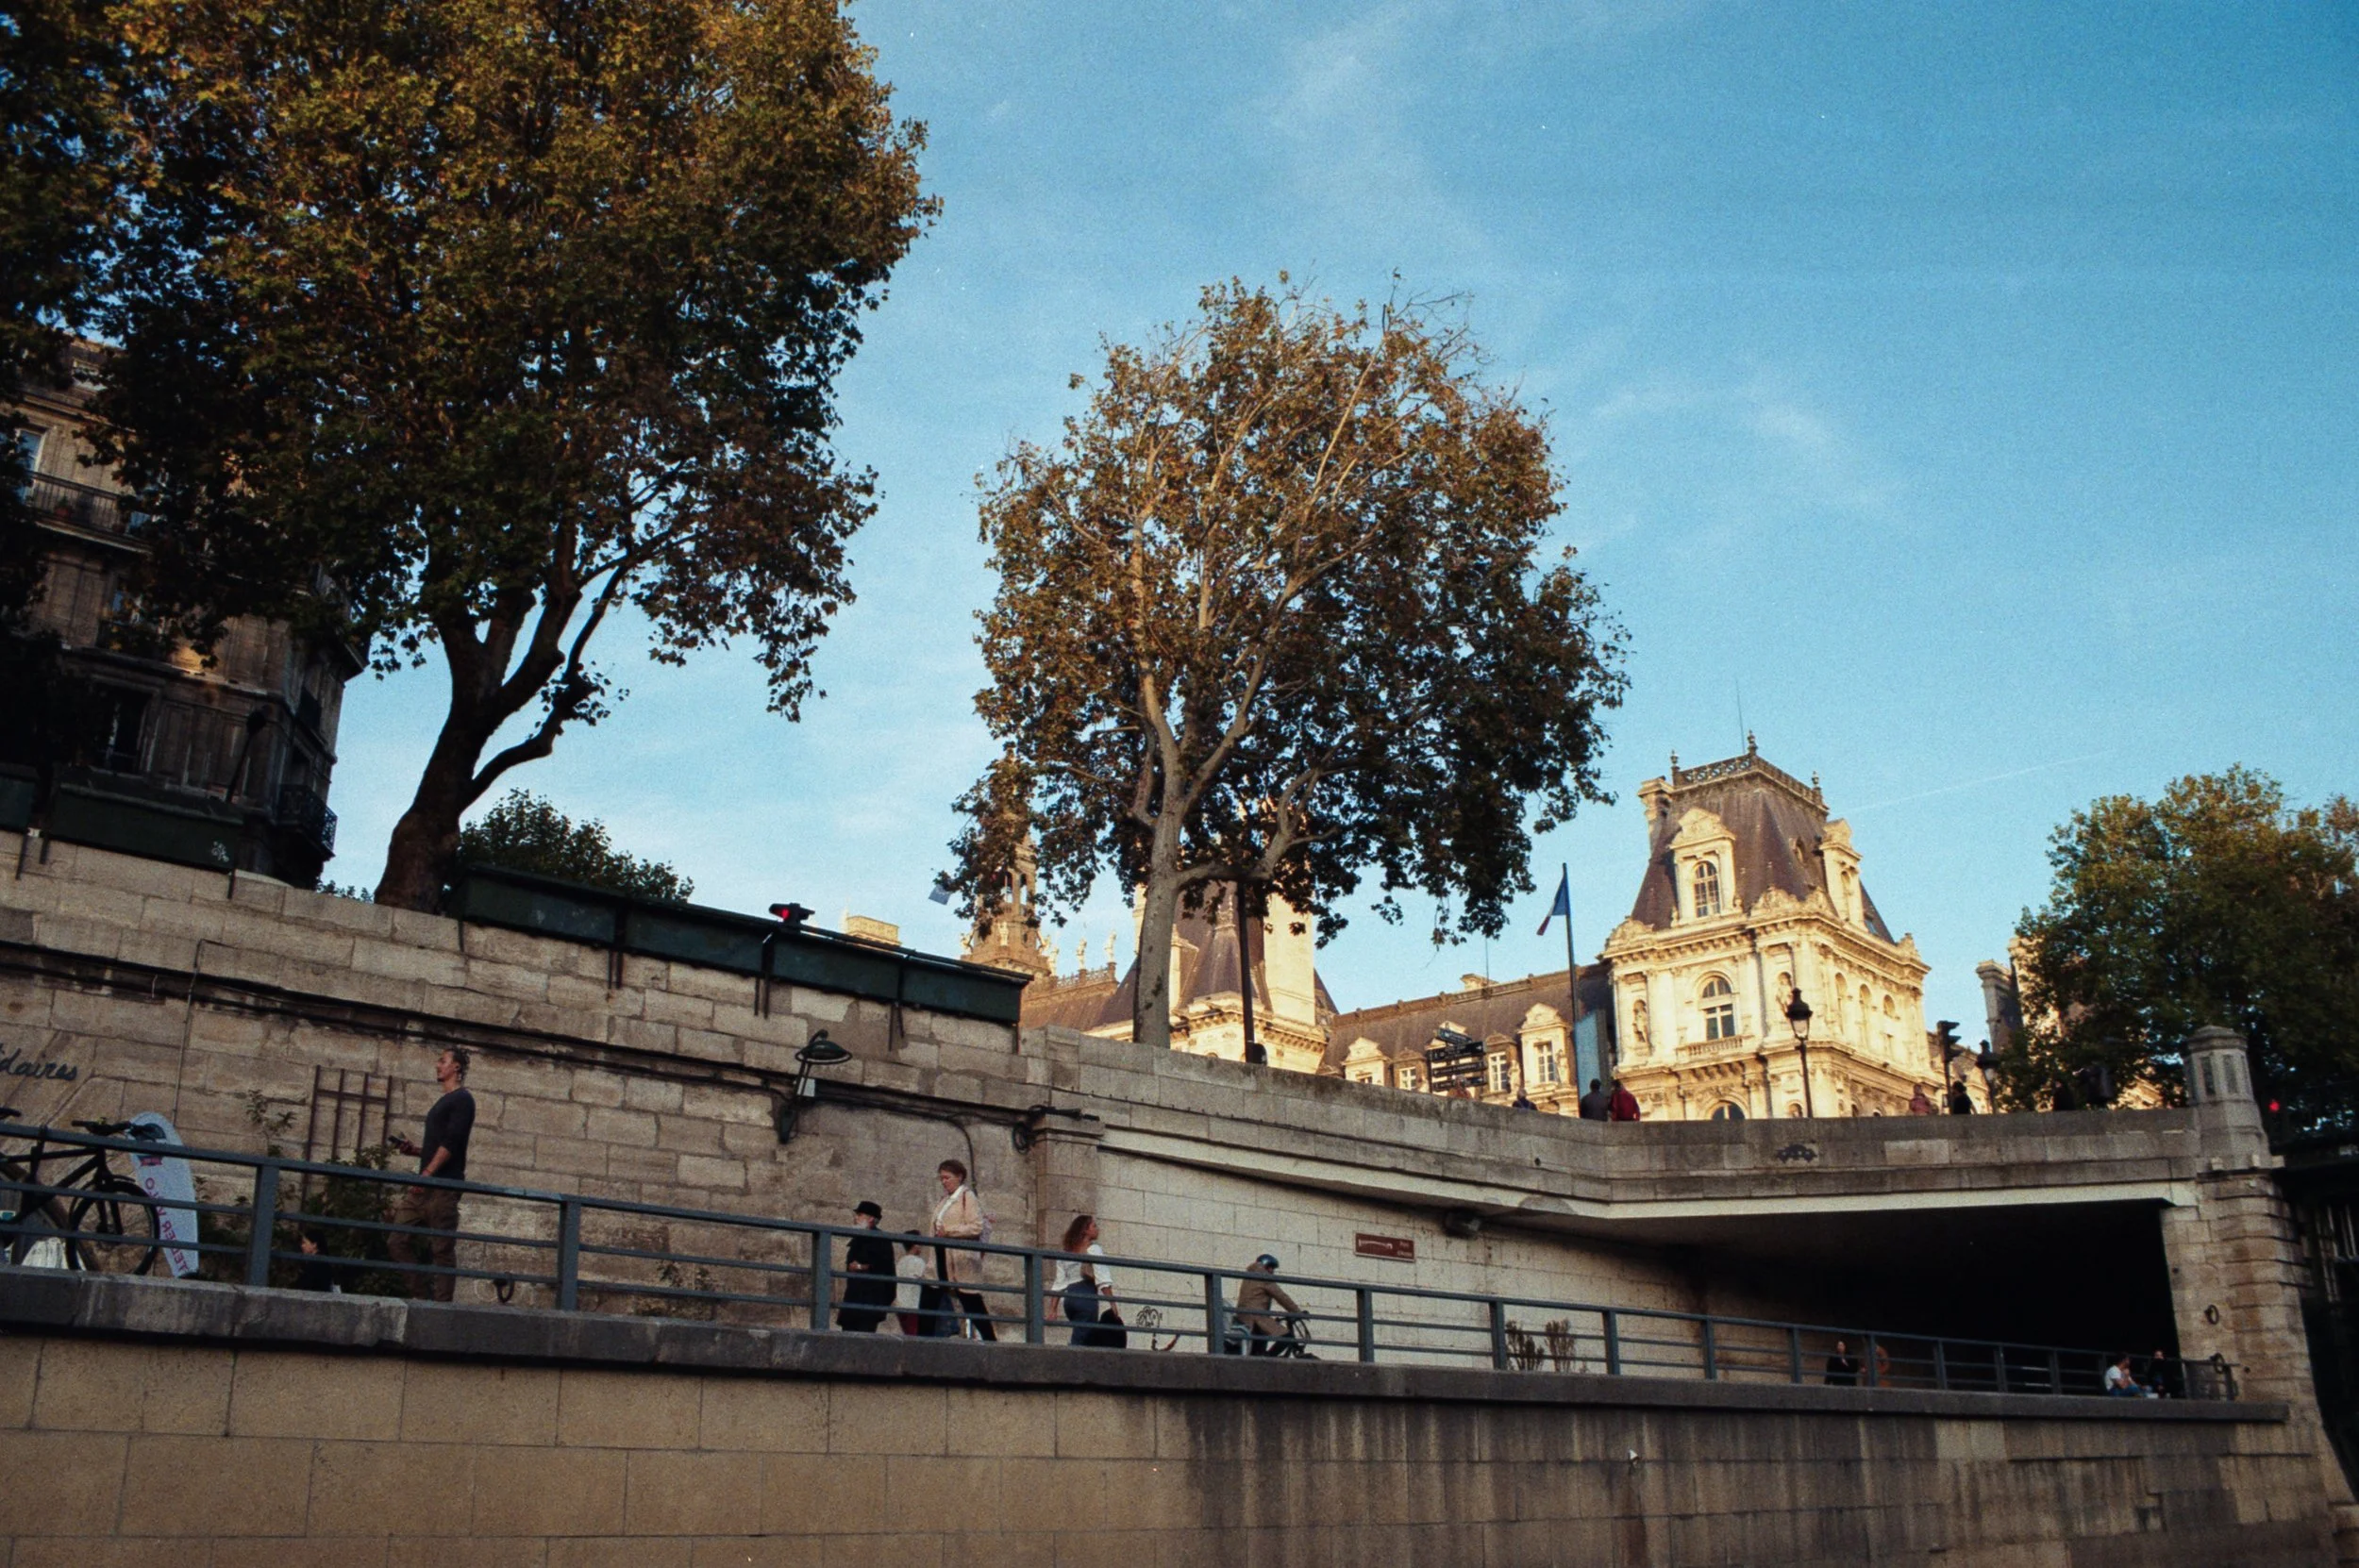
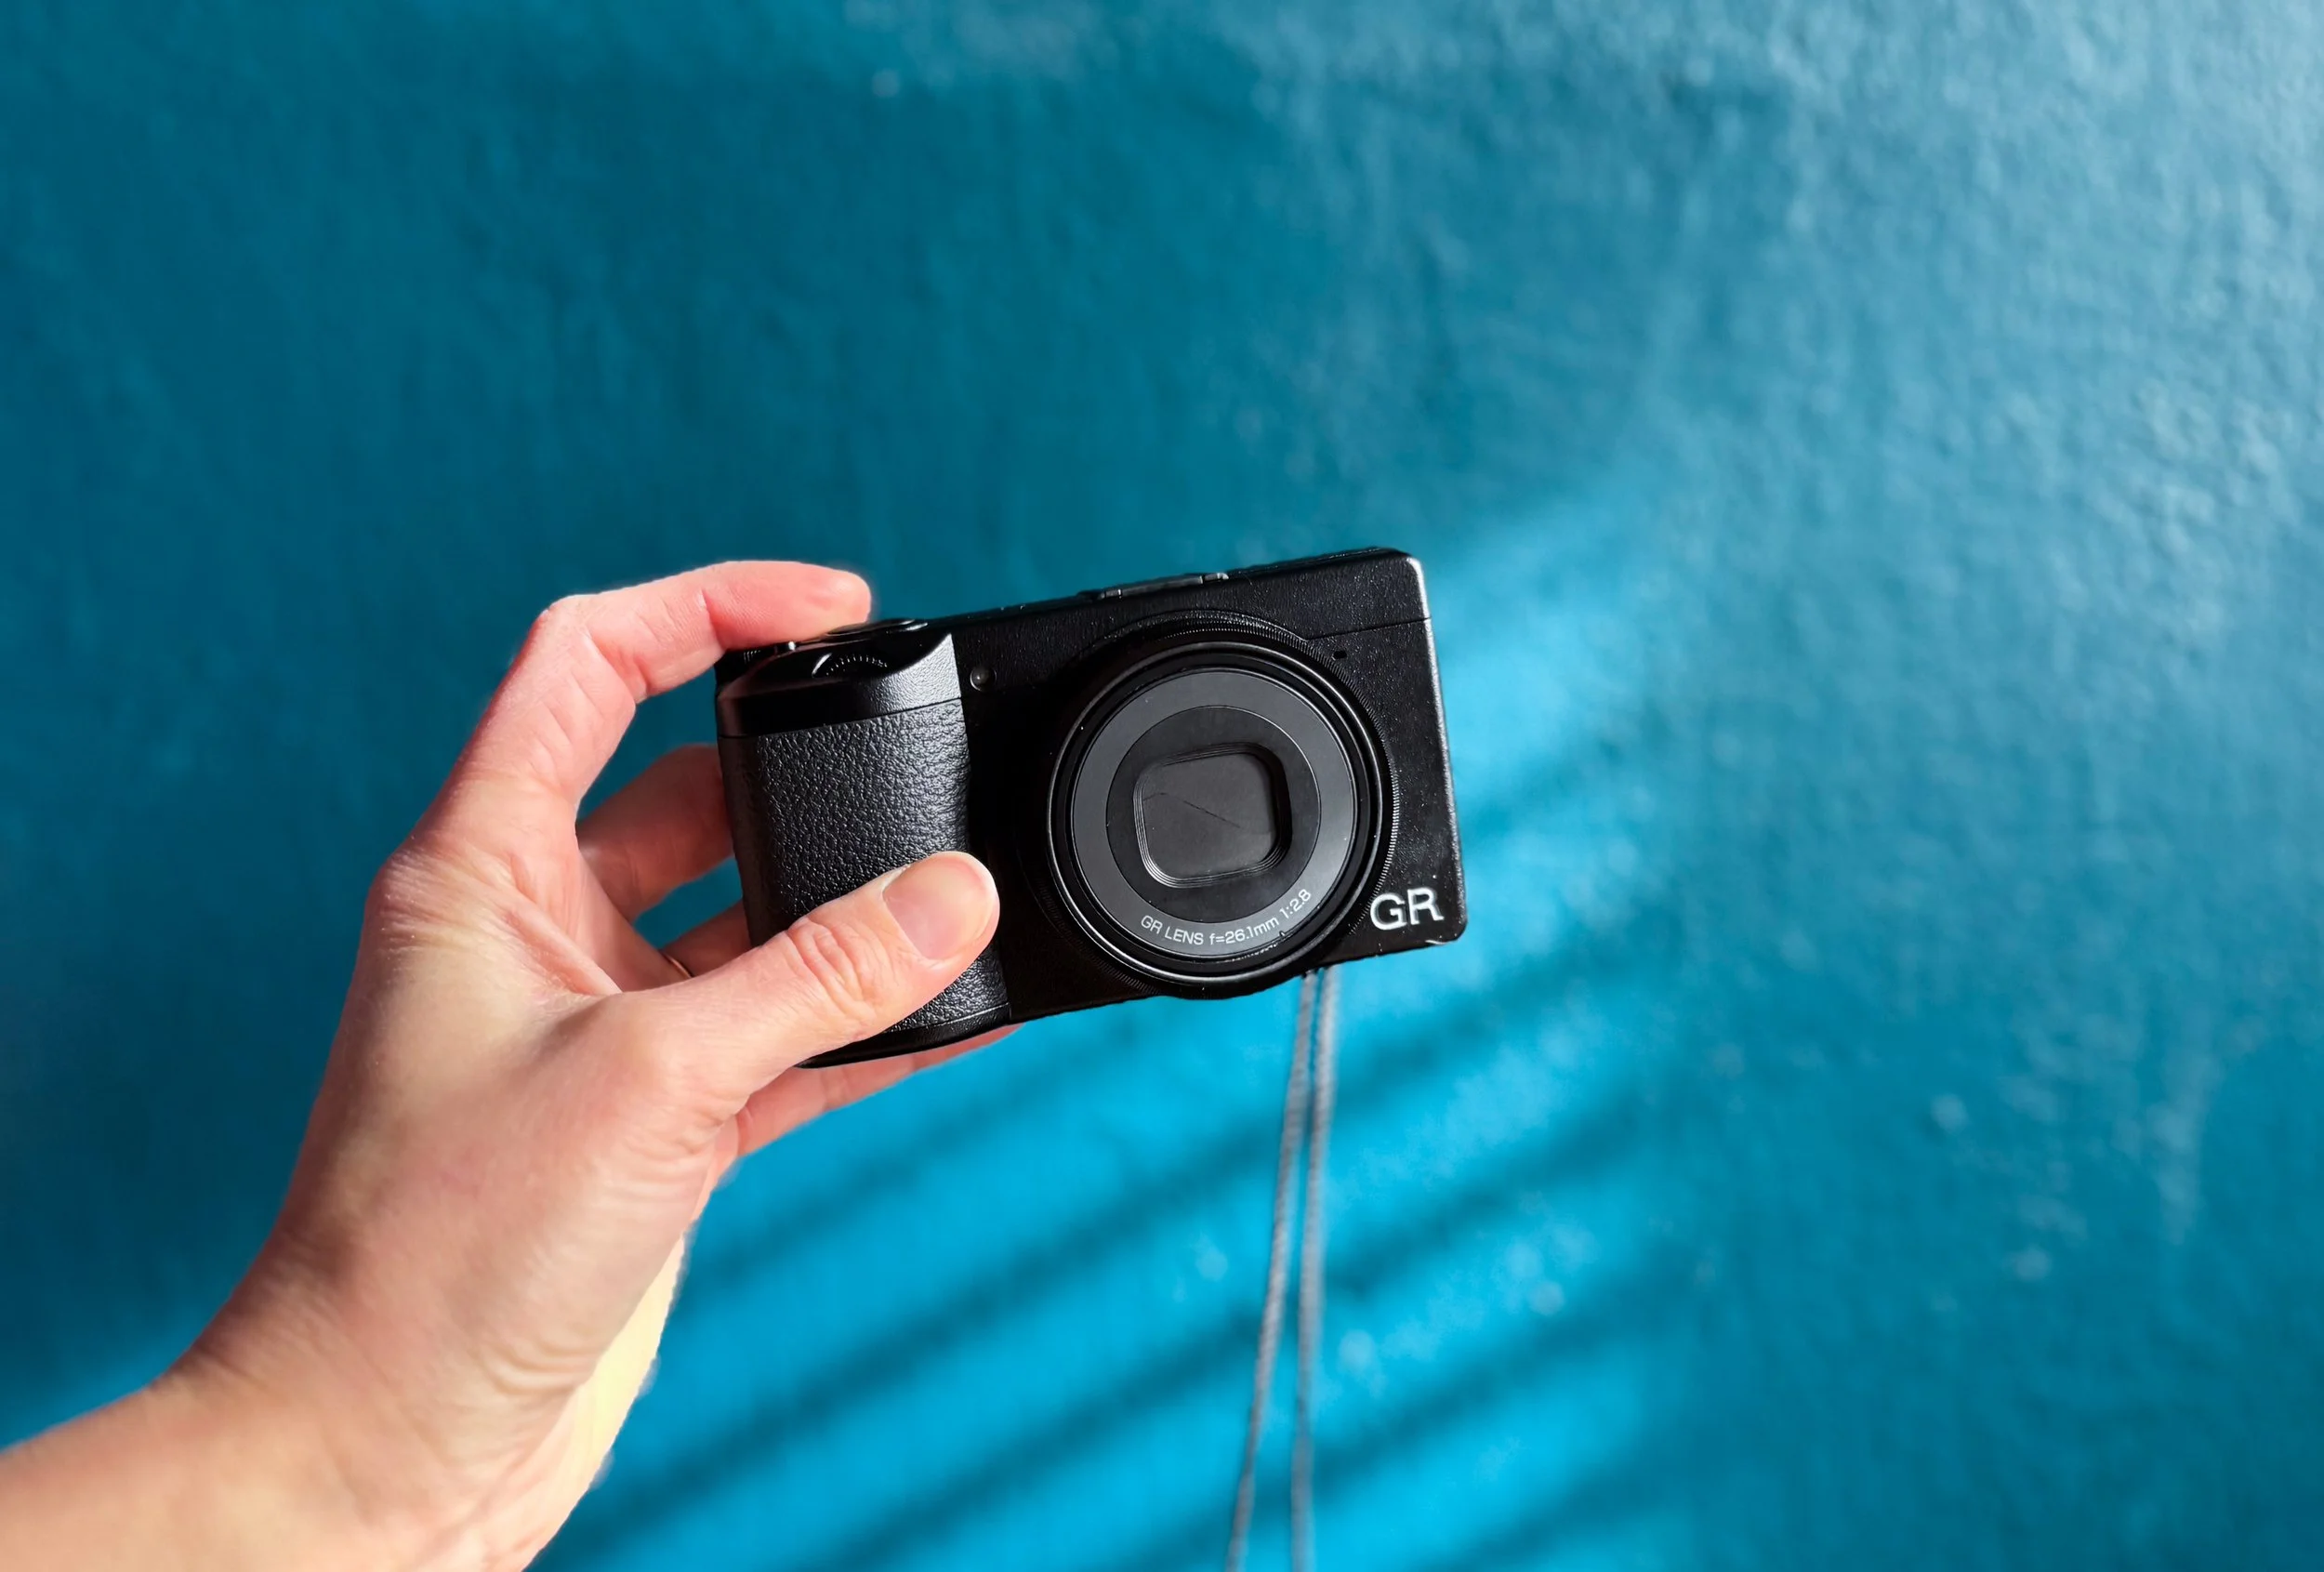
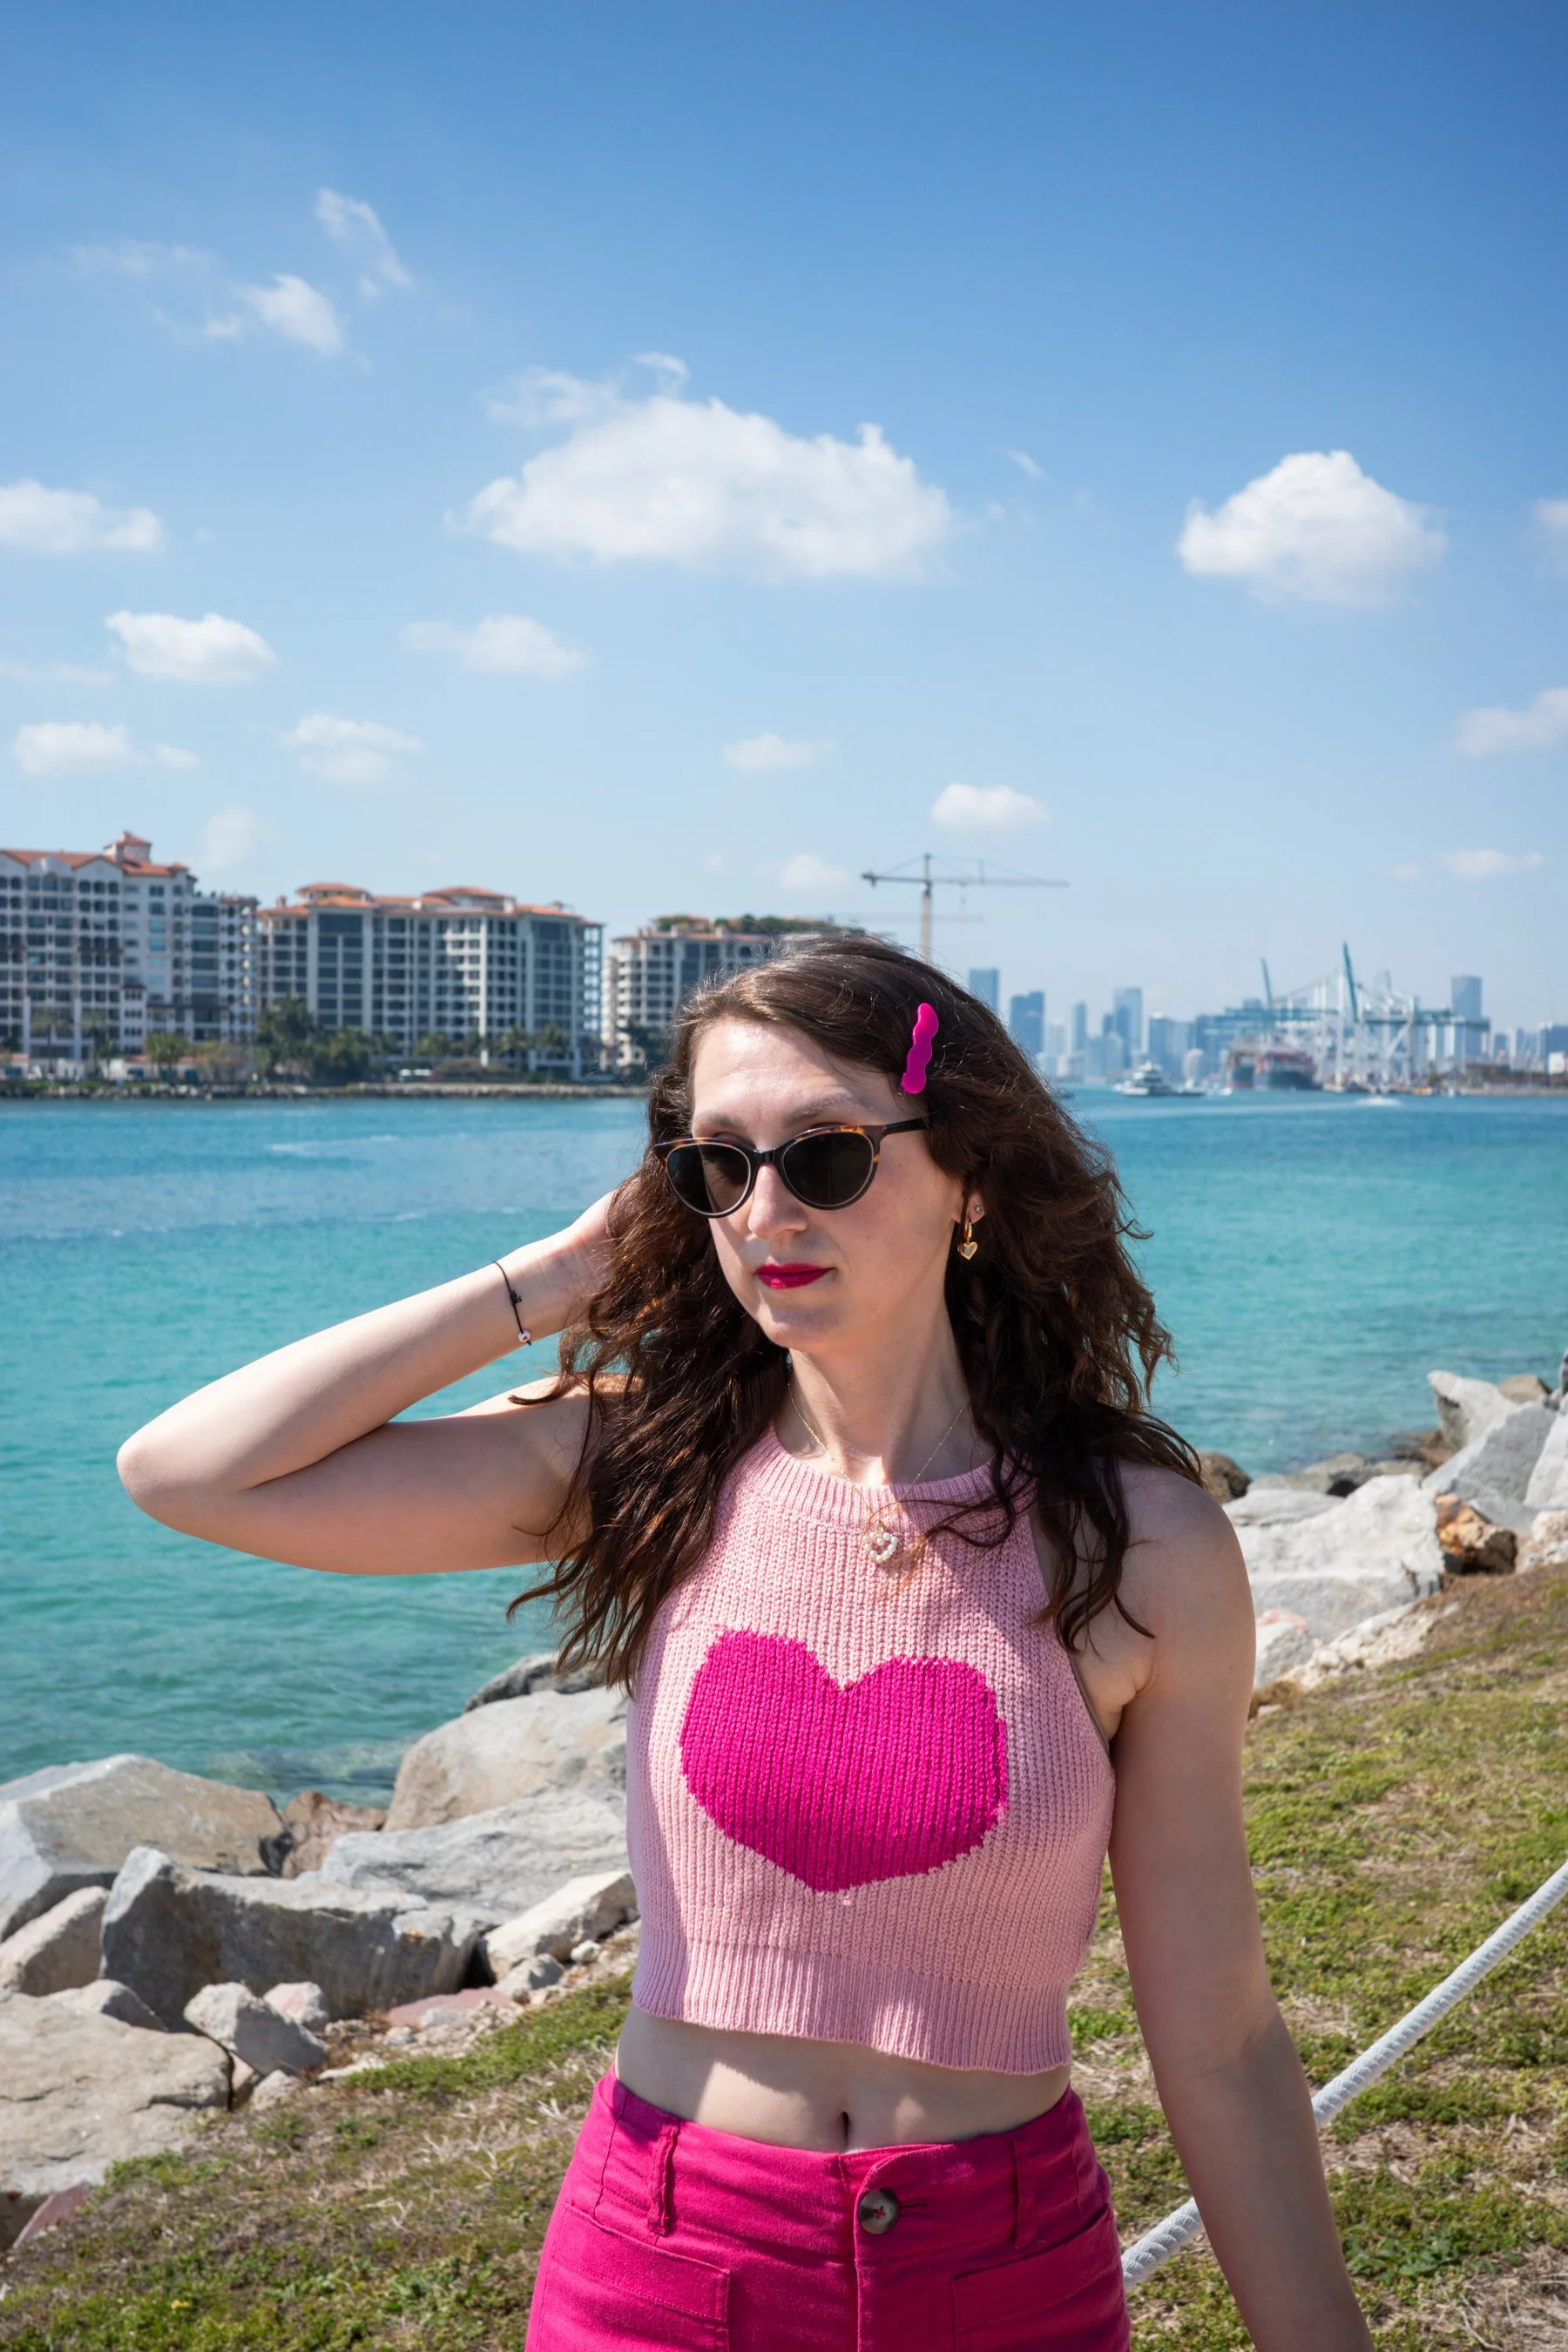
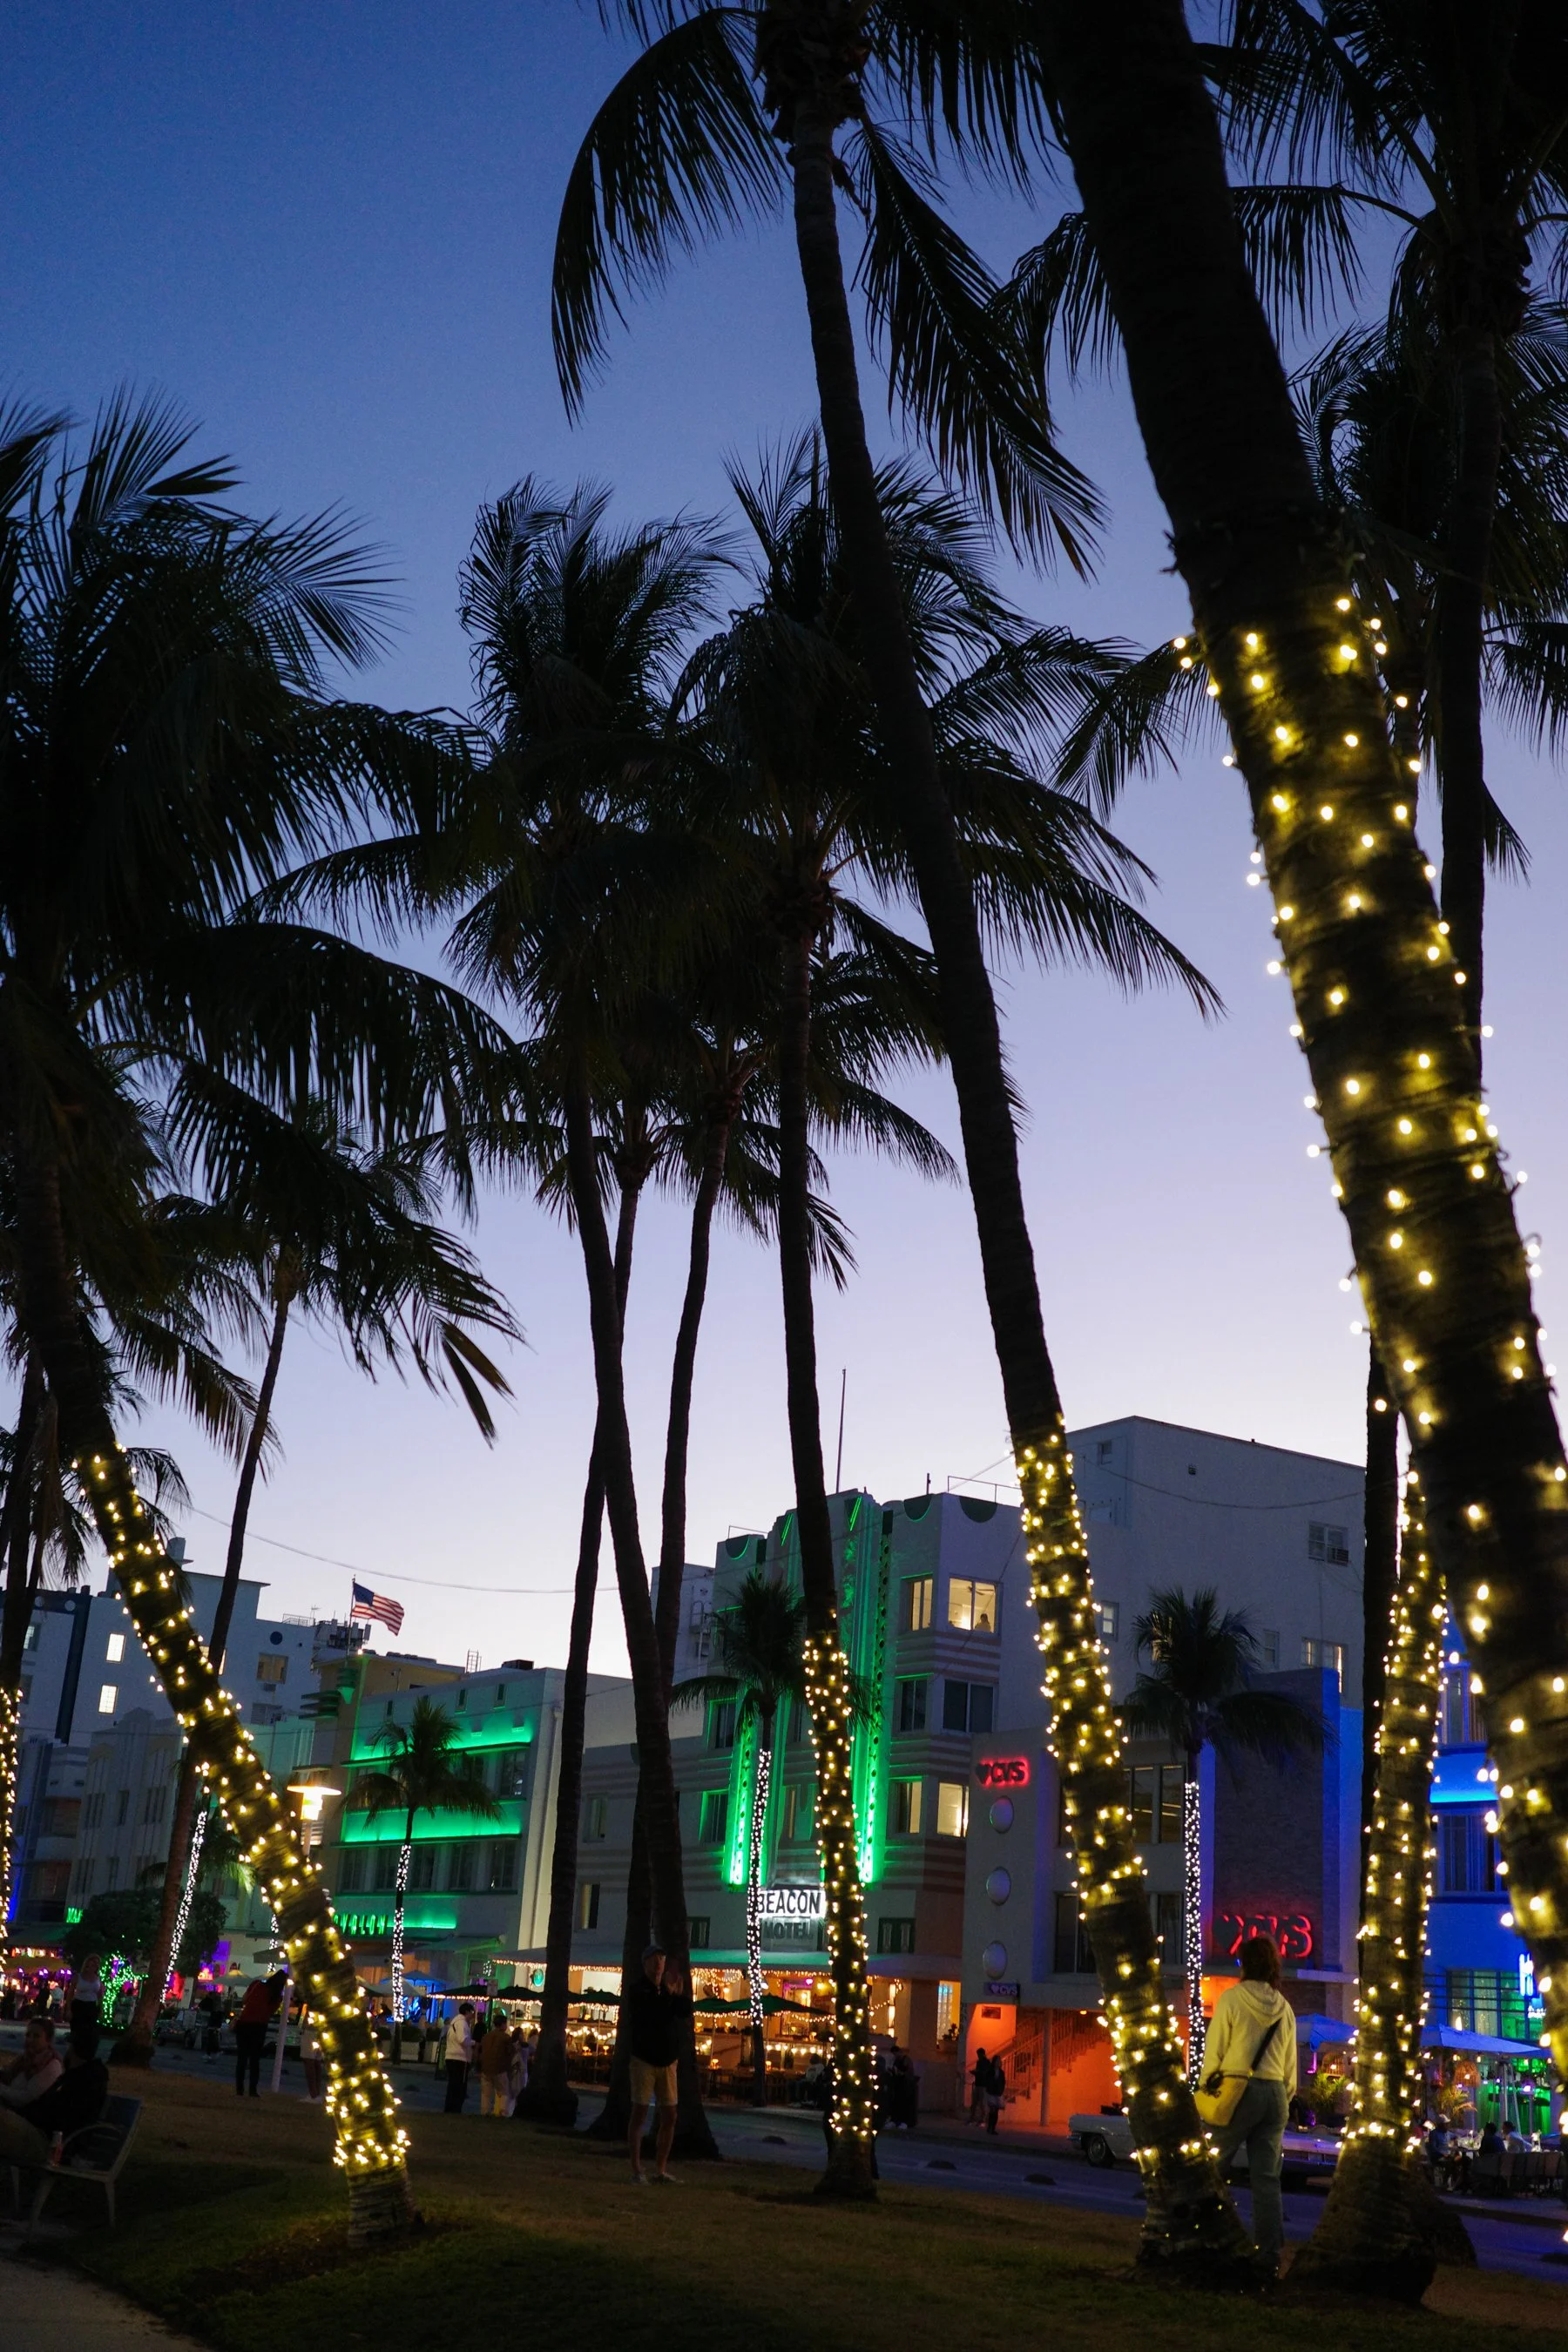
Point and shoot cameras are all the rage these days and the popular ones like the Canon G7X Mark II and Fujifilm X100VI are constantly sold out everywhere. But there are quite a few lesser known brands that offer amazing little point and shoot cameras too. It’s crazy what these tiny cameras are capable of these days. I recently had the chance to test out the Ricoh GR IIIx on a trip to Miami and got to fully experience how much point and shoot cameras have improved since the early 2000s. I constantly think about my very first point and shoot camera, the Canon ELPH Powershot sd900 (you can still find them on eBay here!). It was unfortunately stolen one day after I set it down at a street festival, but I won my first photography contest with a photo I took with that camera! So, in a way, point and shoot digital cameras are really what started my career as a photographer and artist!
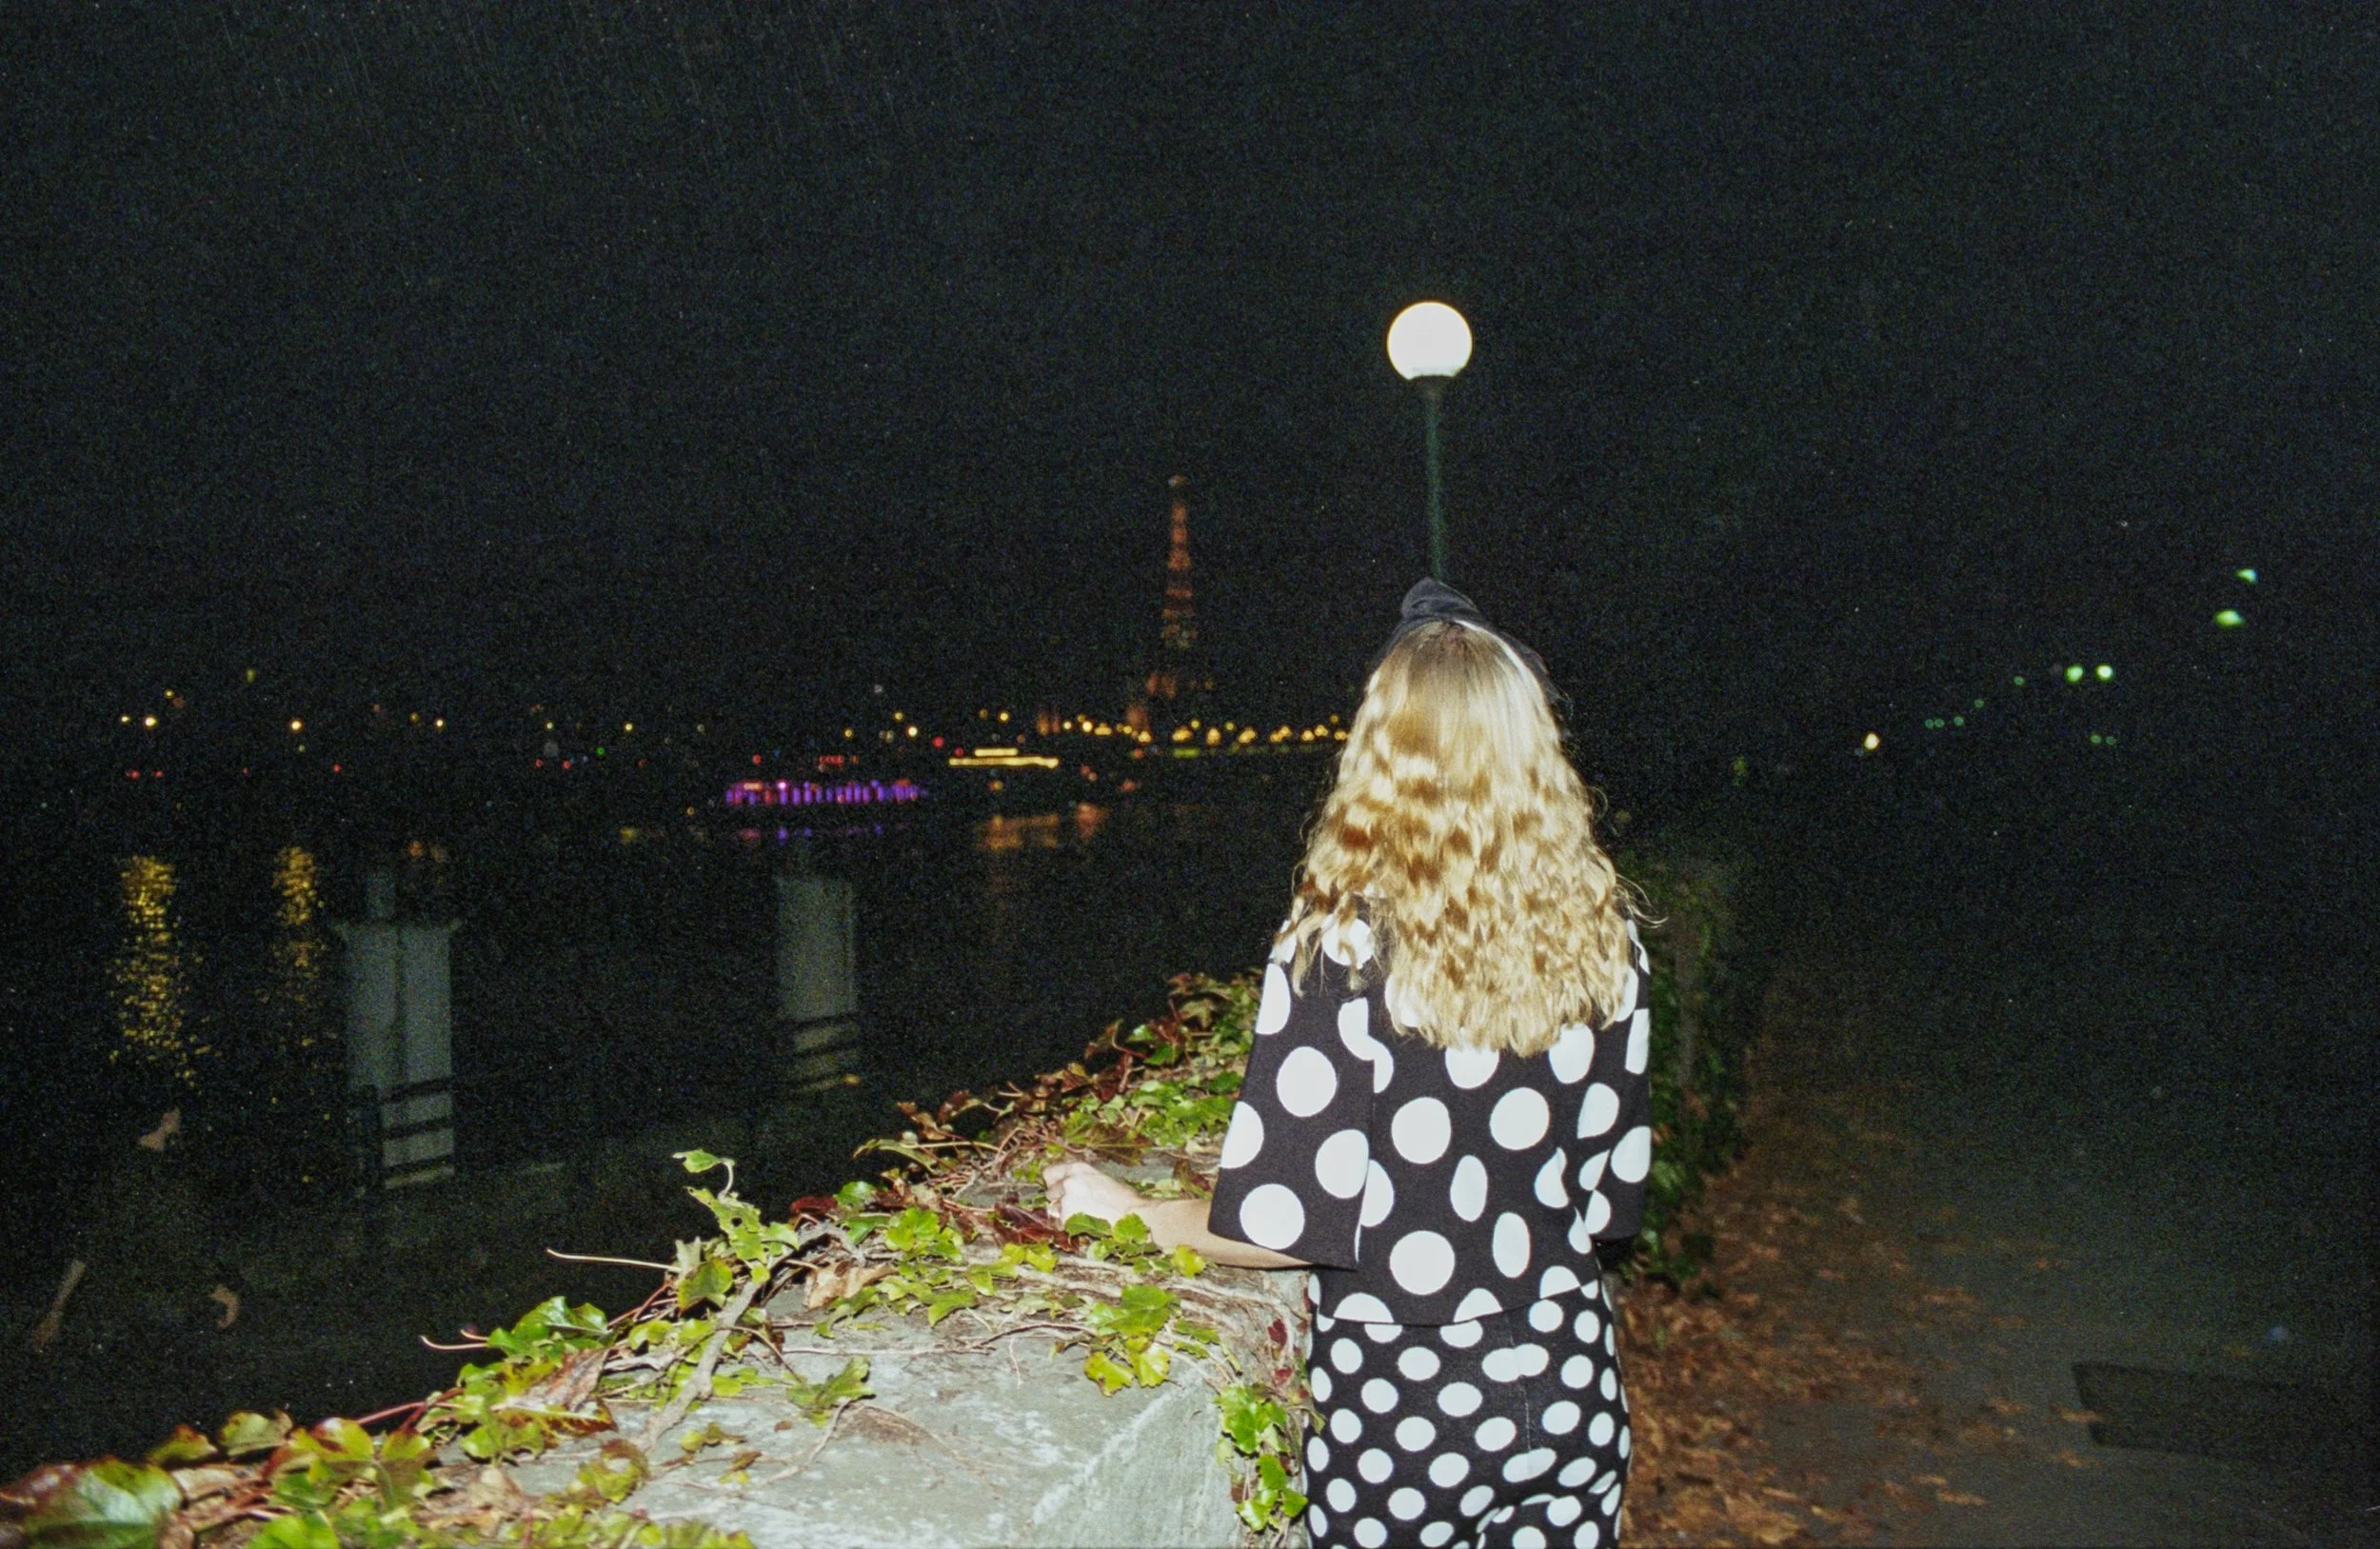
The Ricoh GR IIIx has so many incredible qualities and it definitely impressed me with it’s ability to create photos that don’t look like they came from a point and shoot at all. It’s super compact, aesthically gorgeous, and is capable of creating images that are cinematic, film-like, and creatively inspiring. I actually tested it against the Sony RX 100VII and noticed a few key differences right away. My main takeaway from shooting with those two cameras alongside each other is that the Ricoh GR IIIx is really meant for fine art photographers who are looking for pro-level photographs in a tiny package. It’s the perfect travel camera, as all point and shoots are, but it truly stood out against the Sony RX 100VI in terms of creating photographs that look like fine art vs. candid, wide angle lifestyle shots. If you’re looking for a camera that acts more like a large DSLR or mirrorless camera, the Ricoh GR IIIx might be the better option. I always dream of the day I can shoot a whole portrait session or wedding with a point and shoot but I think my clients might think it’s a bit strange if I showed up with a camera half the size of my hand! Maybe one day…
(By using the affiliate links and/or codes in this blog post, you help support Myles Katherine Photography. I may earn a small commission at no additional cost to you if you make a purchase through these links. Thank you for your support!)

STANDOUT FEATURES OF THE RICOH GR IIIX
1. Large APS-C Sensor
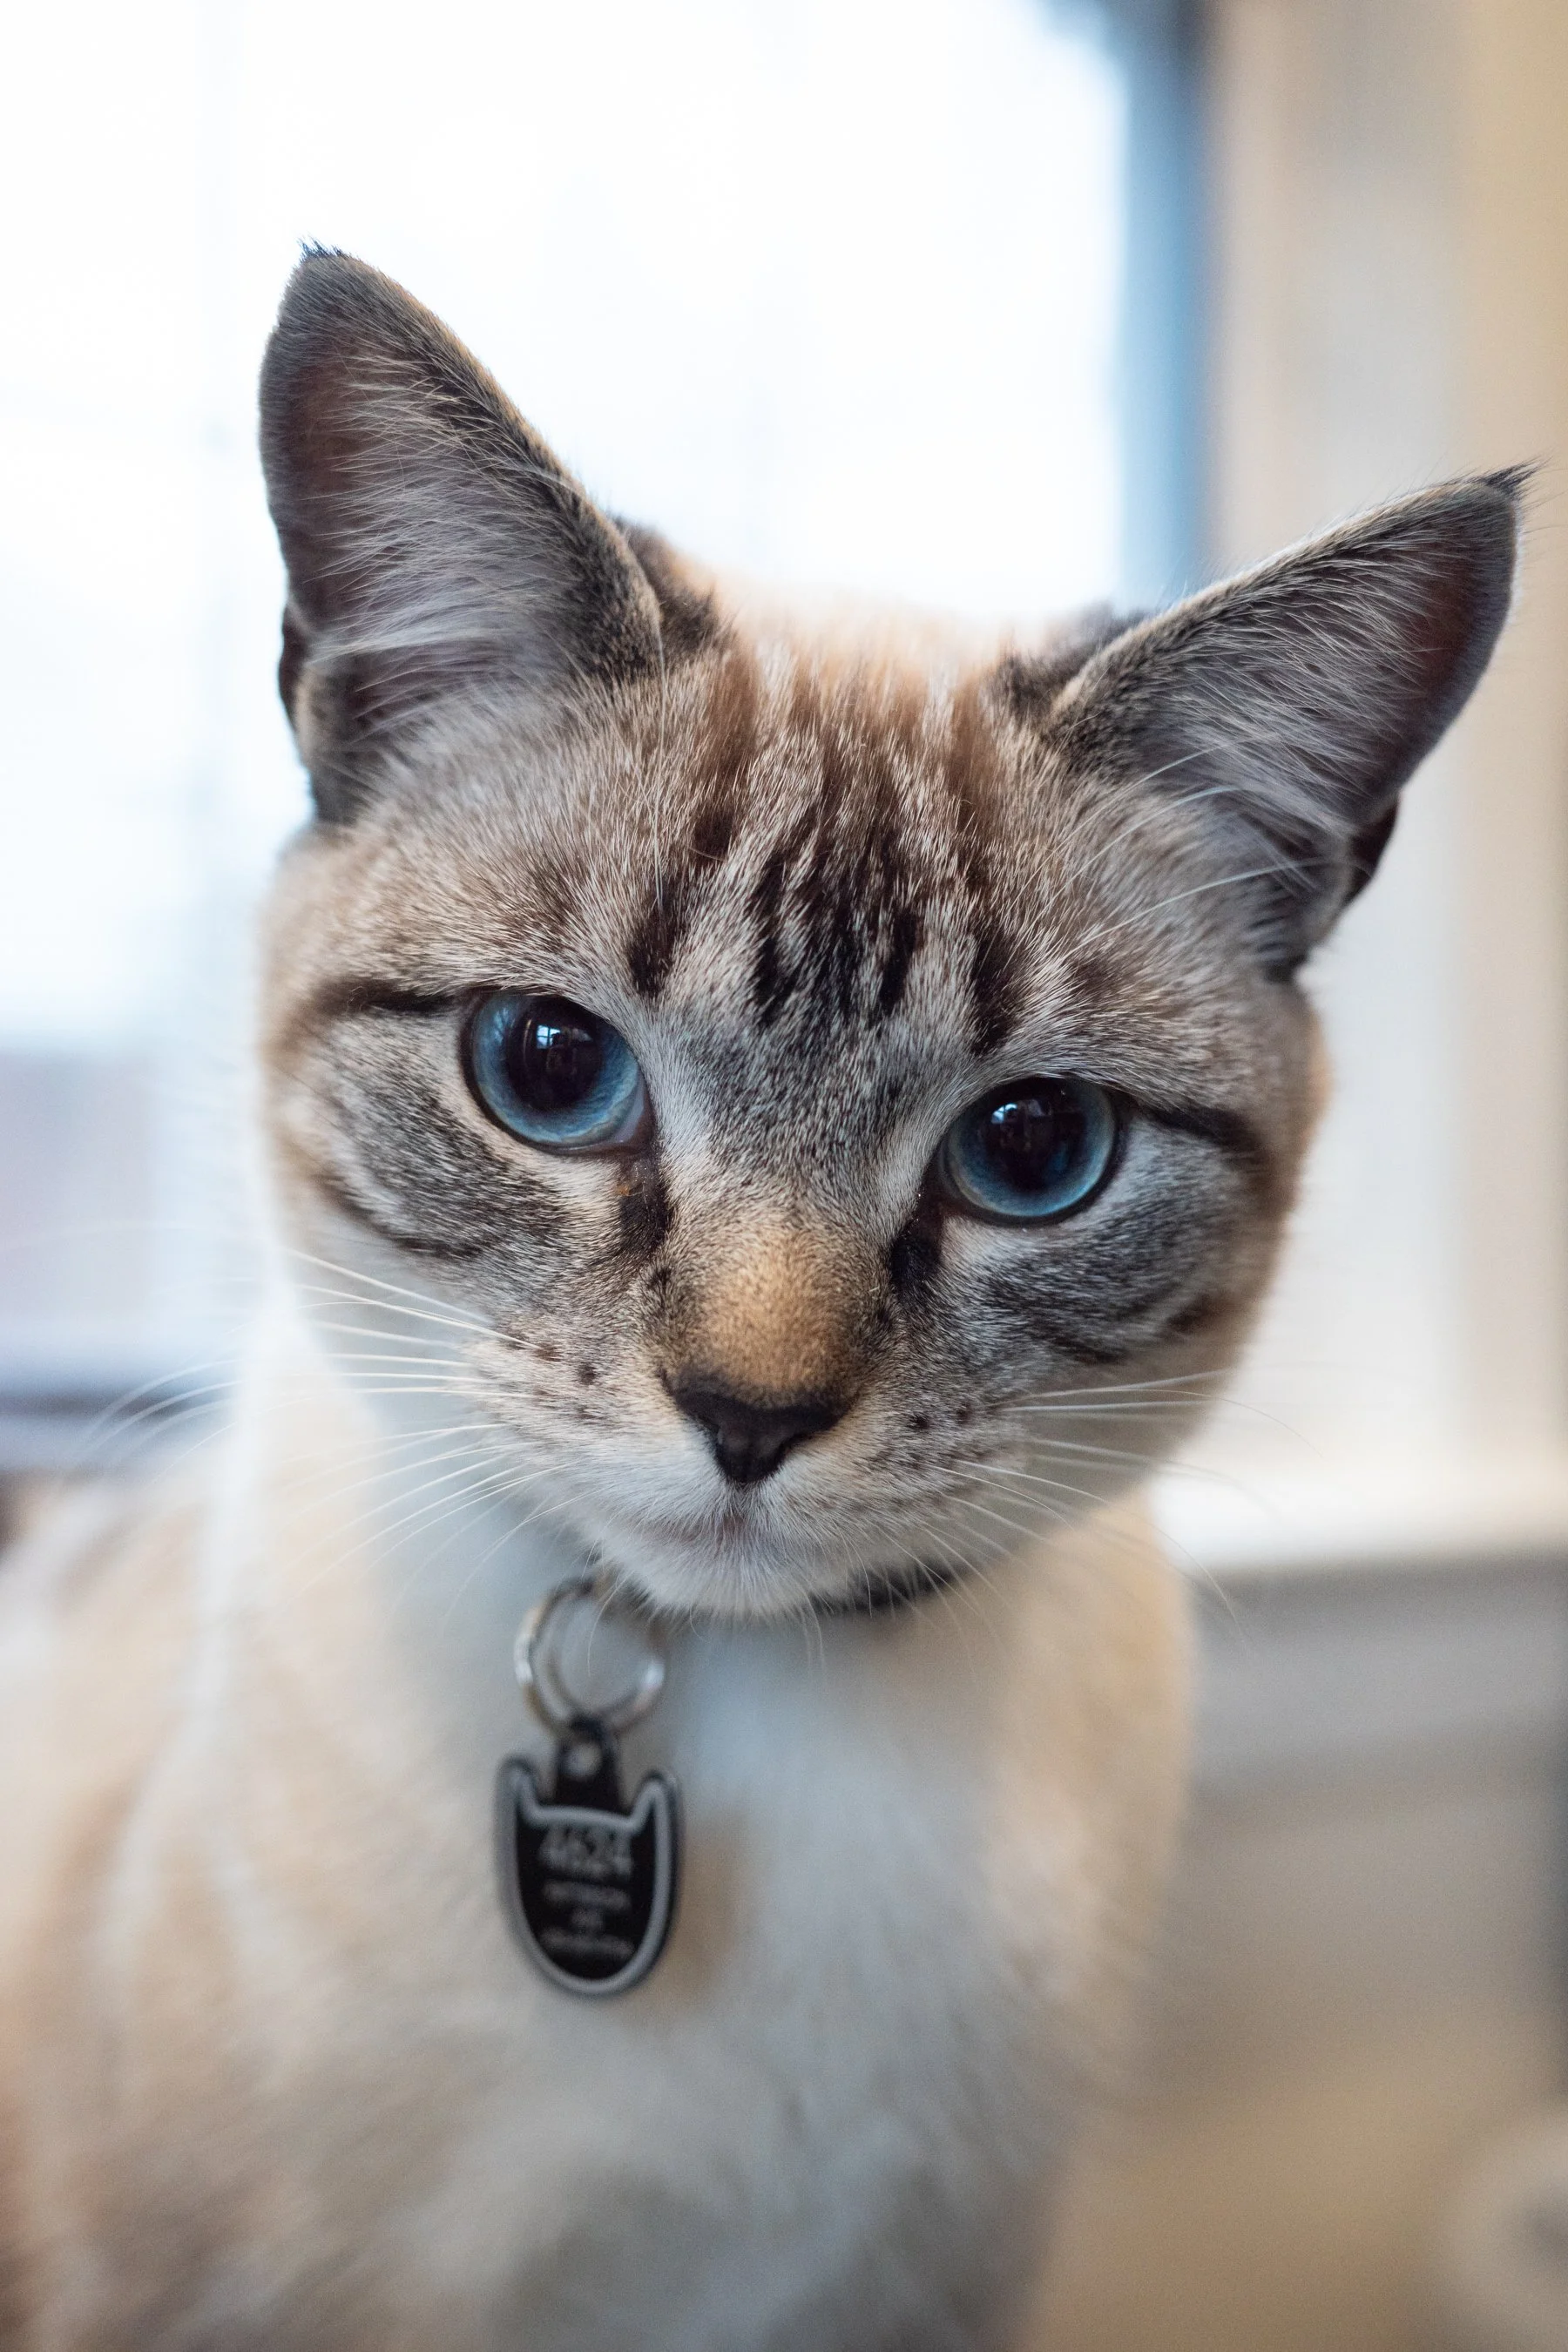
The 24.2 MP APS-C sensor on the Ricoh GR IIIx is really the key ingredient here in terms of photo quality when comparing it to the smaller 20.1 MP 1-inch sensor on the Sony RX 100VII. This sensor is more similar to what you’d find on a large, pro-level mirrorless or DSLR camera. I noticed right away how beautiful the images were, especially in low light or with a wide open aperture. I kept asking myself, why do I drag around these giant DLSR cameras all day when I could create images that are just as beautiful with a tiny, pocket-sized camera! It made all of the difference in the world when I was exploring Miami, because I’m so used to carrying around a backpack that weighs a million pounds on my travels. For this trip, I was just walking around with a small side bag and these two point and shoot cameras that weighed next to nothing. It was a game changer. I’m not sure I can ever go back to my previous ways! After using the Ricoh GR IIIx for a few days, it quickly became obvious that if your goal is to create images that you’re hoping to submit to galleries, to enlarge for prints, or images that are more “fine art”, street-style photography, the Ricoh GR IIIx is the ideal choice. The Sony RX 100VII is better for sharing to social media, capturing candid moments with friends and family, or for basic travel photography that doesn’t require a lot of thinking. The Ricoh GR IIIx is a bit more advanced and isn’t quite as user-friendly, but even though it’s geared toward more fine art photography, it’s still easy enough to use for the average consumer. All point and shoot cameras are meant to be simple, hence “point…and…shoot”, but the Sony RX 100VII wins if you’re looking for a camera that does it all without being too complicated. The Ricoh GR IIIx is better for professional photographers with a bit more experience who are looking for a pocketable travel camera that takes pro level images.
2. Multiple Exposure Function
The fact that the Ricoh GR IIIx has a multiple exposure function really levels up the camera for me in comparison to the Sony RX 100 VII. For my personal style of photography, having a multiple exposure option is a necessity. It’s hard for me to justify spending money on a camera that doesn’t have this function. However, for a lot of people this is really just a fun feature that they won’t use often, if ever. But for professional photographers, it offers that extra option for additional creativity. If you haven’t experimented with multiple exposure, I highly recommend giving it a try to see how you like it! The menu on the Ricoh is a bit annoying to scroll through, but it’s relatively easy to switch to the multiple exposure function once you find it in the menu.


3. Super sharp 40 mm f/2.8 fixed lens
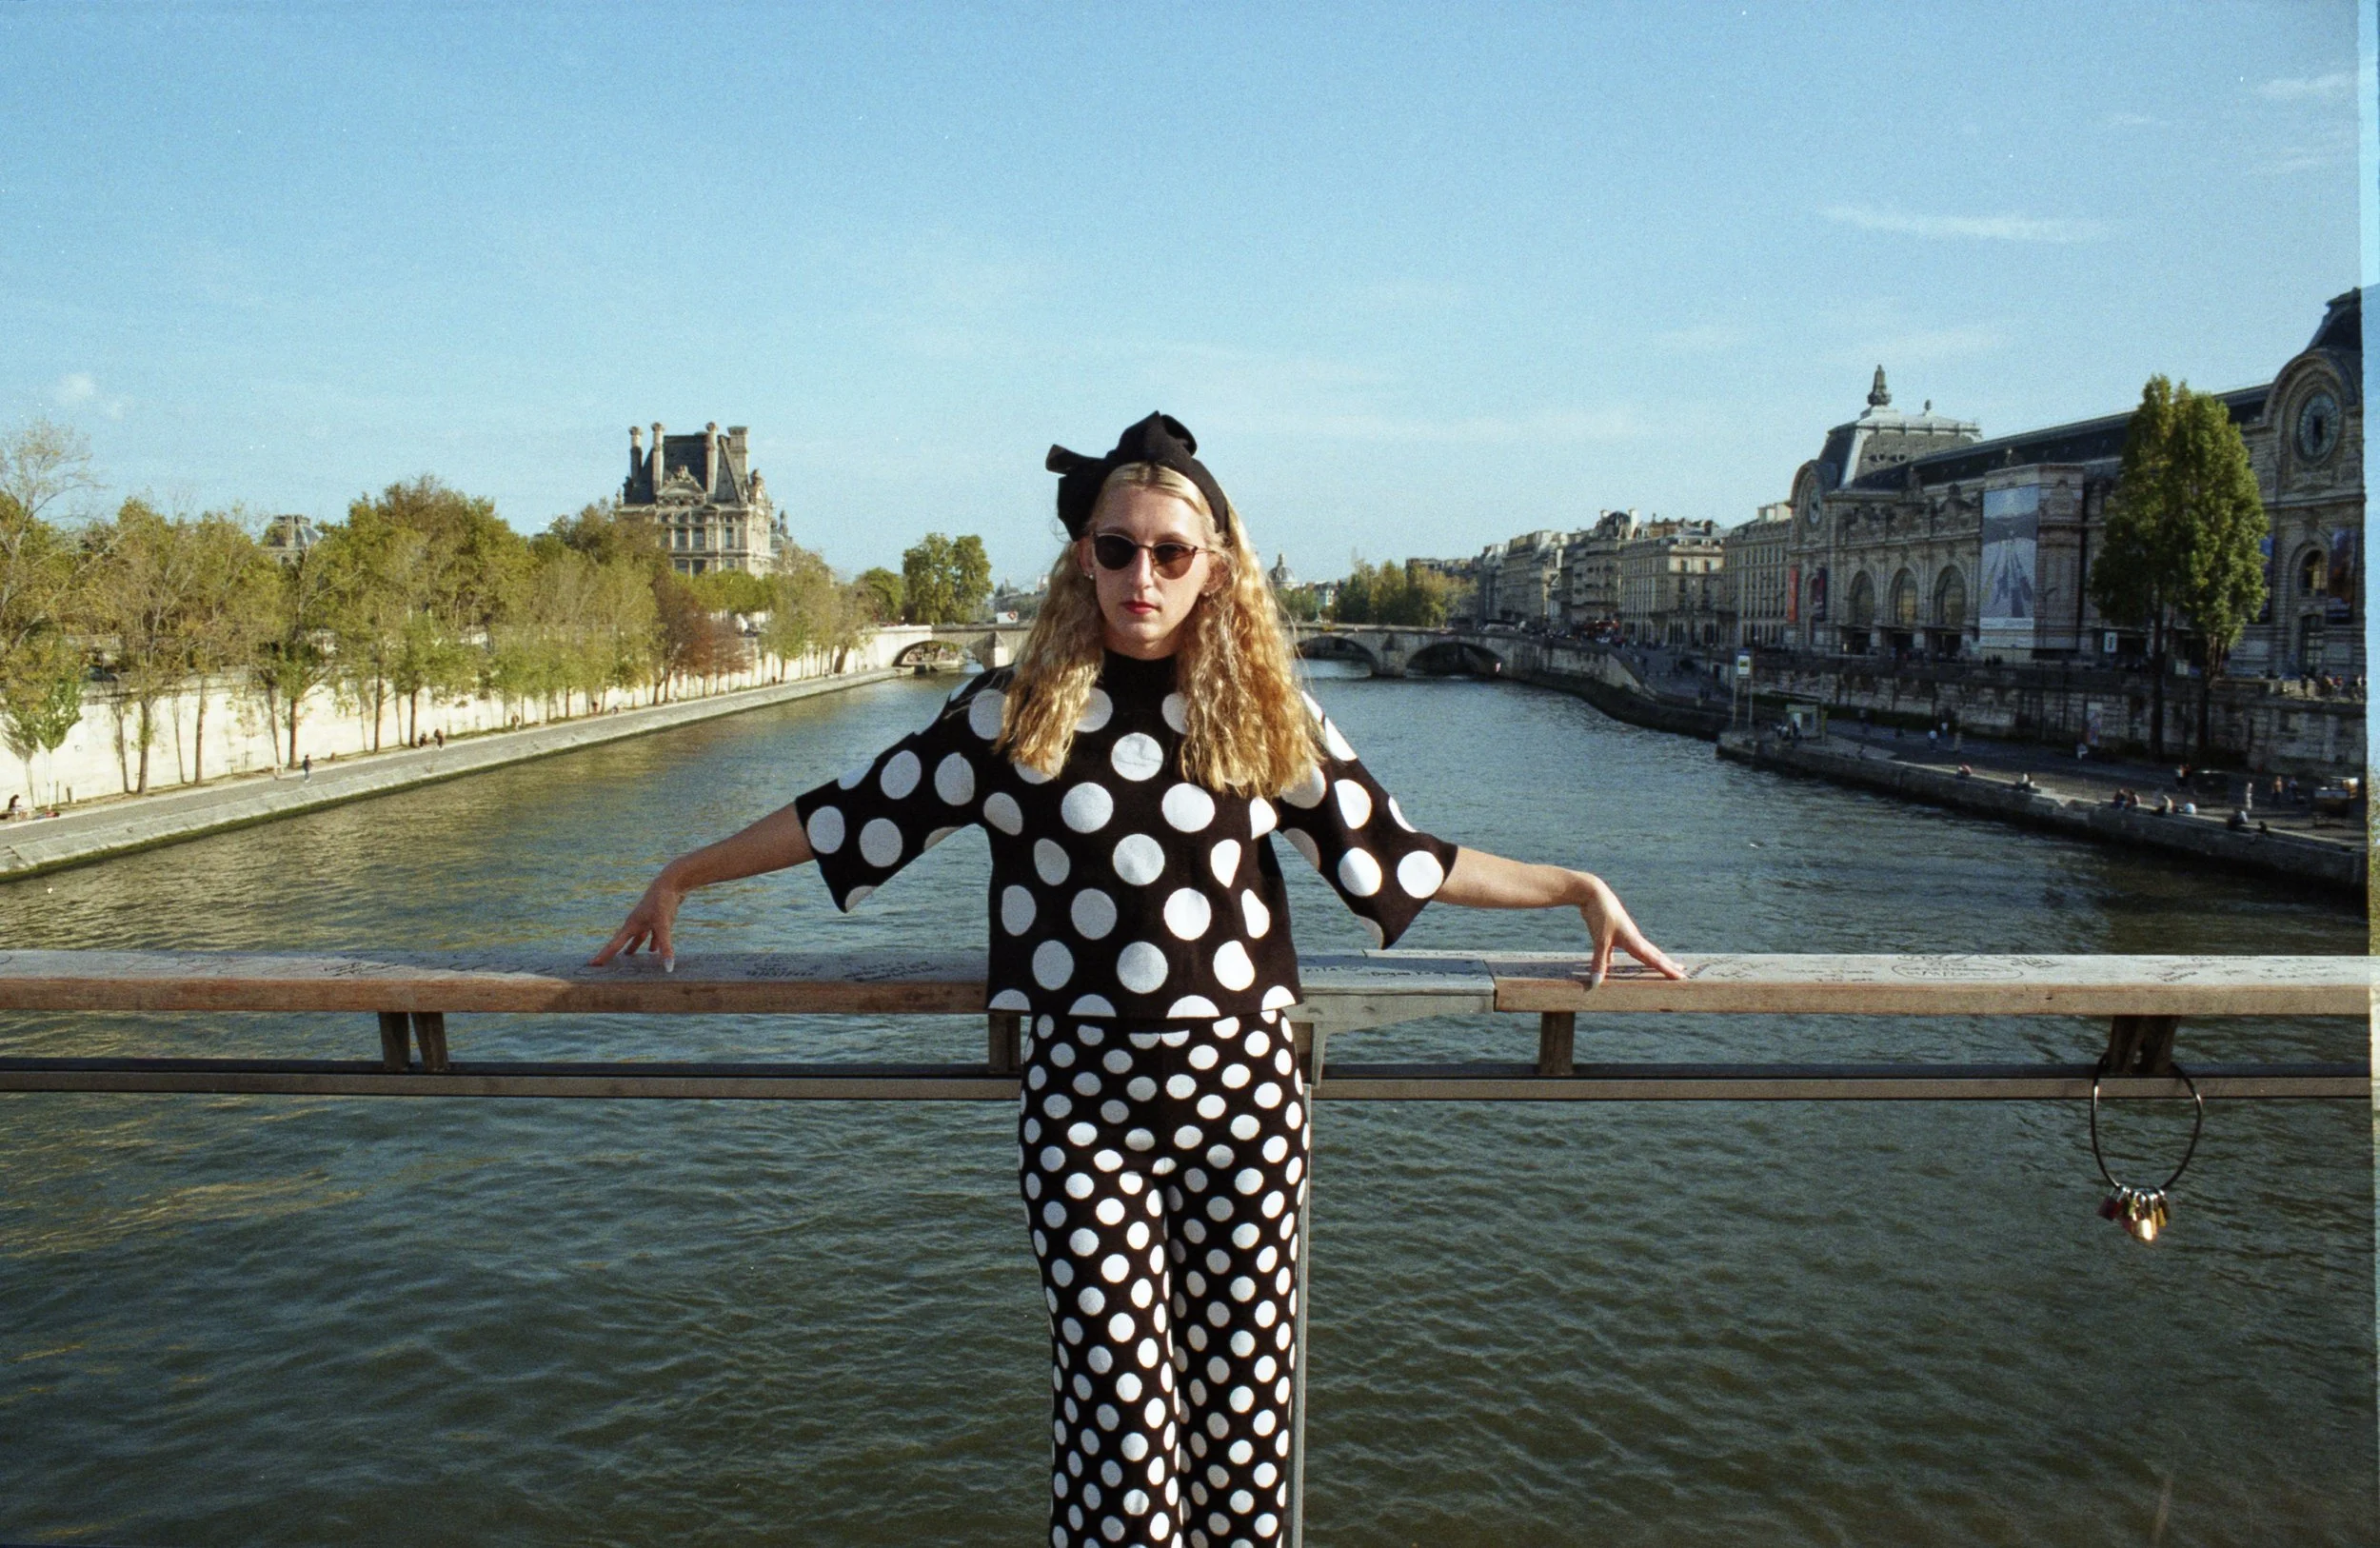
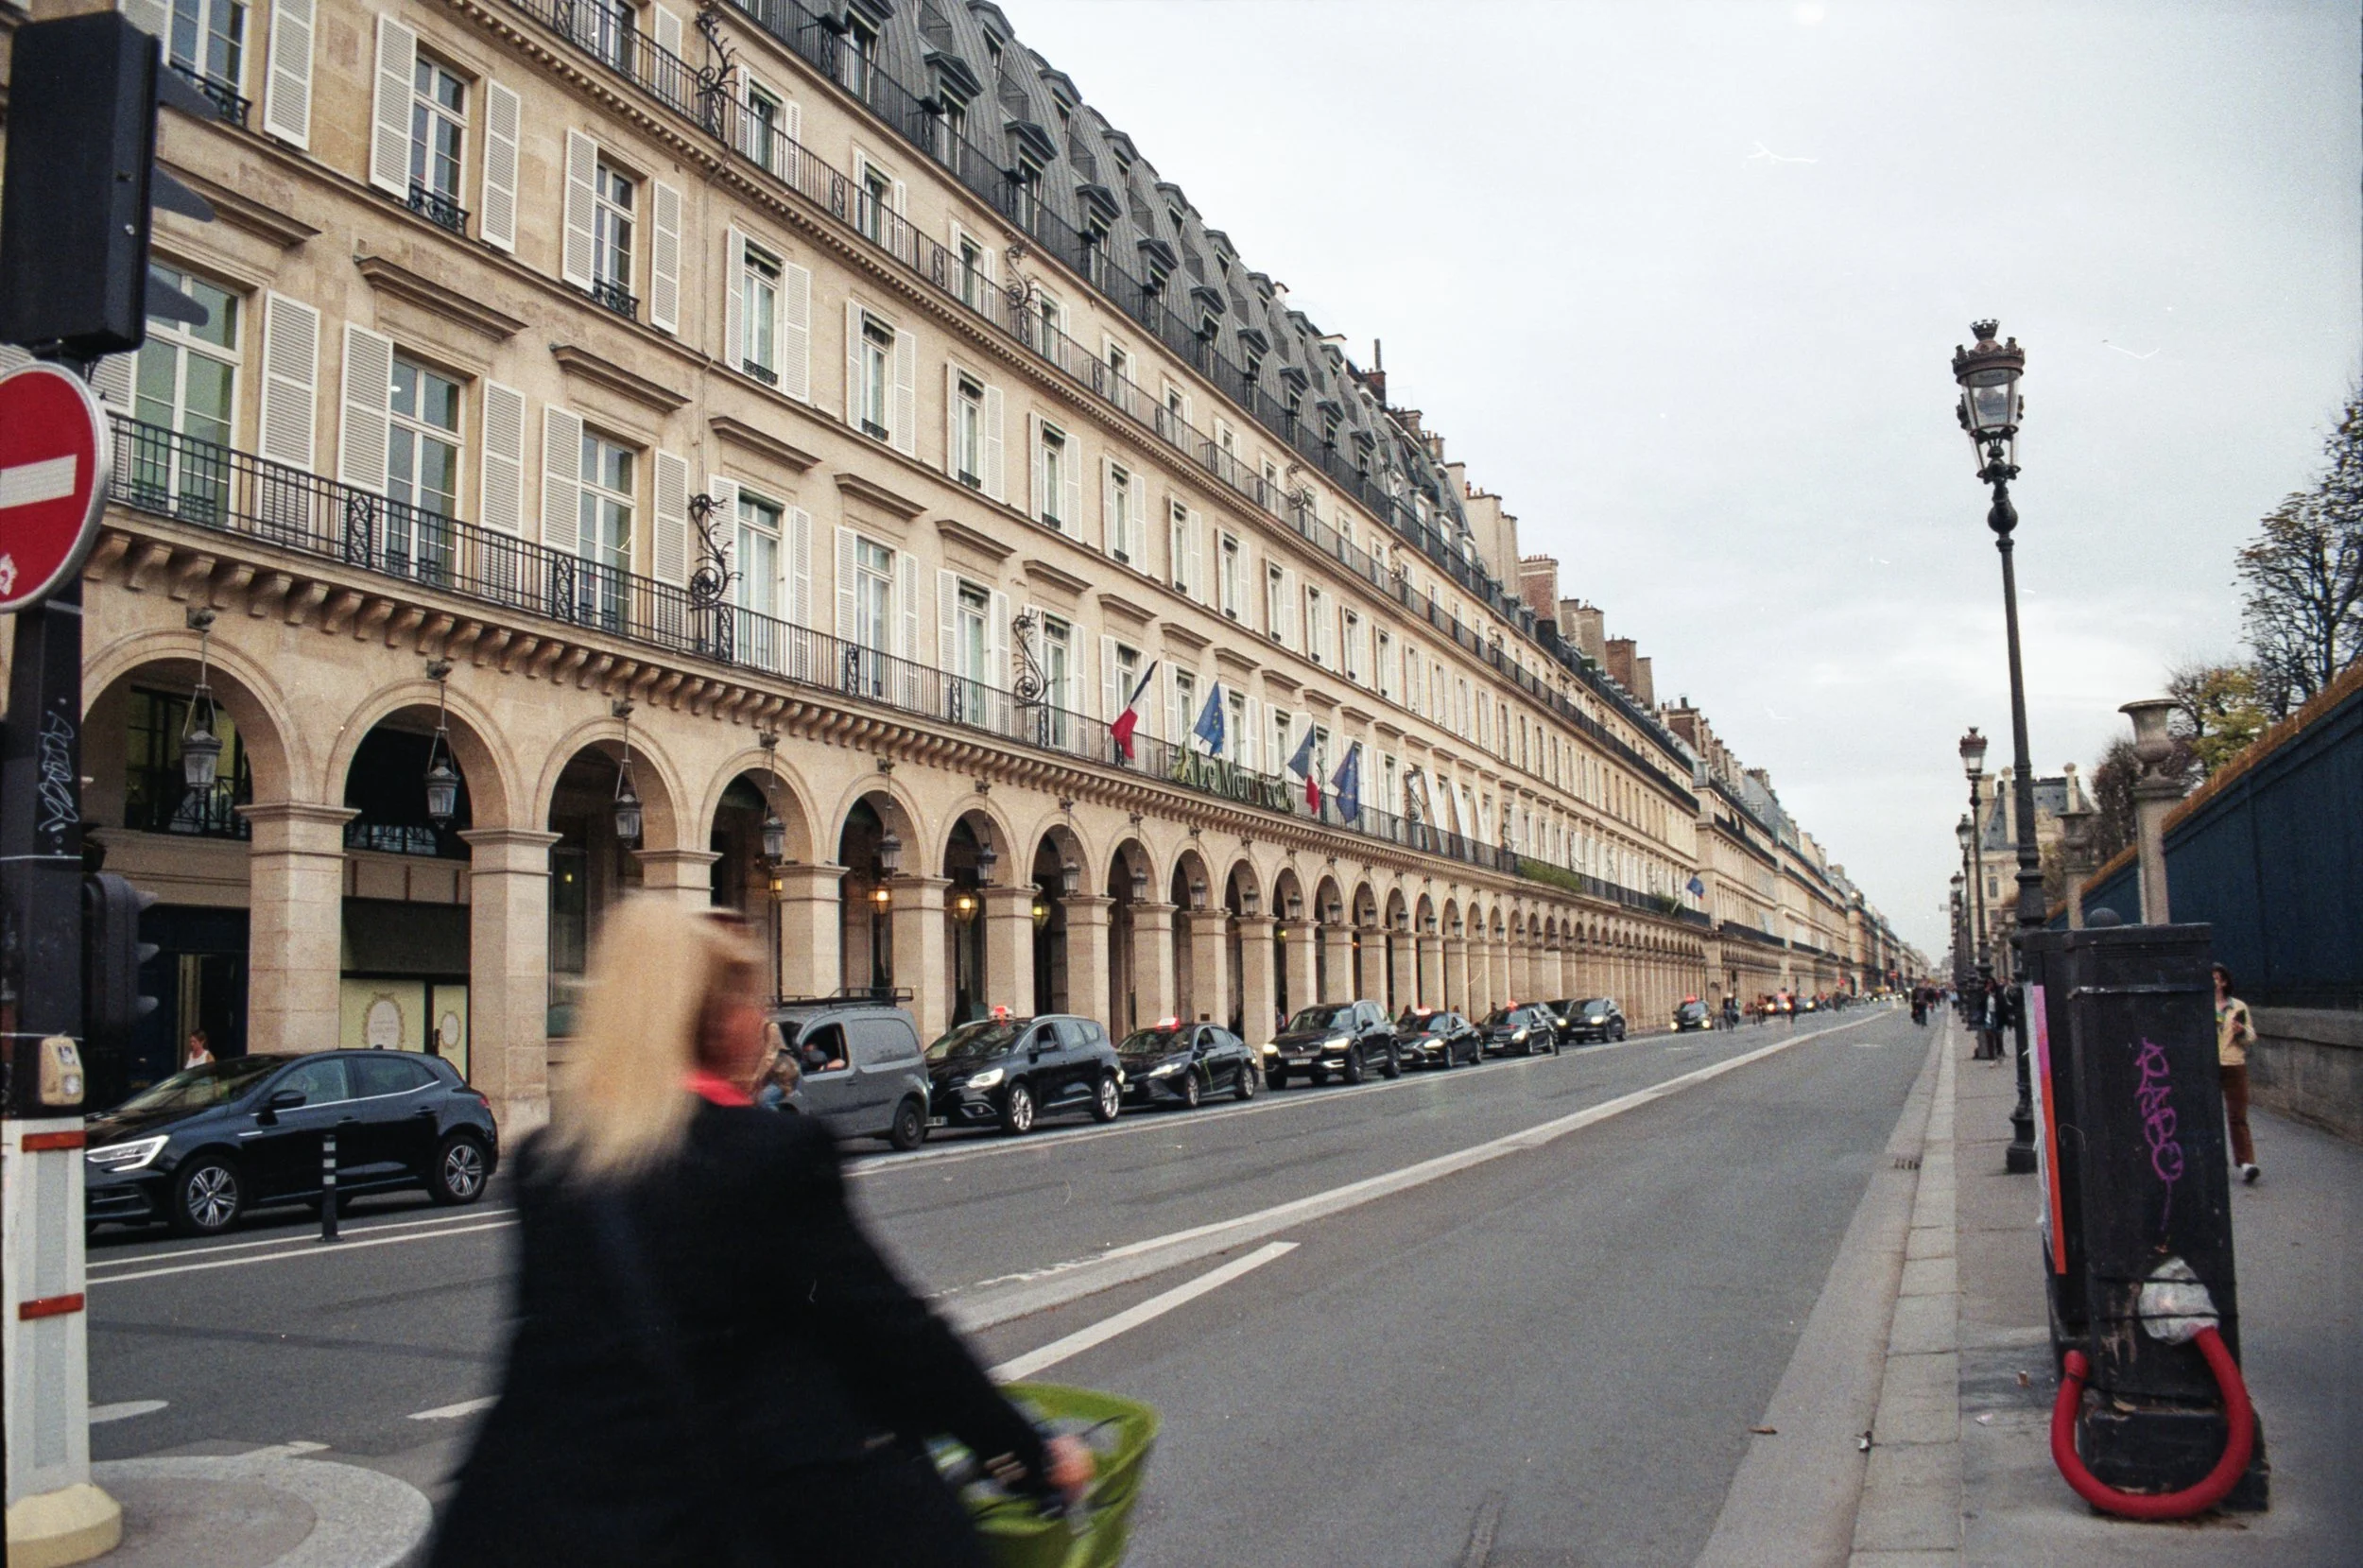
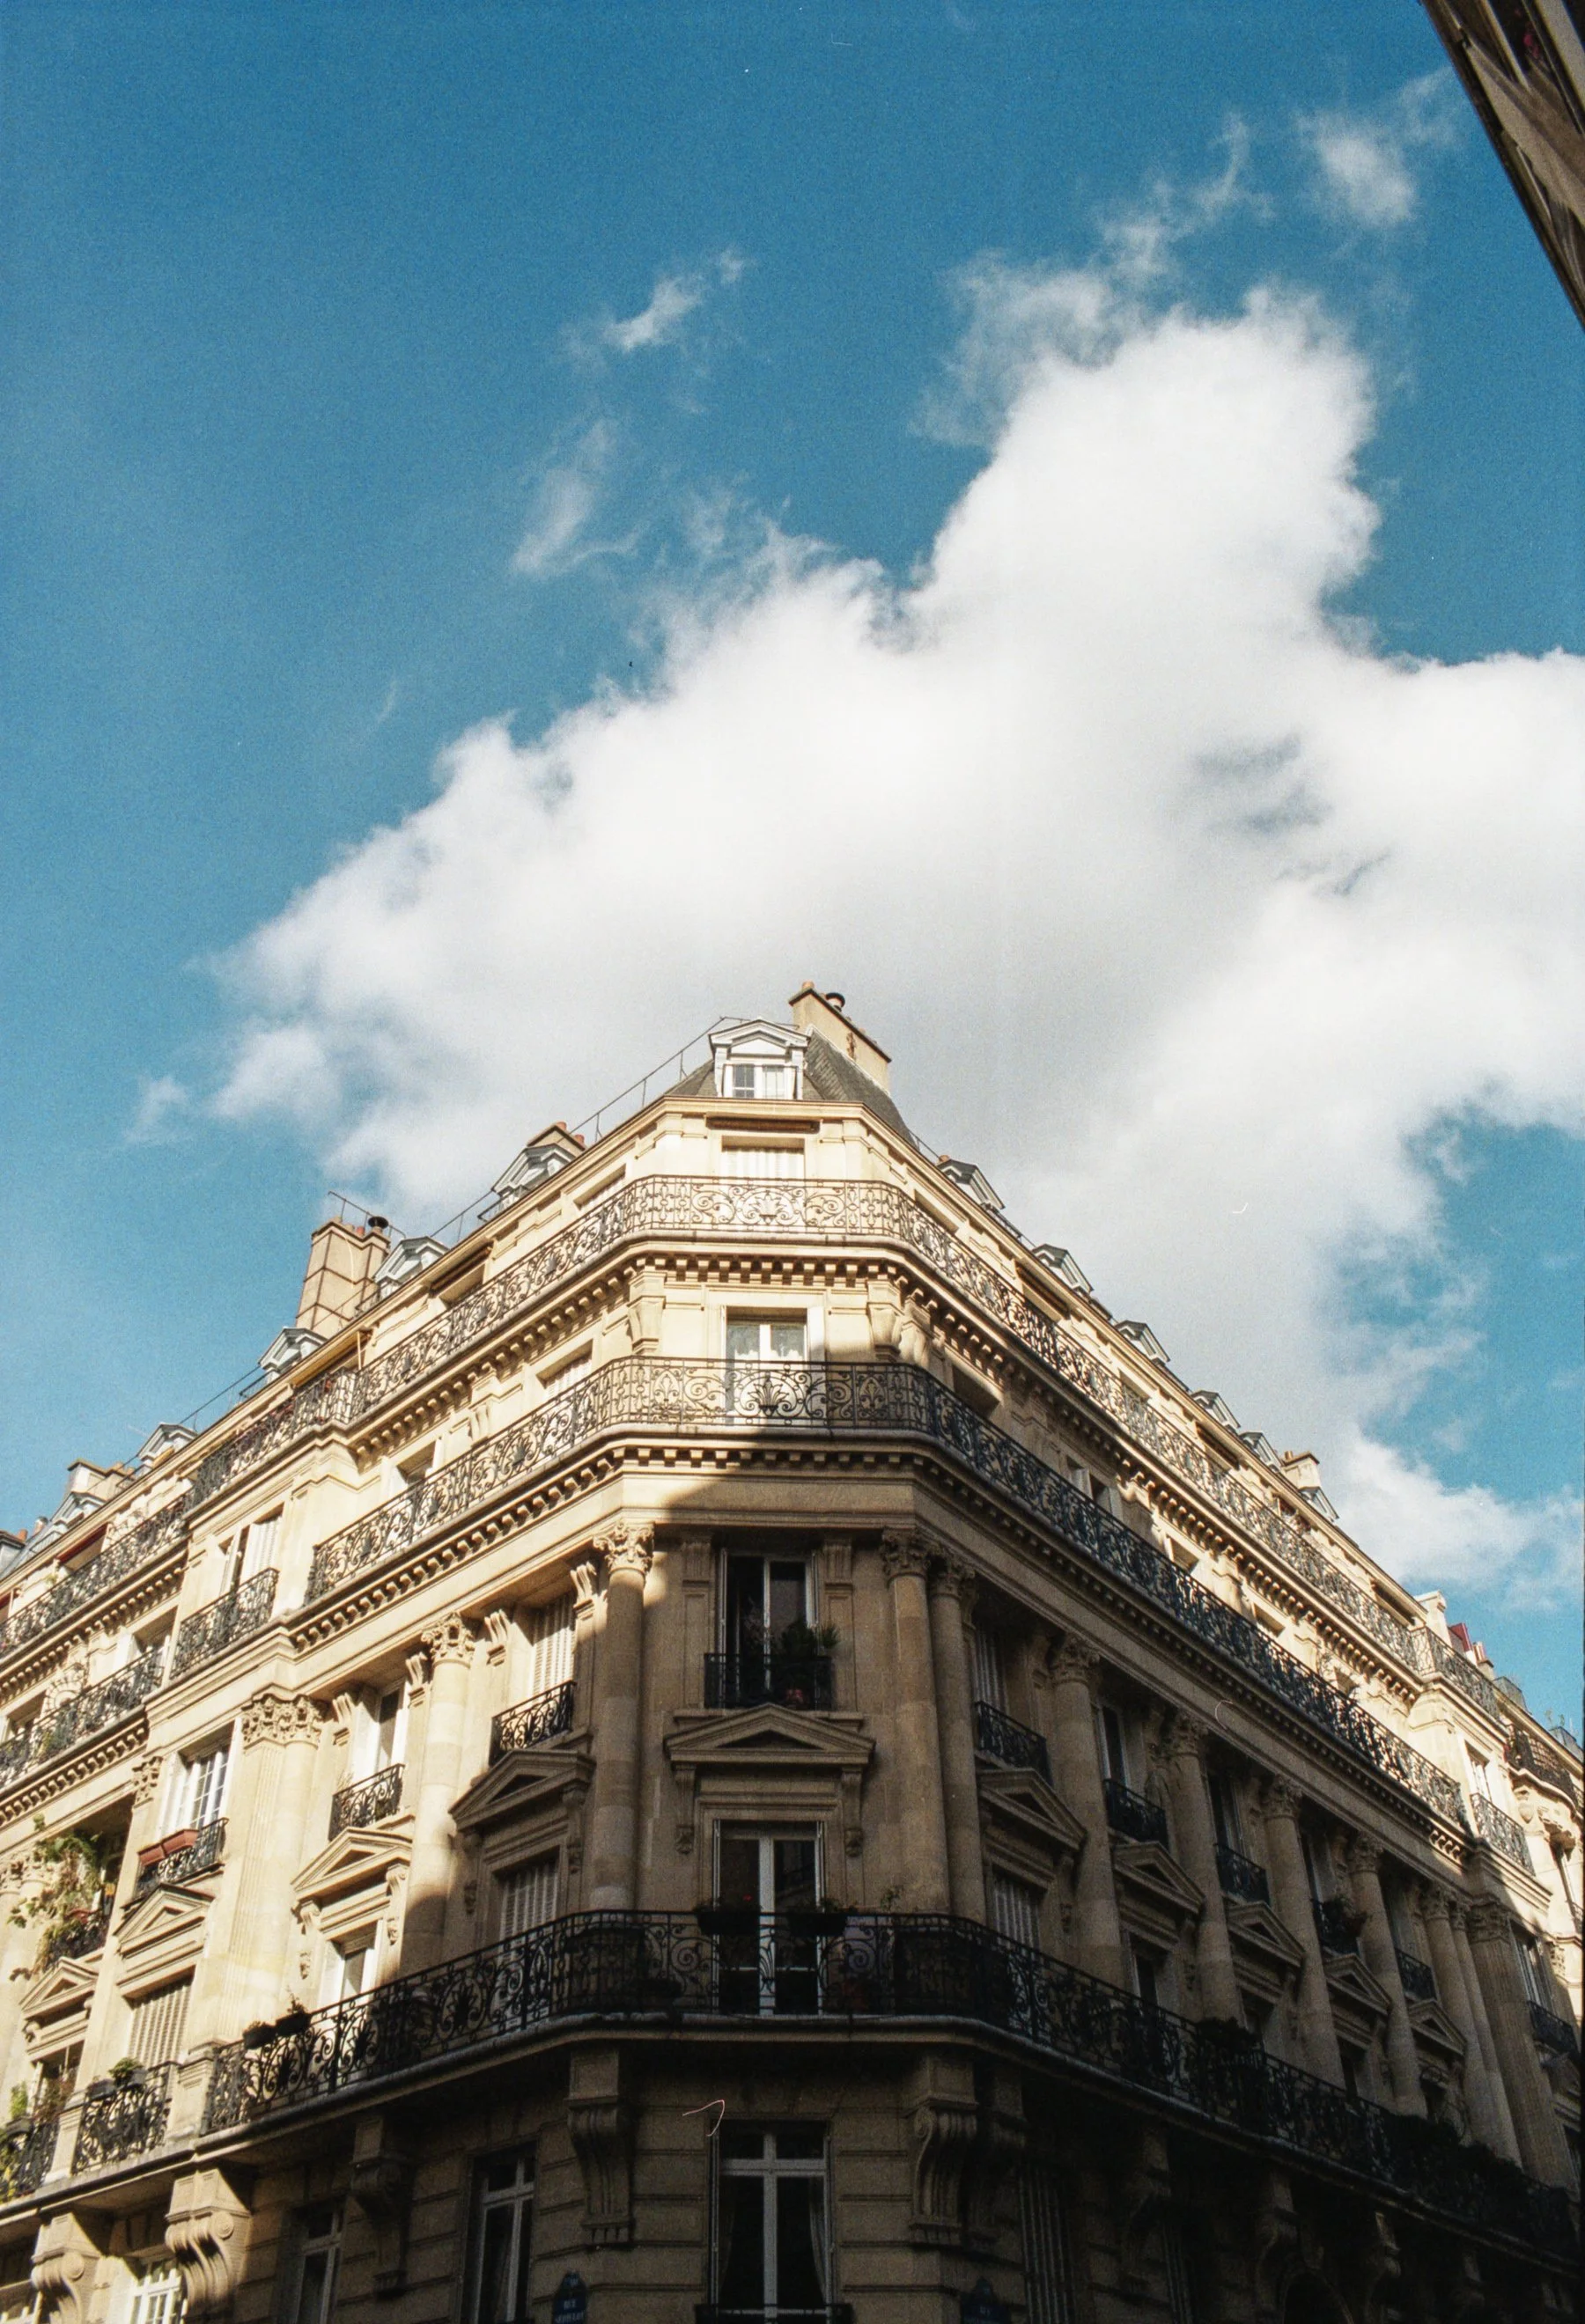
When it comes to the Ricoh GR IIIx and the Sony RX 100 VII, the lenses on the cameras are probably the main and most important difference between the two. The Ricoh GR IIIx has a 40 mm f/2.8 fixed lens. This means you don’t have the option to zoom and you’re stuck with one focal length. However, 40 mm is kind of the perfect focal length if you’re looking to create a blend of portraits, landscapes, macro photography and travel. While I personally prefer wider lenses, the 40 mm is another reason this camera has a sort of “fine art” feel to the images. 40 mm is more zoomed in than the eye sees naturally, so it adds a sort of dreamy, intimate quality to the photos. While the zoom function is nice on the Sony RX 100 VII, sometimes it’s nice to work with a fixed lens because it forces you to think about composition more. You have to move and adjust to your scenario and I think it causes you to plan and execute your images a little more effectively. The Sony RX 100 VII might be easier to use because you can just zoom in to your subject to capture what you need, but sometimes I find that it can cause you to be somewhat lazy and not put as much effort in to your shot.
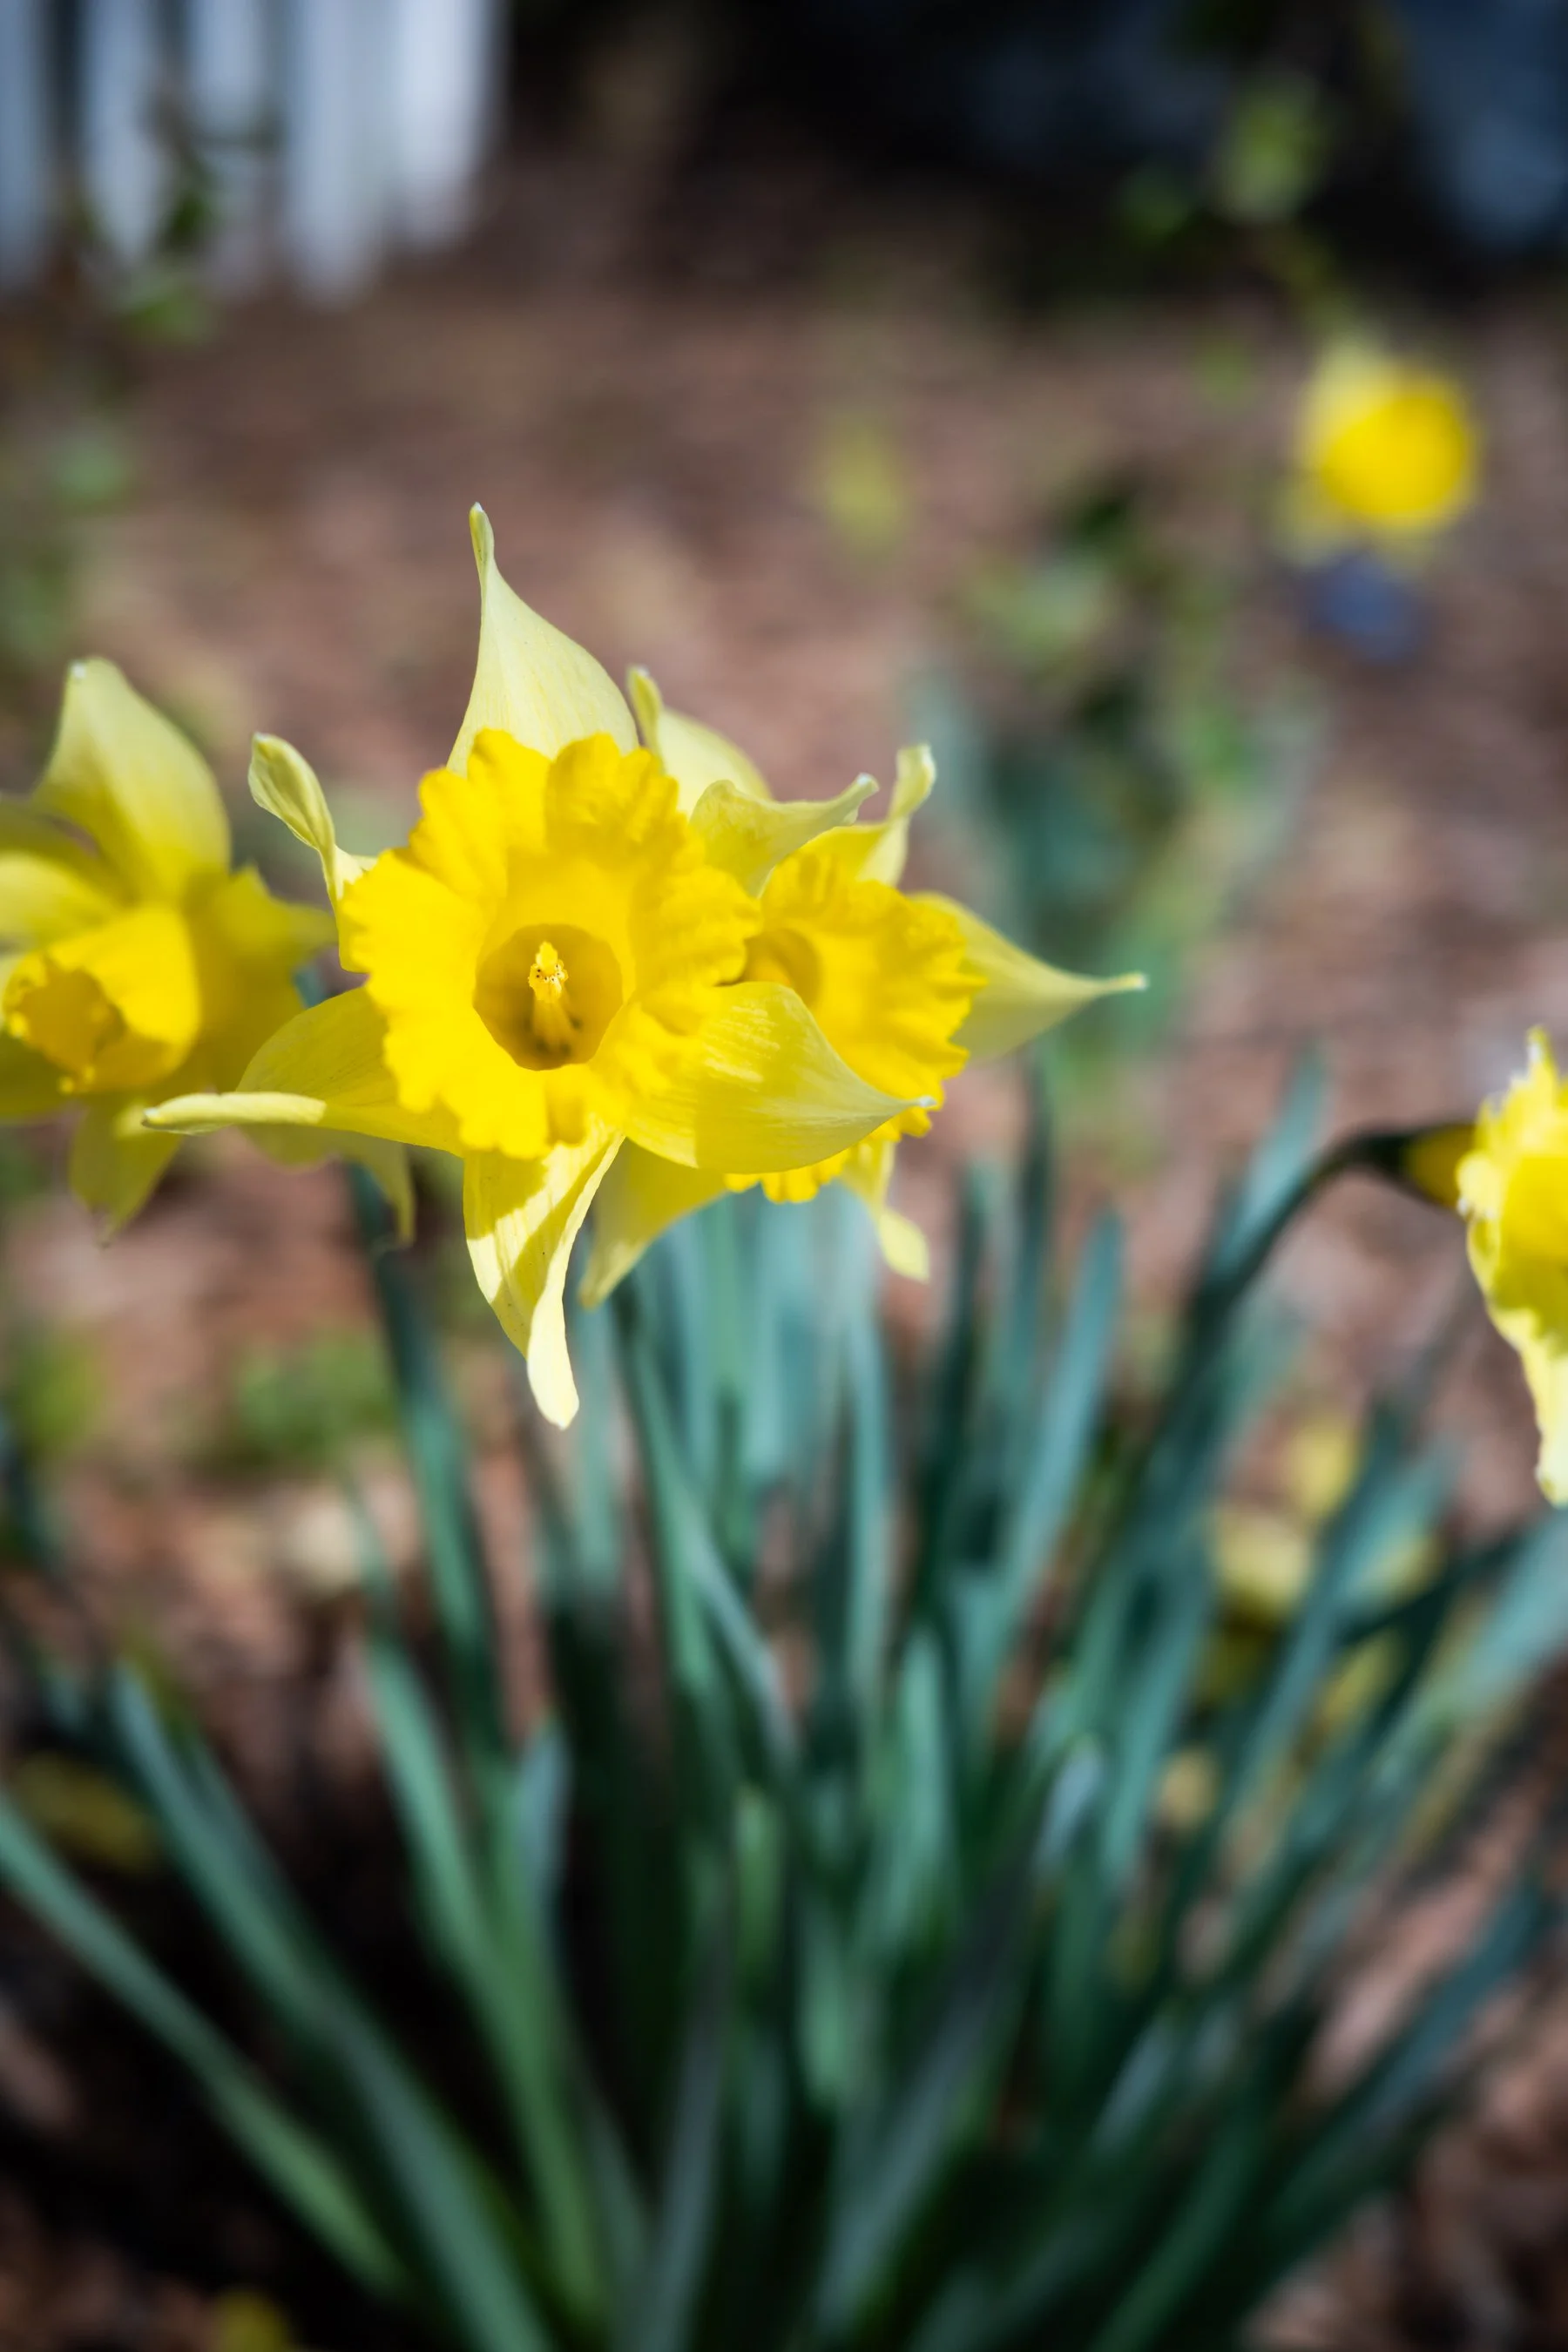
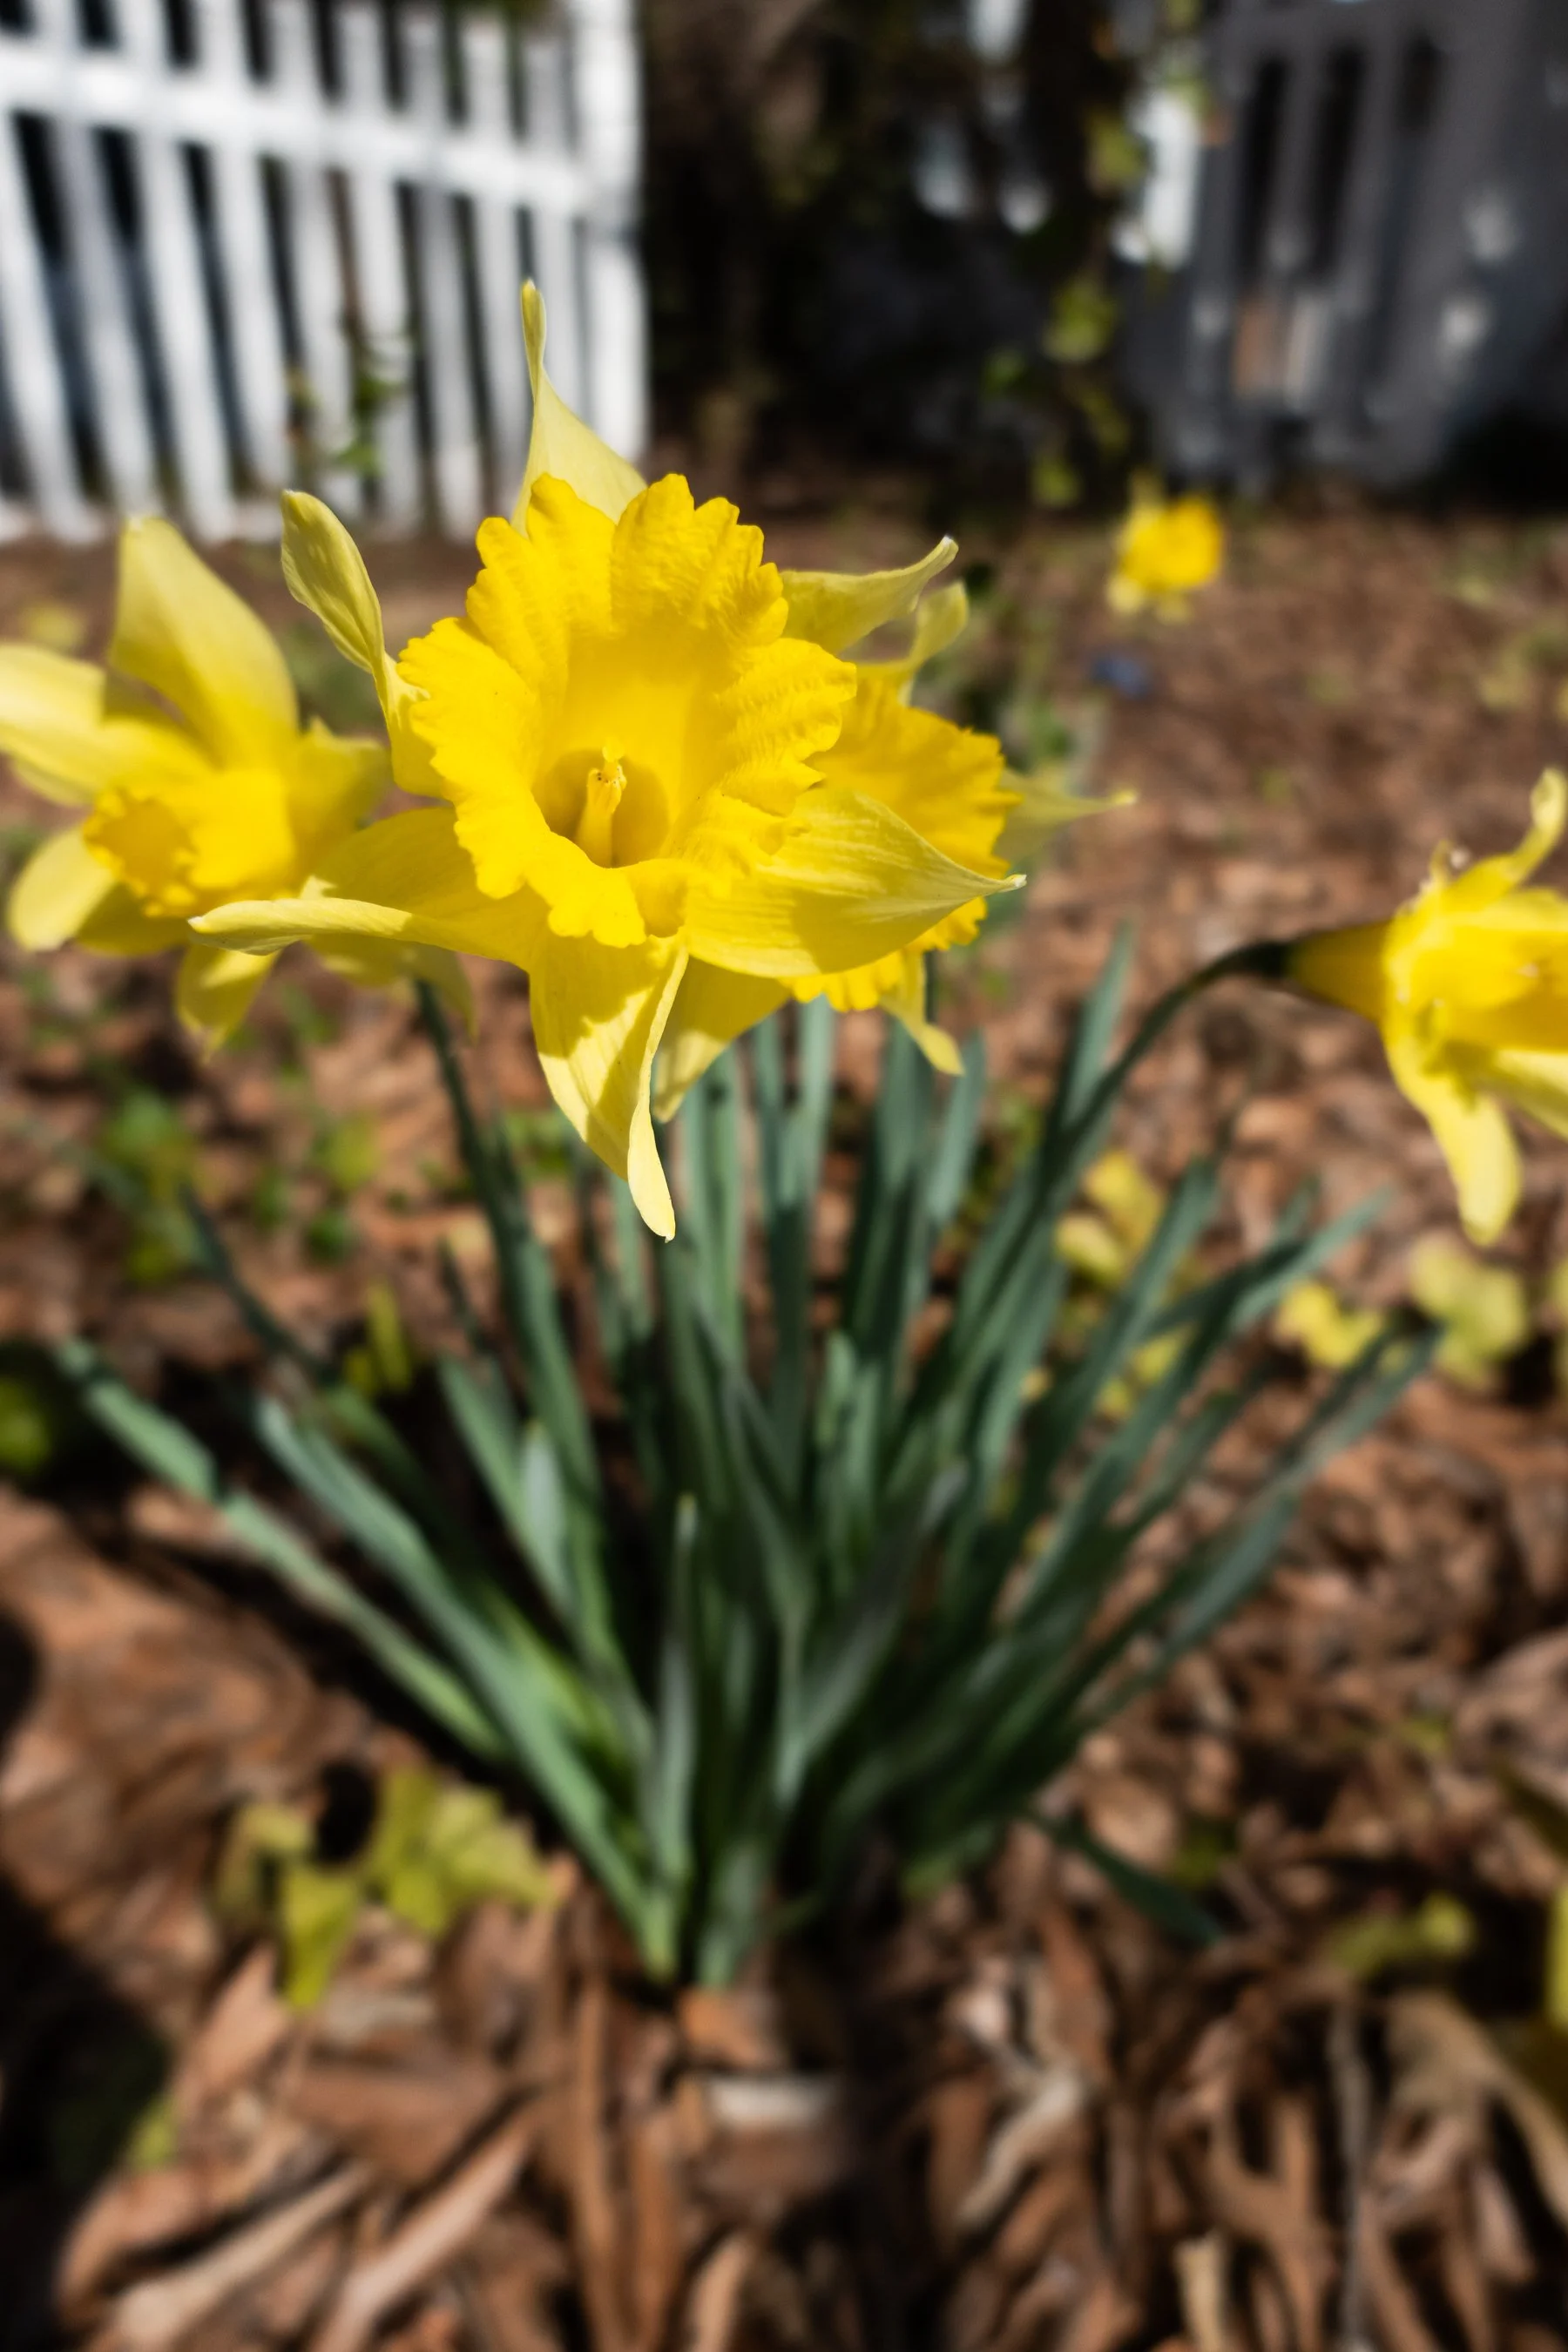
4. Beautiful Macro Mode
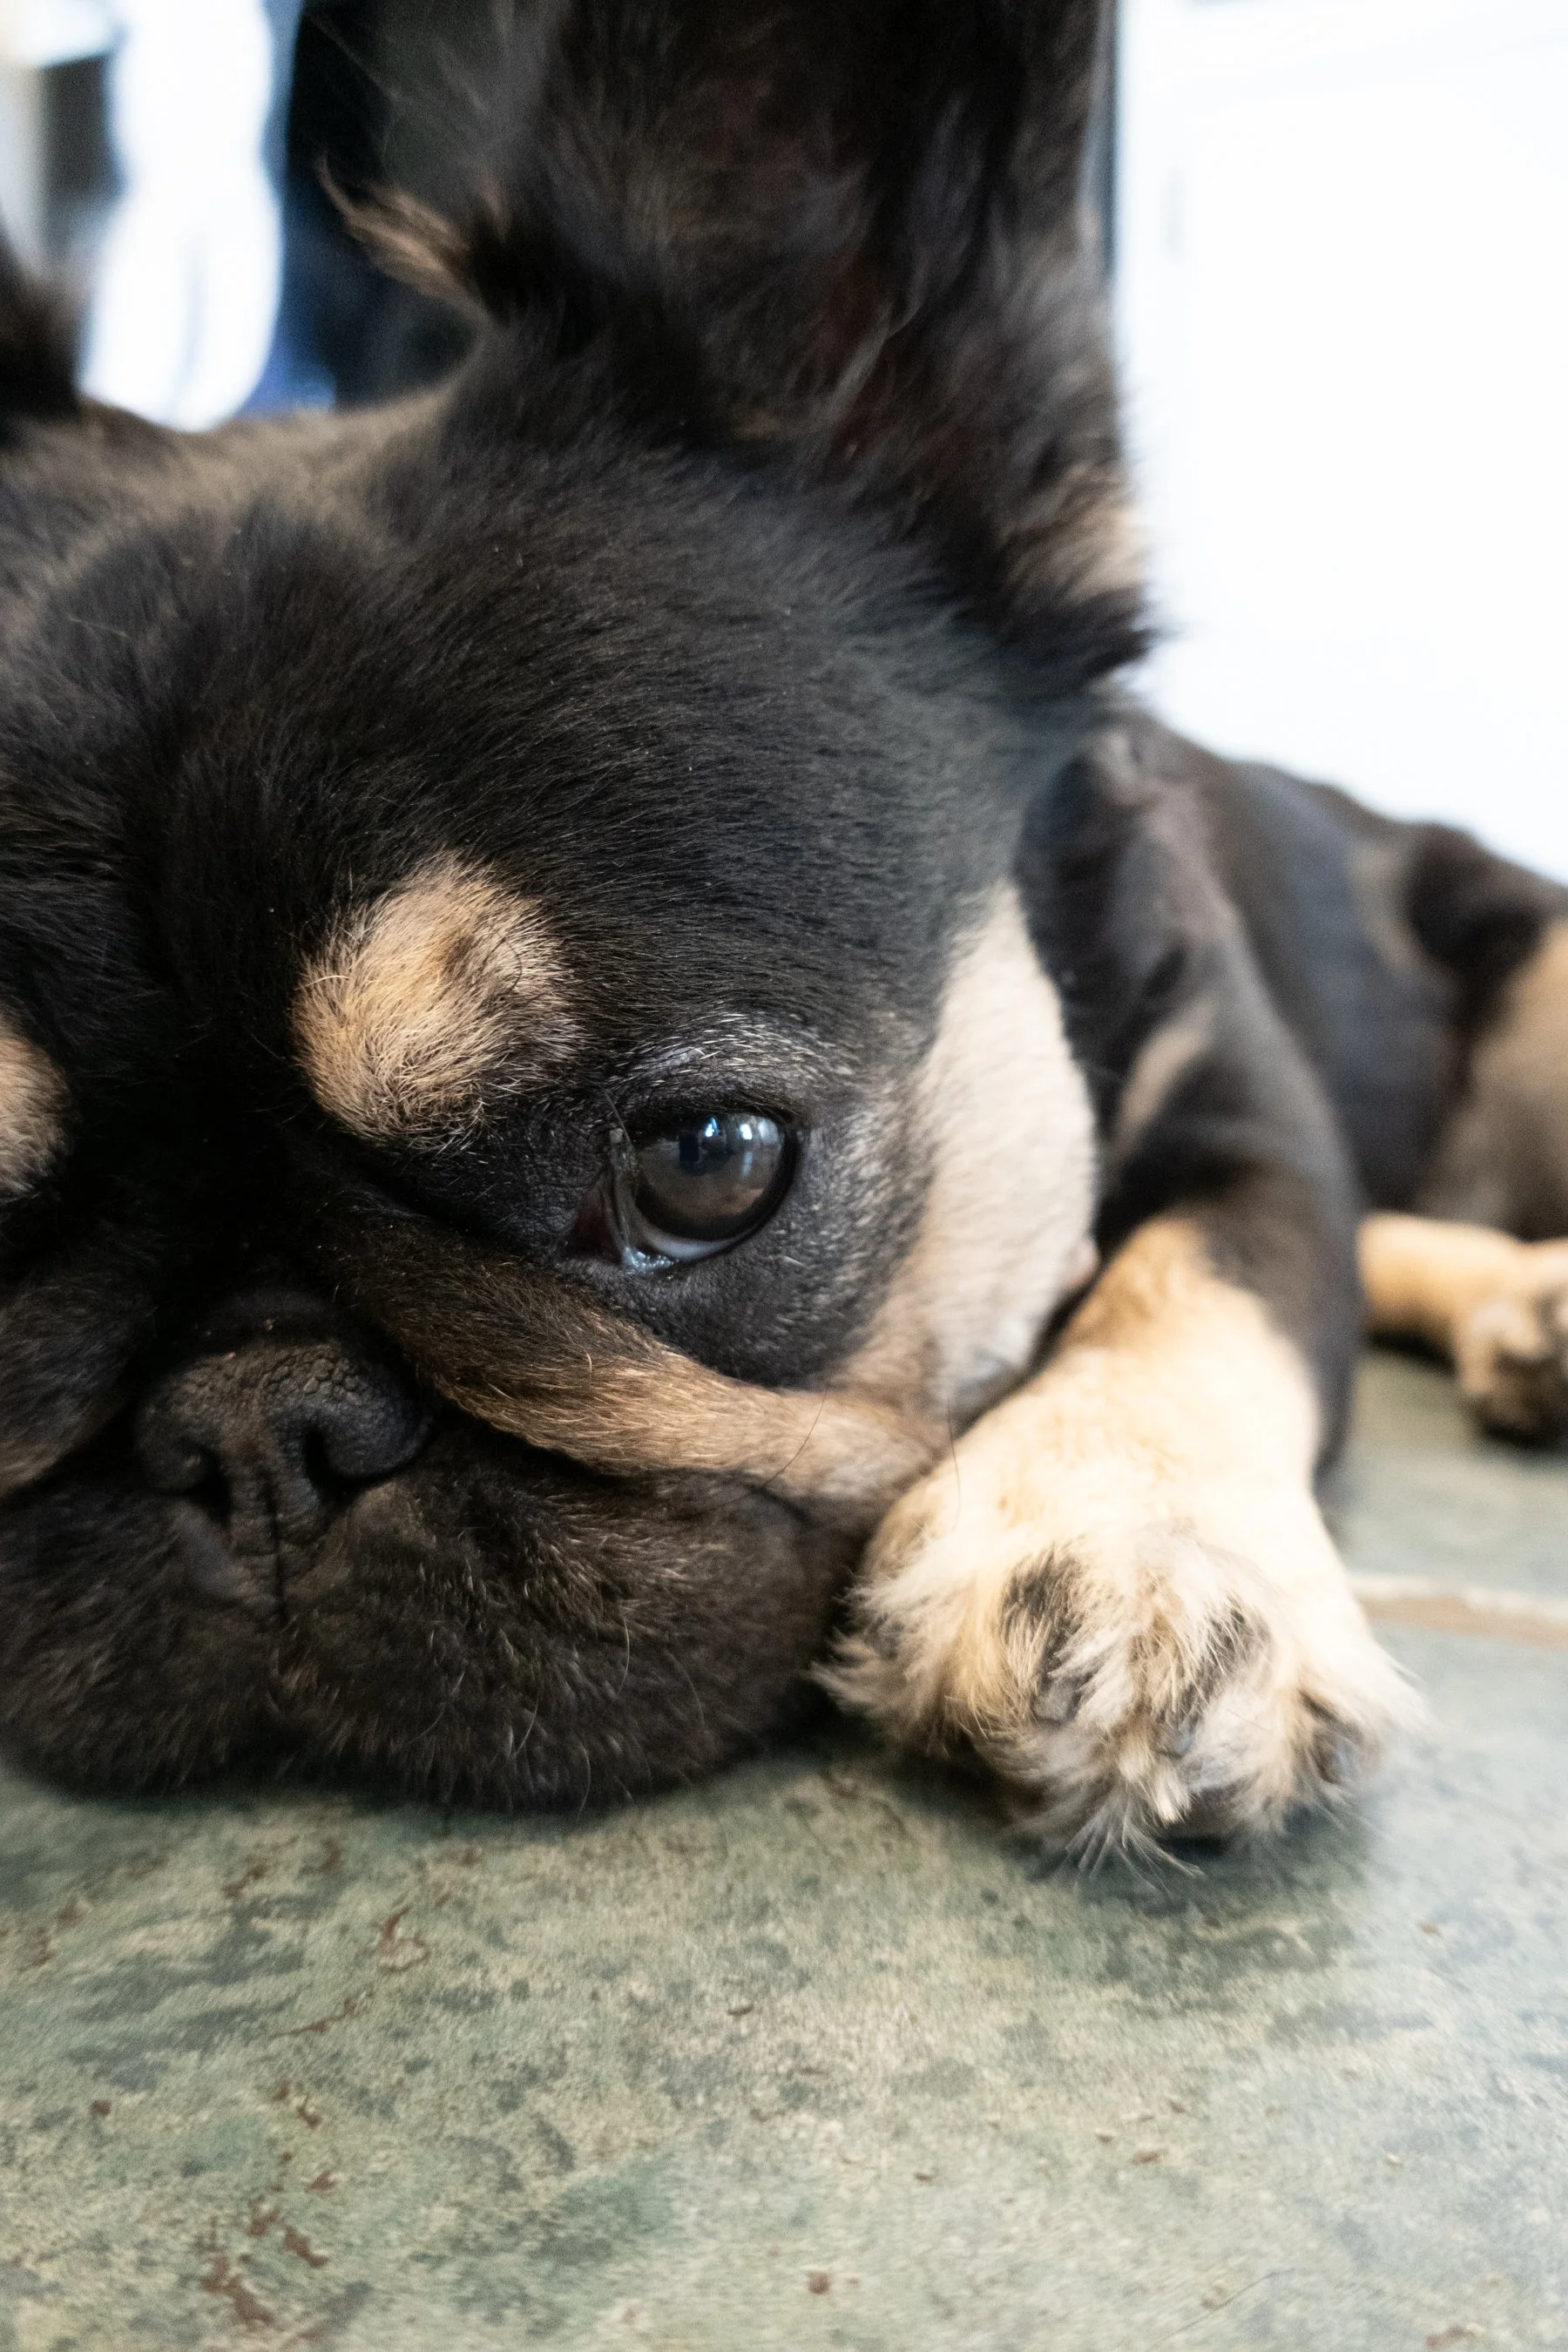
I’m not a macro photographer by any means, but once I realized that the macro mode was so easily accessible on the main dial of the Ricoh, I figured I might as well try it out! I was amazed at how stunning the images were and how simple the feature was to use. I was able to take beautiful nature shots that looked like they were made with a super expensive lens on a DSLR. The background blur when using the macro mode was gorgeously soft and natural looking. I travel a lot and I love taking photos of beautiful plants and foliage when I’m in new places, and I can tell this would be a feature I’d end up using more than I expected. The Sony RX 100 VII does not have a macro mode, but it has a closer focusing distance so you can just bring the camera in closer to your subject to get the shot. However, you won’t get that gorgeous background blur and softness that you’ll find with the Ricoh GR IIIx.
5. Gorgeous Color Tones
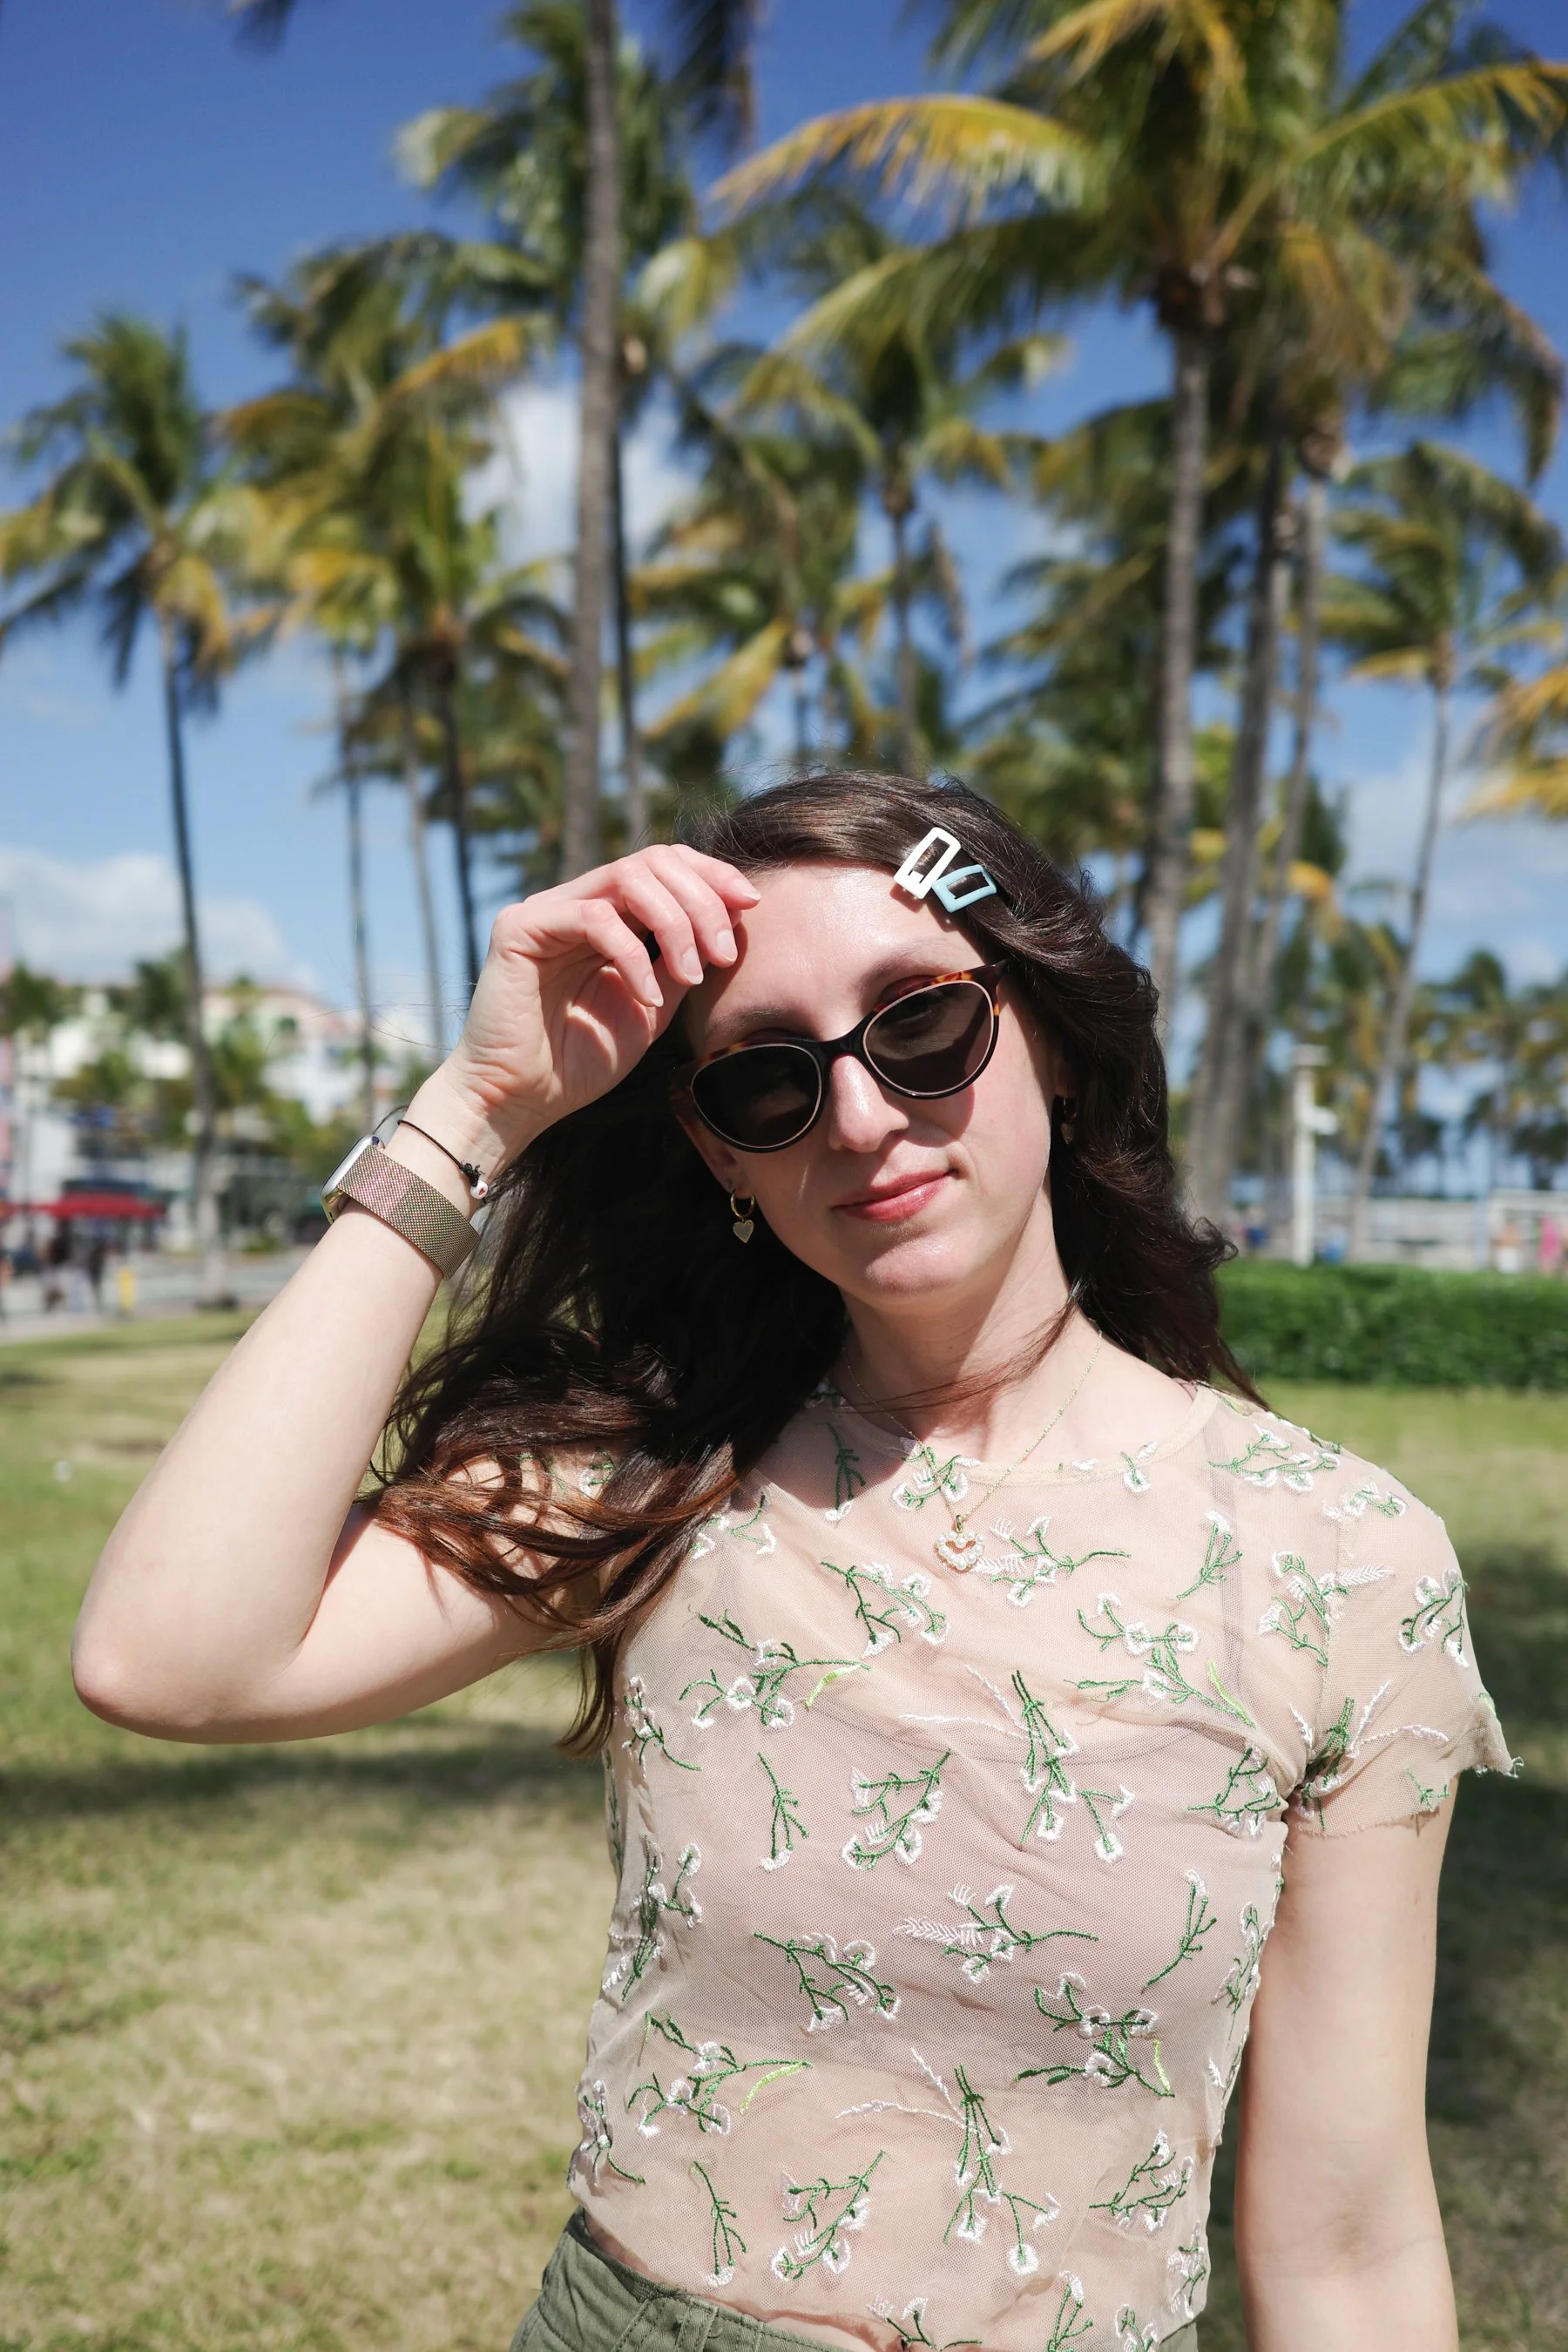
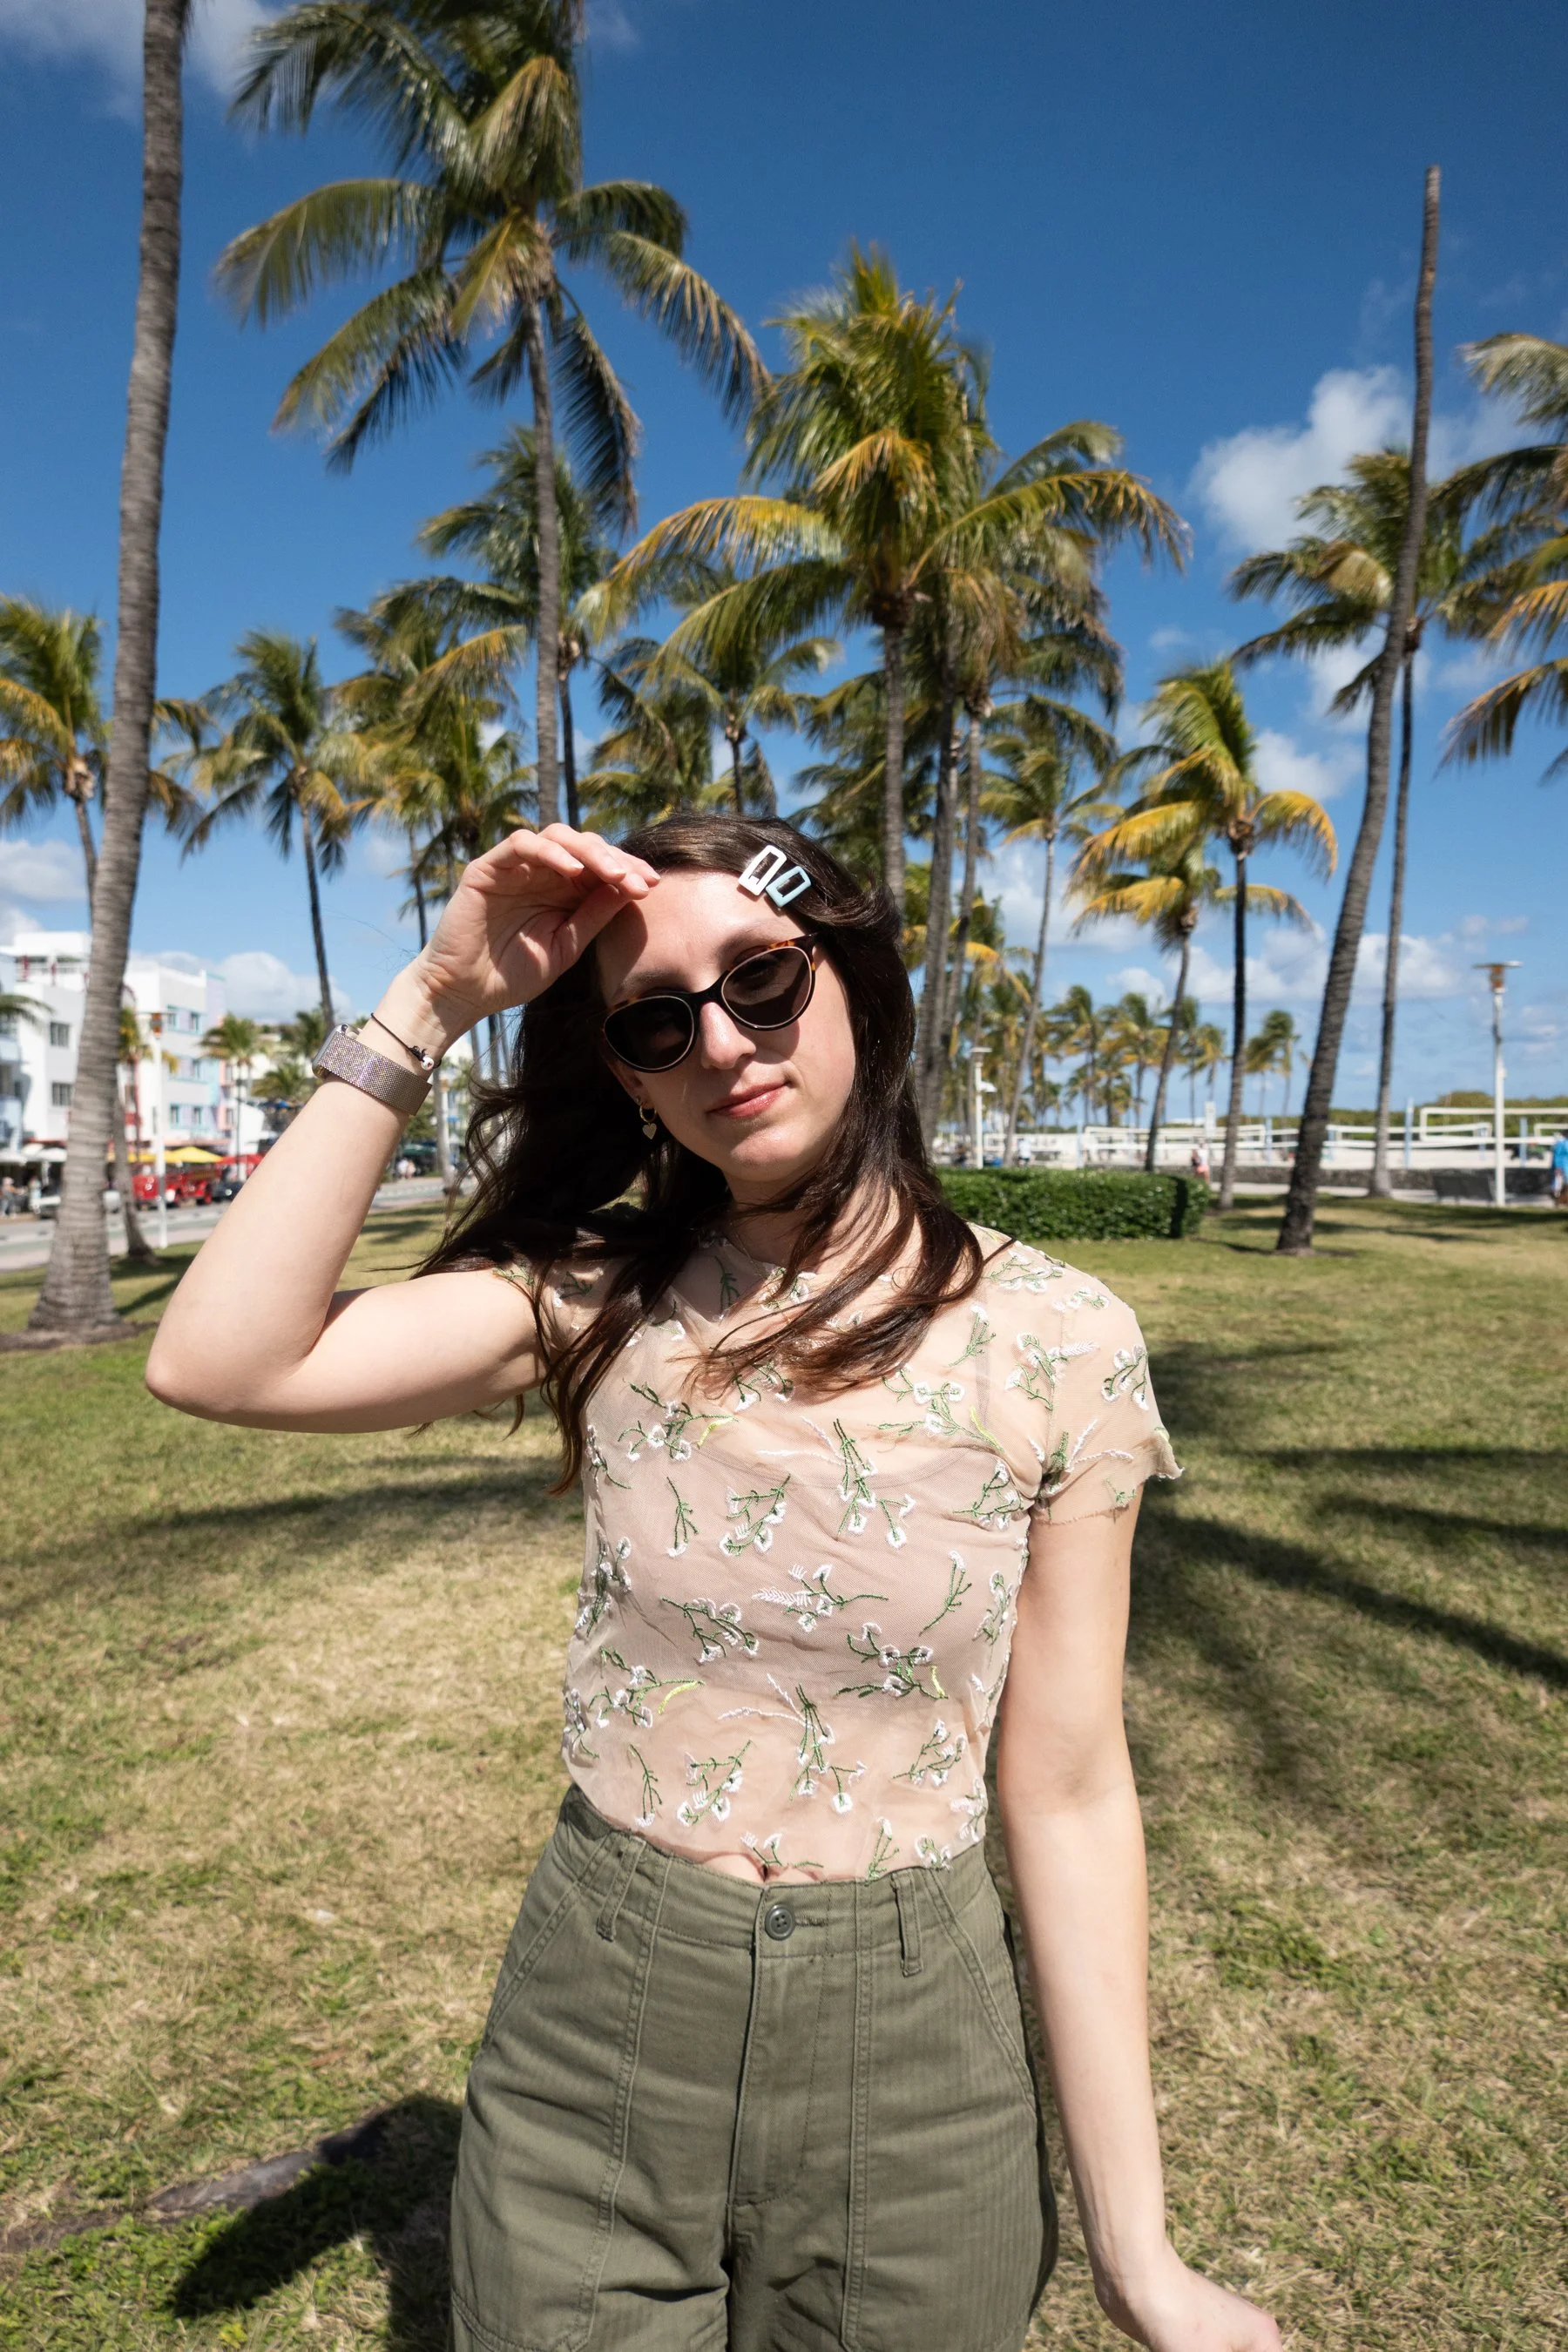
At the end of the day, the thing that matters most to me as a photographer is if the camera can produce photos that are beautiful, sharp and eye-catching right out of the box. I don’t love when I have to do a ton of post-processing to get my images where I need them to be. I experimented with a few side by side comparisons using the Ricoh GR IIIx and the Sony RX 100VII in Miami and noticed that the color tones of the Ricoh were much more natural and aesthetically pleasing, in my opinion. The Sony is much more saturated with bright, popping colors that might be more popular on social media, but that aren’t necessarily ideal for photographers who want more creative control over their images. I can’t stand when images are over-sharpened, over saturated and overly contrasty. I prefer to have an image that can be manipulated more easily to match my personal style, and that I don’t have to spend hours pulling out weird, overly saturated reds, oranges and yellows. The Ricoh images might seem flat and understated when compared to the Sony, but because the color tones are more natural, it’s easier to enhance them without running into weird, frustrating color adjustment problems. The ultra-wide lens on the Sony can also distort shapes a bit, whereas the Ricoh GR IIIx is more true-to-life and creates more natural portraits.


FINAL THOUGHTS
I had such a blast using the Ricoh GR IIIx and I was actually a bit surprised by how much I loved it. As someone who travels a lot, it was such a breath of fresh air to know that I could use such a tiny camera and still produce pro level images without having to lug around my giant DSLR camera. I found the Sony RX 100VII easier to use overall, but the image quality just doesn’t really compare to the Ricoh GR IIIx if you’re a professional photographer who is used to high-quality, large sensor cameras. The background blur and lens quality of the Ricoh GR IIIx is something special. That’s not to say that the Sony RX 100 VII isn’t a great camera, because it truly is. But it depends on your needs as a photographer. For me, I wish I could blend the two together, because I love the large sensor, multiple exposure option, and color tones of the Ricoh, but I prefer a wider lens (like the 24-200 that the Sony offers) when I’m traveling. The fact that the Ricoh only has 1080p up to 60 fps when it comes to video and the Sony has 4K up to 30 fps is also an important factor to keep in mind too when weighing your options. Lastly, in terms of main differences, the Ricoh does not have a flash. It does have a hot shoe mount so you can always add your own, but I found the built-in flash to be super convenient on the Sony, especially when traveling and being out and about at night. If you’re hoping to take selfies with your friends and family while traveling, the Sony is the better option. The 40 mm lens of the Ricoh is too zoomed in to get a good group selfie and the camera just isn’t made for late night, candid party photos. So, are you hoping to create pro-level fine art photography and want a pocket sized camera that can keep up with the higher end DSLRs and mirrorless cameras? Then the Ricoh GR IIIx is for you. Or, are you looking for the perfect all-around travel point and shoot that is super easy to use, takes great video, and has a zoom lens and flash for ultimate candid, lifestyle photos ready for posting on social media? If that’s you, then go for the Sony RX 100 VII. Of course, it really all comes down to the photographer. If you’re a great photographer you can take incredible images with any camera, so by no means is either of these cameras “better” than the other. What matters is how much passion you have and what matters most to you when creating photos.
One thing about both of these cameras is that they are slippery and feel very fragile. I’d recommend making sure your wrist strap is tight, or consider a case like this one for the Ricoh, or this one for the Sony.
If I absolutely had to choose between the two? It’s tough because I probably used the Sony RX 100VII more on our trip because of how user-friendly it is, but ultimately I care about image quality and creative functionality, so I’d probably go for the Ricoh GR IIIx if I really had to choose! It’s hard though because I really need both! Maybe one day that perfect blend of these two cameras will come to life and I’ll be first in line for that one!


WHERE TO BUY THE RICOH GR IIIx CAMERA
I always recommend B&H Photo because they have competitive prices, but with crazy fast shipping and excellent customer service!
RICOH GR IIIX: B&H Photo
RECOMMENDED CARRYING CASE: Ricoh GC-12 Soft Case
WHERE TO BUY THE SONY RX 100 vII
SONY RX 100VII: B&H Photo
RECOMMENDED CARRYING CASE: MegaGear Ever Ready PU Leather Camera Case
If you found this post helpful in any way, I’d love it if you considered signing up for my Patreon! For as little as $1 a month, you’ll get early access to all of my YouTube videos, plus tons of photos that I don’t post anywhere else. Depending on which tier you choose, you could also receive seasonal prints and/or discounts! I always use all of the proceeds towards cameras, film & processing.
If you have any questions, I’m always happy to help! You can contact me here, or leave a comment below! Thanks so much for stopping by! You can also check out my B&H Photo storefront & Amazon Storefront for more camera/film recommendations. :) Have a magical day!
<3 Myles Katherine